
How To Change Line Spool On Ryobi Trimmer
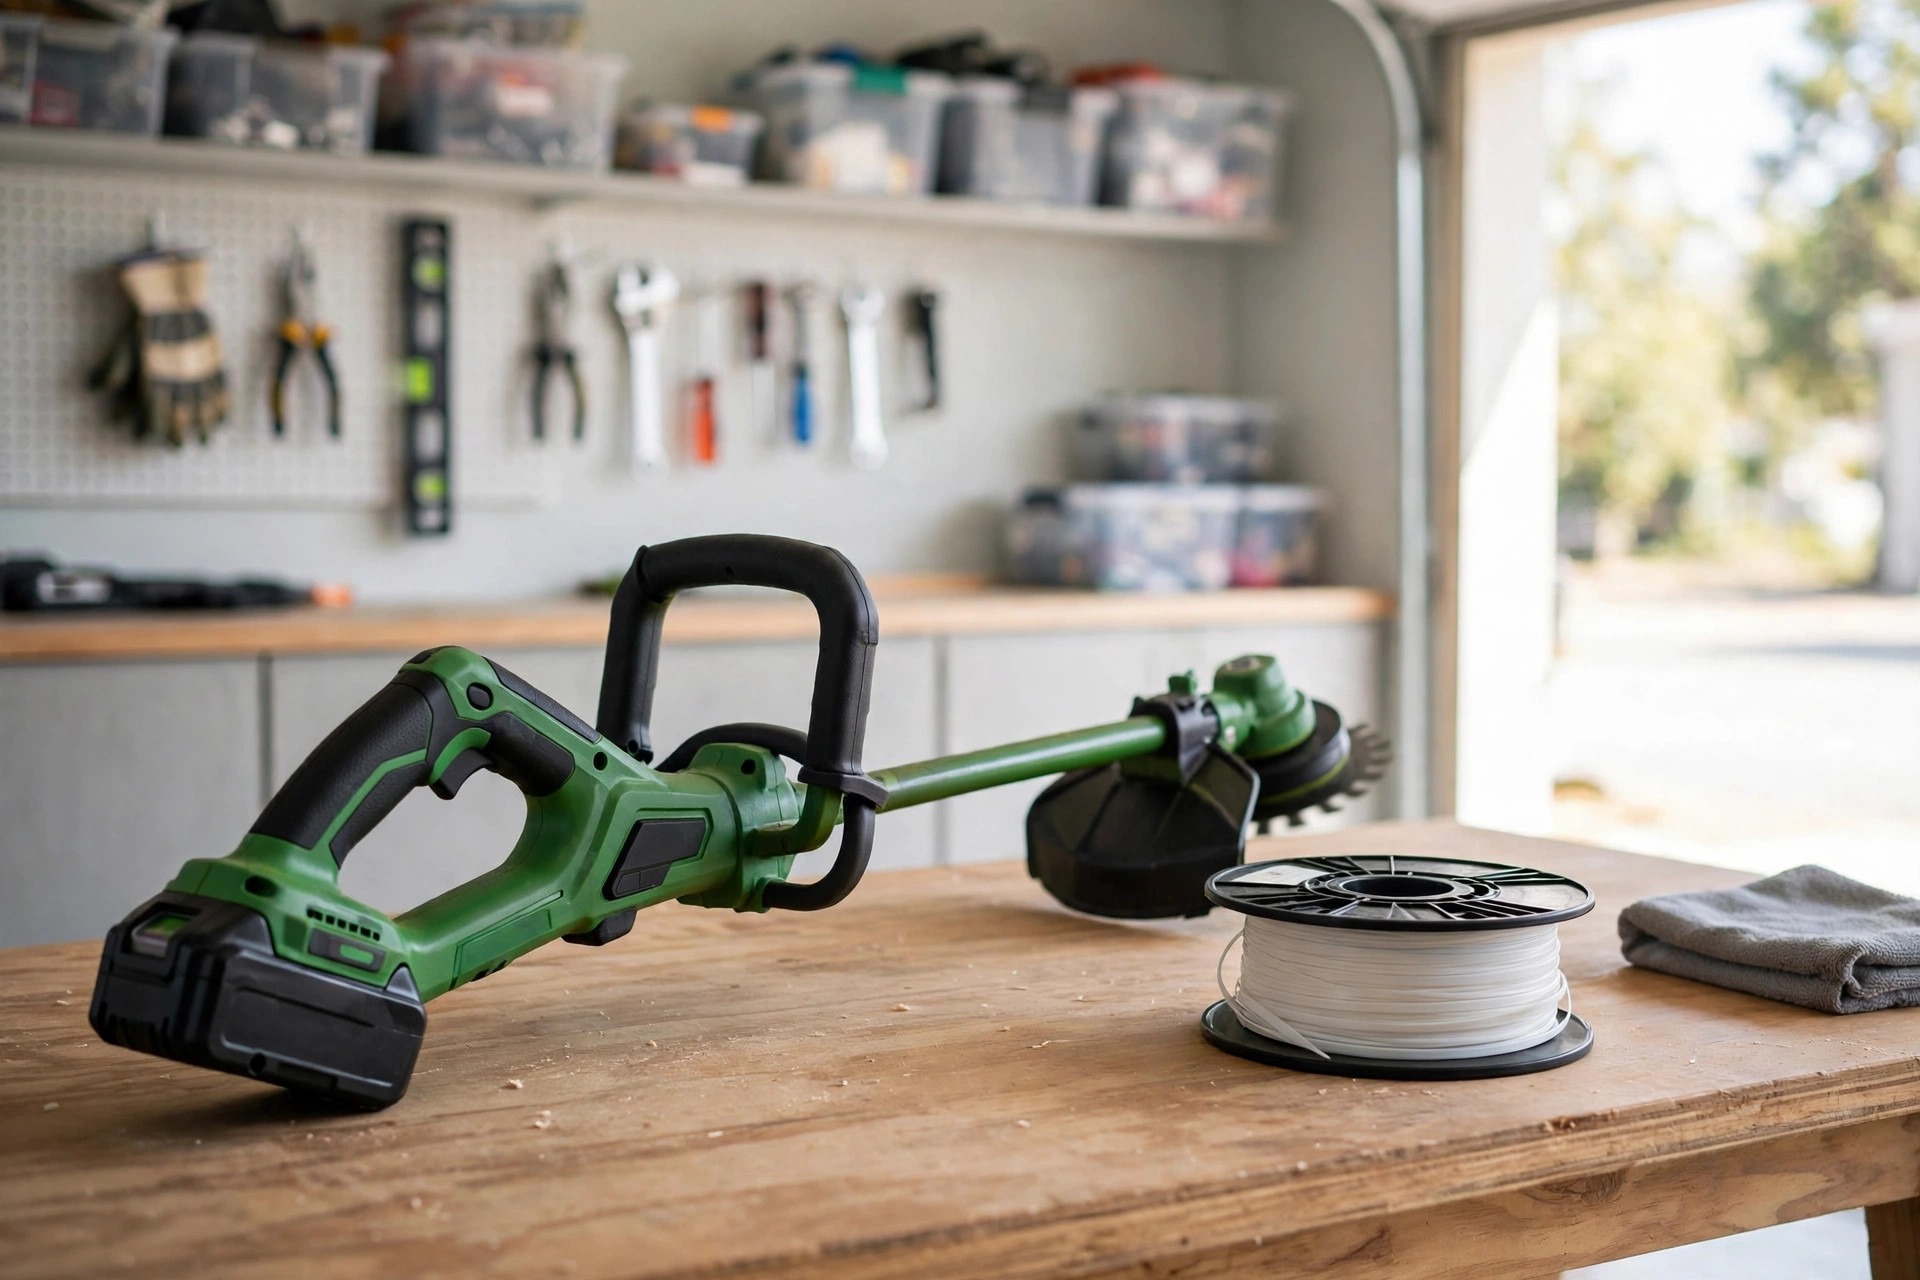
Learning how to change line spool on ryobi trimmer helps performance. A worn line makes trimming slow and uneven. Fresh line keeps every cut clean and efficient. This small task saves time and hassle later. Regular spool care also protects your trimmer equipment.
The change itself follows four simple steps overall. First turn the trimmer off and disconnect power. Then remove, refill and refit the spool cap. The guide below explains each step in order.
You can fit a ready pre-wound spool quickly. You can also rewind fresh line yourself instead. Both routes need careful alignment with spool notches. Careful work keeps line feeding smoothly during trimming.
Quick answer: Changing the spool takes four simple steps. Turn the trimmer off and disconnect its power source first. Press the cap tabs, twist the cap off and swap spools. Align line with notches and eyelets before refitting the cap. Twist clockwise, tug the line and test feeding before trimming.
- How to Change Line Spool on Ryobi Trimmer
- Step 1: Safety First
- Step 2: Removing the Spool Cap
- Step 3: Inserting or Rewinding the Line
- Step 4: Reattaching the Spool Cap
- Importance of Proper Spool Maintenance for Trimmers
- Troubleshooting Common Problems with Ryobi Trimmer Line Spool
- Frequently Asked Questions
- Spool Cap and Auto-Feed Questions
- Conclusion: How to Change Line Spool on Ryobi Trimmer
How to Change Line Spool on Ryobi Trimmer
The full change follows one clear order below. Each short step builds on the last one. General guidance sits in how to replace trimmer line for wider help. Keep this order for every spool change ahead.
| Step | Action |
|---|---|
| 1 | Turn off and disconnect trimmer |
| 2 | Twist spool cap counterclockwise off |
| 3 | Insert pre-wound spool or rewind line |
| 4 | Reattach cap securely clockwise |
After refitting, test line feeding before yard work. Smooth feeding shows spool and line seated correctly. Correct line type also supports strong trimming performance. See what is auto feed trimmer for easier automatic feeding systems.
Step 1: Safety First
Turn the trimmer off before starting any work. This step prevents accidental starts during the change. Disconnect battery packs or cords from the trimmer. Wear protective gloves and safety goggles every time.
Clear your work area of obstacles before starting. Work somewhere quiet without other people close by. Place the trimmer on a flat stable surface. Keep tools and the new spool within reach.
Check the user manual whenever any step feels unclear. Watching a clear tutorial video can also help. Take your time and never rush the steps. Double-check the trimmer stays unpowered before continuing onward.
Step 2: Removing the Spool Cap
Locate the spool cap under the trimmer head. The cap usually has tabs or side buttons. Press those tabs gently but firmly to unlock. Dirty or worn tabs can feel quite stiff.
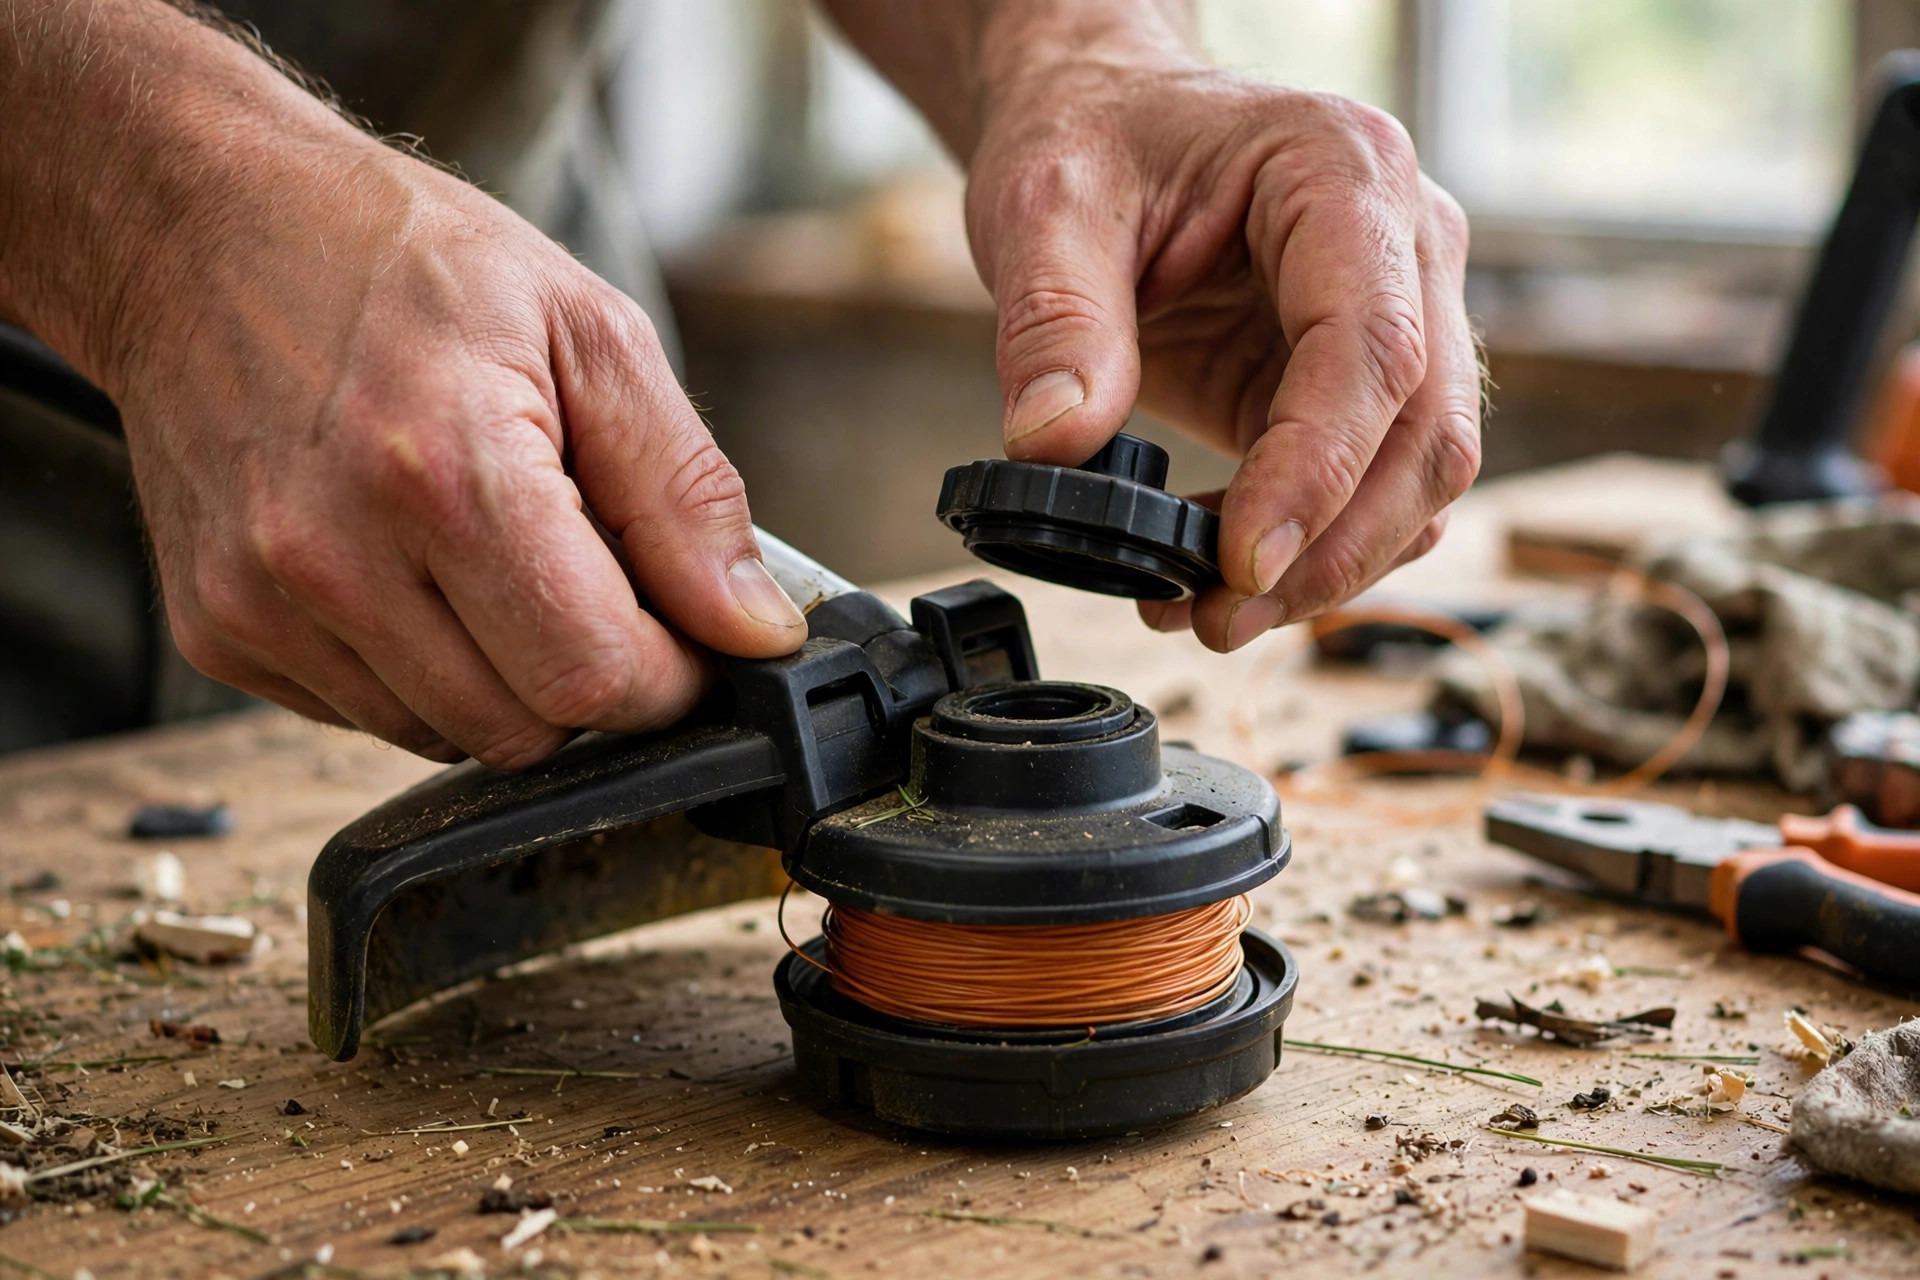
Twist the cap counterclockwise after pressing the tabs. This motion loosens the cap from its seat. Never force a cap that refuses to budge. Recheck your tab pressure before trying once more. Lubricating spray can help loosen stubborn caps sometimes.
Lift the cap off and note spool seating. Remove the spool gently without damaging internal parts. Clear tangled old line from inside the head. Wipe cap and head clean with a cloth. Maker guidance lives at Ryobi support pages online always.
Step 3: Inserting or Rewinding the Line
Slide a pre-wound spool straight into the head. Make sure the spool sits securely in place. Align both lines with the head eyelets carefully. Correct seating helps line feed smoothly during work.
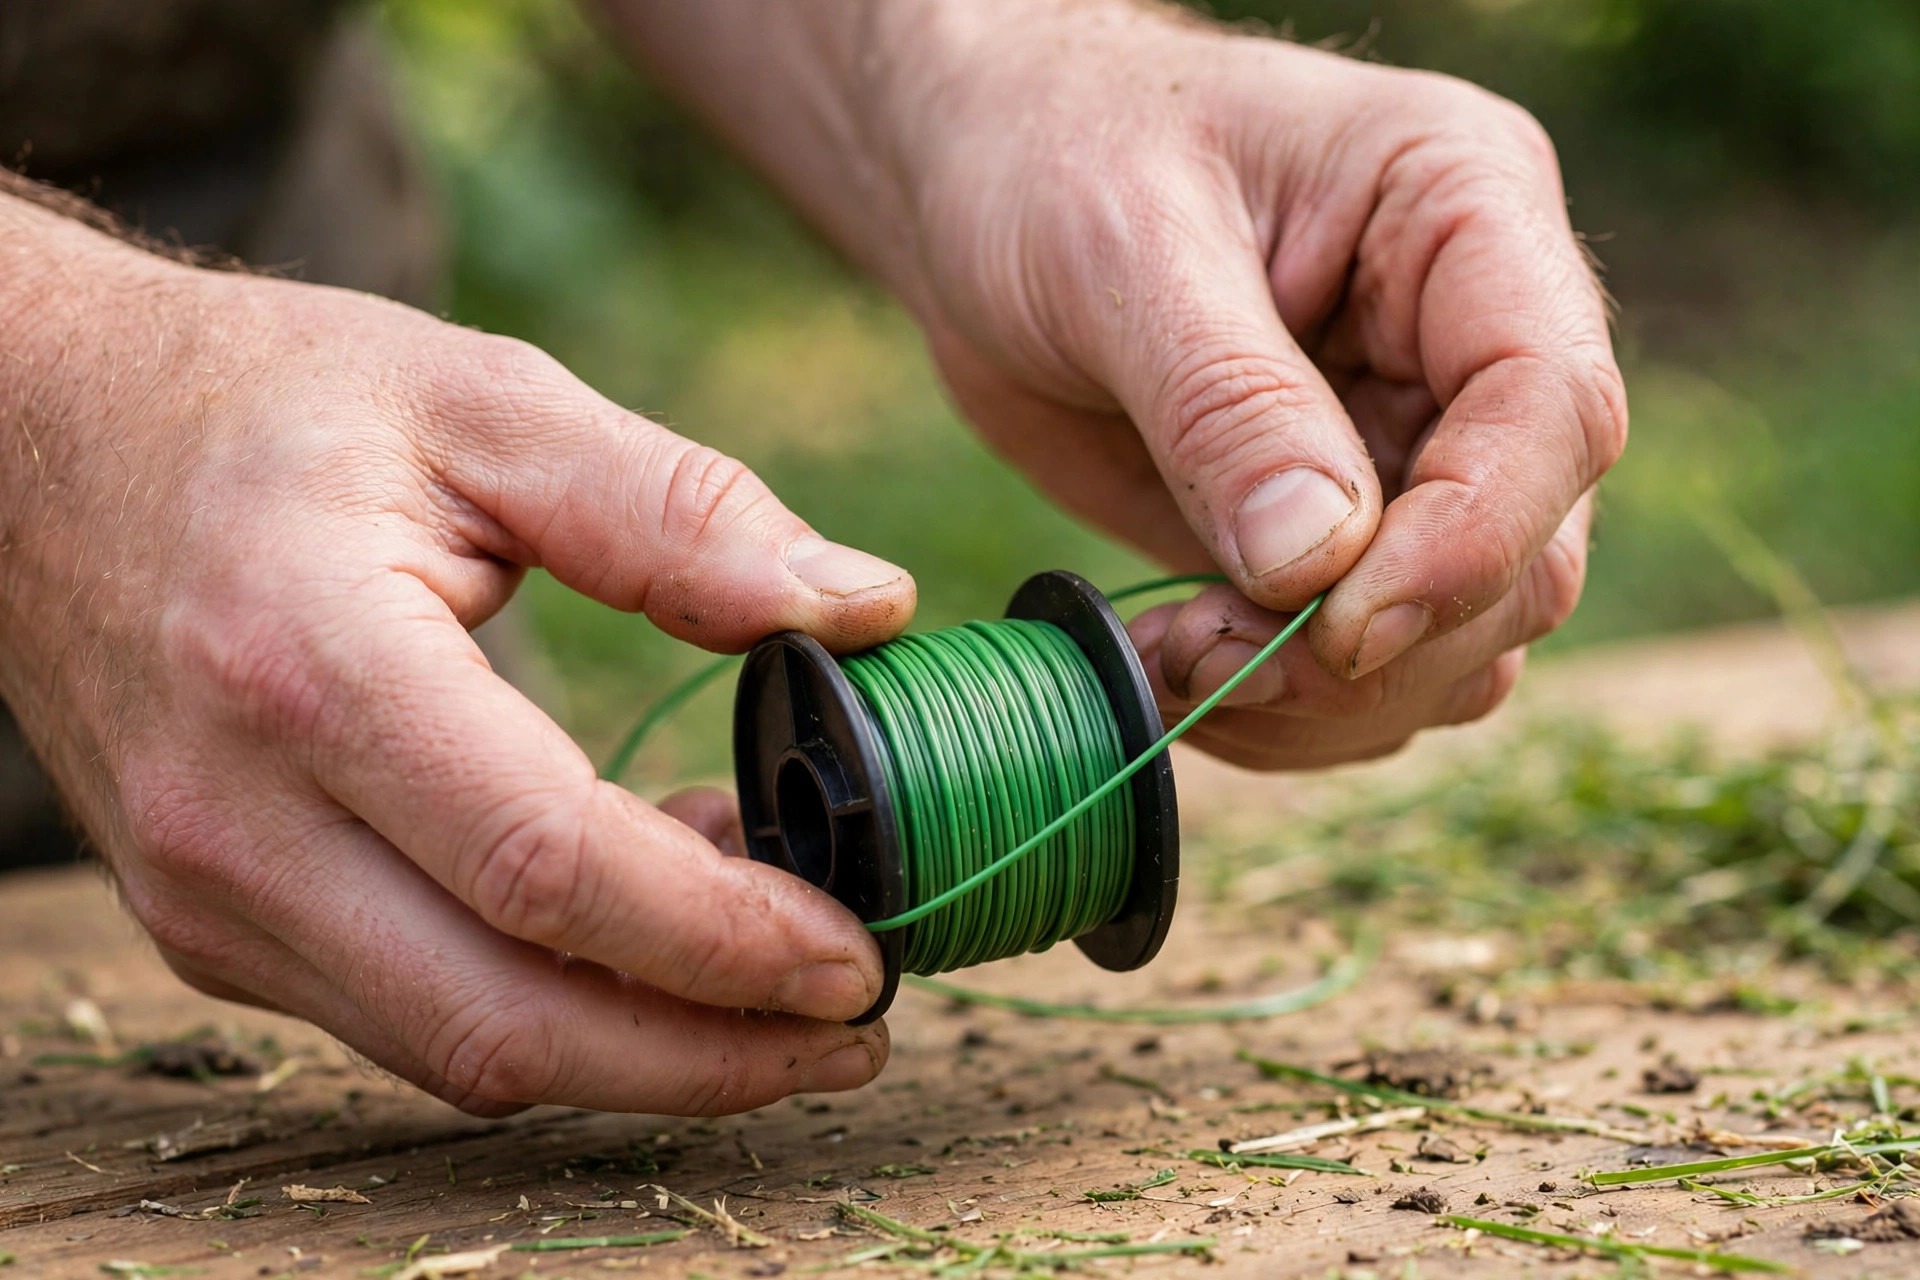
Cut a line length of 15 to 20 feet. Thread one end through the spool hole first. Wind evenly while keeping the line quite taut. Neat wraps inside the notches prevent tangles later.
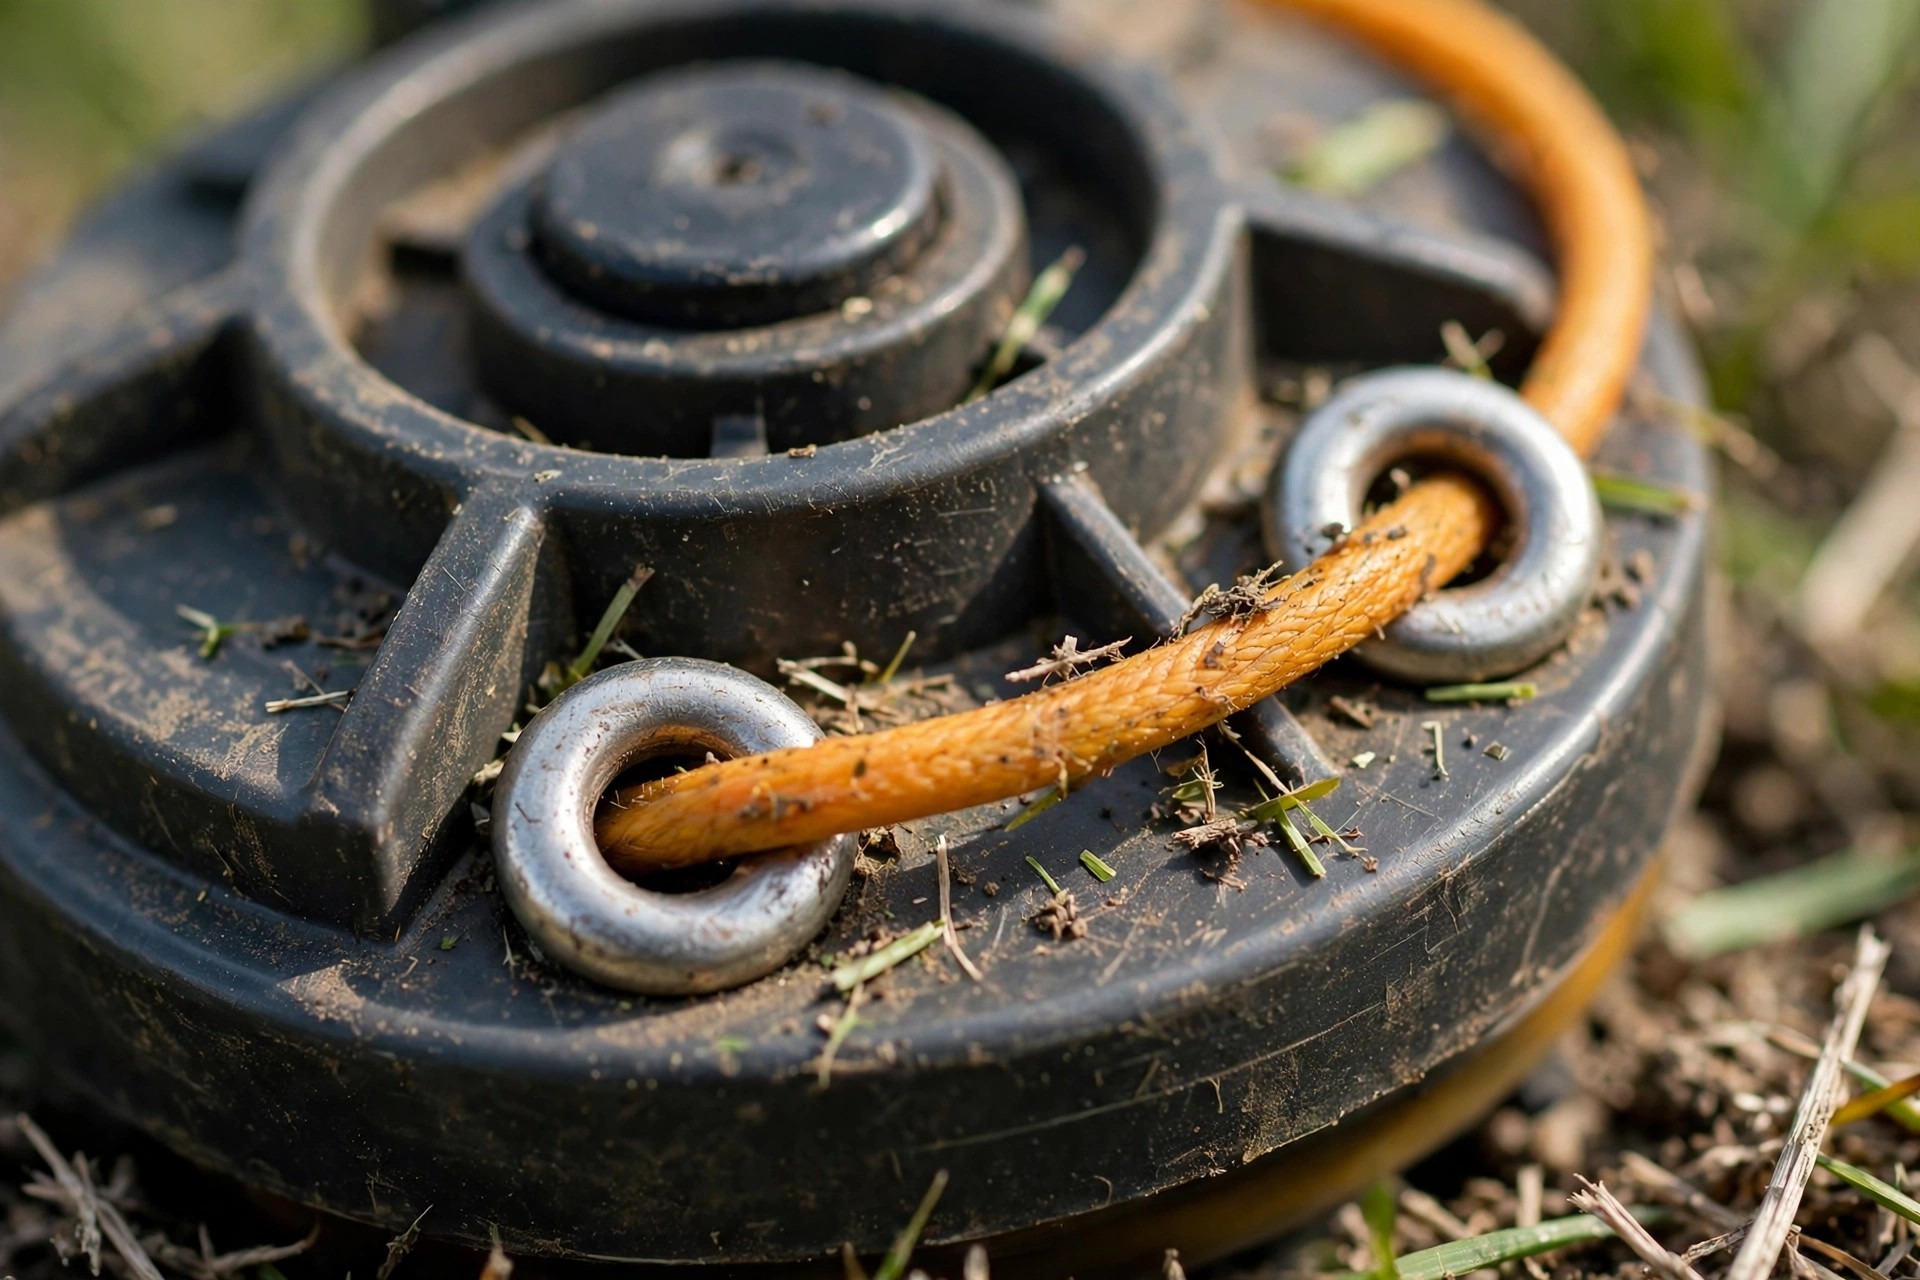
Leave about six inches free on both sides. Thread loose ends through the trimmer head eyelets. Press the spool down firmly into place afterward. Check lines extend smoothly from the spool now.
Some users prefer auto-feed lines for easier maintenance. These systems adjust line automatically during trimming use. Your exact model decides the best refill method. Compare line options inside how to choose trimmer line before buying more.
Step 4: Reattaching the Spool Cap
Position the cap over the fitted spool now. Keep line extending outward through the head eyelets. Align cap tabs with notches in the head. Press down firmly until the cap clicks shut.
Misaligned tabs can stop the cap fitting properly. Avoid forcing the cap and damaging the tabs. Instead, twist gently clockwise to seat it snugly. The cap must stay tight during trimming work.
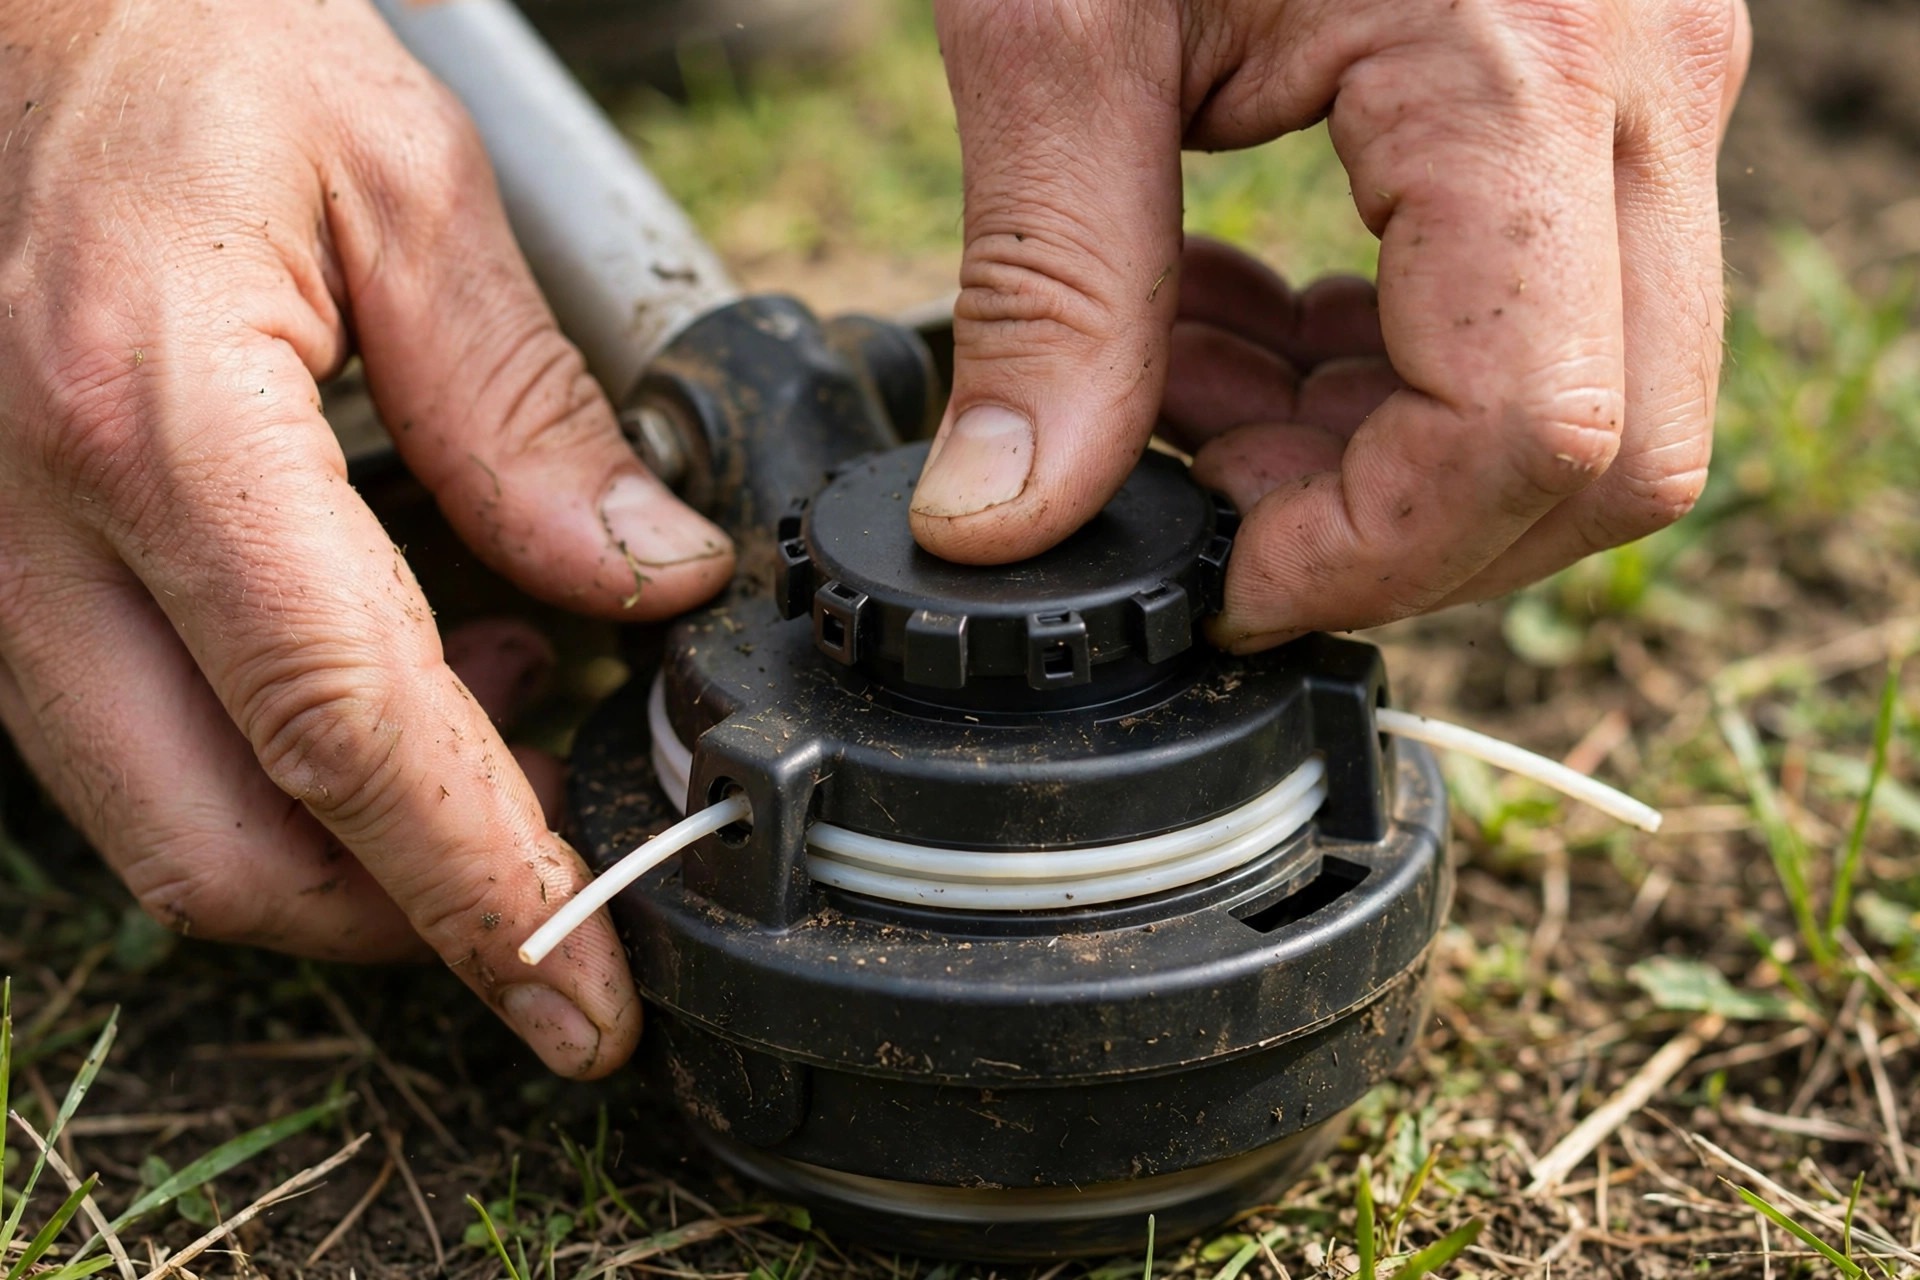
Check for debris inside cap or head first. Confirm the line stays untangled and spool seated. Verify cap tabs show no breaks or damage. Tug the line gently to check smooth feeding.
Turn the trimmer on briefly to test everything. The new line should feed out very smoothly. Good feeding means you can trim again now. Regular care keeps your trimmer in top shape.
Importance of Proper Spool Maintenance for Trimmers
Maintaining your spool keeps trimming performance strong daily. A clean spool feeds line smoothly and efficiently. Dirt and debris quickly harm spool function overall. Regular cleaning prevents many common spool problems early. Good care also extends your trimmer lifespan noticeably.
| Check | Action |
|---|---|
| Debris | Remove from spool and head |
| Line | Inspect for tangles or breaks |
| Cap and eyelets | Check both for damage |
| Line choice | Use recommended type and thickness |
Untended line can tangle and break very frequently. Breaks disrupt work and waste valuable trimming time. Wind line evenly so feeding stays smooth throughout. Regular checks reveal wear and tear quite early.
Use the correct line type for your model. Models need specific line thickness and material types. Wrong line harms performance and can damage trimmers. Check the manual for recommended line specifications first.
Inspect the spool cap and eyelets very regularly. Replace worn parts to protect trimmer efficiency overall. See how long does trimmer line last for signs line needs replacing. Follow the EPA lawn and garden page for safer garden habits.
Troubleshooting Common Problems with Ryobi Trimmer Line Spool
Line that refuses feeding usually signals tangled winding. Open the spool cap and inspect the winding. Rewind the line evenly whenever wraps look uneven. Correct winding restores smooth feeding during trimming work.
Broken line often follows impacts with hard surfaces. Rocks and pavements snap line during normal trimming. Always use the recommended line for your model. Keep spare line handy for quick replacements outside.
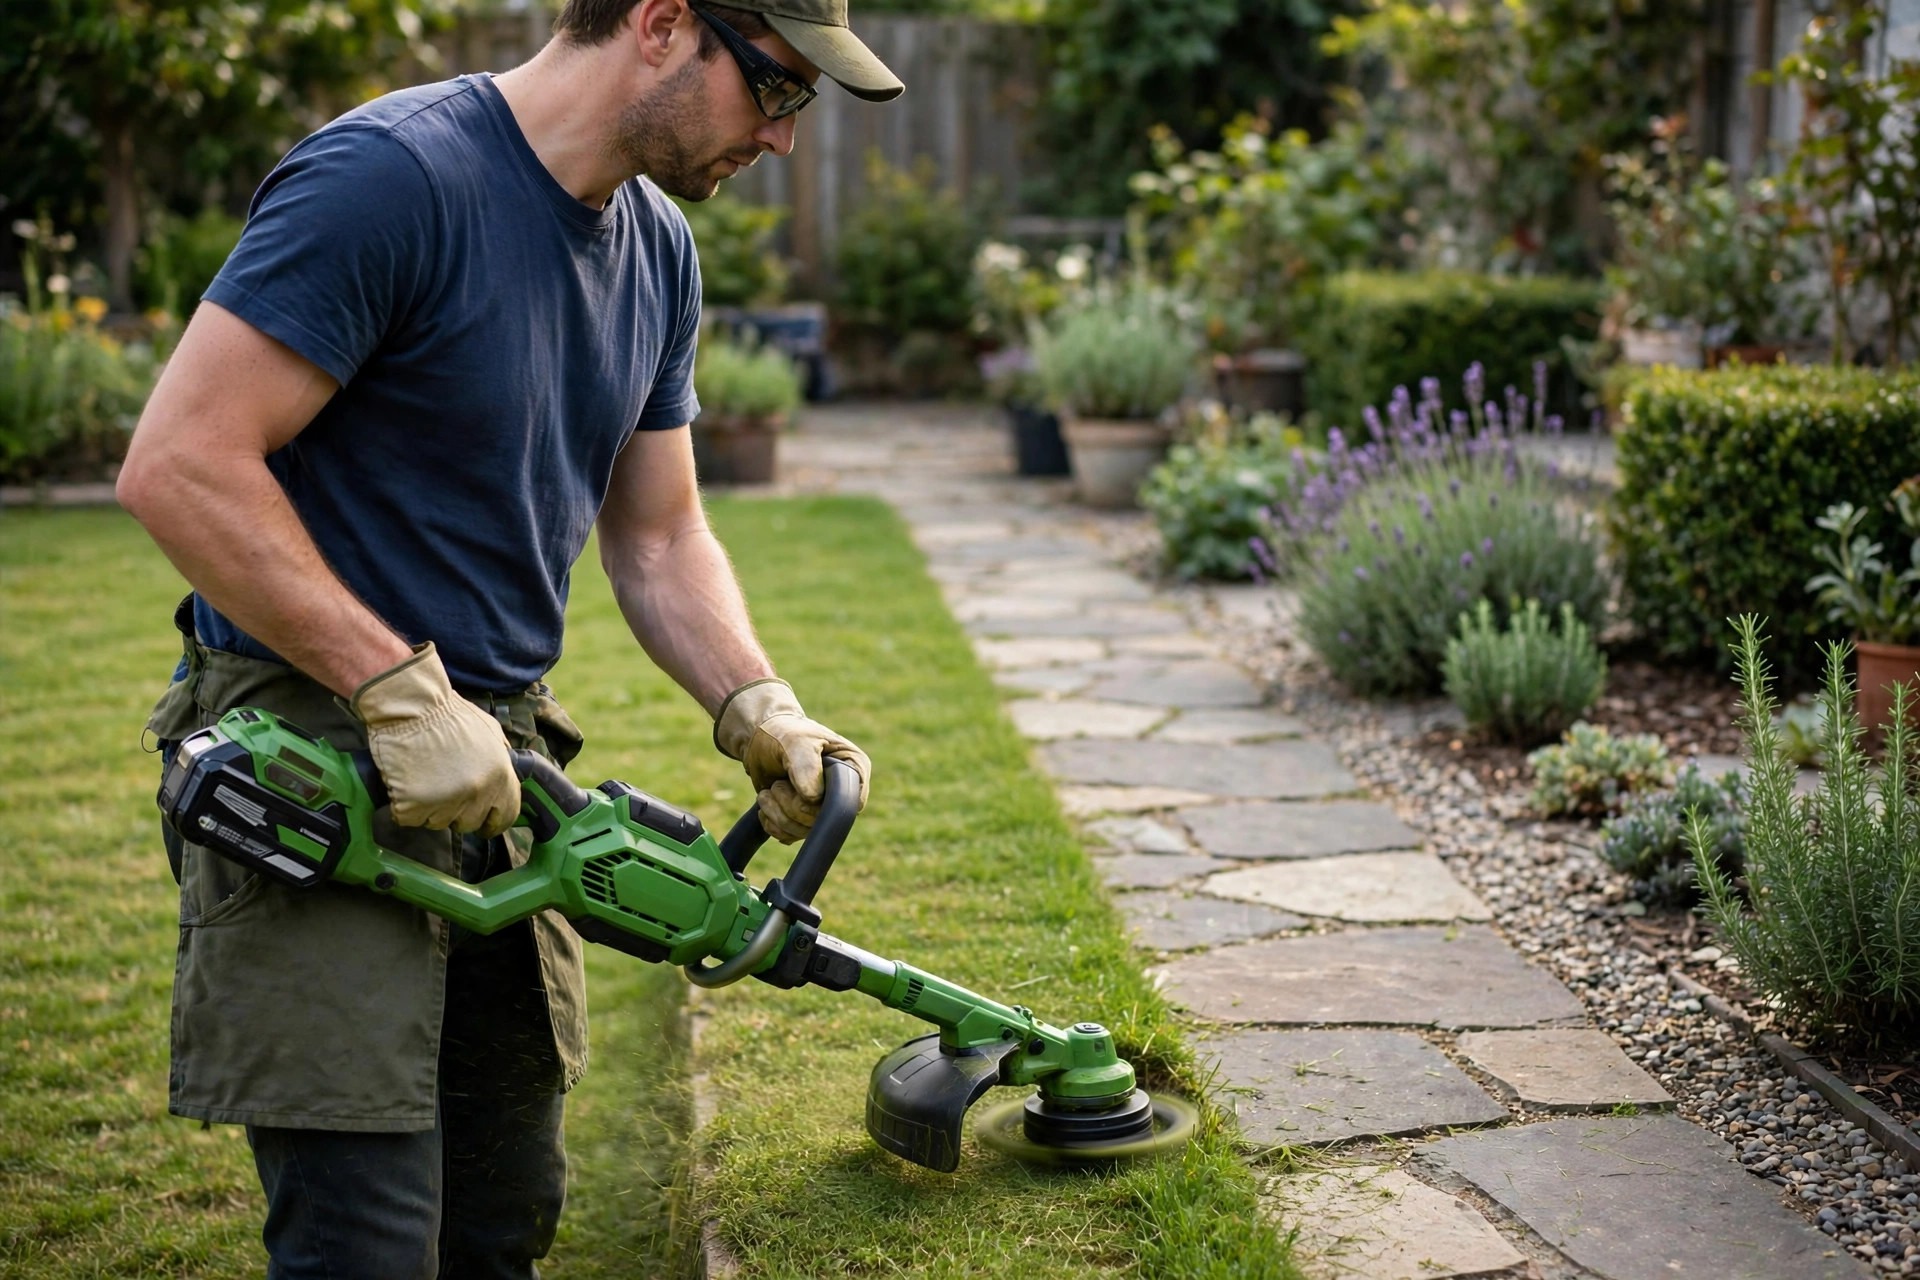
Grass and debris can clog the trimmer head. Turn off and disconnect the trimmer from power. Remove the cap by pressing tabs and twisting. Clear clippings and dirt with brush or cloth.
Vibration often means the spool sits quite poorly. Reseat it securely and check for loose parts. Inspect the cap closely for cracks or damage. Refill basics sit inside how to refill ryobi 18v line trimmer for comparison today.
Frequently Asked Questions
These answers cover line choice and common fixes. They also explain cleaning, caps and auto-feed options. Check your manual alongside every answer given here.
What type of line should I use with my Ryobi trimmer?
Always use the line the manufacturer recommends first. Most models use 0.065-inch, 0.080-inch or 0.095-inch lines. The right line ensures efficient cutting every session. Correct line also minimizes wear on your machinery.
Why is my Ryobi trimmer line breaking frequently?
Frequent breaks often follow hits on hard surfaces. Rocks and sidewalks snap line during trimming work. Wrong type or quality line also breaks often. Inspect for damage before starting work each time. Quality line for your model minimizes breakage risk.
How do I clean my Ryobi trimmer head?
Turn off and disconnect the trimmer from power. Remove the spool cap and the spool itself. Brush away grass clippings, dirt and loose debris. Use mild soapy water for deeper cleaning needs. Regular cleaning maintains efficiency and extends component lifespan.
Spool Cap and Auto-Feed Questions
Two more answers cover caps and auto-feed upgrades. Both answers depend on your exact trimmer model. Careful checks solve most cap problems quite quickly.
My spool cap is not staying in place; what should I do?
Check for debris blocking the cap seating area. Clean out dirt and align the cap carefully. Proper alignment often solves this stubborn problem completely. Replace broken caps or worn spool tabs afterward. Storage basics sit inside how to store a string trimmer for later reading.
Can I install an auto-feed spool on my manual feed Ryobi trimmer?
Auto-feed support depends largely on your specific model. Not all manual feed versions support auto-feed spools. Auto-feed systems advance fresh string automatically during operation. Some compatible models may need additional adapters fitted. Learn how to wind a string trimmer spool for manual winding confidence.
Conclusion: How to Change Line Spool on Ryobi Trimmer
Proper maintenance keeps your Ryobi trimmer efficient longer. Changing the spool and fixing small issues helps. Recommended guidelines help you avoid complications during work. Regular checks and cleaning prevent common problems early. Simple care keeps the whole tool working well.
Now you know how to change line spool on ryobi trimmer spools. Always use correct line and follow safety measures. Careful habits extend trimmer life quite noticeably overall. Your yard work becomes smoother and more effective.

I’m Patricia D. Johnson, an affiliate marketer and blogger specializing in trimmers and grooming tools. I create honest reviews, buying guides, and practical tips to help readers choose the right trimmer for their needs. With a focus on quality, performance, and value, I simplify the decision-making process so consumers can make confident purchases.