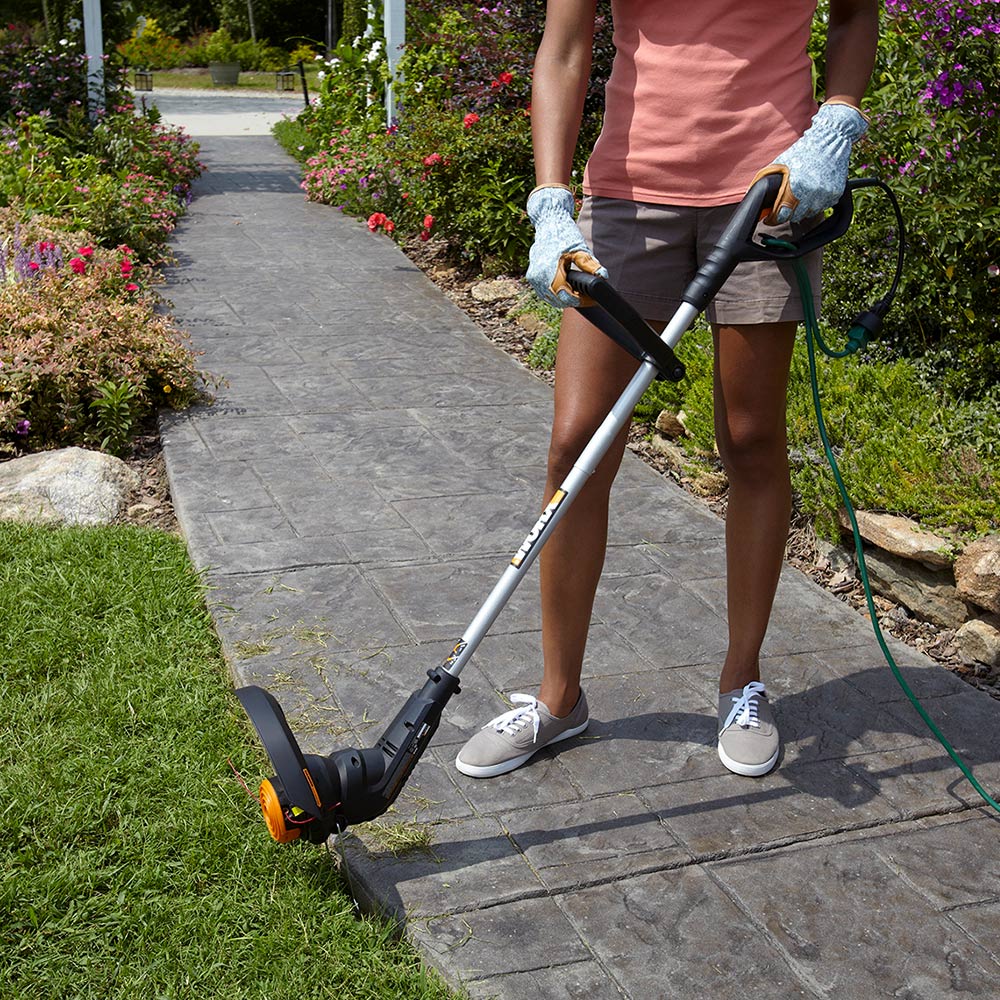
How to Use String Trimmer for Edging
Ragged edges make tidy lawns look unfinished fast. Learning how to use string trimmer for edging helps. The tool cuts clean lines along beds and paths. This guide walks through ten simple steps.
Edging sharpens appearance and protects the lawn too. Neat borders stop grass creeping into pathways slowly. Better airflow and drainage follow clean edges naturally. Bed and driveway lines stay defined for weeks.
Preparation and safety gear come before starting anything. Slow, controlled passes beat fast, rough ones always. Practice builds precision faster than any single tip. Small sections teach control without ruining whole borders. Beginners reach tidy results sooner than expected usually.
Quick answer: Prepare the area and mark the edge first. Adjust the line length to suit edging work. Hold the trimmer steady at the marked line. Guide it slowly in one smooth, controlled motion. Clean up clippings and maintain the tool afterwards.
How to Use String Trimmer for Edging: The Short Answer
The quick table below mirrors the post. Ten steps structure the whole edging routine here. Each step removes one common beginner mistake early.
| Stage | What the Post Says |
|---|---|
| Preparation | Clear debris and mark the edge line |
| Trimming | Adjust the line, then start the engine |
| Edging | Guide slowly with steady, controlled passes |
| Finishing | Clean up and maintain the trimmer afterwards |
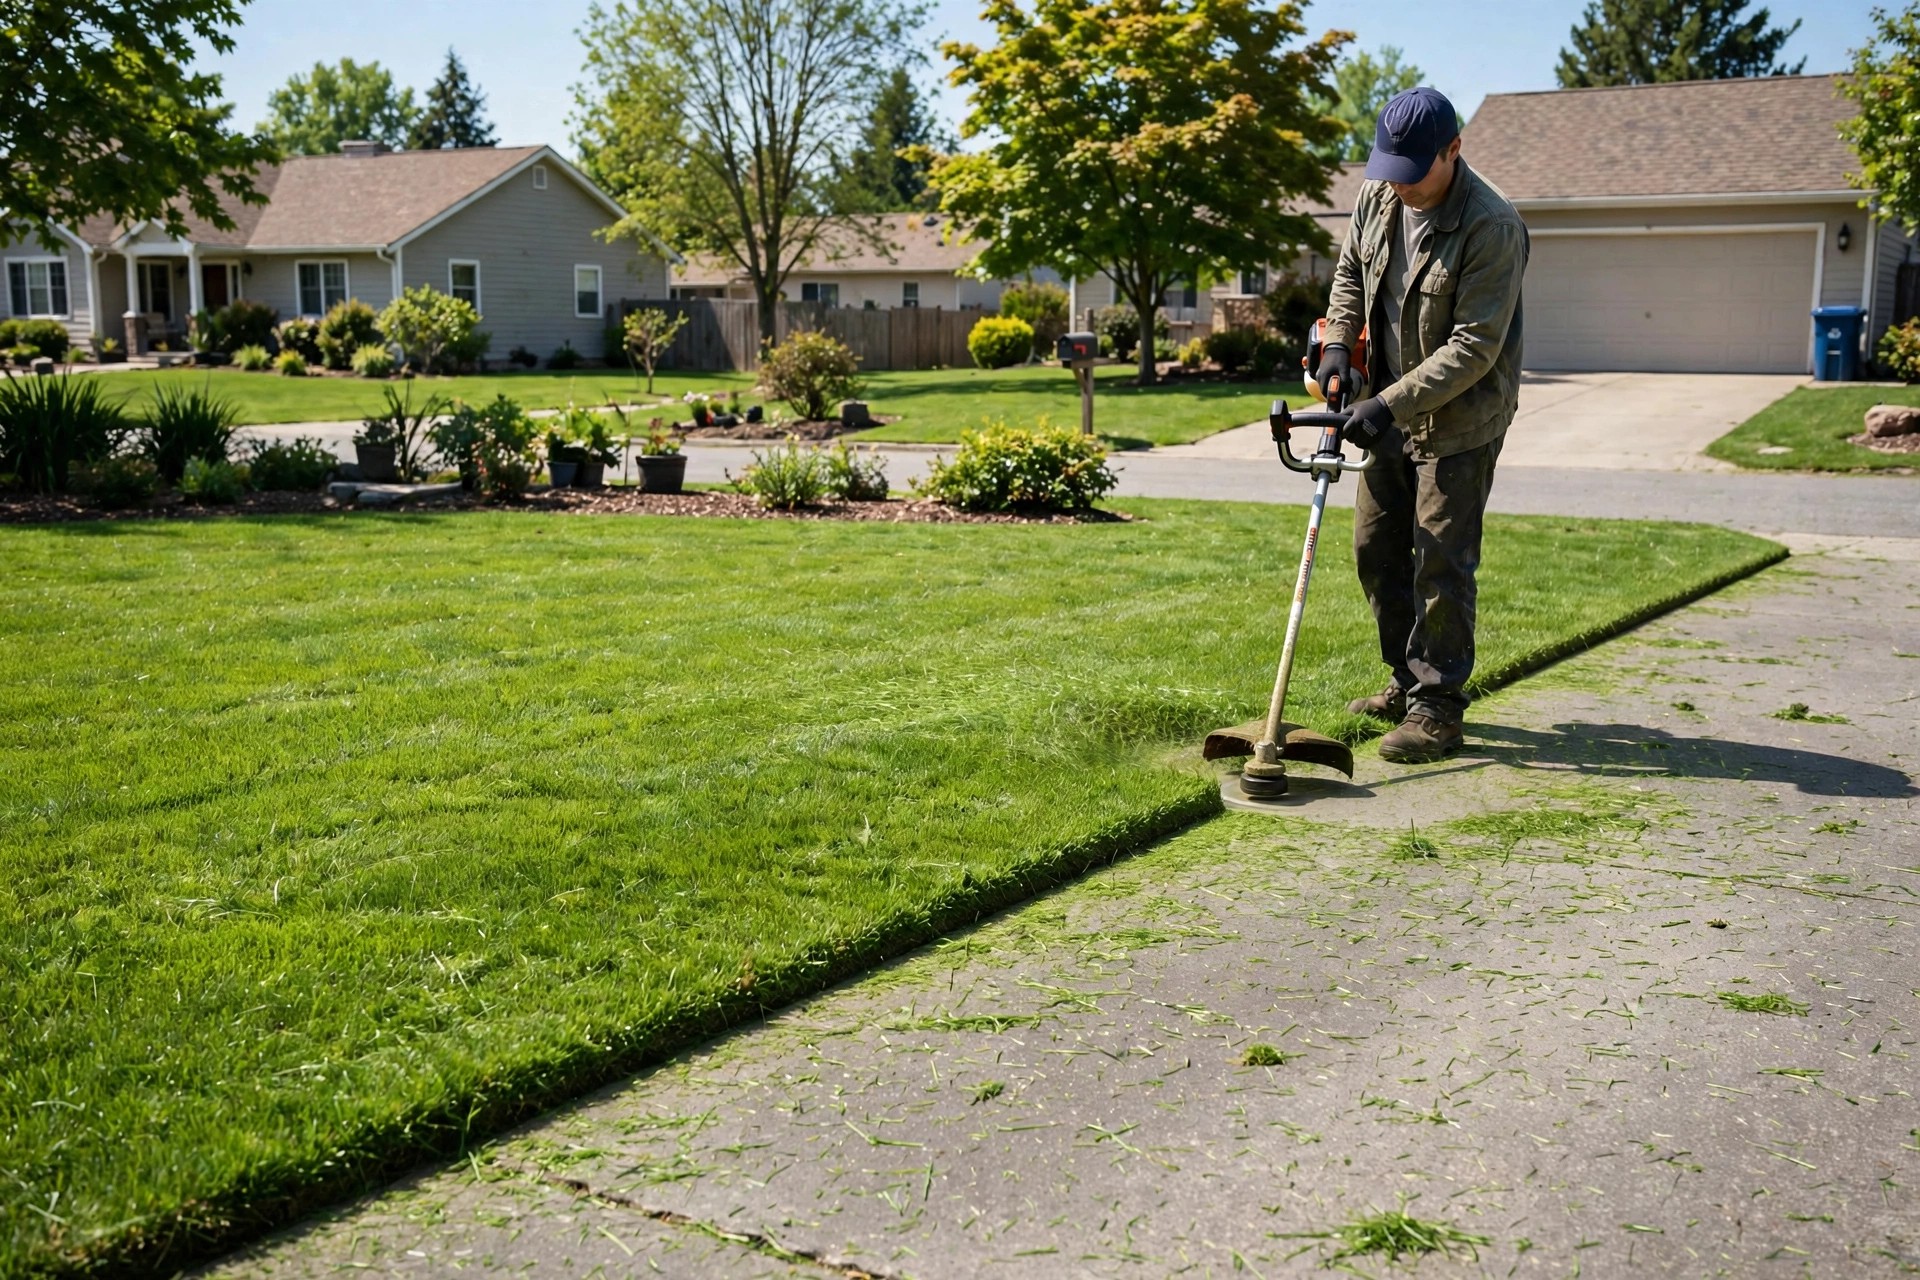
The Wikipedia string trimmer page explains basic trimmer design. Our lawn edger starting guide covers the dedicated edging tool. Our lawn edger usage guide compares the alternative approach. A string trimmer also serves as weed eater.
Prepare the Area and Adjust the Trimmer
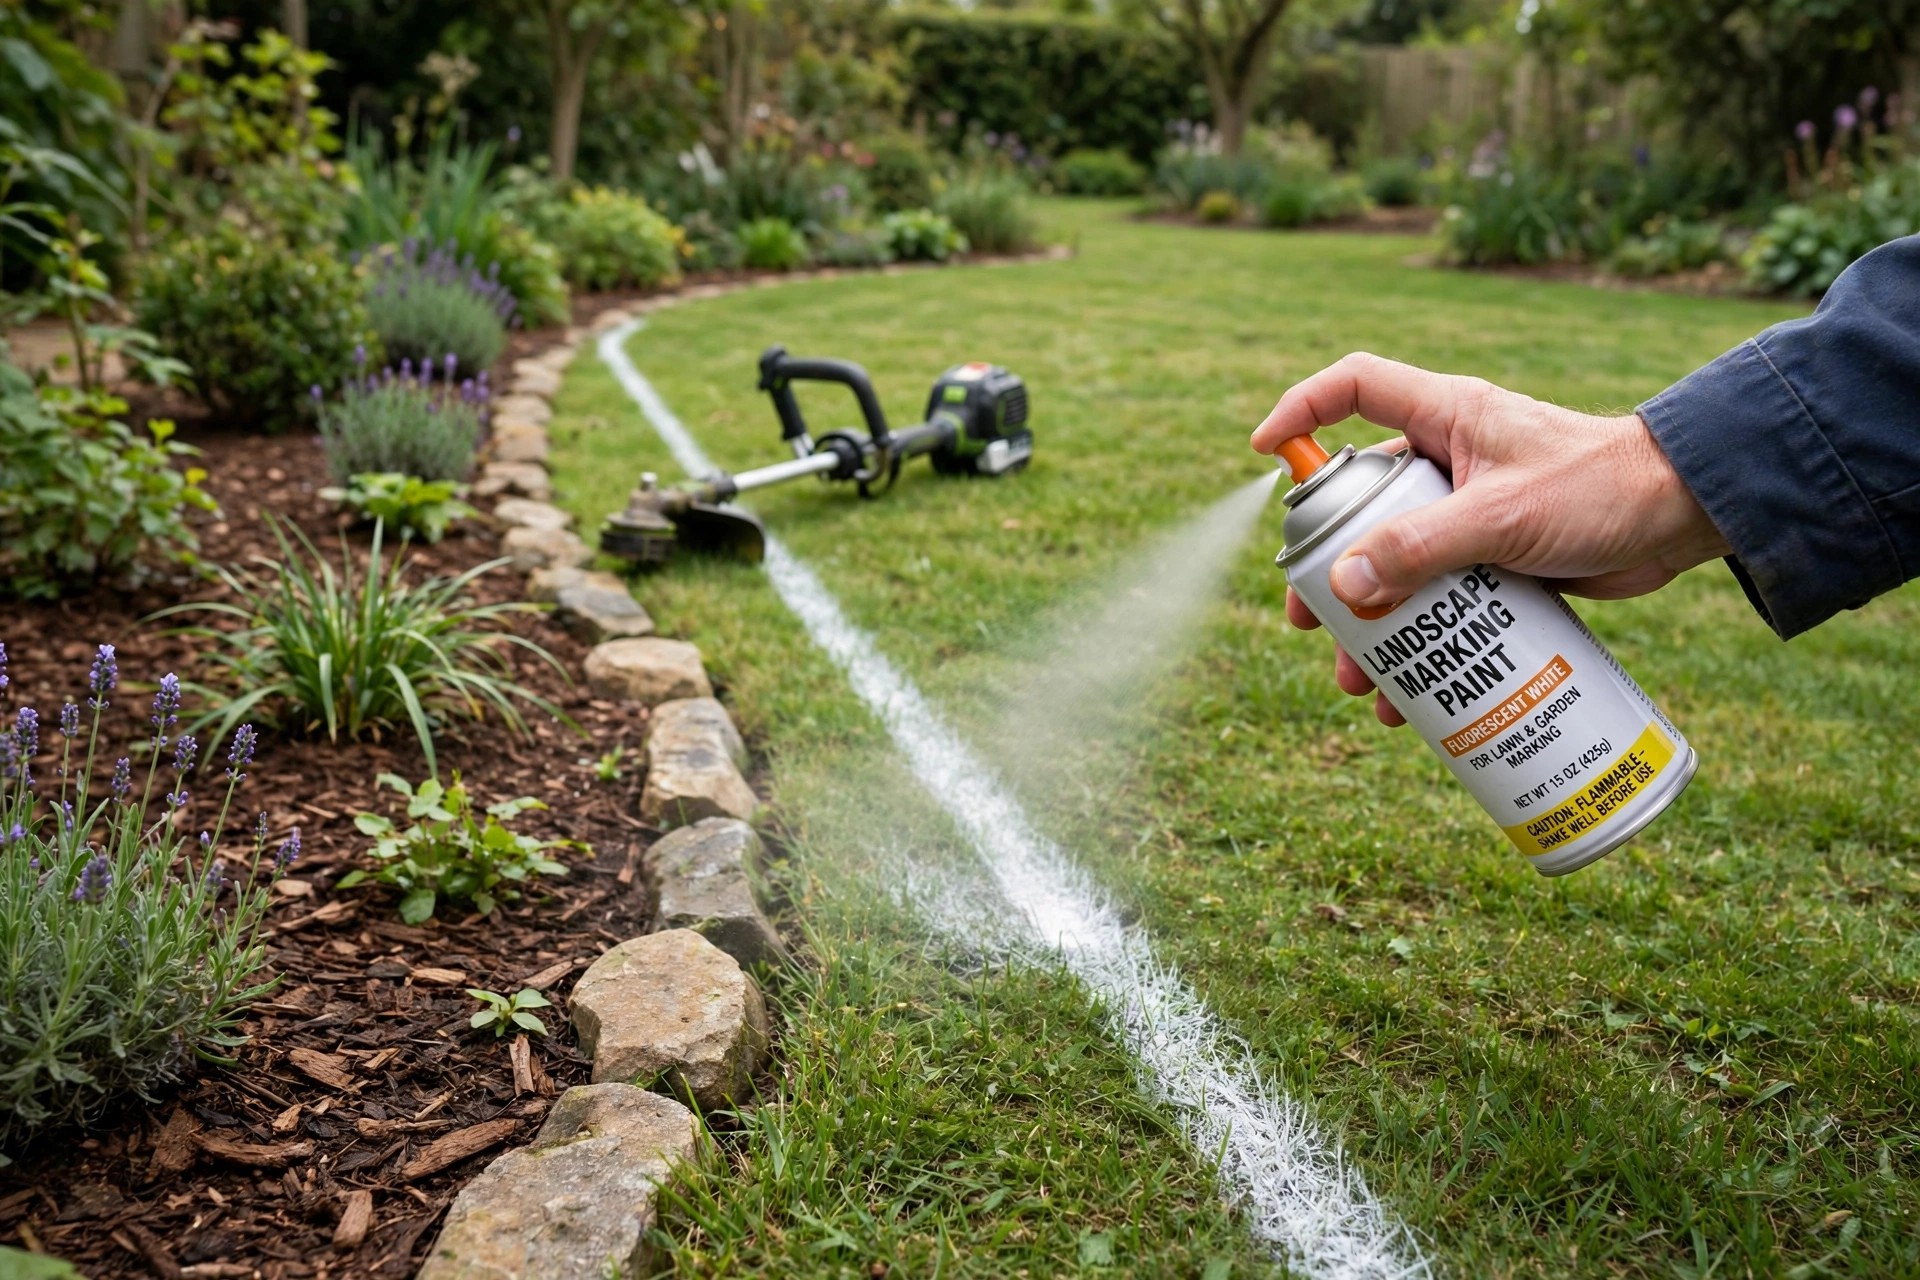
Remove rocks, sticks and debris from the edge. Mark the desired line with spray paint first. A hose or string also guides straight edges. Clear sight lines prevent tangles and damaged string.
Put on goggles, gloves and closed-toe shoes first. High-speed rotation kicks debris toward the operator sometimes. Protection keeps small stones from causing real injuries. Gear up before the engine ever starts running.
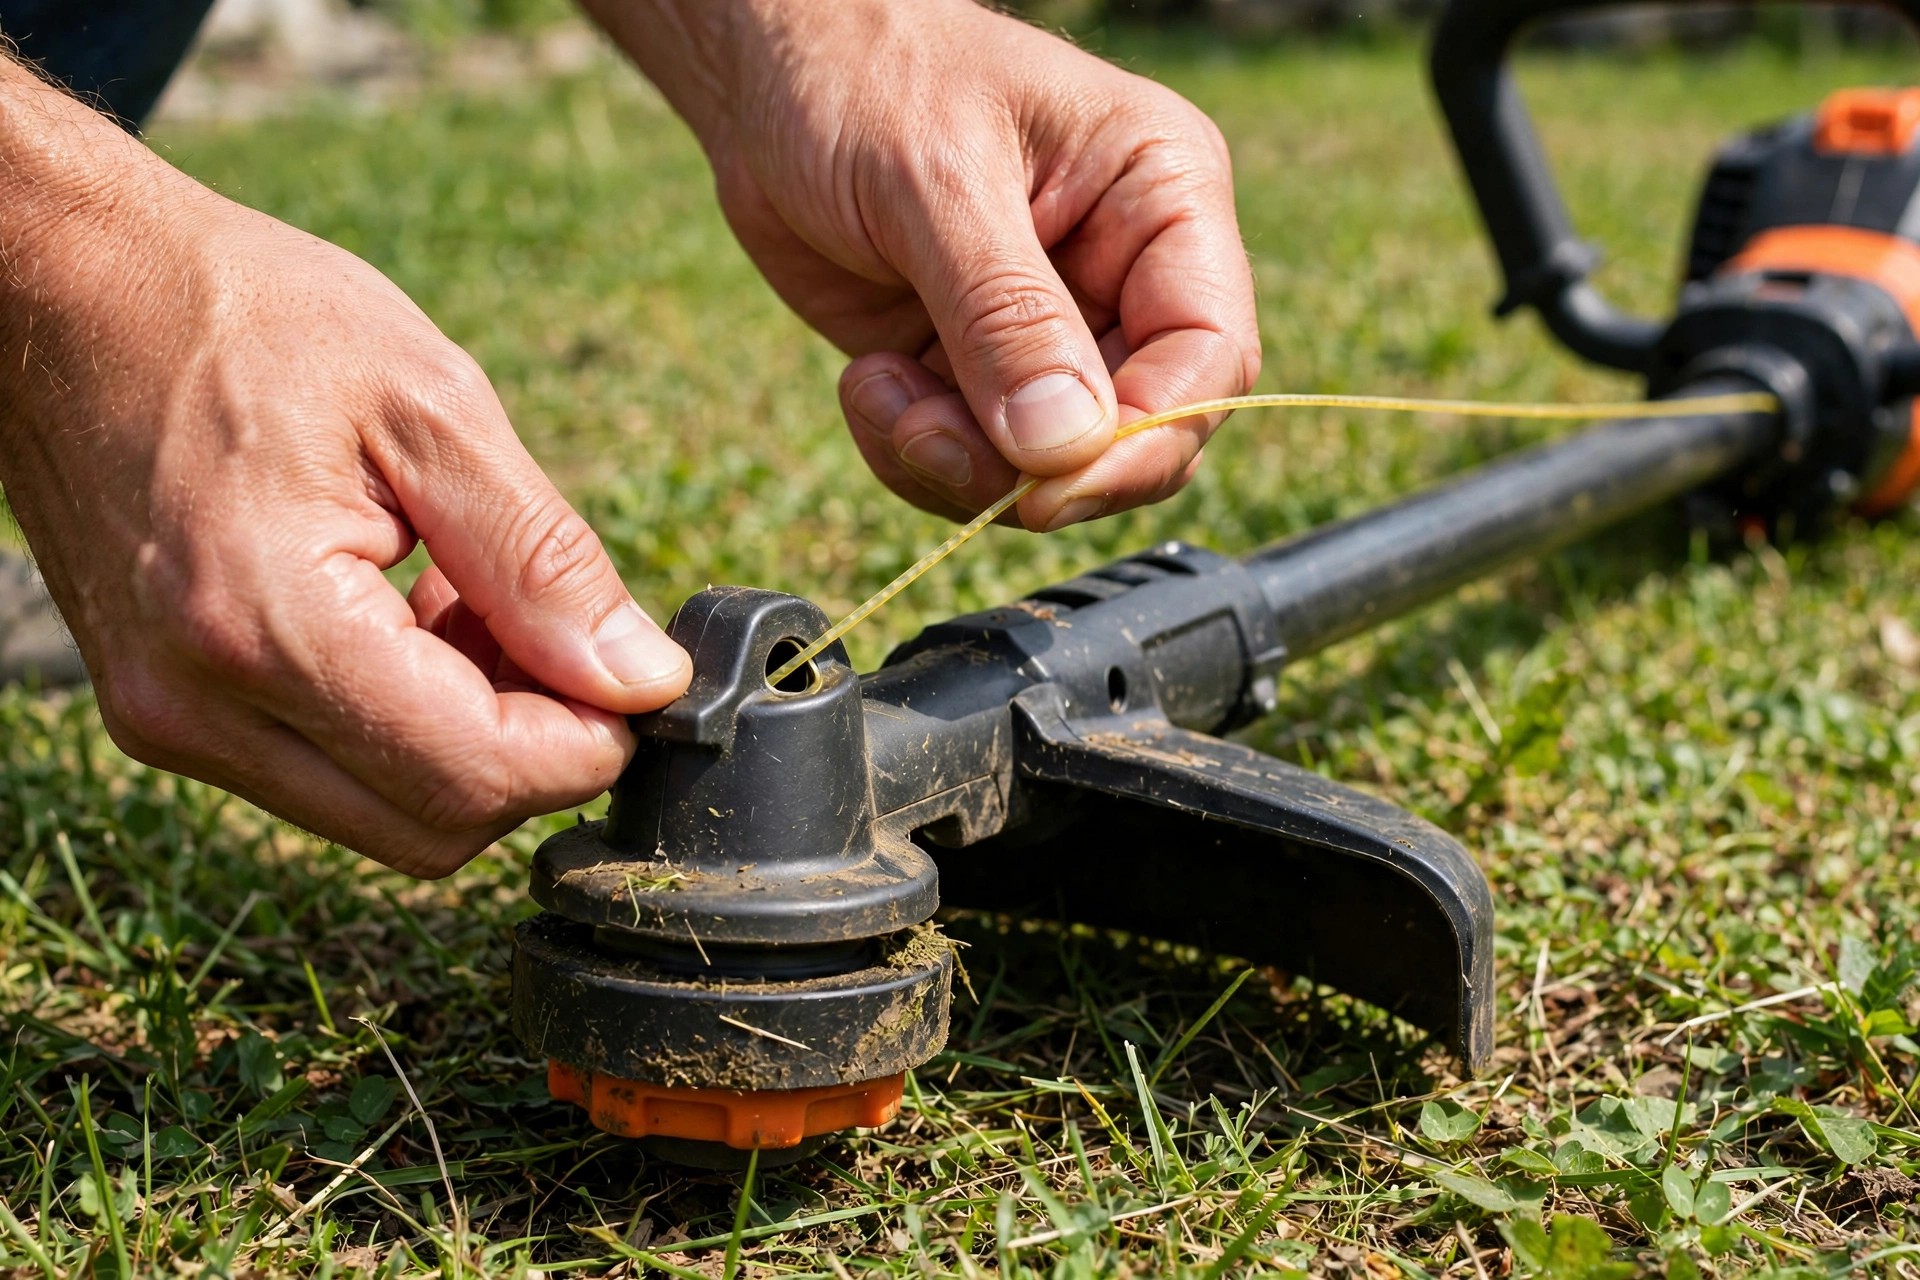
Adjust the cutting line to the appropriate length. Follow the manufacturer guidance for optimal edging length. Check the head sits securely and undamaged too. A worn head deserves replacement before starting work.
Start the Trimmer and Edge Slowly
Start gas models with one quick, smooth pull. Electric models start with the power button instead. Let the engine warm up briefly before edging. Grip both handles firmly with balanced posture throughout.
Please note: The string position differs inside this post itself. Step three holds the line parallel to ground. The clean edge answer starts it vertically instead. Both instructions stay exactly as the post states.
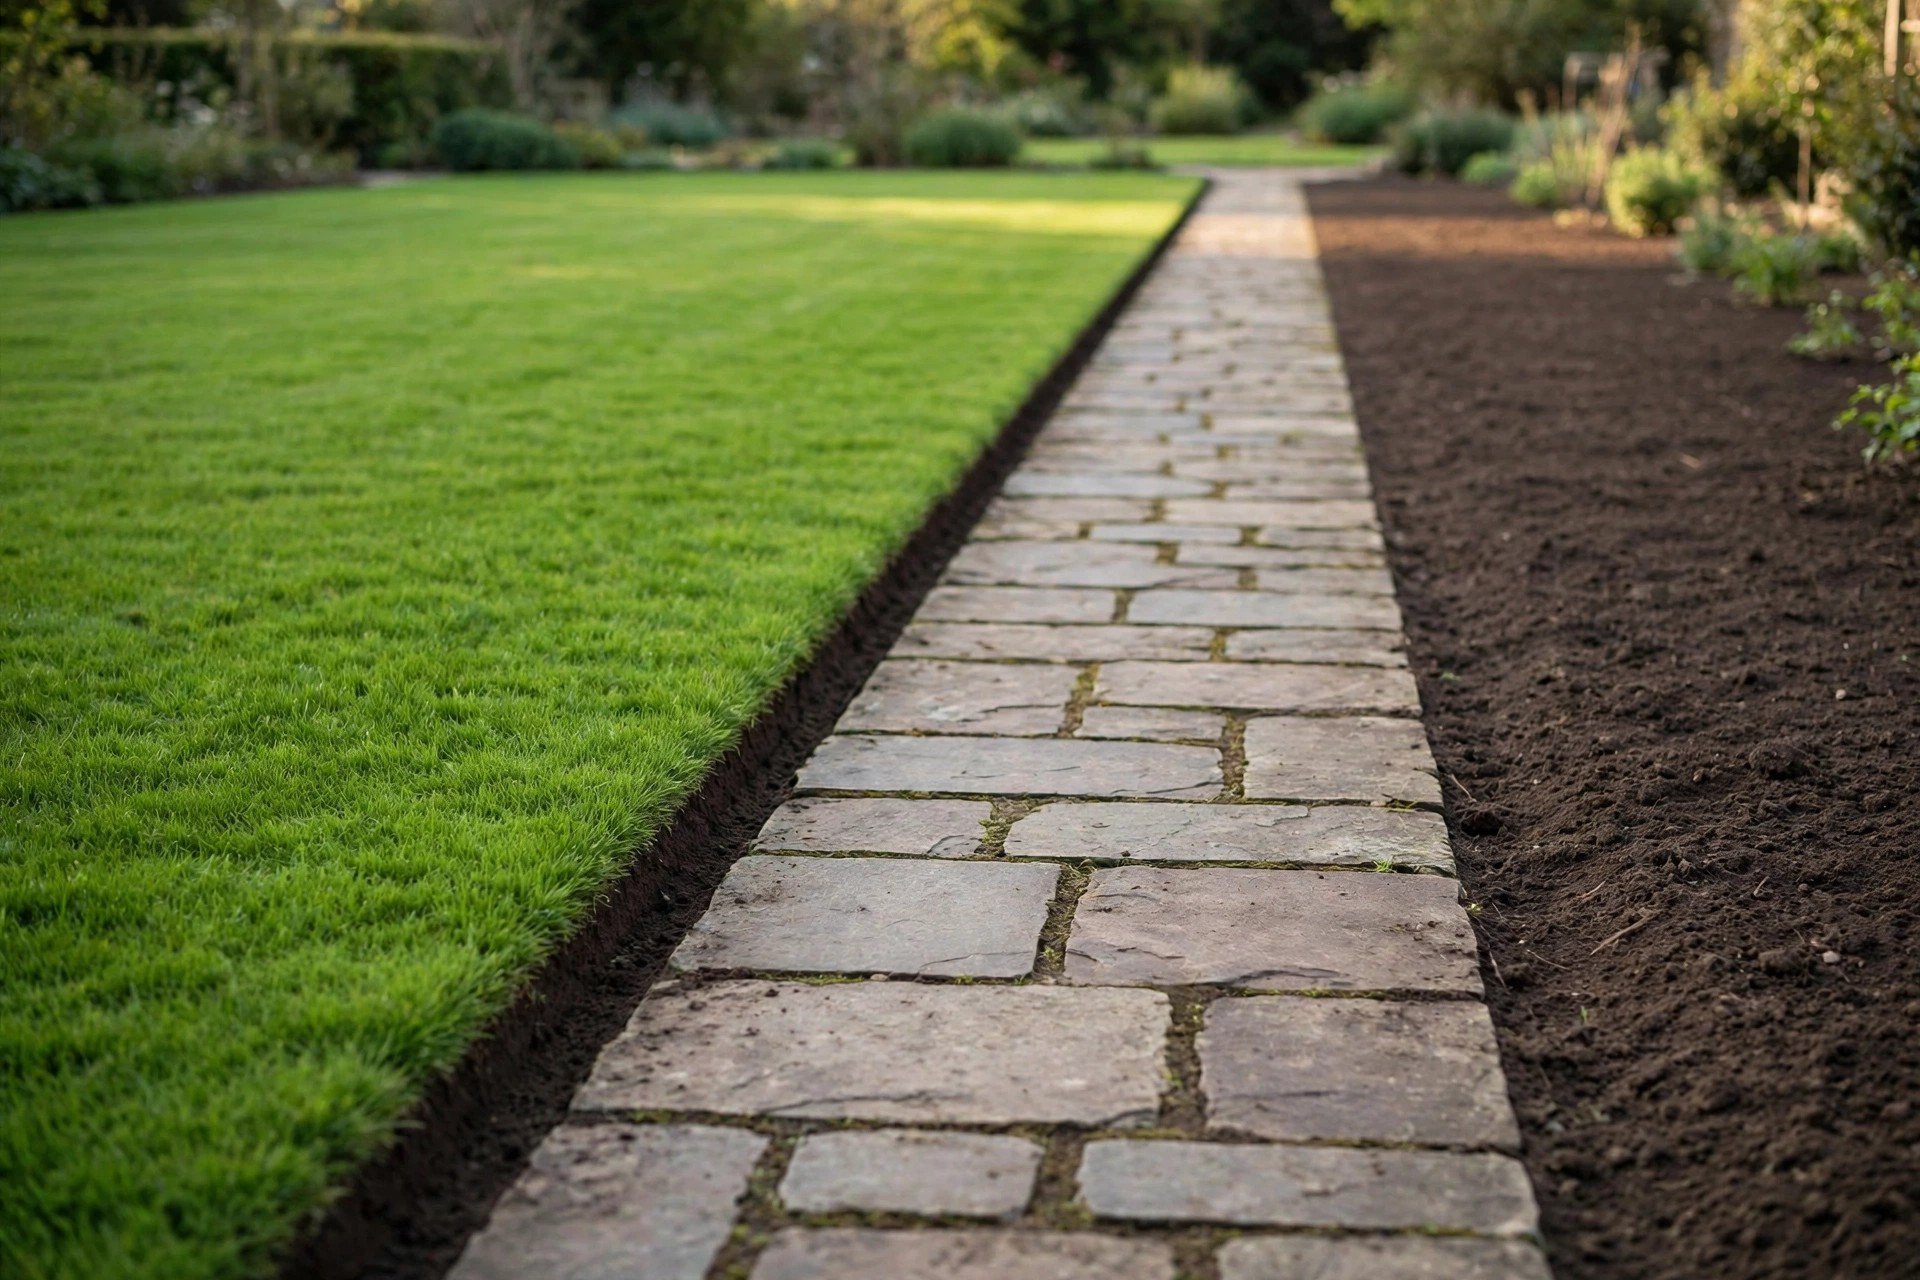
Guide the trimmer slowly along the marked line. Move in one smooth, steady, controlled motion throughout. Let the line contact grass and soil lightly. Keep the head angled with line facing away.
Our homemade lawn edger guide builds a budget alternative tool. Our vinyl fence answer covers trimming near fences. Controlled passes protect the line you want kept.
Clean Up, Stay Safe and Troubleshoot
Sweep or blow clippings off the finished edge. Clean the cutting head after every session ends. Inspect the line for wear before storing it. Check engine oil levels where the model applies.
| Safety Gear | What the Post Says |
|---|---|
| Safety goggles | Shield eyes from flying debris and stones |
| Gloves | Protect hands during trimming and cleanup work |
| Closed-toe shoes | Guard feet from debris and the line |
| Ear protection | Guards hearing against loud trimmer noise levels |
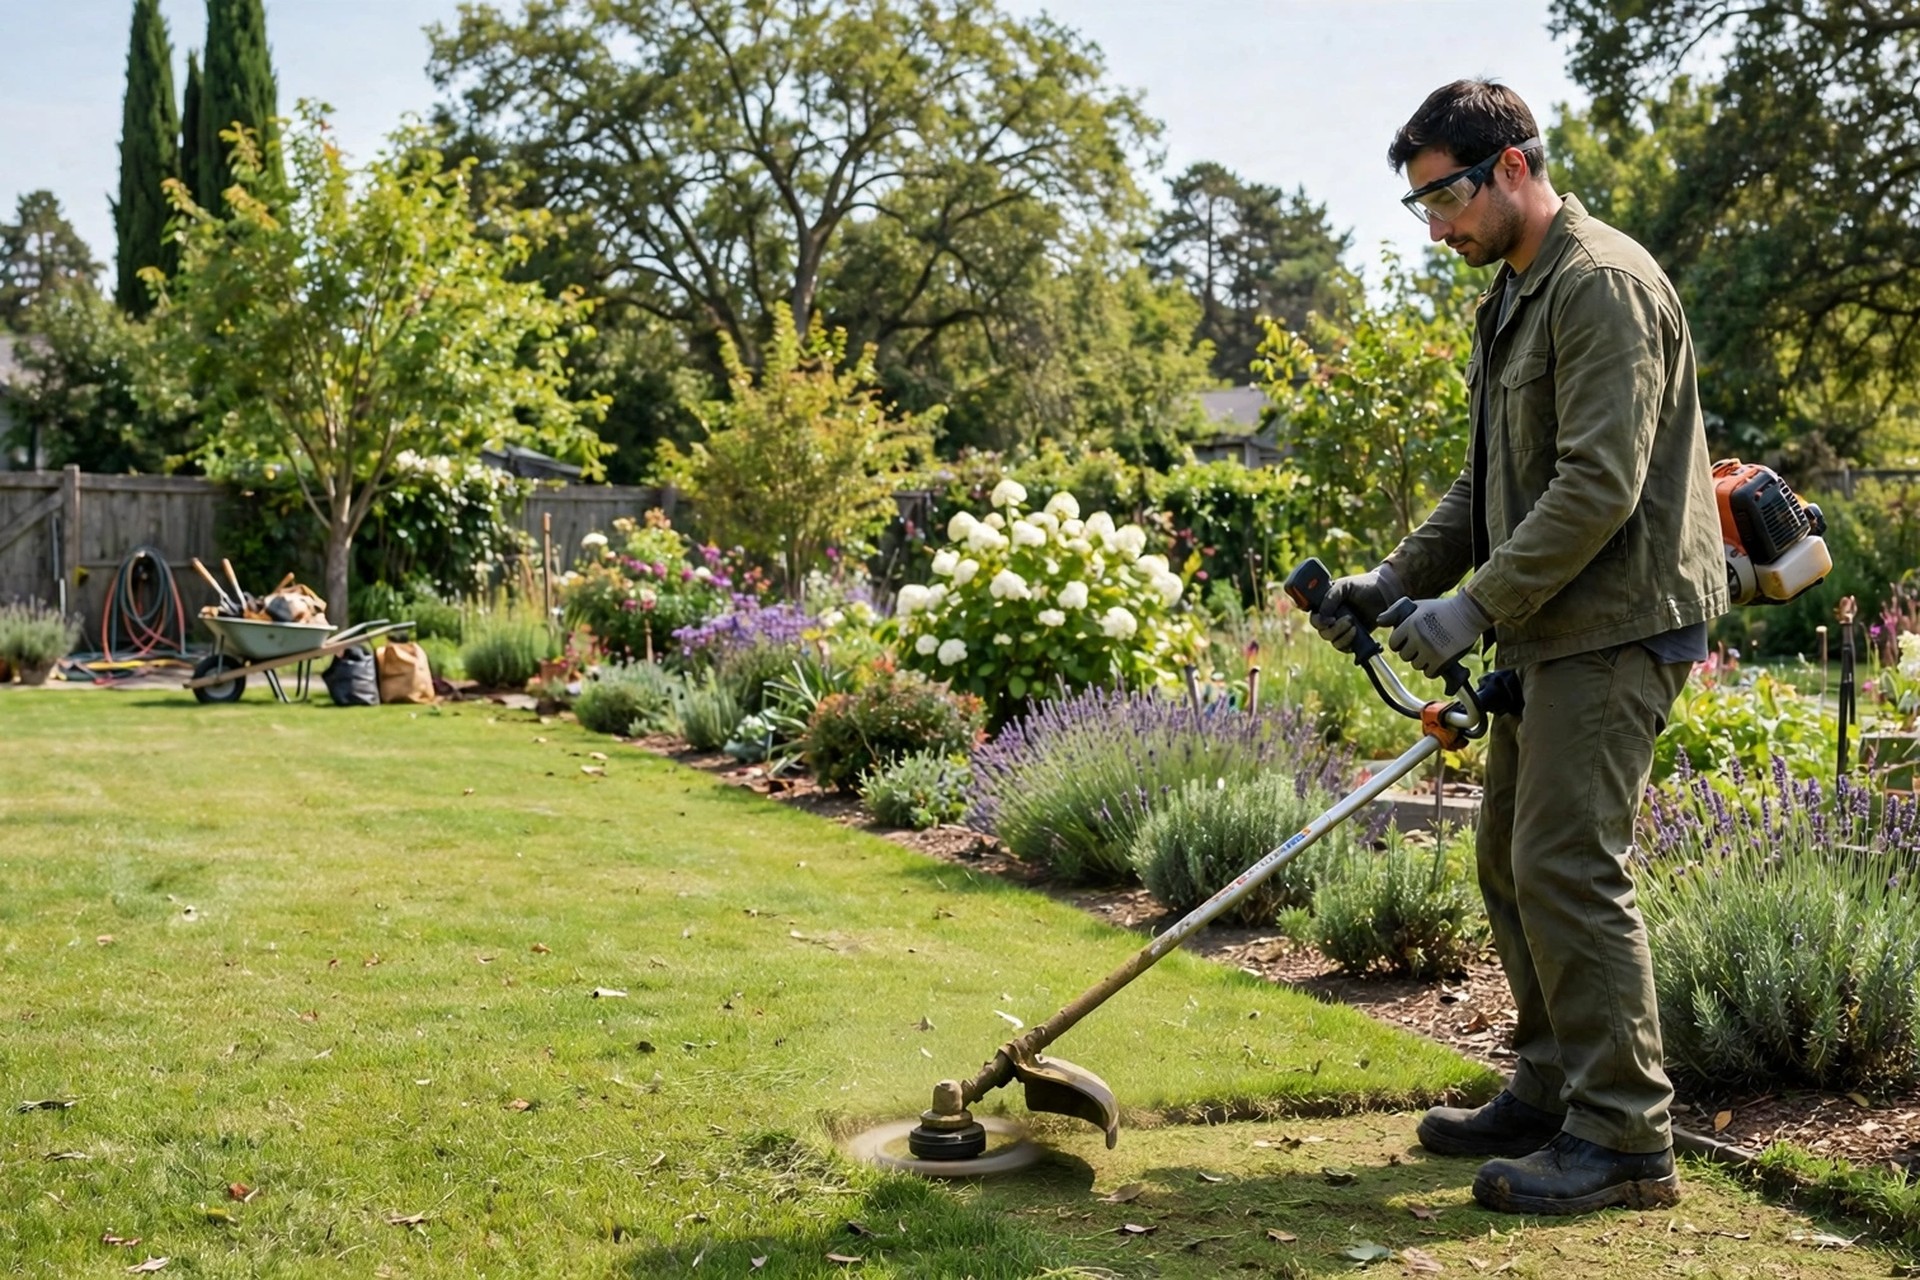
Keep people, pets and fragile objects safely away. Stay clear of fences and walls while edging. Practice on small sections before tackling larger areas. Breaks and hydration protect control and accuracy outdoors.
Line breakage and uneven cuts are common problems. The manufacturer instructions or professional help solve them. Curved edges and patterns come after basic mastery. Sharing techniques strengthens the whole gardening community nearby. Our line tearing answer explains a related line failure.
Our string trimming pricing guide prices edging as a service. Our attachment universality guide answers the sibling question. The Wikipedia Weed Eater page traces the famous brand name. Regular maintenance keeps edges looking sharp longer overall.
Frequently Asked Questions
How do I prepare the area for edging with a string trimmer?
Remove debris and obstacles from the edge first. Rocks, sticks and toys can tangle the string. Mark the desired line with hose or string. The guide keeps edges straight and consistent throughout.
What safety precautions should I take when using a string trimmer for edging?
Wear goggles or safety glasses against flying debris. Add ear protection against the loud trimmer noise. Never leave a running trimmer unattended anywhere outside. Keep people, pets and objects safely far away.
How can I achieve a clean and precise edge with a string trimmer?
Start with the trimmer string positioned vertically first. Guide it slowly along the edge line smoothly. Watch the line and adjust as you go. Adjust or replace string that stops cutting effectively.
Are there any tips for maintaining the string trimmer for edging?
Clean grass and debris from the head after use. Replace the cutting string when worn or damaged. Lubricate moving parts as the manufacturer recommends regularly. Store the trimmer somewhere clean and dry always.
What should I do if the trimmer line keeps breaking?
Line breakage is a common edging problem overall. Check the manufacturer instructions or seek professional help. Uneven cuts and stalling share the same advice. Proper maintenance prevents most of these problems entirely.
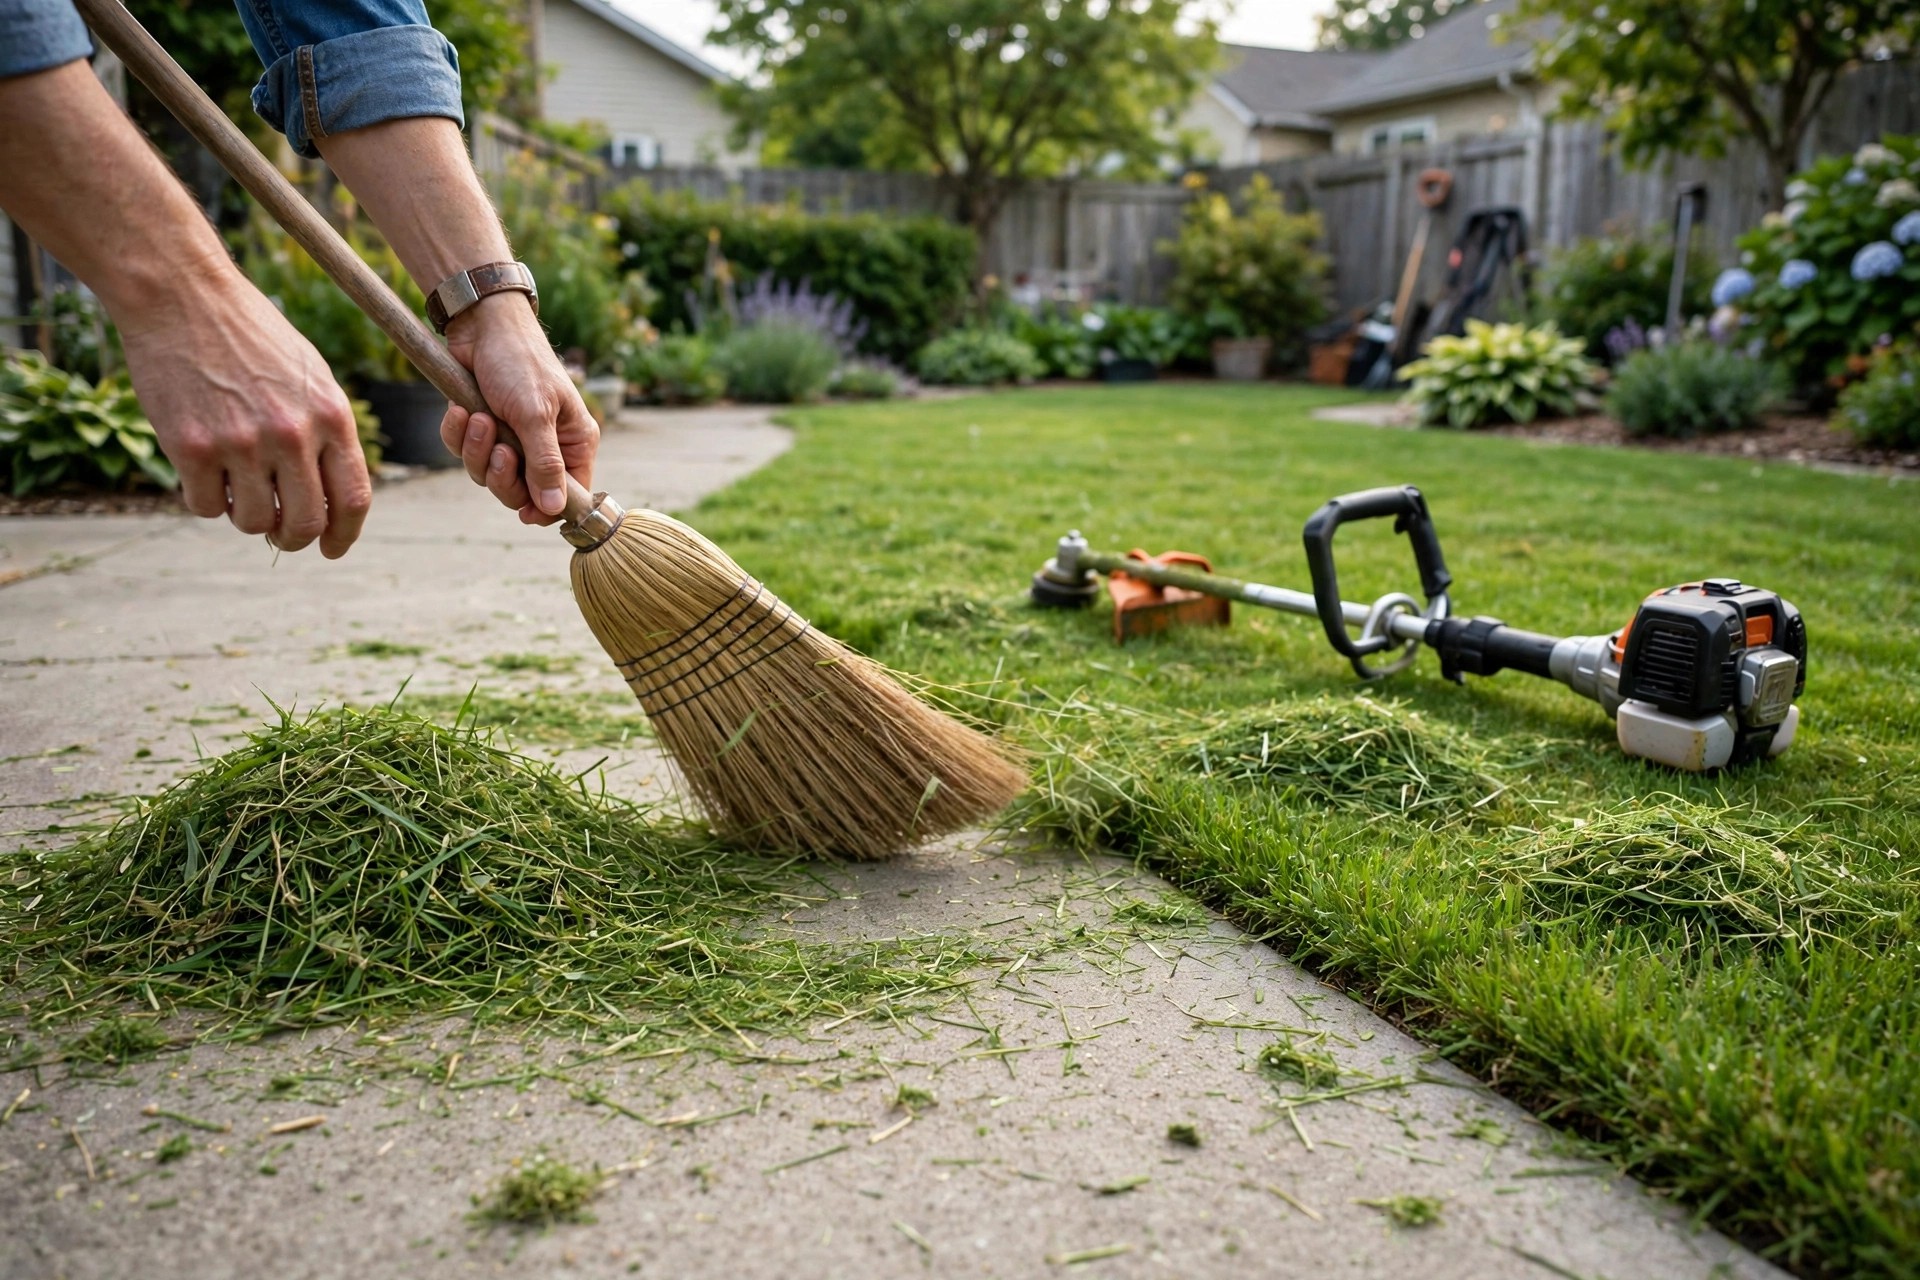
Regular edge maintenance keeps borders neat and defined. Healthy grass benefits from tidy, contained growth lines. Defined edges also improve airflow and water drainage. Small weekly effort prevents big weekend rescue jobs.
Conclusion: How to Use String Trimmer for Edging
So, learning how to use string trimmer for edging pays. Preparation and safety shape every good result here. Slow controlled passes create clean, professional looking lines. Practice steadily improves precision with every new border. Ten steps cover the whole routine from start.
Maintained edges keep pathways and beds clearly defined. Grass stays out of paths and flowerbeds longer. Healthy lawns reward the small regular effort involved. Your outdoor space soon looks picture perfect daily. Start small, then expand toward larger areas confidently.
