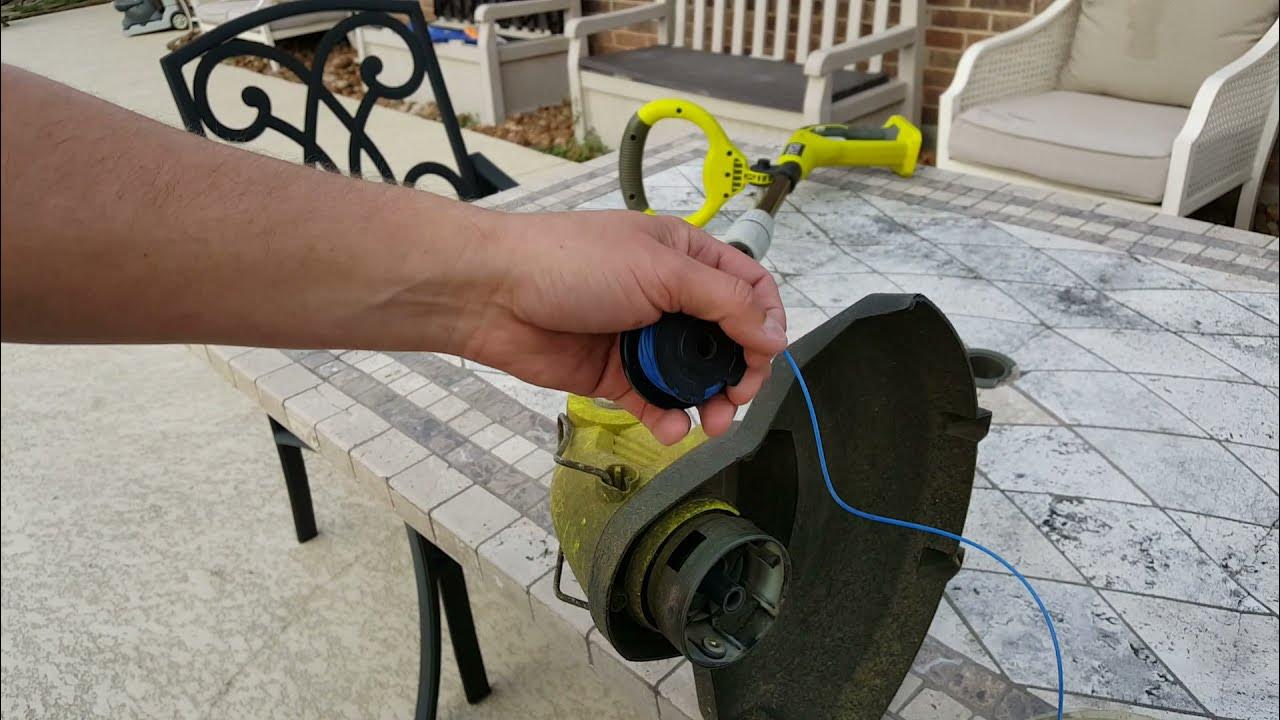
How To Refill Ryobi 18v Line Trimmer
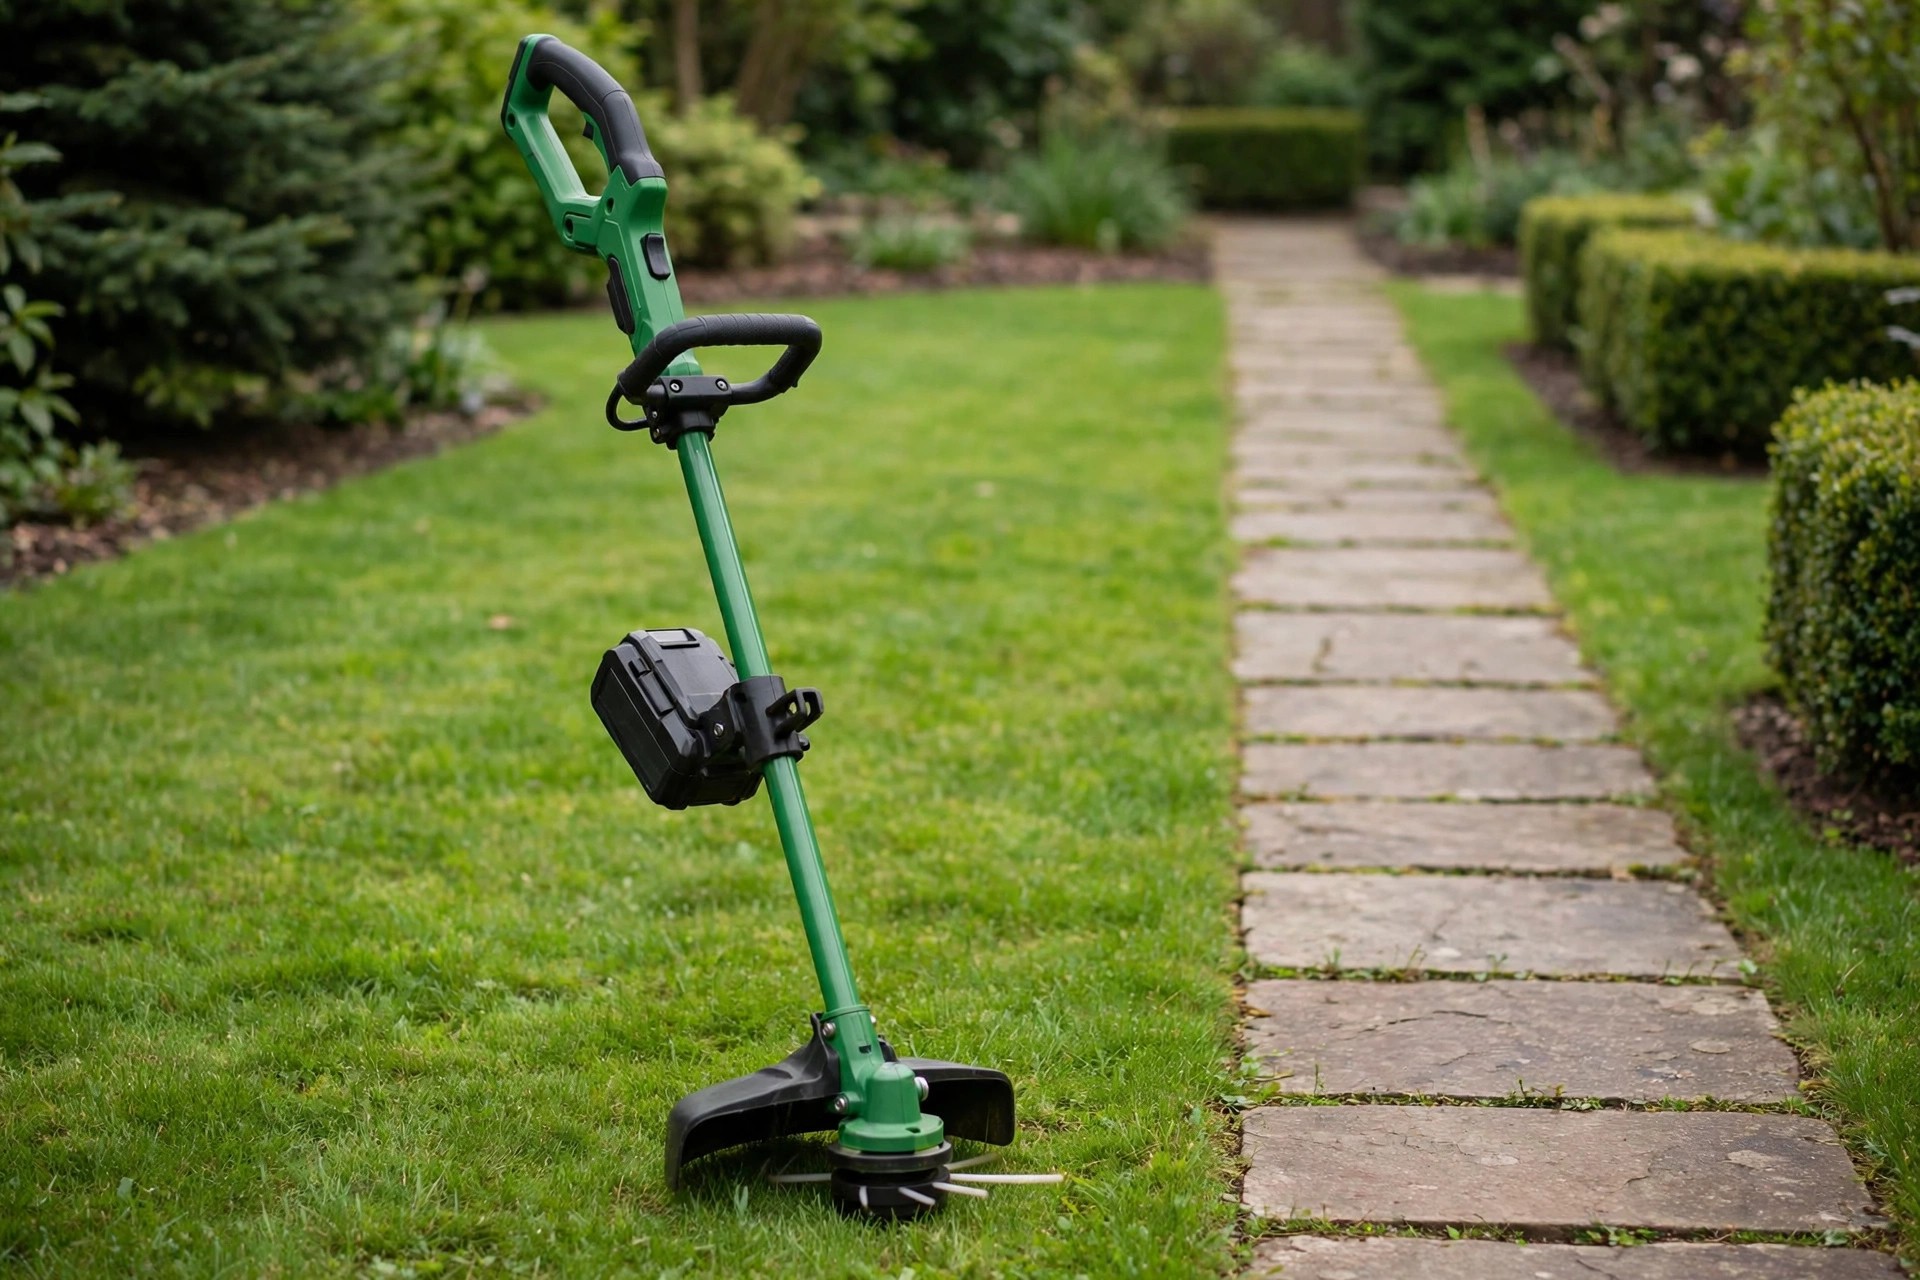
Learning how to refill ryobi 18v line trimmer spools saves time. The job looks hard before your first attempt. Simple steps soon make refilling feel routine overall. This guide walks through every stage very clearly.
Start by checking your manual for model details. Each model can differ slightly in spool design. The manual lists correct line gauge and length. Gather safety glasses and gloves before you begin. A clean workspace keeps small parts visible throughout.
Remove the battery before touching the trimmer head. Then lift the spool and clear old debris. Wind fresh line evenly in the marked direction. Finish by testing line feed before trimming again.
Quick answer: Refilling takes eight simple steps at home. Turn the trimmer off and remove its battery first. Press both tabs, lift the cover and remove the spool. Wind new line evenly, reload the spool and click shut. Reinsert the battery and test the line feed carefully.
- How to Refill Ryobi 18V Line Trimmer
- Step 1: Preparation and Safety Checks
- Step 2: Removing the Spool
- Step 3: Winding and Reloading the Line
- The Correct Line for Your Ryobi 18V Trimmer
- Maintenance Tips for Your Ryobi 18V Line Trimmer
- Frequently Asked Questions
- Edging and Care Questions
- Conclusion: How to Refill Ryobi 18V Line Trimmer
How to Refill Ryobi 18V Line Trimmer
The full refill follows one clear order below. Each step builds safely on the last one. General guidance sits in how to replace trimmer line for comparison. Keep this order for every refill you do.
| Step | Action |
|---|---|
| 1 | Turn off trimmer, remove battery |
| 2 | Press tabs, remove spool cover |
| 3 | Remove spool, clean out debris |
| 4 | Cut line, thread through eyelets |
| 5 | Wind line evenly and tightly |
| 6 | Set spool back into head |
| 7 | Reattach cover until it clicks |
| 8 | Reinsert battery, test line feed |
After reloading, test the trimmer before yard work. Check that line feeds out correctly and smoothly. Recheck spool placement and tension if feeding fails. Clean heads and fresh line prolong tool life.
Step 1: Preparation and Safety Checks
Gather every tool and material before you start. You need replacement line, gloves and safety glasses. Scissors or a line cutter make clean cuts. Lay everything out in one clean area.
Turn the trimmer off before removing its battery. This step prevents accidental starts during the refill. Clean the trimmer head before you begin working. Clear heads keep dirt from blocking the process. Good preparation makes the actual refill much easier.
Step 2: Removing the Spool
Find the spool cover under the trimmer head. Press both release tabs on the cover sides. Lift the cover off to reveal the spool. Gentle pressure avoids damaging any small parts here.
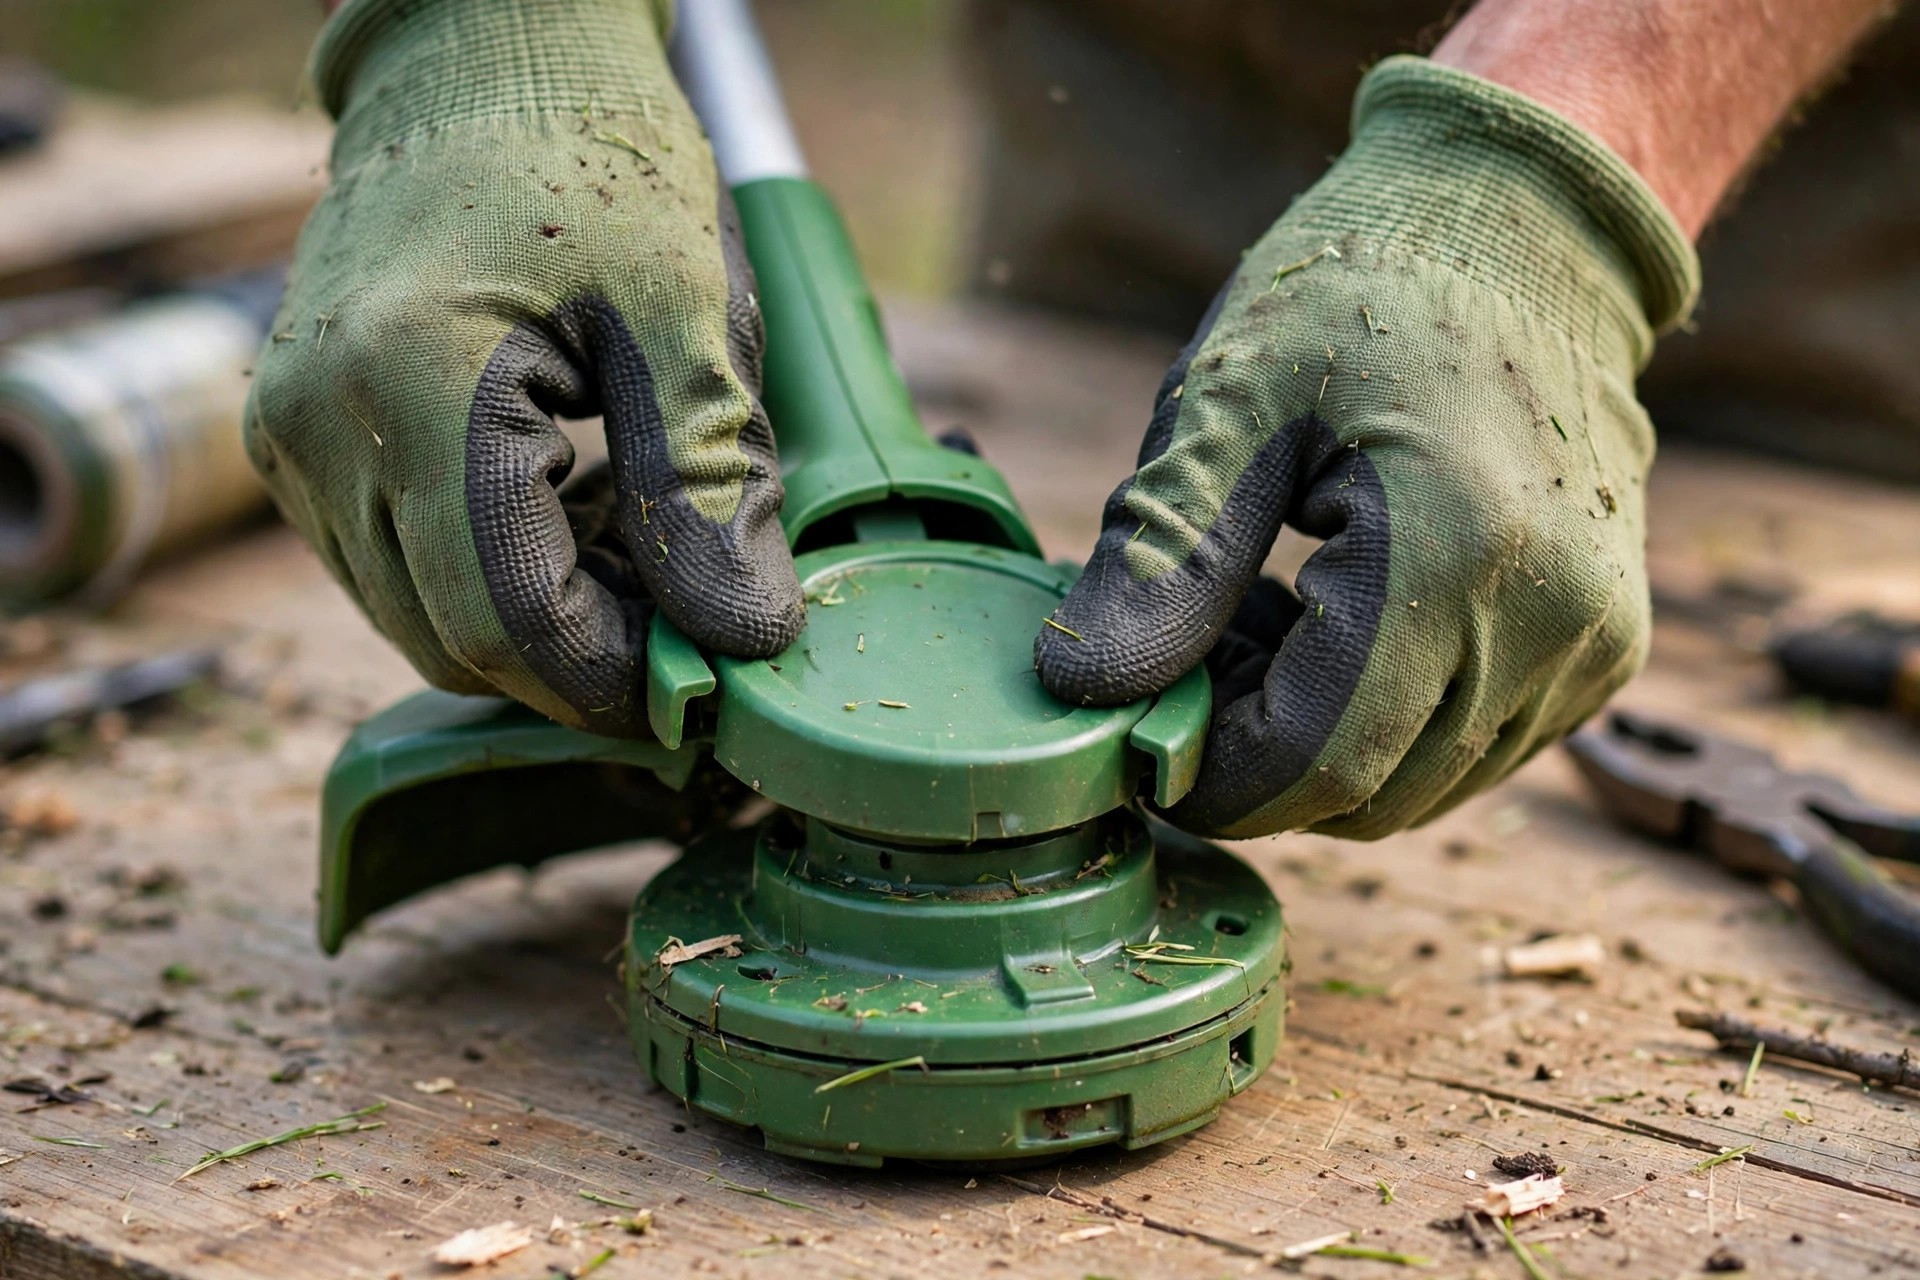
Pull the spool gently from the trimmer head. Note its seated position for easier reassembly later. Some spools sit over a small spring inside. Keep every part together on your clean surface.
Inspect the spool closely for wear or damage. Damaged spools cause feeding problems during trimming work. Brush dirt and debris from spool and head. Remove old line bits and clear the eyelets.
Step 3: Winding and Reloading the Line
Cut fresh line to your manual specified length. Hold the spool firmly in one hand throughout. Thread the line end through the spool eyelet. This anchor starts the winding process very smoothly.
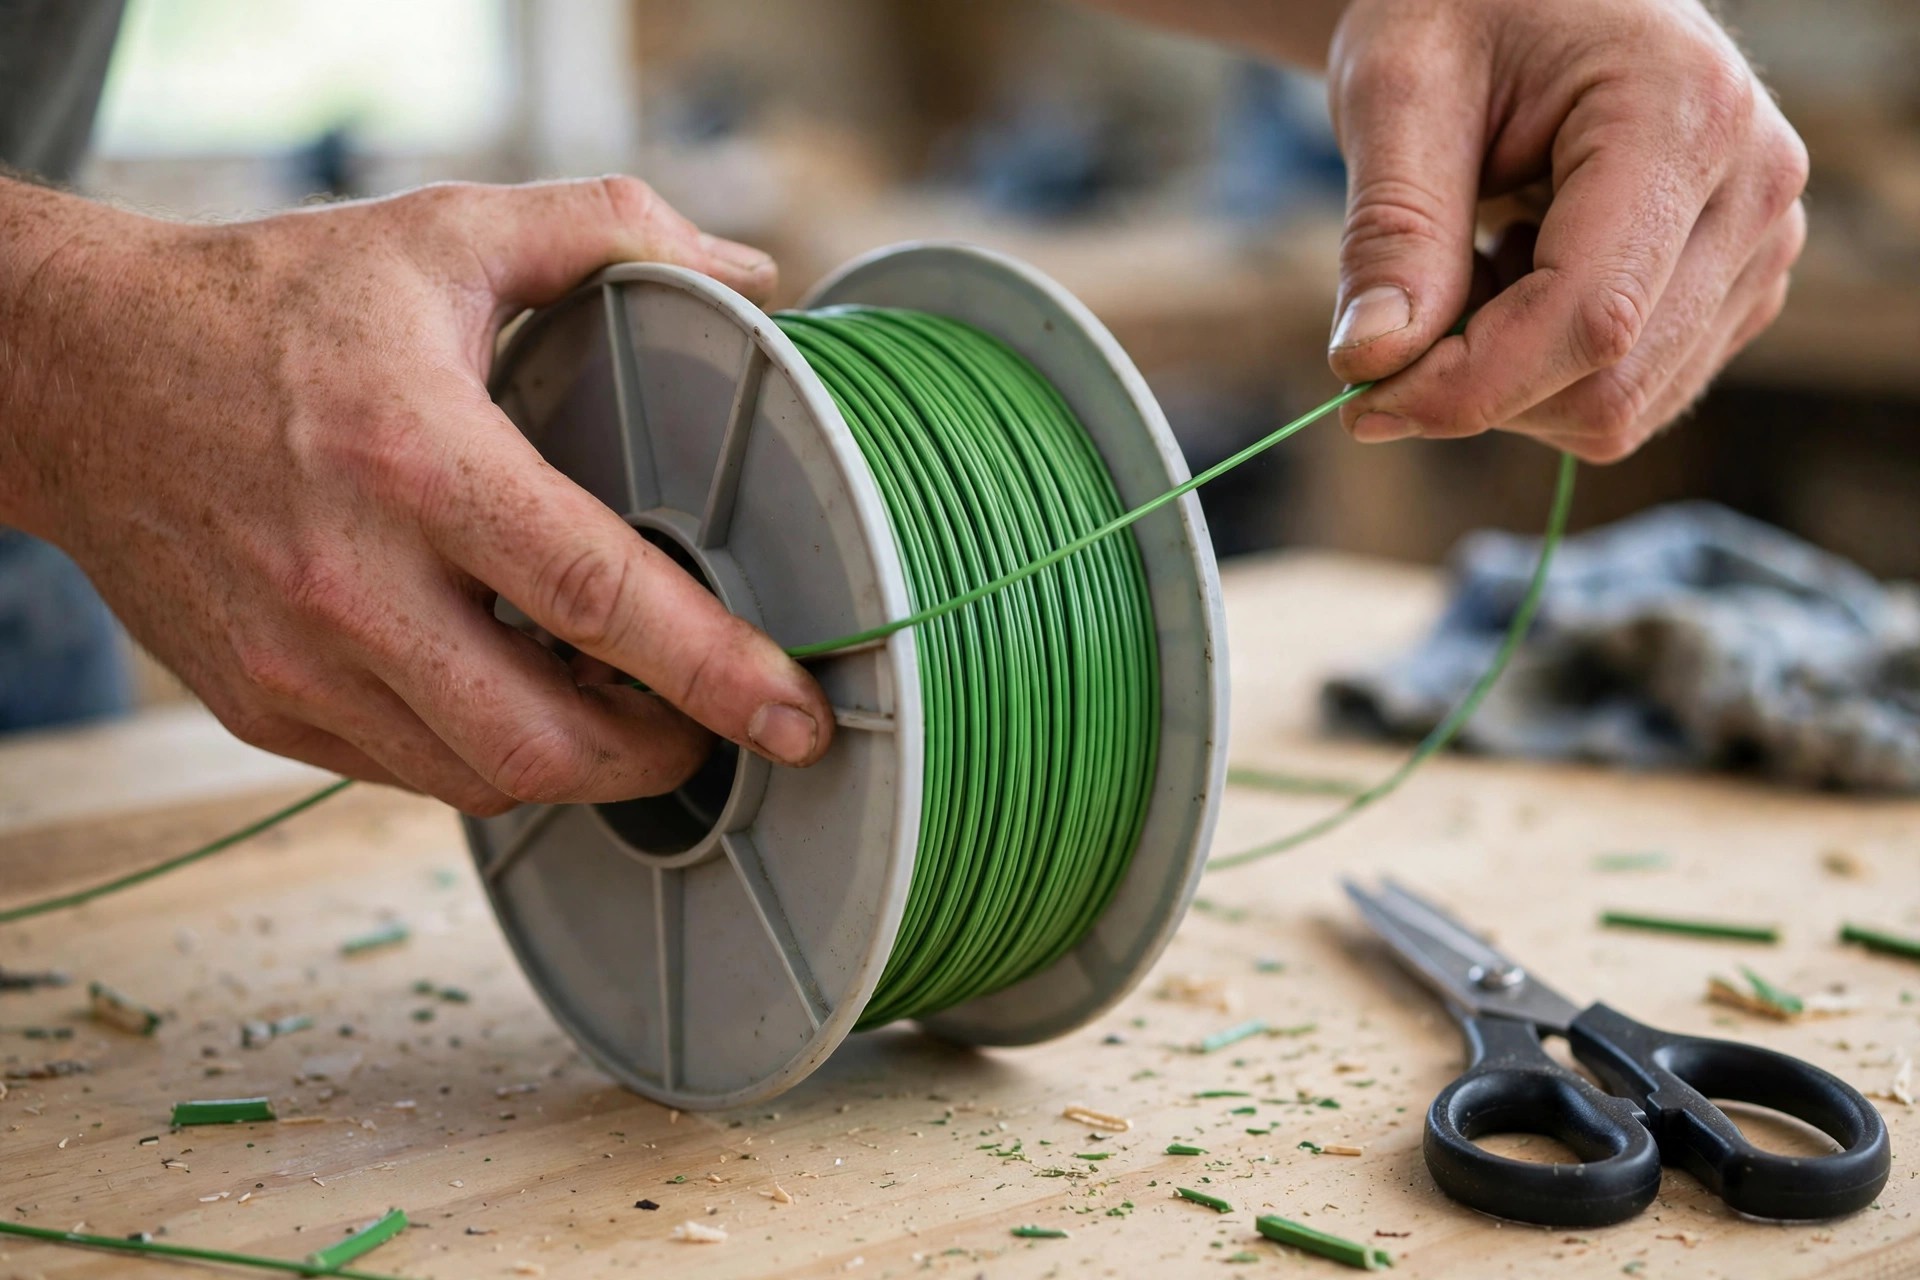
Wind the line evenly and tightly around it. Keep tension consistent to prevent tangles from forming. Follow the arrow direction marked on the spool. Split line evenly between two spool compartments first.
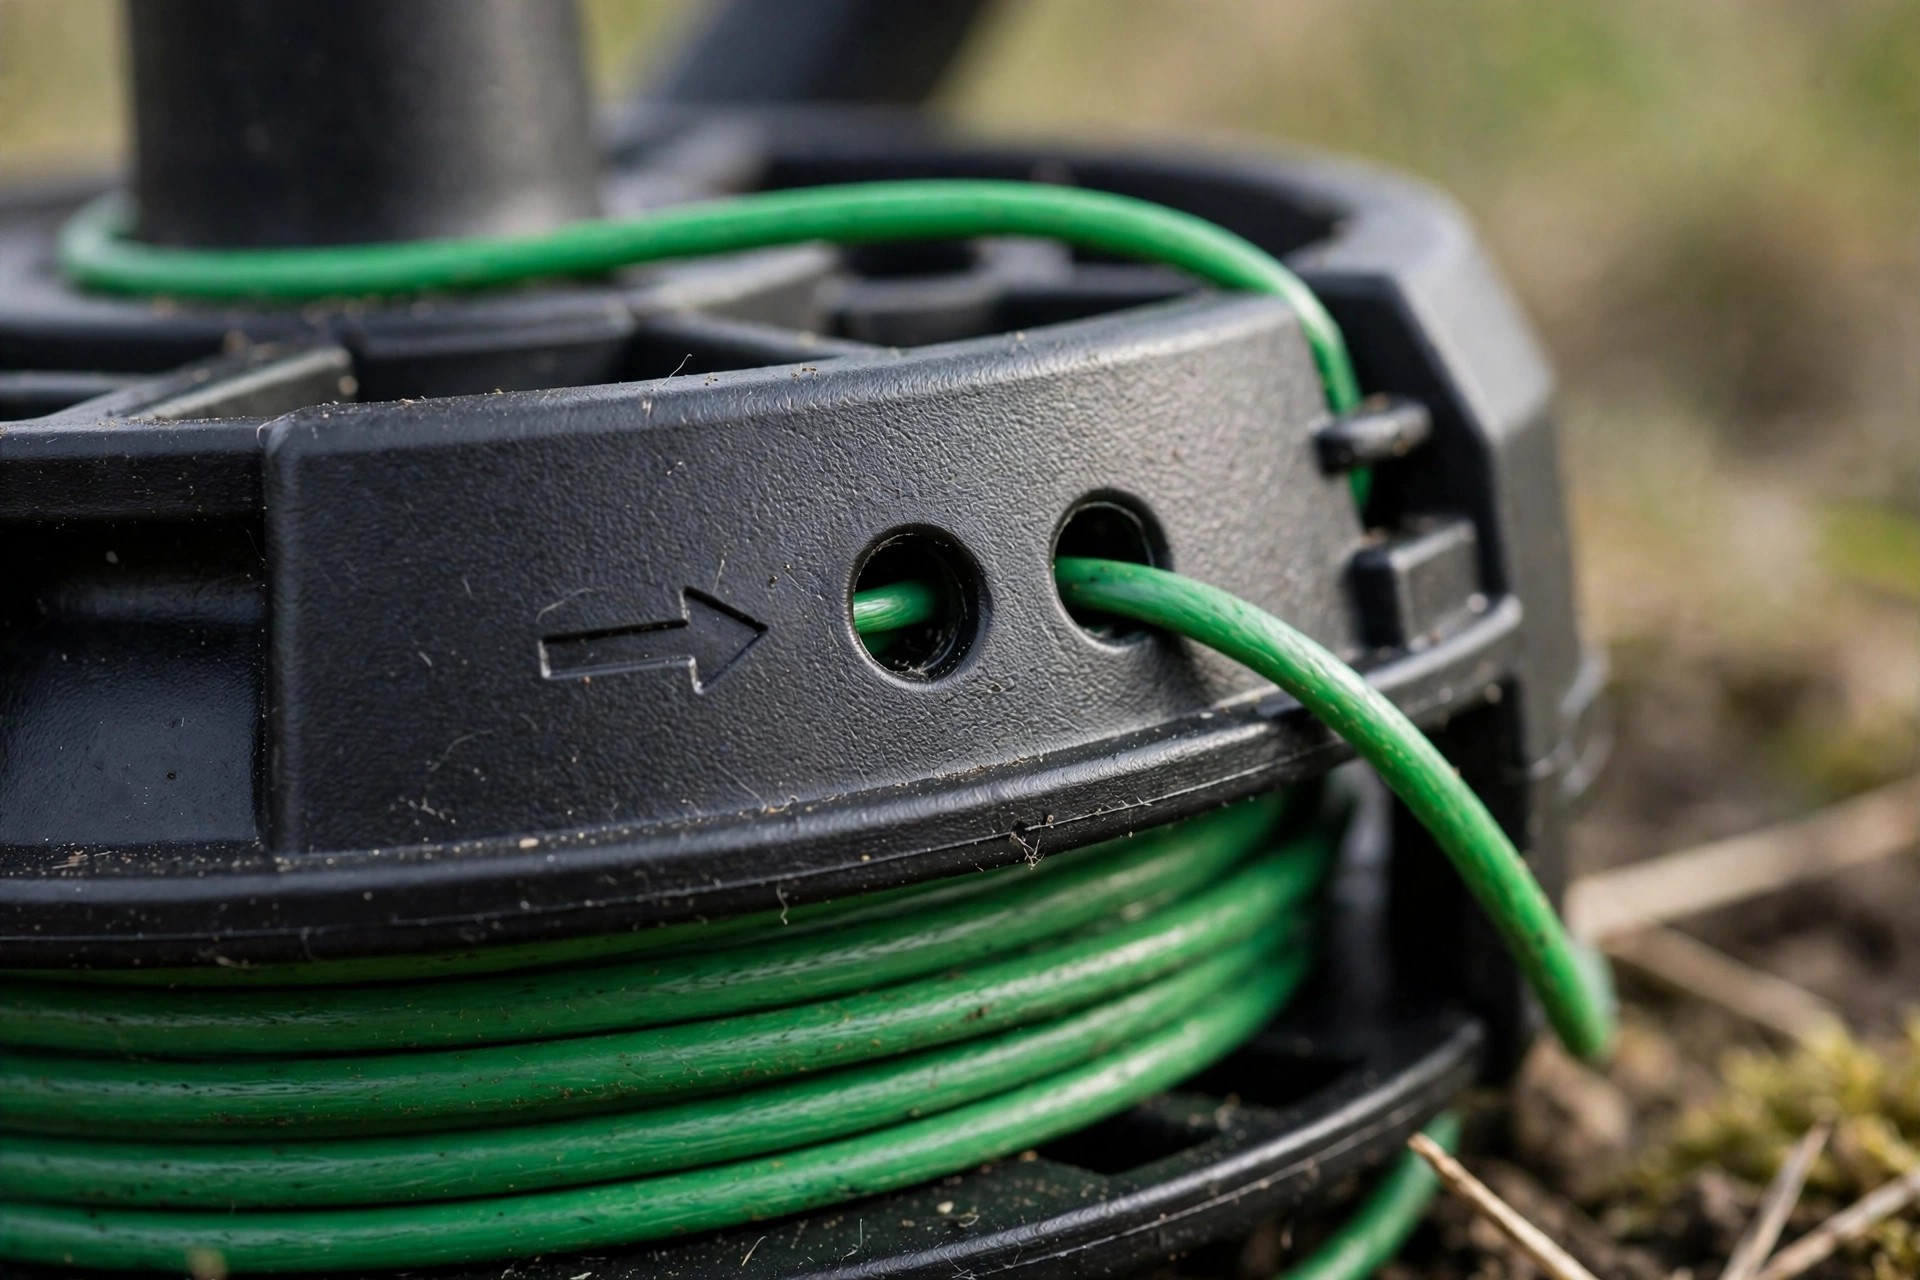
Secure loose ends inside the spool holding slots. Avoid overfilling, because packed line can jam easily. Leave several inches extending beyond the spool edge. Extra length helps threading through the head later.
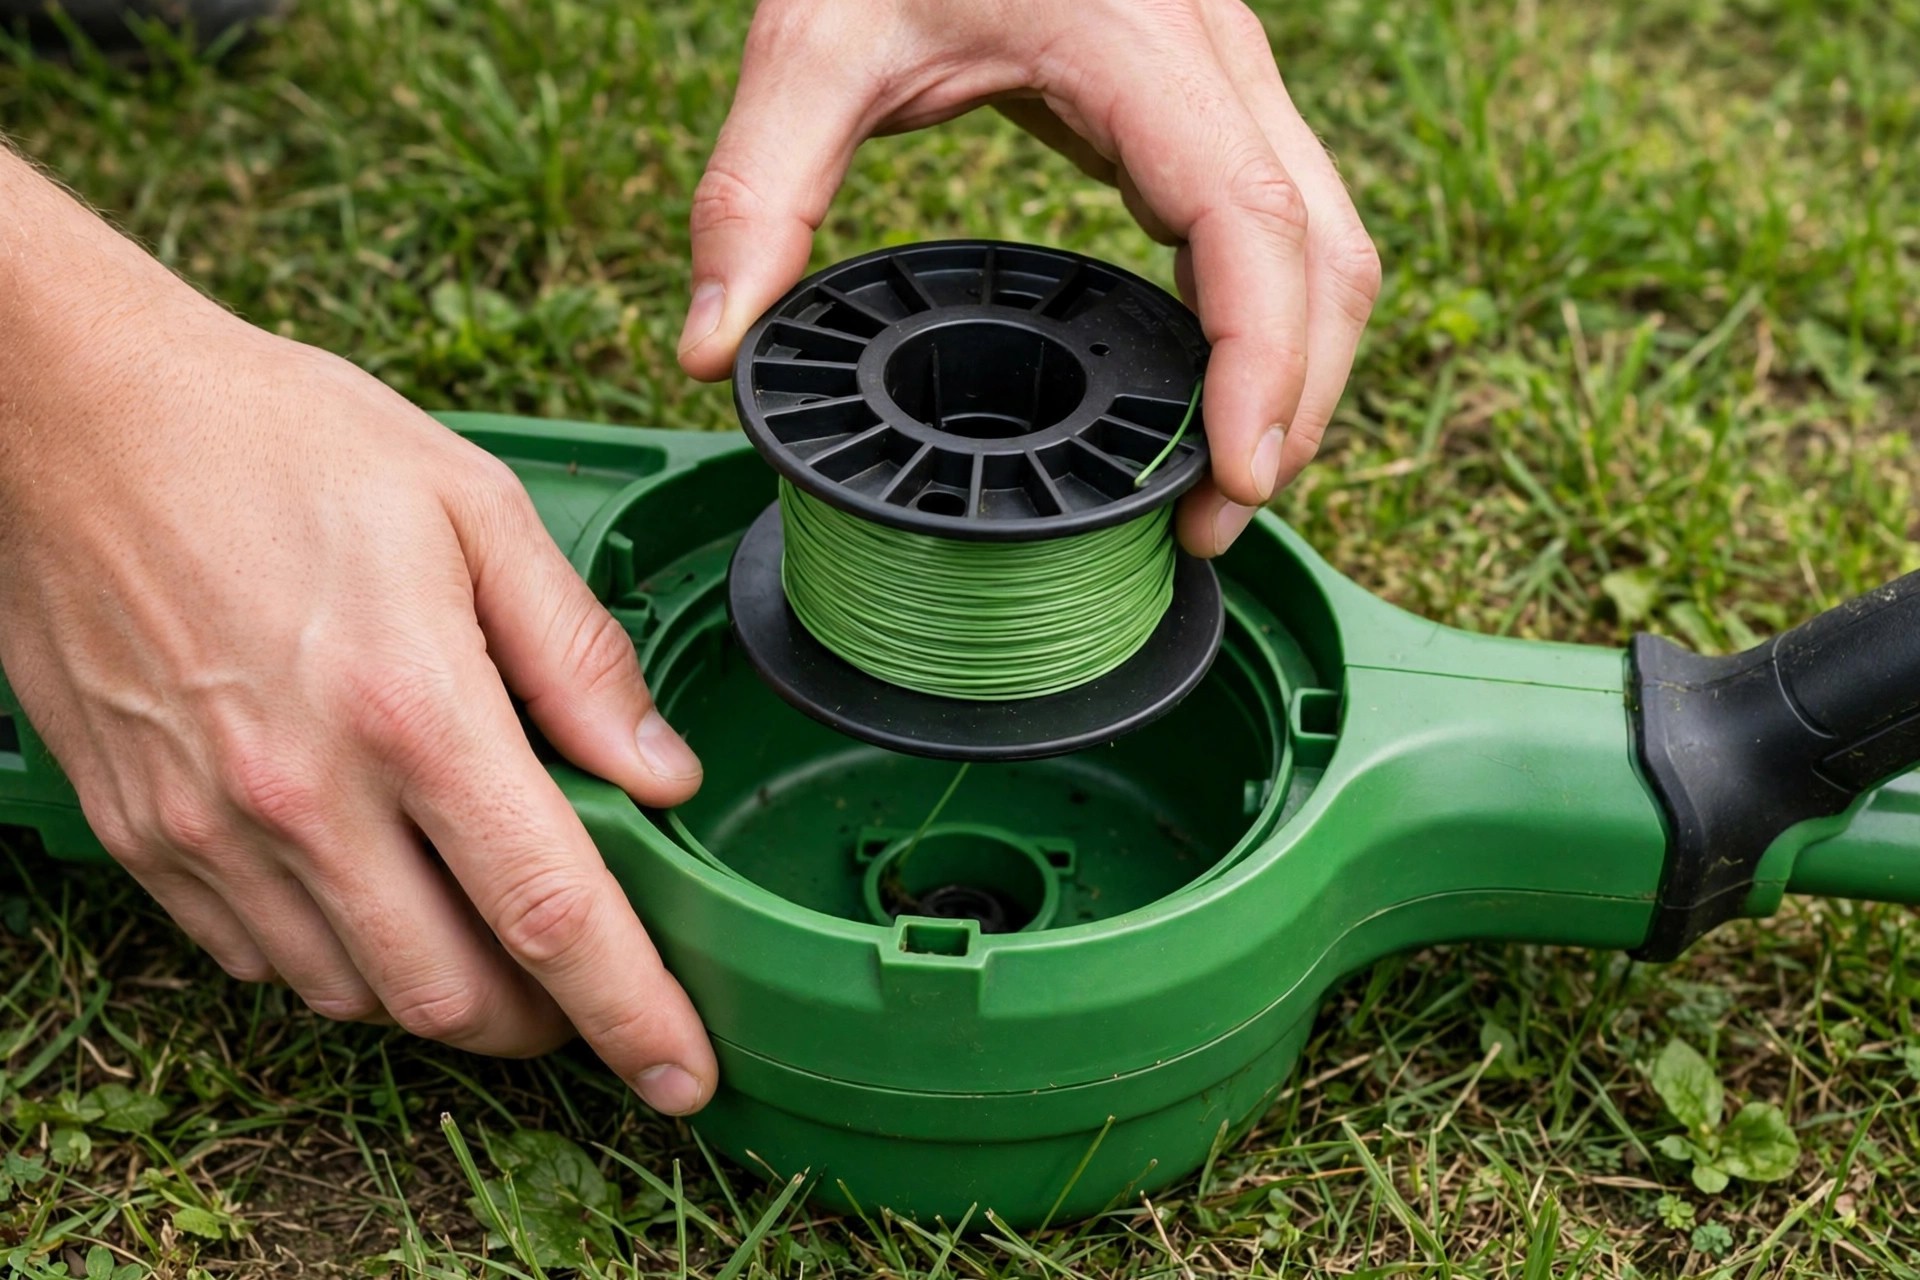
Set the spool back inside the trimmer head. Align spool arrows with the head arrows carefully. Feed both lines outward through the head eyelets. Snap the cover on until it clicks shut. Pull both lines gently to test smooth unwinding.
The Correct Line for Your Ryobi 18V Trimmer
Choosing the right line protects cutting performance daily. Wrong line cuts poorly and can damage tools. Most Ryobi trimmers use 0.065 inches line diameter. Confirm your exact model size before buying line. Maker guidance lives at Ryobi support support pages online.
| Line Type | Best For |
|---|---|
| Round Line | Everyday general trimming |
| Twisted Line | Quieter cutting, better performance |
| Square Line | Edging and tough grass |
| Serrated Line | Heavy weeds, tough applications |
Round line suits general trimming around most homes. Twisted or serrated line handles tougher jobs better. Nylon remains the most common line material today. Reinforced nylon adds strength against wear and breakage. Compare shapes inside how to choose trimmer line before ordering more.
Consider package length before buying replacement line spools. Bulk spools can save extra store trips overall. Store spare line somewhere cool and dry always. Good line keeps trimming efficient for much longer.
Maintenance Tips for Your Ryobi 18V Line Trimmer
Regular care keeps your trimmer performing at peak. Inspect the head often for wear and tear. Replace damaged parts promptly to prevent bigger issues. Wipe the trimmer clean after every single use.
Charge the battery fully before each trimming session. Store batteries cool, dry and away from sunlight. Avoid leaving batteries sitting on chargers too long. Check batteries regularly for damage or wear signs.
Soaking line in water for one full day helps. See how long to soak trimmer line for simple soaking timing details. Lubricate moving joints lightly with machine oil occasionally. Tighten loose screws that vibration works free slowly. Follow the EPA lawn and garden page for safer garden habits.
Frequently Asked Questions
These answers cover line choice and refill timing. They also explain breakage, edging and basic care. Check your manual alongside every answer given here.
What type of line should I use for my Ryobi 18V trimmer?
Most Ryobi 18V trimmers recommend 0.065 inches line. Verify your model gauge in the manual first. Round line suits general trimming around the home. Twisted or square line suits heavier duty work.
How often should I replace the trimmer line?
Replacement timing depends on use and trimming conditions. Regular home use may need line every few months. Thick vegetation and frequent work wear line faster. Read how long does trimmer line last for typical line lifespan signs.
How do I prevent my trimmer line from breaking?
Avoid striking concrete, fences and other hard surfaces. Hard impacts cause frequent breaks during trimming work. Flexible, quality nylon line also reduces breakage risk. Clean spools and dry storage further minimize breaks.
Edging and Care Questions
Two more answers cover edging and routine care. Both features depend on your exact model design. Safety guidance matters whenever you switch tool functions.
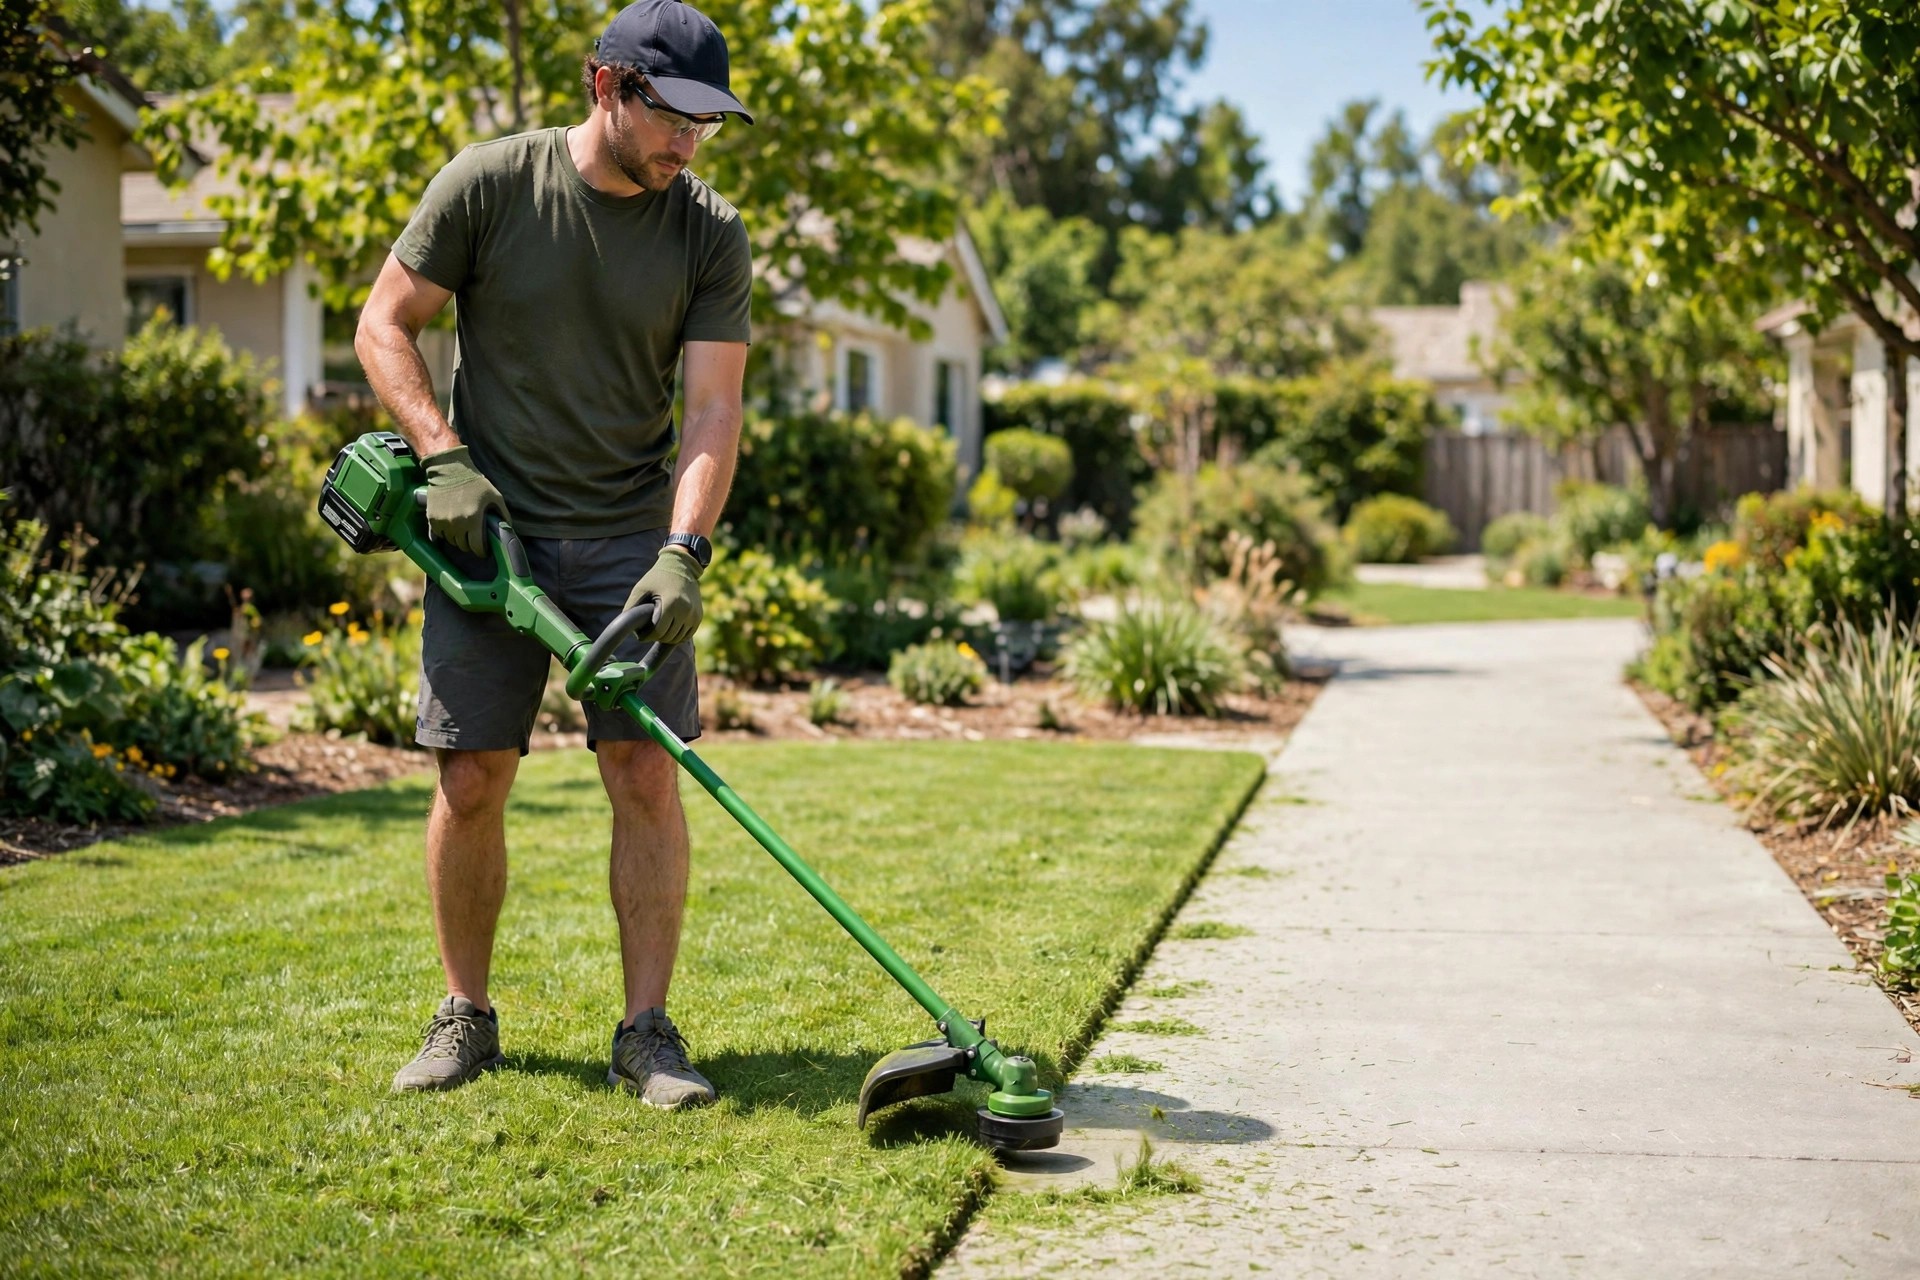
Can I use my Ryobi 18V trimmer for edging?
Many Ryobi 18V trimmers include adjustable edging heads. Check your manual for switching instructions and settings. See how to switch ryobi trimmer to edger for Ryobi edging steps. Also see how to edge a lawn with a grass trimmer for clean edge technique.
What are some basic maintenance tips for my Ryobi 18V trimmer?
Inspect and clean the trimmer head very regularly. Remove debris after each use for smooth running. Lubricate moving parts and tighten screws very periodically. Learn how to store a string trimmer for storage basics today.
Conclusion: How to Refill Ryobi 18V Line Trimmer
Refilling keeps your Ryobi 18V trimmer running smoothly daily. Correct line choice supports efficient yard care daily. Regular maintenance tasks protect performance and tool lifespan. Following these steps minimizes downtime between trimming sessions.
Now you know how to refill ryobi 18v line trimmer spools. Gather materials first, then work through each step. Test the feed before returning to your lawn. Consistent care keeps edges neat all season long. Your trimmer stays ready whenever the grass grows tall.

I’m Patricia D. Johnson, an affiliate marketer and blogger specializing in trimmers and grooming tools. I create honest reviews, buying guides, and practical tips to help readers choose the right trimmer for their needs. With a focus on quality, performance, and value, I simplify the decision-making process so consumers can make confident purchases.