How To Change Line In Dewalt Trimmer
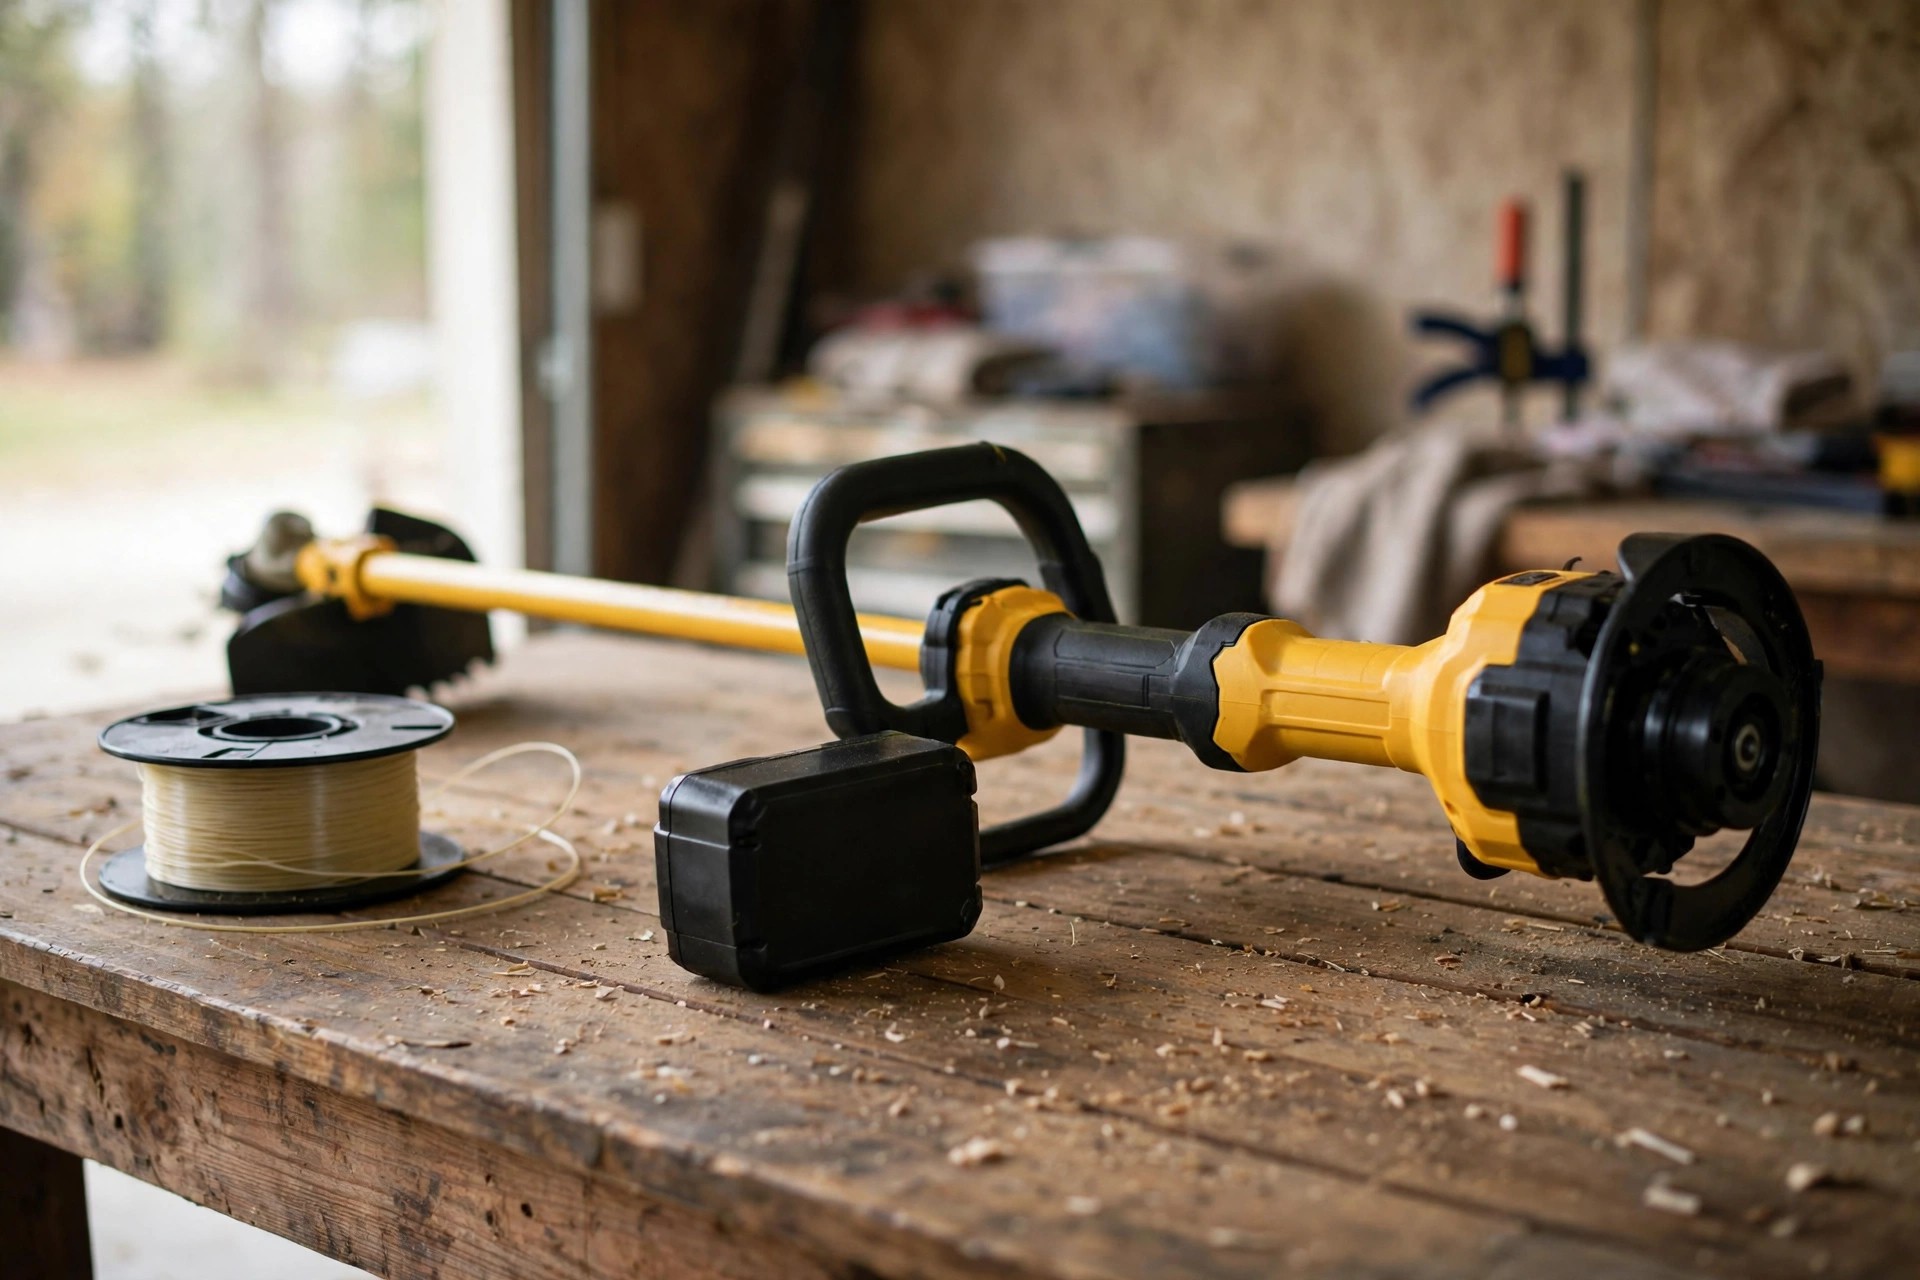
Changing your line feels swift with right steps. Many professionals overlook basic equipment care too often. A systematic approach keeps performance strong and steady. This guide shows how to change line in dewalt trimmer. Simple care protects your tool every season.
The reload begins with power off completely. Let the tool cool before touching it. Battery removal or unplugging keeps you safe. Simple design makes spool removal fairly easy. Gather fresh line before you start working.
You will remove, rewind and refit carefully. General steps mirror how to replace trimmer line for most models. Regular changes keep cuts clean and efficient. Fresh line also helps the tool last. Careful work prevents jams and uneven cuts.
Quick answer: Changing the line takes six simple steps. Turn off the trimmer and let it cool fully. Press the head tabs and remove the used spool. Wind about twenty feet of fresh line evenly. Thread the ends, refit the spool and test.
- How to Change Line in Dewalt Trimmer
- Step 1: Turn Off and Cool Down the Trimmer
- Step 2: Removing the Used Spool
- Step 3: Installing the New Line
- Benefits of Regular Line Change in Dewalt Trimmer
- Efficiency Improvements with Regular Line Changes
- Frequently Asked Questions
- Stuck Heads and Vibration Questions
- Conclusion: How to Change Line in Dewalt Trimmer
How to Change Line in Dewalt Trimmer
Six quick steps complete the whole reload. A short table below summarises every step. Each step below explains one stage fully. Follow the order for safest results possible.
| Step | Action |
|---|---|
| 1 | Turn off and cool the trimmer fully |
| 2 | Press the tabs and remove used spool |
| 3 | Cut twenty feet and wind new line |
| 4 | Thread line ends through the eyelets |
| 5 | Refit spool and secure it firmly |
| 6 | Reconnect power and test the feed |
Cut about twenty feet of fresh line. Use line DEWALT recommends for your model. Wind it evenly following the spool arrows. Leave six inches extending for easy threading.
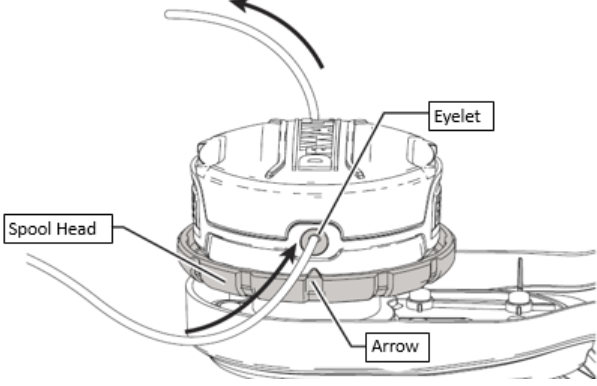
Thread the extended ends through both eyelets. Push the spool home until it clicks. Reconnect power and test the line feed. Model notes in how to install dewalt trimmer line 20v add helpful detail.
Step 1: Turn Off and Cool Down the Trimmer
Always turn the trimmer off before adjustments. This step prevents accidental starts and injuries. Unplug the tool or remove its battery. Wait until the tool cools down fully. Handling a hot tool can cause burns.
Gather fresh line while the trimmer cools. Keep manufacturer recommended tools close at hand. Gloves improve grip and protect your hands. A tidy workspace prevents trips and falls.
Inspect the head for wear or damage. Clear debris from inside the trimmer head. Clean parts help the new spool fit. Check the manual if anything looks unusual. Official guidance sits on the DEWALT official site.
Step 2: Removing the Used Spool
Locate the release tabs on the head. They usually sit on both head sides. Press both tabs firmly to release housing. A flathead screwdriver adds leverage when needed.
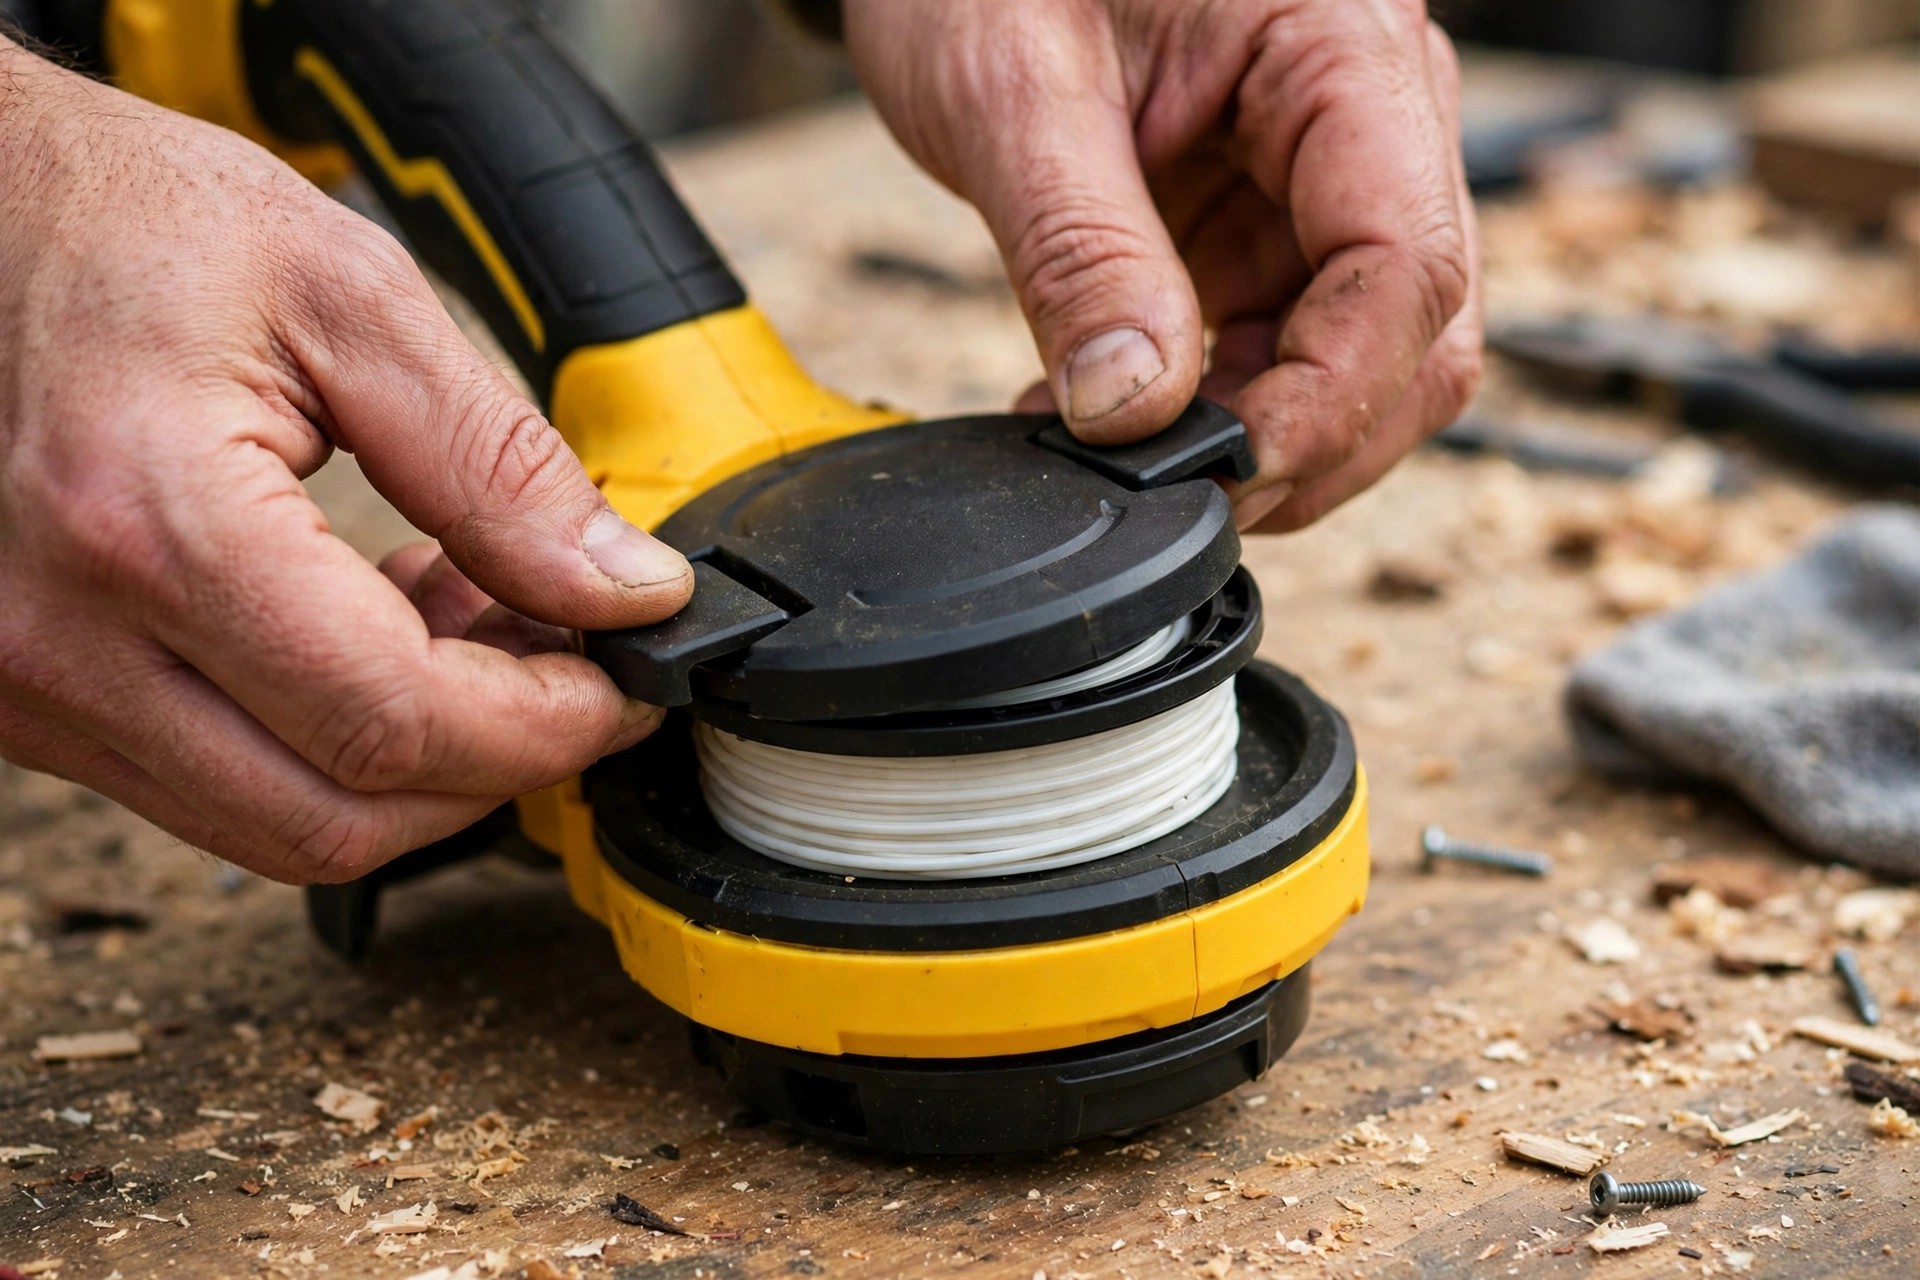
Pull the housing away from the head. The old spool should slide out easily. Keep the spring and small parts safe. A quick photo records every part position.
Dispose of old line and clean the spool. Wipe dirt and grass from the head. A clean head seats the new spool. See the EPA lawn and garden page for safe disposal.
Step 3: Installing the New Line
Cut roughly twenty feet of new line. Check what size line for dewalt trimmer before cutting any line. Insert one end into the spool hole. Wind tightly following arrows on the spool.
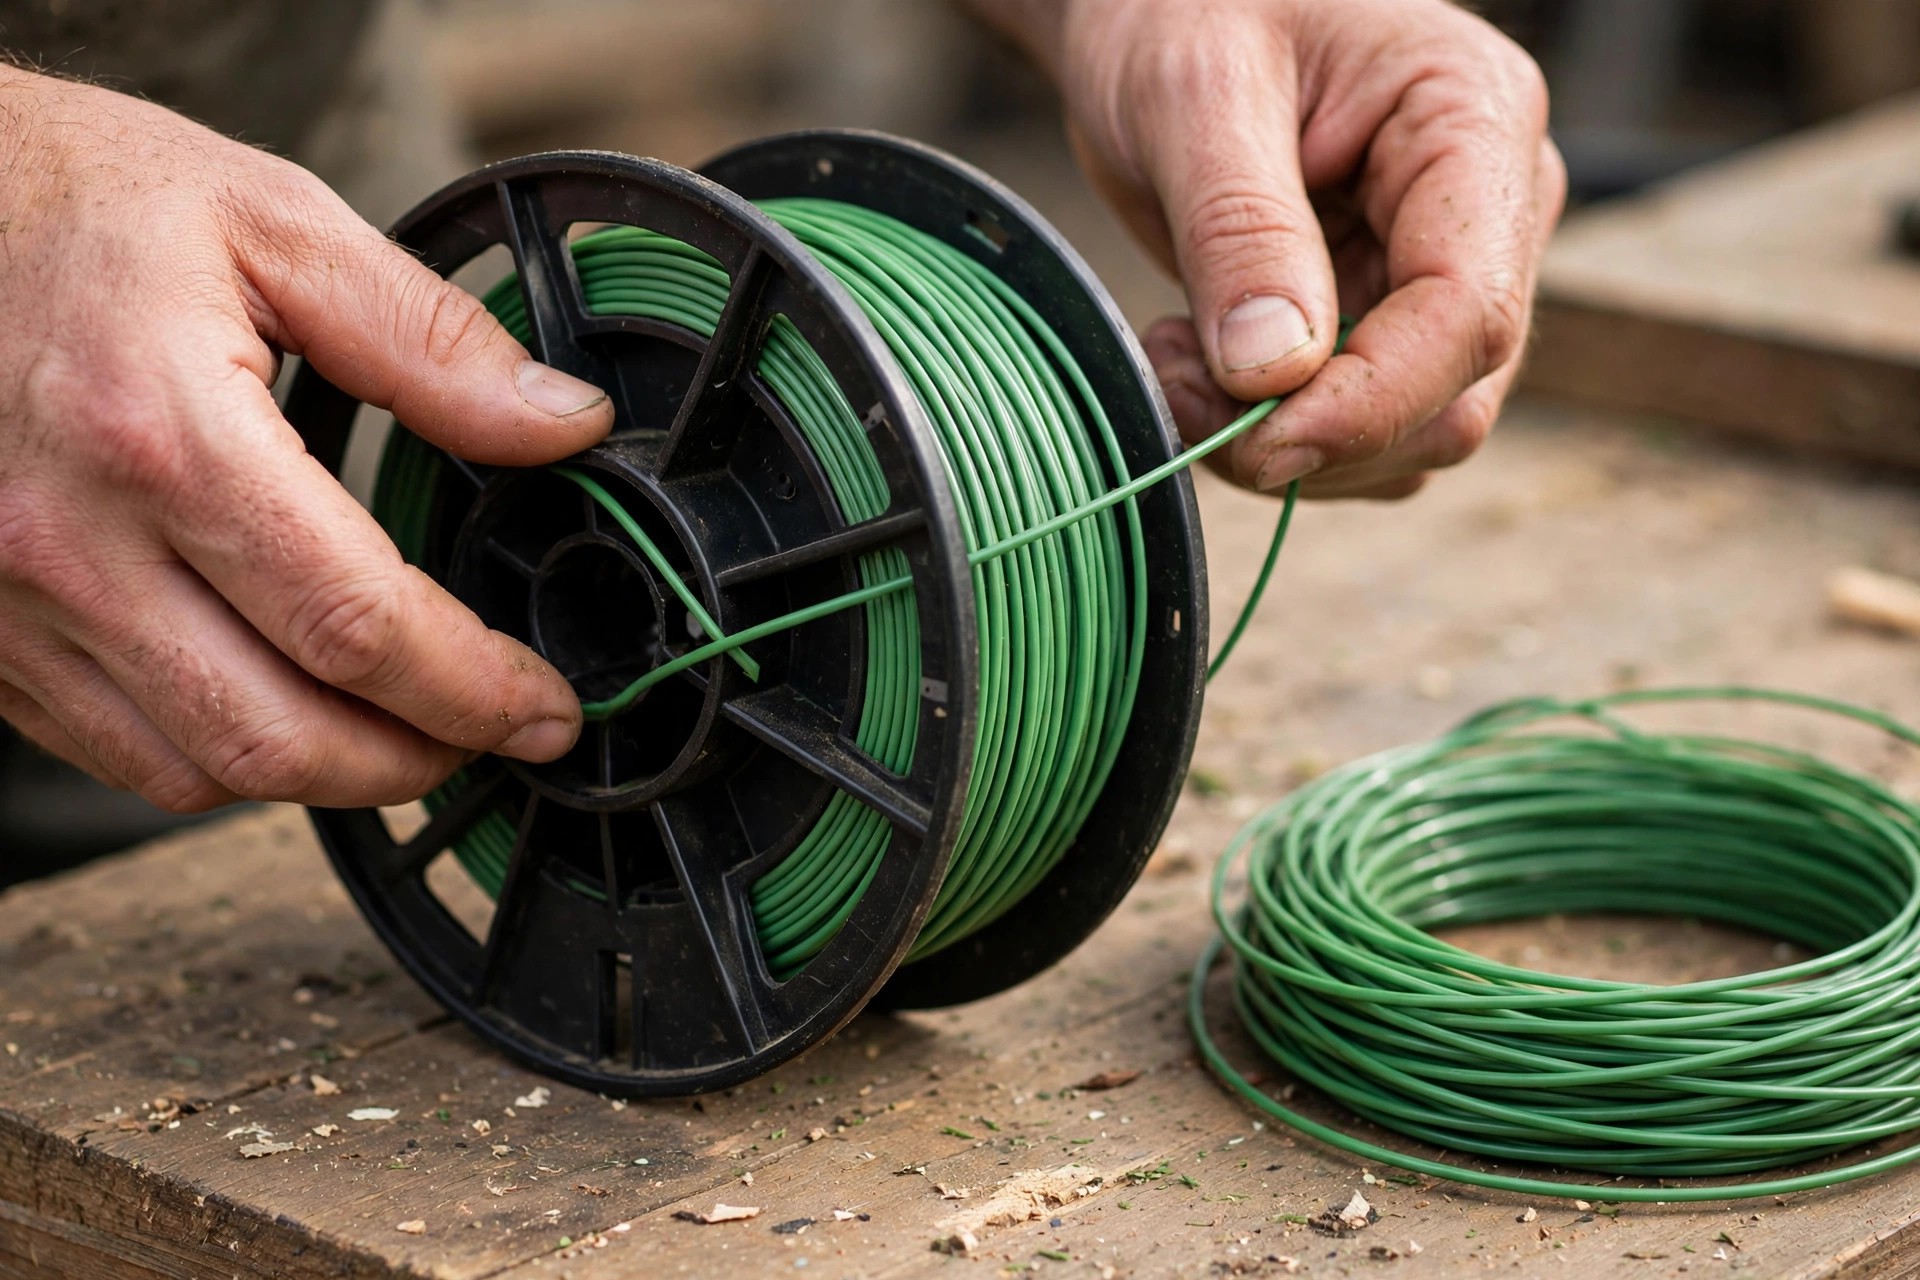
Leave six inches free on each end. Position both ends opposite each other evenly. Balanced ends prevent vibration during later use. Even winding prevents tangling during normal operation.
Thread loose ends through the head eyelets. Seat the spool until it clicks firmly. Pull both ends to remove any slack. Double check everything before reconnecting the battery.
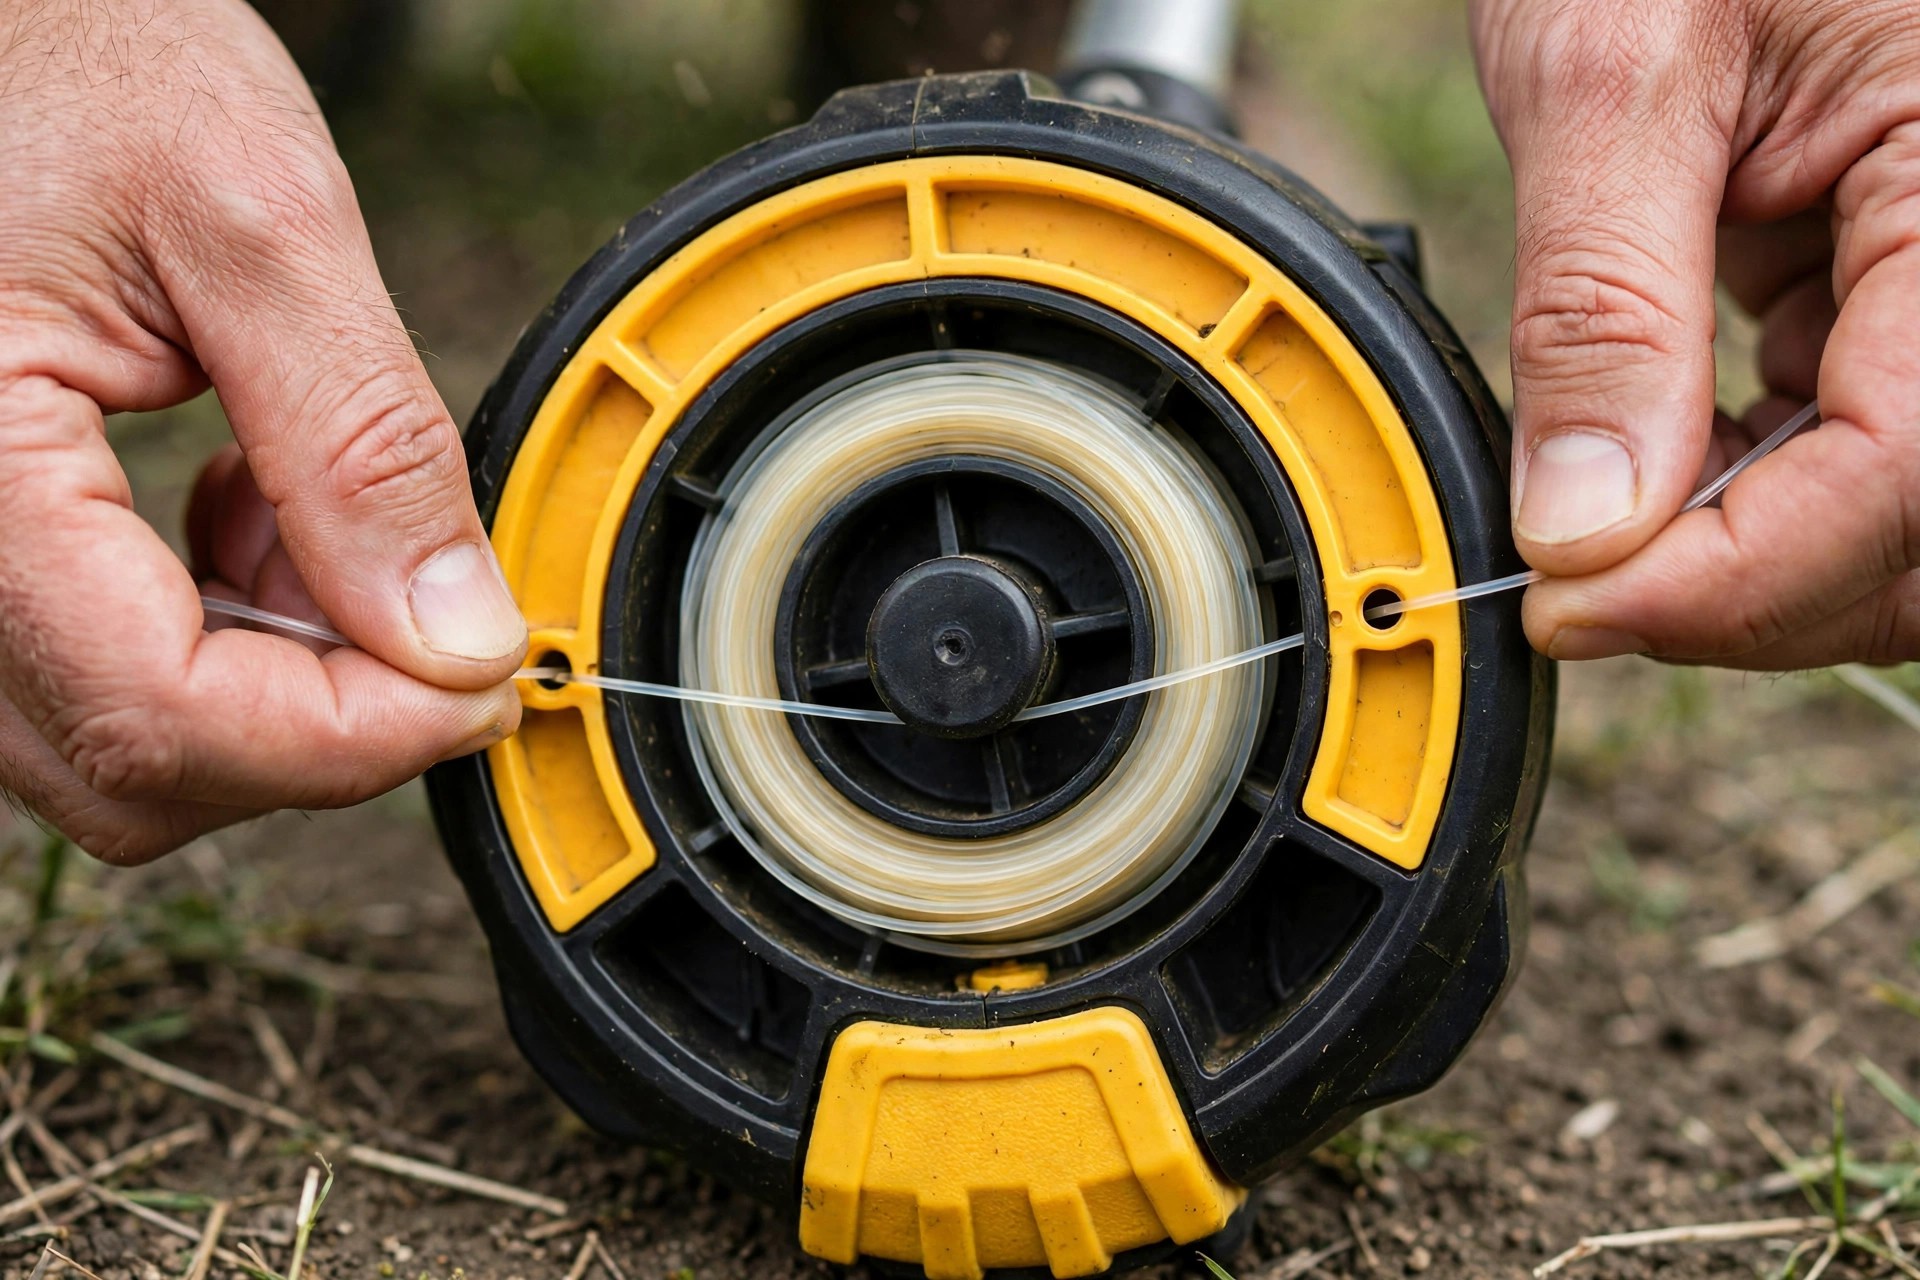
Test the feed with a short run. Rethread the line if feeding feels uneven. Check eyelets for blockages and trapped debris. Clean components keep performance consistent every session.
Benefits of Regular Line Change in Dewalt Trimmer
Fresh line keeps cutting performance consistently strong. Clean cuts reduce strain on the motor. Less strain helps the trimmer last longer. Regular changes prevent unexpected breakdowns during work.
| Line Type | Best For | Notes |
|---|---|---|
| Round | General trimming tasks | Simple, versatile everyday choice |
| Twisted | Cleaner cuts, less noise | Suits regular lawn work |
| Serrated | Thick weeds, stubborn growth | Cuts tougher vegetation well |
New line cuts grass and weeds faster. Faster cutting means less time trimming overall. Different lines suit different trimming tasks best. Compare types in are all trimmer lines the same before buying.
Good upkeep protects parts from extra strain. Some warranties require regular maintenance checks yearly. Worn lines break easily and endanger bystanders. Use how to choose trimmer line when picking replacement line.
Efficiency Improvements with Regular Line Changes
Fresh line cuts grass with fewer passes. Fewer passes save both time and energy. Easy cutting also reduces motor wear greatly. Your yard looks neat after every session.
| Feature | New Line | Old Line |
|---|---|---|
| Cutting | Consistent cutting | Uneven cutting |
| Motor strain | Less motor strain | More motor strain |
| Jams | Reduced jams | Frequent jams |
Fresh lines break far less during work. Worn lines snap and force frequent stops. Fewer stops keep yard work moving smoothly. Steady replacement keeps every session running uninterrupted.
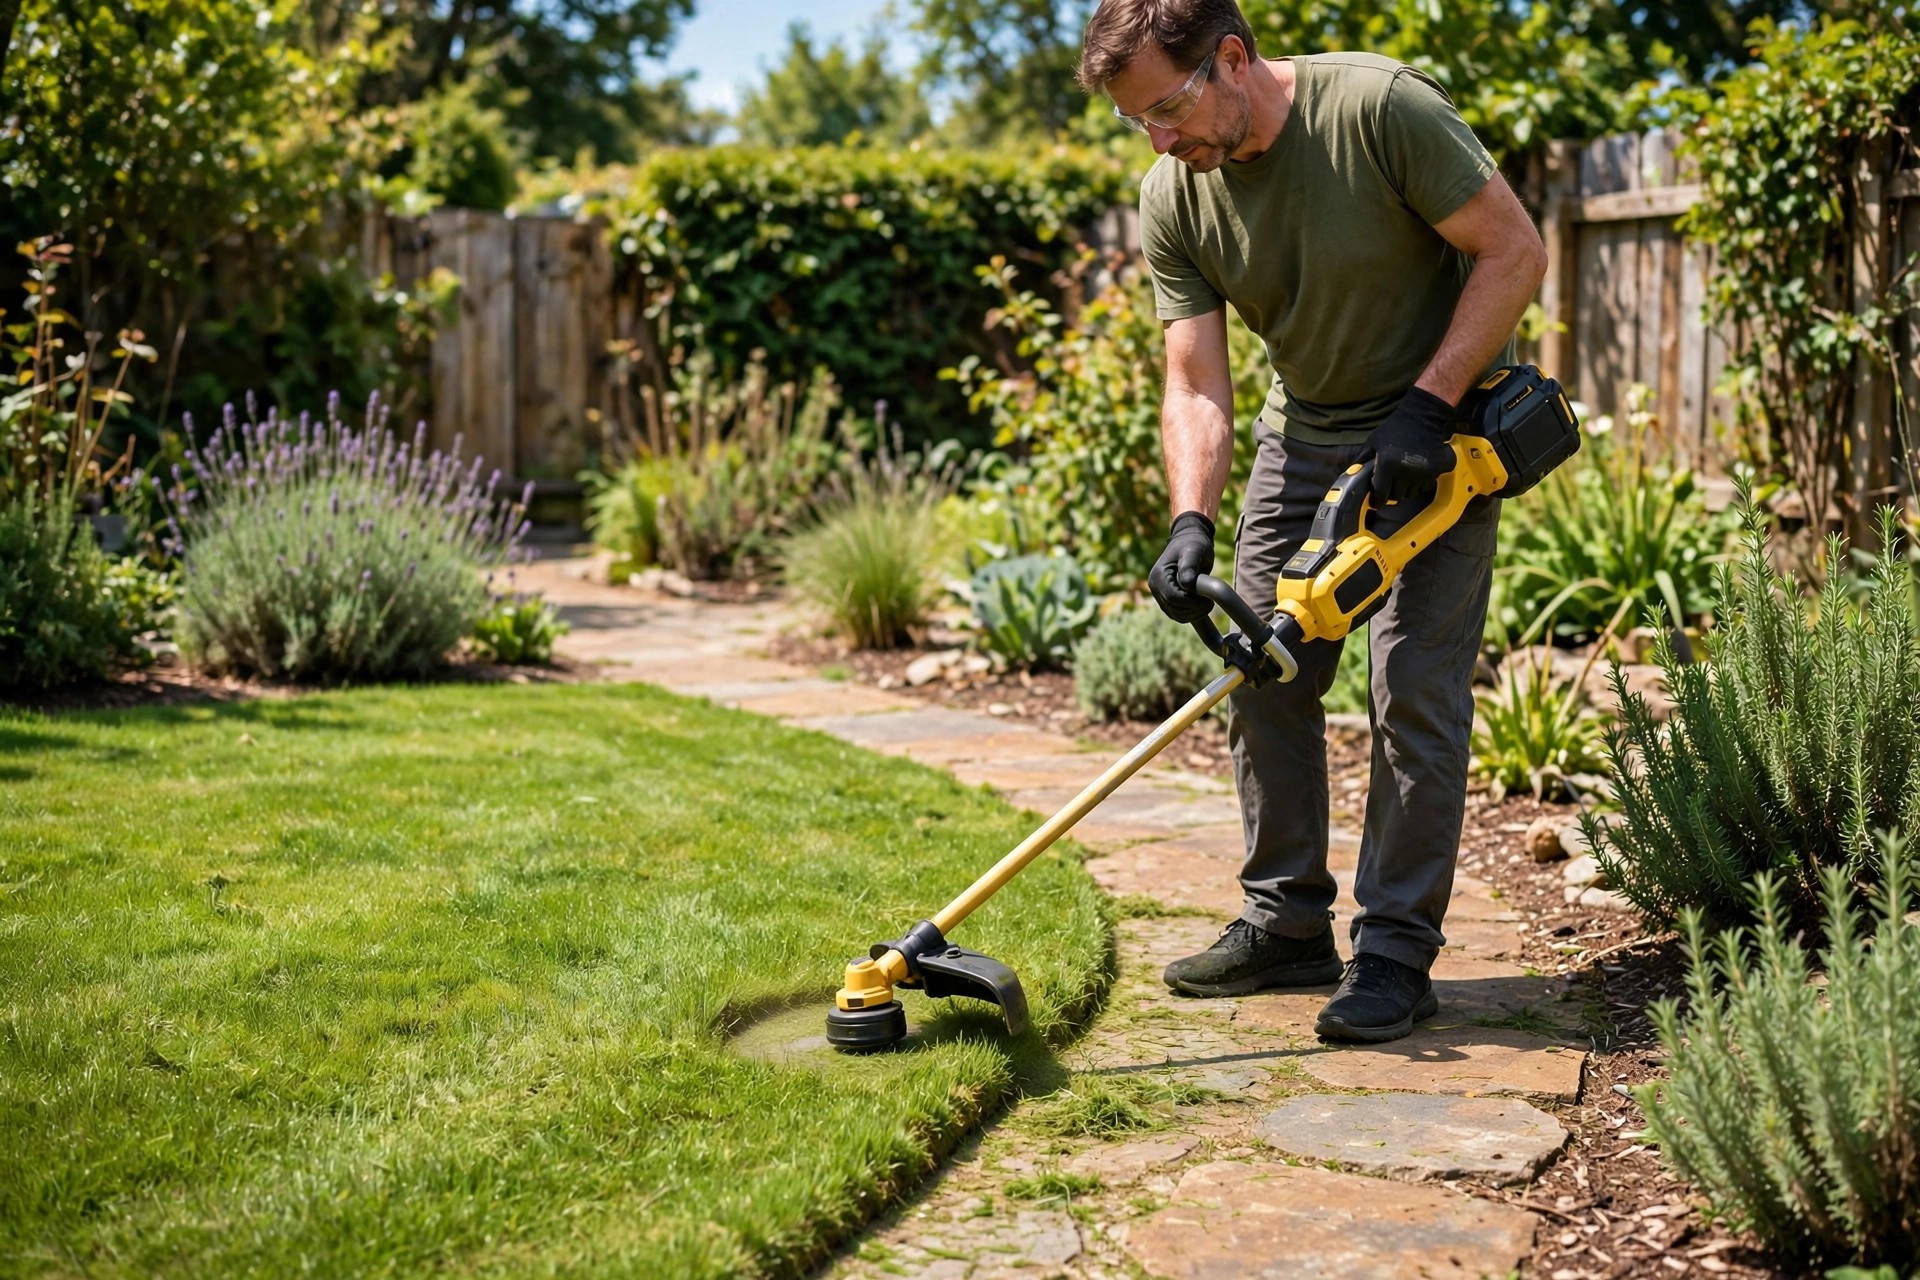
Gas trimmers also gain from fresh line. Efficient cutting uses less fuel per job. Lower fuel use saves money over time. It also lowers impact on the environment.
Frequently Asked Questions
Common questions cover line types and timing. Answers also cover attachments, jams and vibration. Each answer reflects manual and maker guidance.
What types of trimmer line can be used with DEWALT trimmers?
Round, twisted and serrated lines all fit. Round line suits basic trimming tasks best. Twisted line cuts cleaner with less noise. Serrated line handles thick weeds and vegetation.
Right line choice improves cutting efficiency noticeably. It also extends overall trimmer working life. Follow manufacturer recommendations for best tool performance. Your manual lists suitable types and sizes.
How often should I replace the trimmer line?
Replacement timing depends on use and terrain. Regular garden work needs changes every few uses. Heavy weeds and rocks wear line faster. Inspect line condition before every trimming session.
Fraying signals that replacement time has arrived. Falling cutting performance signals replacement time too. Keep spare lines ready for quick swaps. Prepared owners avoid delays during busy weekends.
Can I use aftermarket trimmer attachments on my DEWALT trimmer?
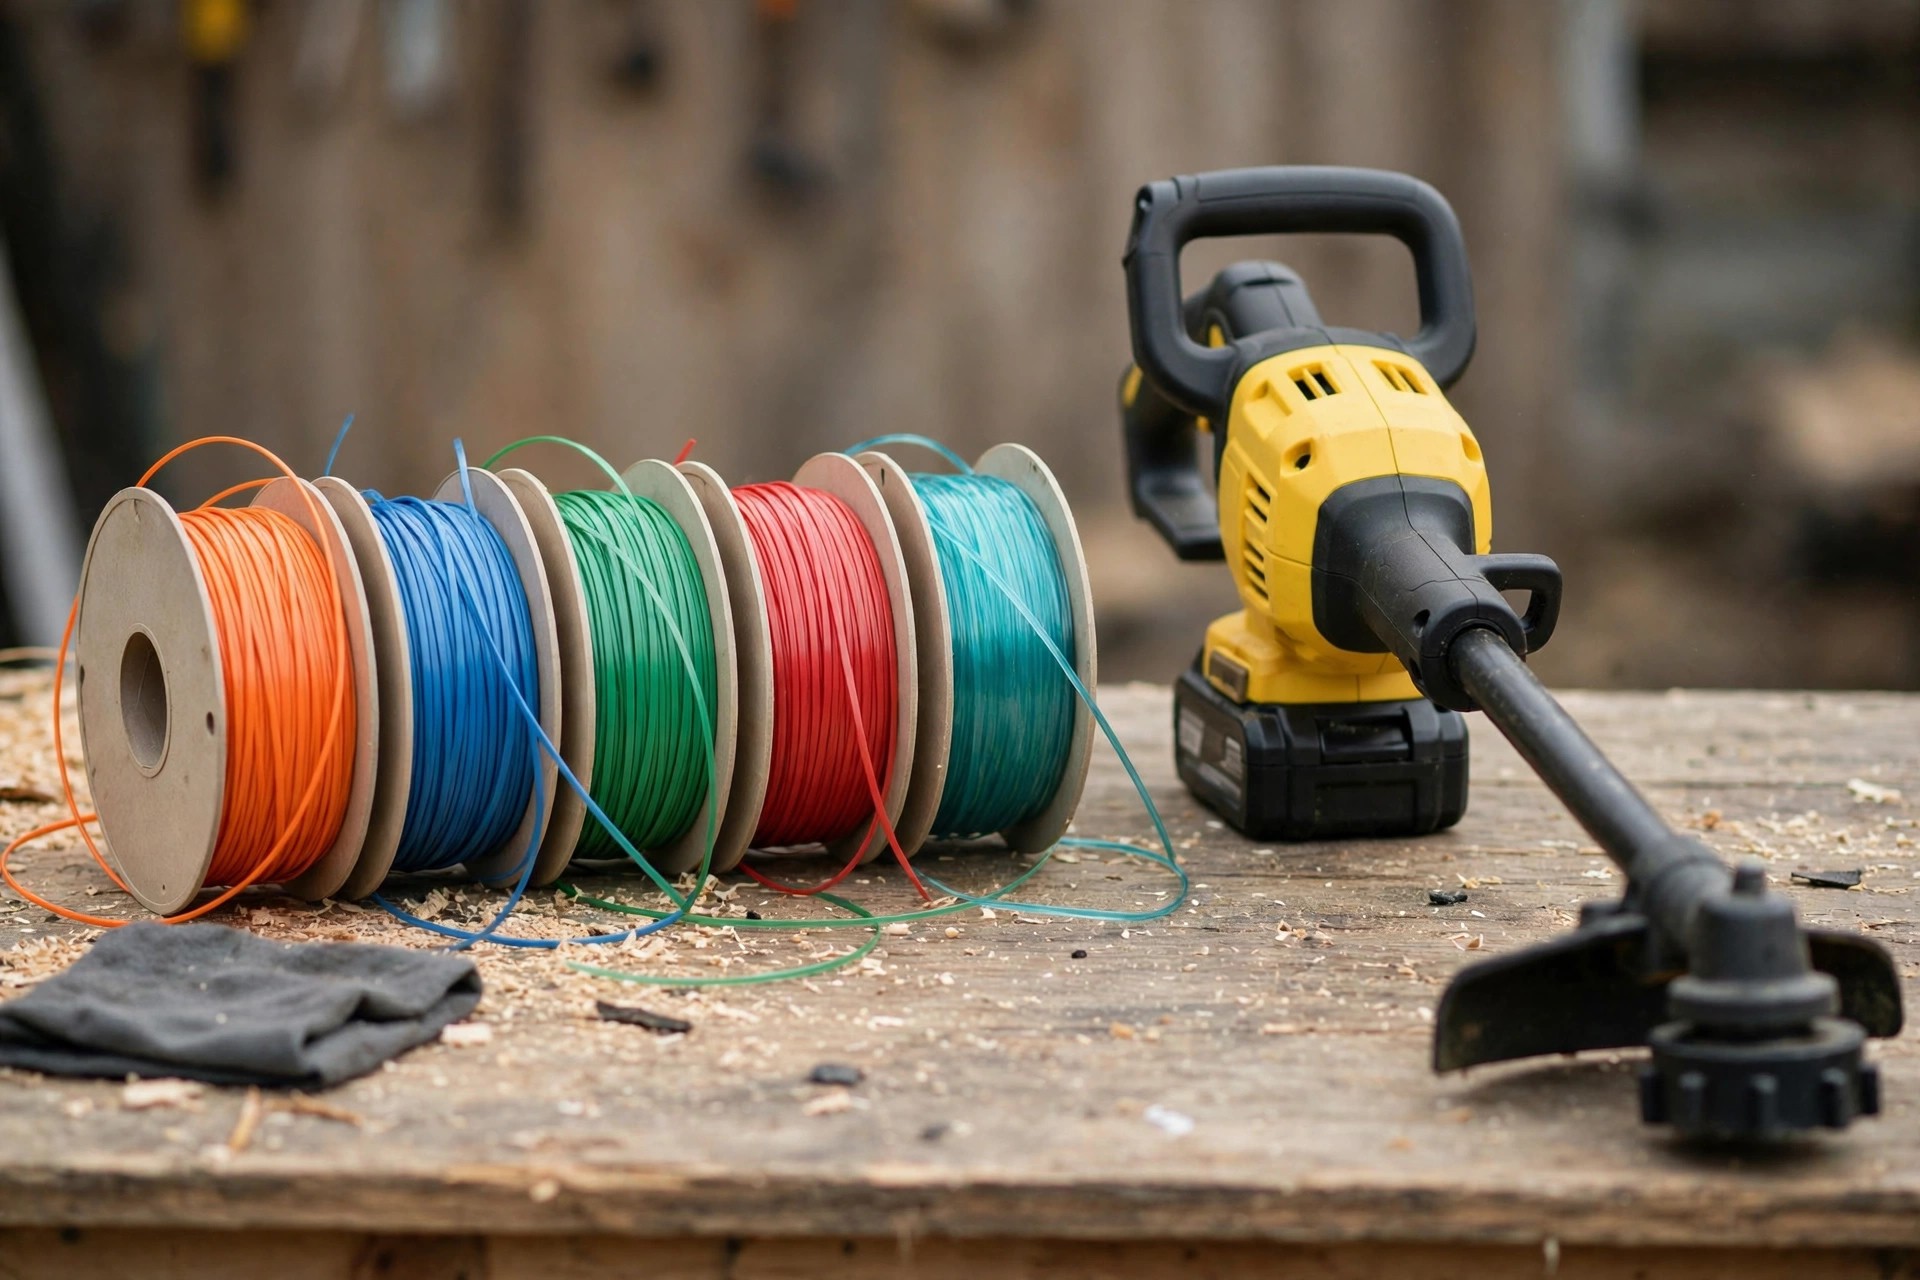
Some aftermarket attachments may fit your trimmer. Official DEWALT products suit compatibility and safety. Non DEWALT parts may affect warranty coverage. Read are trimmer attachments universal for wider fit context.
Check your manual before adding any attachment. Customer support can confirm model compatibility questions. Parts designed for your model stay safest.
Stuck Heads and Vibration Questions
Stuck heads and shaking tools worry owners. Simple cleaning fixes many jamming problems early. Balanced, fresh line prevents most vibration issues.
What should I do if my DEWALT trimmer head gets stuck?
Switch off and unplug the tool first. Clean lodged debris from inside the head. A soft cloth clears most jam material. Follow how to stop trimmer line jamming for deeper unjamming steps.
Consult the manual if jamming persists afterwards. DEWALT support can help with stubborn faults. Regular cleaning prevents most jams from forming.
Why is my DEWALT trimmer vibrating excessively?
Imbalanced line commonly causes excessive trimmer vibration. Worn line also creates uneven running levels. Uneven running reduces efficiency over time noticeably.
Check installation first for correct line seating. Inspect line for breakage, fraying and wear. Replace damaged line following manual instructions carefully. Correct fitting reduces unwanted shaking during use.
Conclusion: How to Change Line in Dewalt Trimmer
Regular line changes keep your trimmer cutting cleanly and performing strongly. Fresh lines reduce motor strain and lower the risk of breakdowns. Careful winding and threading keep the line feeding smoothly every session. Clean heads and clear eyelets prevent jams before they start.
Simple routine care extends tool life and keeps trimming safer overall. It also makes every yard session quicker, neater and more enjoyable. Remember how to change line in dewalt trimmer before each season. Keep spare line ready and your trimmer stays prepared always.

I’m Patricia D. Johnson, an affiliate marketer and blogger specializing in trimmers and grooming tools. I create honest reviews, buying guides, and practical tips to help readers choose the right trimmer for their needs. With a focus on quality, performance, and value, I simplify the decision-making process so consumers can make confident purchases.