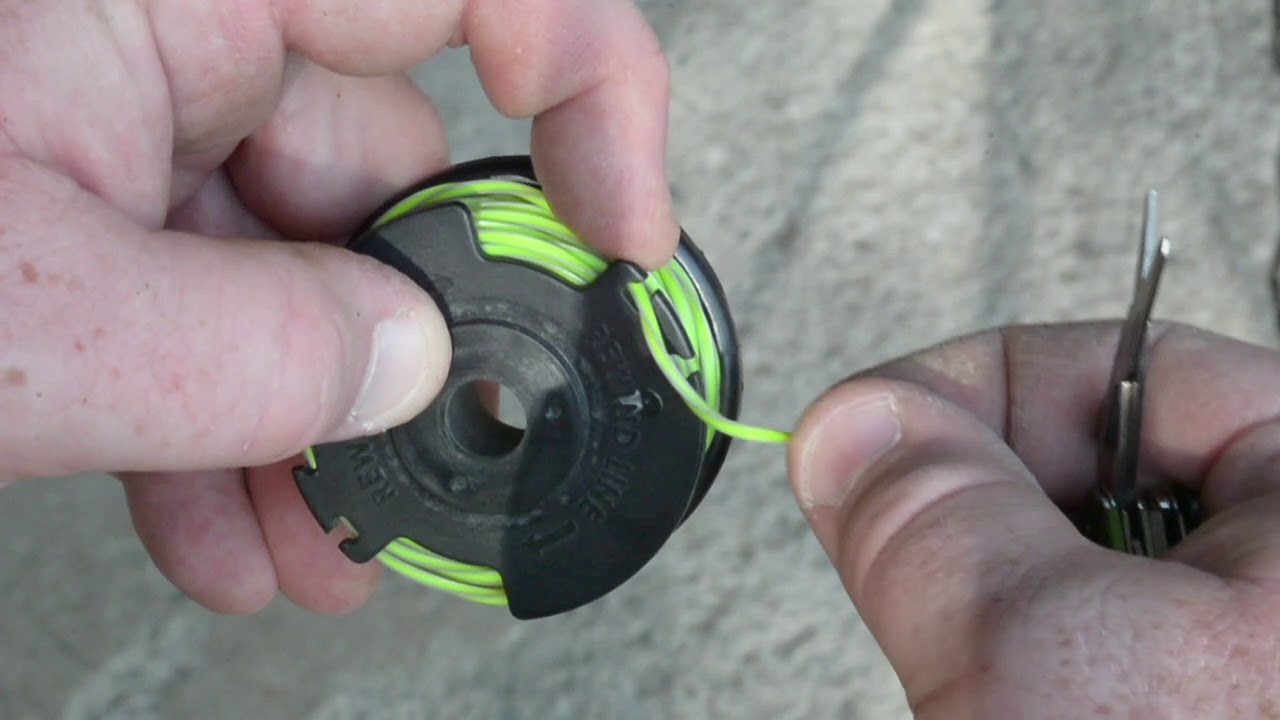
How To Wind A Ryobi Line Trimmer
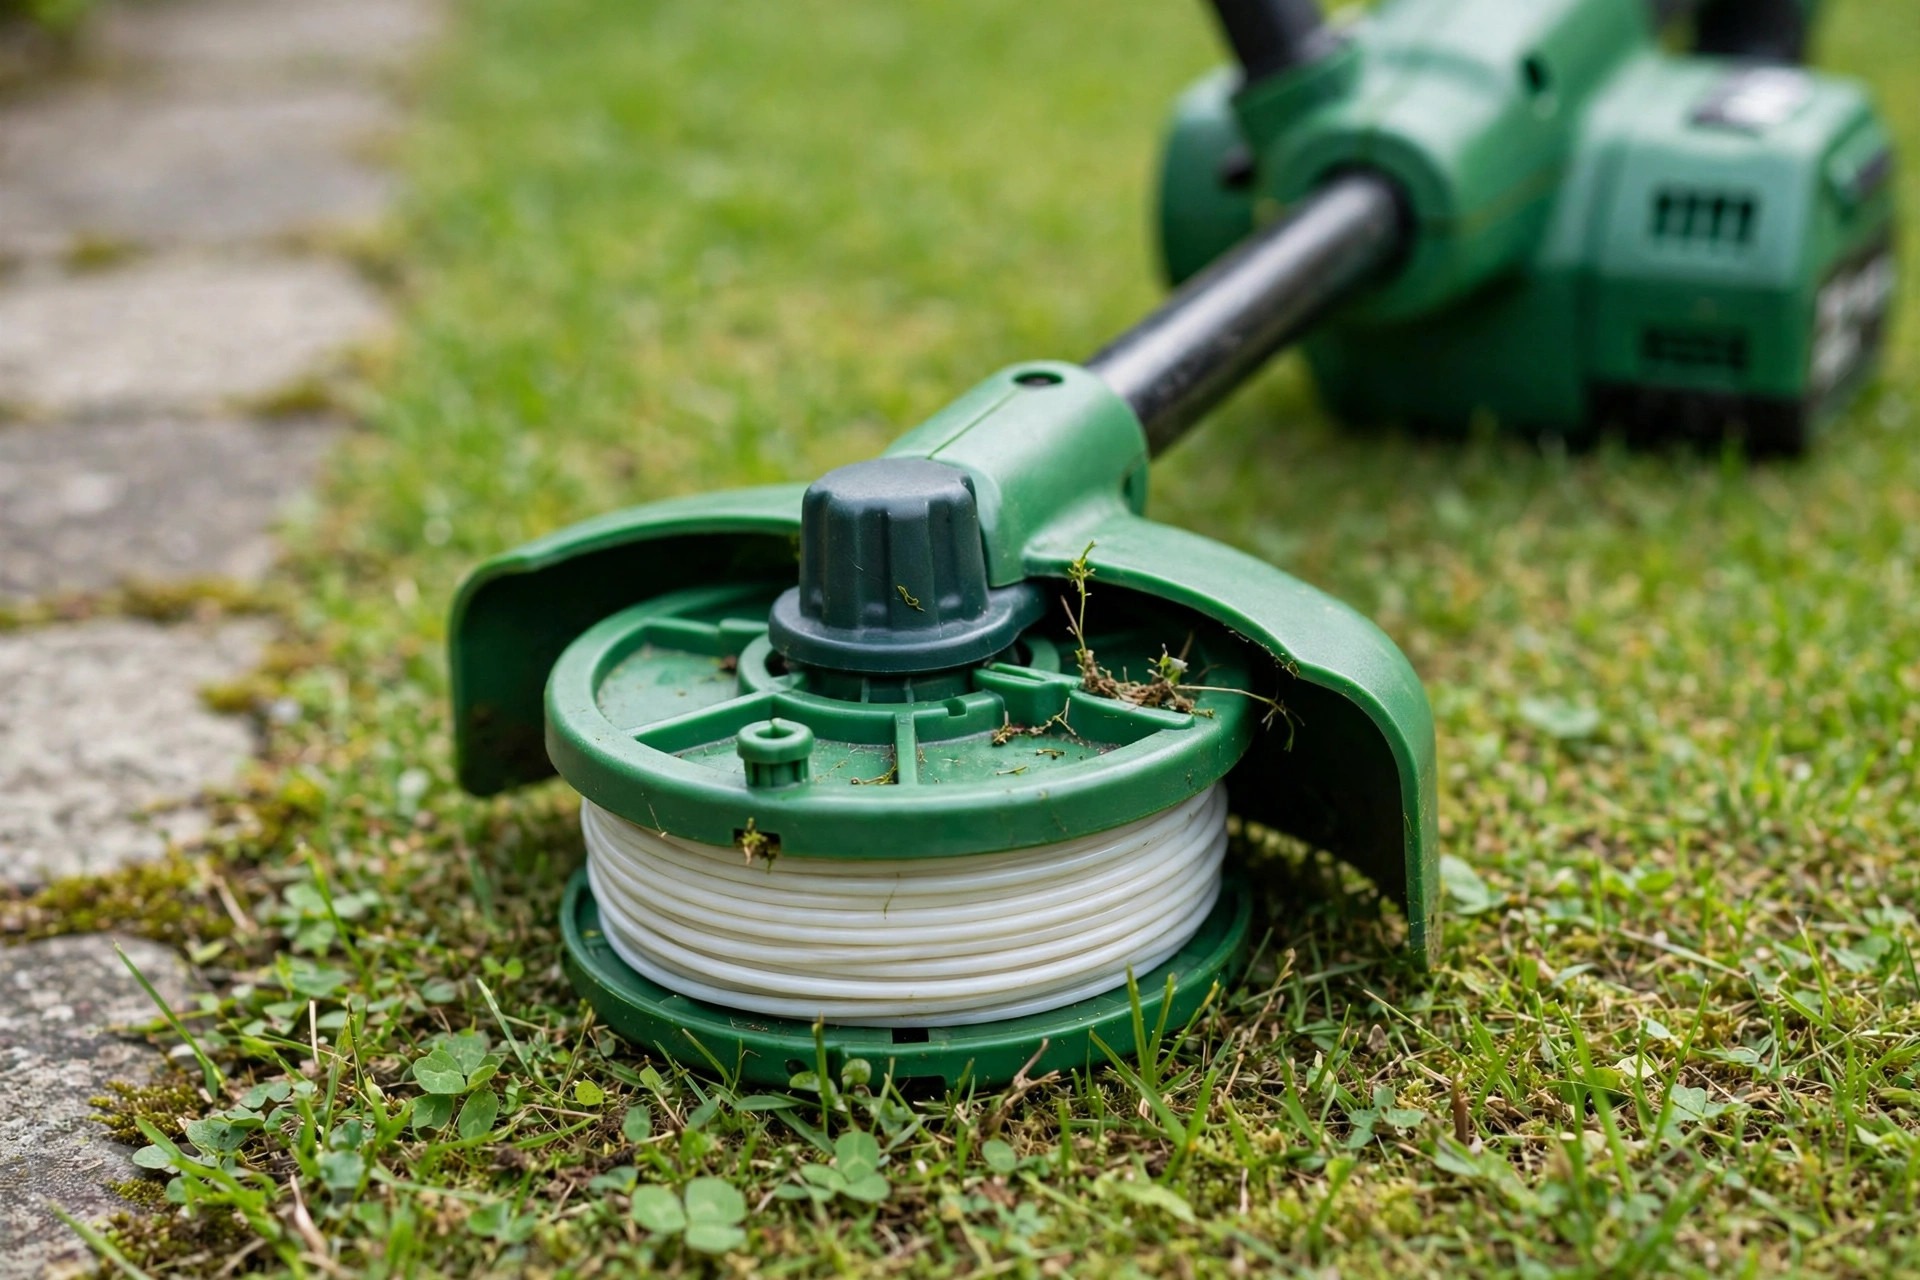
Learning how to wind a ryobi line trimmer saves money at home. A broken line often ends a trimming session early. Pre-wound spools run out at awkward moments sometimes. Winding your own line keeps work moving steadily.
The process starts by removing the trimmer cap. That simple step exposes the spool hidden inside. Fresh line then winds evenly around that spool. Even winding supports smooth feeding during trimming work.
This guide covers preparation, winding and careful reassembly. It also covers benefits, safety tips and questions. Follow each stage slowly on your first attempt. The routine soon feels quick and familiar with practice overall.
Quick answer: Winding fresh trimmer line takes seven clear steps today. Remove the cap first and lift the spool free. Cut around 15-20 feet of matching new line. Thread both ends, wind evenly and secure them. Reassemble the head, click it shut and test briefly.
- How to Wind a Ryobi Line Trimmer
- Step 1: Preparation for Winding
- Step 2: Winding the Trimmer Line
- Step 3: Reassembling the Trimmer
- Benefits of Learning to Wind a Ryobi Line Trimmer
- Tips and Precautions When Winding a Ryobi Line Trimmer
- Frequently Asked Questions
- Blade and Overheating Questions
- Conclusion: How to Wind a Ryobi Line Trimmer
How to Wind a Ryobi Line Trimmer
The full winding job follows one clear order. Each step builds safely on the last one. General guidance sits in how to replace trimmer line for comparison. Keep this order for every wind you do.
| Step | Action |
|---|---|
| 1 | Remove cap, access the spool |
| 2 | Cut around 15-20 feet of line |
| 3 | Thread line through anchor holes |
| 4 | Wind evenly in marked direction |
| 5 | Secure ends into holding slots |
| 6 | Reassemble head and cap securely |
| 7 | Test briefly for proper function |
Feed equal line lengths through the anchor holes. Wind each side evenly and firmly in direction. Secure the ends inside the spool holding slots. Reassemble the head and cap until both click. Test the trimmer briefly before starting real work.
Step 1: Preparation for Winding
Gather every needed material before you start winding. You need trimmer line, scissors and safety gloves. Switch the trimmer off before touching its head. Unplug electric models before starting any winding work. Check the head for dirt and loose debris.
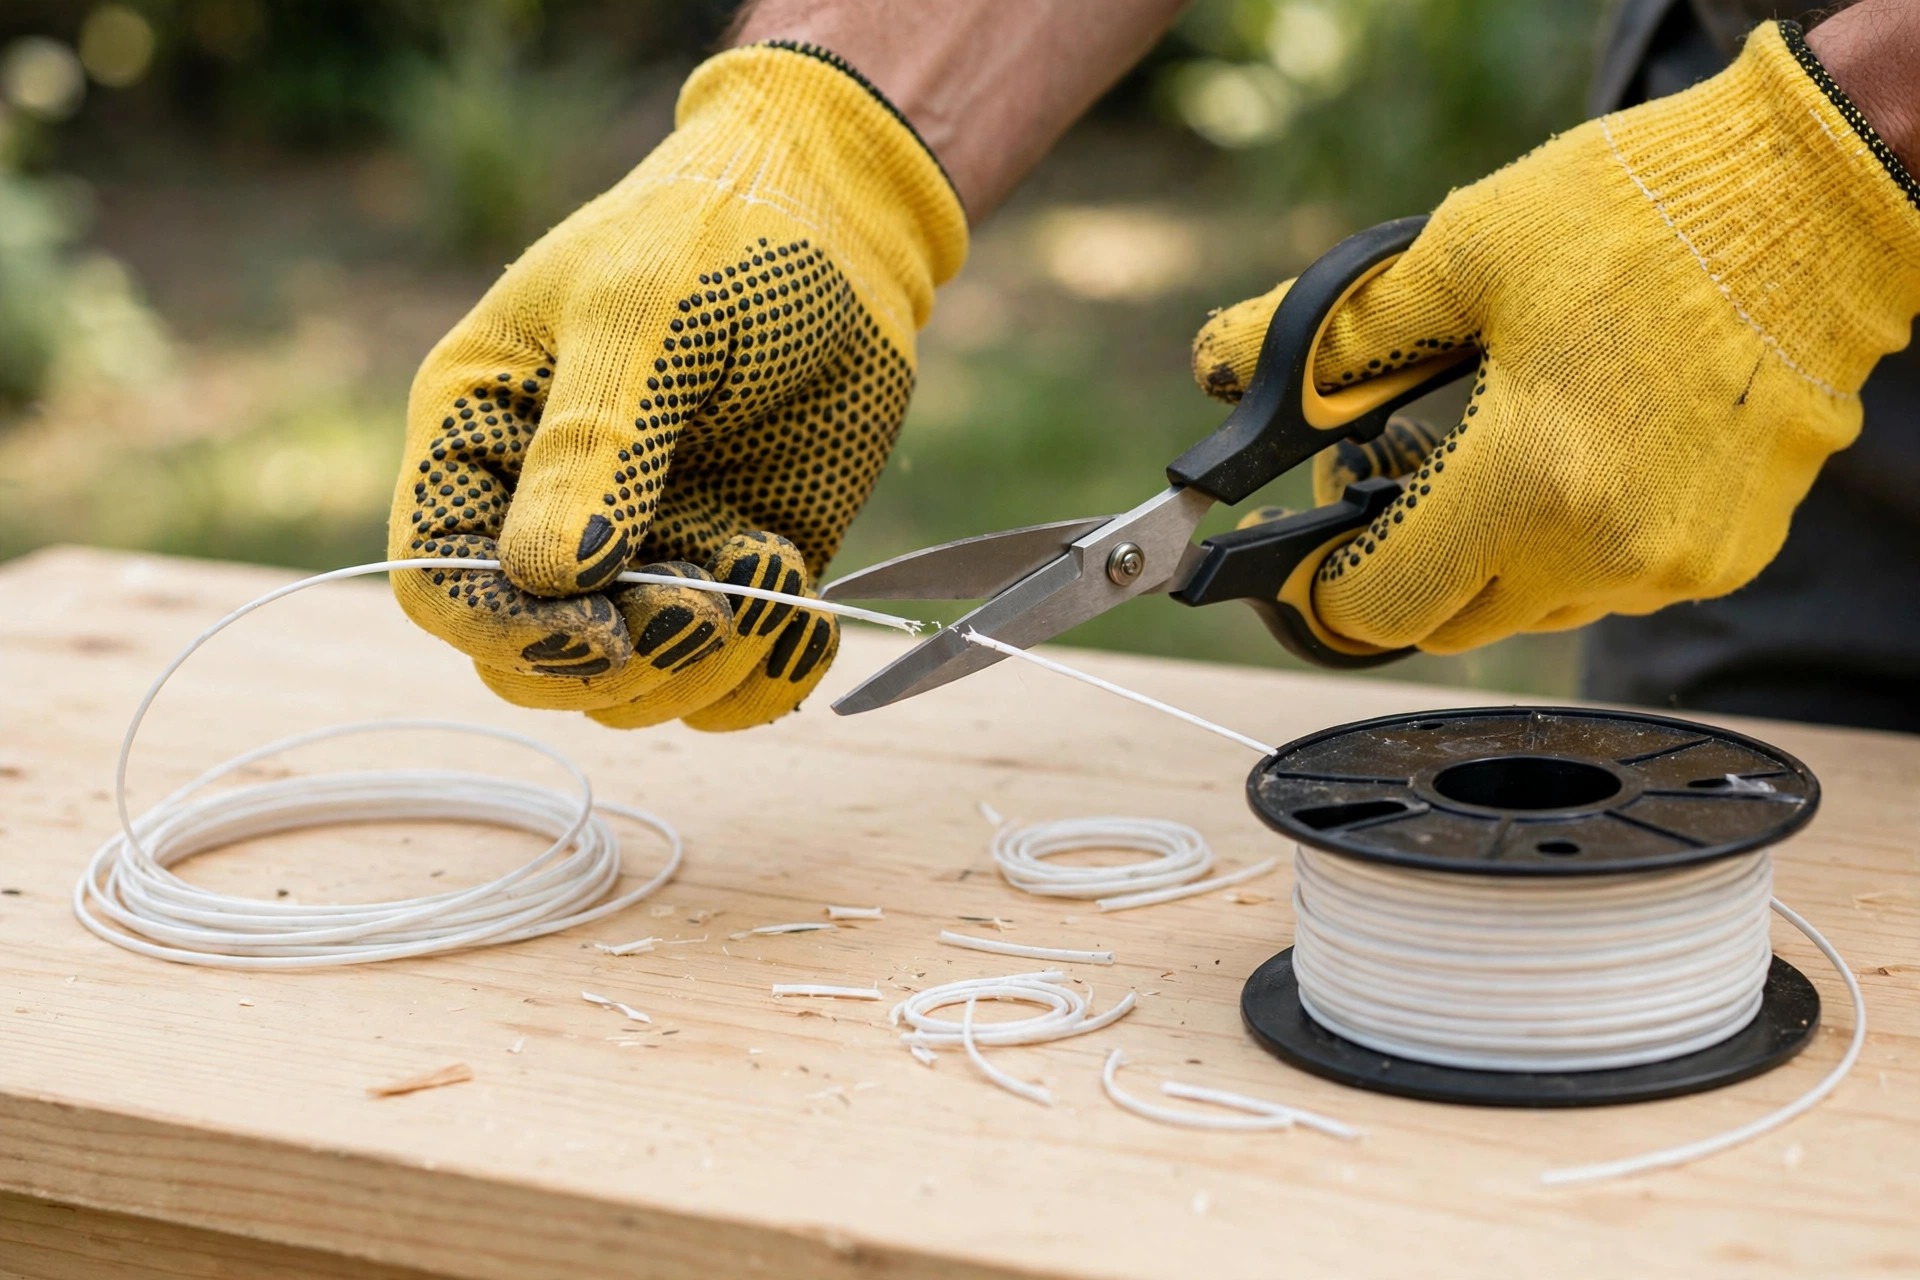
Press both release tabs beside the trimmer cap. Lift the cap to expose the spool inside. Handle every small part carefully during this stage. Confirm the correct diameter for your specific model. Related help sits in how to refill ryobi 18v line trimmer for owners.
Remove leftover line fully before adding new line. Old bits cause tangling and jamming during winding. Examine the spool closely for wear or damage. Keep spare spools handy for quick future changes. Cut around 15-20 feet of fresh new line.
Step 2: Winding the Trimmer Line
Thread the line through the spool anchor holes. Leave equal line lengths on either side throughout. This balance supports smooth operation during trimming work. Follow the directional arrows marked on the spool. Winding the wrong direction can cause bad jams.
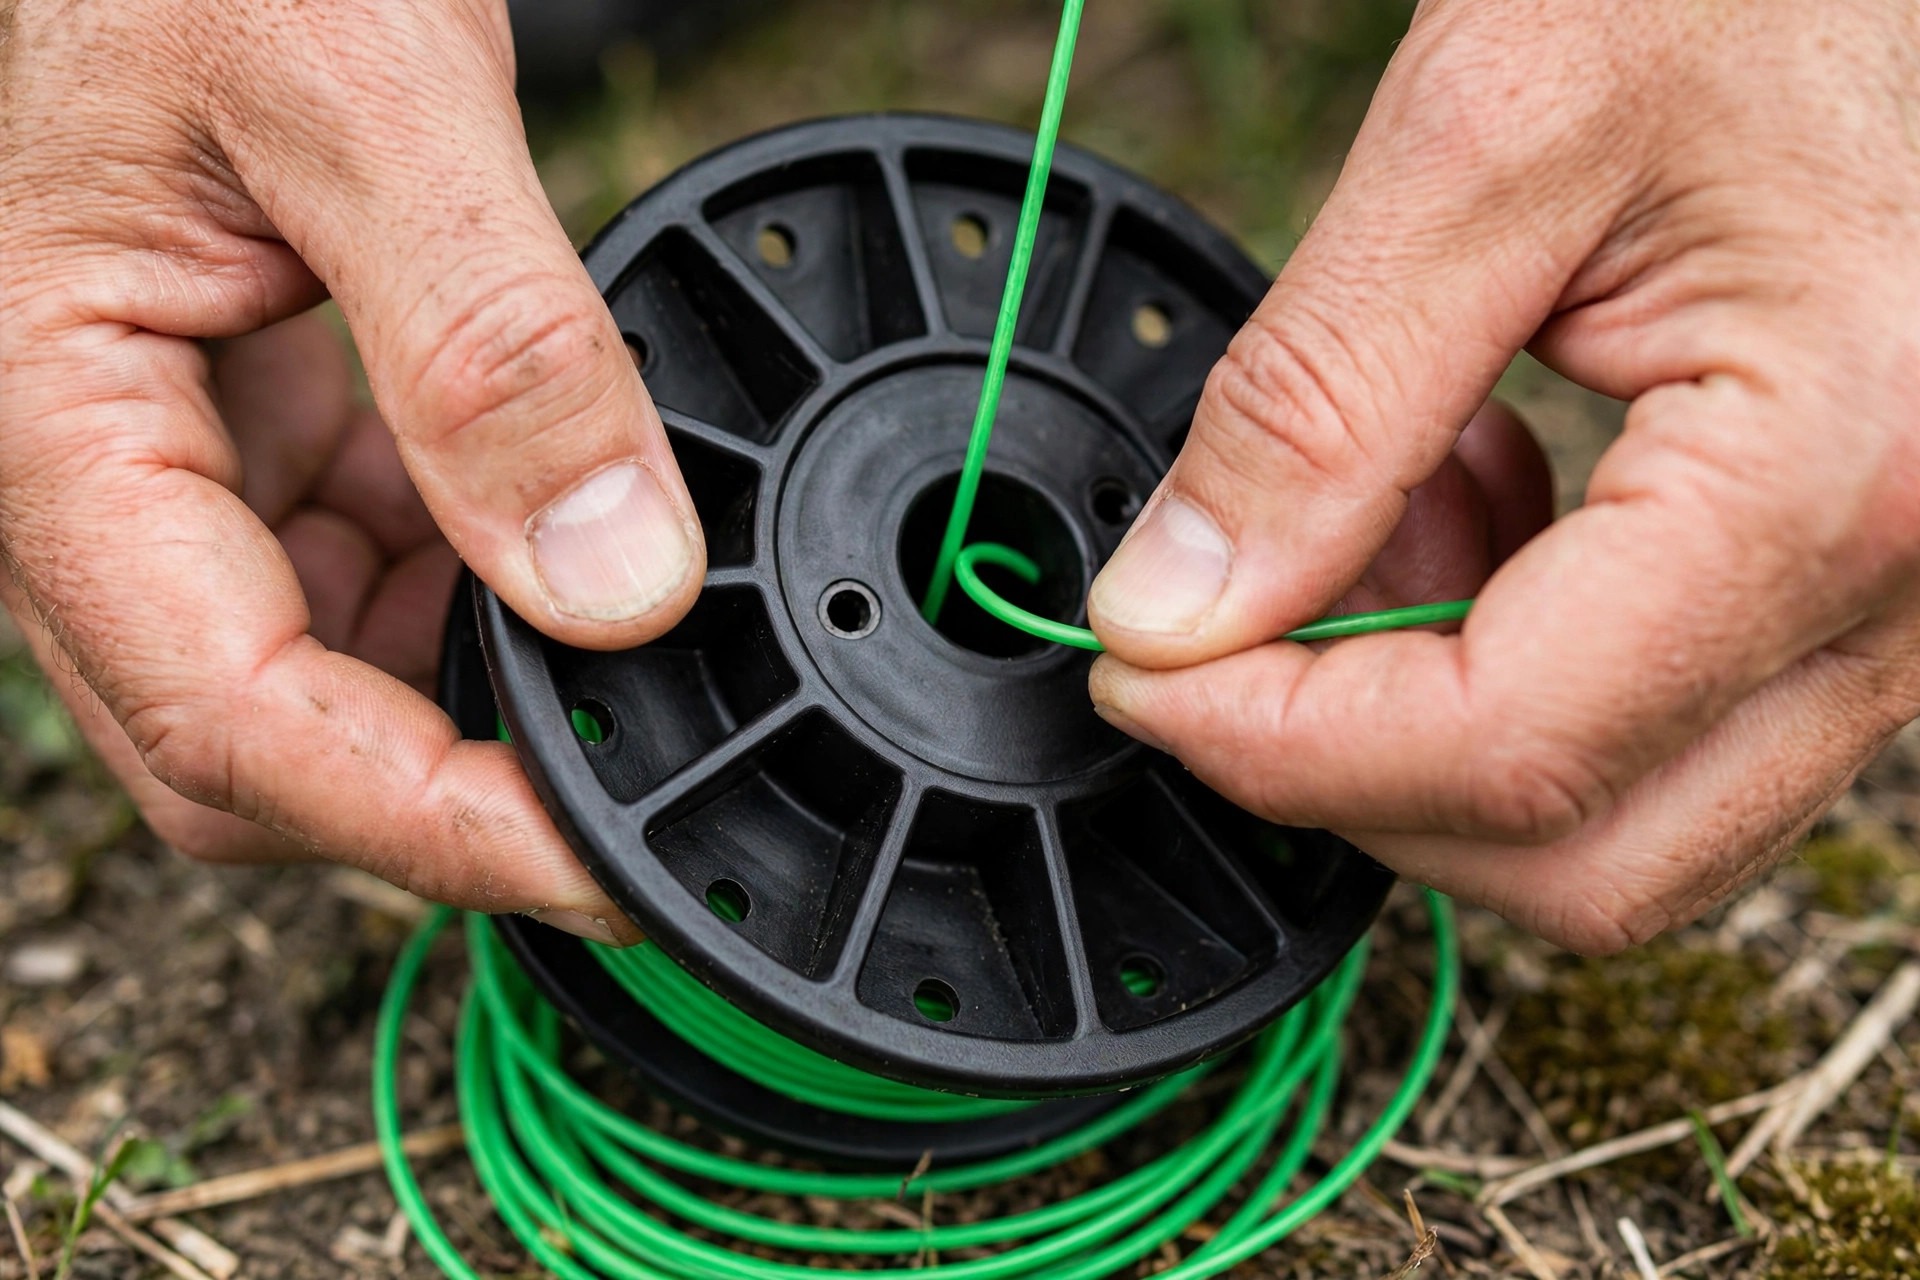
Keep the line tight without overlapping any turns. Consistent tension prevents tangles from forming at all. Lines should sit snugly inside their own grooves. Check your Ryobi manual whenever tension feels uncertain. Compare methods inside how to wind a string trimmer spool before winding more.
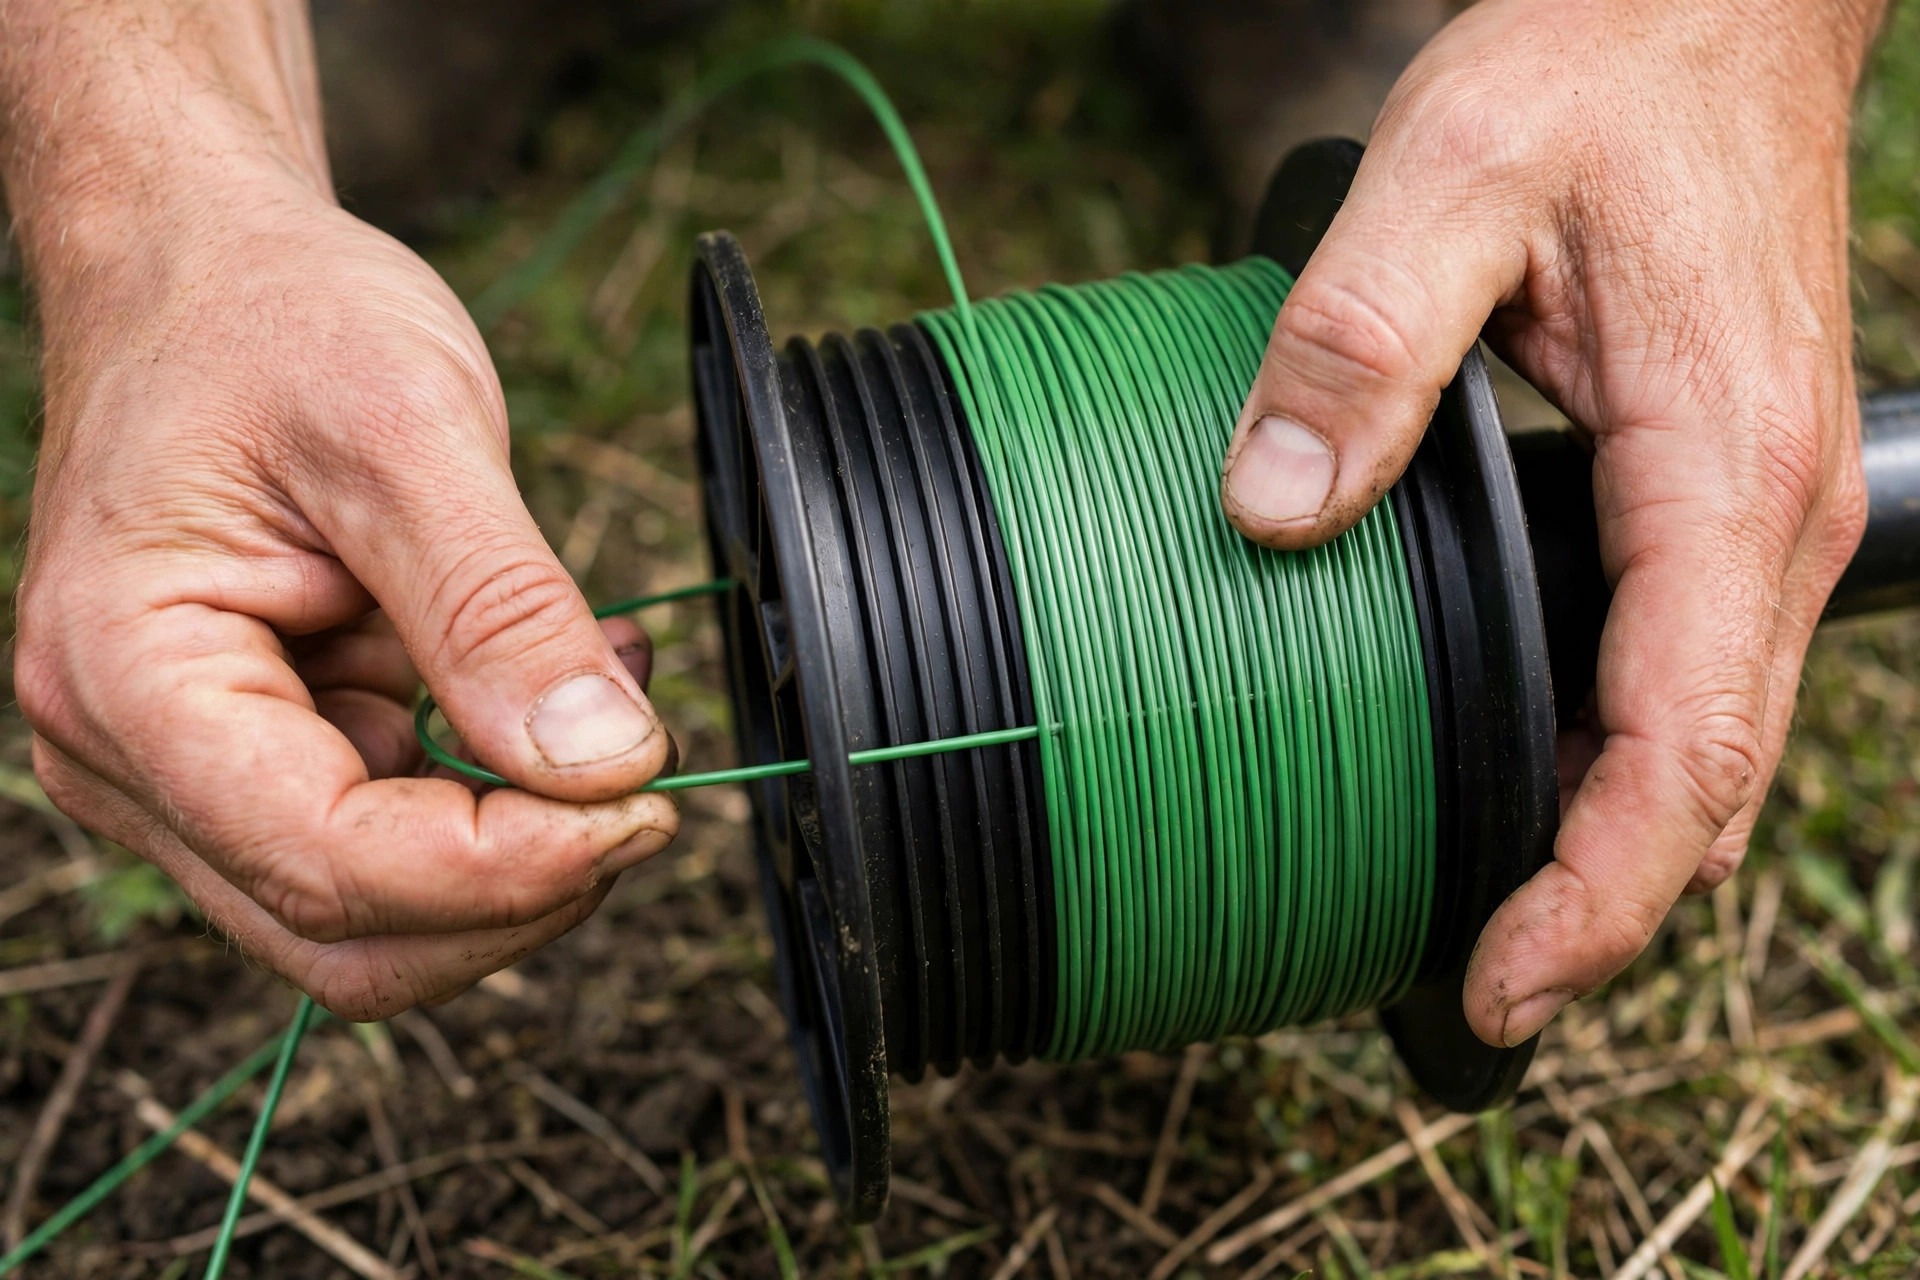
Secure both line ends inside the holding slots. This step keeps line in place during reassembly. The spool now holds its wound line firmly. Even, firm winding supports clean feeding later on.
Step 3: Reassembling the Trimmer
Place the wound spool back inside the head. Align it properly for a snug, secure fit. Misalignment can hurt performance during trimming work later. Press down firmly until the spool clicks locked.
Reattach the trimmer head cap over the spool. Tighten the cap until it clicks into position. Inspect the whole head for any loose parts. A tight fit keeps parts secure while trimming. See how to change line spool on ryobi trimmer for spool change help.
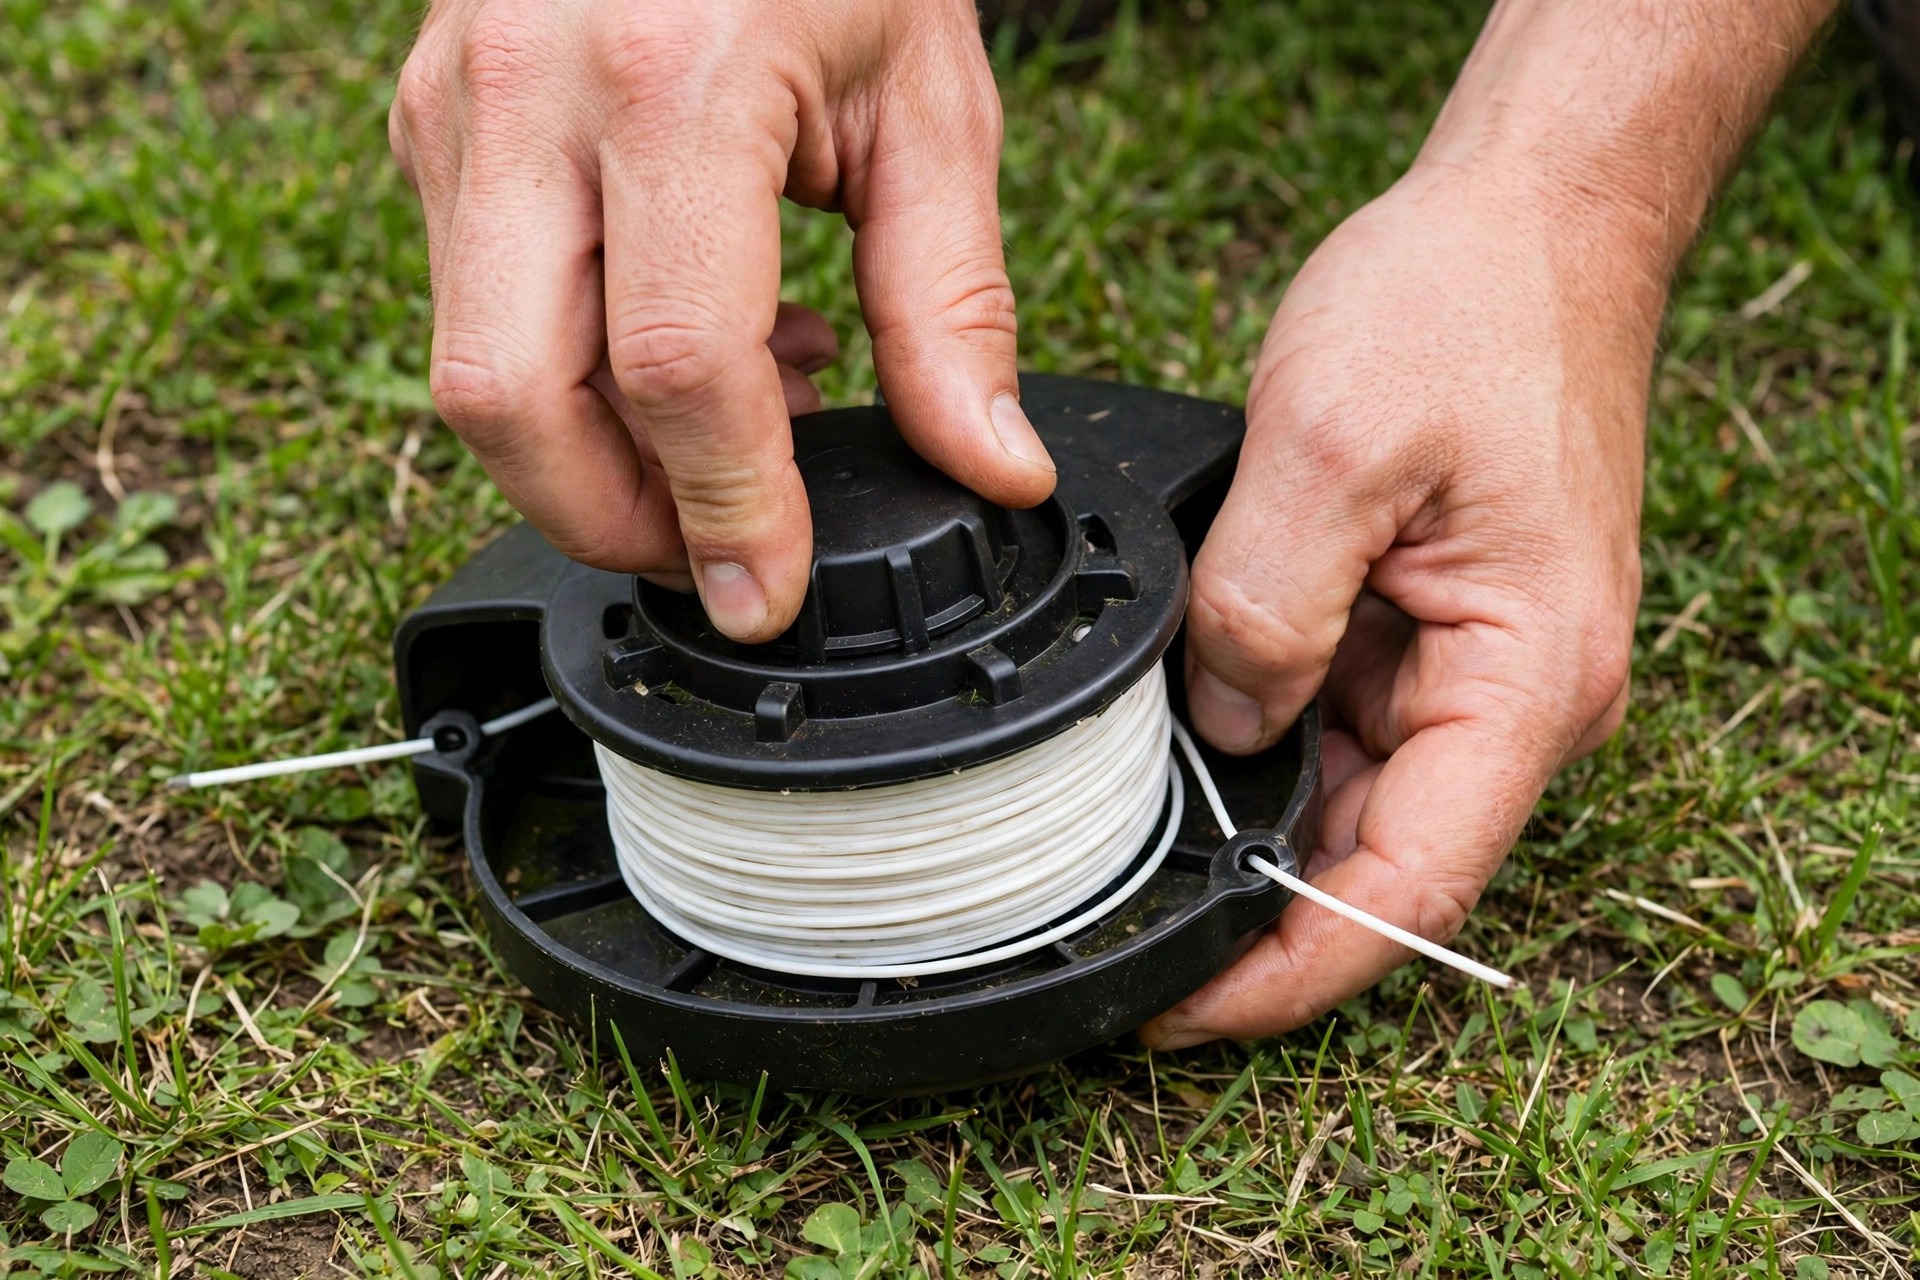
Pull both lines gently from their holding slots. Check both lines extend evenly on both sides. Readjust uneven lines before continuing any further work. Even lines help achieve a clean, even cut.
Clear leftover debris from around the trimmer head. Regular cleaning keeps dirt out of the mechanism. Learn how to store a string trimmer for storage basics today. Follow the EPA lawn and garden page for safer habits.
Benefits of Learning to Wind a Ryobi Line Trimmer
Buying bulk line keeps backup supply ready always. Your trimmer stays ready whenever line breaks mid-job. No store trip interrupts your gardening work then. Managing line yourself clearly reduces downtime between tasks.
Winding yourself also allows better line customization overall. Choose type and thickness for your trimming needs. Different jobs may need different lines each time. Compare options inside how to choose trimmer line before buying. Pre-wound choices no longer limit your setup options.
Proper winding reduces wear on spool and head. Regular care keeps the trimmer in good condition. Good care means fewer repairs and replacements overall. Handling repairs yourself builds confidence over time slowly.
Tips and Precautions When Winding a Ryobi Line Trimmer
Always wear safety gloves while handling trimmer line. Gloves protect hands from cuts and small scrapes. They also improve grip during the winding process. Safety comes first, even during rushed jobs outside.
| Check | Why It Matters |
|---|---|
| Spool wear before winding | Worn spools feed line poorly |
| Arrows on the spool | Wrong direction causes jams |
| Extra line kept handy | Quick replacements, fewer interruptions |
Use the correct type and diameter line always. Check the manual or head for model specifications. Wrong line causes poor performance and tool damage. Maker guidance lives at Ryobi support support pages.
Keep tension steady while winding the line evenly. Steady tension helps line feed smoothly during operation. Avoid pulling too tightly and straining the spool. Gentle but firm pressure works best overall here.
Frequently Asked Questions
These answers cover replacement timing and line choice. They also explain inspection habits before each use. Check your manual alongside every answer given here.
How often should I replace the trimmer line?
Replacement timing depends on use and material trimmed. Dense, tough vegetation may need replacement every few uses. Lighter material lets line last several sessions instead. Read how long does trimmer line last for typical line lifespan signs.
What type of trimmer line is best for my Ryobi model?
The best line depends on your specific model. Thicker lines, 0.095 inches and above, suit tough vegetation. Thinner line, 0.065-0.080 inches, suits lighter tasks well. Check the manual or head for suitable recommendations.
Blade and Overheating Questions
Two more answers cover blades and engine heat. Both topics need extra care and maker guidance. Protective equipment matters whenever blades are involved here.
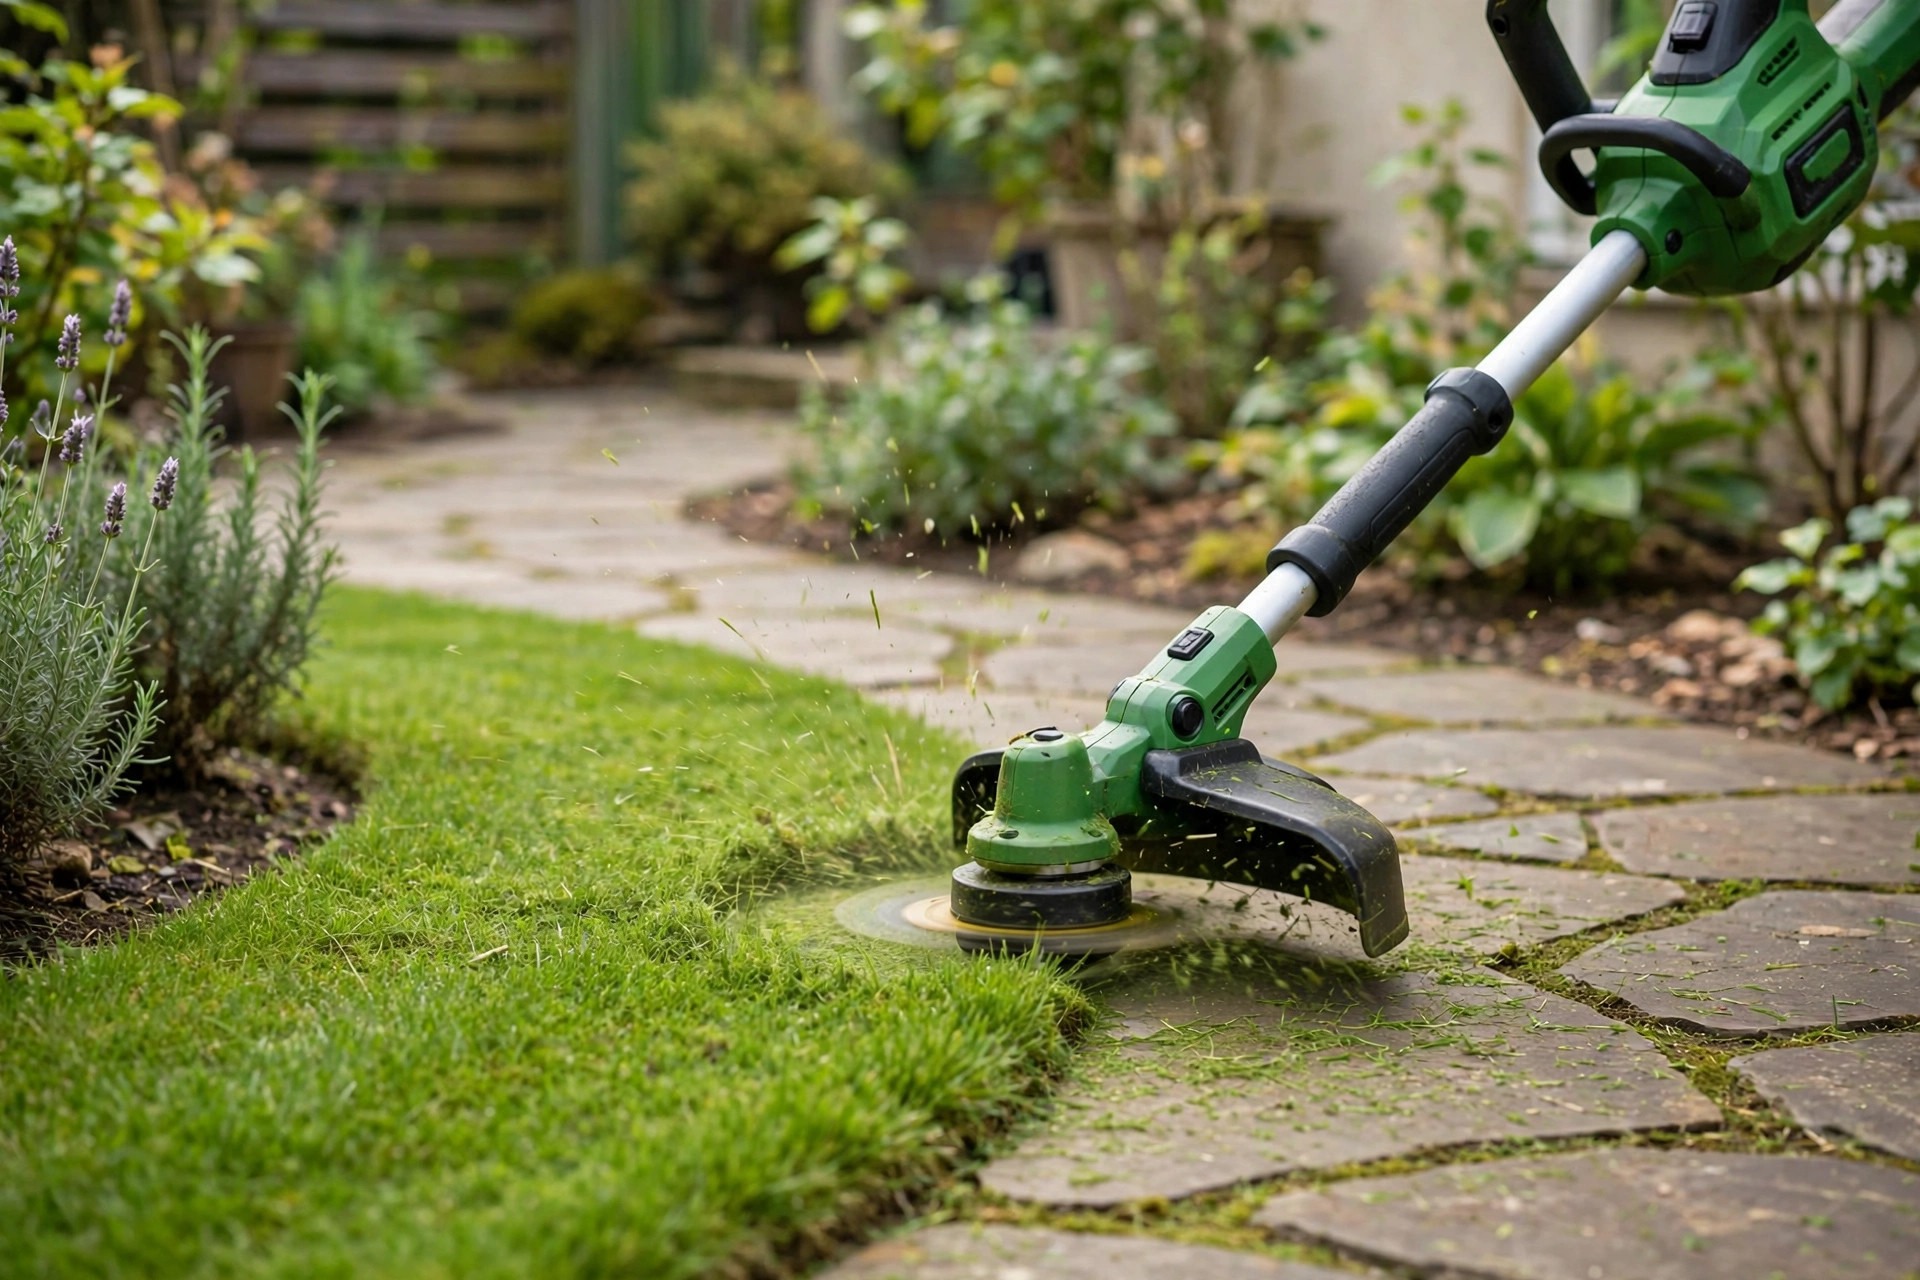
Can I use a metal blade instead of a nylon trimmer line?
Some Ryobi models support metal blades, not all. Blades cut thicker brush and woody stems well. You need a compatible blade head attachment first. Follow maker guidelines and wear protective equipment always.
What causes my trimmer’s engine overheating quickly after few minutes usage?
Clogged air filters commonly block cooling airflow inside. Blocked airflow lets engine heat build up quickly. Low lubrication adds friction and extra heat too. Rest the trimmer regularly during heavy work sessions.
Conclusion: How to Wind a Ryobi Line Trimmer
Winding your own line keeps trimming work efficient and steady daily. Simple steps plus regular maintenance protect the tool well over time. Good habits keep performance steady for all your gardening tasks. This skill also saves time on extra store trips overall.
Now you know how to wind a ryobi line trimmer correctly. Follow the tips and precautions carefully during every single wind. A well-maintained trimmer keeps gardens looking neat always. Consistent care brings lasting value from your tool investment overall.

I’m Patricia D. Johnson, an affiliate marketer and blogger specializing in trimmers and grooming tools. I create honest reviews, buying guides, and practical tips to help readers choose the right trimmer for their needs. With a focus on quality, performance, and value, I simplify the decision-making process so consumers can make confident purchases.