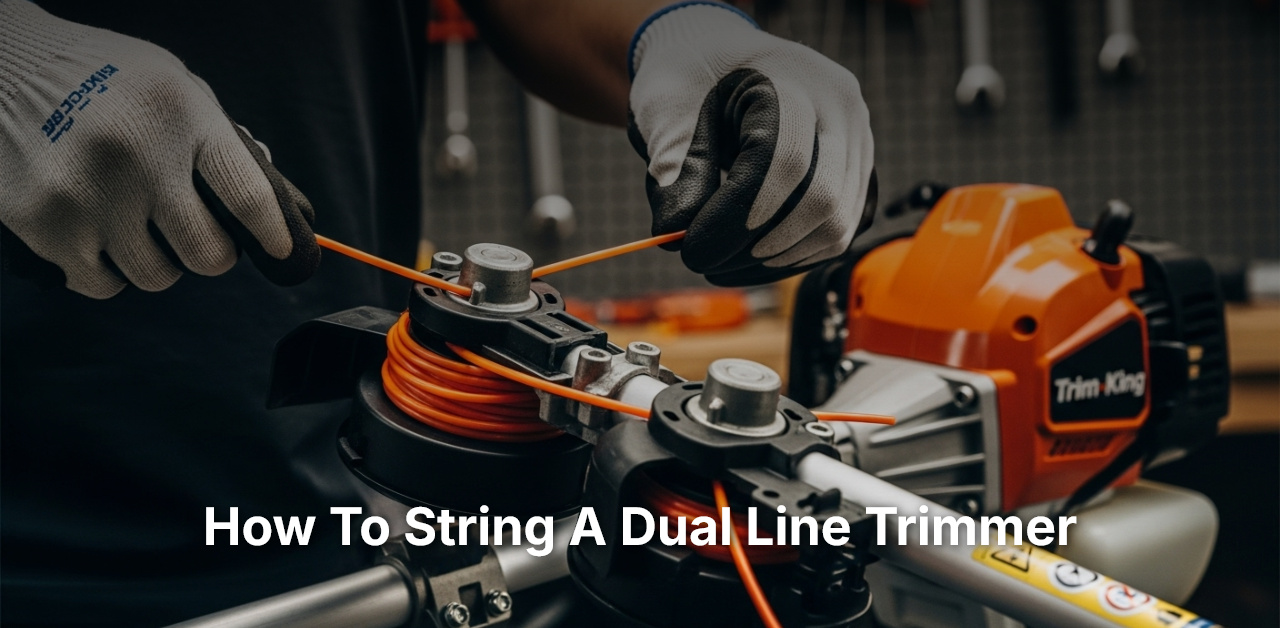
How to String a Dual Line Trimmer
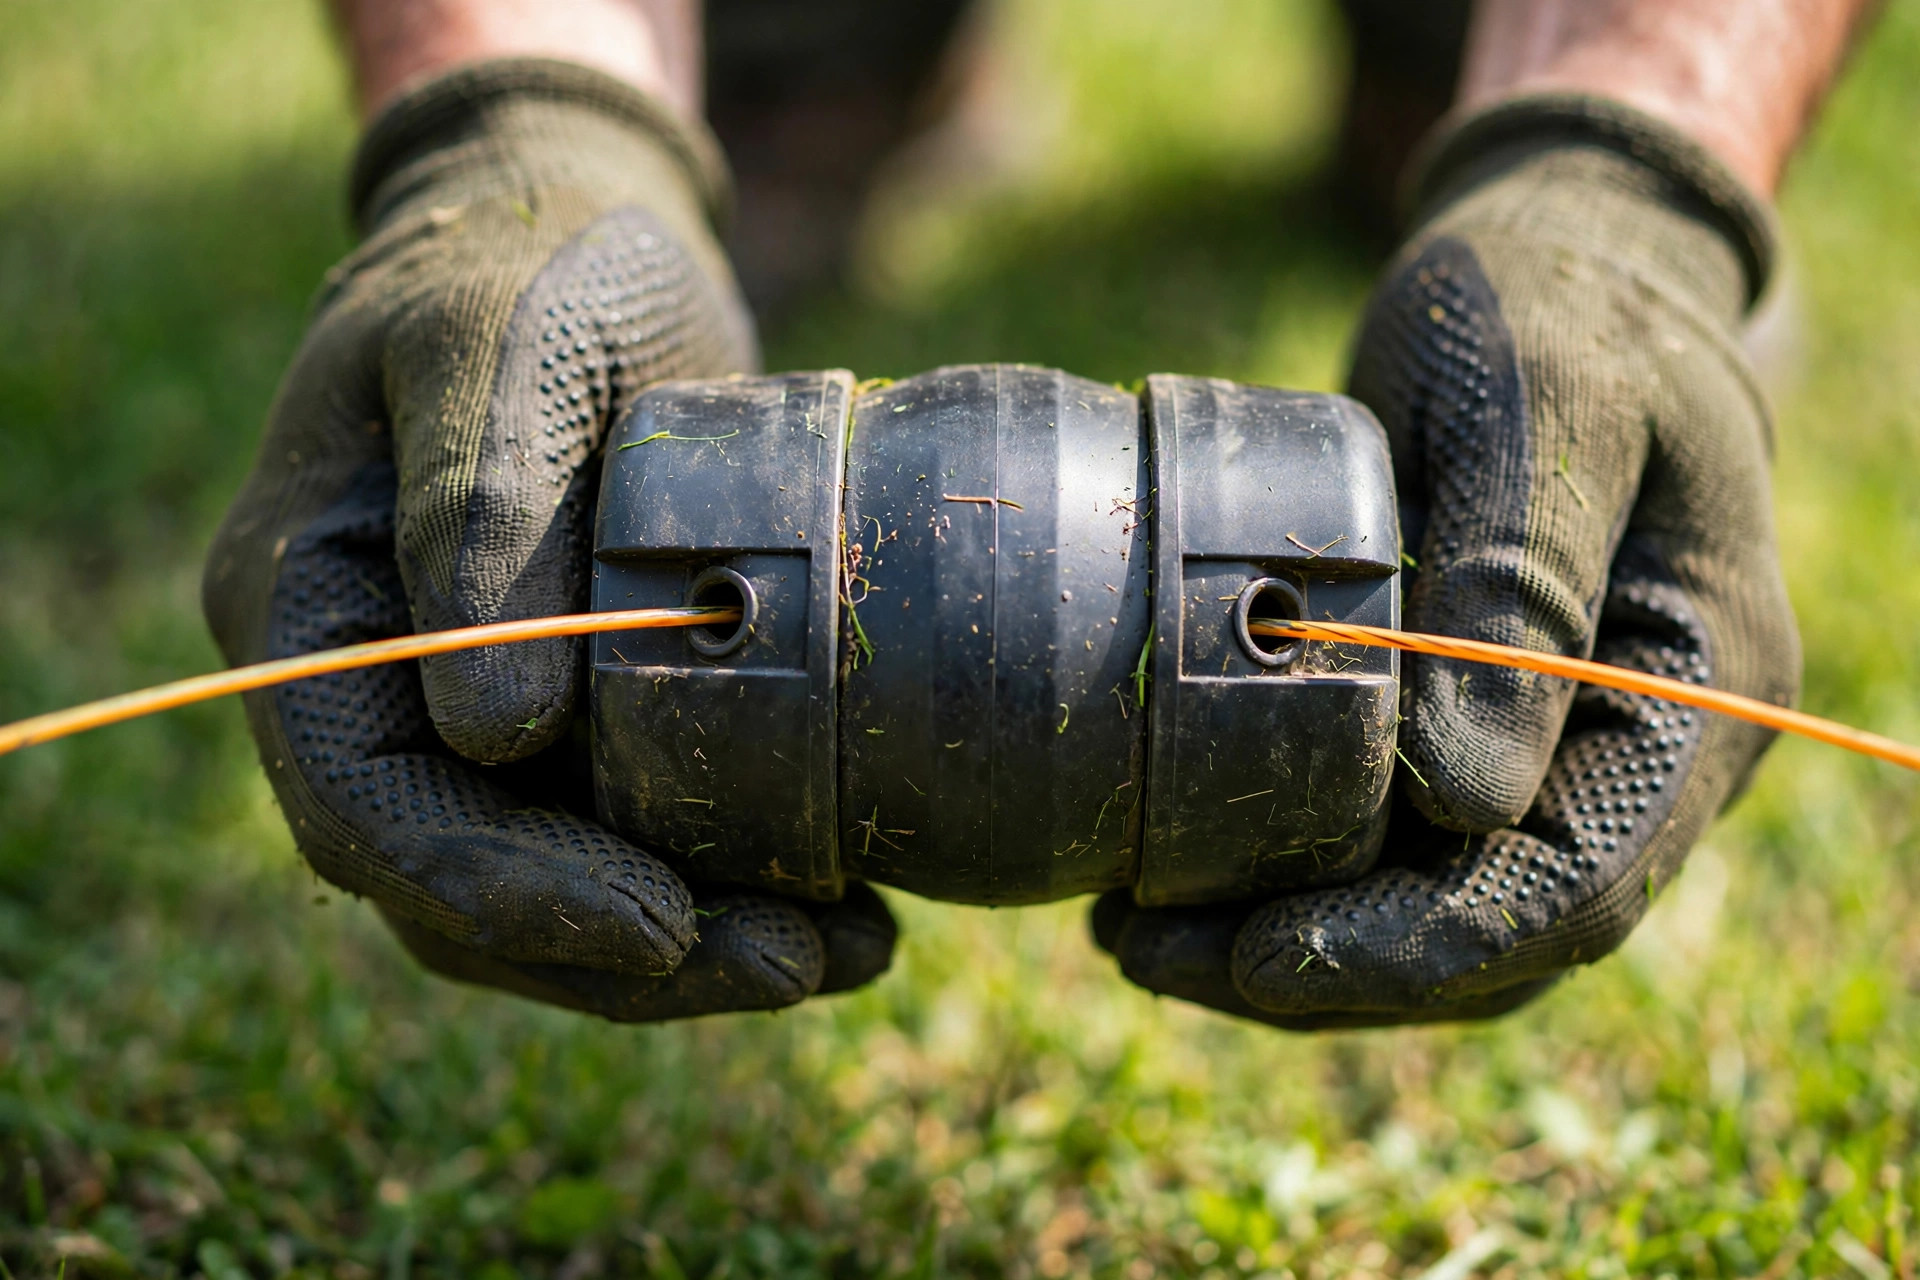
Ever thought about the skill it takes to string a dual line trimmer? As an avid gardener, I can tell you it’s more than just a simple task. A tangled trimmer line can turn a quick job into a long chore.
I’ve found that learning the technique not only increases garden productivity but also improves safety. Two lines feed from the head, so each side must wind the same way. This guide shows how to string a dual line trimmer step by step.
You will learn to prep the line, load the spool, and test both ends. By the end, you will feel ready to restring your own trimmer with ease. Let us walk through each step in plain, simple language together.
- Firstly, remove the spool from the trimmer head. Make sure it is clean and not damaged.
- Take two identical lengths of trimmer line, insert them into the holes of the spool, and wind them in the same direction.
- Finally, reinsert the spool back into the trimmer head, ensuring the lines feed into the exit holes.
Quick answer: Switch the trimmer off and let it cool before you touch the head. Cut two equal lengths of line and wind each one in the marked direction. Leave about six inches free, refit the spool, and pull both lines through the eyelets. Test each line with a gentle tug before you start the trimmer again.
- How to String a Dual Line Trimmer: Step-by-Step Guide for Quick Reloading
- Step 1: Safety Precautions
- Step 2: Remove the Trimmer Head Cover
- Step 3: Prepare the Trimmer Line
- Step 4: Load the Trimmer Lines
- Step 5: Reassemble the Trimmer Head
- Frequently Asked Questions
- More Questions About Dual Line Trimmers
- Conclusion: How to String a Dual Line Trimmer With Confidence
How to String a Dual Line Trimmer: Step-by-Step Guide for Quick Reloading
Learning how to string a dual line trimmer makes the whole job much easier. Proper line installation can significantly impact how well your trimmer works. It’s not a process that should be taken lightly. If the string isn’t properly installed, the trimmer will not function at its best. The steps below will guide you through threading your trimmer like a pro.
Step 1: Safety Precautions
Step 1: Safety Precautions
Before embarking on ‘how to string a dual line trimmer?’, safety is paramount. Whenever handling any power tools, safety should be your first concern. Make sure the power switch is off before you touch the trimmer head. If your trimmer runs on gas, let it cool fully before you start work. Clear debris from the trimmer head before you start work on it.
Wear sturdy gloves to guard your hands from the sharp trimmer line. Put on safety goggles to shield your eyes from any flying debris. Wear closed-toe shoes to guard your feet if something drops.

It is also important to work in a well-lit and clean area. A bright, clean space keeps you safe and makes the work much easier. A clean work area reduces the chances of losing any small parts of the trimmer. Read our guide to using a trimmer before your first restring job.
Step 2: Remove the Trimmer Head Cover
Step 2: Remove the Trimmer Head Cover
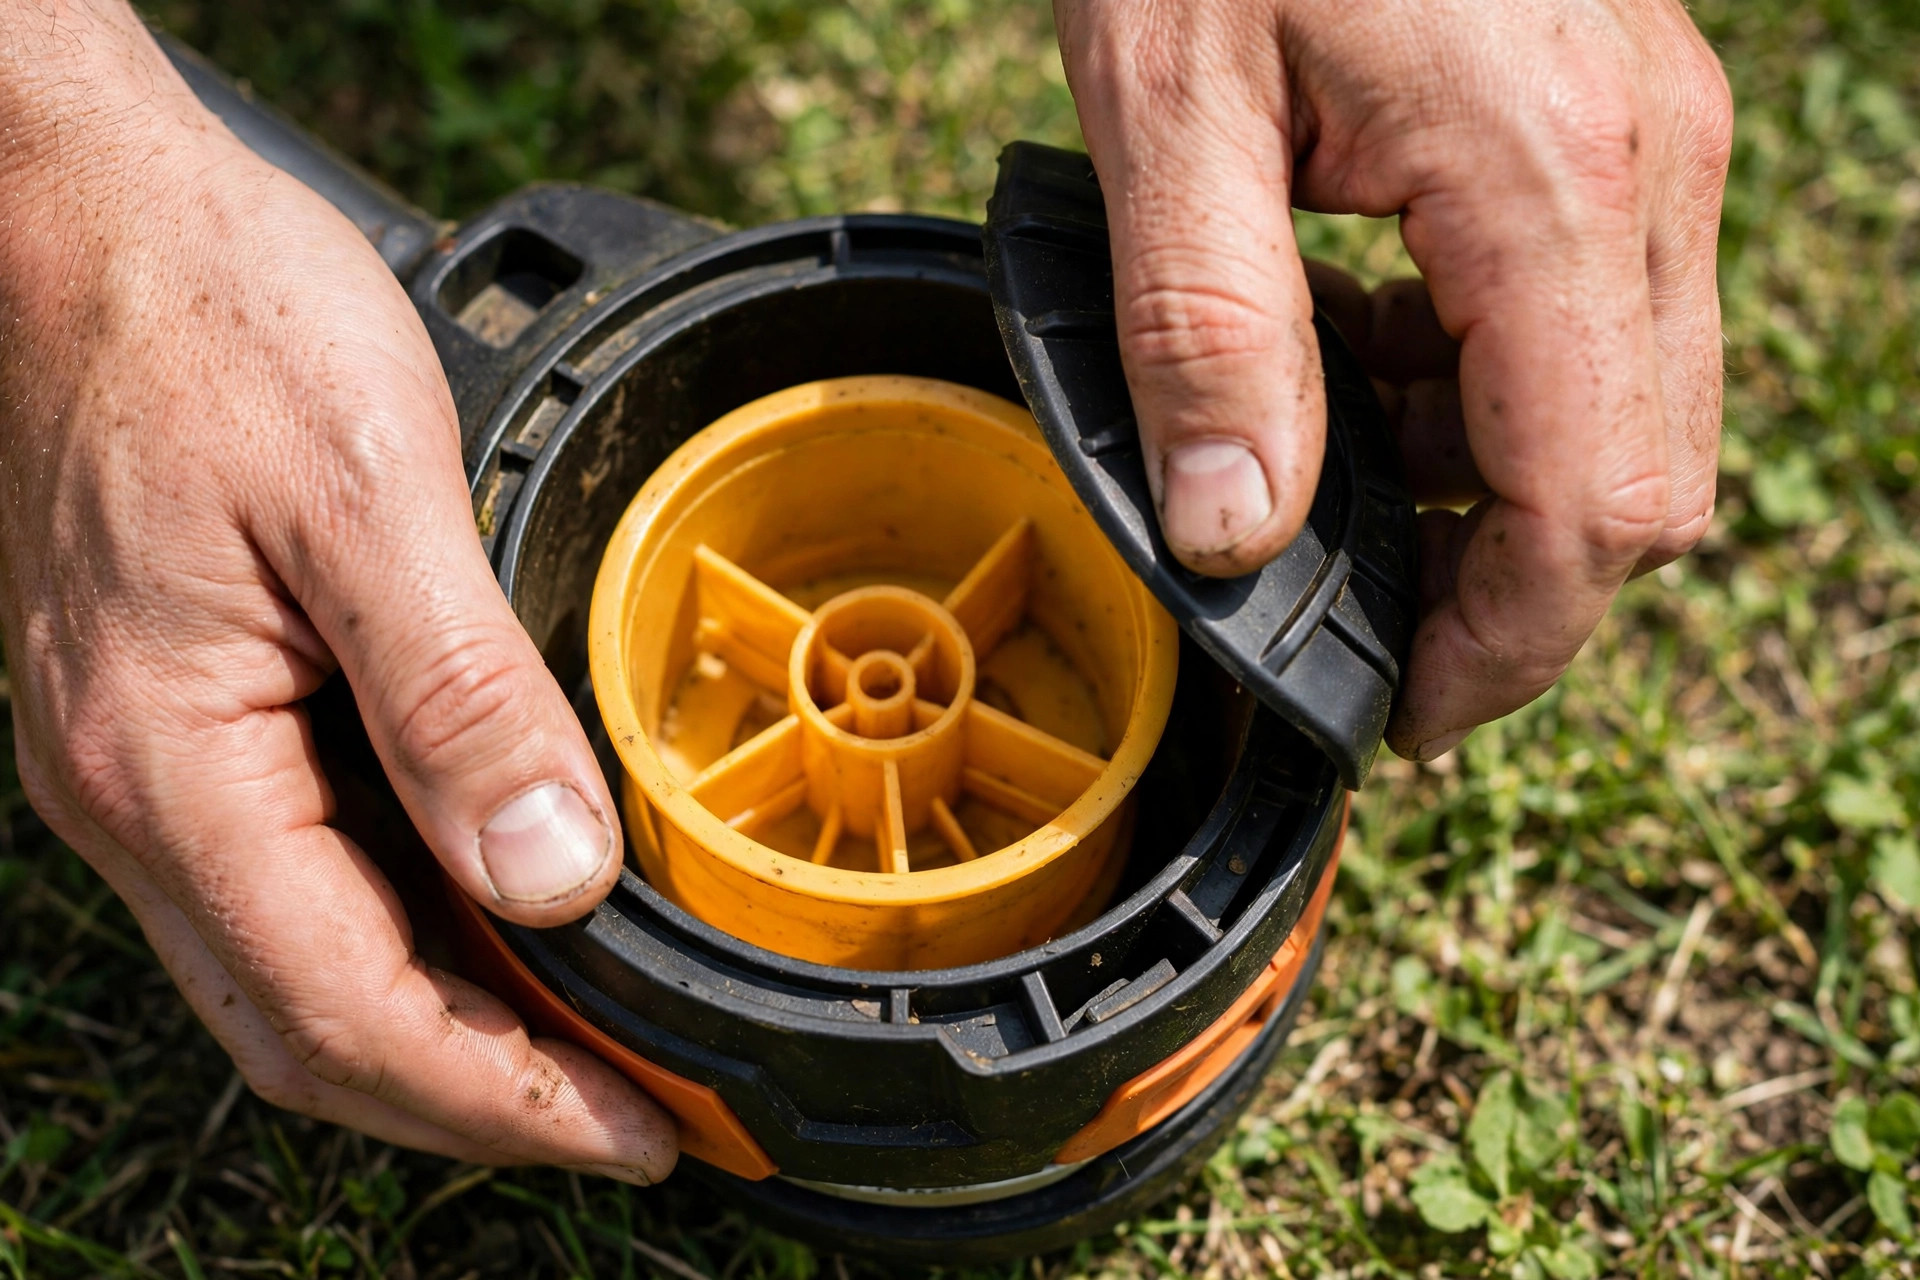
The trimmer head cover, also called the spool retainer, holds the string in place. Your model may need a screwdriver to unscrew the cover first. Some covers release when you push in the side tabs or twist them. Handle the cover with care, since you need it to secure the string later.
Set the cover aside in a safe spot where it cannot roll away. Remember, you’ll have to put it back after you’re done with the trimming line. Also, take out the empty spool from the trimmer head. See our guide to changing string on a Weed Eater trimmer for a similar head.
Step 3: Prepare the Trimmer Line
Step 3: Prepare the Trimmer Line
The next step is to prepare the trimmer line for loading. Dual line trimmers need two identical lengths of string for the spool. Each length runs from 10 to 25 feet, based on your trimmer cutting width. Measure both lengths out and cut them to size. Ryobi owners can read our guide to changing string on a Ryobi 40V trimmer too.
Use the string type your maker suggests for your trimmer model. A thin string snaps fast, while a thick one may not fit the head. Check the spool for the right line size before you cut. Our guide to putting trimmer line on an electric trimmer covers corded models too.
Ensure that the ends of both of the line pieces are cut at sharp angles. Sharp ends slide into the trimmer head with much less fuss. They are also primed for clean cutting once you start the trimmer.
| Job Type | Line Diameter | Best Use |
|---|---|---|
| Light grass and small weeds | .065 to .080 inch | Neat lawn cuts |
| Thick weeds and dense growth | 0.085 to 0.105 inch | Tough clearing jobs |
Step 4: Load the Trimmer Lines
Step 4: Load the Trimmer Lines
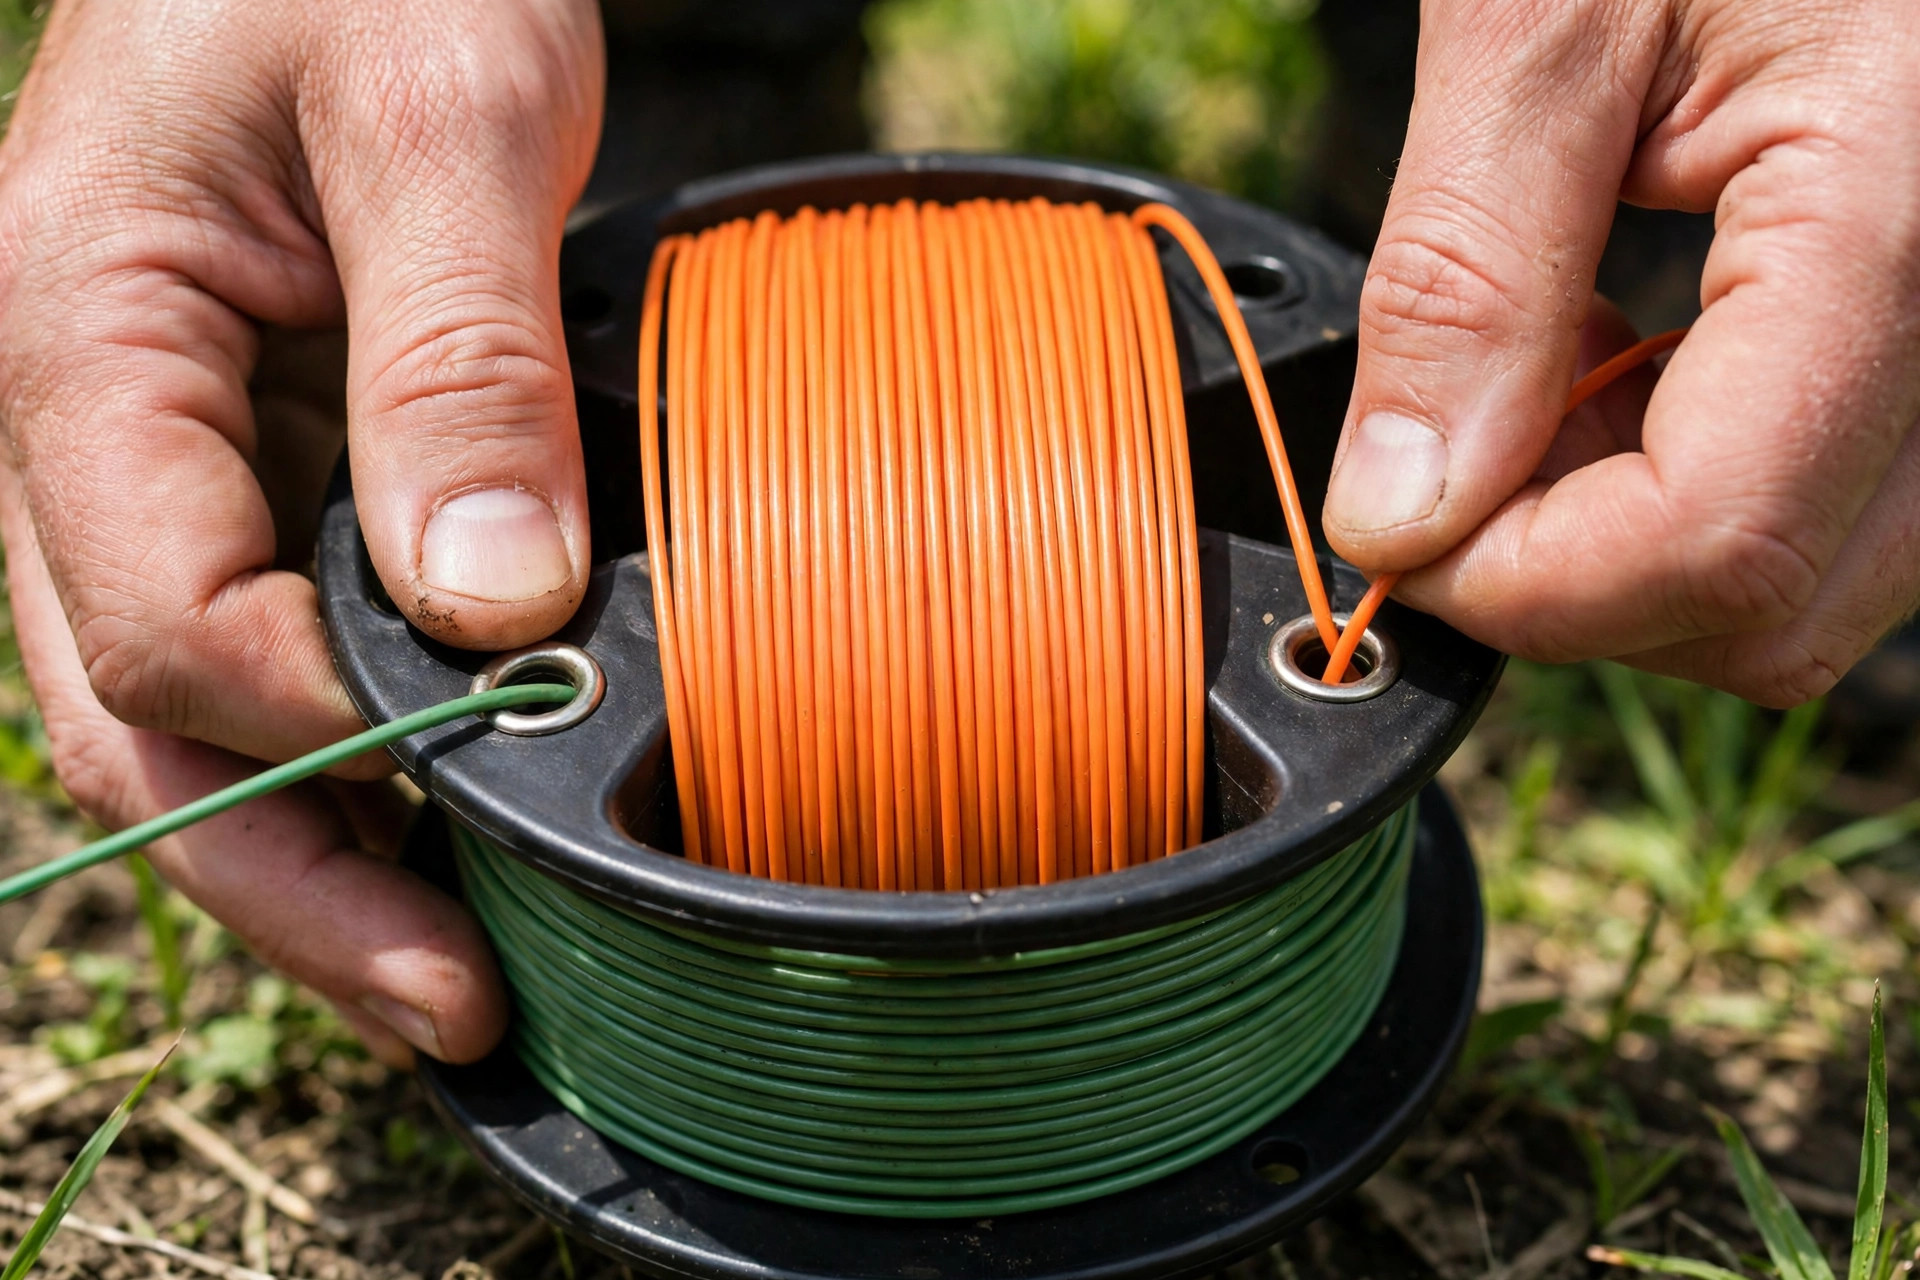
Now comes the crucial part in ‘how to string a dual line trimmer?’. Push one string end into a hole or eyelet on the trimmer head. Most heads show arrows that mark the right winding direction for the line. If your head has split levels, load the lower part first. Check the STIHL website for more lawn care tips and guides.
Once that is done, wind the string around the spool in straight, neat rows. Do not cross or layer the line, or it may jam later. Leave about 6 inches of line unwound at the end. Repeat this same process with the second trimmer line in its respective hole or eyelet. For a gas model, see our steps for changing string on a DR trimmer next.
Step 5: Reassemble the Trimmer Head
Step 5: Reassemble the Trimmer Head
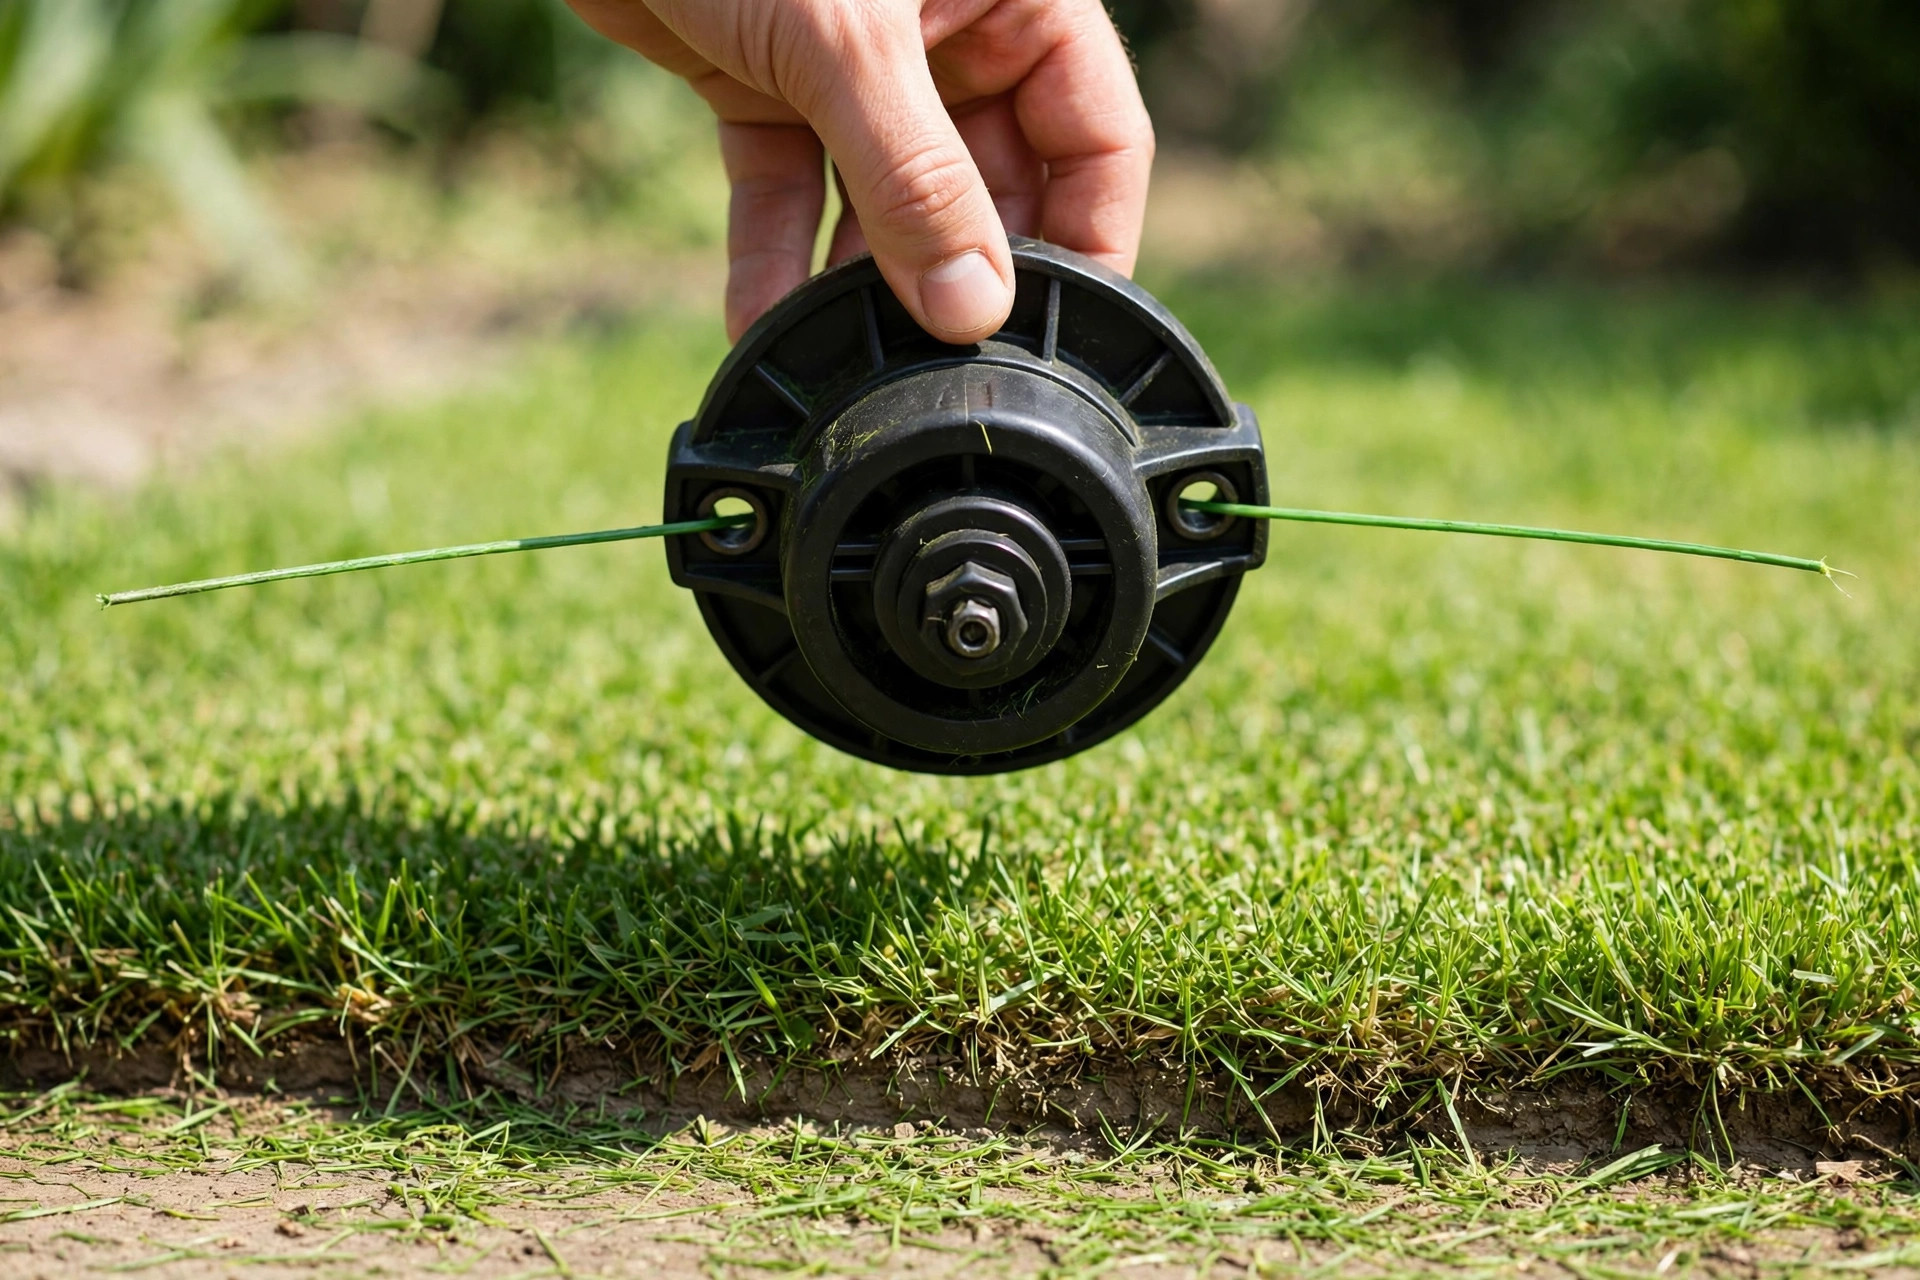
Now you are at the final step of ‘how to string a dual line trimmer?’. Once both lines are loaded, thread them through their holes in the head. After that, set the spool back into the trimmer head with care. Make sure each string end lines up with its eyelet on the head.
Finally, replace the cover on the trimmer head now. This may include lining up tabs or lugs, depending on the type of trimmer model. Click or screw the cover back into place, whichever method applies to your trimmer. Check if both lines freely pull out from their respective holes. When the job ends, read our tips for storing a string trimmer the right way.
| Check | What to Look For | Why It Helps |
|---|---|---|
| Both lines | Free pull through the eyelets | Stops jams on first use |
| Cover | Tabs or lugs clicked in place | Holds the spool firm |
| Spool | Neat rows with no crossing | Feeds line smoothly |
Knowing how to string a dual line trimmer helps gardeners and landscapers alike. It saves you the cost of hiring help each time the line needs changing. It also saves time on every restring job you do. A well-strung trimmer works better and serves you well on every job. Keep practicing these steps until threading feels like second nature to you.
Frequently Asked Questions
When tending to your yard, a dual line trimmer can be an incredibly helpful tool. But stringing it can feel tricky at first. That task is often easier said than done for most owners. Here are some common queries answered to guide you in this process.
1. What kind of line should I use for my dual line trimmer?
The best line for you depends on the work you plan to do. For light grass and small weeds, a .065 to .080 inch line should suffice. You can locate this information on the weed trimmer’s spool. For thick weeds and dense growth, you may need a 0.085 to 0.105 inch line. A larger line is tougher, but it can also drain your trimmer power faster.
2. Where should I start when restringing my dual line trimmer?
Before you start, switch the trimmer off and remove the spark plug for safety. Then remove the spool from the head where the line is wound. Next, you must clean any remaining crumbs or debris from the last line. Now you are ready to restring the trimmer with fresh line. Check your manual to confirm the right method for your exact trimmer model.
More Questions About Dual Line Trimmers
3. How much line should I put on my dual line trimmer?
How much line you need depends on the size of your trimmer spool. Most homeowner-grade models can manage around 15 to 25 feet of line. Ensure not to overfill the spool, or it may jam during operation. Excess in line could also lead your engine to overheat. Stay within the spool limit to keep your trimmer and yard in shape.
4. Can I use a pre-wound spool for my trimmer?
Yes, pre-wound spools can save you time on this job. They suit owners who would rather skip winding the line by hand. These spools come ready-to-use and are easily replaceable. Our guide to restringing a lawn trimmer shows the full swap in more detail.
Simply remove your old spool and insert the new one in its place. Check the pre-wound spool’s specifications before purchasing to ensure compatibility with your model of trimmer. If it fits, restringing turns into a quick job with the same good results. See the EPA lawn and garden guide for safe yard care tips.
5. How often should I replace the string on my dual line trimmer?
How often you swap the line depends on use and the plants you cut. For light usage, you may only need to replace the string once a season. Tough weeds and thickets mean you will change the line more often. Swap the line too if it turns brittle or starts to unravel. These steps keep your dual line trimmer working well on every job.
Conclusion: How to String a Dual Line Trimmer With Confidence
So we’ve covered the basics of stringing a dual line trimmer. You learned to pick the right line and match the spool arrow with the eyelets. You also learned to feed the line through and wind it neatly on the spool. A well-fitted line keeps your tool strong and your yard looking neat.
Remember that practicing safety while handling trimmers is equally important. Always switch off your trimmer before you swap the line out. Wear your gear and clear the work area of any hazards first. Take care of your trimmer so it can take care of your lawn.

I’m Patricia D. Johnson, an affiliate marketer and blogger specializing in trimmers and grooming tools. I create honest reviews, buying guides, and practical tips to help readers choose the right trimmer for their needs. With a focus on quality, performance, and value, I simplify the decision-making process so consumers can make confident purchases.