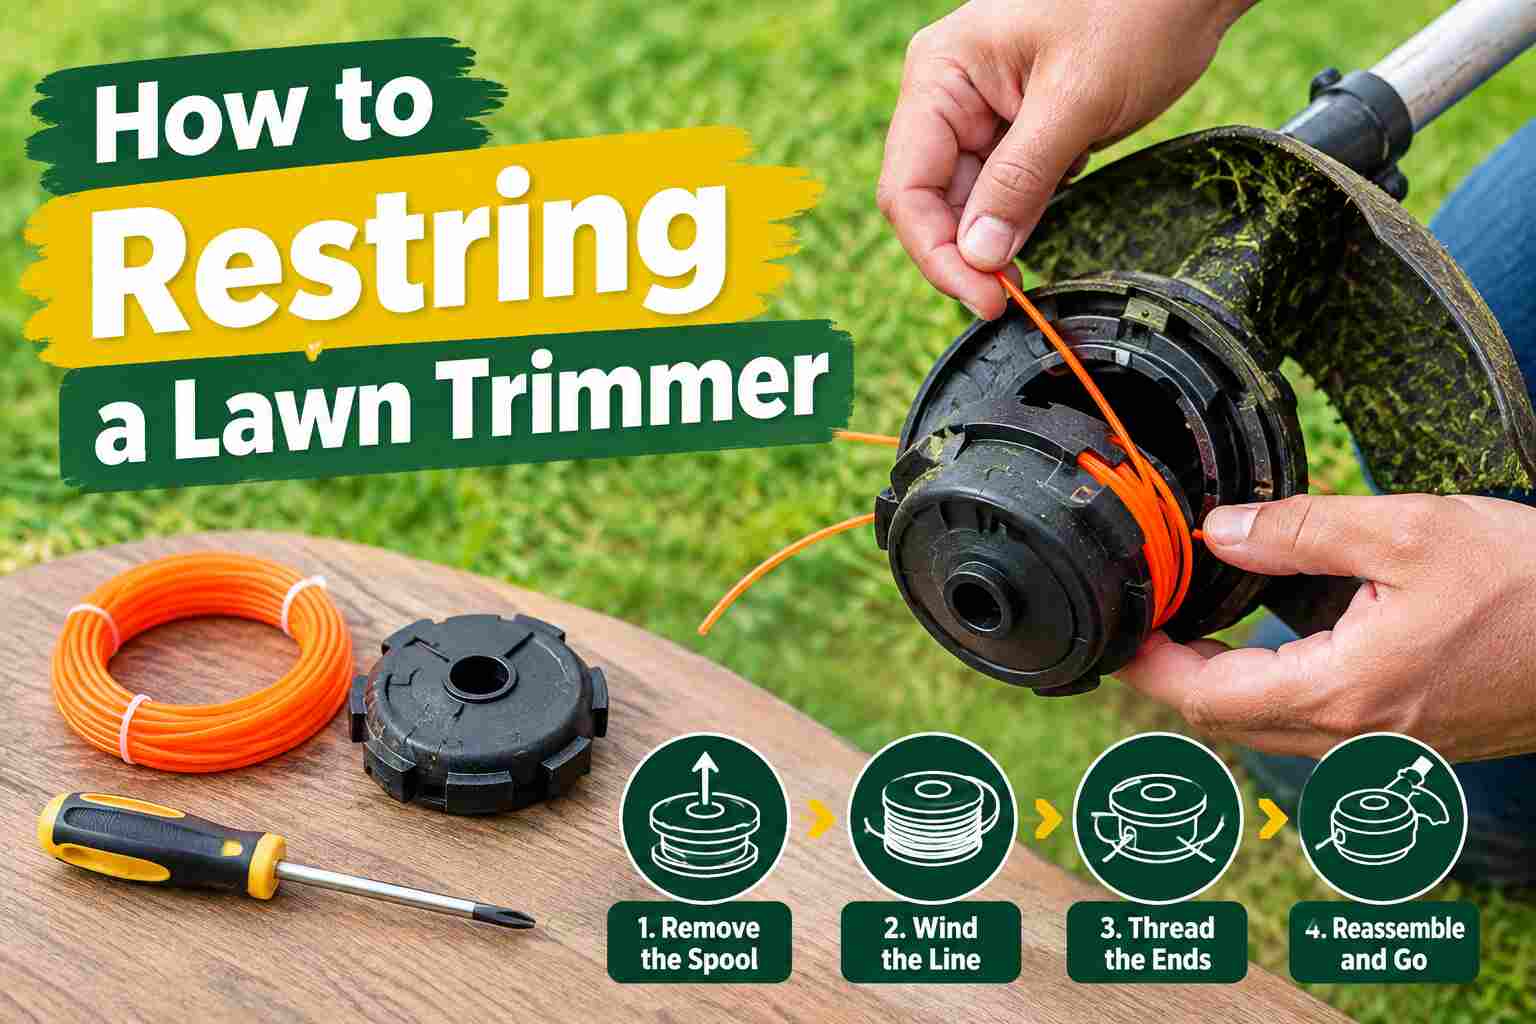
How to Restring a Lawn Trimmer: The Ultimate Professional Guide
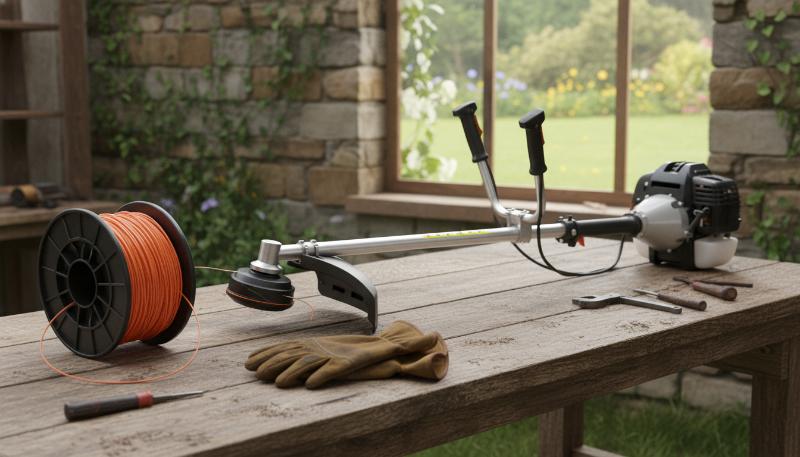
Quick answer: Remove the spool, clear old debris, and cut fresh line first. Wind new line tightly in the arrow direction every time. Leave six inches of tail outside each exit eyelet. Keep the spool clean and never overfill it during loading.
- Why Proper Restringing Matters
- Essential Safety Precautions
- Identifying Your Trimmer Head Design
- Gathering Your Necessary Supplies
- Step 1: Removing the Spool Housing
- Step 2: Clearing Out Jammed Debris
- Step 3: Cutting Your Replacement Line
- Loading Single and Dual Spools
- Dealing with Speed-Feed Systems
- Comparing Line Materials
- Top Pro Tips for a Tangle-Free Spool
- Troubleshooting Common Feed Failures
- Maintenance for Long-Term Durability
- When to Call It Quits and Buy New Parts
- Frequently Asked Questions
- Conclusion
Trimmer line always runs out at the worst time. You’re halfway through the backyard with tall grass still ahead. The grass is tall, and the sun is beating down. Then, the “clack-clack” sound stops suddenly in mid cut.
You’re completely out of string with the job half done. Don’t panic and don’t throw the machine. Restringing a trimmer is a basic skill. Most people over complicate how to restring a lawn trimmer.
Once you learn the rhythm, it takes three minutes. This guide covers every step in detail. From line selection to troubleshooting jams, we’ve got you. Let’s get your yard back in shape. A separate guide covers how to replace trimmer line for fixed line heads.
Why Proper Restringing Matters
A messy spool ruins your whole afternoon of yard work. If you wind the line too loose, it tangles. If it’s too tight, it won’t feed.
The engine works harder when the line is uneven. This extra strain leads to overheating inside the hardworking motor. It can even shorten the life of your motor.
Properly wound line cuts cleaner through grass every single pass. It saves you from “shredding” the grass tips. Clean cuts mean a healthier, greener lawn.
Learning this simple skill saves you money every single season. You won’t need to pay a shop for basic maintenance. You’ll also waste less line over time. New users should also learn how to use a weed trimmer before tackling thick growth.
Essential Safety Precautions
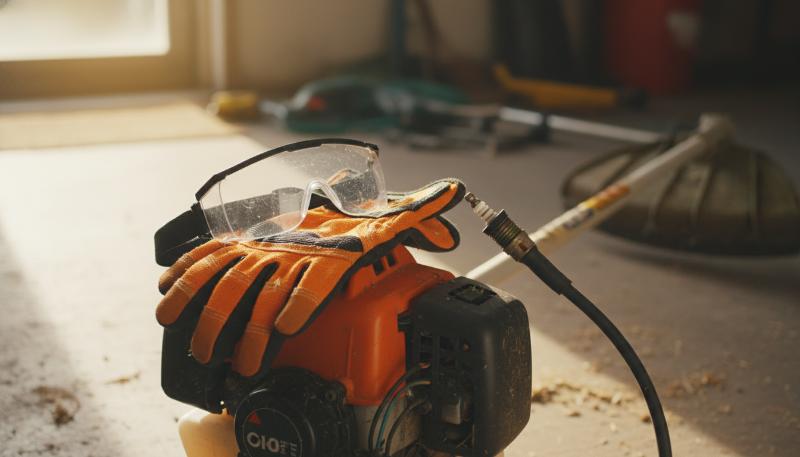
Safety is non-negotiable here before any restringing work begins today. Before touching the head, kill the power. For gas trimmers, pull the spark plug wire. Our separate guide explains how to start a lawn trimmer safely after repairs.
For electric models, pop the battery out. If it’s corded, unplug it completely from the wall outlet. You don’t want a surprise start-up while handling the spool.
Wear gloves while handling the spool and the old line. Old line can get sharp and jagged. Debris often hides inside the trimmer head.
Watch out for hot mufflers on recently used gas trimmers. If you just finished trimming, the engine is scorching. Let it cool for ten minutes first. The EPA lawn and garden guidance also covers safe outdoor product use.
Identifying Your Trimmer Head Design
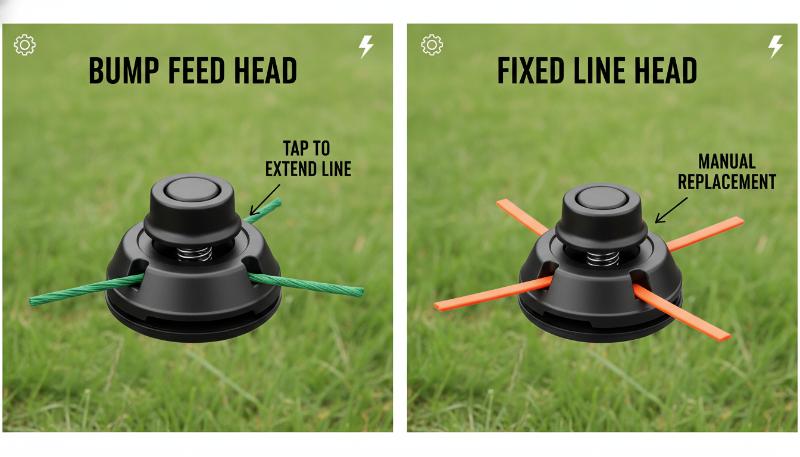
Not all trimmers are built the same. Most modern units use a “Bump Feed” system. You tap it on the ground to release more line.
“Fixed Line” heads are different from standard bump feed heads. They use pre-cut strips of heavy-duty string. These are common on professional-grade machines used by working crews.
Then there are “Speed-Feed” heads for much faster line loading. These allow you to load line without taking the head apart. You just feed it through and twist.
Check your manual if you aren’t sure. The loading process changes based on the mechanism. Look for arrows or notches on the spool.
| Trimmer Head | How It Feeds Line | Best For |
|---|---|---|
| Bump Feed | You tap it on the ground to release more line | Most modern home units |
| Fixed Line | Uses pre-cut strips of heavy-duty string | Professional-grade machines |
| Speed-Feed | Feed line through and twist the head | Loading without taking the head apart |
Gathering Your Necessary Supplies
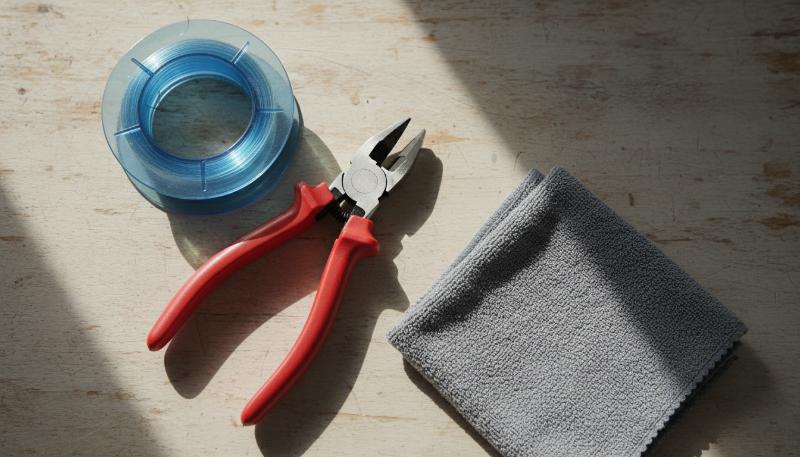
You don’t need a massive toolbox for this simple job. A pair of sharp side cutters or heavy scissors is vital. You need a clean cut on the line ends.
Keep a clean rag nearby throughout the whole cleaning process. Trimmer heads get packed with pulverized grass and dirt. Cleaning as you go prevents future jams.
Ensure you have the correct line gauge. Most residential trimmers use .080-inch line for normal yard grass. Pros often jump up to .095 or .105. Electric owners can also follow our guide to putting trimmer line on an electric trimmer.
Check the spool for a “load” capacity. Usually, 10 to 15 feet is the sweet spot. Too much line causes the head to bind.
Step 1: Removing the Spool Housing
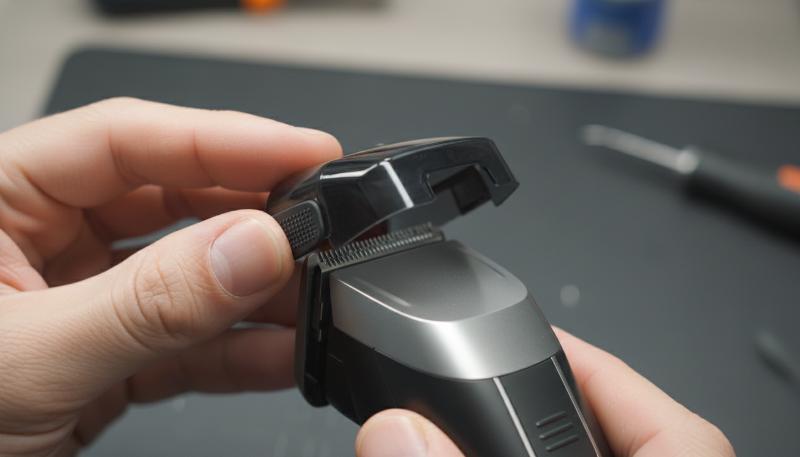
Look for the release tabs on the spool housing first. Most heads have two tabs on the sides. Squeeze them firmly with your thumb and forefinger.
The cap should pop right off with one firm squeeze. If it’s stuck, grass might be wedged in the seams. Give it a gentle wiggle or a light tap.
Once the cap is off, lift the inner spool out. Watch out for the internal spring inside the spool housing. This spring is what makes the bump-feed work.
Keep the spring in a safe place. If it rolls away in the grass, you’re in trouble. Set it on a flat, clear surface.
Step 2: Clearing Out Jammed Debris
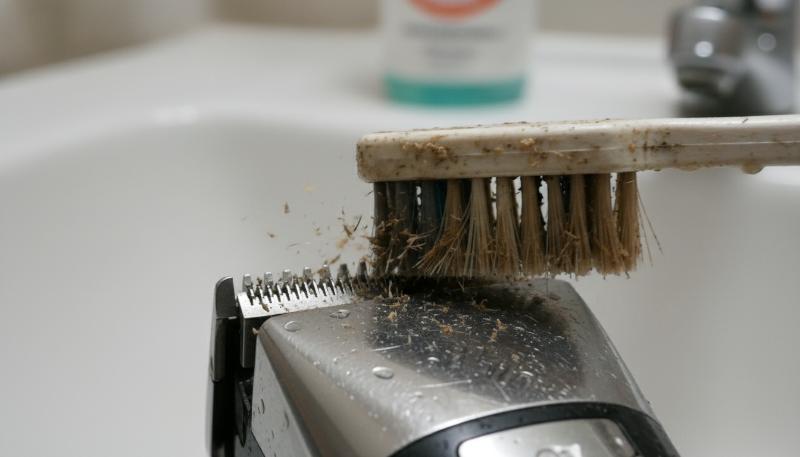
Inside the head is a magnet for gunk. Dried grass juice turns into a sticky glue. Use your rag to wipe the housing.
Check the exit eyelets closely for packed dirt and grass. These are the metal holes where the line comes out. Dirt here creates friction and snaps the line.
If there is old, melted line stuck, pull it out. Sometimes heat causes the line to “weld” to itself. This is a common cause of feed failure.
Inspect the spool for cracks before loading any new line. Plastic wears down over time against rocks and fences. If it’s cracked, buy a replacement spool before you continue.
Step 3: Cutting Your Replacement Line
Don’t guess the length of your replacement line this time. Too much line is just as bad as too little. Most spools hold about 10-12 feet comfortably.
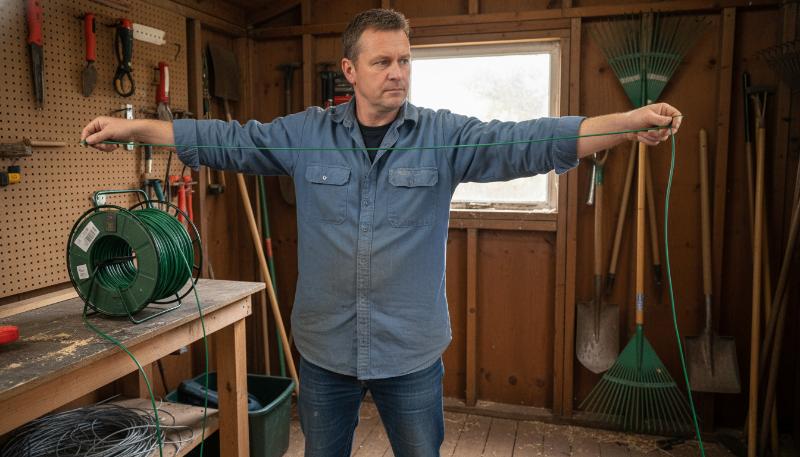
A good trick is the “arm-span” method. One full stretch of your arms is roughly 5 feet. Cut two full spans to reach the ten foot target.
If you have a dual-line head, cut two equal lengths. Usually, 10 feet per side is the limit. Check your specific model’s capacity before cutting both line lengths.
Cut the ends at a sharp angle. This makes it easier to thread through the starter holes. Sharp ends feed through the eyelets better.
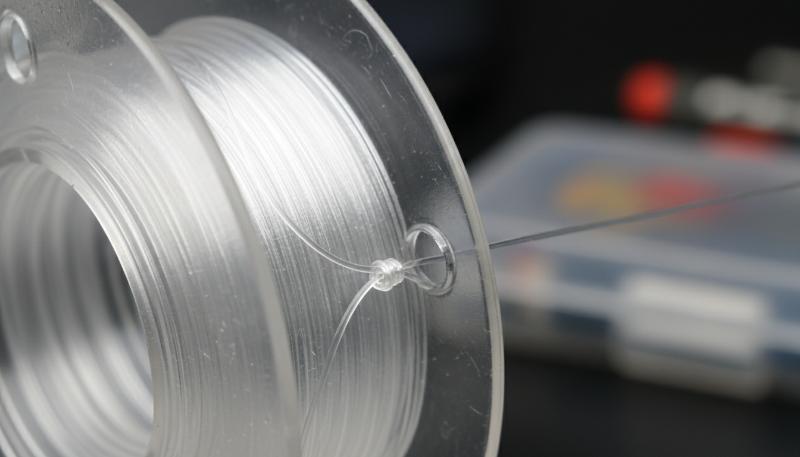
How to Restring a Lawn Trimmer: Loading the Spool
The Loading Process for Single-Line Spools
Find the anchor hole on the spool. Insert one end of the line into this hole. Make sure it’s seated deeply inside the anchor hole itself.
Follow the direction of the arrow molded into the plastic. Every spool has an arrow molded into the plastic. Wind the line neatly in that direction.
Keep the tension tight as you wrap. Don’t let the loops overlap or cross over each other. Think of it like a spool of thread.
Once you have 6 inches left, clip it into the notch. Most spools have a small slit to hold the line in place. This simple step keeps it from unravelling during the reload.
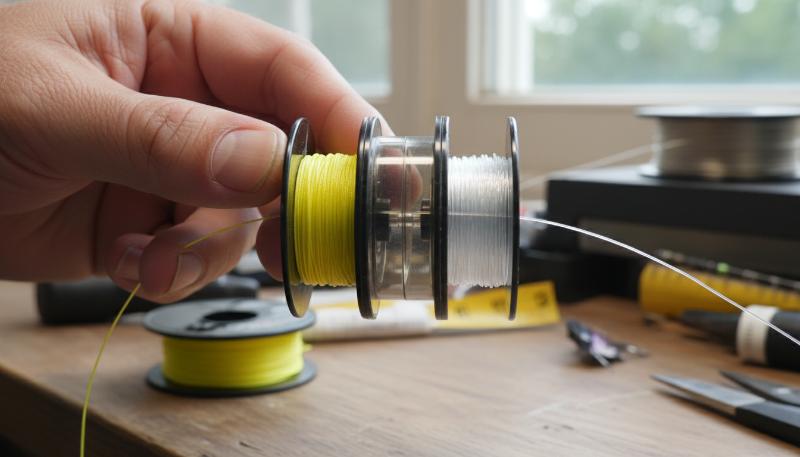
The Loading Process for Dual-Line Spools
Dual-line heads can be tricky during your very first reload. They often have a divider in the middle of the spool. Each line gets its own separate “floor” inside the spool.
Insert both ends into the center anchor points. Wrap both lines simultaneously in the direction of the arrow. Keep them separated by the plastic wall.
Don’t let the lines cross over the divider. If they cross, the head will jam instantly. The lines must stay in their respective channels.
Secure both ends into the holding notches. Ensure about 5 or 6 inches of line is hanging out of each side. This gives you enough “tail” to work with.
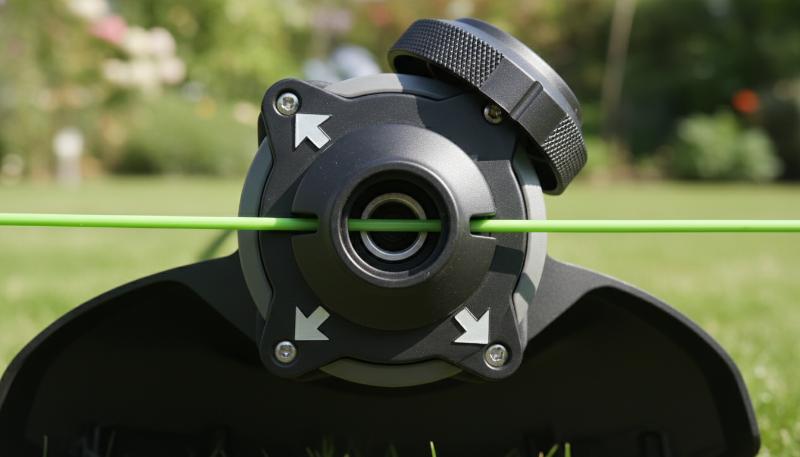
Dealing with Speed-Feed Systems
Speed-feed heads are a game changer for busy yard owners. You don’t have to take these apart. Look for the arrows on the knob and the housing.
Line up the arrows until you can see daylight through the head. Push your line through one eyelet and out the other side. Keep both arrows aligned while you push the line straight through.
Pull the line through until you have equal lengths on both sides. Now, simply twist the top knob with one steady hand. The head “sucks” the line in as you keep twisting.
This prevents the mess of manual winding. It’s faster and reduces the risk of tangles. Most pros swap their standard heads for these.
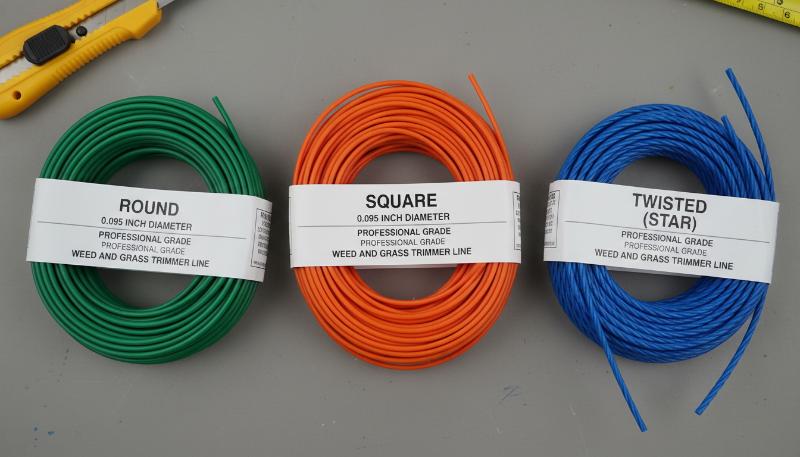
Comparing Line Materials
The shape of your line determines how it cuts. Round line is the standard choice for most home users. It lasts the longest but can “tear” the grass.
Square or “star” shaped lines are sharper. They slice through thick weeds like a knife. However, they tend to snap easier against hard surfaces.
Twisted line is the quietest option during long trimming sessions. It reduces that high-pitched “zing” sound during normal yard work. It also creates less vibration in your hands.
| Line Shape | Best For | Pros | Cons |
|---|---|---|---|
| Round | Light Grass | Durable, easy to load | Shreds grass tips |
| Square | Heavy Weeds | Extremely sharp | Breaks on rocks |
| Twisted | Large Yards | Quiet, low vibration | More expensive |
| Serrated | Thick Brush | Aggressive cutting | Rough on the motor |
Top Pro Tips for a Tangle-Free Spool
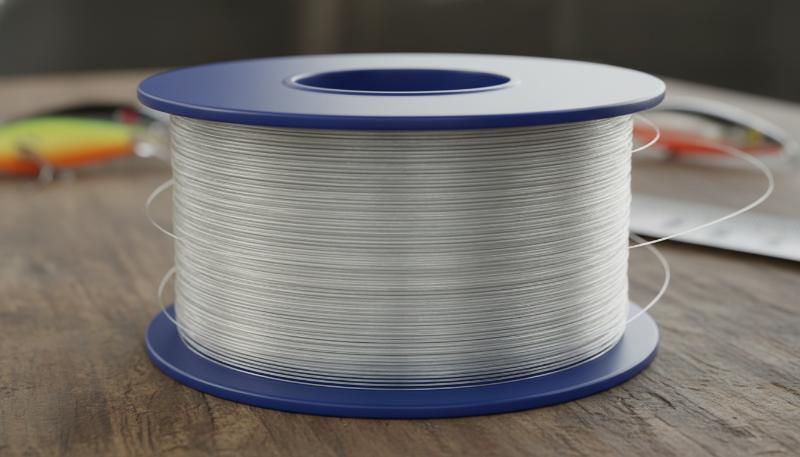
The “soaking” trick is a secret many homeowners never hear. New trimmer line can get brittle in a dry garage. Soak your spool of line in a bucket of water.
The plastic absorbs a tiny bit of moisture. This makes it more flexible and less likely to snap. It’s a trick used by professional landscapers.
Never overfill the spool with extra line at any time. It’s tempting to put “just a bit more” on. This always leads to the line binding and refusing to feed.
Always use the trimmer’s “line cutter” blade. This is the small metal tab on the plastic guard. It keeps the line at the perfect length for the motor. Correct line length matters most when learning how to edge with a string trimmer cleanly.
Troubleshooting Common Feed Failures
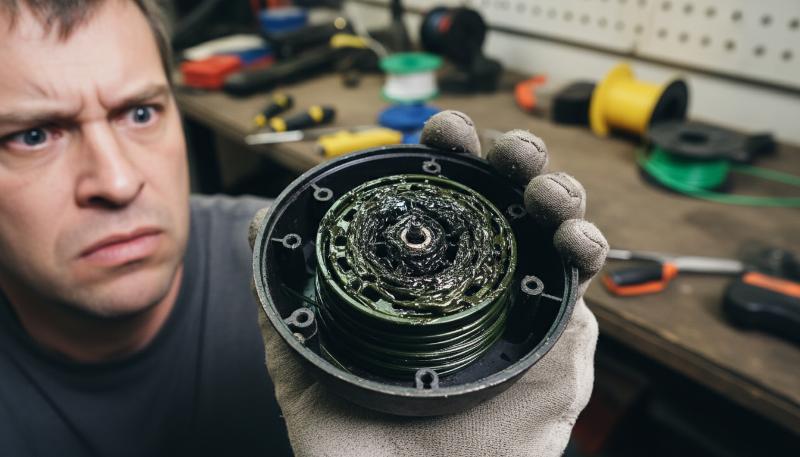
If the line won’t come out, it might be welded shut. This happens when the head gets too hot. The hot plastic line melts together into one solid mass.
You’ll have to pull the spool and manually separate the layers. This usually means the line gauge is too thick for the machine. Open the head and separate each melted layer by hand.
Sometimes the line snaps off inside the eyelet. If this happens, you have to open the head to fish it out. Don’t try to pull it with pliers from the outside.
Check the “bump” knob for wear after every rough trimming session. If the bottom of the head is ground down, it won’t trigger the release. You might need a new cap for the trimmer head.
Maintenance for Long-Term Durability
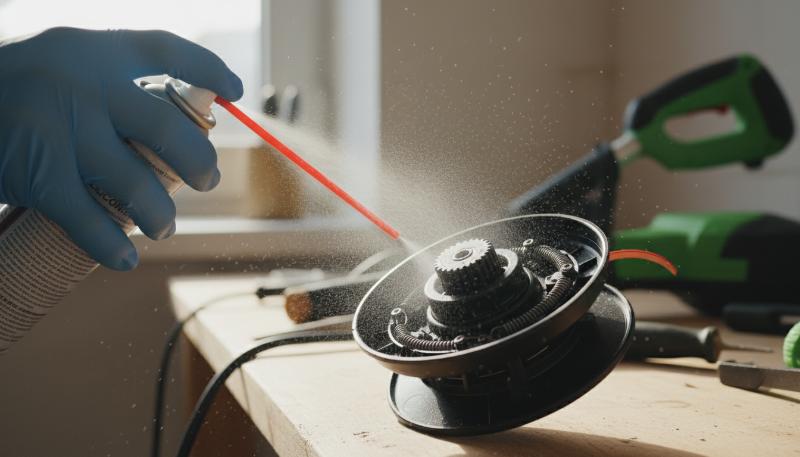
Clean the head after every few uses. Grass buildup inside the housing creates heat. Heat is the enemy of plastic parts.
Check the spring tension inside the head at each cleaning. If the spring feels weak, the line will feed out constantly. You can usually buy replacement springs for a few dollars.
Inspect the eyelets for sharp edges after every few uses. Over time, the line saws into the metal. A sharp edge here will cut your line every time you start the engine.
Store your trimmer line in a cool, dark place. UV rays from the sun break down the plastic. Brittle line is useless and frustrating during any trimming job. Our companion guide explains how to store a string trimmer through the off season.
When to Call It Quits and Buy New Parts
Sometimes, a simple repair isn’t enough for a damaged head. If the tabs on the cap are broken, don’t use tape. It will fly off at 8,000 RPM and hurt someone.
If the spool itself is warped, it will vibrate. This vibration ruins the bearings in your trimmer’s shaft. Replacing a head is cheaper than a new trimmer.
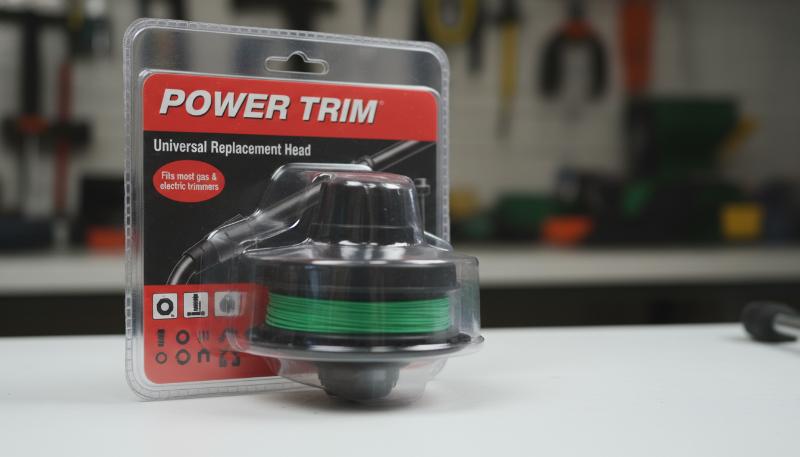
Most universal heads cost under $30 for most common models. They fit almost any gas or electric model. If you’re struggling every time you restring, just upgrade.
A high-quality aftermarket head can make an old trimmer feel new. It improves feeding reliability and reduces your stress. A fresh head also restores smooth feeding on older trimmers.
Frequently Asked Questions
What gauge of line should I use?
For most homes, .080-inch line is perfect for normal grass. If you have thick brush or woody weeds, move up to .095-inch. Check your trimmer’s manual for the maximum thickness allowed.
Why does my trimmer line keep snapping?
You might be “crowding” the work against fences and walls. Don’t push the head against fences or brick walls. Let the very tip of the line do the cutting to avoid snapping.
Can I use any brand of line in my trimmer?
Yes, you can use any brand in your trimmer. As long as the diameter (gauge) matches your machine’s specs, the brand doesn’t matter. You can use Echo line in a Stihl trimmer without issues.
How do I know which way to wind the line?
Look for an arrow on the spool. It is almost always molded into the plastic. If there is no arrow, wind against the direction the head spins.
How often should I replace the trimmer head?
A head usually lasts 2-3 seasons for a typical homeowner. Replace it if the bump knob is worn through. Replace it if the plastic tabs become brittle.
Conclusion: How to Restring a Lawn Trimmer With Confidence
Restringing a lawn trimmer is a rite of passage for any homeowner. It seems daunting at first, but it’s purely mechanical. Keep your spool clean, wind the line tight, and never overfill it.
If you follow these steps, you’ll spend more time trimming and less time cursing. Take care of your equipment, and it will take care of your lawn. Now, get back out there and finish that yard. Clean parts, tight winds and correct line length prevent most feed failures.

I’m Patricia D. Johnson, an affiliate marketer and blogger specializing in trimmers and grooming tools. I create honest reviews, buying guides, and practical tips to help readers choose the right trimmer for their needs. With a focus on quality, performance, and value, I simplify the decision-making process so consumers can make confident purchases.