
How to Change String on Weedeater Trimmer
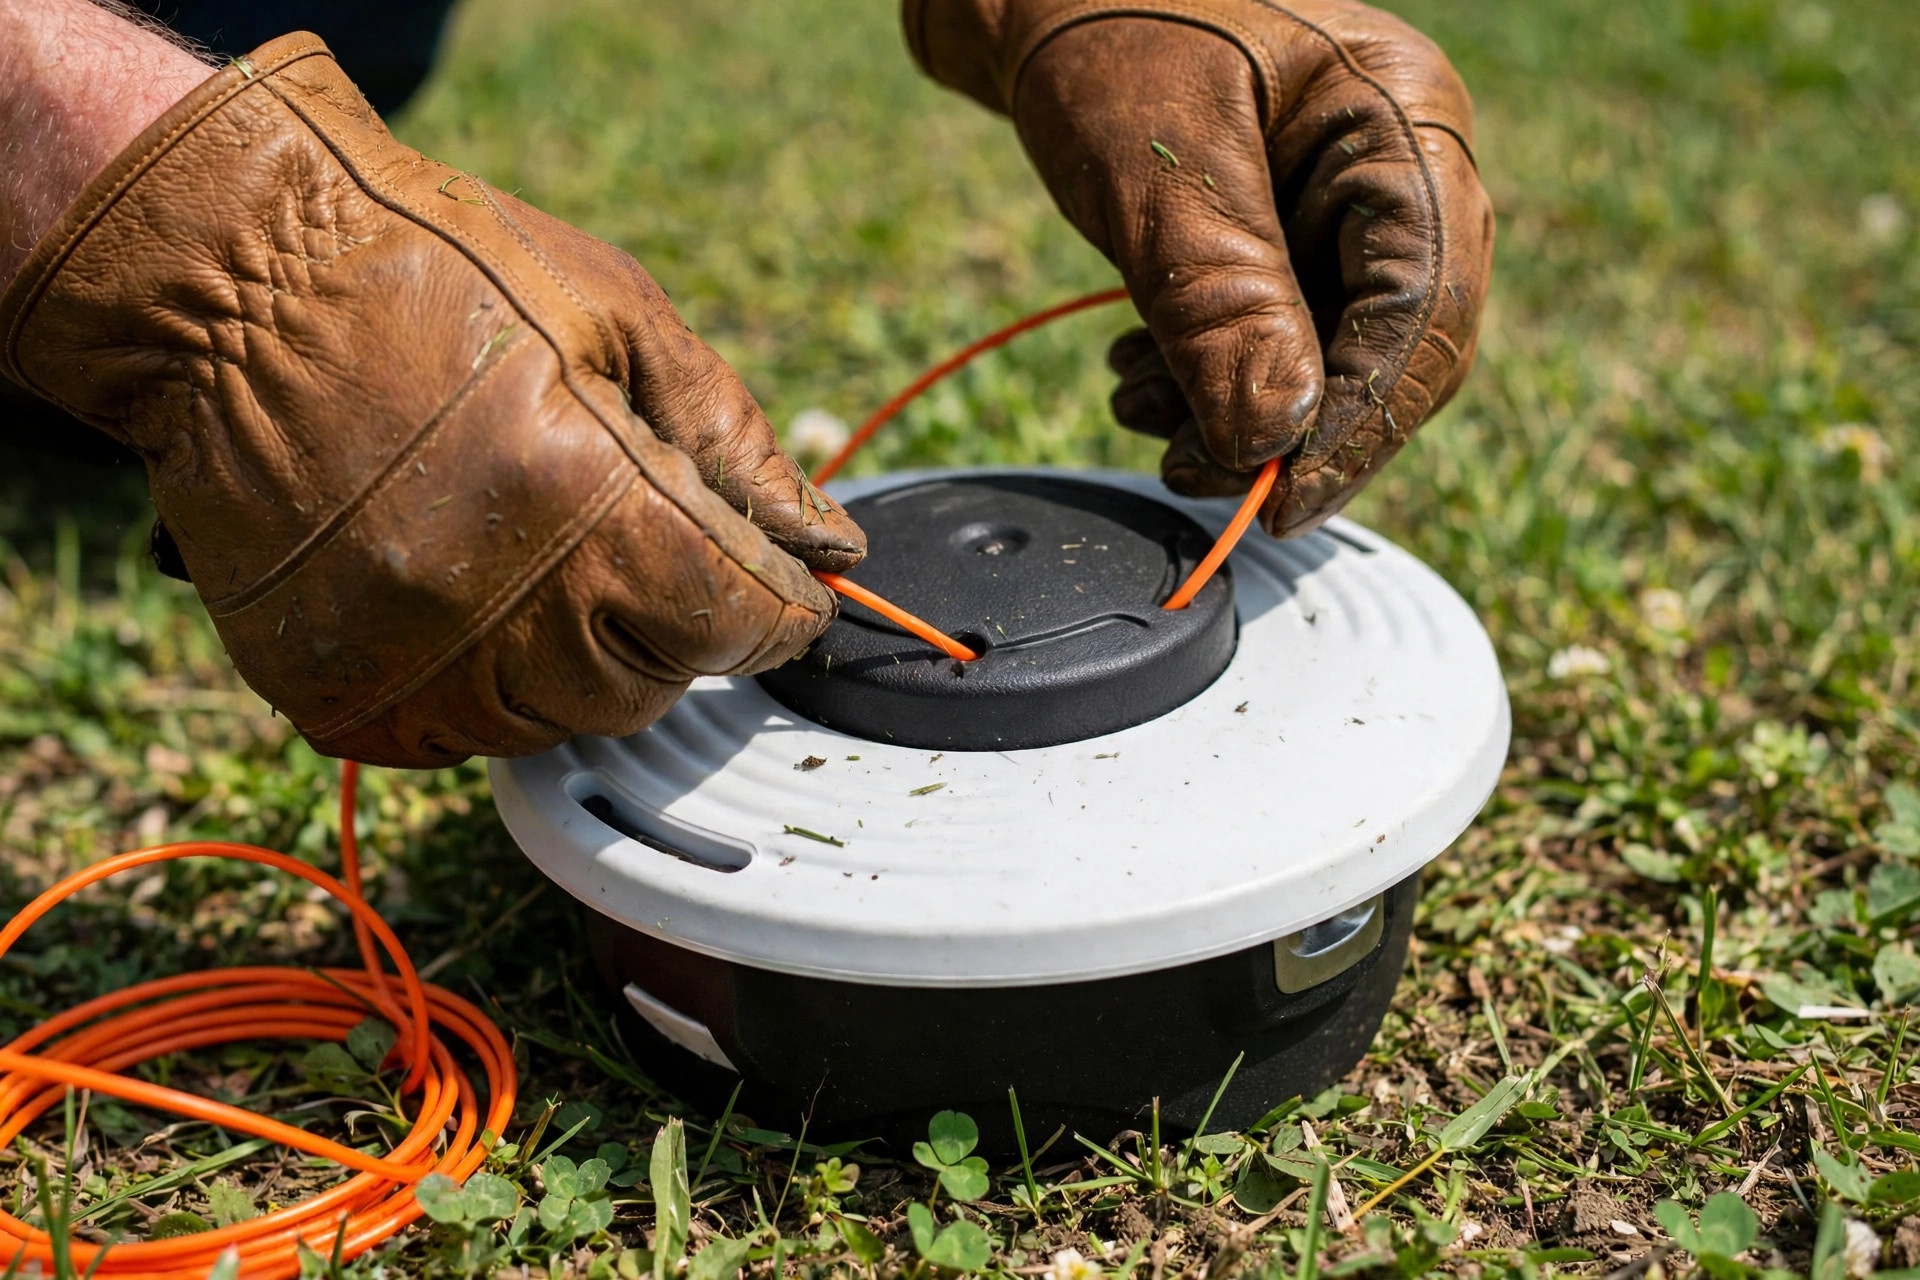
Quick answer: Switch off the trimmer and unplug it before you start. Remove the cap, lift out the spool, and clear the old string. Fold the new string in half and feed the loop through the spool slot. Wind it evenly in the arrow direction, then refit the spool. Guide both ends through the eyelets before you test it.
A broken string can halt your yard work fast. This guide shows how to change string on weedeater trimmer step by step. You need no special skills and only a few basic tools.
Long ago, gardeners cut weeds with hand sickles and shears. Those old tools took hours and left backs aching by noon. Today, a string trimmer does the hard work in minutes. A fresh string keeps each cut clean and the tool strong.
With a little practice, you can swap the string in minutes. Follow the steps below in order for a safe, smooth job. Your trimmer will be ready to cut again by the end.
- We first identify the retaining cap on our weedeater trimmer and remove it.
- Next, we detach the spool and erase any remnants of old string.
- We then secure one end of the replacement string, wrapping it in direction of the arrows.
- After adequate wrapping, we cut off excess string and place the spool back.
- Finally, we secure it all with the retaining cap and the trimmer string is changed.
- How to Change String on Weedeater Trimmer: Easy Step-by-Step Guide
- Remove the Spool From the Trimmer Head
- Prepare the New String for the Trimmer
- Wind the New String on the Spool
- Reassemble the Trimmer Head and Test It
- Frequently Asked Questions
- More Questions About String Care
- How Often to Change the String
- Conclusion: How to Change String on Weedeater Trimmer
How to Change String on Weedeater Trimmer: Easy Step-by-Step Guide
Regular maintenance and proper usage of your gardening equipment can significantly extend its lifespan. One such critical routine task is understanding how to change string on weedeater trimmers. This guide gives simple steps to change the string with ease. Follow each one in order and work with care throughout.
Step 1: Safety Measures
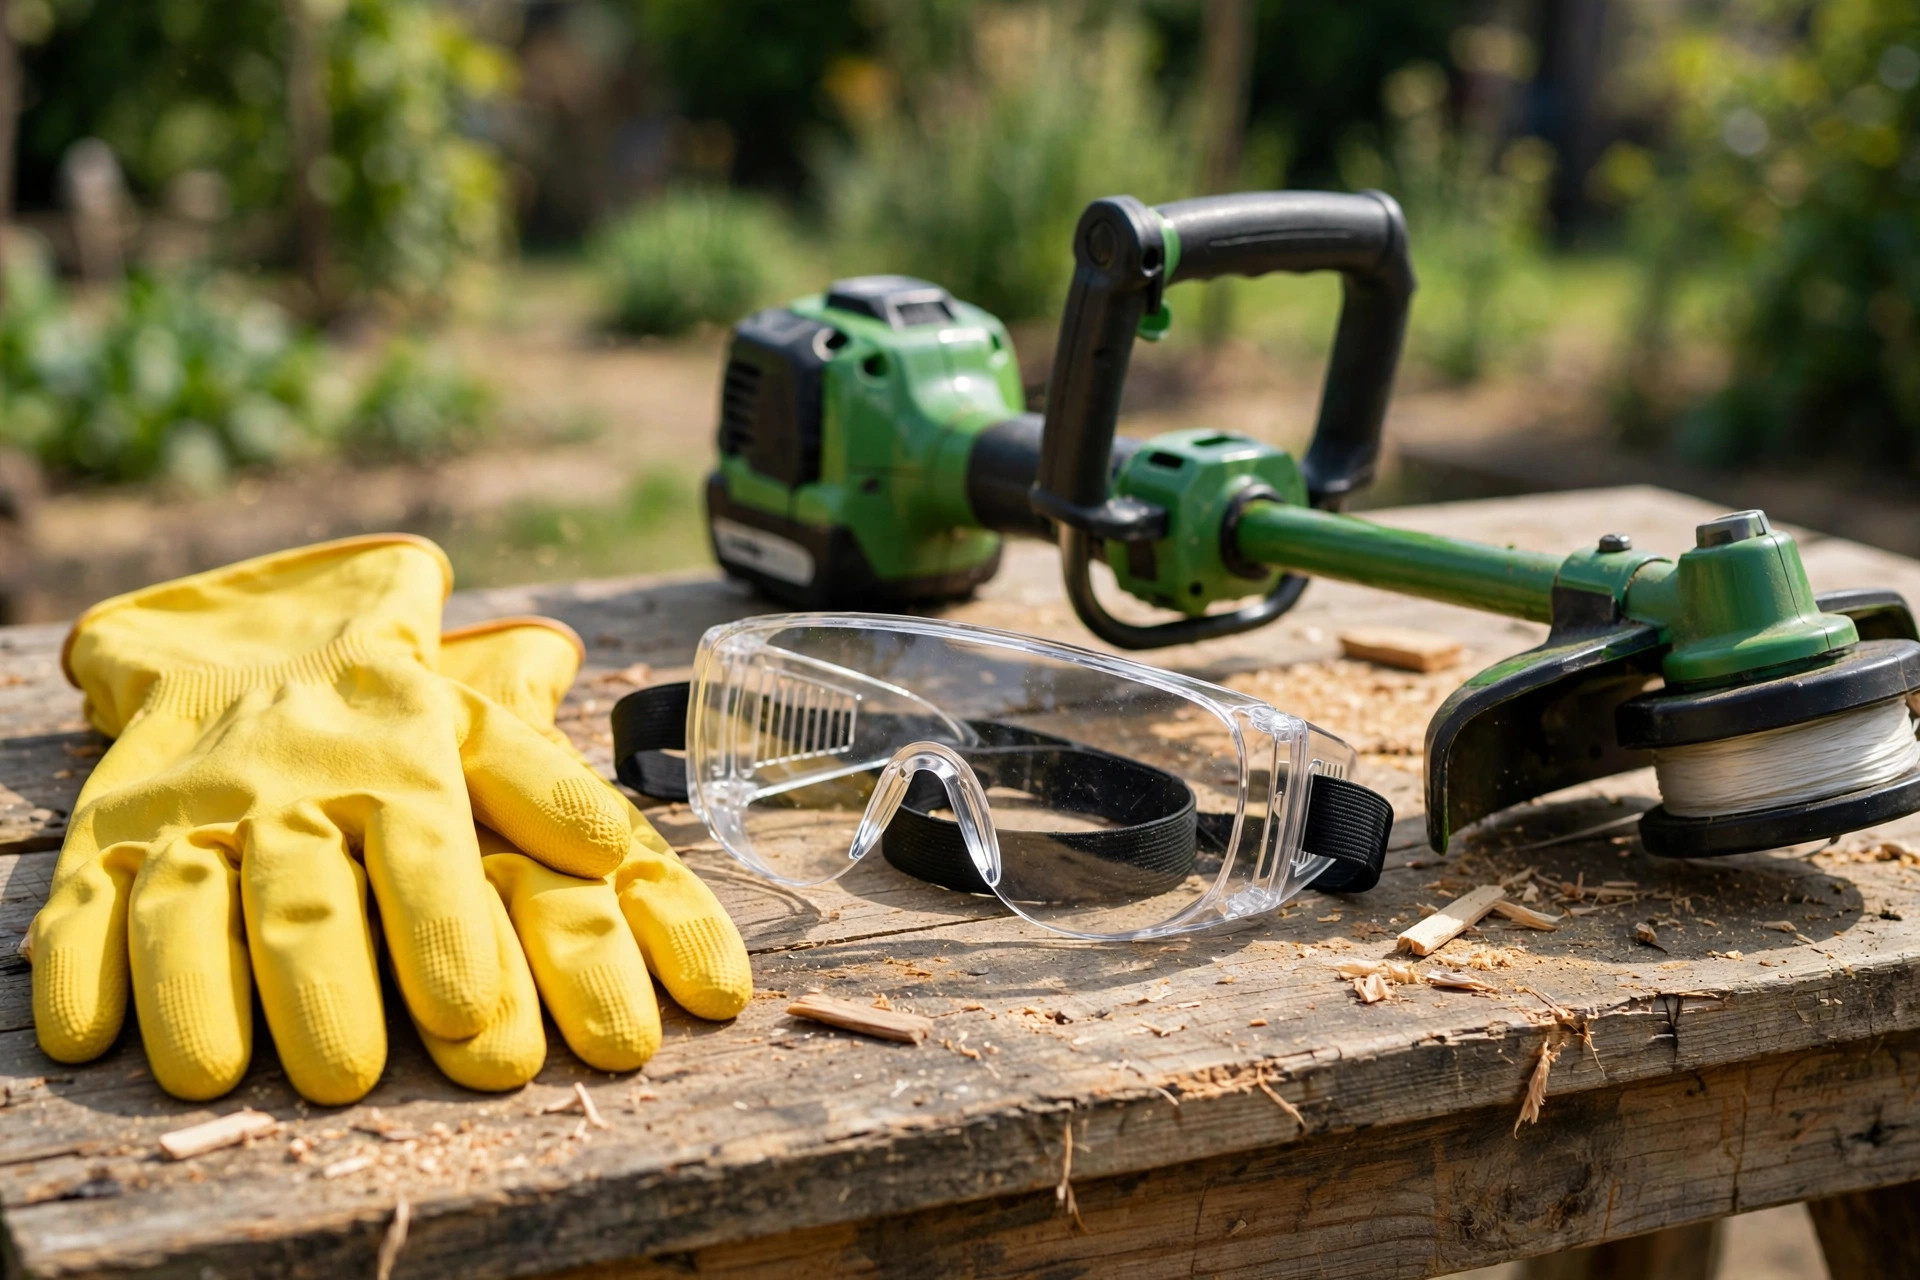
The first thing to bear in mind before any repair is safety. Before you start, switch the trimmer off and unplug it fully. Keep a gas model off until the whole job is done. This is to prevent any accidental start-ups that could potentially cause harm.
Put on safety goggles and a pair of gloves first. The goggles will shield your eyes from any flying debris. Gloves give a firm grip and shield your hands from scratches. They also block contact with sharp edges on the head.
Work in a well-lit, clean, and spacious area for this task. Good light helps you spot small parts and stray debris fast. A clear space keeps removed parts from getting lost. Regardless of how experienced you are, never disregard these safety measures.
- Turn off the trimmer and unplug it first.
- Put on gloves and safety goggles.
- Work in a bright, clean, open space.
Remove the Spool From the Trimmer Head
Step 2: Removing the Spool
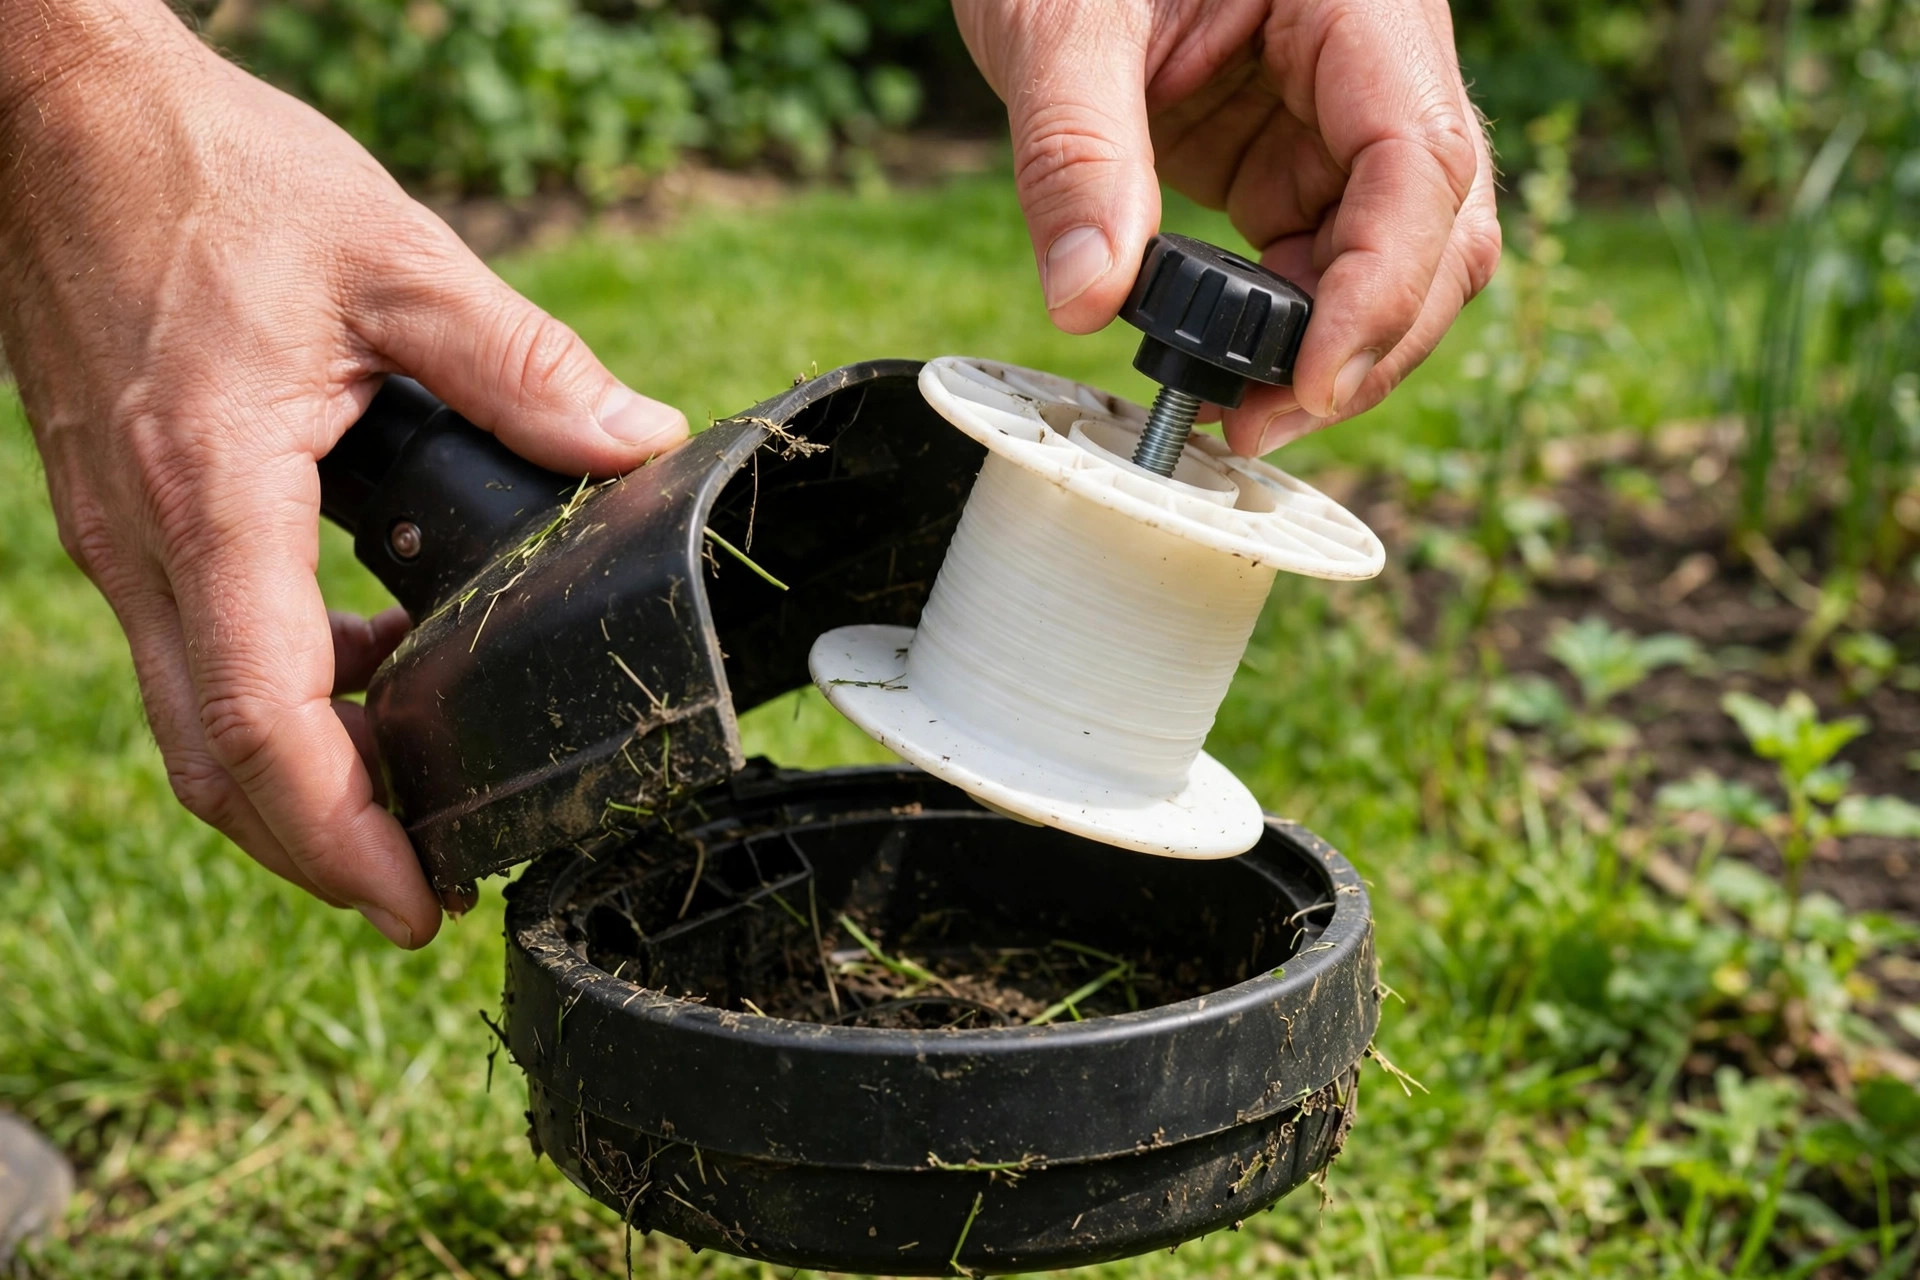
The second step is to remove the spool from the trimmer head. The spool sits at the bottom of the trimmer head. Hold the trimmer head and turn the spool cap or bump knob counterclockwise. This should loosen the cap, allowing you to remove it and the spool beneath it. See our how to change string trimmer head guide if the head feels stuck.
At this stage, observe the spring in the head of the trimmer. Leave it intact as it is essential for the functionality of the trimmer. However, if it’s deformed or damaged, consider replacing it as well.
If there is any remaining string on the spool, unwind and discard it. Clean the spool and head of debris and grass too. This ensures that your trimmer operates at its peak efficiency. Keep all the removed parts safely in one spot. You will need them again after you thread the new string.
| Spool part | What to check |
|---|---|
| Retainer cap | Twists off clean and locks tight |
| Spring | Stays in place and keeps its shape |
| Spool | Holds no old string or packed grass |
| Old string | Unwind it and discard it now |
Prepare the New String for the Trimmer
Step 3: Preparing the New String
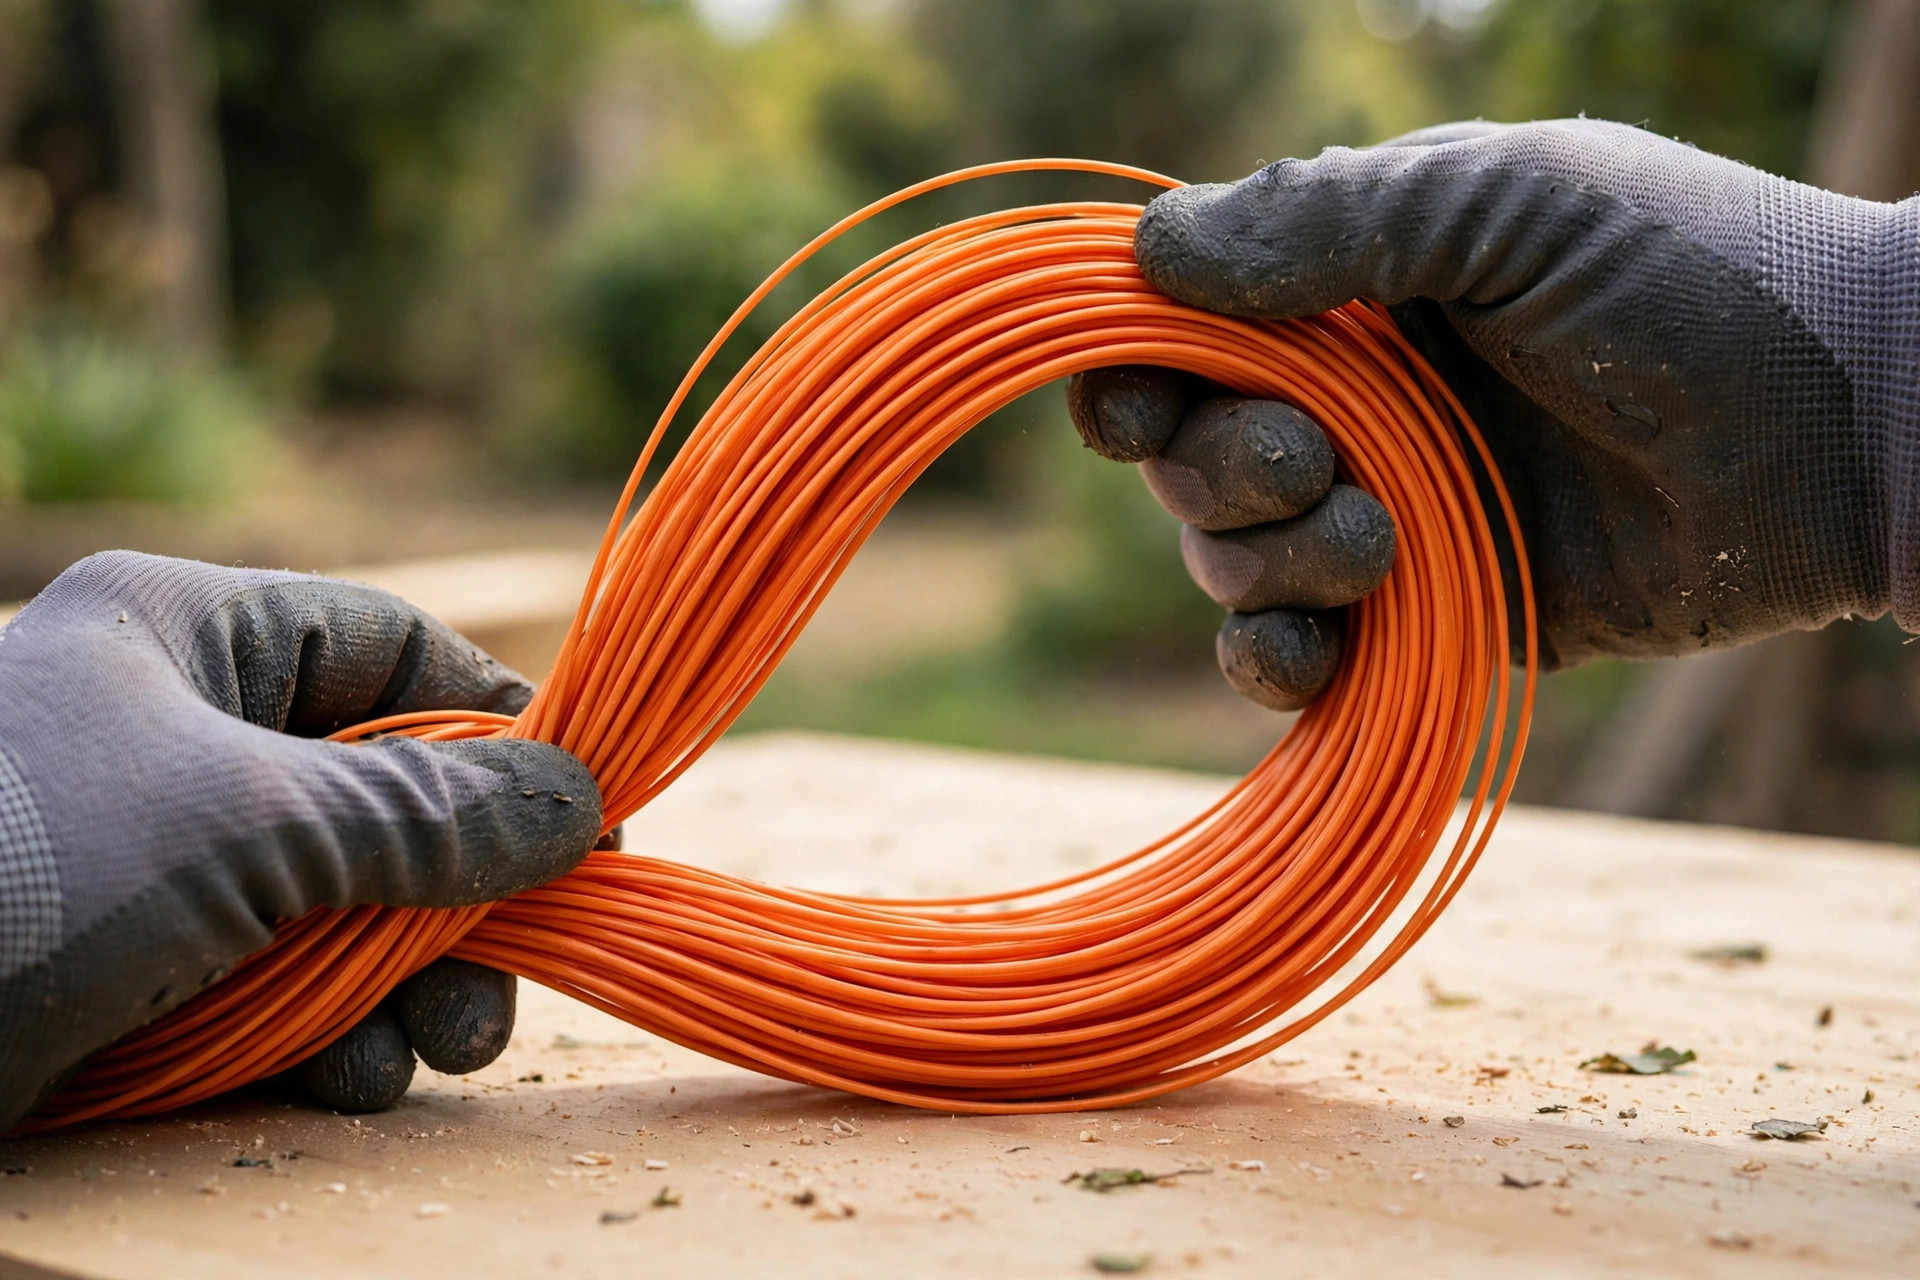
Step 3 is all about preparing the new string for the weedeater trimmer. Using a suitable cutting tool, cut approximately 10-25 feet of new trimmer string. Check your manual for the right length and string thickness. The right size fits your exact model of weedeater trimmer. See our how to buy a string trimmer guide to pick the right line.
Handle the string with care to avoid tangles or kinks now. A straight, untwisted string feeds in with ease and runs well. Our how to restring a lawn trimmer guide shows the same basic steps.
For a simpler job, buy a pre-wound spool for your model. It fits right in and saves you the winding step. Lastly, fold the string in half to form a loop. The fold forms a loop with two loose ends. Those ends will lock into the spool as you wind.
| String type | Best use |
|---|---|
| Round line | Soft, long grass and light weeds |
| Multi-sided line | Thick, heavy weeds and tough stems |
| Pre-wound spool | Fast swap on matching models |
Wind the New String on the Spool
Step 4: Winding the String on The Spool
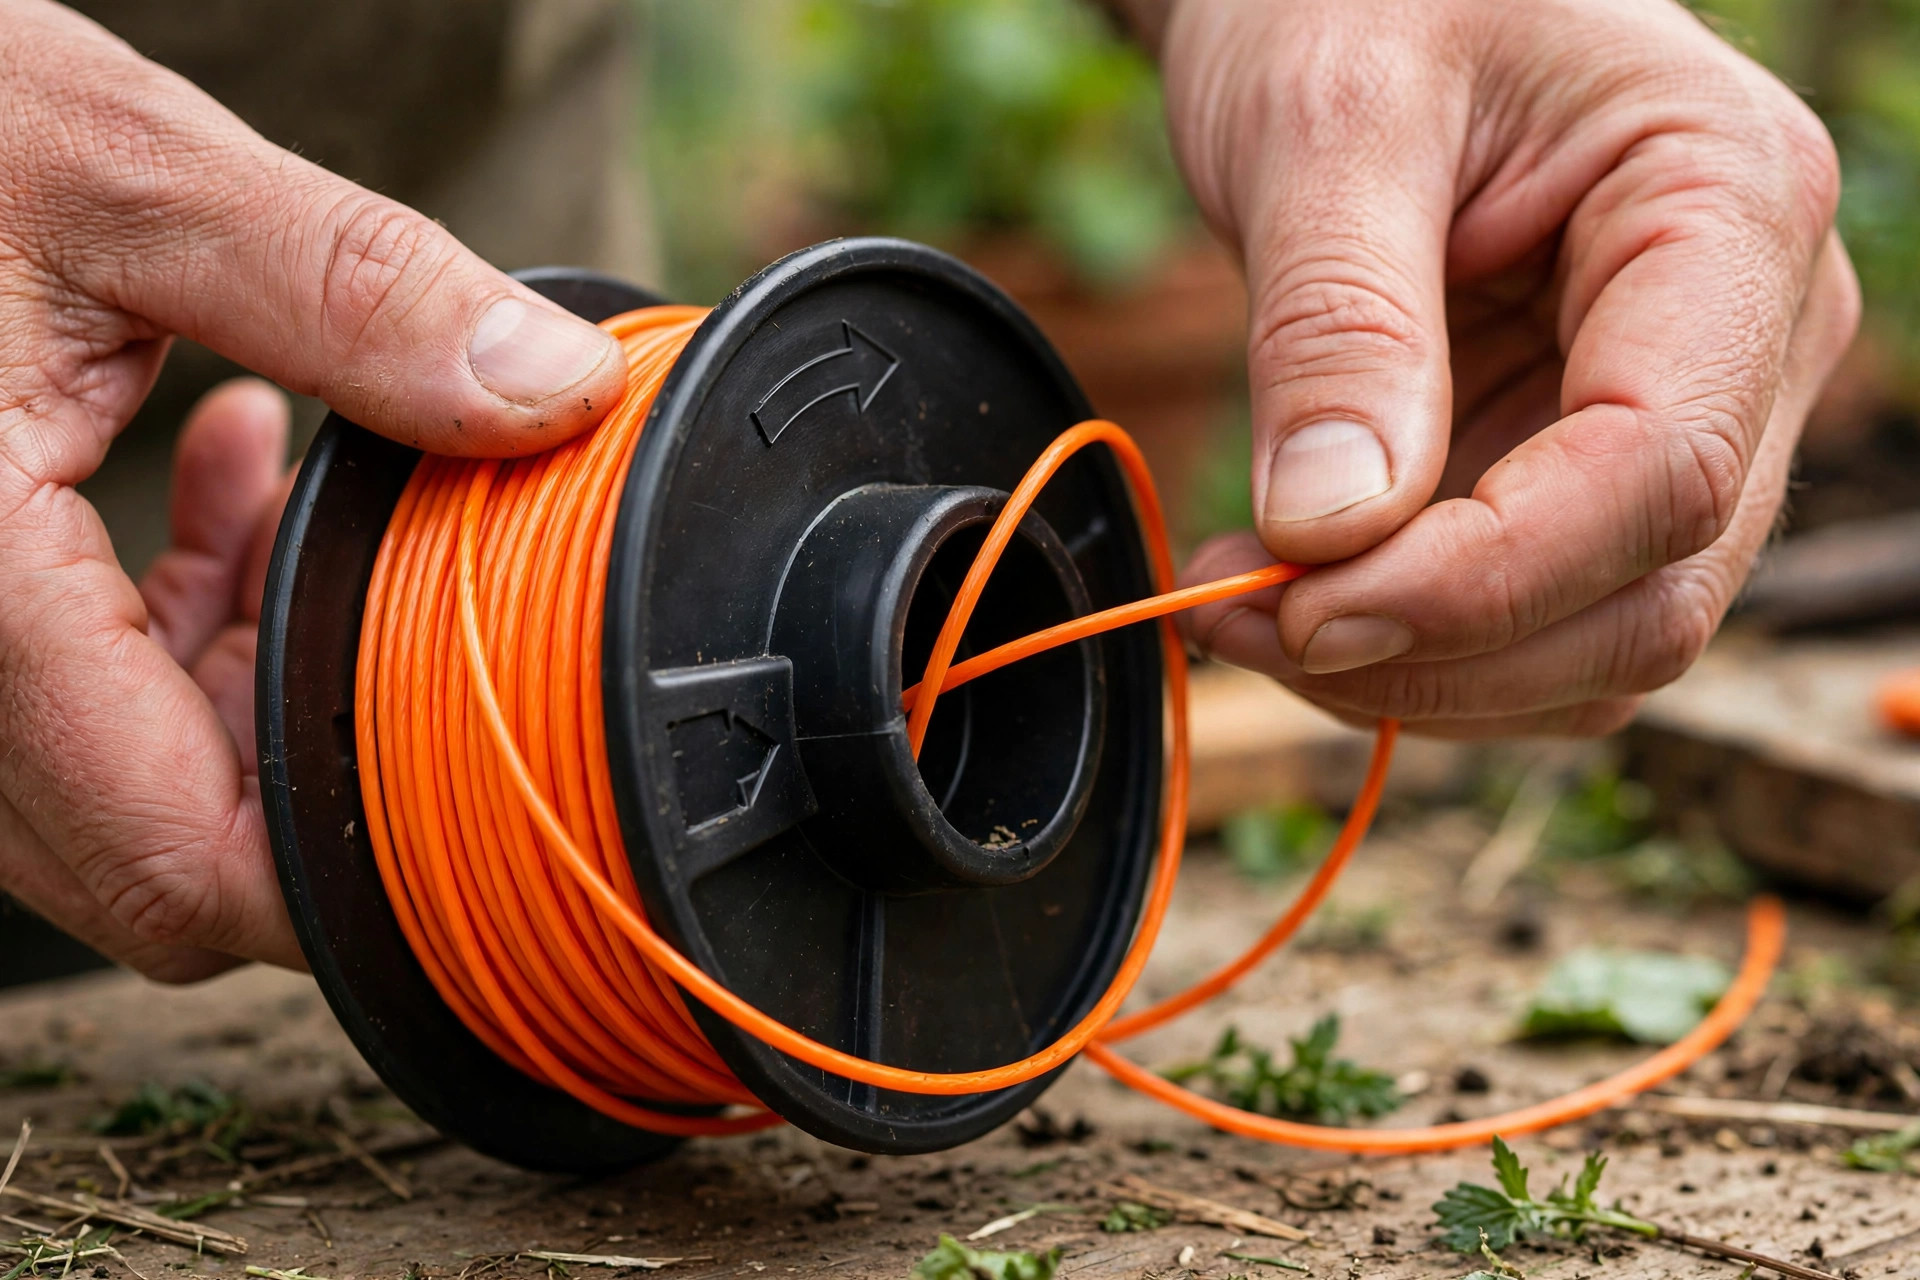
This key step shows how to wind the new string on the spool. Locate the small holes or hooks in the interior middle section of your spool. These are the anchor points for the new string.
Push the loop into an anchor point on the spool. Then find the arrow that shows the right winding direction. Wind the string firmly and evenly around the spool in that direction. Avoid overlaps and maintain even layers for smooth operation.
Stop when about five to six inches of each end stays free. Tuck each end into a holding notch on the spool edge. Check that the string sits firm and tidy on the spool. Both loose ends should point out in a Y shape.
Ensure the string is not overfilled beyond the spool’s edge. This might cause undesired effects in the functionality of the weedeater trimmer. See our how to put trimmer line on electric trimmer guide for a closer look.
Reassemble the Trimmer Head and Test It
Step 5: Reassembling the Trimmer Head
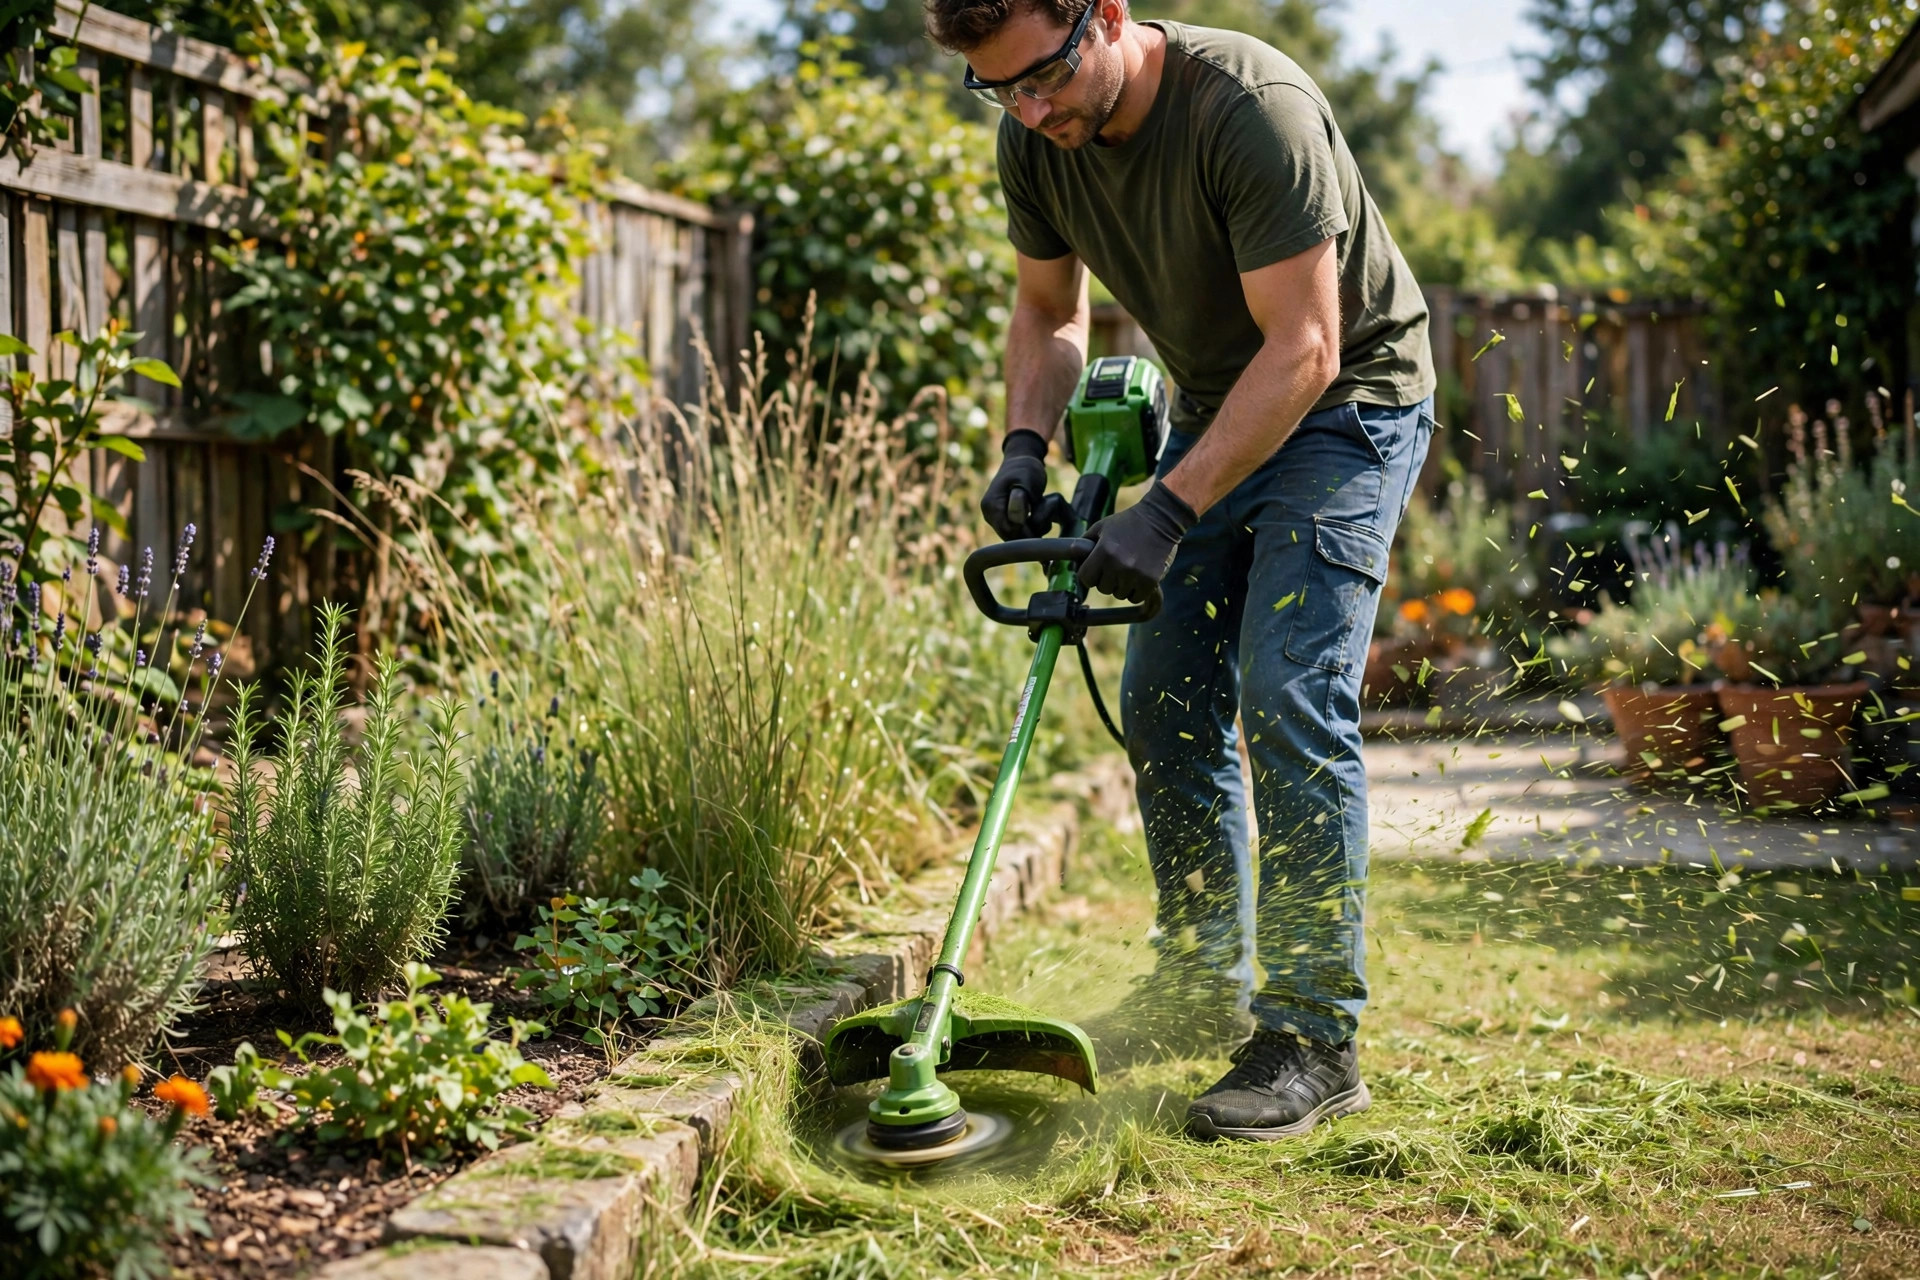
This final step brings the string change to a close. Now you will fit the spool back into the trimmer head. Reassembling the trimmer involves inserting the spool back into the trimmer head.
Guide the loose ends of the string through the eyelets of the trimmer head. Doing this before reinserting the spool makes the process easier and less fiddly. Pull the string through until you can feel a good length on the other side.
Once the string is through, replace the spool back into the trimmer head gently. Confirm that it sits well and the spring underneath it is in its right position. Read our how to use a weed trimmer guide before your first cut.
Finally, replace the spool cap or bump knob back into place. Twist it clockwise until it feels tight and firm. Check to ensure it’s firm with no parts moving about unintentionally. Now you have successfully completed the process of changing the string on your weedeater trimmer!
Fixing your own trimmer saves money and extends its life. A well-kept tool also cuts better on every job. Following these steps carefully and regularly, you can ensure the optimum performance of your trimmer. Try our how to edge with a string trimmer guide for neat lawn edges.
| Problem | Likely fix |
|---|---|
| String will not feed | Rewind the spool and check the eyelets |
| String snaps right away | Use the right size and check for nicks |
| Head shakes when it runs | Match both string ends in length |
| Weak, ragged cut | Fit fresh string and test it again |
Frequently Asked Questions
When it comes to maintaining your garden, the weedeater trimmer is a handy tool. However, an essential part of maintaining the tool is knowing how to change the string. Here are some commonly asked questions on this topic.
What are the signs that the string on my weedeater trimmer needs to be replaced?
The clearest sign is a line that has run out or worn short. If the line has grown very short or is gone, replace it now. An old, brittle line cuts poorly and needs a fresh swap.
Another sign it needs to be replaced is if it keeps breaking during use. Sometimes, a line keeps breaking because age has made it weak. So, if it keeps breaking, it’s a clear sign the string needs to be replaced.
What type of string should I buy for my weedeater trimmer?
The right string varies with the model of your trimmer. Check the specs in your owner’s manual first for guidance. A good rule of thumb is to read the specifications in the owner’s manual. If the manual is gone, match the old string for size.
There are generally two types of strings that you can purchase – round and multi-sided. Round strings last longer and suit soft, long grass well. Multi-sided strings cut through thick, heavy weeds with ease.
More Questions About String Care
What are the steps to change the string on my weedeater trimmer?
The steps start with removing the trimmer head first. Unscrew it or press in the tabs that hold it in place. Once it is off, take the old string out.
Thread the new string through the holes on the trimmer head. Follow the arrows that show the right winding direction. Then, you wind it around the head in even layers. Lastly, you reinstall the head on the trimmer, ensuring that it’s securely attached.
Why does my weedeater string keep breaking?
Old, brittle string is the main cause of snapping lines. Heat, sun, and rough weather wear the string down fast. Exposure to heat, sun, and various weather conditions can degrade the string over time. Swap the string at the first signs of wear and tear. See why does my trimmer string keep breaking for more tips.
Wrong use can also snap the string fast. Cutting close to rocks, fences, or sidewalks can snap it. Hard hits wear the line out much sooner than normal. Use the trimmer with care and steer clear of hard objects. That habit will help your string last much longer.
How Often to Change the String
How often should I change the string on my weedeater trimmer?
How often you change the string rests on several factors. Use, garden size, and weed type all change the timing. Heavy weeds wear the line out much faster than light grass.
For routine garden care, swap the string after five or six uses. Still, watch the length and quality of the string each time. Change it sooner if it shows wear or feels weak. The Weed Eater site lists parts and help for owners.
Conclusion: How to Change String on Weedeater Trimmer
Changing the string on a weedeater trimmer is simpler than it looks. With the right tools and steps, the swap takes minutes. Safety stays first, so cut the power before any repair work.
With these instructions, replacing the trimmer string should be straightforward and safe. These steps extend the life of your trimmer with ease. They also keep it cutting well on every job. Good care now saves you time and money down the road. The ECHO trimmers page lists string trimmer models for tough yards.

I’m Patricia D. Johnson, an affiliate marketer and blogger specializing in trimmers and grooming tools. I create honest reviews, buying guides, and practical tips to help readers choose the right trimmer for their needs. With a focus on quality, performance, and value, I simplify the decision-making process so consumers can make confident purchases.