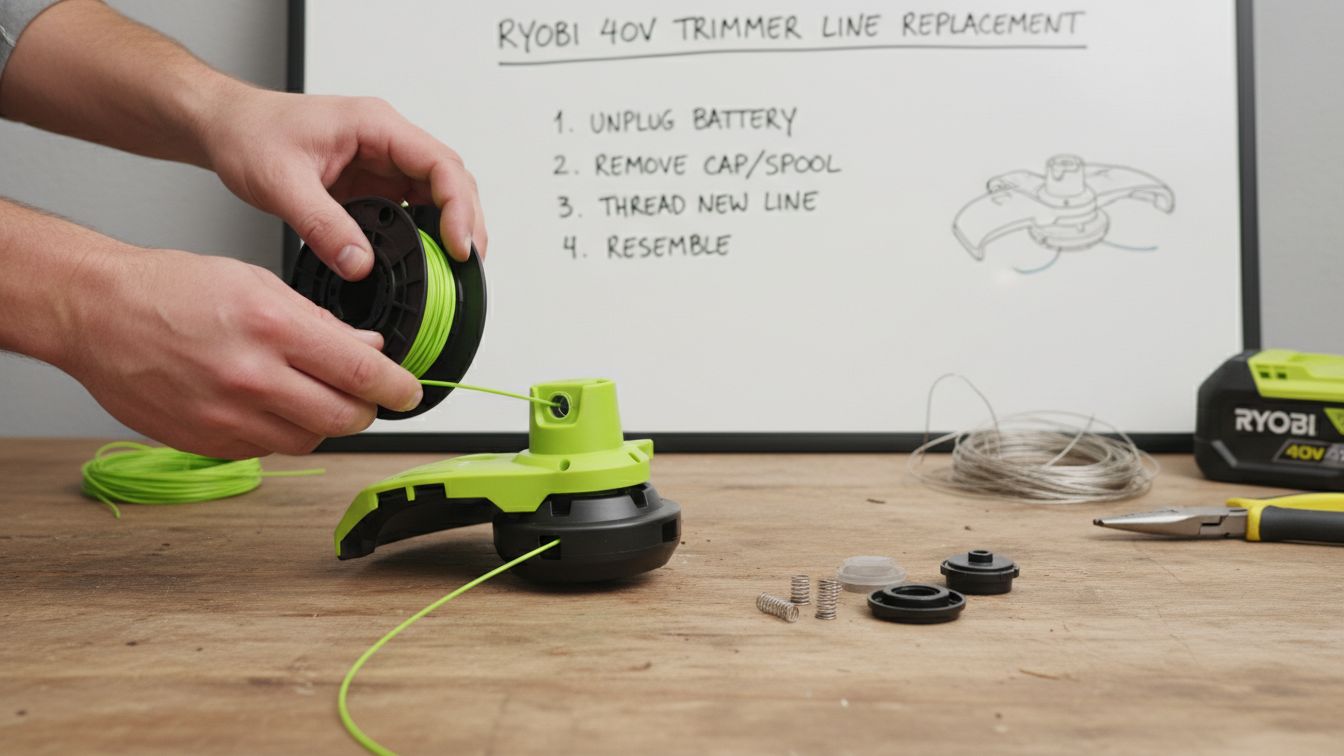
How to Change String on Ryobi 40V Trimmer
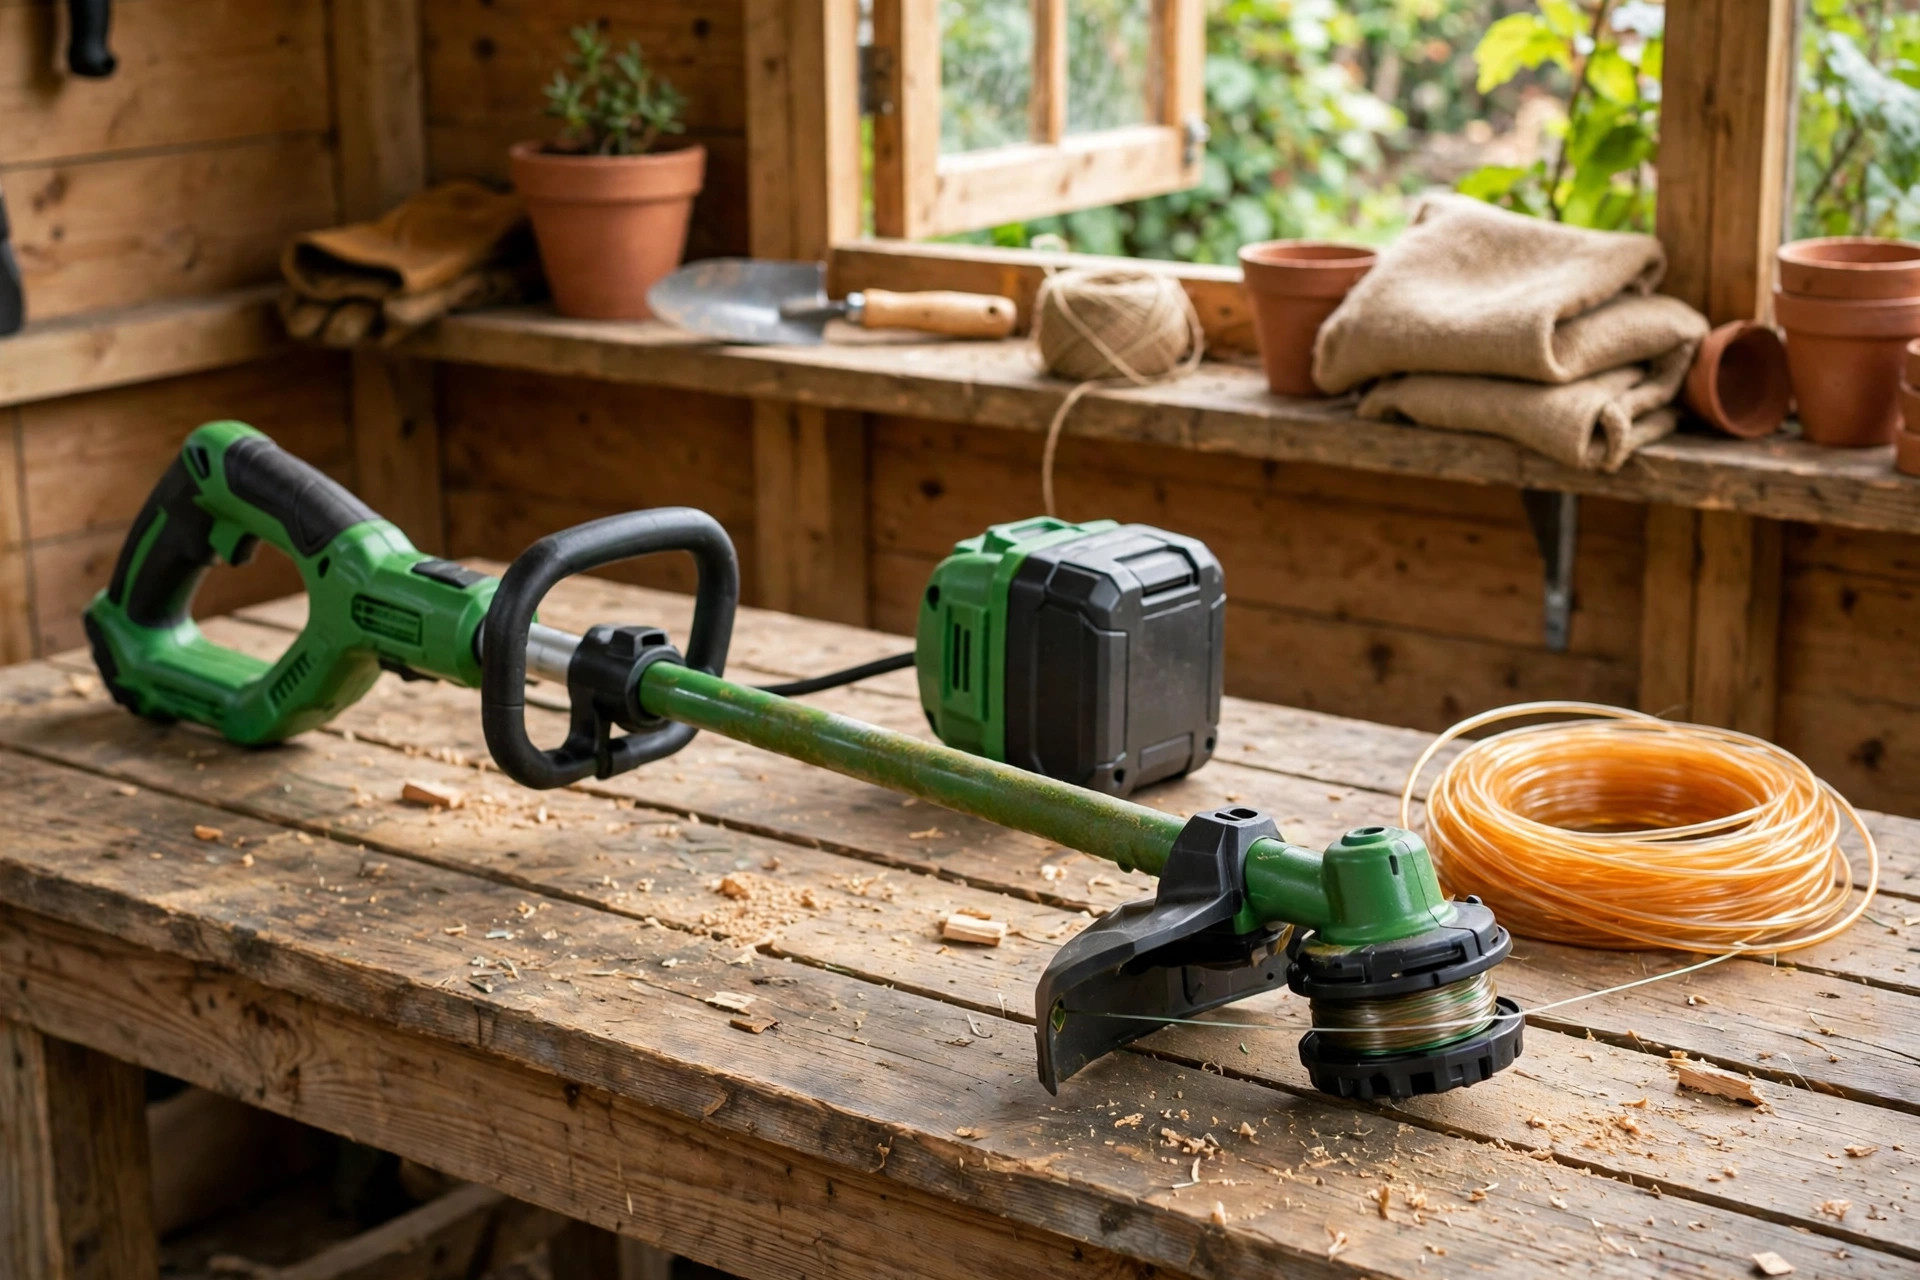
Who knew garden care could teach patience and skill? Surprisingly, that is often true when you change trimmer string. From my first swap, I saw how fiddly the job can be.
The Ryobi 40v trimmer, a trusty addition to my gardening toolkit, has a fascinating history. It runs on a 40V battery pack for cordless yard work. Changing the string needs care and a steady hand. The method gives a neat trim each time you use it.
This guide shows how to change string on Ryobi 40V trimmer step by step. You will learn each stage in plain, simple words. By the end, you can swap string with calm ease.
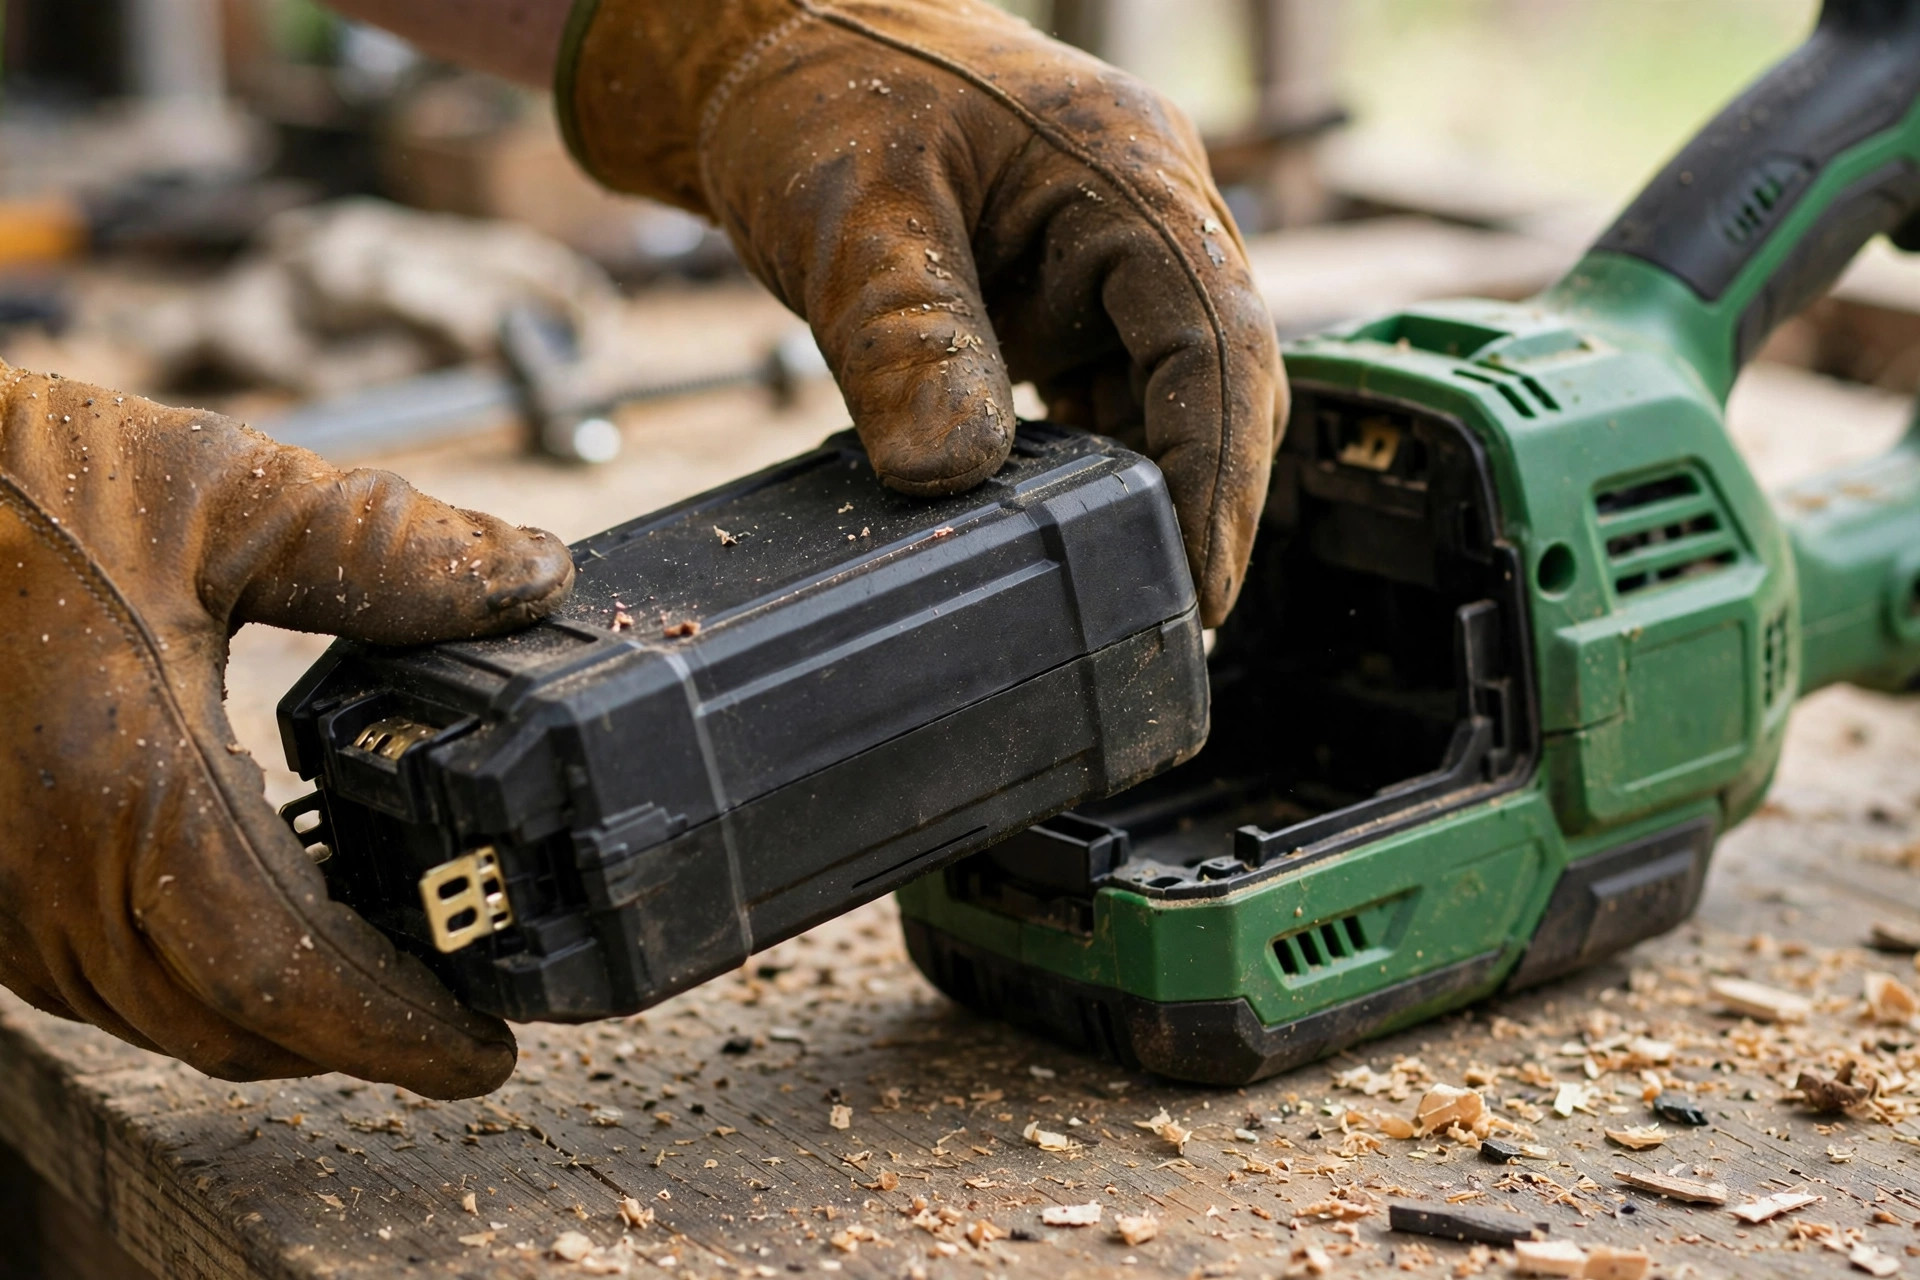
- Firstly, disconnect the battery from the Ryobi 40v trimmer to prevent accidents.
- Press the release tabs on the trimmer head and remove the spool retainer.
- Draw out the old line from the spool, then wind the new string around it, ensuring it’s tightly spiraled.
- Finally, replace the spool retainer, secure it into the trimmer, and reconnect the battery.
Quick answer: Remove the battery first, then take off the spool cap. Pull out the old spool and wind fresh string on neat. Thread six inches through each eyelet and refit the cap. Test the trimmer, then trim with a fresh line.
- How to Change String on Ryobi 40V Trimmer: Step-by-Step Guide
- Step 1: Preparation and Safety Measures
- Step 2: Removing the Spool Cap and Empty Spool
- Step 3: How to Change String on Ryobi 40V Trimmer — Wind the New Line
- Step 4: Inserting the Spool and Reattaching the Spool Cap
- Step 5: Testing the Trimmer
- Frequently Asked Questions
- More Questions About Changing Ryobi 40V Trimmer String
- Conclusion
How to Change String on Ryobi 40V Trimmer: Step-by-Step Guide
A neat yard needs a trimmer in good shape. Learning how to change string on Ryobi 40V trimmer makes garden work much smoother. Let’s tackle this crucial routine task with a comprehensive, step-by-step guide. See our guide to restringing a Ryobi 18V weed wacker for a smaller model.
| Stage | What to Do | Length |
|---|---|---|
| Measure new string | Cut a length from the bulk spool | 18–25 feet |
| Find the midpoint | Mark the centre of the cut length | Two equal halves |
| Leave free ends | Load the tails into the head eyelets | Six inches each side |
Step 1: Preparation and Safety Measures
Step 1: Preparation and Safety Measures
Before you start, put safety first with your trimmer. Disconnect the trimmer from its power source to prevent any accidental startups. Next, secure a stable work area that is flat and well-lit. You need room and clear sight to avoid slips. The EPA guide to used lithium-ion batteries covers safe battery care.
| What You Need | Why You Need It | Tip |
|---|---|---|
| Replacement string | Fresh line for clean cuts | Match the manual spec |
| Gloves | Guard hands from sharp edges | Wear them throughout |
| Clean cloth | Wipe dirt off the head | Clean before you start |
You need a new string and a pair of gloves. A clean cloth helps clear dirt from the trimmer first. Start once your tools are ready and your bench is set. If you are new, read our guide to using a string trimmer first.
Step 2: Removing the Spool Cap and Empty Spool
Step 2: Removing the Spool Cap and Empty Spool
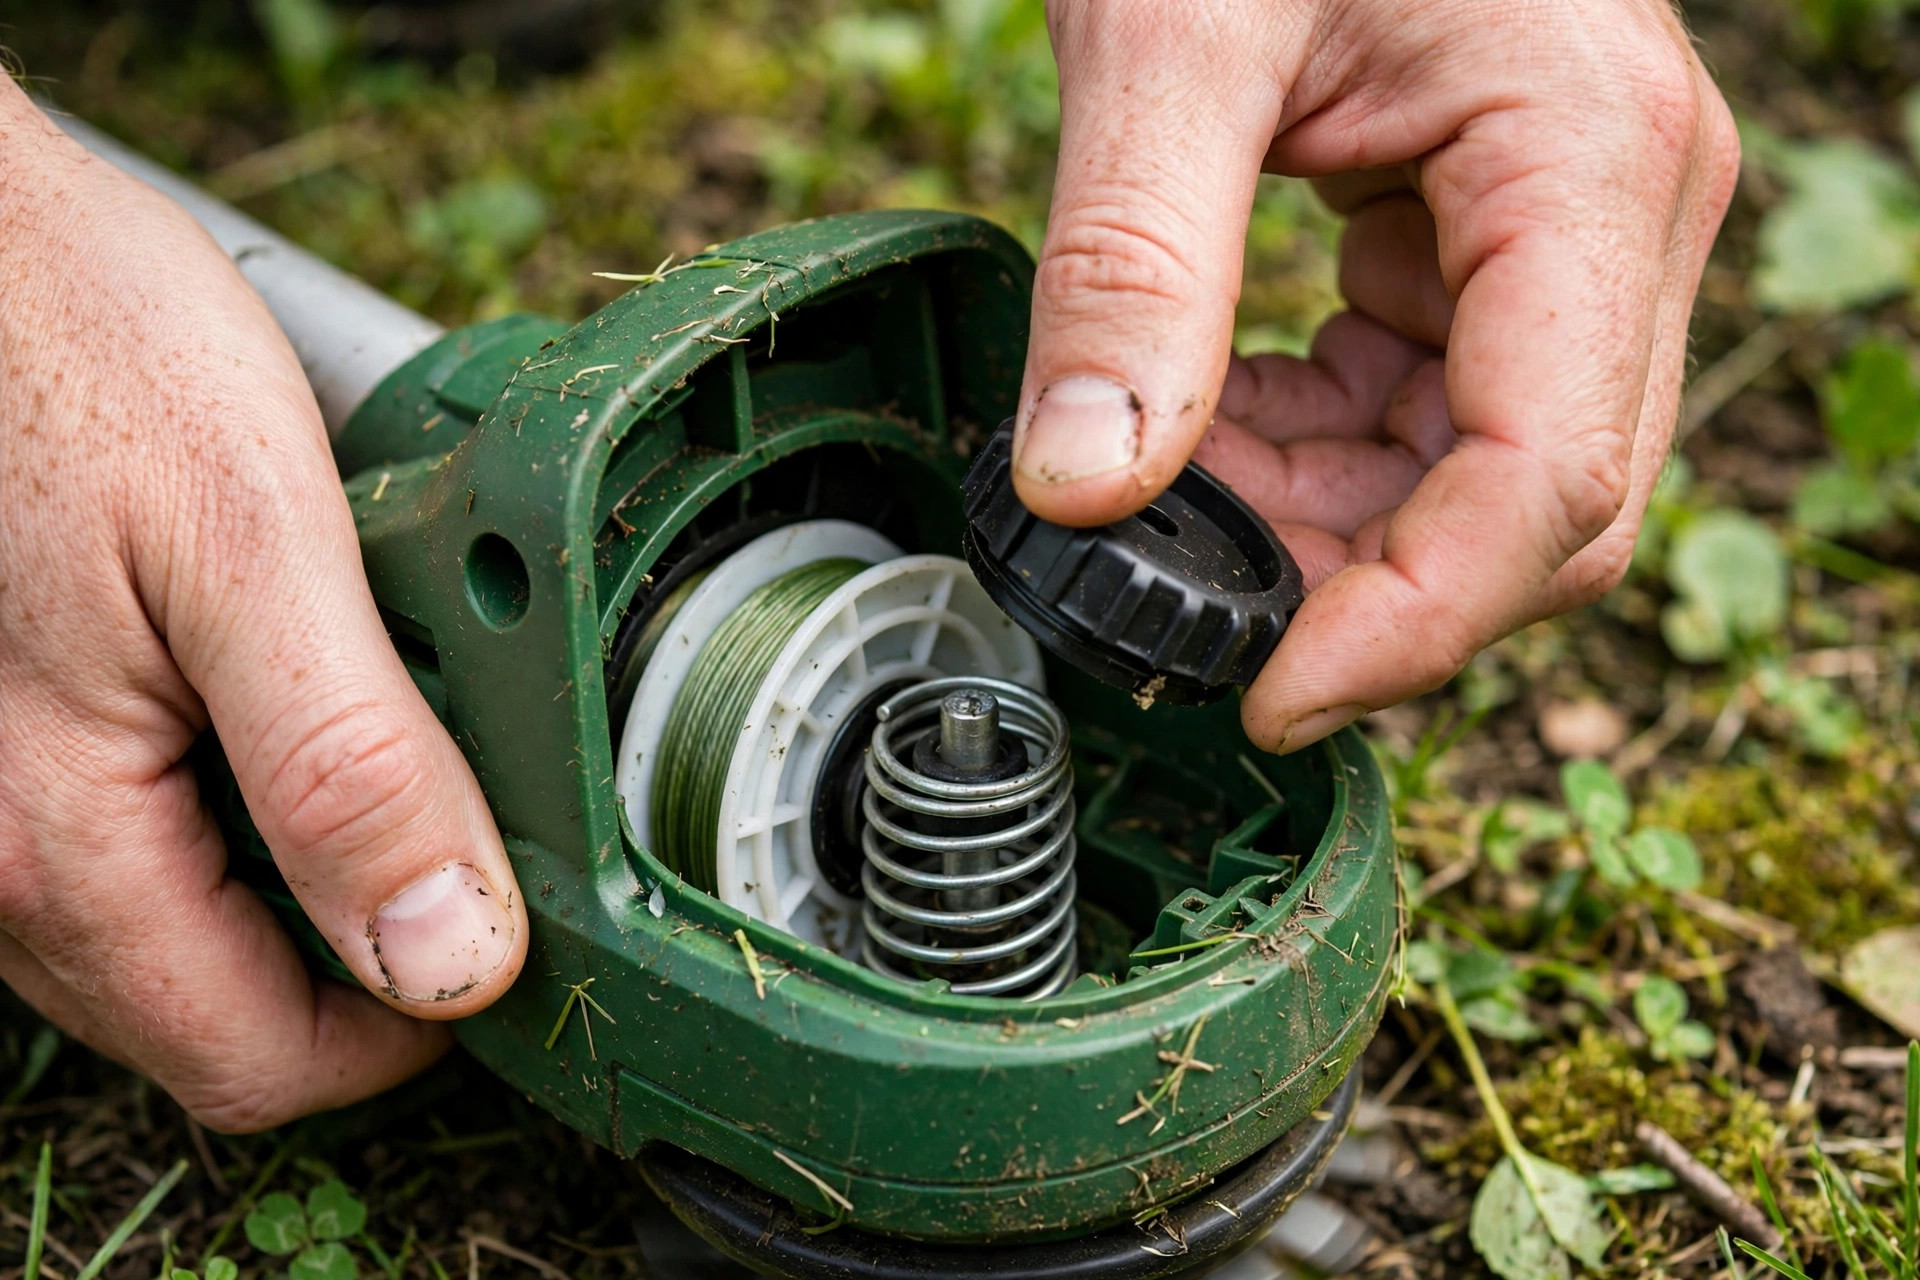
First, remove the spool cap to change the string. The cap sits at the base and twists counterclockwise to open. Once the spool cap is removed, you can now access and remove the empty spool. Pull it straight upwards to extract it from the trimmer. Our guide to replacing the spool on a Ryobi 18V trimmer covers spool swaps too.
Keep the spring inside the head casing when you lift the spool. It pushes the spool toward the cap for smooth line feed. Clean inside the head casing while the spool is out. Wipe the internal components carefully with a clean, soft cloth.
Check the line storage area for torn string bits. Pull out any pieces that could block the new string. A clear casing helps the line feed without snags.
Step 3: How to Change String on Ryobi 40V Trimmer — Wind the New Line
Step 3: Preparing and Inserting New Trimmer String
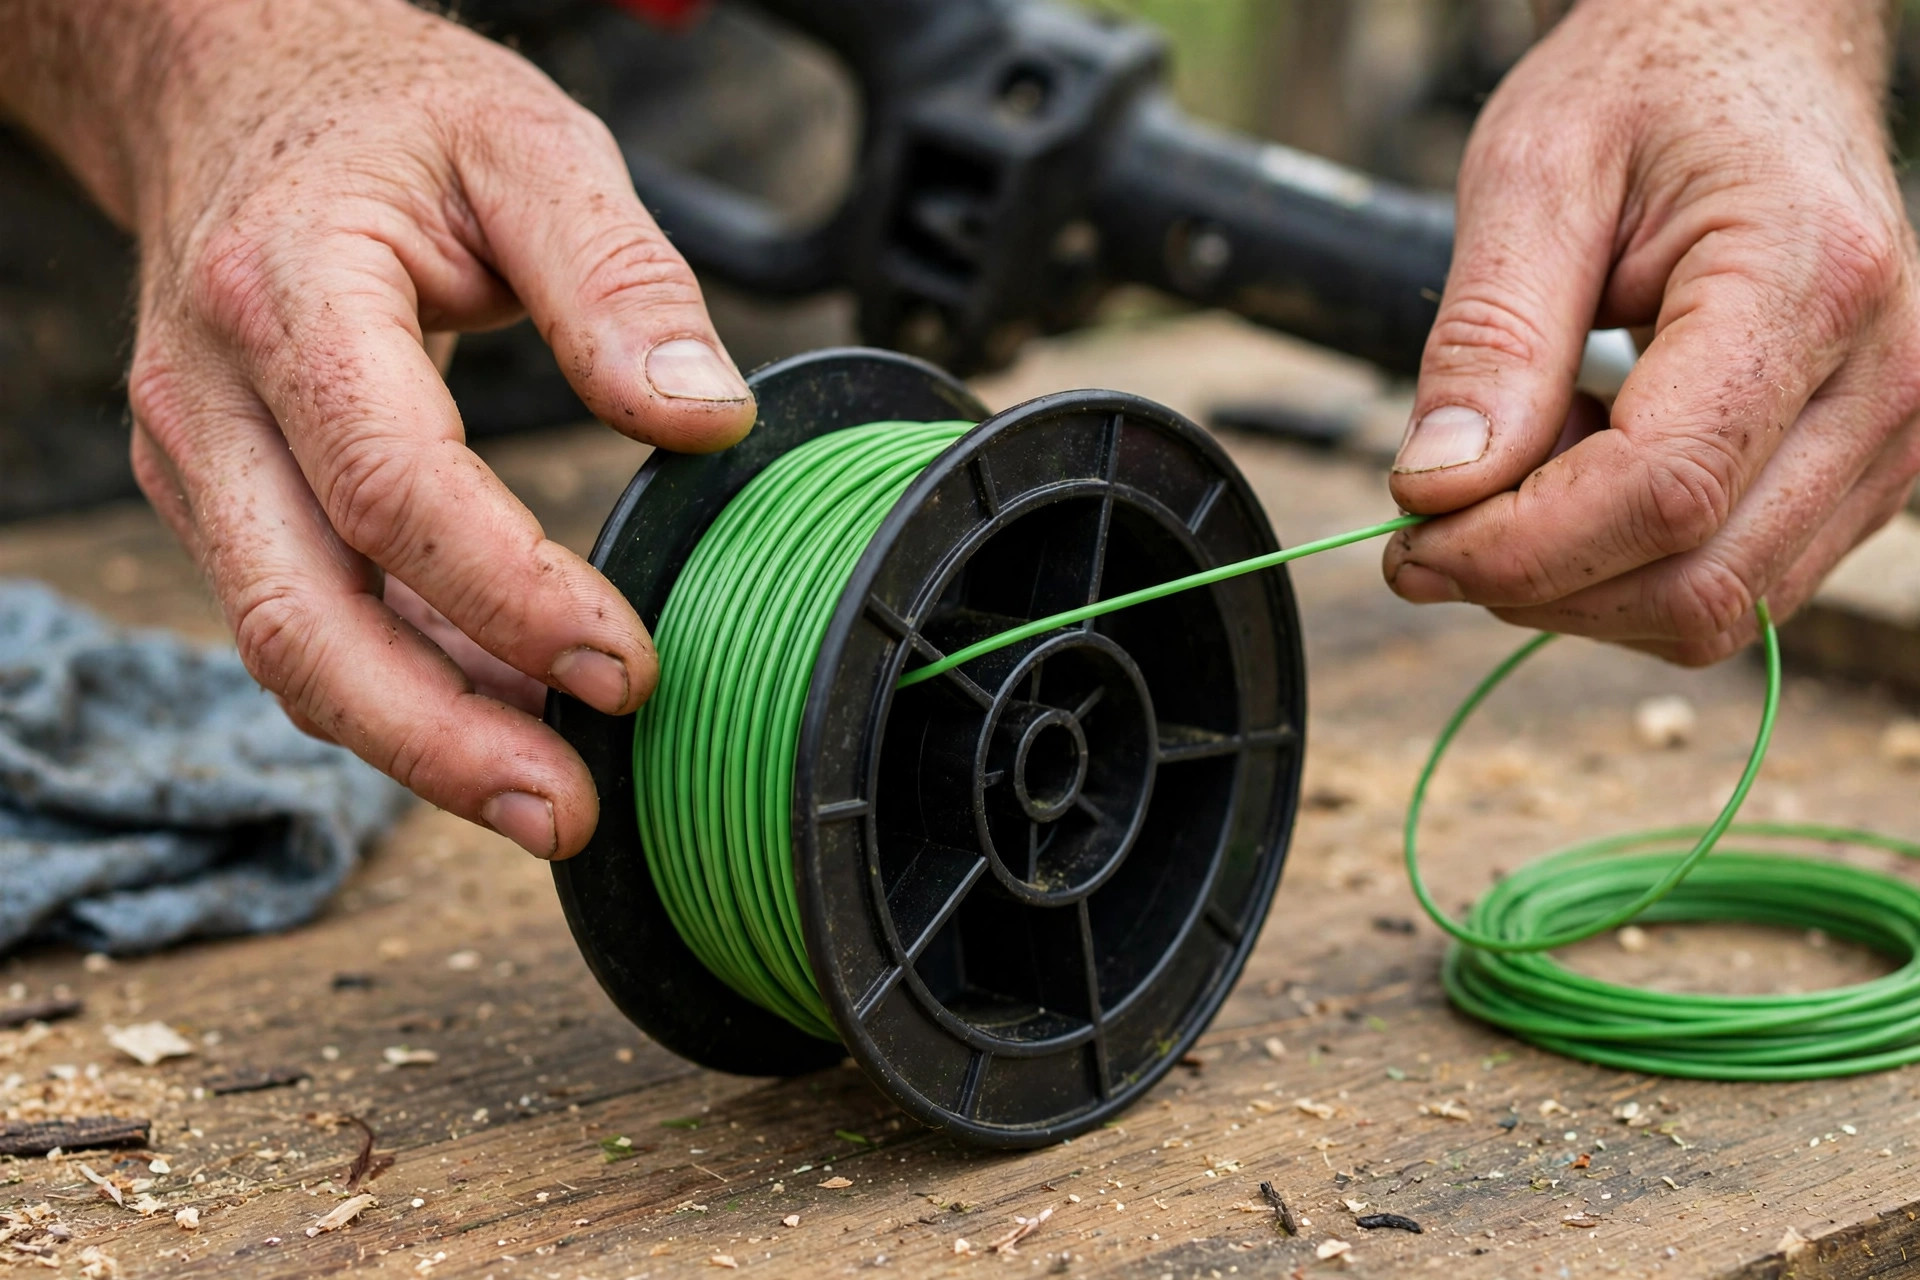
Next, prepare the new string for your trimmer. Measure around 18-25 feet of new trimmer string. Cut your string from the spool and find the midpoint of the string. This midpoint marks where winding starts on the empty spool.
Once you’ve found the midpoint, locate the two slots on your spool. These slots will hold your string in place as you wind. Push the midpoint into the slot and wind as the spool shows. Ensure that you wind the string neatly and evenly. See our guide to changing a Ryobi pull cord for cord fixes.
Wind on until six inches stay free at each end. These leftover string ends will be loaded into the trimmer head in the next step. Keep the tails even so both sides feed the same.
Step 4: Inserting the Spool and Reattaching the Spool Cap
Step 4: Inserting the Spool and Reattaching the Spool Cap
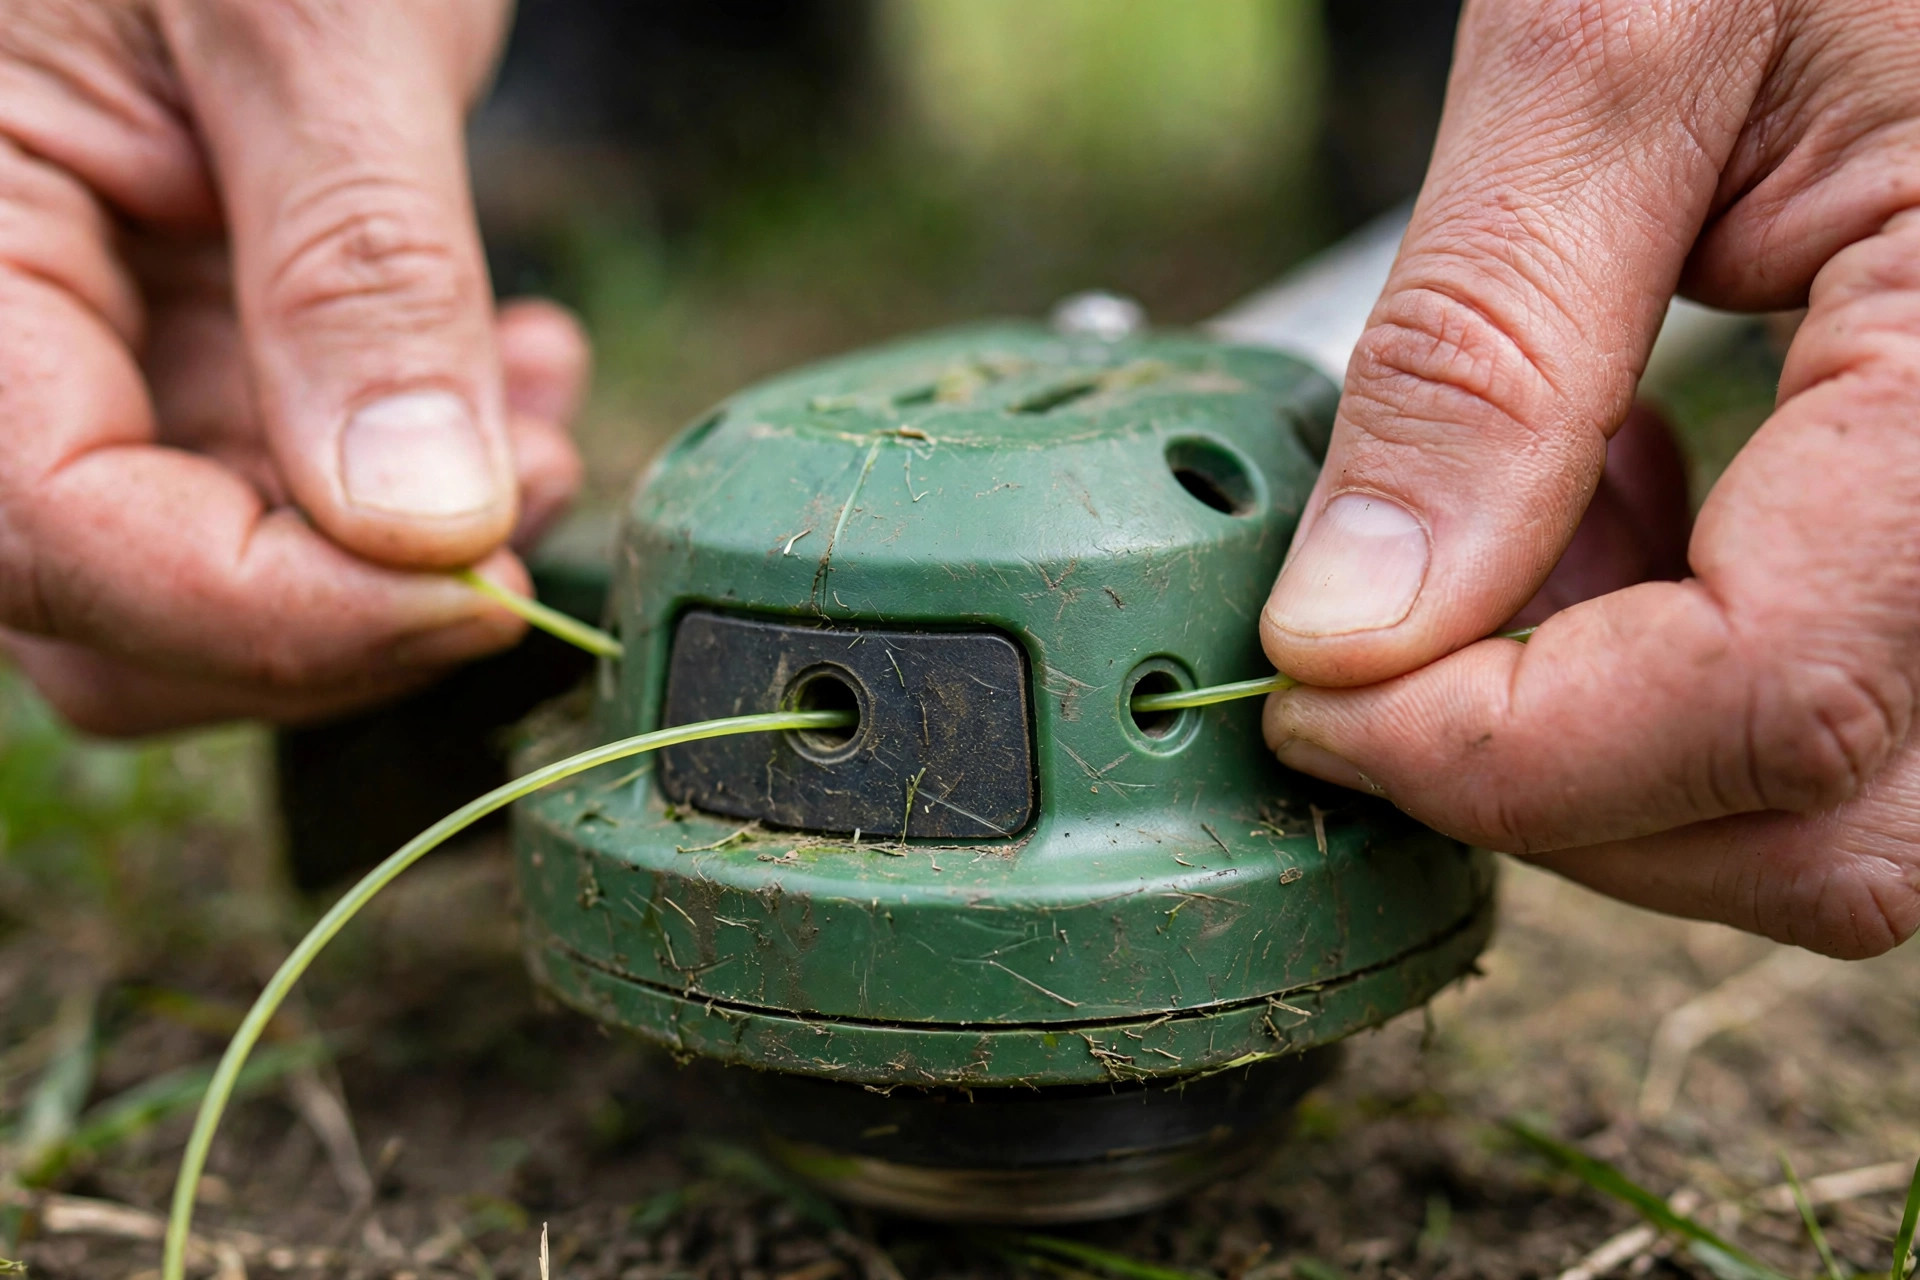
This step involves putting the newly wound spool back into the trimmer head. Take care to align the leftover string ends with the eyelets on the trimmer head. Thread each end of the string through the holes or eyelets on the trimmer head. Pull the string through until you have around six inches protruding from each eyelet.
Now you can replace the spool cap back onto the trimmer head. Make sure it’s securely fastened by pushing down and twisting it clockwise. You should hear a click when it’s in place.
Give the setup a quick check before you move on. Tug each string with a gentle pull. They should extend a bit and then retract back into the head unit. If this happens, then you’re all set.
Step 5: Testing the Trimmer
Step 5: Testing the Trimmer
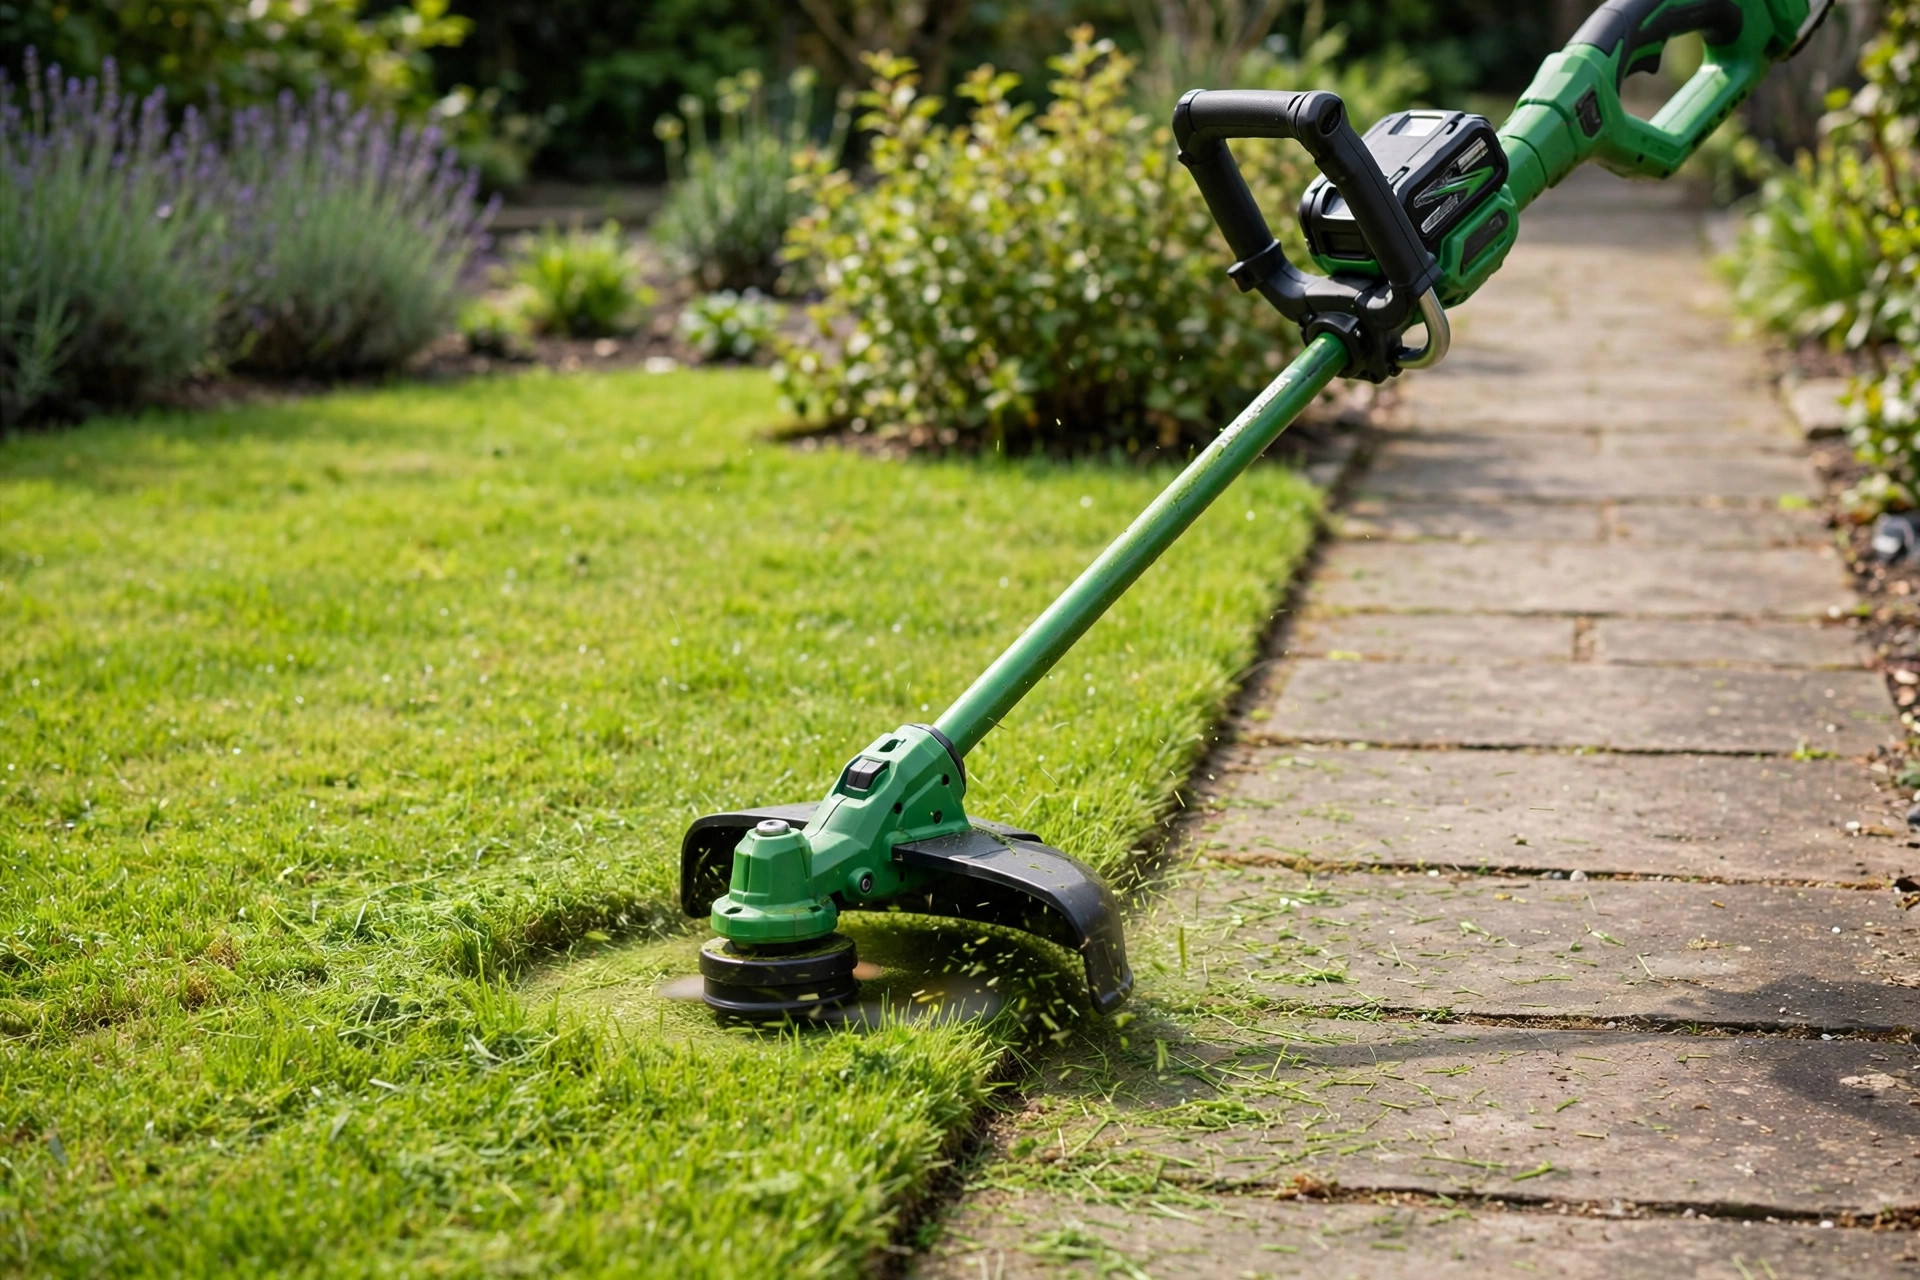
You’ve successfully changed the string on your Ryobi 40v trimmer. Now, it’s time to test the trimmer. Reconnect the trimmer to its power source and switch it on. The string should spin free when you switch it on. Use the feed control to push out more line.
If all works well, you have learned the full swap. With time, the job turns quick and feels natural. Your trimmer stays ready when you need it most. See our guide to using a Ryobi lawn edger for edging tips.
Swapping string yourself gives full control of upkeep. It saves shop fees and fixes worn string fast at home. So, keep your garden looking pristine with a well-maintained trimmer. The EPA lawn and garden guide shares safe yard care tips.
Frequently Asked Questions
Maintaining a beautiful garden requires the right tools and understanding how to use them properly. A common tool used by many is the Ryobi 40v trimmer. Here, we answer your most common queries about changing its string. Our guide to changing string on a WeedEater trimmer covers a like model.
1. Why is it necessary to replace the string in my Ryobi 40v trimmer?
Replacing your trimmer string is essential for several reasons. Old string wears thin and cuts less well over time. Fast spin and plant drag wear the line down. Worn string leaves rough cuts and can harm plants. Therefore, once you notice a decrease in performance, it’s best to replace the string.
2. How often should I change the string on my Ryobi 40v trimmer?
How often you swap string depends on your use. Tough weeds wear string fast, so swap it more often. Weak cutting shows that a fresh string is due. Light use on soft grass lets string last much longer. Always inspect the string before using the trimmer to ensure it isn’t frayed or broken.
3. Can I use any string for my Ryobi 40v trimmer?
No, not all strings are suitable for every trimmer. Each trimmer, including the Ryobi 40v trimmer, has specific requirements for its string. These requirements often include factors such as the string’s material, diameter, and length. Use only the string type your manual lists for safety. This information can usually be found in your trimmer’s user manual.
More Questions About Changing Ryobi 40V Trimmer String
4. What are the step-by-step instructions on replacing the string in my Ryobi 40v trimmer?
First, switch off the trimmer and take out the battery. Unscrew the head in the marked direction to free it. Lift out the spool and clear off old string ends. Wind new string on neat and tight, as the manual shows.
Finally, reinsert the spool into the trimmer head and reattach the head to the trimmer. Ensure all parts are secure before reinstalling the battery and turning on the trimmer. Check each part once more before you test the tool. See our guide to changing string on a DR trimmer for a like job.
5. What safety precautions should I observe when changing the string on my Ryobi 40v trimmer?
When changing the string on your Ryobi 40v trimmer, always prioritize safety. Switch off the tool and pull the battery out first. Wear gloves and keep your work bench clear of clutter. Always follow the manufacturer’s instructions detailed in the user manual of your Ryobi 40v trimmer.
Handle all components with care, especially the string as improper handling could risk injury. Make sure all components are properly reassembled and secure before using the trimmer again. A snug refit keeps the trimmer safe to run.
Conclusion
How to change string on Ryobi 40V trimmer is simple once you know the steps. First, you need to take off the spool cap and remove the old string. Then, cut your new string to the right length, usually about 9 feet. Remember to feed the string into the holes on the spool and secure it tightly.
After replacing the string, the trimmer will work like new again. Regular maintenance and string replacement will ensure your trimmer remains in top shape. Now you can tackle lawn tasks with no more stops.

I’m Patricia D. Johnson, an affiliate marketer and blogger specializing in trimmers and grooming tools. I create honest reviews, buying guides, and practical tips to help readers choose the right trimmer for their needs. With a focus on quality, performance, and value, I simplify the decision-making process so consumers can make confident purchases.