How to Restring a Ryobi 18V Weed Wacker
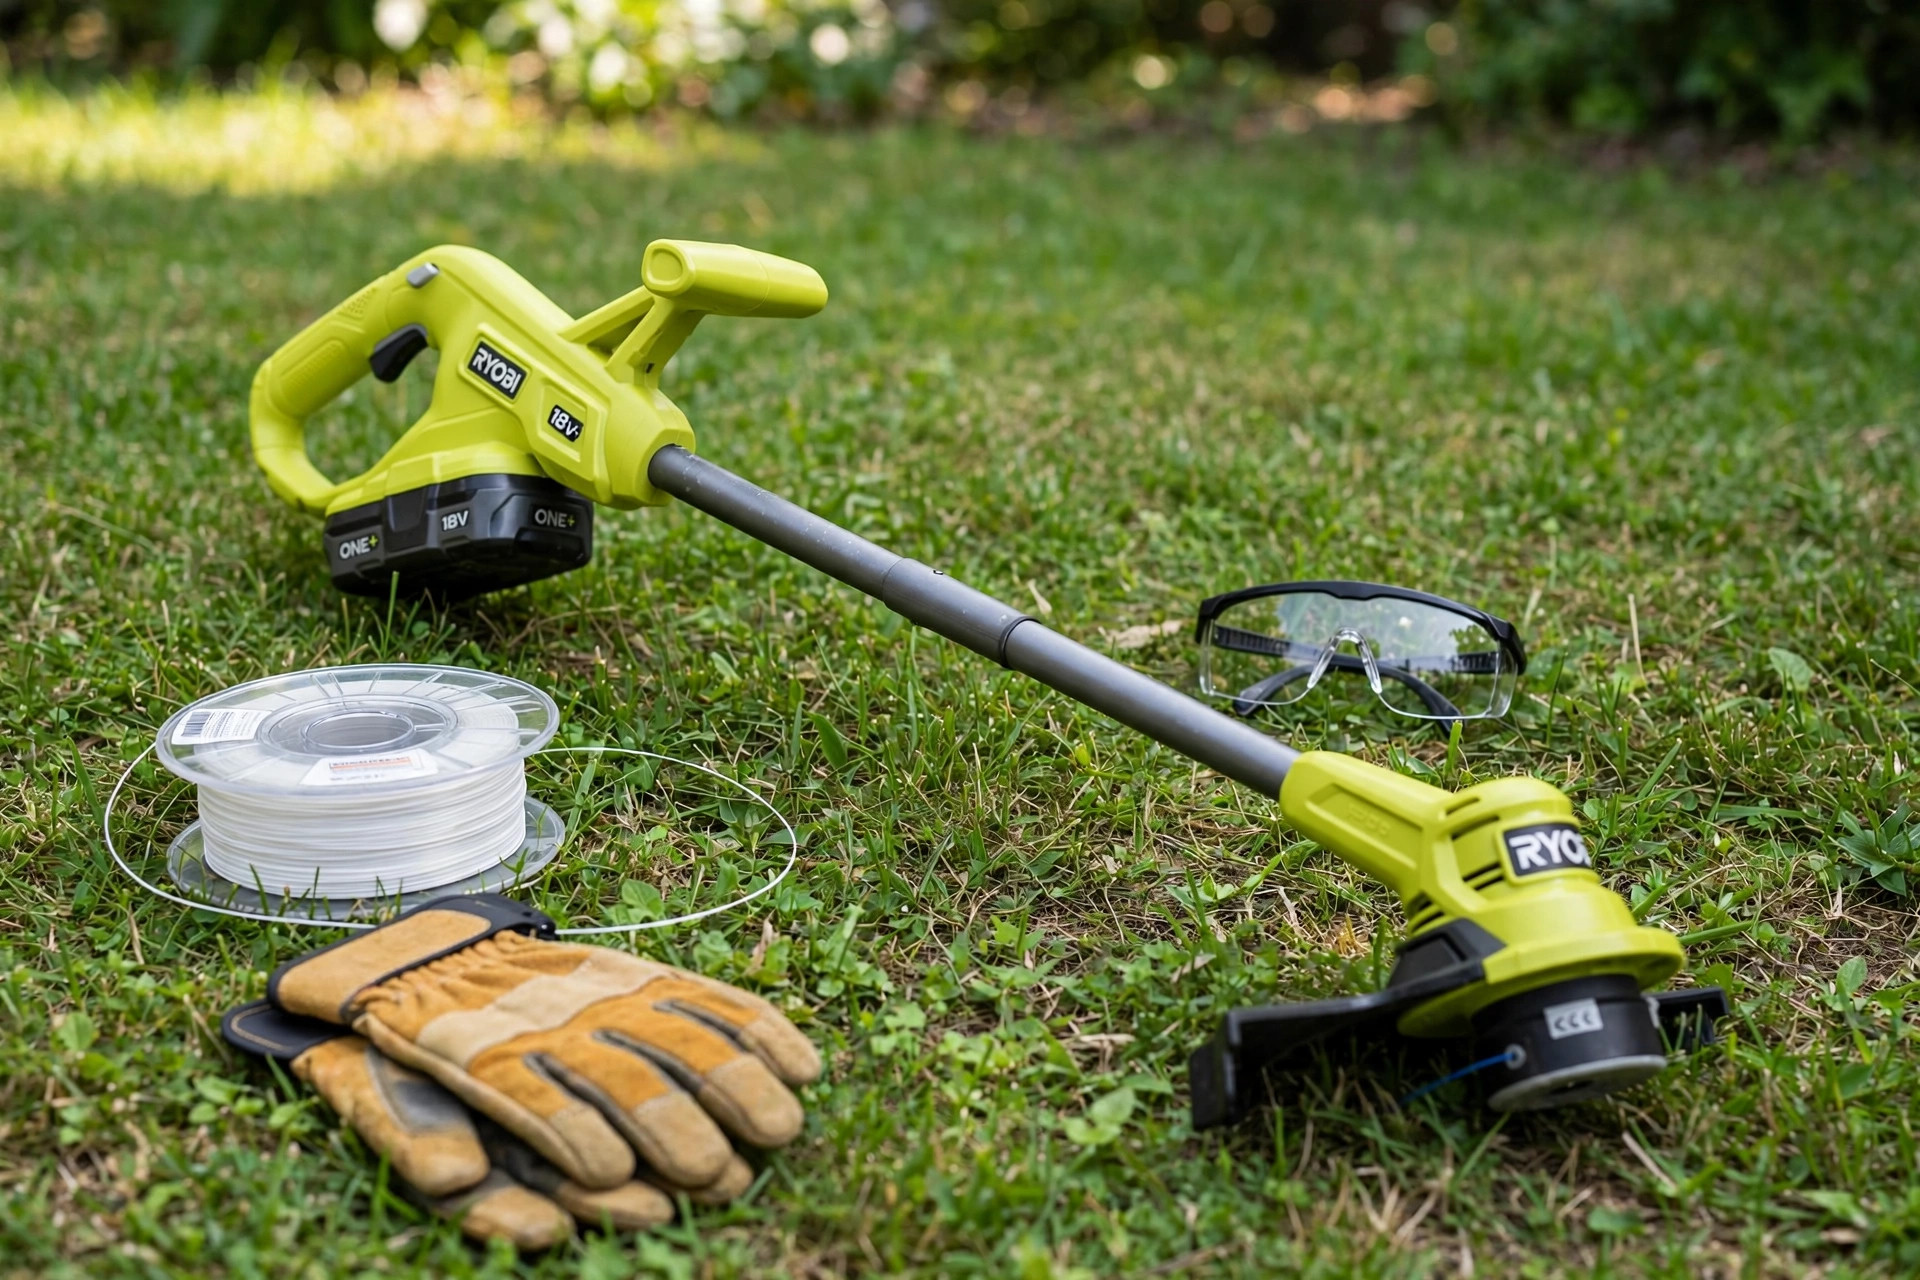
Picture a calm Saturday morning with an overgrown lawn waiting for you. You start your Ryobi 18V weed wacker, but it has no string left. Restringing this mighty yard warrior is not as complicated as you think. Learning how to restring a Ryobi 18v weed wacker takes just a few minutes.
The Ryobi 18V weed wacker feeds line well and reloads with ease. Each fresh reload keeps this trusted yard tool working at its best. A fresh line helps you trim fast and keep your yard neat.
This guide walks you through each step in plain, simple words. You will prep the tool, wind new line, and test the trimmer. Keep your new line and gloves close before you start work.
Quick answer: Switch the trimmer off and take out its battery first. Press the tabs and lift the spool from the head. Cut about nine feet of fresh line and wind it tight. Thread the ends through the eyelets and snap the cap on. Test the trimmer on a small patch of grass.
How to Restring a Ryobi 18V Weed Wacker: Step-by-Step Guide
Many homeowners love the Ryobi 18V weed wacker for a neat, clean yard. This handy tool needs care, and fresh line keeps it cutting weeds well. This guide shows how to restring a Ryobi 18v weed wacker step by step. First read our guide on how to use a trimmer safely.
| What you need | Why it helps |
|---|---|
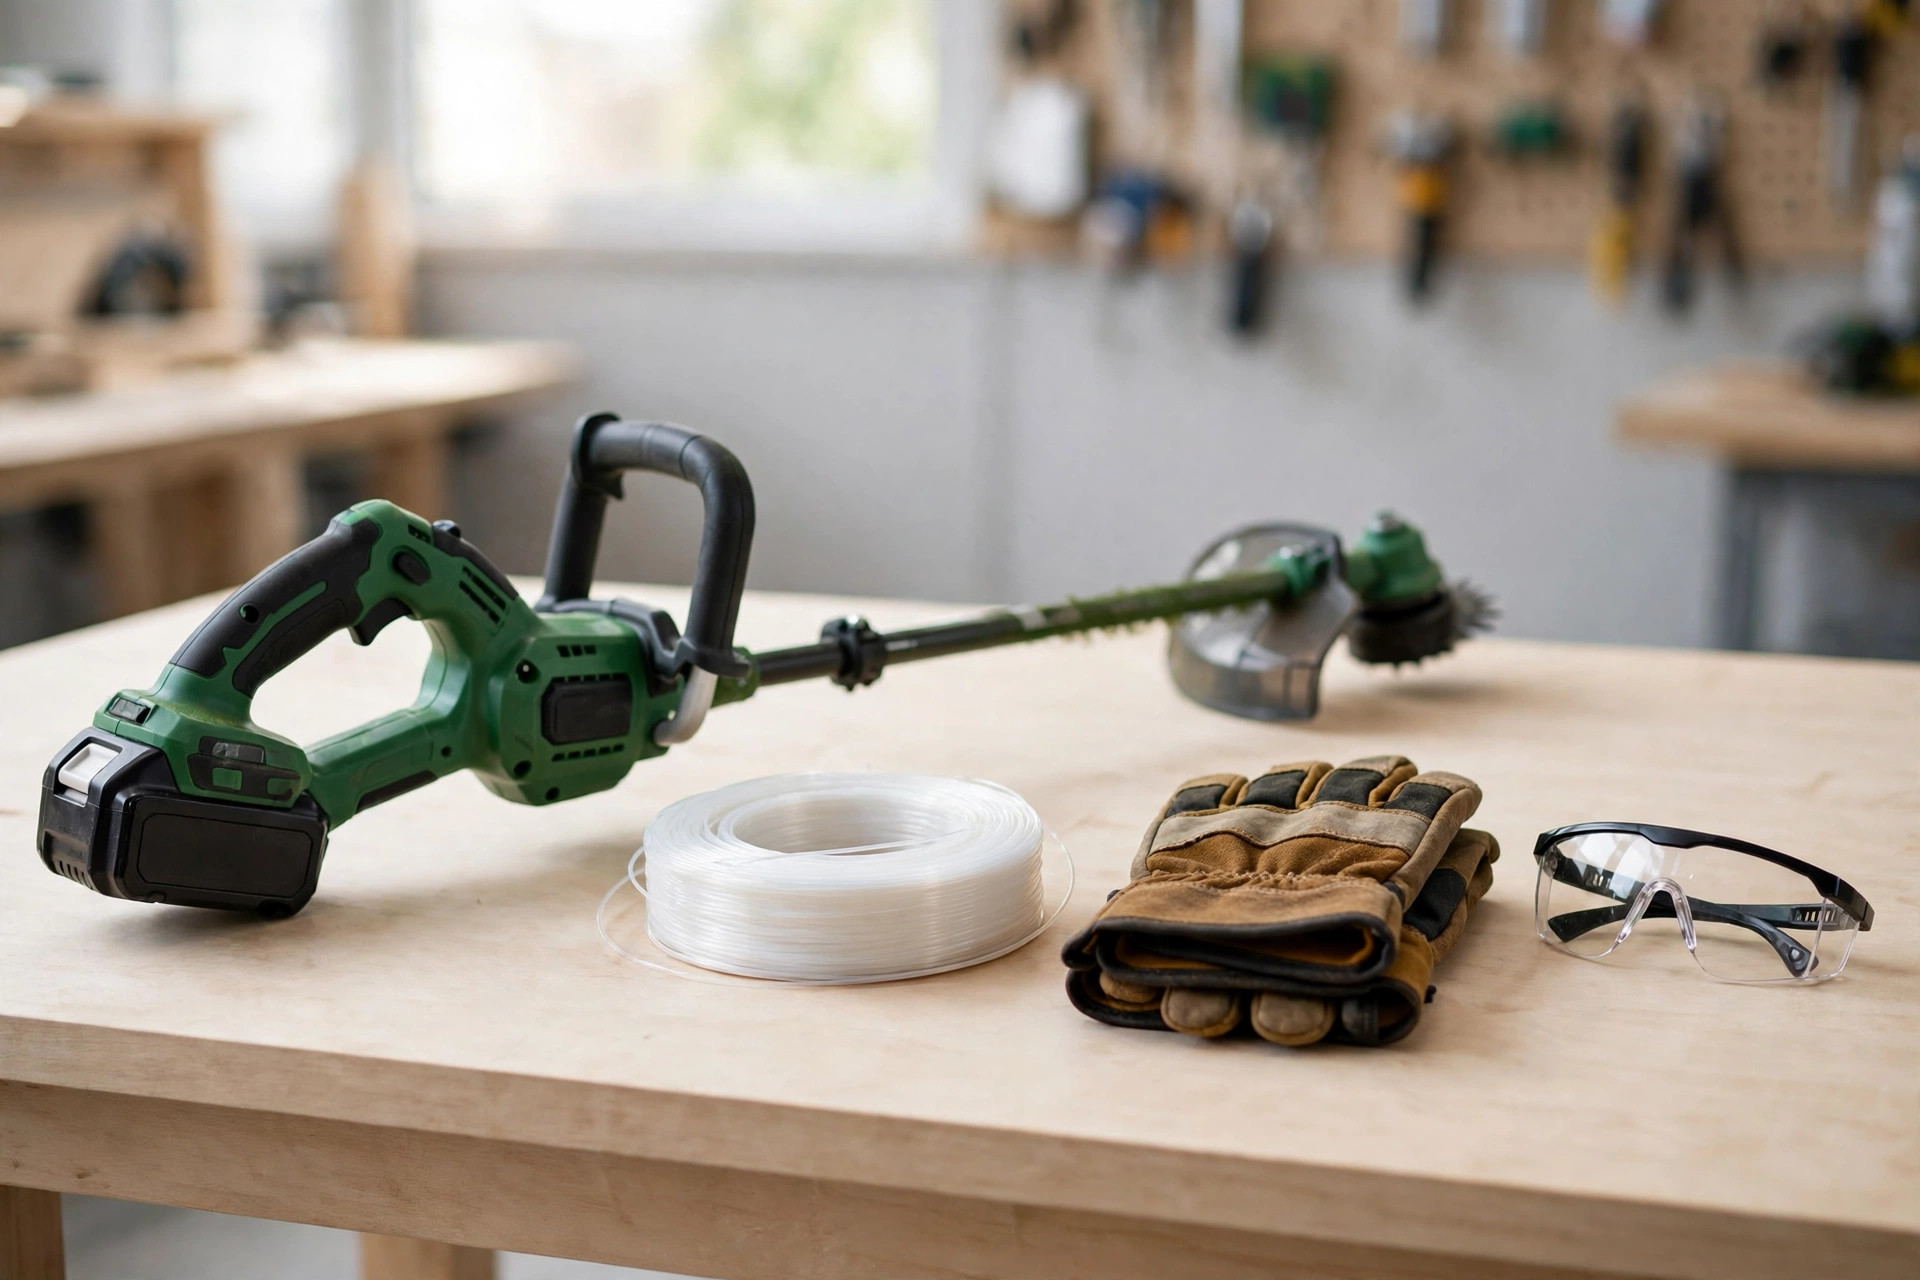
| Replacement trimmer line | Use .065-inch line for most models |
| Thick work gloves | Guard your hands well |
| Safety glasses | Shield your eyes from debris |
| Clean cloth or brush | Clears grass from the head |
Step 1: Prepare Your Work Area
The first step towards restringing your Ryobi 18v weed wacker is preparing your workspace. Find a clean, flat surface where you can easily manage the tool and its components. Arrange your replacement line, usually a .065 diameter monofilament string, within reach. Clear the area of clutter so you can work in a safe space.
Switch the weed wacker off and take out the battery before you start work. Sturdy gloves guard your hands from scrapes and cuts while you work. Safety glasses shield your eyes from dust and loose bits of line.
Clear debris and trapped grass so the restringing goes smooth and easy. You can use a brush or a rag to remove the debris. Keep a garbage bin nearby for depositing the waste conveniently.
Your manual lists the exact line size for your Ryobi 18V model. It also names each part, so each step makes sense as you work. You can find your manual on the Ryobi support page for your model.
Removing the Old Line
Step 2: Remove the Trimmer Line
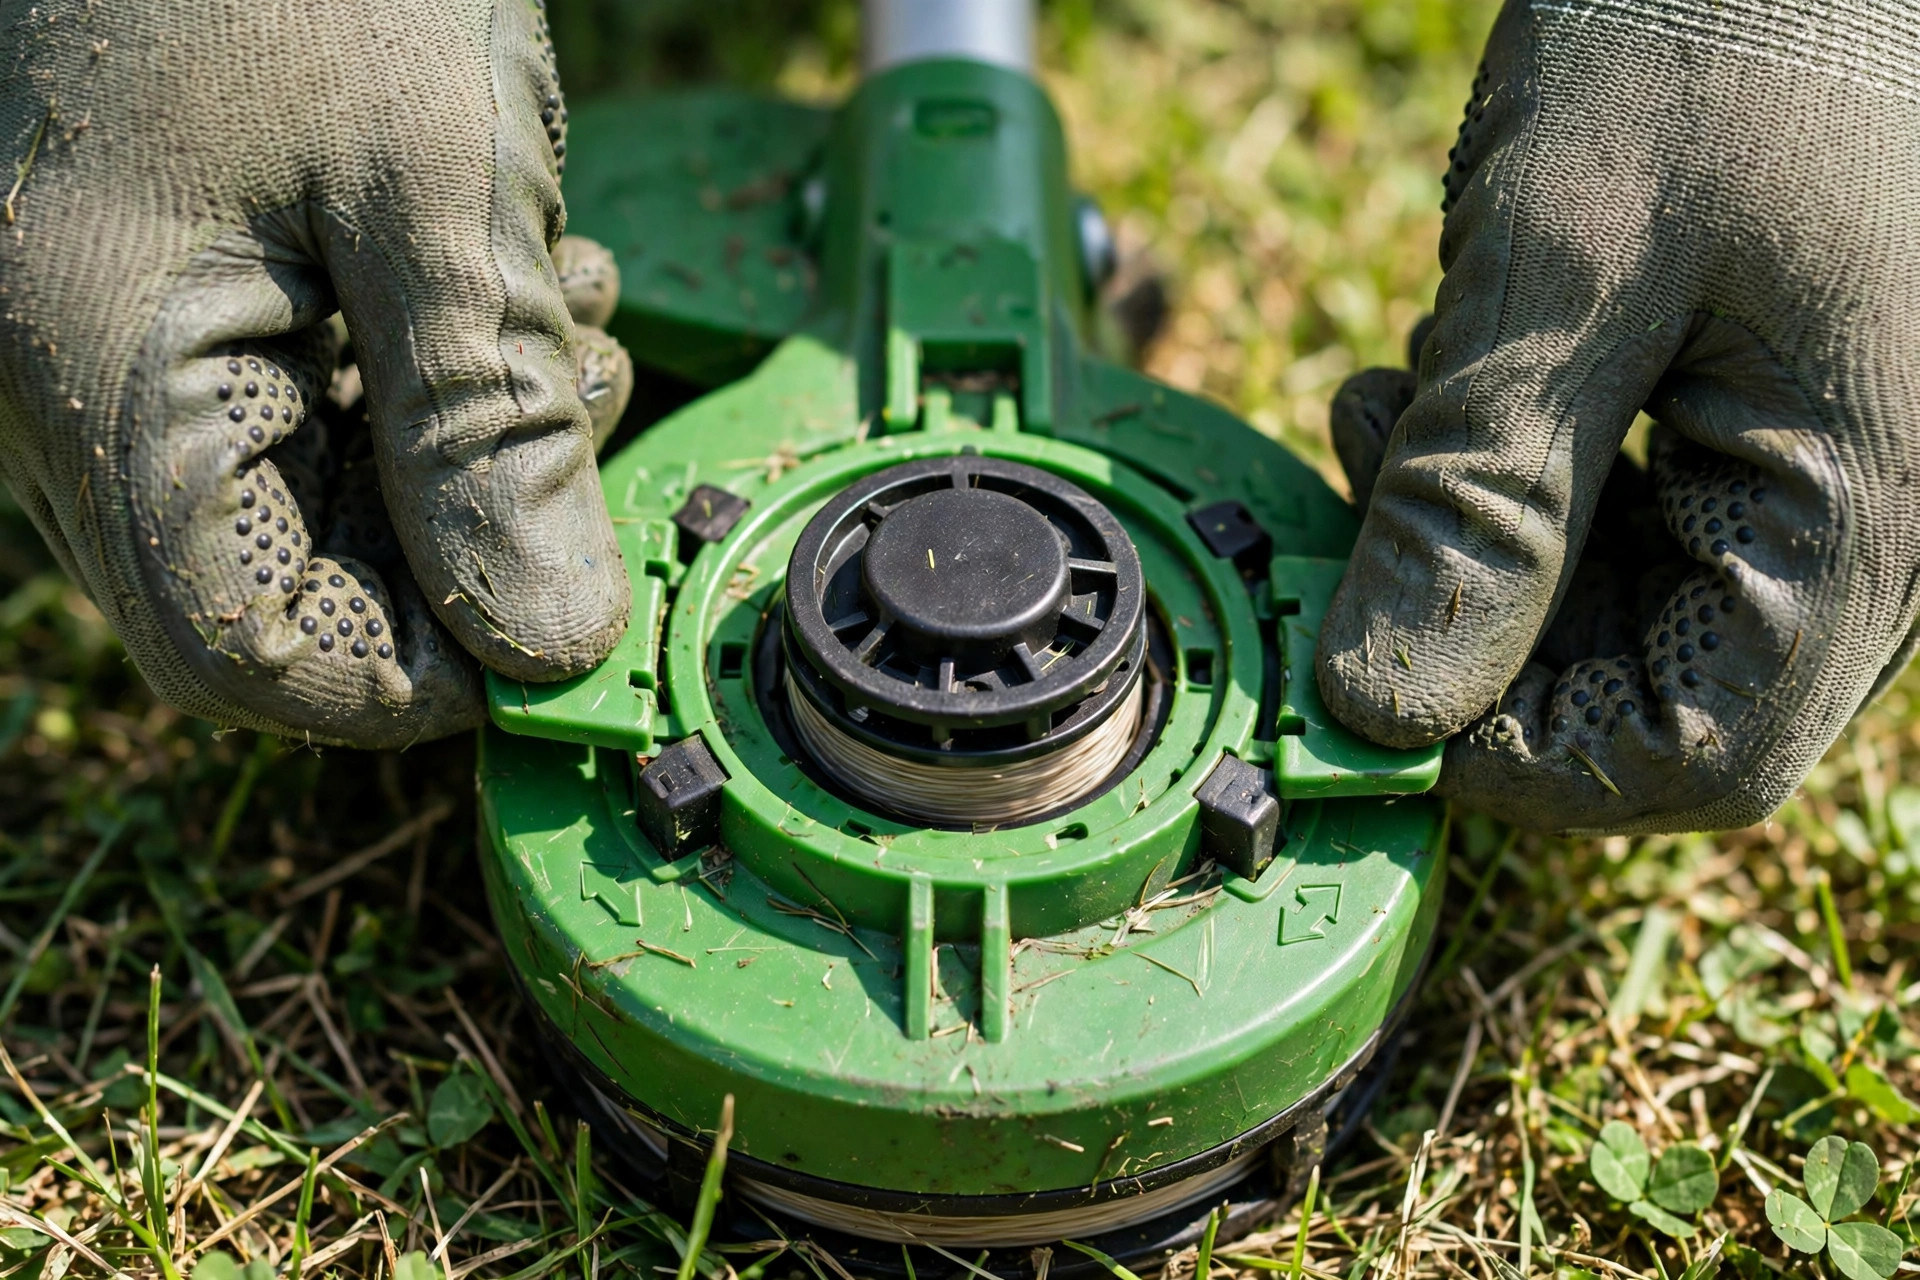
To restring your Ryobi weed wacker, you need to remove the old trimmer line first. Find the retaining cap at the base of the trimmer head on your model. Press the tabs on the sides and pull the cover off the head.
Once the cover is removed, carefully take out the spool. This should expose the remaining line which can be unwound and discarded. Keep the spring safe, since you need it to put the head back together.
Check the cutting head and spool for cracks once the line is out. Clean any last bits of debris out of the weed wacker head now. If your battery is old, check the EPA battery recycling guide for safe disposal.
After you have removed the old trimmer line, you’re ready to install a new one. This is where you’ll learn how to restring a Ryobi 18v weed wacker. If your spool is worn, read how to replace spool on Ryobi 18V trimmer instead.
Winding the New Line
Step 3: Restring the Weed Wacker
Installing the new string into your Ryobi weed wacker is a simple process. Start by cutting about 9-10 feet of fresh line from your replacement spool. Use the right line for your model, since most take .065-inch monofilament line.
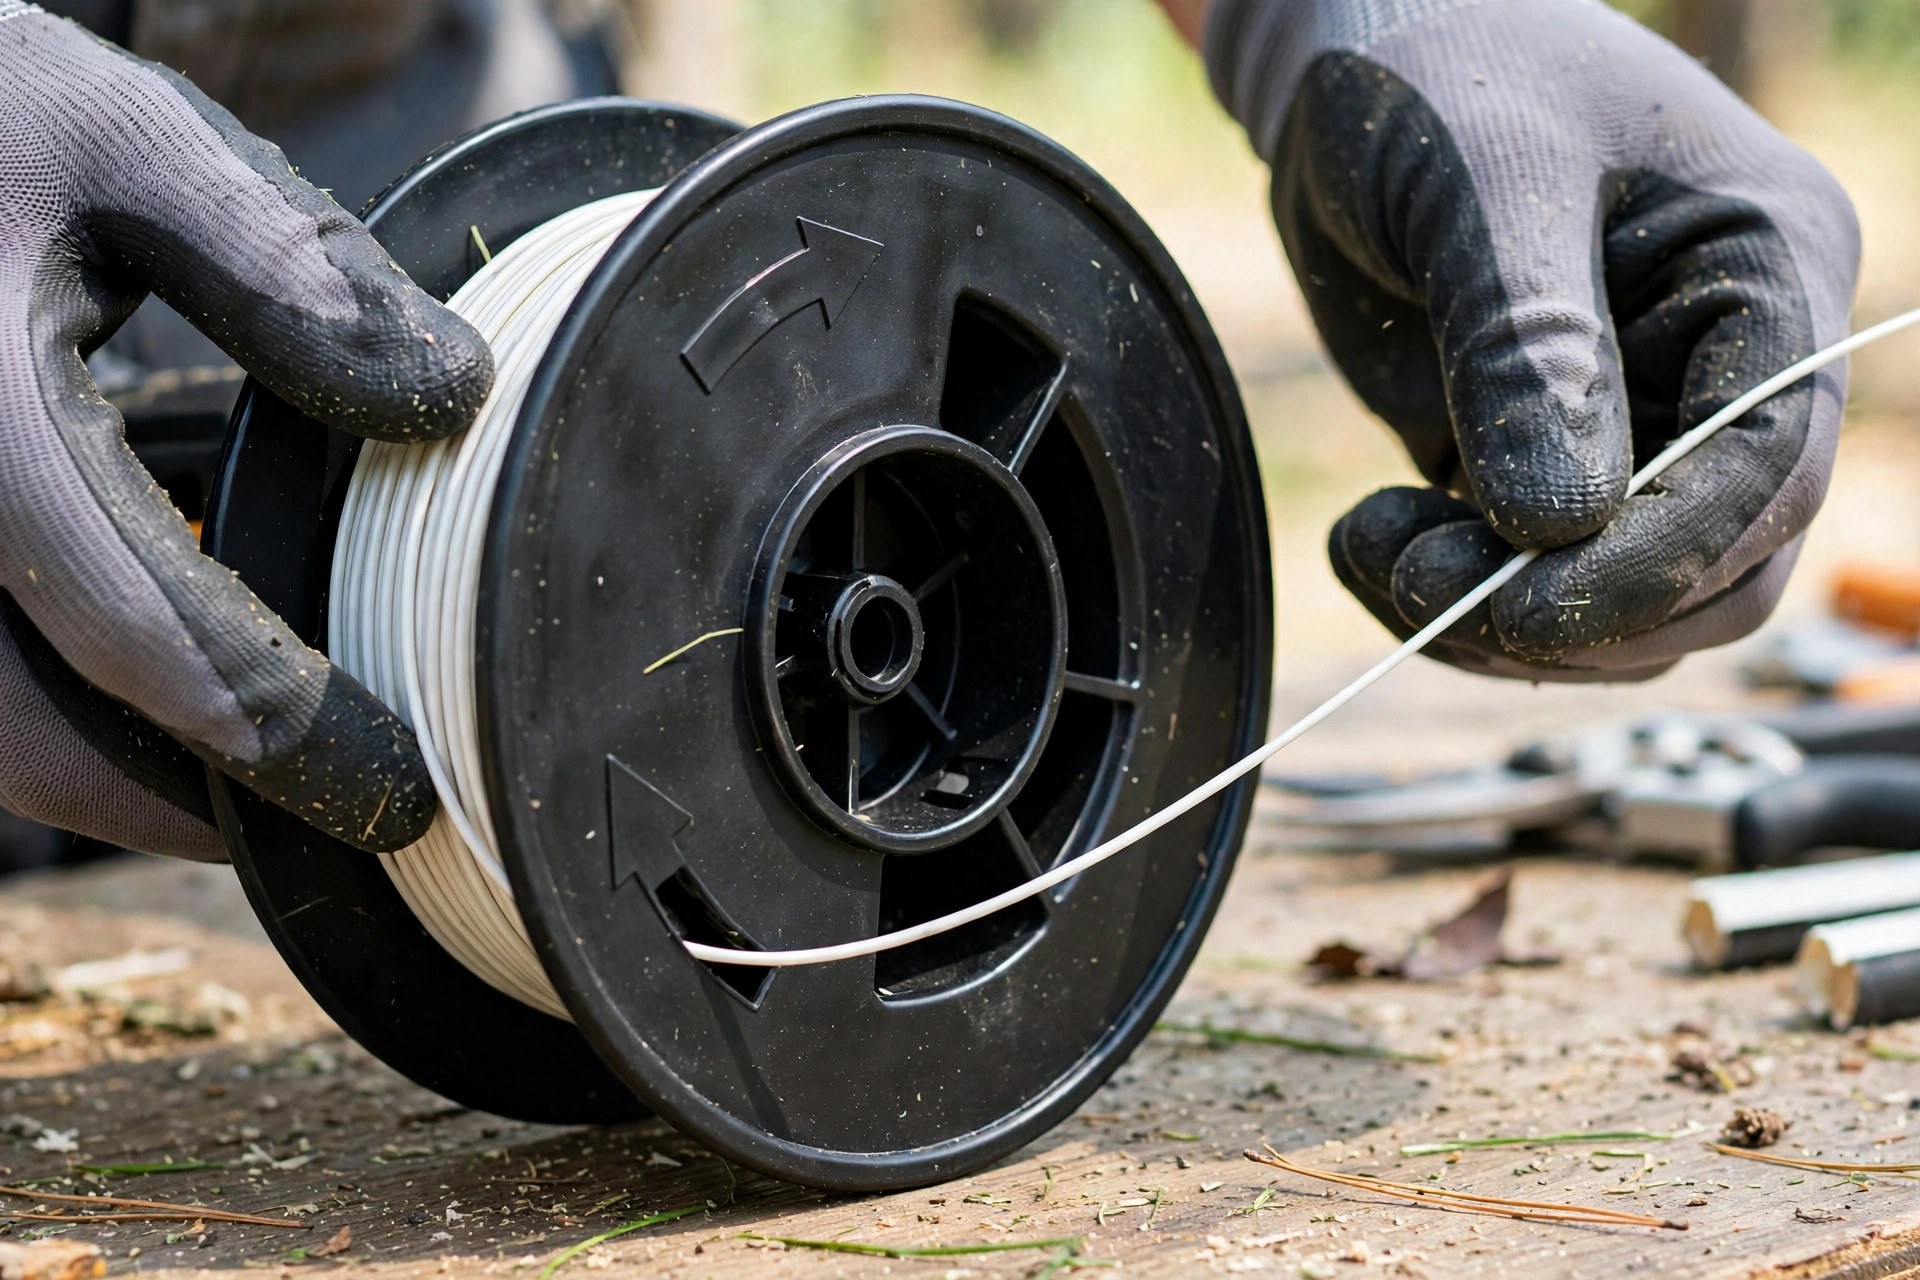
Find the anchor hole in the spool center and push in half an inch. Begin tightly winding the line in the direction indicated by the arrows on the spool. Make sure to avoid overlapping and maintain even layers of line.
Stop winding with six inches left, then find the notches on the spool edge. These notches hold the line in place during reassembly. Insert the end of the line into one of them to secure it.
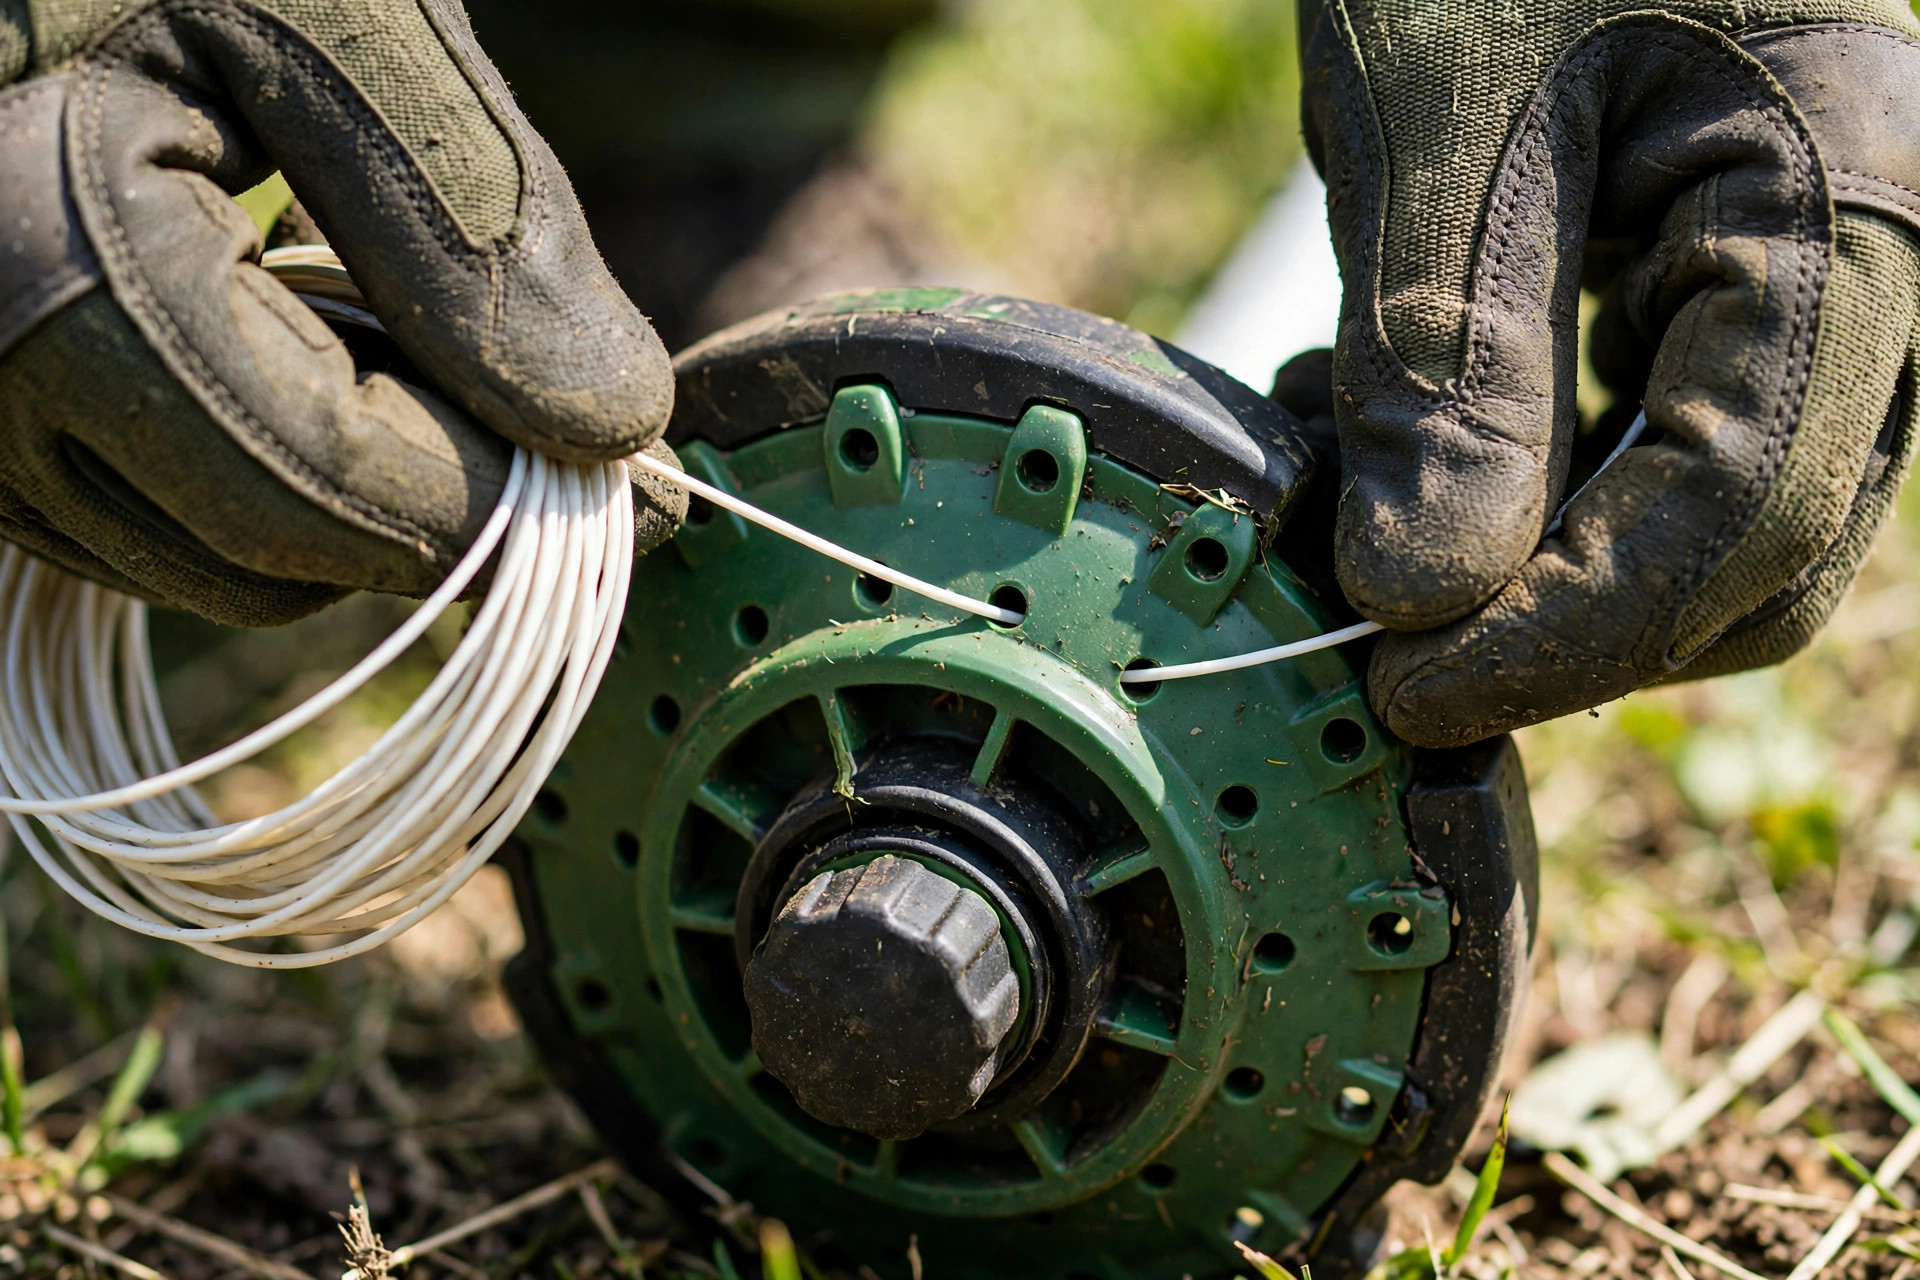
Now place the wound spool back into the cutting head with care. Feed the loose line ends through the eyelets as you seat the spool. This step sets up the next stage, where you lock the head shut.
Reassembling the Weed Wacker
Step 4: Reassemble the Weed Wacker
Start reassembly by threading the line ends through the eyelets on the head. Ensure the line flows freely without any obstruction or complication. Pull each end gently so both sides feed with ease.
Line up the spool tabs with the eyelets to seat the spool right. Check the retainer spring sits right so the spool stays under tension. New owners can also read how to restring a lawn trimmer for more tips.
Fit the spool cap on the head and press it down till it clicks. This signifies that the cap has locked into place. Give the cap a firm tug to check that it holds fast.
Check your weed wacker to ensure everything is secure before proceeding to the next step. Look over your work now to confirm each part sits in place. A quick check now saves you time and trouble later on.
Testing the Weed Wacker
Step 5: Test the Weed Wacker
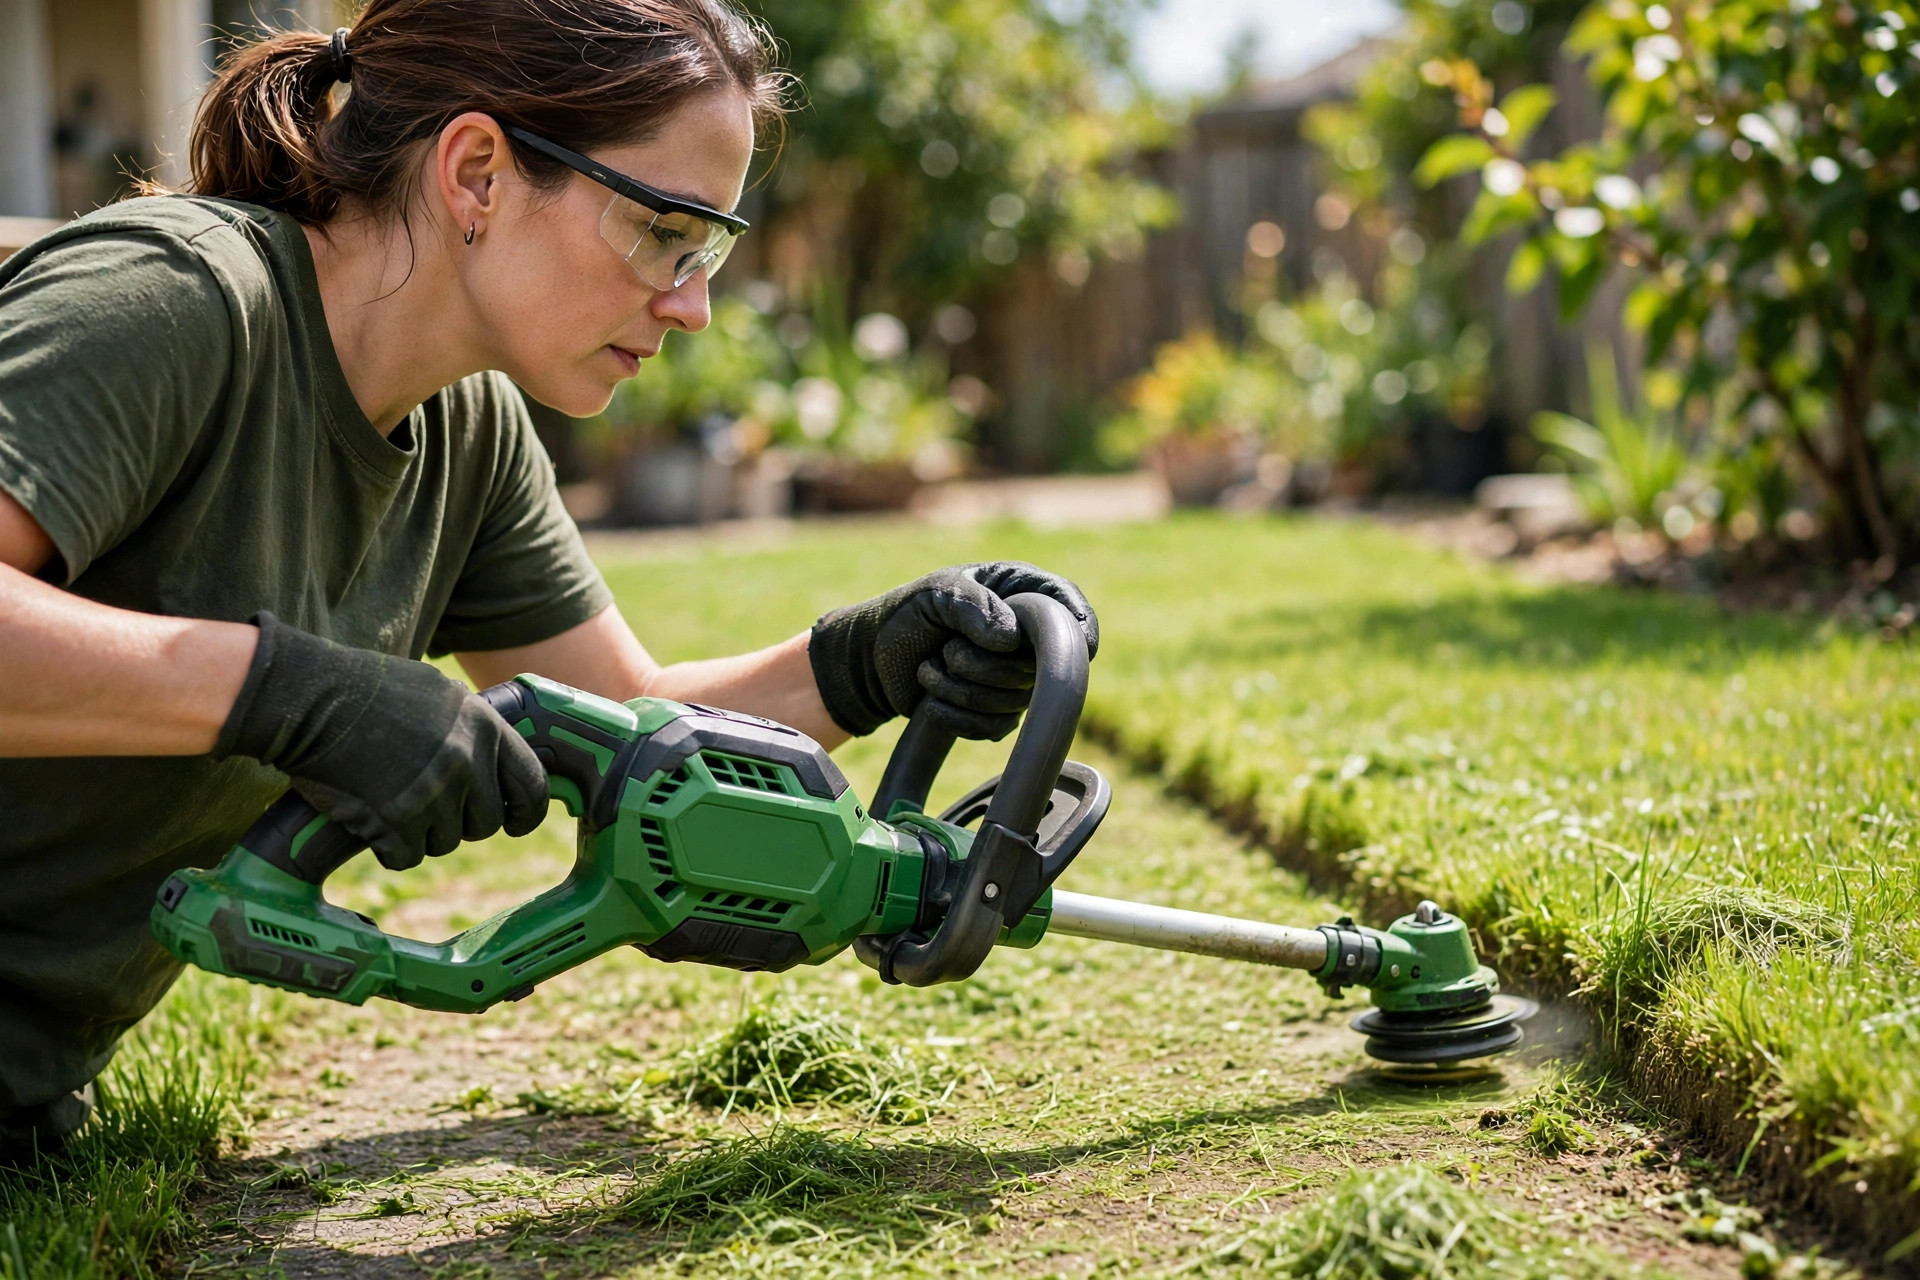
After restringing and reassembling your Ryobi 18v weed wacker, it’s crucial to test run it. Start it up and allow the line to reach its operating speed. Ensure the line is advancing smoothly every time you press the head against the ground.
If the line will not advance, switch the trimmer off and recheck the steps. Check your assembly again, ensuring you missed nothing vital. Also, ensure there’s enough line and that the line isn’t tangled on the spool.
If the line feeds too much when you bump it, the wind may be loose. Again, disassemble the head and adjust accordingly. Rewind the line tight and even, then test the trimmer again.
Keep in mind safety precautions during the testing process. Test it in open space and wear safety glasses to guard your eyes. Keep pets and kids well away while the trimmer runs.
Once you master this restring, yard care gets much simpler for you. These skills help you tame thick growth and keep your trimmer in shape. Steady care and fresh line keep your tool strong for each job.
| Problem | Try this |
|---|---|
| Line will not feed | Reseat the spool and check the eyelets |
| Line feeds too much | Rewind the line tight and even |
| Cap will not click | Press the tabs firm till it snaps |
| Trimmer will not start | Check the battery charge and fit |
Frequently Asked Questions
Restringing your Ryobi 18V weed wacker is simpler than it seems. These answers cover the top questions and tips from Ryobi owners. Read on before you start your next restring job.
What type of string should I use for my Ryobi 18V weed wacker?
The brand recommends using .065 round or .080 twisted monofilament line. These are perfect for medium duty work and provide great cutting power. I highly recommend sticking to the brand recommendations for optimal performance.
A heavier line can strain the motor and cut your trimmer life short. Your tool motor is built for set line types and set widths. Stick with the listed line sizes for safe, smooth cuts.
Can you explain the steps to restring my Ryobi 18V weed wacker?
Yes, the steps below sum up the whole job for you. First, press the spool retainer and lift the old spool out. Then loop the new string center and fit it in the spool slot.
Next, wind the string around the spool in the direction indicated on the spool. Make sure it’s wound evenly and tightly. Then seat the spool, feed the line ends out, and refit the retainer.
More Questions About Restringing
Do I need any special tools to restring my Ryobi 18V weed wacker?
Restringing a Ryobi weed wacker doesn’t require specialized tools. The job is plain and quick for most home owners. You need fresh line and your hands to swap the old spool out. Multiple YouTube tutorials can guide you through the process.
However, always remember to put on safety glasses and gloves while performing this operation. Gloves also give a firm grip and shield you from small cuts. Greenworks owners can read how to restring Greenworks 40v trimmer too.
How often should I replace the string on my Ryobi 18V weed wacker?
How fast string wears out rests on how much you trim. Heavy weekly use wears line fast, so swaps come more often. If it’s just for occasional home use, the string should last quite a while.
Swap the string when cuts grow weak or the line snaps off. Keep spare line on hand so yard work never stalls for long. Learn how to put trimmer line on electric trimmer models too.
Can I use a pre-wound spool for my Ryobi 18V weed wacker?
Yes, pre-wound spools fit these weed wackers with ease. Using pre-wound spools can save a lot of time and hassle. They’re available from Ryobi and are an excellent fit for their weed wackers. Just lift the empty spool out and drop the new one in.
Pre-wound spools cost more than plain line you wind yourself. If ease tops cost, or winding feels hard, pick a pre-wound spool. For the full swap, see how to change string on Weedeater trimmer guides.
Conclusion: How to Restring a Ryobi 18V Weed Wacker
You now know how to restring a Ryobi 18v weed wacker with ease. First, take out the old spool and line, then prep the new line. Insert and secure the spool, then thread the line through the eyelets properly. Make sure that the cap is securely attached afterward.
With time and practice, these steps soon feel quick and easy. Keep safety first: switch the wacker off and take the battery out. For your next upgrade, see the best battery operated weed trimmer guide.

I’m Patricia D. Johnson, an affiliate marketer and blogger specializing in trimmers and grooming tools. I create honest reviews, buying guides, and practical tips to help readers choose the right trimmer for their needs. With a focus on quality, performance, and value, I simplify the decision-making process so consumers can make confident purchases.