
How to Restring Greenworks 40V Trimmer
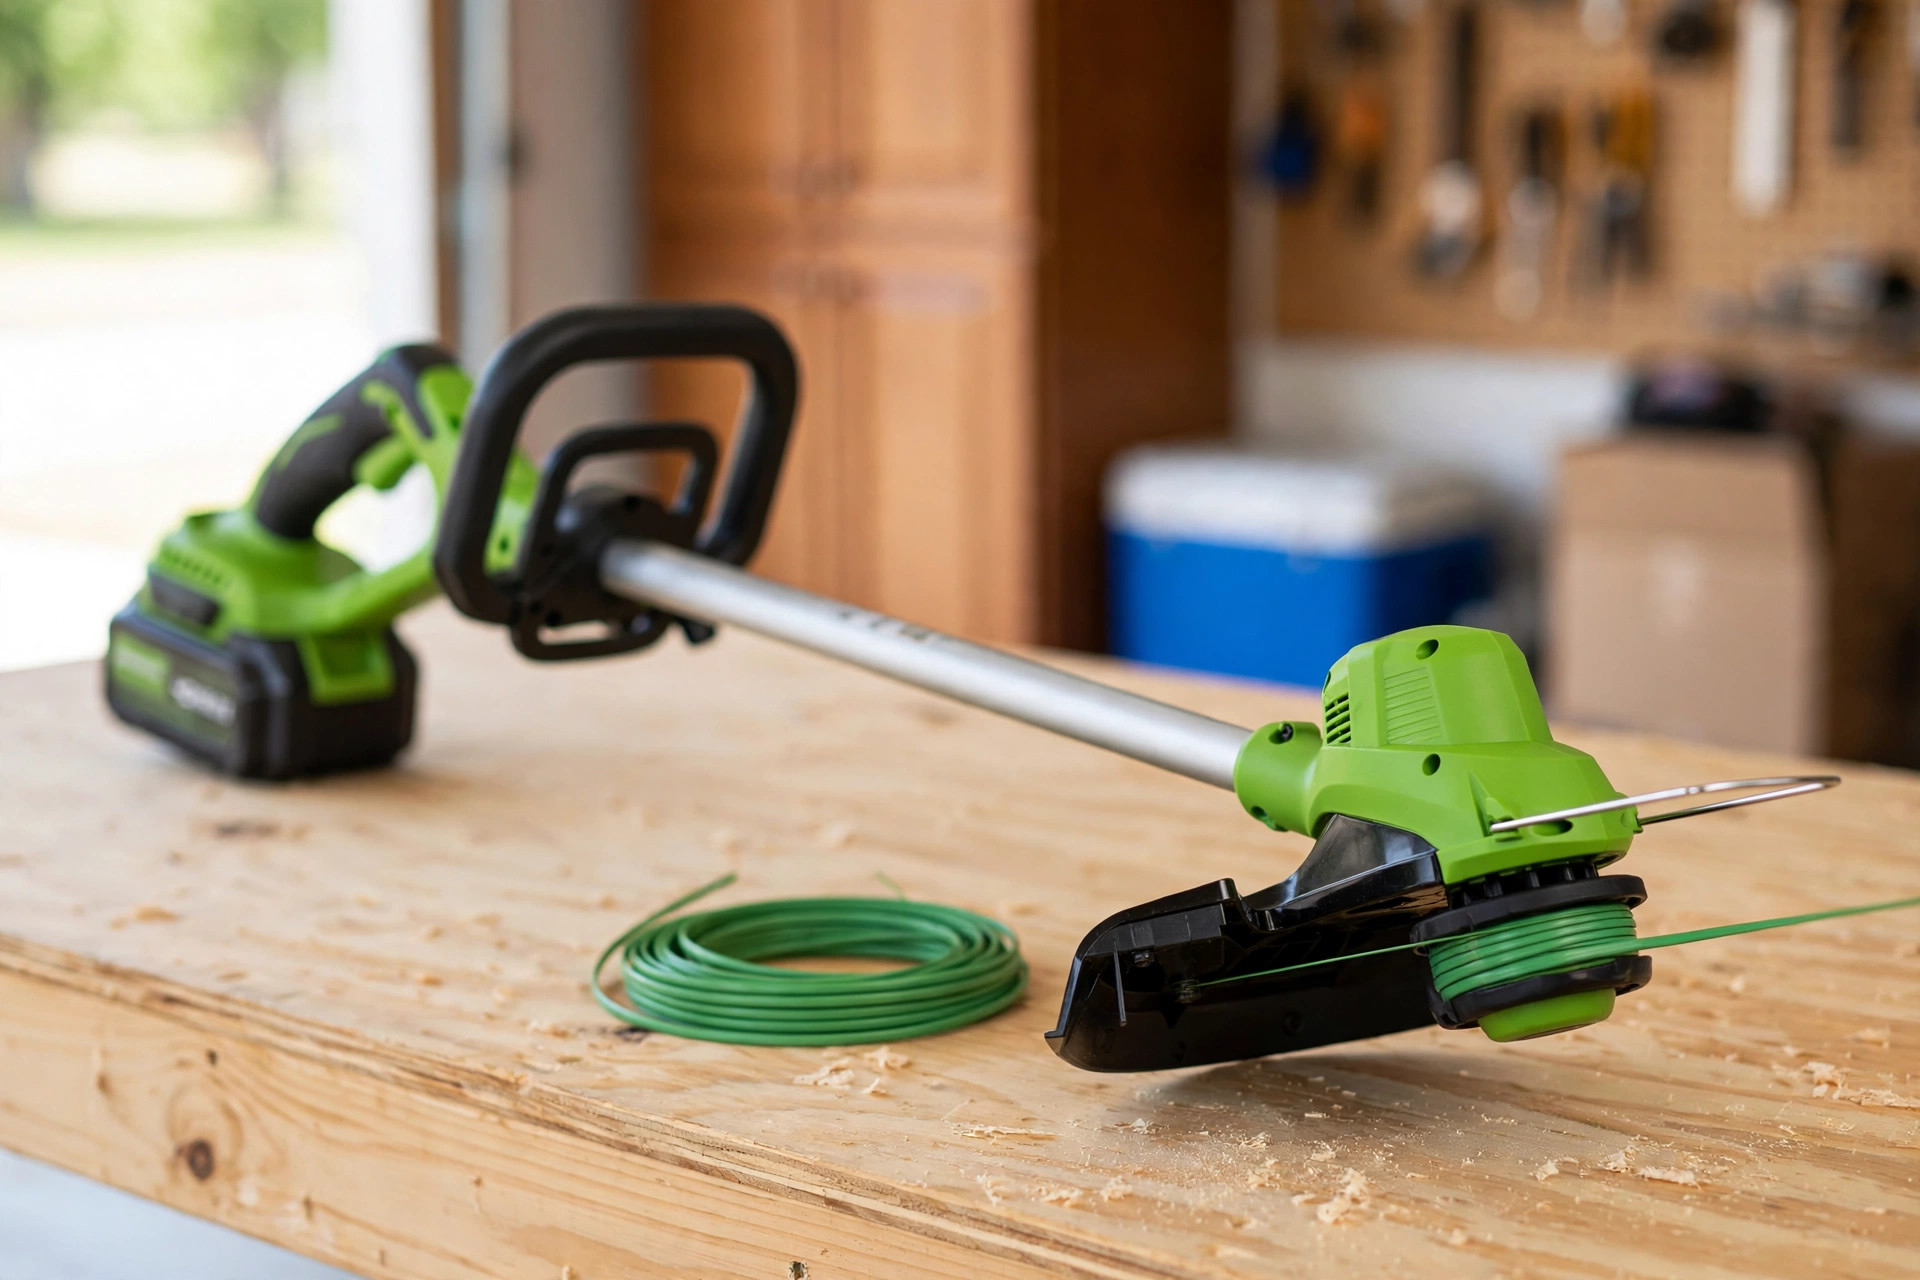
Has your overgrown backyard made you dread using your Greenworks trimmer? Do not worry, since help is close at hand. Many owners once thought restringing felt as hard as clearing thick garden growth.
Truth be told, learning how to restring a Greenworks 40V trimmer is no Herculean Task. It’s as easy as nailing how to ride a bicycle. The fine tradition of using this tool can be traced back decades. The best part is how quick the job feels.
This guide walks through each step in clear order. You will gather tools, remove old line, and fit fresh line. Each step uses plain words and simple safety checks. By the end, your trimmer will cut clean lines again.
Quick answer: Remove the battery, open the head, and pull out old line. Cut ten to twenty-five feet of fresh line for the spool. Thread each end through a starter hole and wind it neatly. Leave six inches free, thread the eyelets, and snap the head shut.
- How to Restring Greenworks 40V Trimmer: Step-by-Step Guide
- Steps 1 and 2: Gather Tools and Remove the Old Line
- Steps 3 and 4: Prepare and Install the New Line
- Step 5: Reassemble the Trimmer Head
- Frequently Asked Questions
- More Questions About Restringing Your Trimmer
- Conclusion: How to Restring Greenworks 40V Trimmer With Confidence
How to Restring Greenworks 40V Trimmer: Step-by-Step Guide
If you own a Greenworks 40V trimmer, restringing it right keeps it working well. The process may seem daunting, especially if you are new to it, but worry not! This guide takes you step by step through restringing for strong, steady cuts. Now, let us walk through each step together. See our guide to how to restring a lawn trimmer for a general overview.
| Step | What you do | Key tip |
|---|---|---|
| 1 Gather tools | New line, gloves, rag, screwdriver | Work on a clean, flat surface |
| 2 Remove old line | Battery out, head open, old line out | Keep fingers clear of tabs |
| 3 Prepare new line | Unroll 10 to 25 feet, then cut | Check the manual first |
| 4 Install new line | Thread holes, wind spool, leave ends free | Follow the spool arrow |
| 5 Reassemble head | Thread eyelets, align retainer, snap shut | Listen for the click |
Steps 1 and 2: Gather Tools and Remove the Old Line
Step 1: Gathering the Necessary Equipment
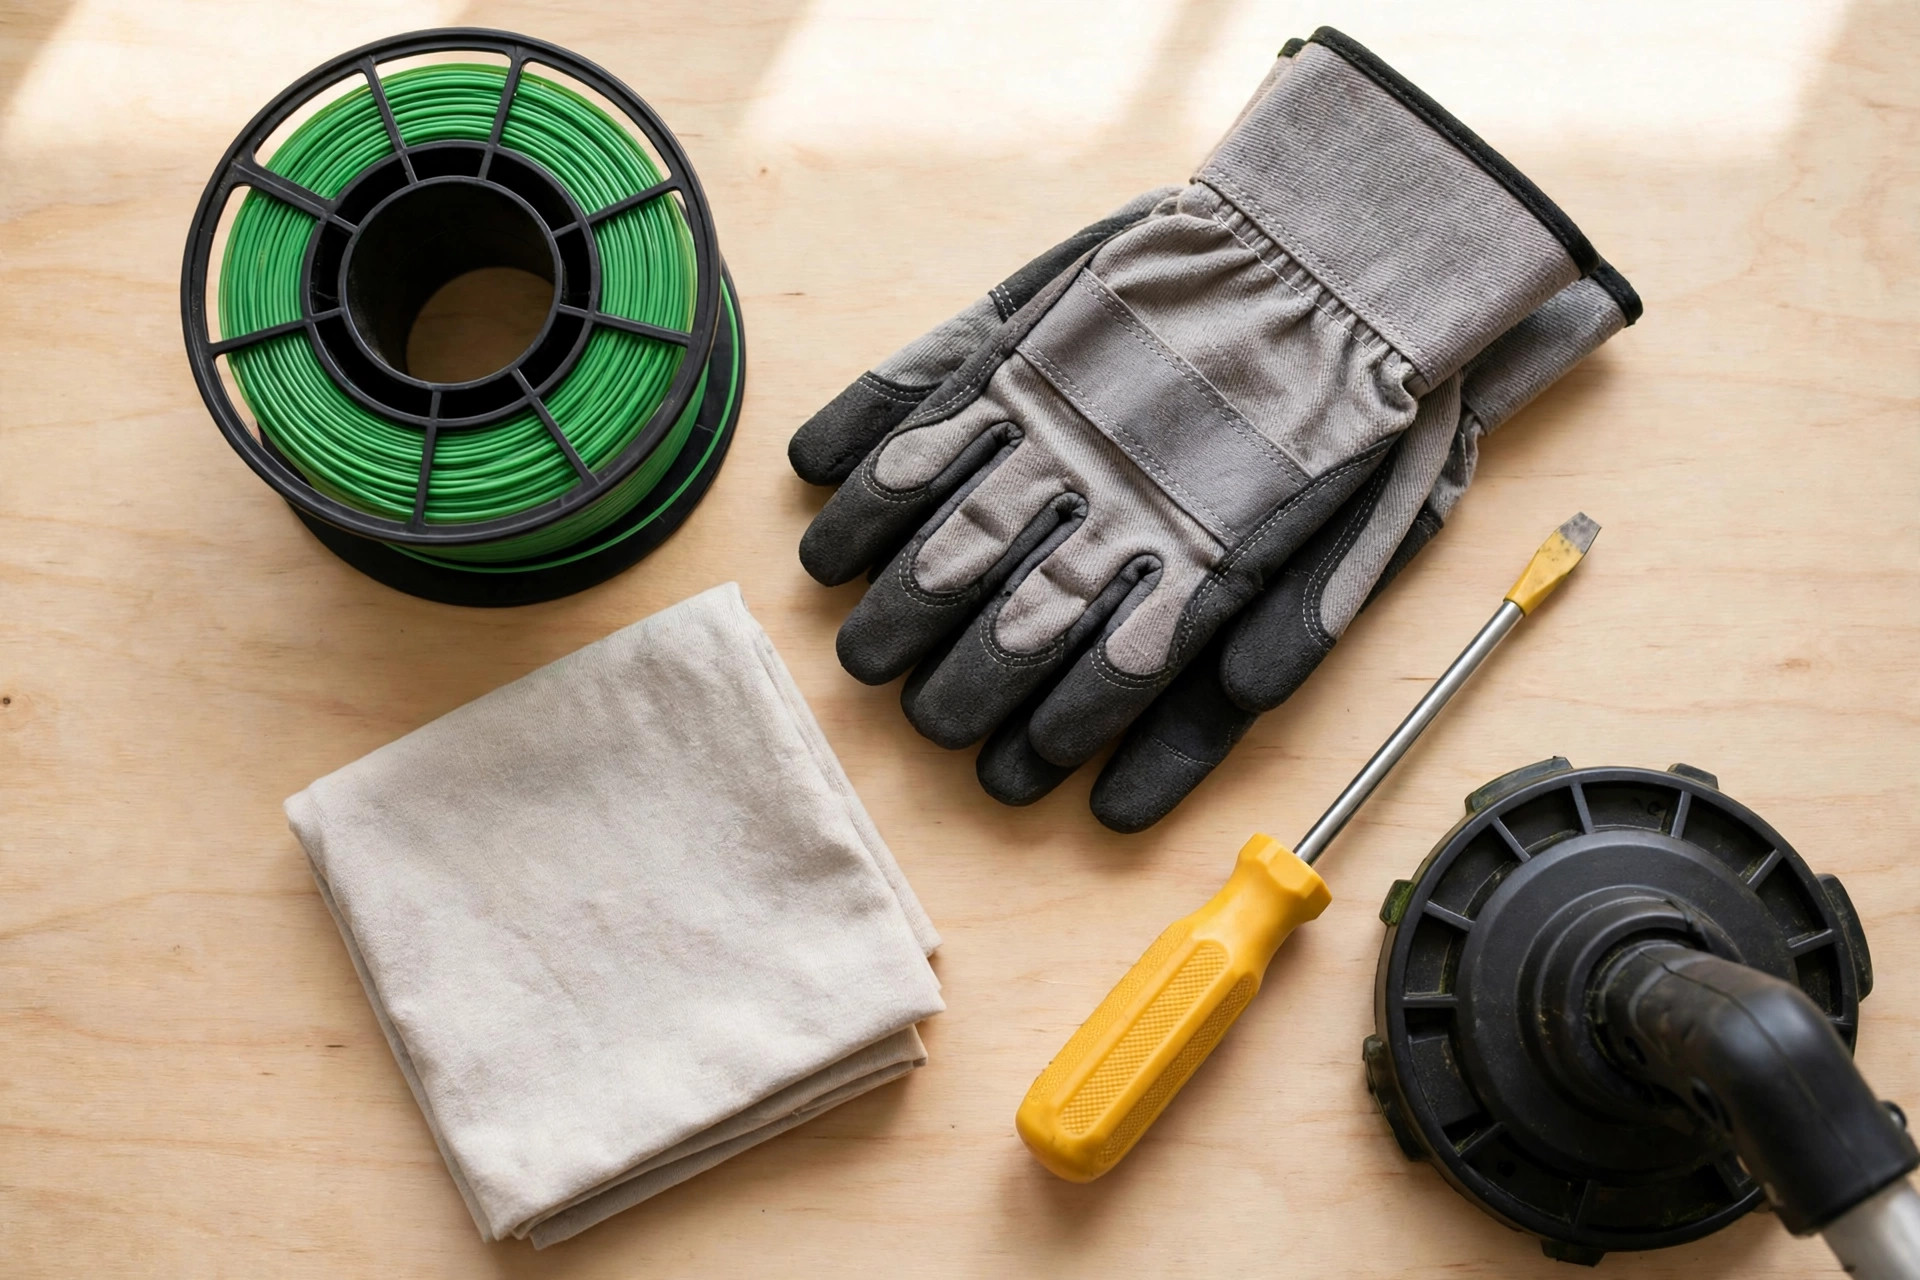
The first step in restringing your Greenworks 40V trimmer is gathering your tools. Good prep makes the job smoother and guards parts from loss or damage. Make sure to gather the items on the following list before you start. You will need four simple items for this job.
- A new trimmer line (Ensure it is the correct size for your model)
- A pair of safety gloves
- A clean rag or cloth
- A flat-head screwdriver
Once you gather these items, find a clean, flat surface to work on. A organized workspace can greatly simplify the process. A flat surface keeps small parts from rolling away. See how to change string on WeedEater trimmer for a similar head design.
Step 2: Removing the Old Line
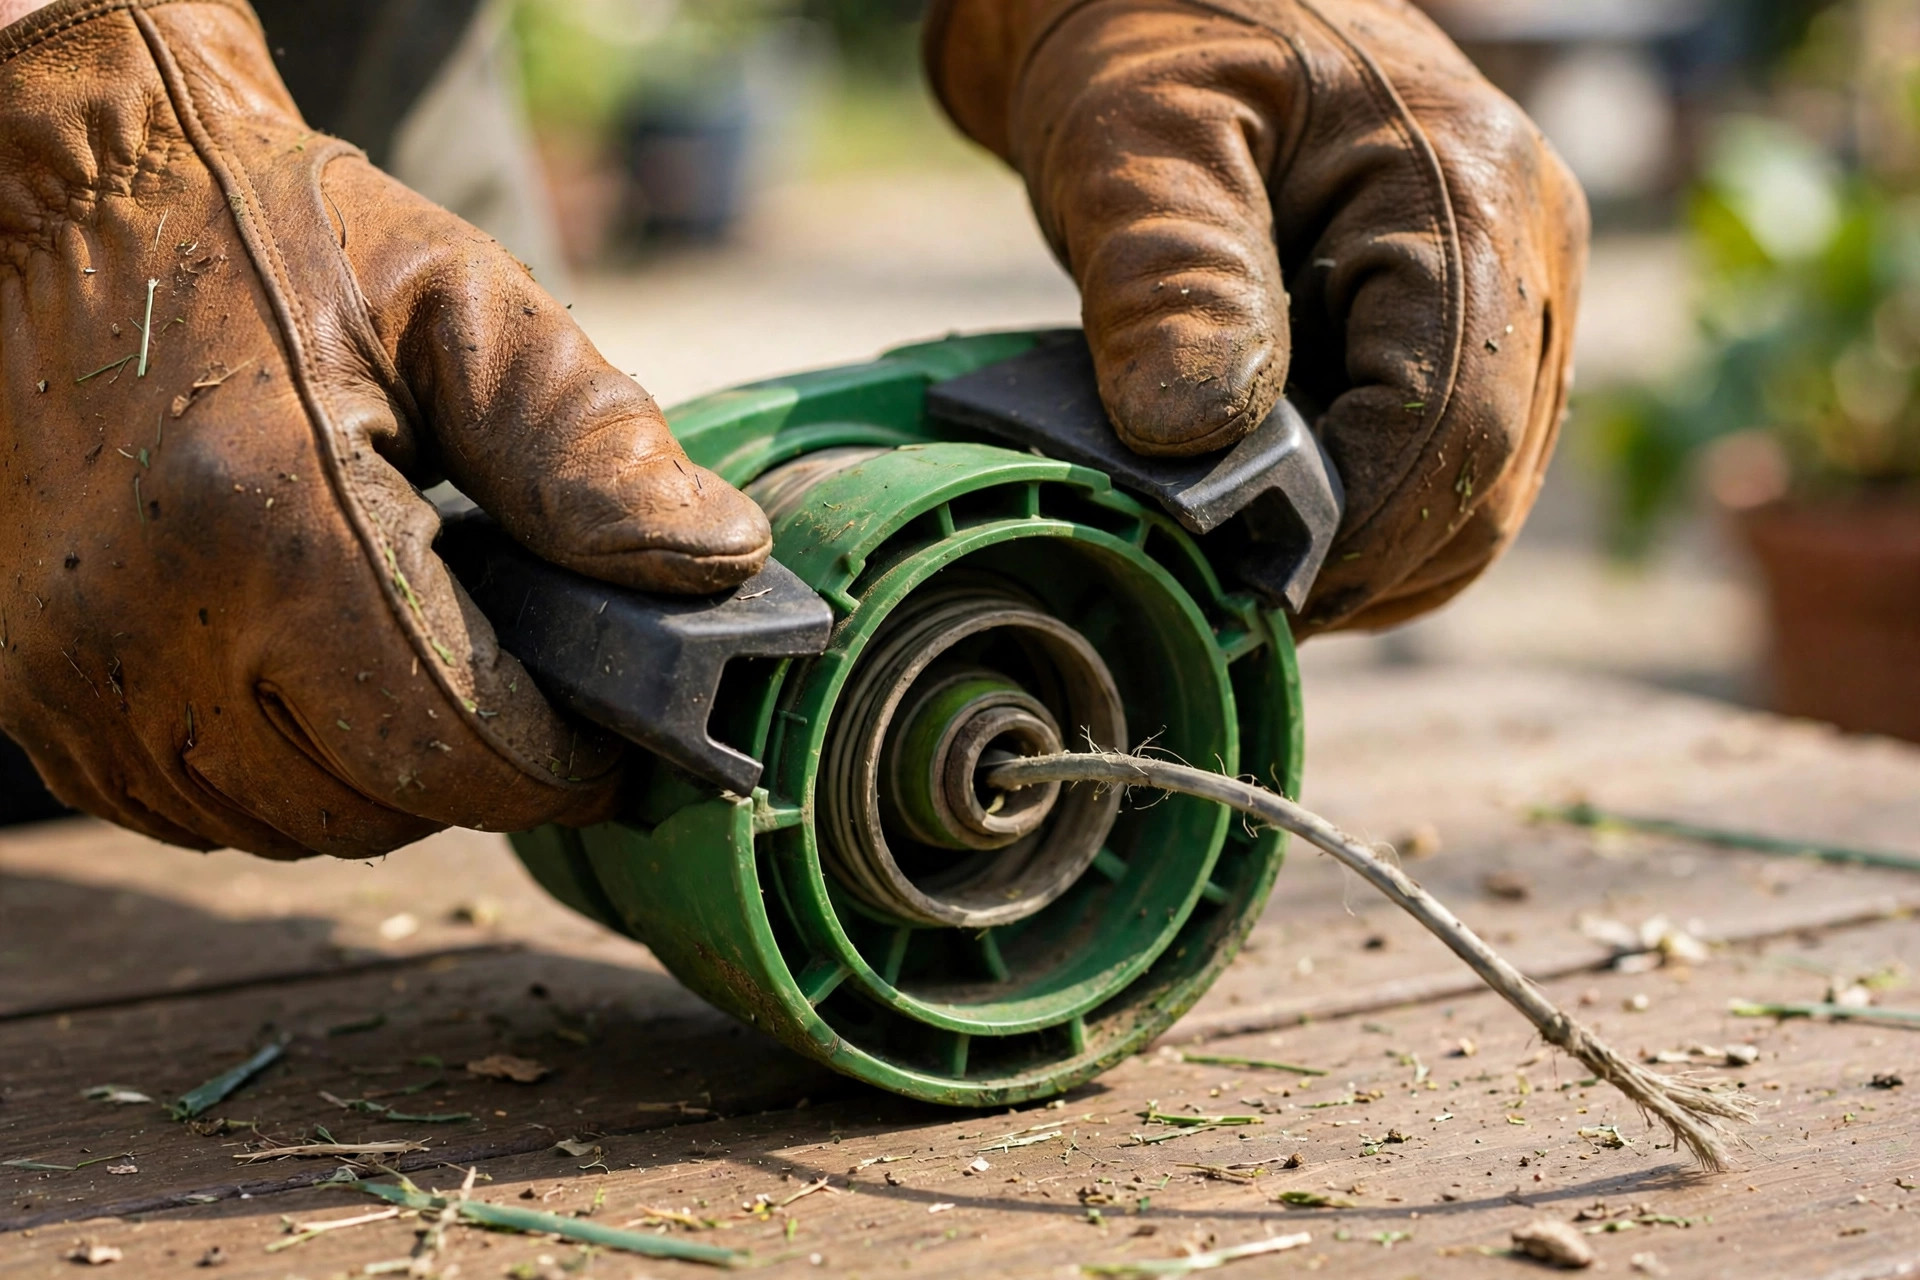
With your tools ready, the next step is removing the old line. First, switch the trimmer off and remove the battery to prevent accidents. Once that’s done, locate the trimmer head at the lower end of the machine.
Use the flat-head screwdriver to press the tabs on each side of the head. As you press, the head should pop up so you can lift it off. Carefully pull out any remaining old line from the trimmer head. Use this chance to clear debris and grass clippings from the head. Simply use the clean rag or cloth to wipe the inside of the trimmer head.
Steps 3 and 4: Prepare and Install the New Line
Step 3: Preparing the New Trimmer Line
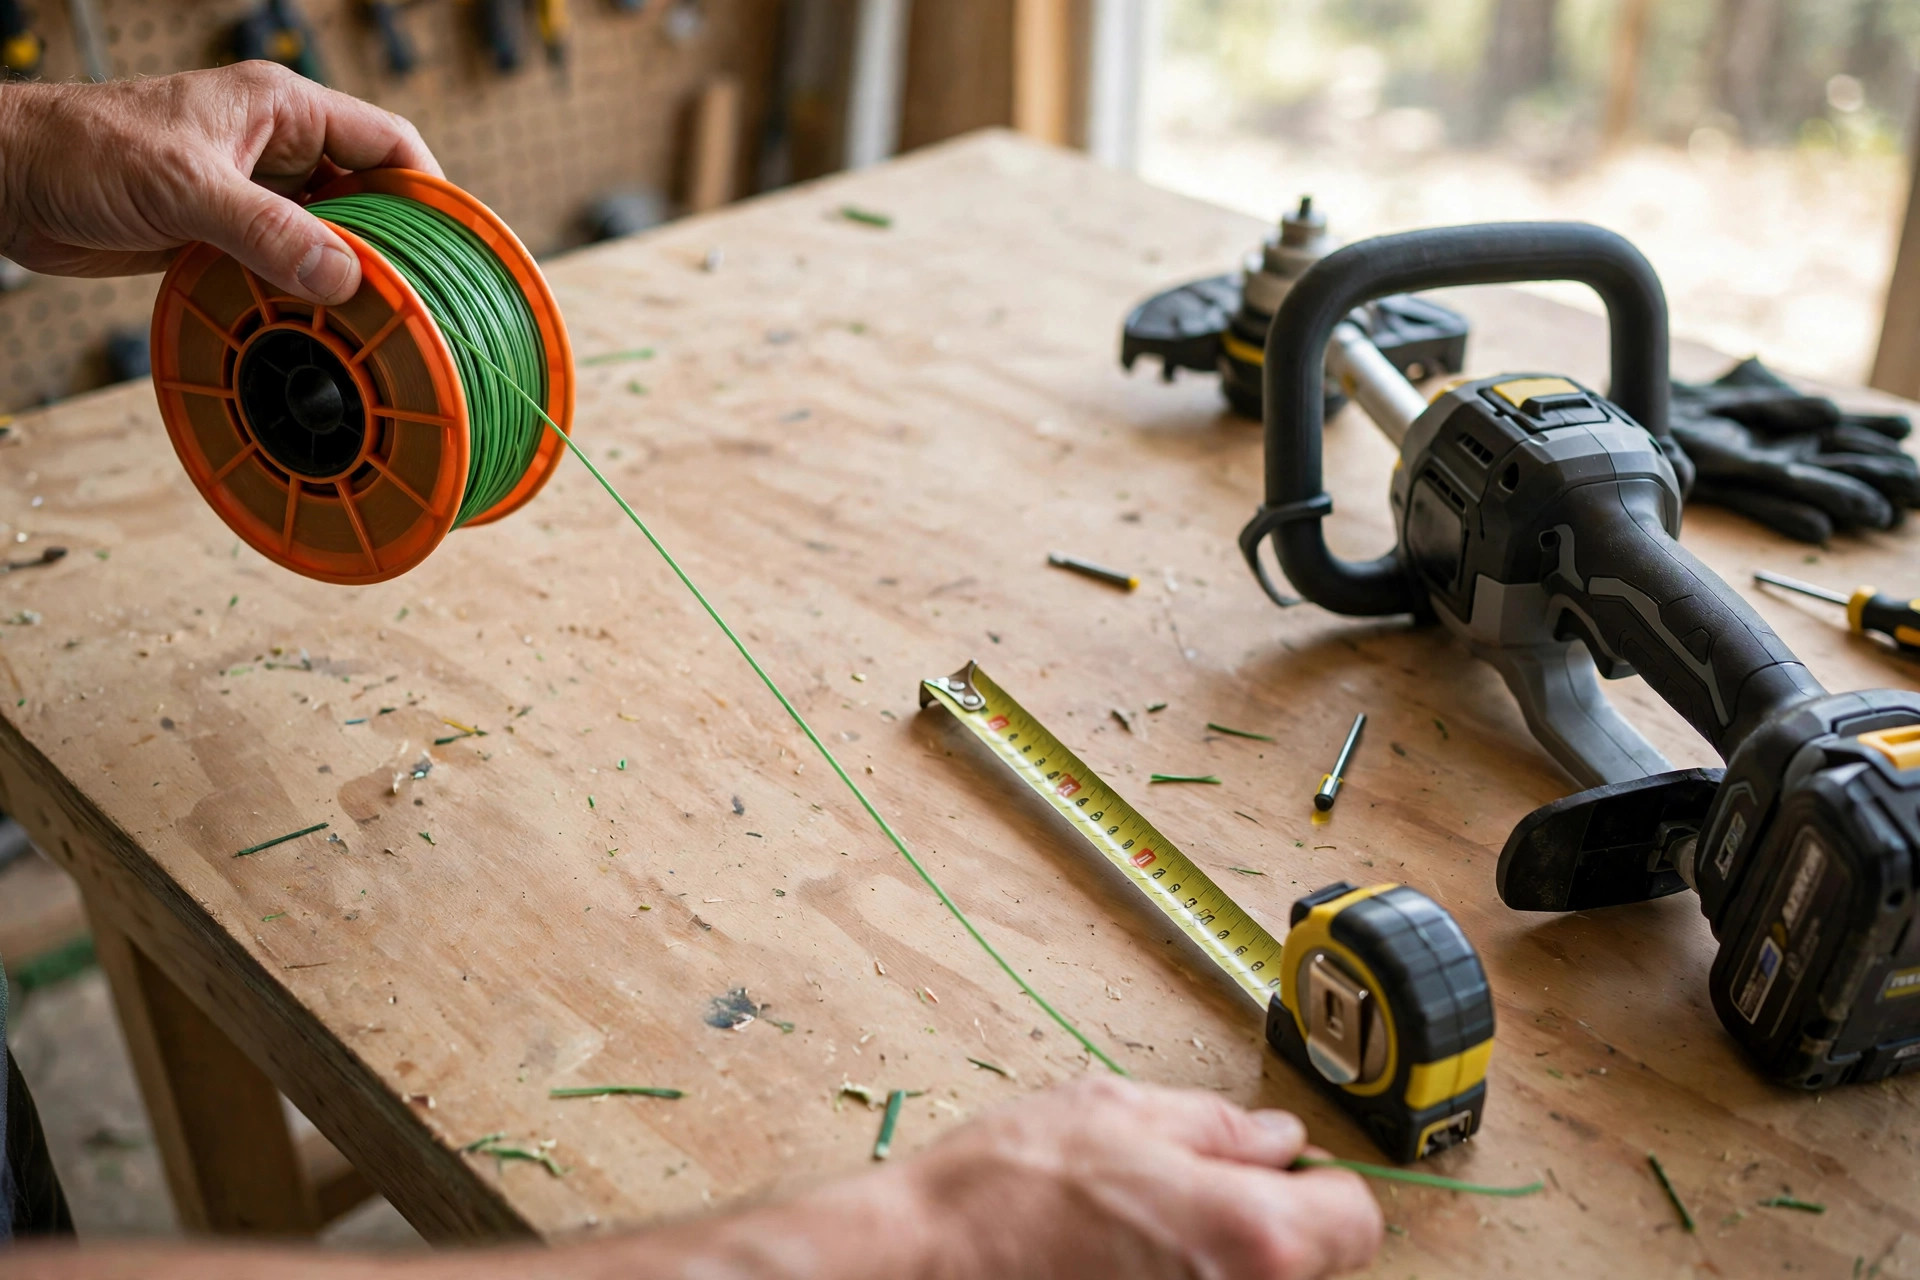
With the old line out and the head clean, prepare the new line next. First, remove the new trimmer line from its packaging. Unroll ten to twenty-five feet, and check your manual for exact guidance. Cut the line at the desired length.
When you cut, keep the ends sharp so they thread through the head slots. Another handy tip is to briefly run the line through warm water. This makes the line more pliable and less likely to break during installation. Our guide to put trimmer line on electric trimmer shows the same threading method.
Step 4: Installing the New Line
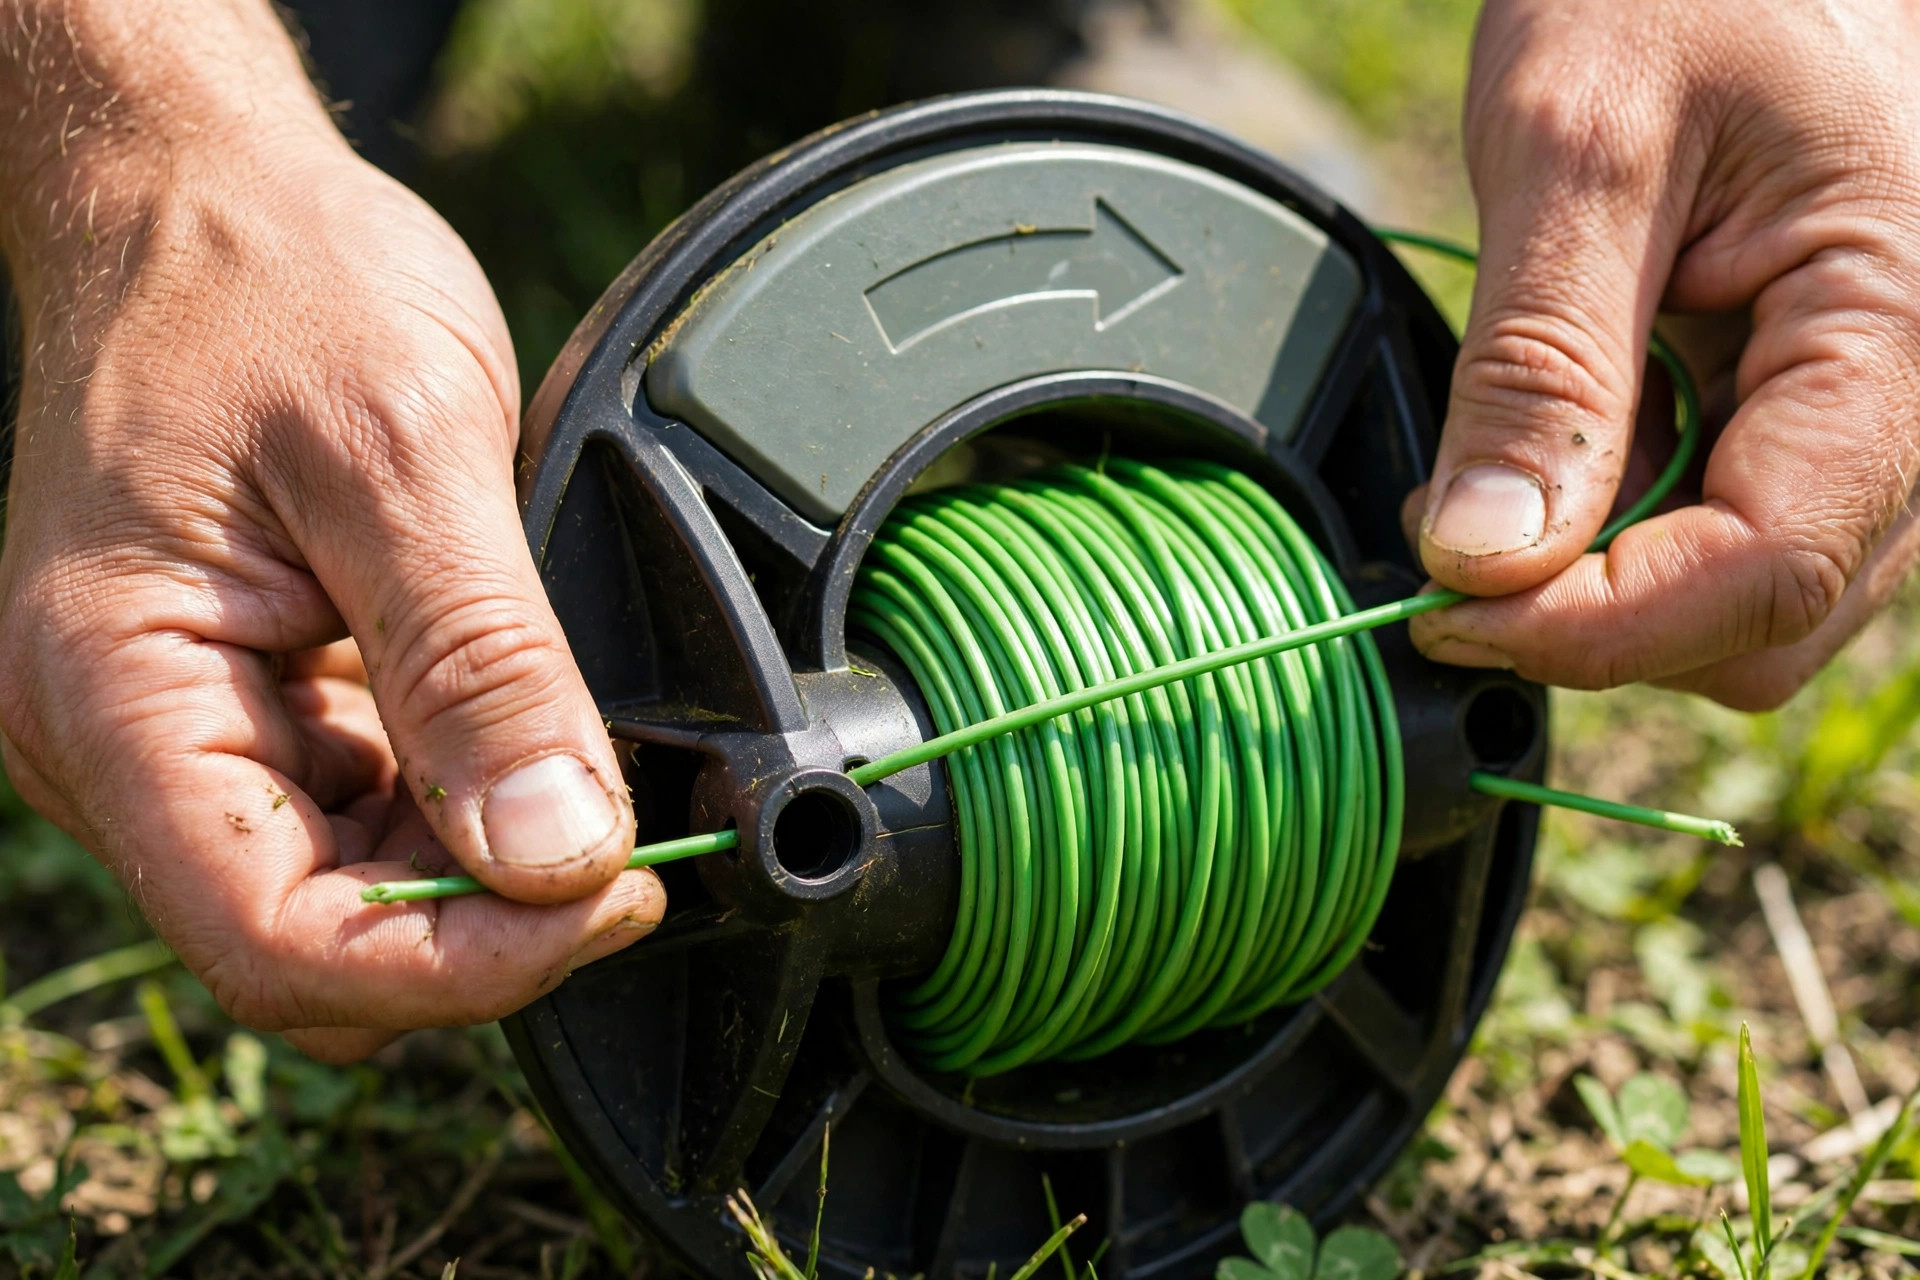
With your new trimmer line ready, it’s time to install it onto the trimmer head. Locate each of the starter holes at the center of the spool. Push one end through one starter hole and the other end through the next. Ensure both ends are of equal length.
Now, wind the line around the spool in the arrow direction shown on it. Make sure to wind the line neatly and tightly, avoiding any overlaps or tangling. Leave around 6 inches of line unwound on each end. Ryobi owners can follow our replace spool on Ryobi 18V trimmer guide for spool steps.
Step 5: Reassemble the Trimmer Head
Step 5: Reassemble the Trimmer Head
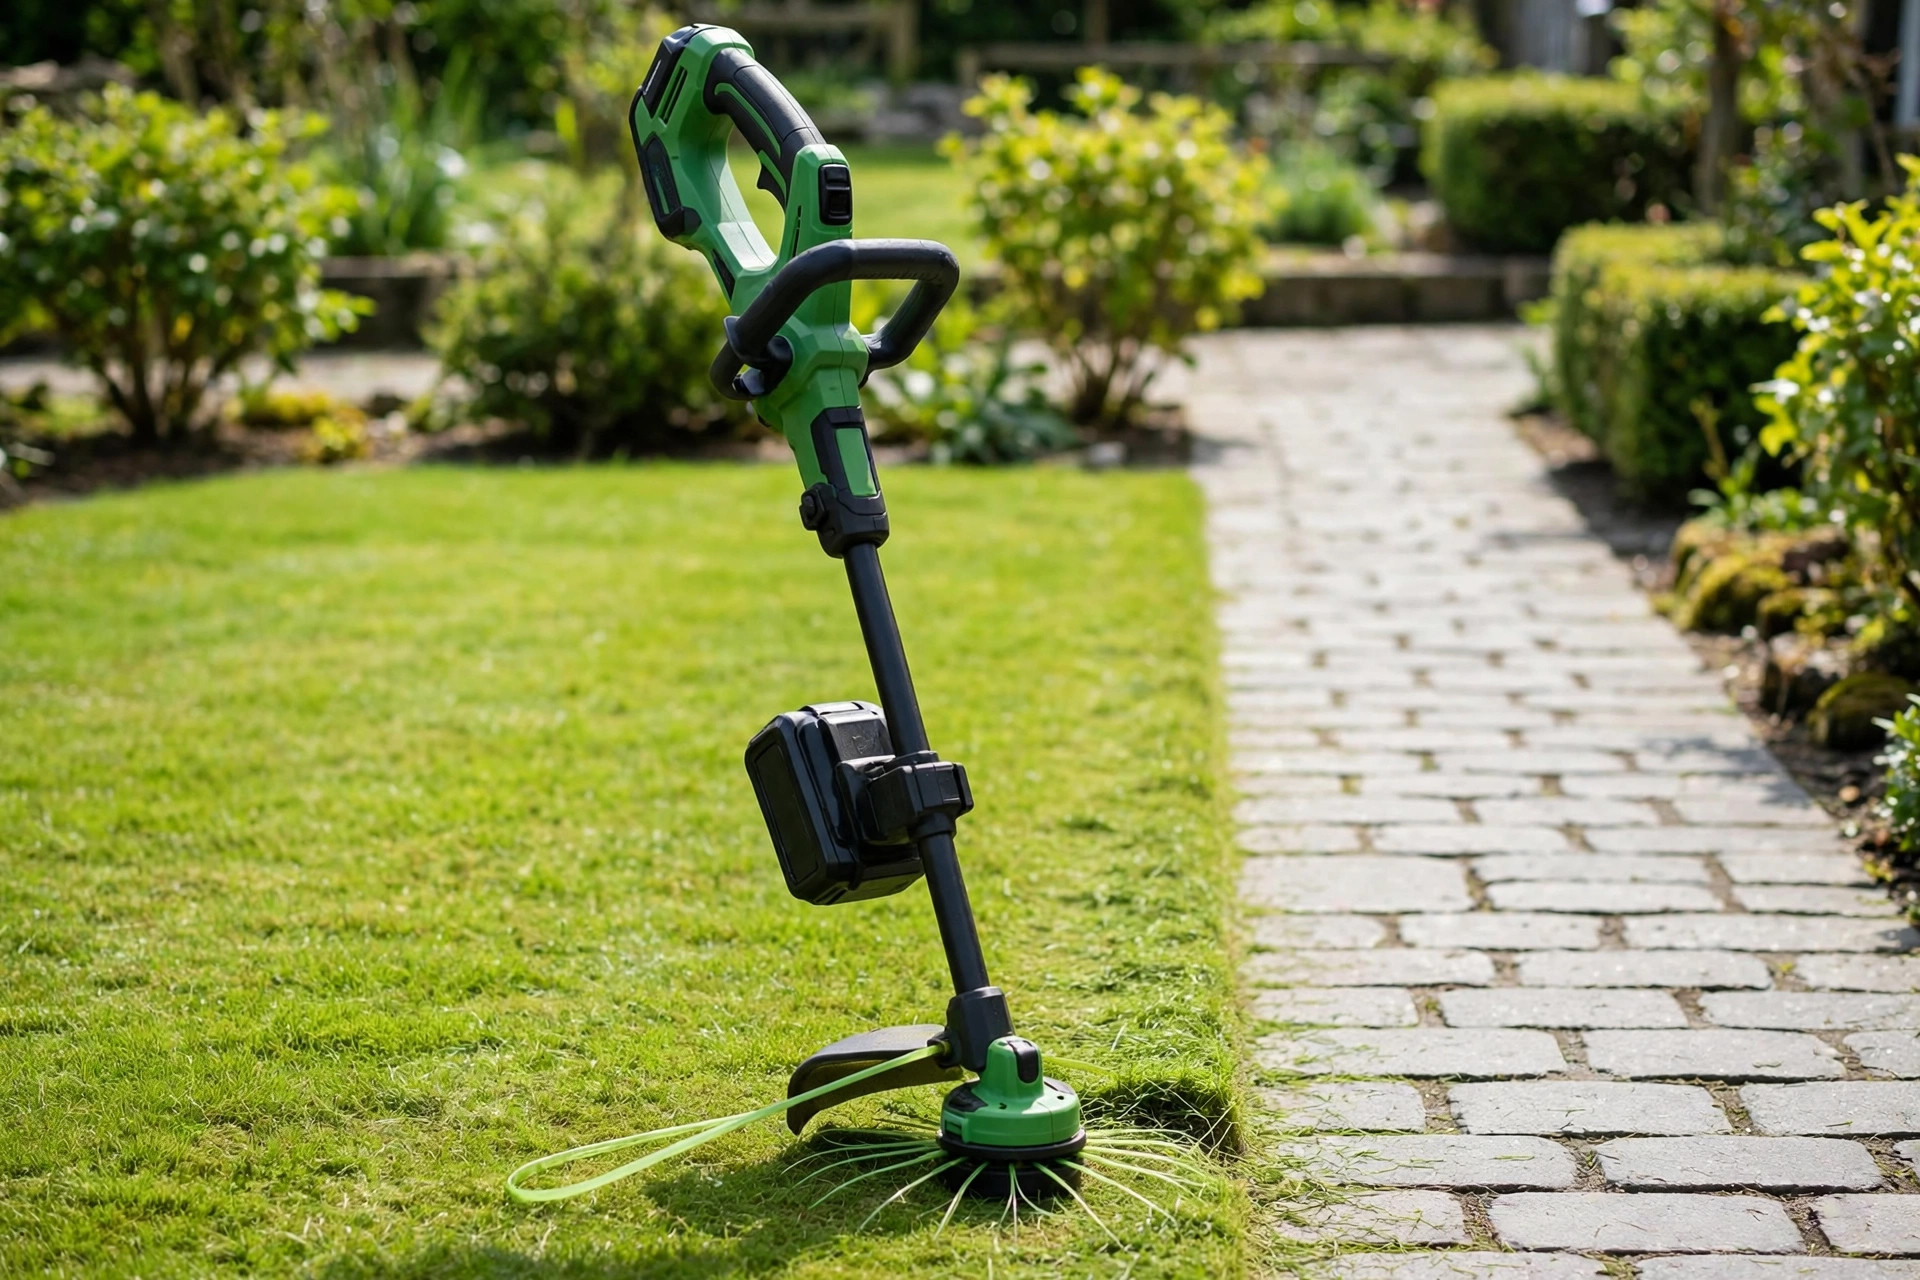
Having wound the new line onto the spool, it’s time to reassemble the trimmer head. First, thread each line end through the eyelets on the head sides. Next, line up the retainer with the grooves on the outside of the head.
Once everything is lined up, carefully push the head and spool back together. You should hear a click when the parts lock into place. Your Greenworks 40v trimmer is now ready to be used again!
Restringing your Greenworks 40V trimmer saves trips for professional servicing. Good trimmer care extends tool life and keeps cutting power strong. With this guide, you can handle the task and enjoy hands-on garden care. New owners should read how to use a trimmer before the first cut.
| Detail | What the guide says |
|---|---|
| Line length | 10 to 25 feet, per the manual |
| Recommended line | .065 inch round or .080 inch multi-sided |
| Line left unwound | About 6 inches on each end |
| Before you start | Battery out, head clean, tools ready |
Frequently Asked Questions
Maintaining your Greenworks 40v trimmer is crucial for its performance and longevity. Knowing how to correctly restring it will keep it running optimally. The following are some commonly asked questions regarding restringing the Greenworks 40v trimmer. For a wider view, see how to change string on DR trimmer as well.
What type of string should I use for my Greenworks 40v trimmer?
Use only .065 inch round or .080 inch multi-sided line for best results. These lines match the maker specs and help guard your warranty. A wrong line size can cut poorly or harm the trimmer over time. Always consult your user manual or contact Greenworks’ customer support if you’re uncertain.
How often should I restring my Greenworks 40v trimmer?
The frequency at which you should restring your trimmer depends on usage. Regular use may require you to restring your trimmer every week or two. Small, rare jobs may need fresh line only once a month or so. Weak cutting is a clear sign that fresh line is due. If you notice this, restring your Greenworks 40v trimmer immediately to avoid compromising its functionality.
More Questions About Restringing Your Trimmer
Can I use any other brand’s string on my Greenworks 40v trimmer?
You may use other brands if the line meets the Greenworks size specs. Still, the maker brand often gives the best strength and tool life. Wrong line specs can harm your machine and shorten its working life. Therefore, always double-check the diameter and type of line before making any purchases.
Is it difficult to restring the Greenworks 40v trimmer?
Restringing may feel hard at first, yet practice makes it quite easy. Your user manual gives clear steps to guide you through the job. Keep your workspace tidy, wear safety gear, and follow each step closely. Also, remove the battery before you start to avoid sudden starts. The EPA lawn and garden guide also covers safe yard work habits.
Where can I find instructions on restringing my Greenworks 40v trimmer?
Your user manual holds the best steps for restringing your Greenworks 40V trimmer. It contains step-by-step instructions along with safety measures to be taken while performing the task. If you’ve lost your manual, you can download one from the Greenworks website. Many online guides and videos can also walk you through each step. Remember, always make sure to follow safety protocols while working with such equipment.
Conclusion: How to Restring Greenworks 40V Trimmer With Confidence
These steps show how to restring Greenworks 40V trimmer with care. This simple act of maintenance should keep your trimmer in top condition. Remember to always be cautious while handling the trimmer line to prevent any unexpected injuries. Stick to these instructions and the restringing process should go smoothly.
Keep spare trimmer line on hand so you stay ready for the task. Then, worn line can be swapped fast so your trimmer works well again. A cared-for trimmer keeps your yard neat and avoids costly replacements. If your old trimmer keeps failing, compare the best electric string trimmer picks first.

I’m Patricia D. Johnson, an affiliate marketer and blogger specializing in trimmers and grooming tools. I create honest reviews, buying guides, and practical tips to help readers choose the right trimmer for their needs. With a focus on quality, performance, and value, I simplify the decision-making process so consumers can make confident purchases.