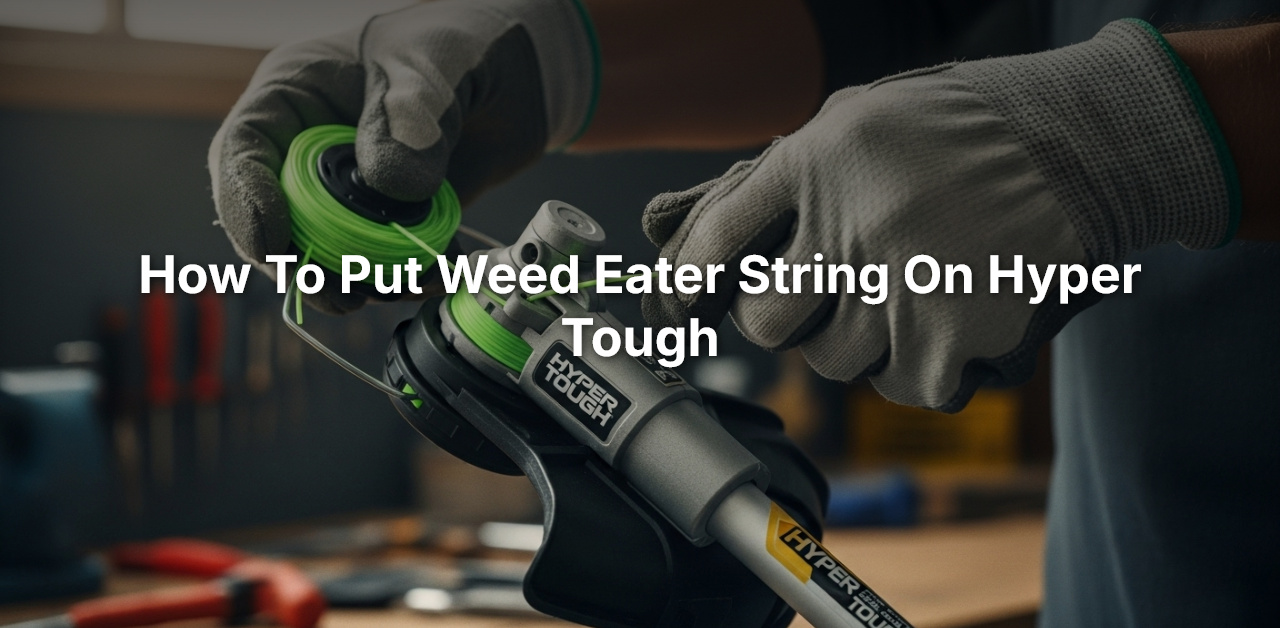
How to Put Weed Eater String on Hyper Tough
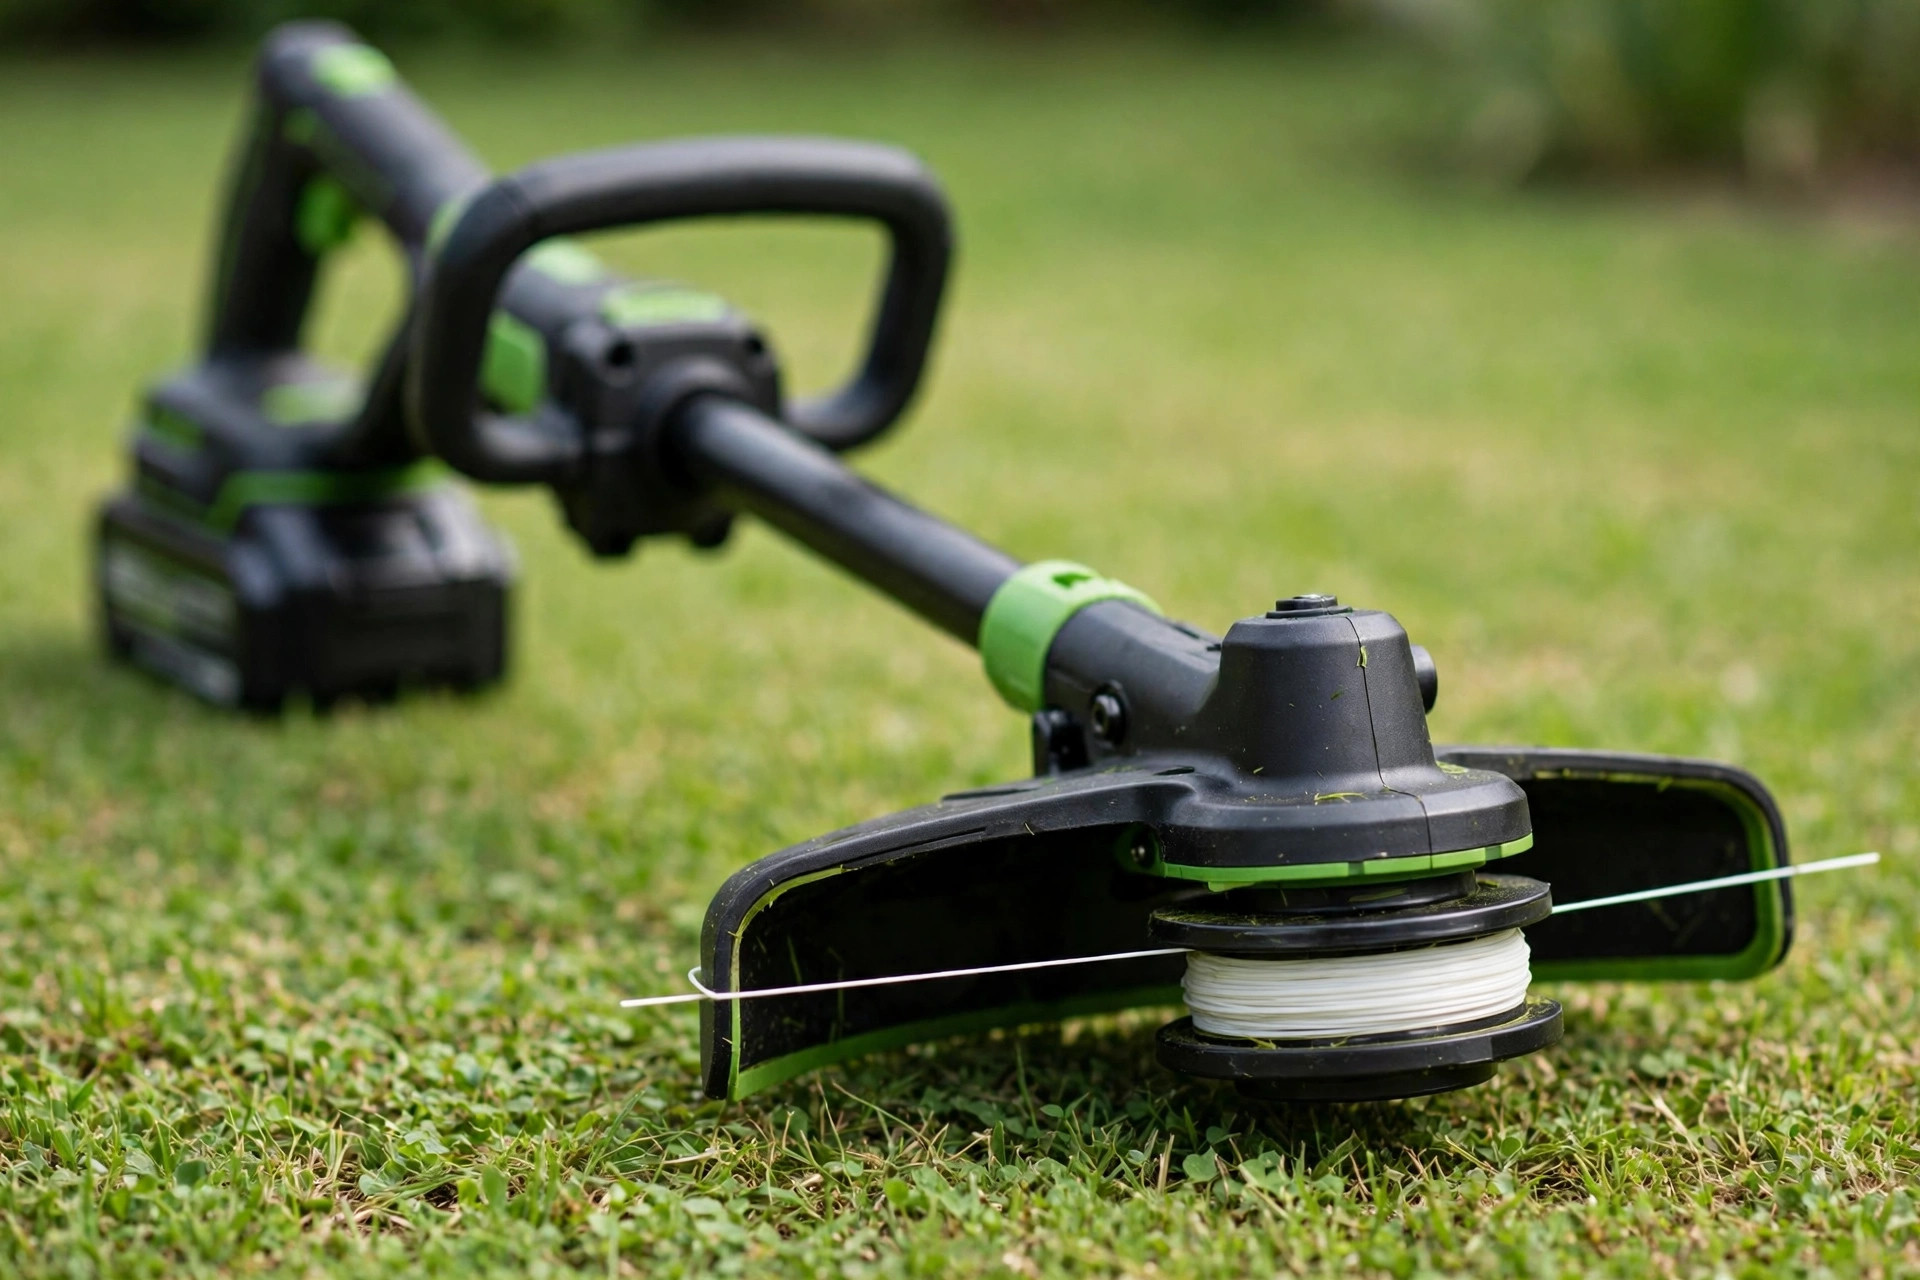
When it comes to maintaining your Hyper Tough weed eater, one task matters most. You need to know how to put on the weed eater string. This simple task makes a big difference to your weed eater. So, let’s dive in and learn the steps. You can get this job done right.
First, turn off the weed eater and unplug it. Then, locate the string head on the bottom of the weed eater. Depending on your Hyper Tough model, you may need to press a button. You may also need to turn a knob to reach the string head.
Once you have access, thread the line through the holes. Follow the arrows or numbers as you work. Make sure the string is evenly distributed on each side. Finally, trim off excess line from the head. To put the weed eater string on a Hyper Tough trimmer, follow these steps:
- Turn off the trimmer and disconnect the spark plug.
- Release the spool by pressing the tabs on the side and removing the cap.
- Remove any remaining string, if necessary.
- Cut two pieces of replacement string, each measuring around 9 feet.
- Insert the ends of the string into the anchor holes in the spool.
- Wind the string in the direction indicated on the spool until evenly wrapped.
Quick answer: Switch the trimmer off and unplug it before you start. Press the tabs to open the head and pull out the old spool. Feed new string through the eyelet and wind it along the arrows. Snap the cover back on and test the trimmer on grass.
- How to Put Weed Eater String on Hyper Tough: Step-by-Step Guide
- Step 1: Gather Tools and Choose the Right String
- Step 2: Prepare Your Hyper Tough Weed Eater
- Step 3: Remove the Old String
- Step 4: Load the New String
- Step 5: Reassemble and Test
- Frequently Asked Questions
- More Questions About Hyper Tough String
- String Replacement and Brand Questions
- Fixing String That Keeps Breaking
- Conclusion: How to Put Weed Eater String on Hyper Tough
How to Put Weed Eater String on Hyper Tough: Step-by-Step Guide
Before we dive into the steps, let us look at this handy tool first. The Hyper Tough weed eater is a high-performance trimmer for overgrown grass and weeds. With its robust motor and durable build, it tackles tough yard tasks with ease.
However, to ensure optimal performance, you must know how to replace the string right. Your Hyper Tough weed eater needs fresh string to cut well. In this guide, I walk you through the restringing steps step by step. You can get back to lawn care duties in no time at all. Safe yard care matters, so the EPA lawn and garden guide offers handy tips.
Step 1: Gather Tools and Choose the Right String
Step 1: Gather the Necessary Tools and Materials
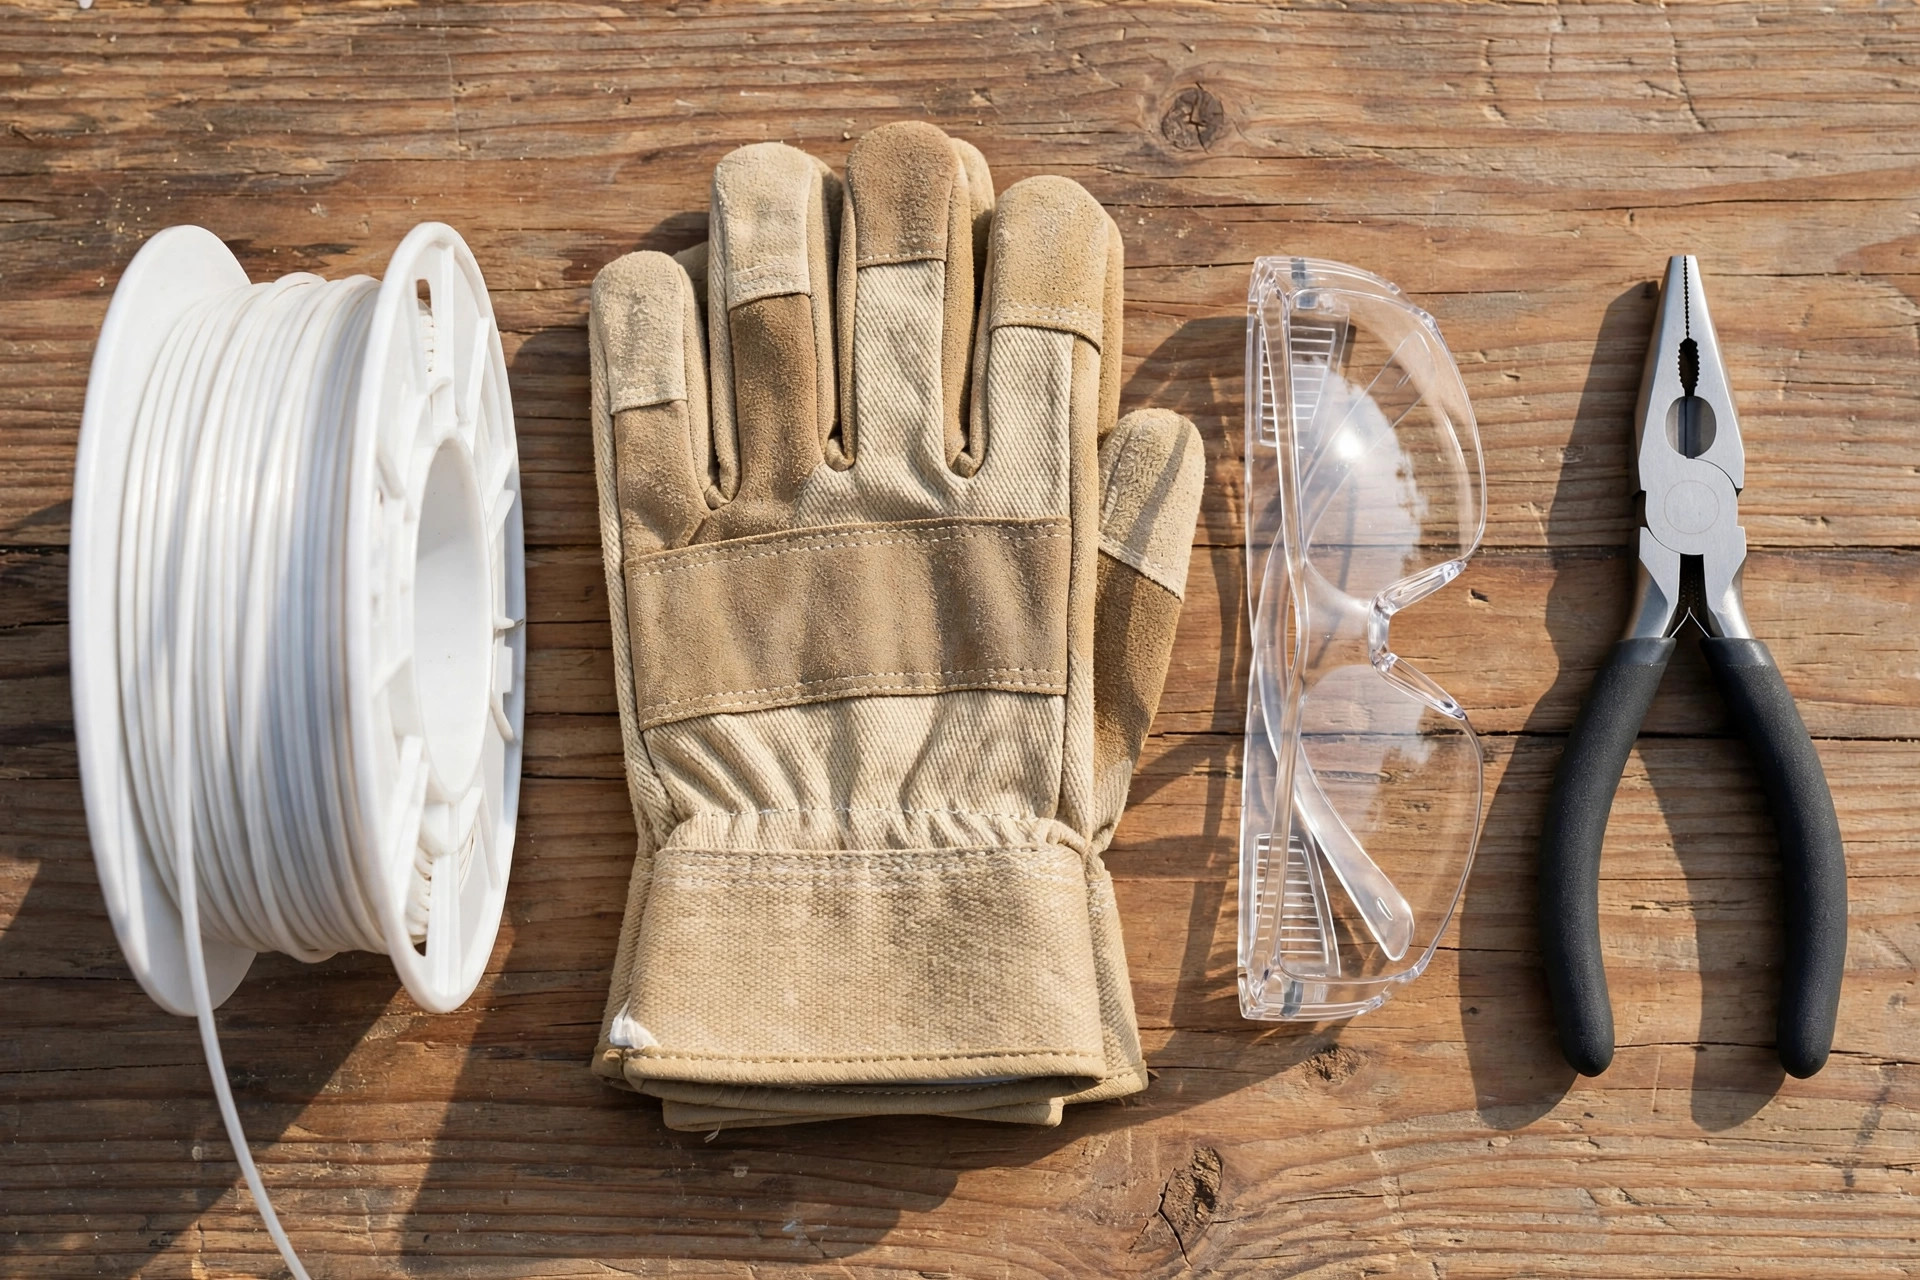
Before you begin, gather the following tools and materials. Gloves and eye protection keep you safe while you work. Pliers help you pull out stuck bits of old line.
- A replacement weed eater string appropriate for your Hyper Tough model
- Protective gloves
- Eye protection
- A pair of pliers or needle-nose pliers
Choosing the Right Weed Eater String
When you pick a replacement weed eater string, choose the right type and size. Your Hyper Tough trimmer needs the correct string to work well. Check your trimmer’s manual or the manufacturer’s website for the right specs. The string diameter and shape can vary, so pick with care. Using the wrong string may lead to poor performance or damage to your trimmer.
Typically, weed eater string comes in different thicknesses, such as 0.065, 0.080, or 0.095 inches. Choose a string that matches the recommended size for your trimmer. Additionally, you’ll have a choice between round or square-shaped string. Round string is more common and suits general trimming well. Square-shaped string cuts dense or heavy vegetation with more power.
| String Diameter | String Shape | Best Use |
|---|---|---|
| 0.065 inches | Round or square | Light grass and small weeds |
| 0.080 inches | Round or square | General trimming and thick grass |
| 0.095 inches | Round or square | Dense or heavy vegetation |
Once you have the correct replacement string, you can proceed to the next step. Keep the new string close by before you start. A clear work area makes the whole job much easier.
Step 2: Prepare Your Hyper Tough Weed Eater
Step 2: Prepare Your Hyper Tough Weed Eater
Before replacing the string, prepare your Hyper Tough weed eater with care. Follow these steps to stay safe while you work. A flat surface gives you a steady place to work.
- Turn off the trimmer and unplug it from any power source to ensure your safety.
- Place the trimmer on a flat surface, such as a workbench or table.
- Wear protective gloves and eye protection to prevent any potential injuries.
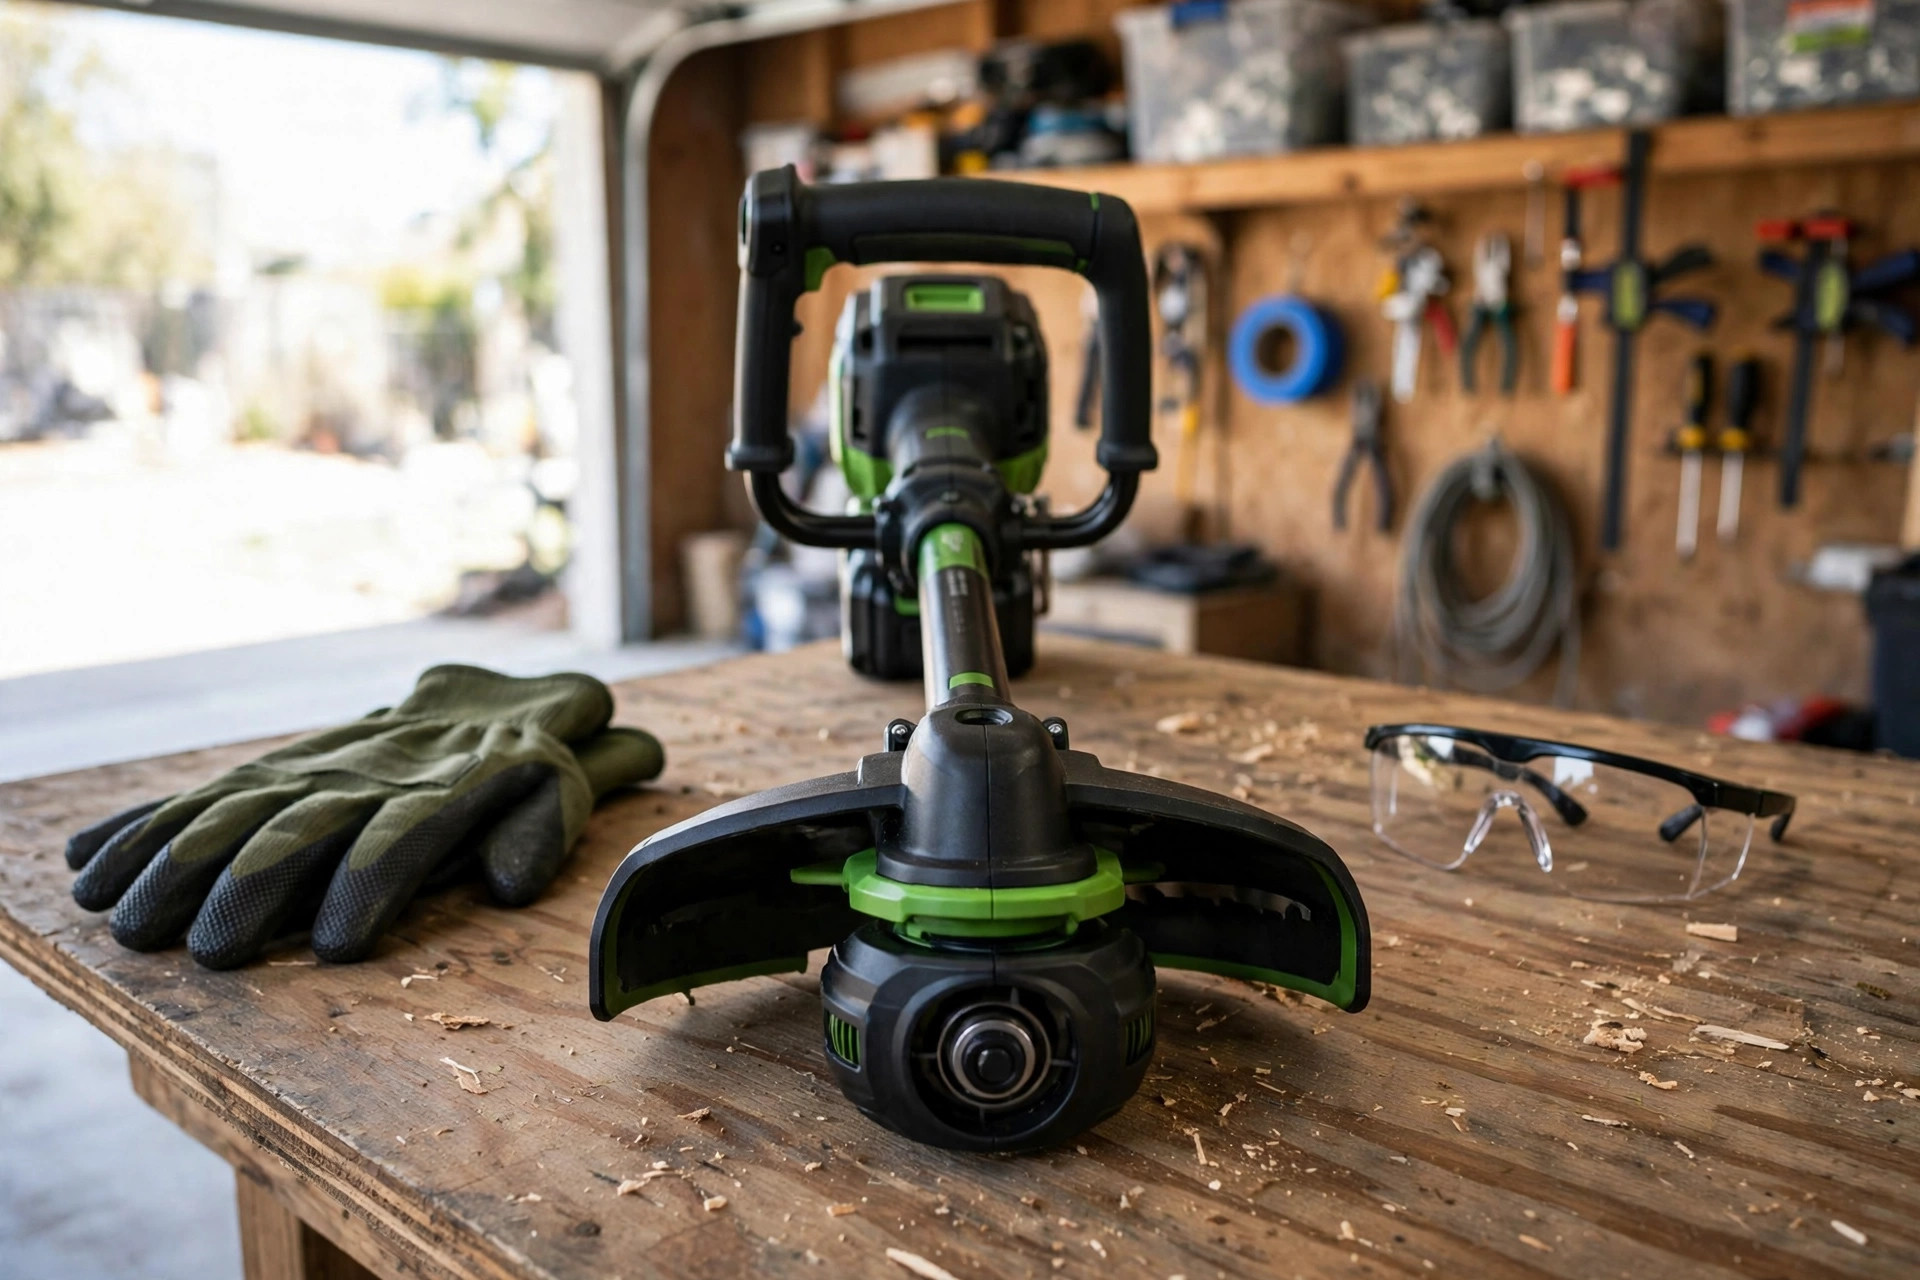
Once you have taken the necessary precautions, you are ready for the next step. Move on only when your gloves and eye protection are in place. Check the trimmer once more before you open the head.
Step 3: Remove the Old String
Step 3: Remove the Old String
Now let’s remove the old string from your Hyper Tough weed eater. Open the trimmer head with care and take your time. Old string can tangle, so work slowly and stay patient.
- Locate the trimmer head at the bottom of the weed eater. This is the part that houses the string.
- Look for tabs or buttons on the trimmer head that will allow you to access the string loading area. Push or press the tabs/buttons to release the retaining cover.
- With the retaining cover open, you will see the spool that holds the old string. Carefully remove the spool by pulling it straight out from the trimmer head.
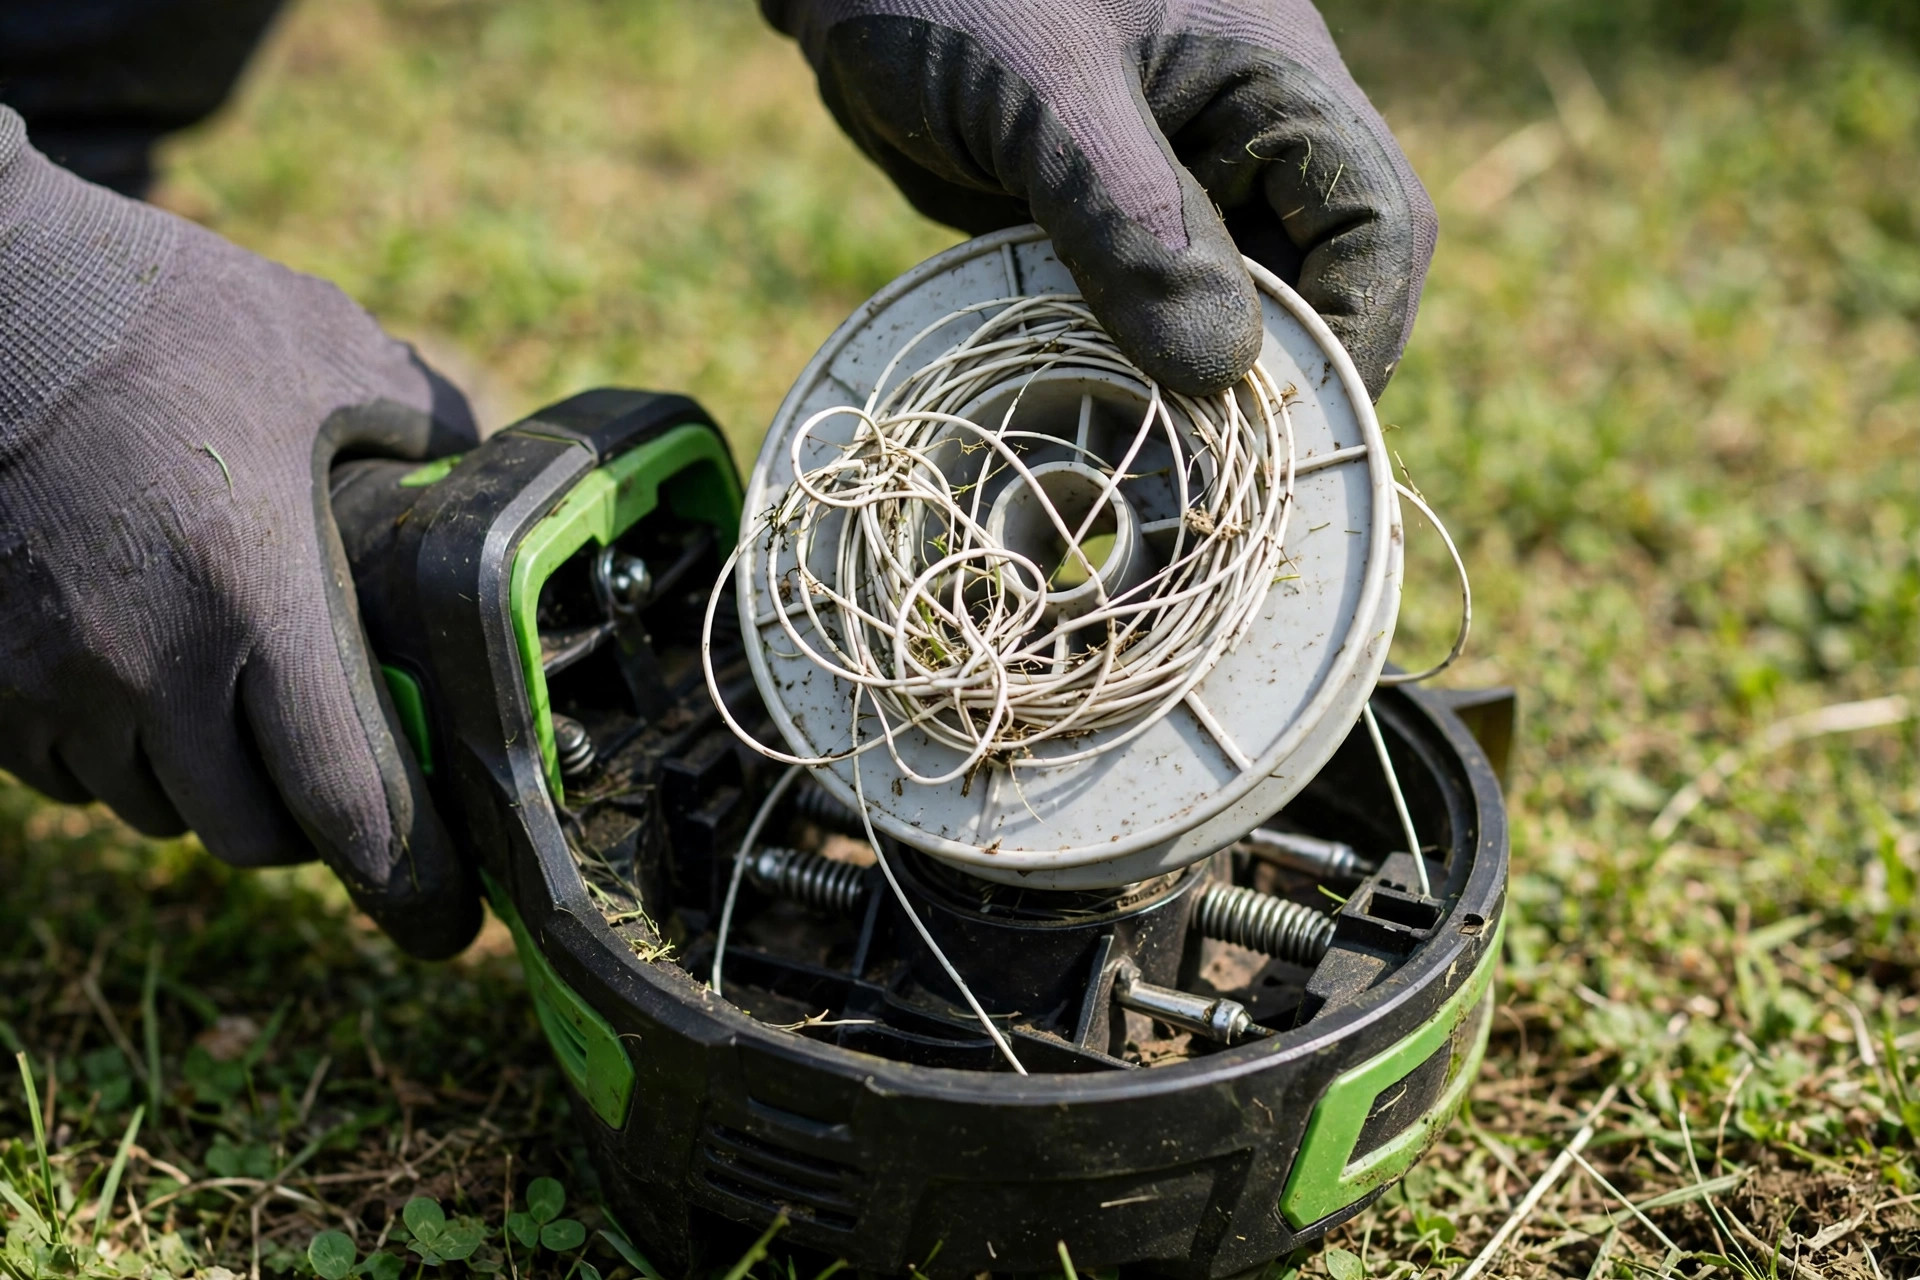
Dealing with Tangled or Broken String
If your old string is tangled or broken, inspect the trimmer head now. This is a good time to make any repairs or replacements you need. Use pliers or needle-nose pliers to remove any remaining string pieces.
Now that you have removed the old string, you can move on. Make any needed repairs first, then load the new string. Keep the spool close so you can reuse it soon.
Step 4: Load the New String
Step 4: Load the New String
With the old string removed, it is time to load the new one. Load it onto your Hyper Tough weed eater with care. Follow the arrows as you wind, using our DR trimmer guide for help.
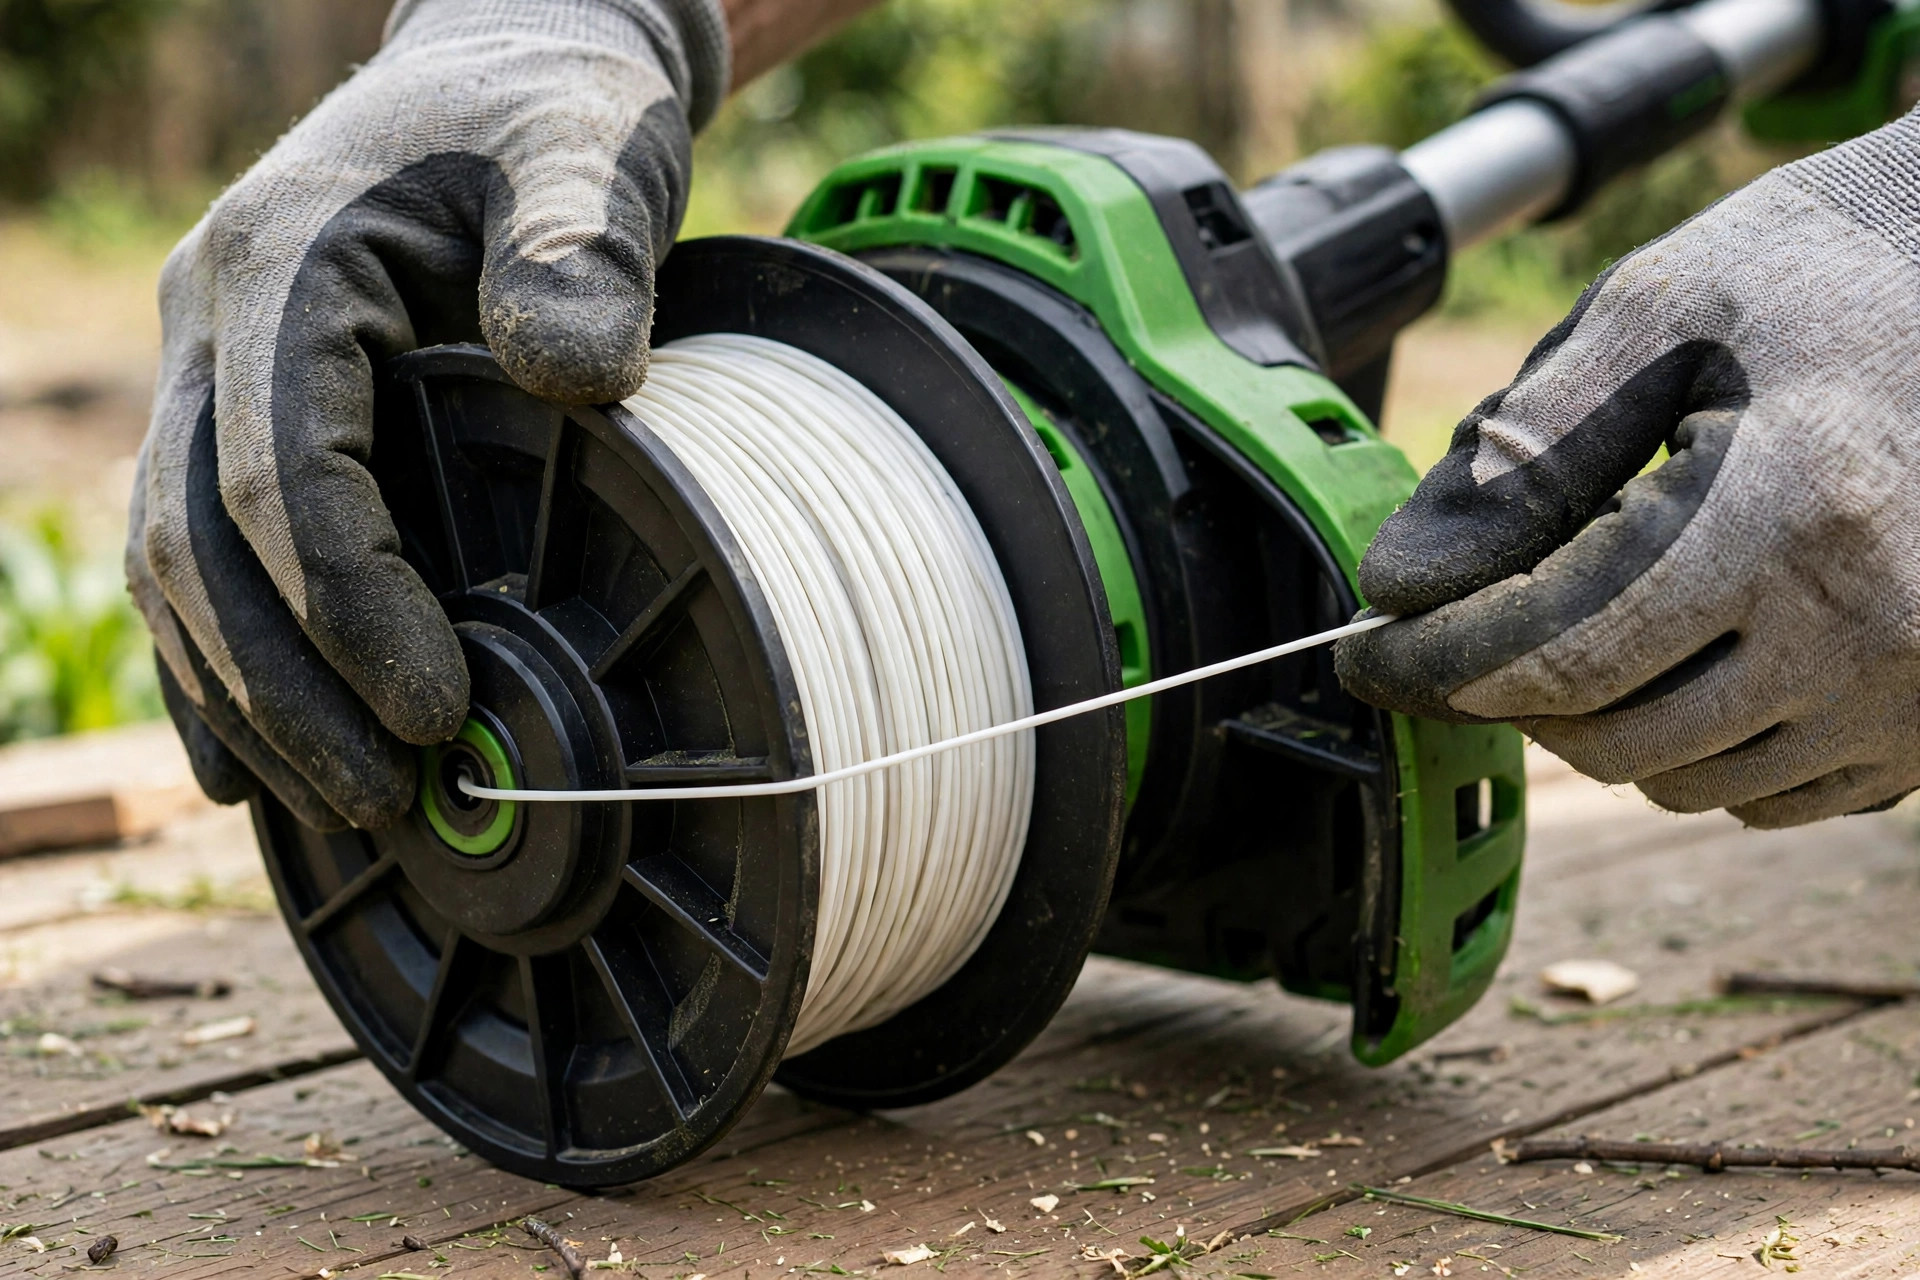
- Take your replacement string and feed one end into the designated hole or eyelet on the trimmer head. Make sure to follow the directional arrows indicating the correct winding direction.
- Carefully wind the string onto the spool in the direction indicated by the arrows. Follow any specific patterns or guides provided in your trimmer’s manual.
- Leave a reasonable length of string outside the spool to ensure proper cutting performance. Check your trimmer’s manual for the recommended length.
Step 5: Reassemble and Test
Step 5: Reassemble and Test
Now it is time to put everything back together and test the string. Your newly loaded weed eater string is ready for a quick check. Work slowly so each part locks into place.
- Carefully reinsert the spool with the newly loaded string back into the trimmer head.
- Snap the retaining cover back into place, ensuring that it securely locks in position.
- Double-check that the string is properly aligned and free from any tangles or obstructions.
- Plug in the trimmer and turn it on to test the string. Pay attention to the cutting performance and adjust the string length if necessary.
| Check | What to Look For | If It Fails |
|---|---|---|
| String length | Even line on both sides | Trim or rewind the line |
| Cover lock | Cover snaps shut and holds | Press the tabs again |
| Test cut | Clean cut on short grass | Adjust the line length |
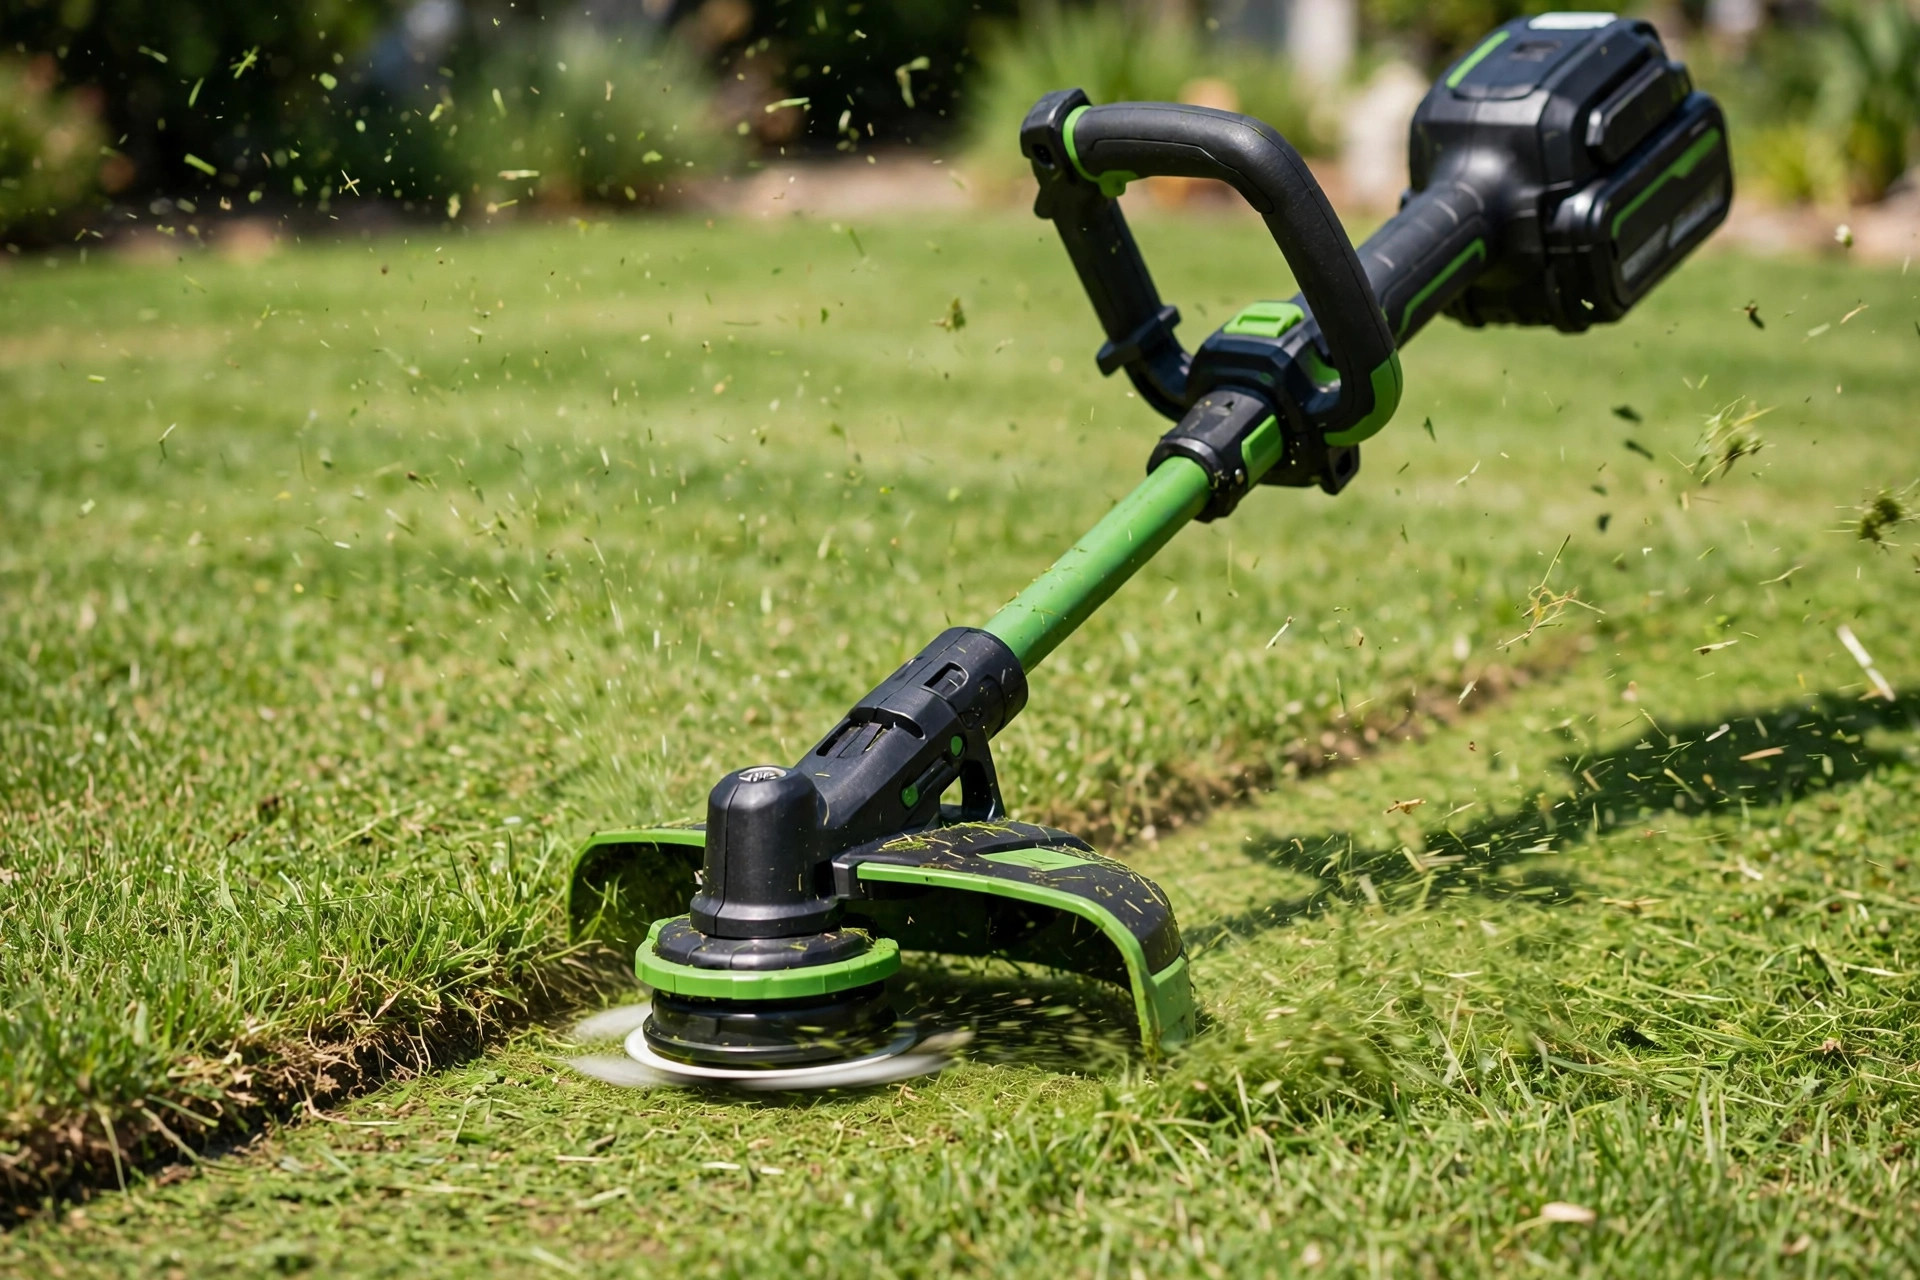
You have successfully replaced the weed eater string on your Hyper Tough trimmer. Always refer to your trimmer’s manual for any specific instructions or recommendations. Test the trimmer on a small patch of grass first.
Frequently Asked Questions
Thank you for choosing Hyper Tough, and welcome to this quick guide. Putting weed eater string on a Hyper Tough trimmer can feel tricky at first. But don’t worry, we’re here to help. In this section, we answer common questions about Hyper Tough trimmers.
How do I remove the old string from my Hyper Tough weed eater?
To remove the old string, start by turning off the trimmer first. Disconnect it from the power source before you touch the head. Then, locate the cap on the trimmer head. Depending on the model, you may need to twist or unscrew the cap counterclockwise.
Twist it off to remove it from the head. Once the cap is off, carefully remove the old string from the trimmer head. Untangle any knots or tangles as you pull it out. Dispose of the old string properly in your yard waste bin.
If you are unsure about the steps for your model, check the user manual first. You can also contact our customer support for help. They will be happy to guide you through the trimmer use process.
More Questions About Hyper Tough String
How do I install new string on my Hyper Tough weed eater?
To install new string on your Hyper Tough weed eater, start by preparing the string. Most Hyper Tough trimmers use a 0.065-inch diameter string, so check your manual first. Your user manual lists the recommended string size for your model. Cut a length of string that matches the manufacturer’s guidelines.
Next, locate the trimmer head on your Hyper Tough weed eater. Insert one end of the string into the trimmer head’s hole or eyelet. The exact spot depends on your model, so check first.
Follow the directional arrows on the trimmer head to wind it right. Wind the string in the marked direction for best results. Make sure to wind the string tightly and evenly for optimal performance.
Once the string is wound, secure the loose end in a slot on the head. Use any open notch that fits the line well. Finally, replace the cap on the trimmer head, ensuring it is securely tightened. Your Hyper Tough weed eater is now ready to tackle your yard work!
String Replacement and Brand Questions
How often should I replace the string on my Hyper Tough weed eater?
The frequency of string replacement depends on the type of work you do. It also depends on the condition of the string itself. For light yard work, you may only need new string once or twice a season.
However, if you tackle heavier tasks, you may need to replace the string more often. Clearing thick brush or large areas wears string out fast. Inspect the string regularly for signs of wear, such as fraying or weakening. If you notice any damage, it is time to replace the string. Replace it too if the string no longer cuts well.
Can I use any brand of string on my Hyper Tough weed eater?
While Hyper Tough trimmers work with various brands of string, we suggest Hyper Tough string. It gives the best performance for your trimmer. Hyper Tough replacement string is designed to work well with our trimmers. It cuts well and breaks less often than poor fits.
Using other brands of string may work, but choose the correct diameter and material. The wrong size can hurt your trimmer, so check first. Refer to the user manual or read our Ryobi 40V string guide for more help.
Fixing String That Keeps Breaking
My Hyper Tough weed eater string keeps breaking. What should I do?
If your Hyper Tough string keeps breaking, a few reasons may cause this issue. First, make sure you are using the correct size and type of string. Use the size and type your trimmer manual recommends. Using the wrong string can put excessive strain on the trimmer head and cause breakage.
Additionally, check the condition of the trimmer head. If it is worn or damaged, it can put extra stress on the string. Debris in the head can cause the same strain. Clean the trimmer head and replace it if necessary.
Lastly, avoid hard force or hitting hard objects with the string. Hard hits can also cause the string to break. Take care when trimming near fences, rocks, or concrete surfaces. If the issue persists, we recommend contacting our customer support for further assistance.
Conclusion: How to Put Weed Eater String on Hyper Tough
First, make sure the weed eater is turned off and disconnected from any power source. Then, find the spool housing on the trimmer head and remove the old string. Next, feed new string into the spool eyelet and wind it along the arrow. Wind it until you have enough string for the job.
Finally, secure the string in the notch and reattach the spool housing to the head. With these steps, you can load weed eater string on your Hyper Tough trimmer. Check your manual for model tips, and enjoy a neat lawn.
