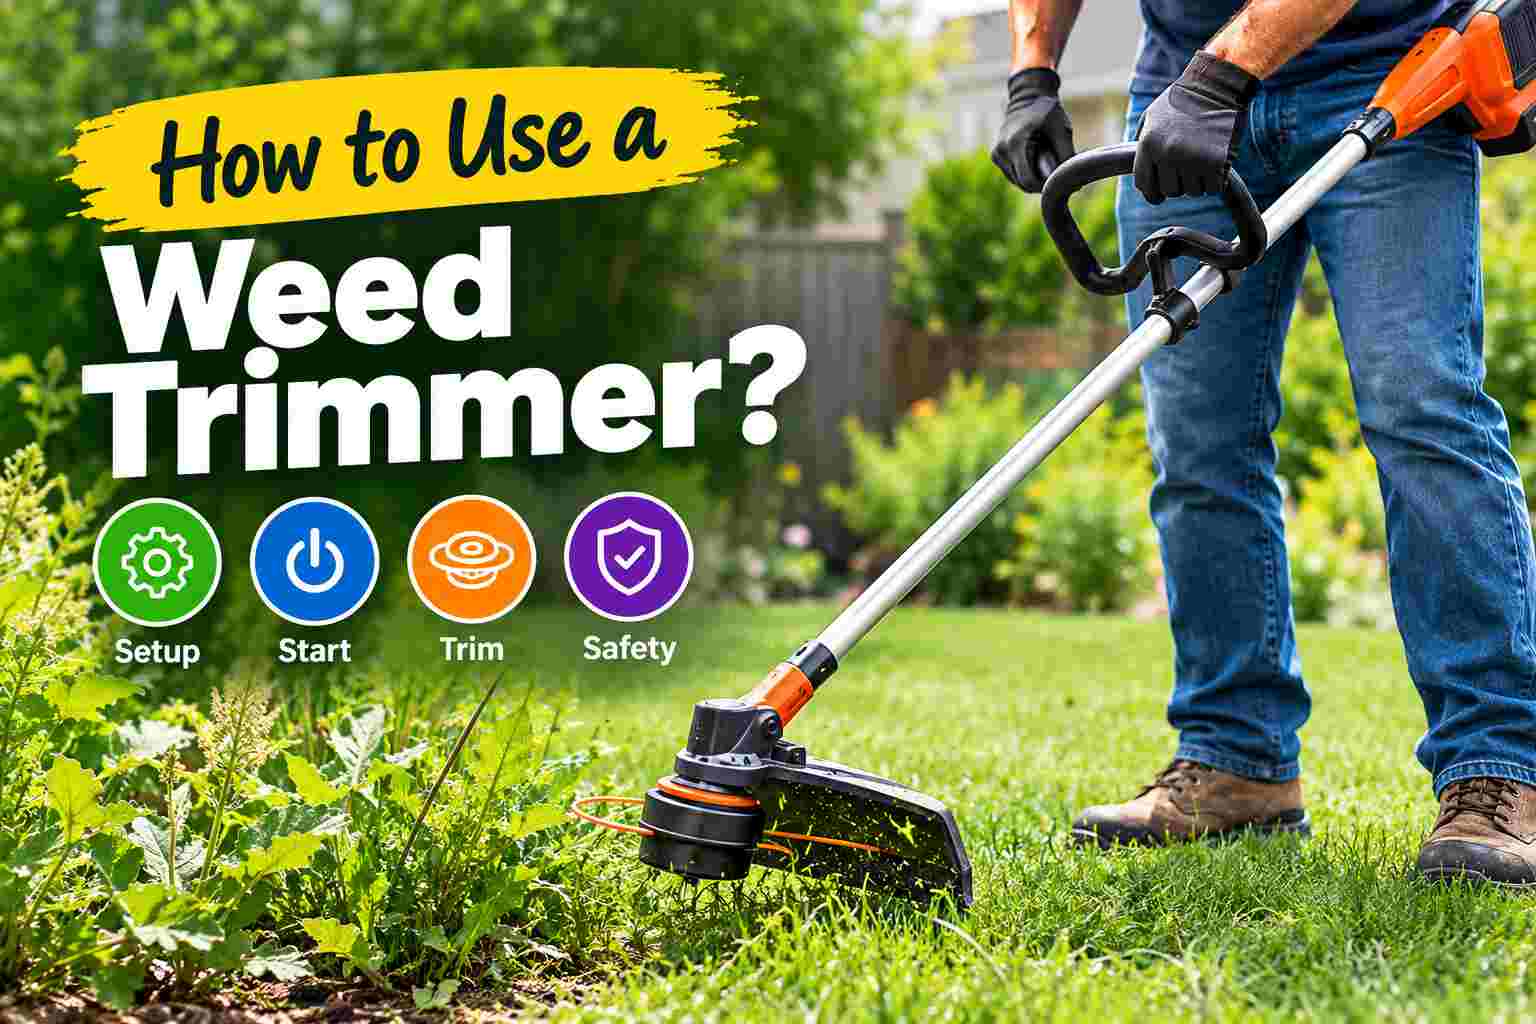
How to Use a Weed Trimmer: A Simple Step-by-Step Guide
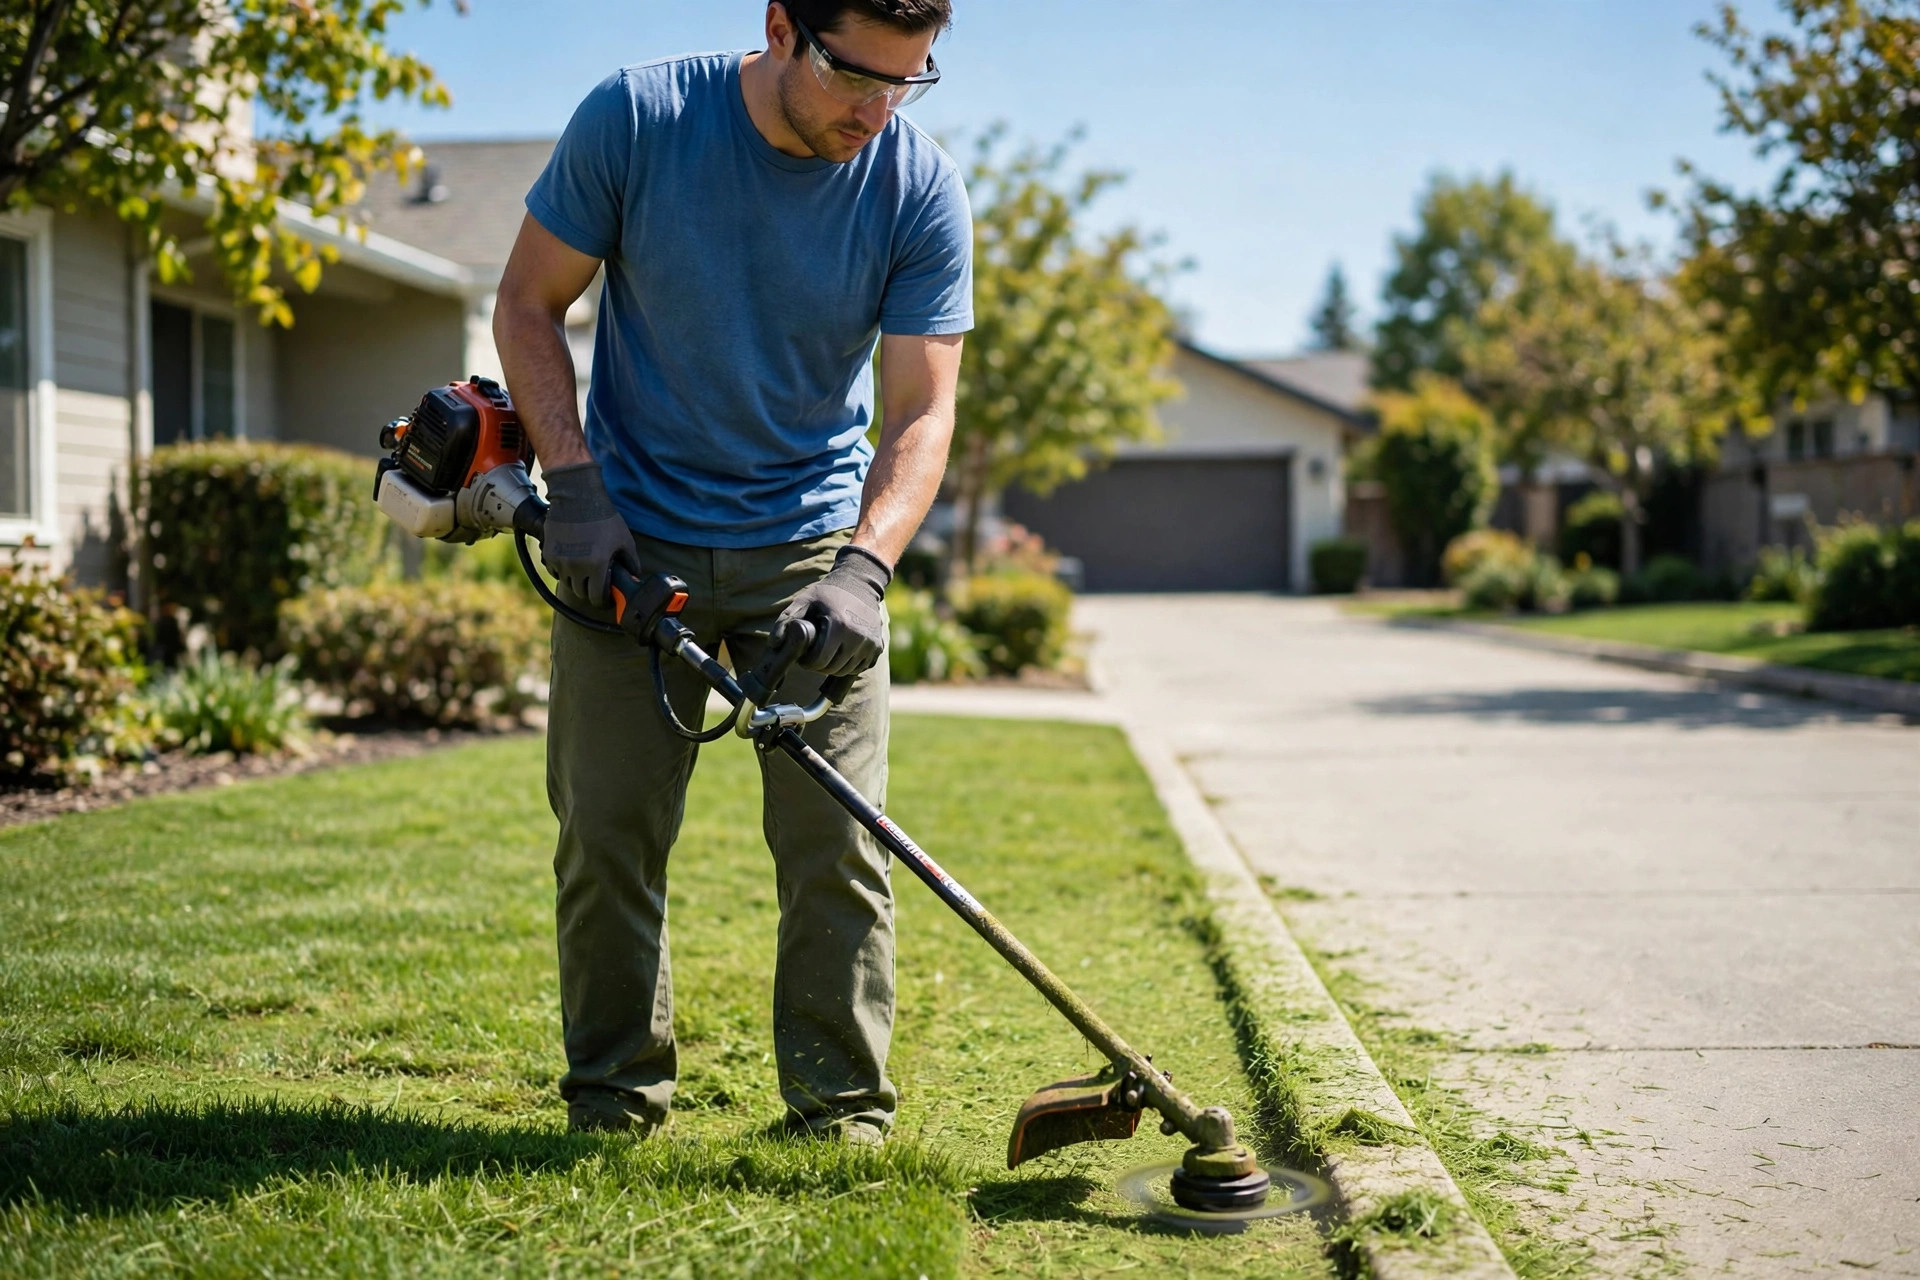
Quick answer: Learning how to use a weed trimmer starts with safety gear. You then check the tool and clear the whole yard. Next you start the engine and sweep slowly from side to side. Small steady passes keep every edge neat and clean.
Welcome to your introduction to the world of weed trimming! Learning how to use a weed trimmer can make your yard look amazing. People also call this tool a string trimmer. Many folks also call it a weed eater.
It helps you get those tough spots a lawnmower can’t reach. Think of it as a finishing tool for a perfectly neat yard. This guide will show you everything you need to know, step by step. We will cover safety and basic starting steps first.
You will also learn simple pro trimming moves. Our simple guide on how to start a lawn trimmer helps beginners. Careful prep work makes every trimming job much easier. Steady practice soon makes each yard session feel simple.
- Understanding Your Weed Trimmer
- Prerequisites and Requirements
- Steps 1 to 3: Manual, Inspection and Fuel
- Steps 4 to 6: Gear, Clearing and Starting
- Steps 7 to 8: Stance and Trimming Technique
- Steps 9 to 10: Edging and Advancing Line
- Steps 11 to 12: Shutdown and Storage
- Common Pitfalls and Troubleshooting
- Advanced Trimming Techniques
- Conclusion
- Frequently Asked Questions
Understanding Your Weed Trimmer
Before you start, it’s good to know what your weed trimmer is all about. Several different kinds serve different yards and jobs. Knowing yours helps you use it best.
Types of Weed Trimmers
There are three main types of weed trimmers. Each type has its own good points overall. The table below compares all three types clearly.
| Trimmer Type | Power Source | Best For |
|---|---|---|
| Electric (Corded) | Plugs into an outlet | Smaller yards near your house |
| Cordless (Battery-Powered) | Rechargeable battery pack | Medium sized yards anywhere |
| Gas | Gasoline fuel mix | Big yards with tough weeds |
Key Parts of a Weed Trimmer
Every trimmer shares the same common working parts. Knowing them helps you use it safely. Check each part before you start working outside.
- Engine/Motor: This is what makes the cutting line spin.
- Shaft: This is the long pole connecting the engine to the cutting head.
- Handle: This is where you hold the trimmer. Some have two handles.
- Cutting Head: This is at the end of the shaft. It holds the string.
- Cutting Line (String): This is the part that actually cuts the weeds.
- Guard: This is a shield above the cutting head. It protects you from flying debris.
Always check your trimmer’s manual before you begin. It has specific details for your model. Those details keep setup and care steps correct.
Prerequisites and Requirements
Before you even think about starting your trimmer, you need to get ready. This includes gathering tools and putting on the right gear. Safety is always first on every yard job.
Safety Gear You’ll Need
Wearing the right safety gear is super important. It protects you from injury during yard work. Each listed item guards a different body part.
- Eye Protection: Safety glasses or goggles are a must. Debris can fly at high speeds.
- Hearing Protection: Earplugs or earmuffs protect your ears from loud noise, especially with gas trimmers.
- Long Pants and Long Sleeves: These protect your skin from flying debris and scratches.
- Sturdy Shoes or Boots: Closed-toe shoes are essential. Steel-toed boots are even better. Never wear sandals.
- Gloves: Work gloves protect your hands from blisters and vibrations.
Tools and Supplies
You might need a few things besides your trimmer. Fuel, spare line and simple tools cover most jobs. The short list below names each supply clearly.
- Fuel/Battery/Extension Cord:
- For gas trimmers, you need the correct fuel mix (gasoline and oil).
- For cordless trimmers, make sure your battery is fully charged.
- For corded trimmers, you need a suitable outdoor extension cord.
- Replacement Trimmer Line: Your line will wear down. Always have extra.
- Screwdriver/Wrench: Sometimes needed for minor adjustments or line replacement.
- Work Area Clearance: Clear your work area of rocks, toys, or anything else that could be hit by the trimmer line.
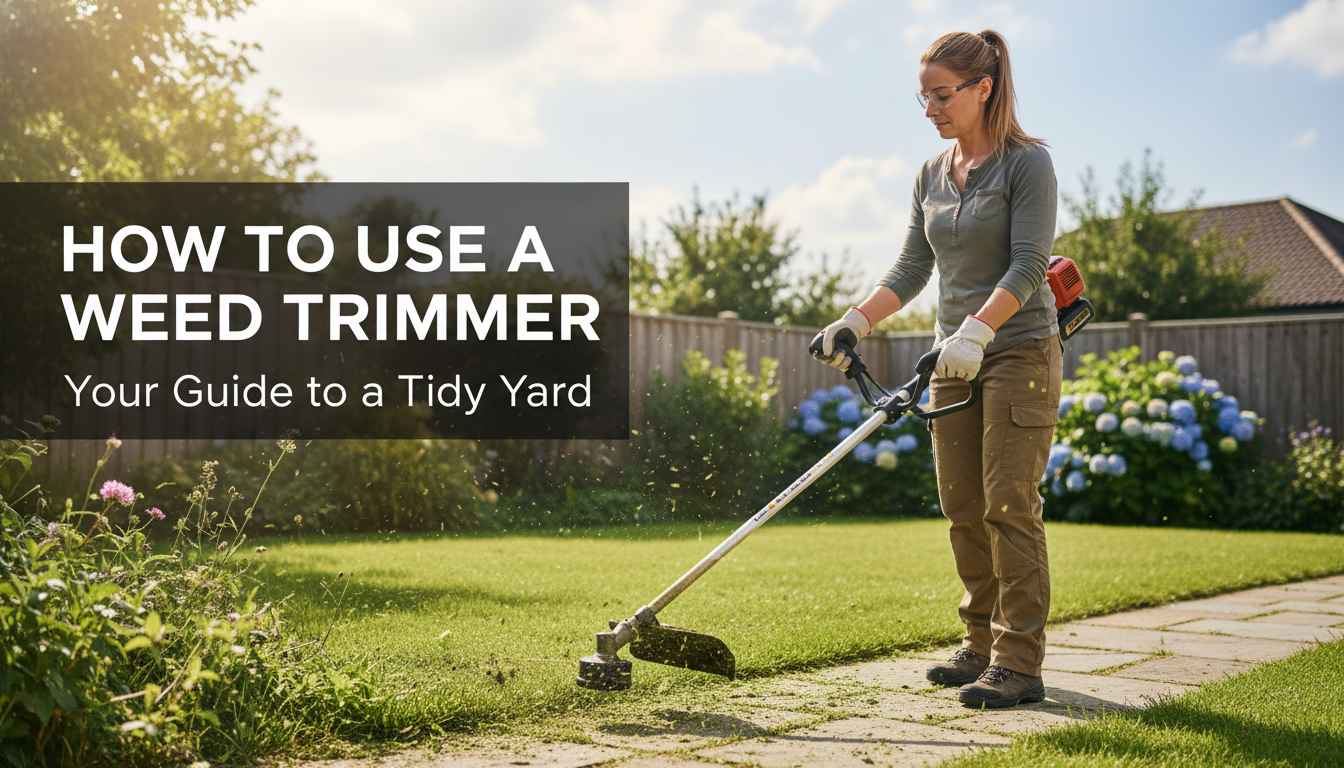
Pro Tip: Always check the weather forecast before trimming outside. It’s best to trim on a dry day. Wet grass can be slippery and harder to cut.
Step-by-Step Instructions: How to Use a Weed Trimmer
Now, let’s get into the actual trimming! Follow these steps carefully for the best results. Safety stays first through every single step here.
1. Read Your Owner’s Manual
Every trimmer model works a little bit differently. Your manual has important information for safe use. It tells you how to start it safely. It also covers fuel and basic maintenance steps. This is your first and most important step.
2. Inspect Your Trimmer
Before each use, quickly check your trimmer. Look for any damage on the tool. Our linked guide on putting trimmer line on an electric trimmer shows line fitting clearly.
- Check the Line: Make sure there’s enough line. Replace it if it’s too short.
- Inspect the Guard: Ensure the safety guard is firmly in place. It protects you.
- Look for Loose Parts: Tighten any screws or bolts that seem loose.
- Check for Cracks: Look for cracks in the casing or shaft.
3. Fuel Up or Charge Up
This step depends on your trimmer type. Gas, battery and corded models each differ here. Follow the matching notes in the list below.
- Gas Trimmers: Mix gasoline and 2-cycle oil according to your manual’s instructions. Use a clean fuel can. Fill the fuel tank carefully, avoiding spills.
- Cordless Trimmers: Make sure your battery is fully charged. Insert it properly into the trimmer.
- Corded Trimmers: Plug your trimmer into an outdoor-rated extension cord. Make sure the cord is long enough for your work area.
Warning: Never refuel a hot gas trimmer. Let it cool down first before adding fuel. Fuel can ignite near a hot engine surface.
Getting Ready and Starting Your Trimmer
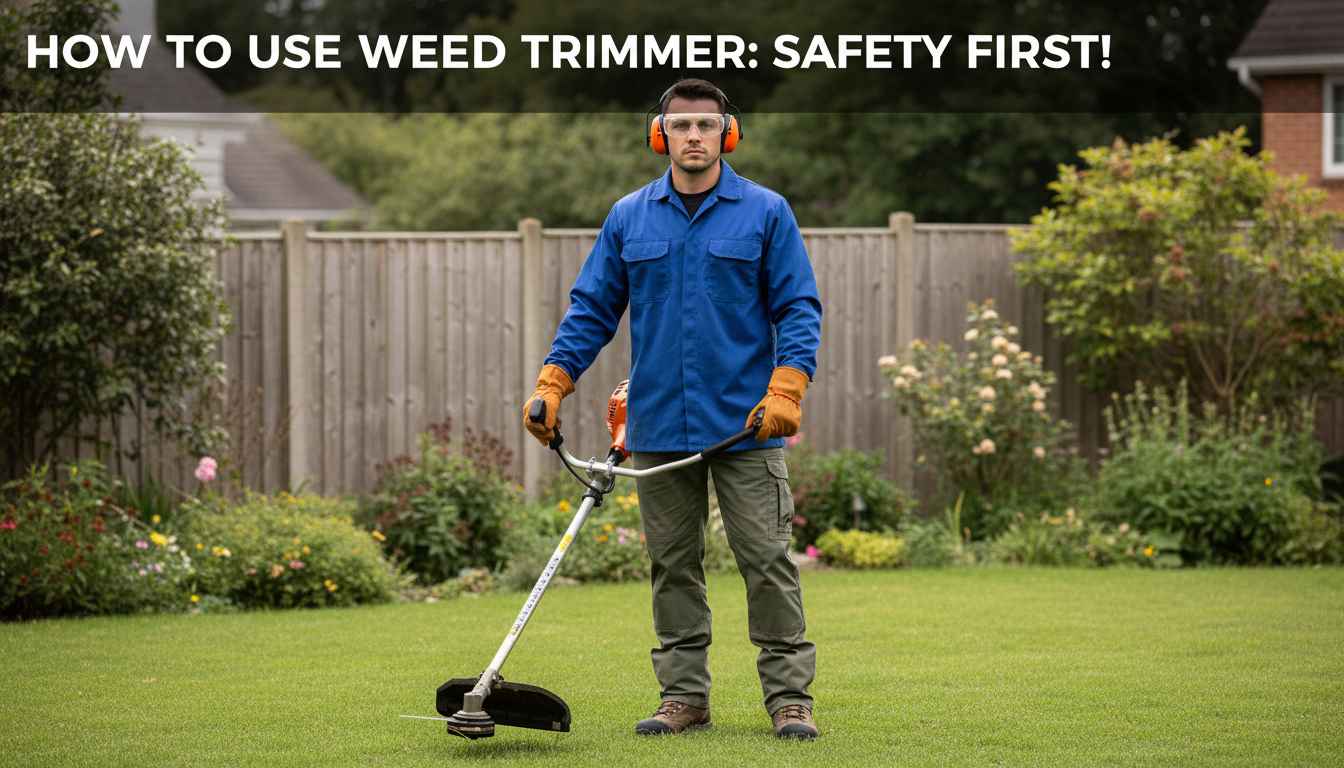
4. Put on Your Safety Gear
This step is truly not optional at all. Always wear all your safety gear outside. The checklist below covers every needed item.
- Put on your safety glasses or goggles.
- Wear your ear protection.
- Put on long pants and long sleeves.
- Lace up your sturdy shoes or boots.
- Don your gloves.
5. Clear Your Work Area
Before starting, walk through the area you plan to trim. You are looking for anything loose or hidden. Clear ground keeps the spinning line working safely.
- Remove any rocks, sticks, toys, garden hoses, or other debris.
- These items can become dangerous projectiles if hit by the trimmer line.
- Ensure no pets or children are in the trimming zone.
6. Start Your Trimmer
Starting steps vary by your trimmer type. Gas models need priming and choke settings first. Follow the steps for your own model below.
- Gas Trimmers:
- Place the trimmer on a flat, clear surface.
- Prime the engine a few times (push the primer bulb).
- Set the choke to the “start” or “full choke” position.
- Pull the starter cord firmly until the engine sputters.
- Move the choke to the “run” or “half choke” position.
- Pull the cord again until it starts.
- Let it warm up for a few seconds.
- Cordless Trimmers:
- Ensure the battery is inserted correctly.
- Press any safety lock button.
- Squeeze the trigger.
- Corded Trimmers:
- Plug it into the extension cord.
- Hold the trimmer firmly.
- Press any safety lock button.
- Squeeze the trigger.
Trimming With the Right Technique
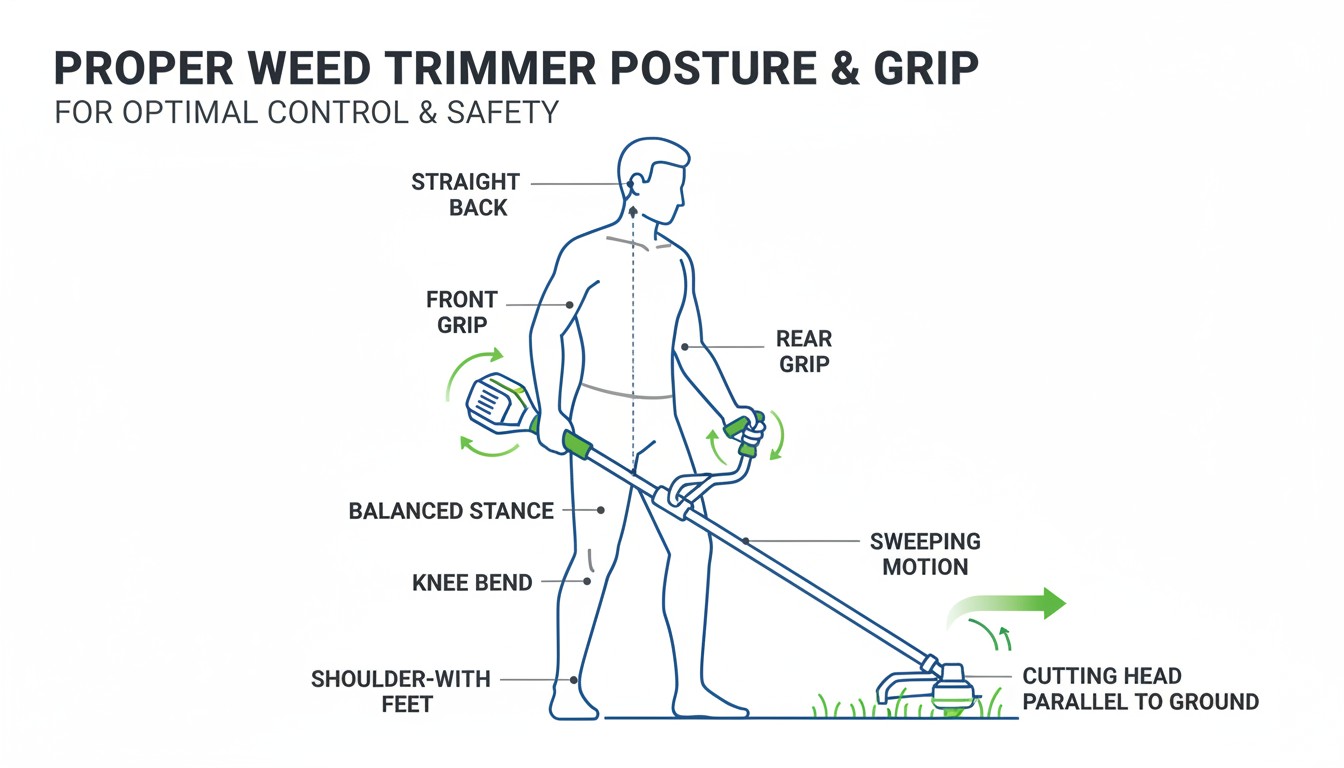
7. Adopt the Correct Stance and Grip
Holding the trimmer correctly is key for control and comfort. Good balance also keeps your arms less tired. The points below show the right body position.
- Hold the trimmer with both hands.
- One hand should be on the main handle, the other on the auxiliary handle.
- Keep the trimmer head parallel to the ground.
- Stand with your feet shoulder-width apart.
- Keep your body balanced and stable.
8. Begin Trimming with the Right Technique
Use a sweeping motion for effective trimming. Slow passes give the cleanest cutting results here. The tip of the line does the cutting.
- Start slowly.
- Move the trimmer in a side-to-side sweeping motion.
- Cut with the tip of the line.
- Overlap your passes slightly, like mowing a lawn.
- Use only the very end of the string to cut. This makes the string last longer.
Pro Tip: For taller grass, cut in layers. Trim the top half first, then the bottom. This prevents the trimmer from getting bogged down.
Edging, Obstacles and Fresh Line
9. Edging and Trimming Around Obstacles
The trimmer is excellent for detailed work. Edges and tight corners need slow careful passes. Our guide to edging with a string trimmer covers clean edges.
- For edging: Tilt the trimmer so the line is vertical. Walk slowly along the edge of your driveway or flower bed.
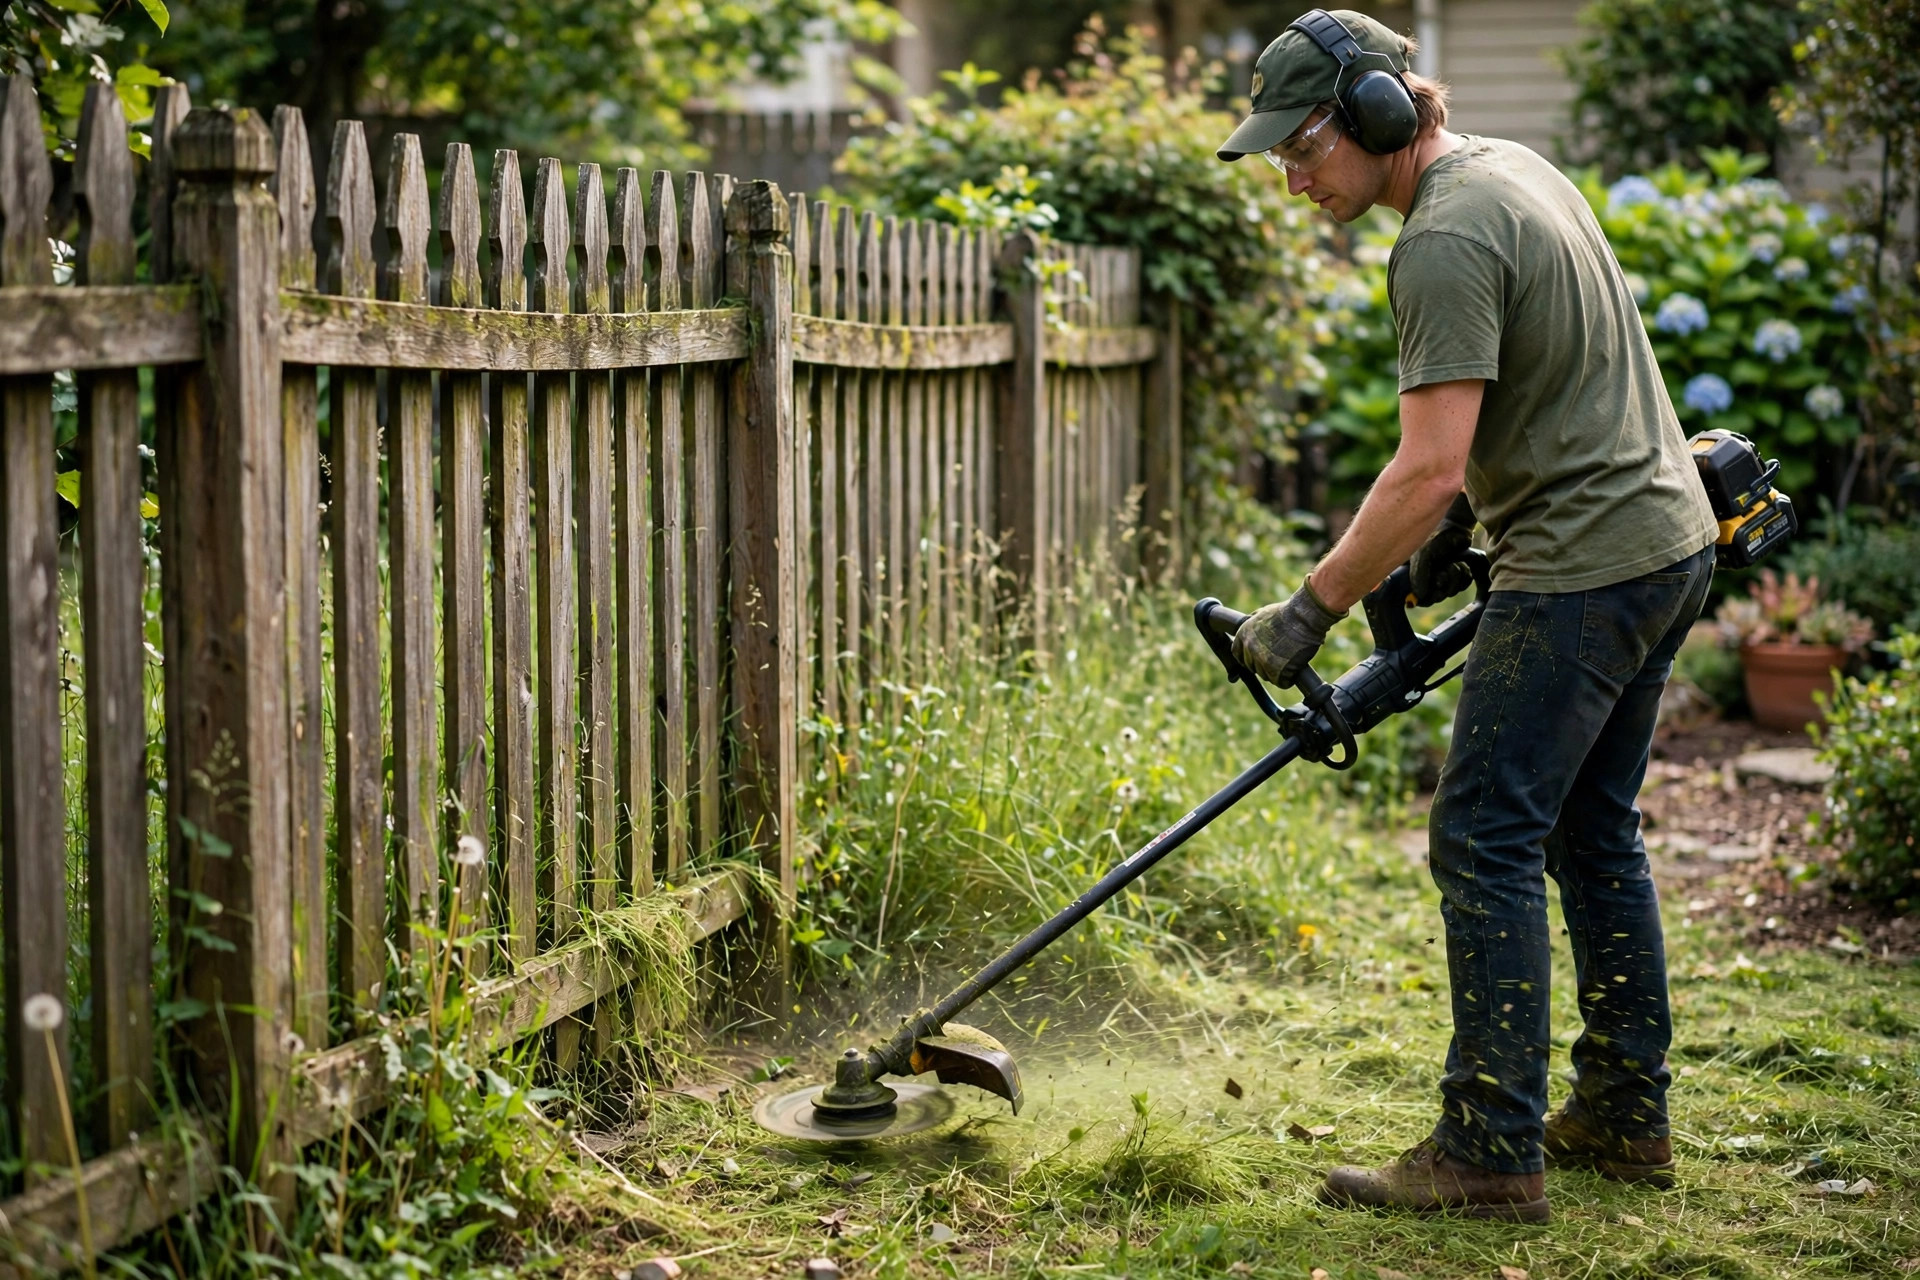
- Around trees and fences: Be careful. Keep a small distance to avoid damaging the tree bark or stringing up on the fence. The plastic guard should be your guide.
- Against walls: Use the guard to slide along the wall, keeping the line just away from the surface.
10. Advance the Trimmer Line
The cutting line wears down as you trim. You need to advance it quite often. Short line cuts poorly and strains the motor.
- Most modern trimmers have an auto-feed head. This means you just tap the head on the ground while the trimmer is running. This releases more line.
- Some models require you to press a button or pull the line manually.
- Refer to your manual for your specific model’s line advancement method.
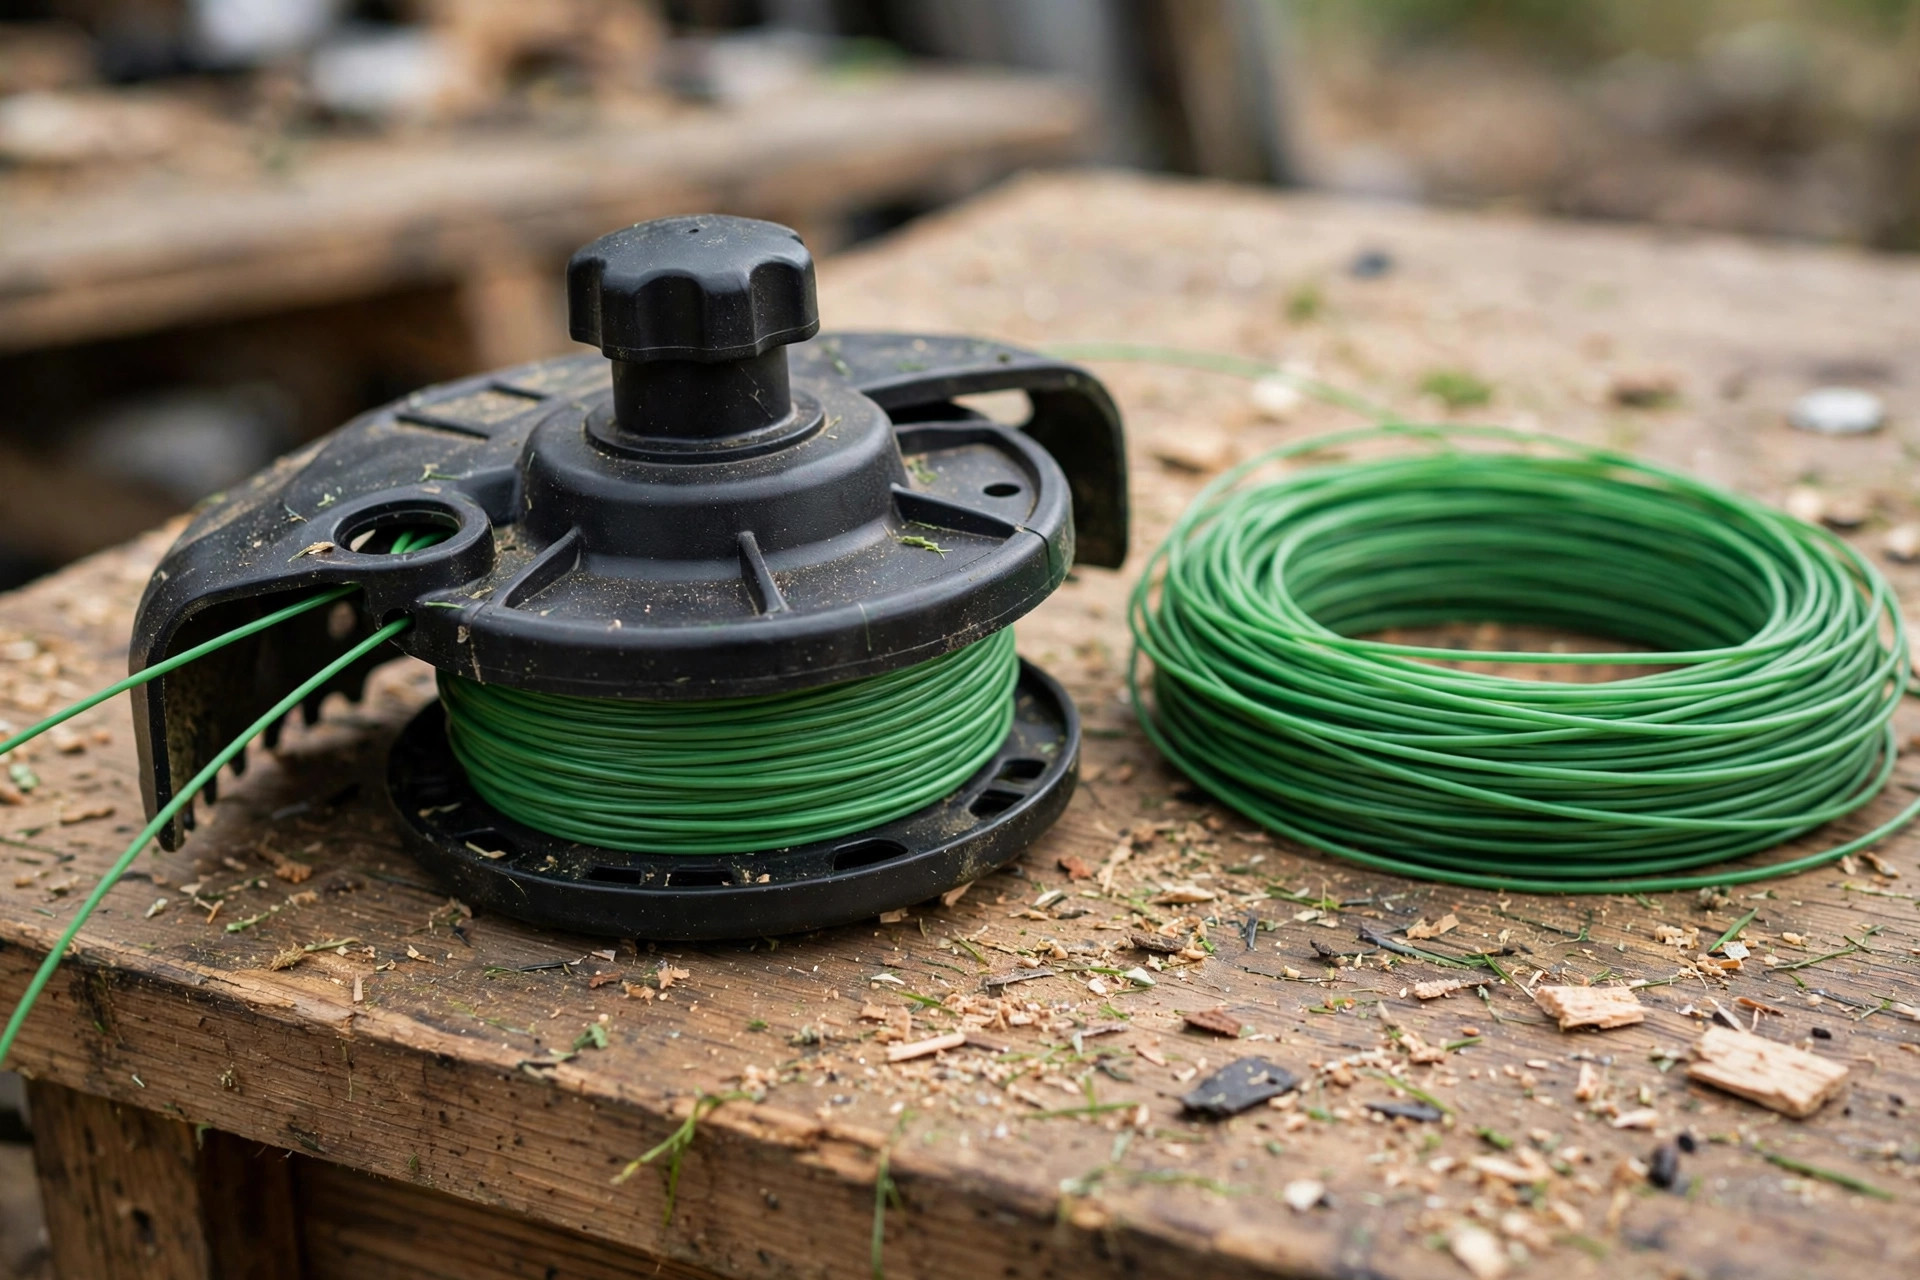
Key Takeaway: Don’t let the line get too short. A short line reduces cutting efficiency and makes the trimmer work harder. Our full guide to restringing a lawn trimmer covers spool refills.
Shutdown, Cleaning and Storage
11. Shut Down Your Trimmer
When you are done, or need a break, shut down your trimmer safely. Each power type shuts down a little differently. The list below gives each shutdown method clearly.
- Gas Trimmers: Turn the engine switch to the “off” position.
- Cordless Trimmers: Release the trigger and remove the battery.
- Corded Trimmers: Release the trigger and unplug the extension cord from the outlet, then from the trimmer.
12. Clean and Store Your Trimmer
Proper cleaning and storage extend your trimmer’s life. A clean tool starts easier next time around. Our guide to storing a string trimmer covers long storage.
- Clean the Trimmer: Use a brush or cloth to remove grass clippings and dirt from the cutting head and guard.
- Inspect the Line: Check the line for wear. Replace if needed.
- Gas Trimmers: If storing for a long time, drain the fuel or add a fuel stabilizer.
- Cordless Trimmers: Store the battery in a cool, dry place, separate from the trimmer.
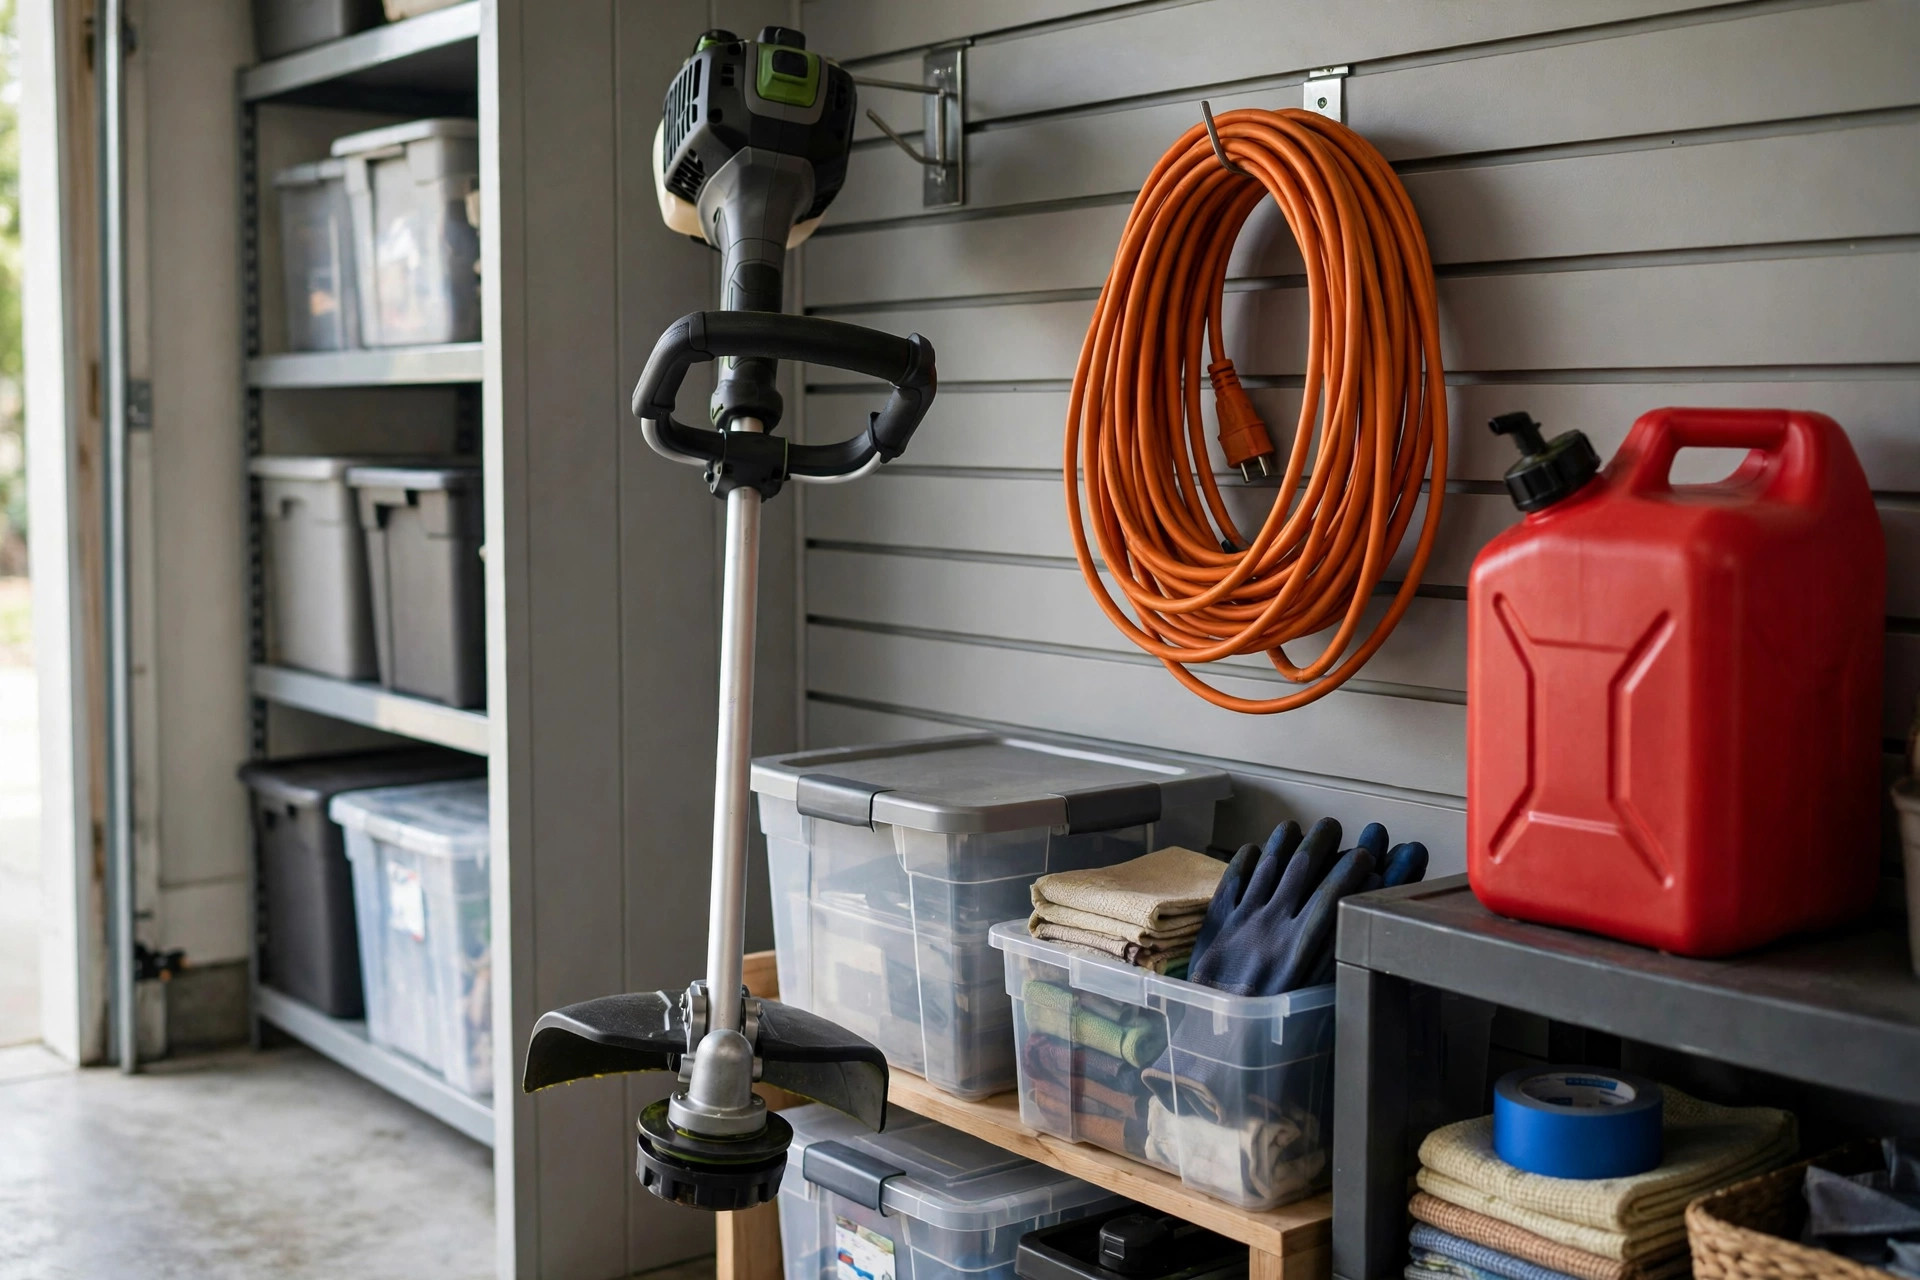
- Store Safely: Hang the trimmer in a shed or garage, out of reach of children.
Common Pitfalls and Troubleshooting
Even with the best instructions, you might run into issues. Here are some common problems and how to fix them. Most fixes stay simple with basic home tools.
Trimmer Won’t Start
| Problem | Possible Cause | Solution |
|---|---|---|
| Gas Trimmer | No fuel or old fuel | Fill with fresh fuel mix. |
| Gas Trimmer | Spark plug issues | Check spark plug; clean or replace if dirty or worn. |
| Gas Trimmer | Choke set incorrectly | Adjust choke according to manual. |
| Cordless Trimmer | Dead battery | Charge battery fully. |
| Cordless Trimmer | Battery not inserted correctly | Reinsert battery firmly. |
| Corded Trimmer | Not plugged in | Ensure cord is plugged into outlet and trimmer. |
| Corded Trimmer | Extension cord damaged | Check cord for damage; try a different cord. |
Trimmer Line Breaks Too Often
- Hitting Hard Objects: Be careful around rocks, fences, and concrete.
- Incorrect Line Type: Use the recommended line thickness for your trimmer.
- Not Advancing Line: Let the line get too short, and it will break more. Advance it regularly.
- Cutting Too Much at Once: Don’t try to cut very thick weeds with a short line. Take smaller passes.
Engine Stalls Frequently
- Gas Trimmer:
- Clogged Air Filter: Clean or replace the air filter.
- Improper Fuel Mix: Use the correct gas-to-oil ratio.
- Carburetor Issues: This might need professional service.
- Cordless Trimmer:
- Overheating: Let the trimmer cool down.
- Battery Low: Recharge the battery.
For complex issues, especially with gas engines, seek professional help. It is often best to consult a professional repair service. A good shop can check the carburetor safely.
Advanced Trimming Techniques (Once You’re Comfortable)
Once you’ve mastered the basics, try these tips. They give your yard an even better finish. Our guide to using a string trimmer as an edger adds more detail.
Scalping vs. Skimming
- Scalping: This is when you cut too close to the ground, often leaving bare patches. Avoid this.
- Skimming: This is the gentle art of trimming just above the ground, leaving a uniform height. Aim for this.
Feathering
- This technique helps blend areas trimmed by the weed trimmer with areas cut by the lawnmower.
- Instead of making a sharp line, slightly raise the trimmer head as you move away from the trimmed edge. This creates a softer transition.
Trenching
- For a very clean edge between a lawn and a garden bed, you can create a small trench.
- Hold the trimmer at a steeper angle, with the line digging slightly into the soil.
- This takes practice and is best done on established edges.
The EPA lawn and garden guidance covers safer yard care habits. It shares simple steps for healthy home lawns. Careful product use keeps your whole yard safer.
Conclusion: How to Use a Weed Trimmer With Confidence
You’ve learned a lot about how to use a weed trimmer safely and effectively. You now know the main types and parts. You now have the knowledge to tackle yard work. Remember, safety always comes first on every job.
Always wear your protective gear and inspect your equipment before each use. With practice, you’ll be trimming like a pro, making your yard look neat and tidy. Keep your trimmer well-maintained, and it will serve you for many seasons to come.
Frequently Asked Questions
How often should I replace my trimmer line?
Replace your line when it gets too short. Short line cannot cut grass and weeds effectively. Frayed line breaks easily and needs replacing too. The frequency depends on how often you trim and what you’re cutting.
Can I use any type of string in my weed trimmer?
No, you need the correct string for your trimmer. Use the correct diameter and type of string recommended. Match the string to your specific trimmer model. Using the wrong string can reduce cutting performance and even damage your trimmer.
Is it okay to trim wet grass?
It’s generally not recommended to trim wet grass. Wet grass is heavier and feels much thicker. Wet clippings can clog the trimmer head badly. Wet ground can be more slippery underfoot outside. It’s best to wait for the grass to dry.
How do I store my gas trimmer for the winter?
For winter storage, drain all fuel from the tank. Then run the engine dry before storing it. Or add a fuel stabilizer to the gasoline. This prevents fuel from breaking down and clogging the carburetor.
What’s the difference between a weed trimmer and a brush cutter?
A weed trimmer uses a flexible nylon line for cutting grass and light weeds. A brush cutter is more powerful than that. It uses a metal blade instead of line. It cuts thicker brush, small saplings and dense overgrowth.

I’m Patricia D. Johnson, an affiliate marketer and blogger specializing in trimmers and grooming tools. I create honest reviews, buying guides, and practical tips to help readers choose the right trimmer for their needs. With a focus on quality, performance, and value, I simplify the decision-making process so consumers can make confident purchases.