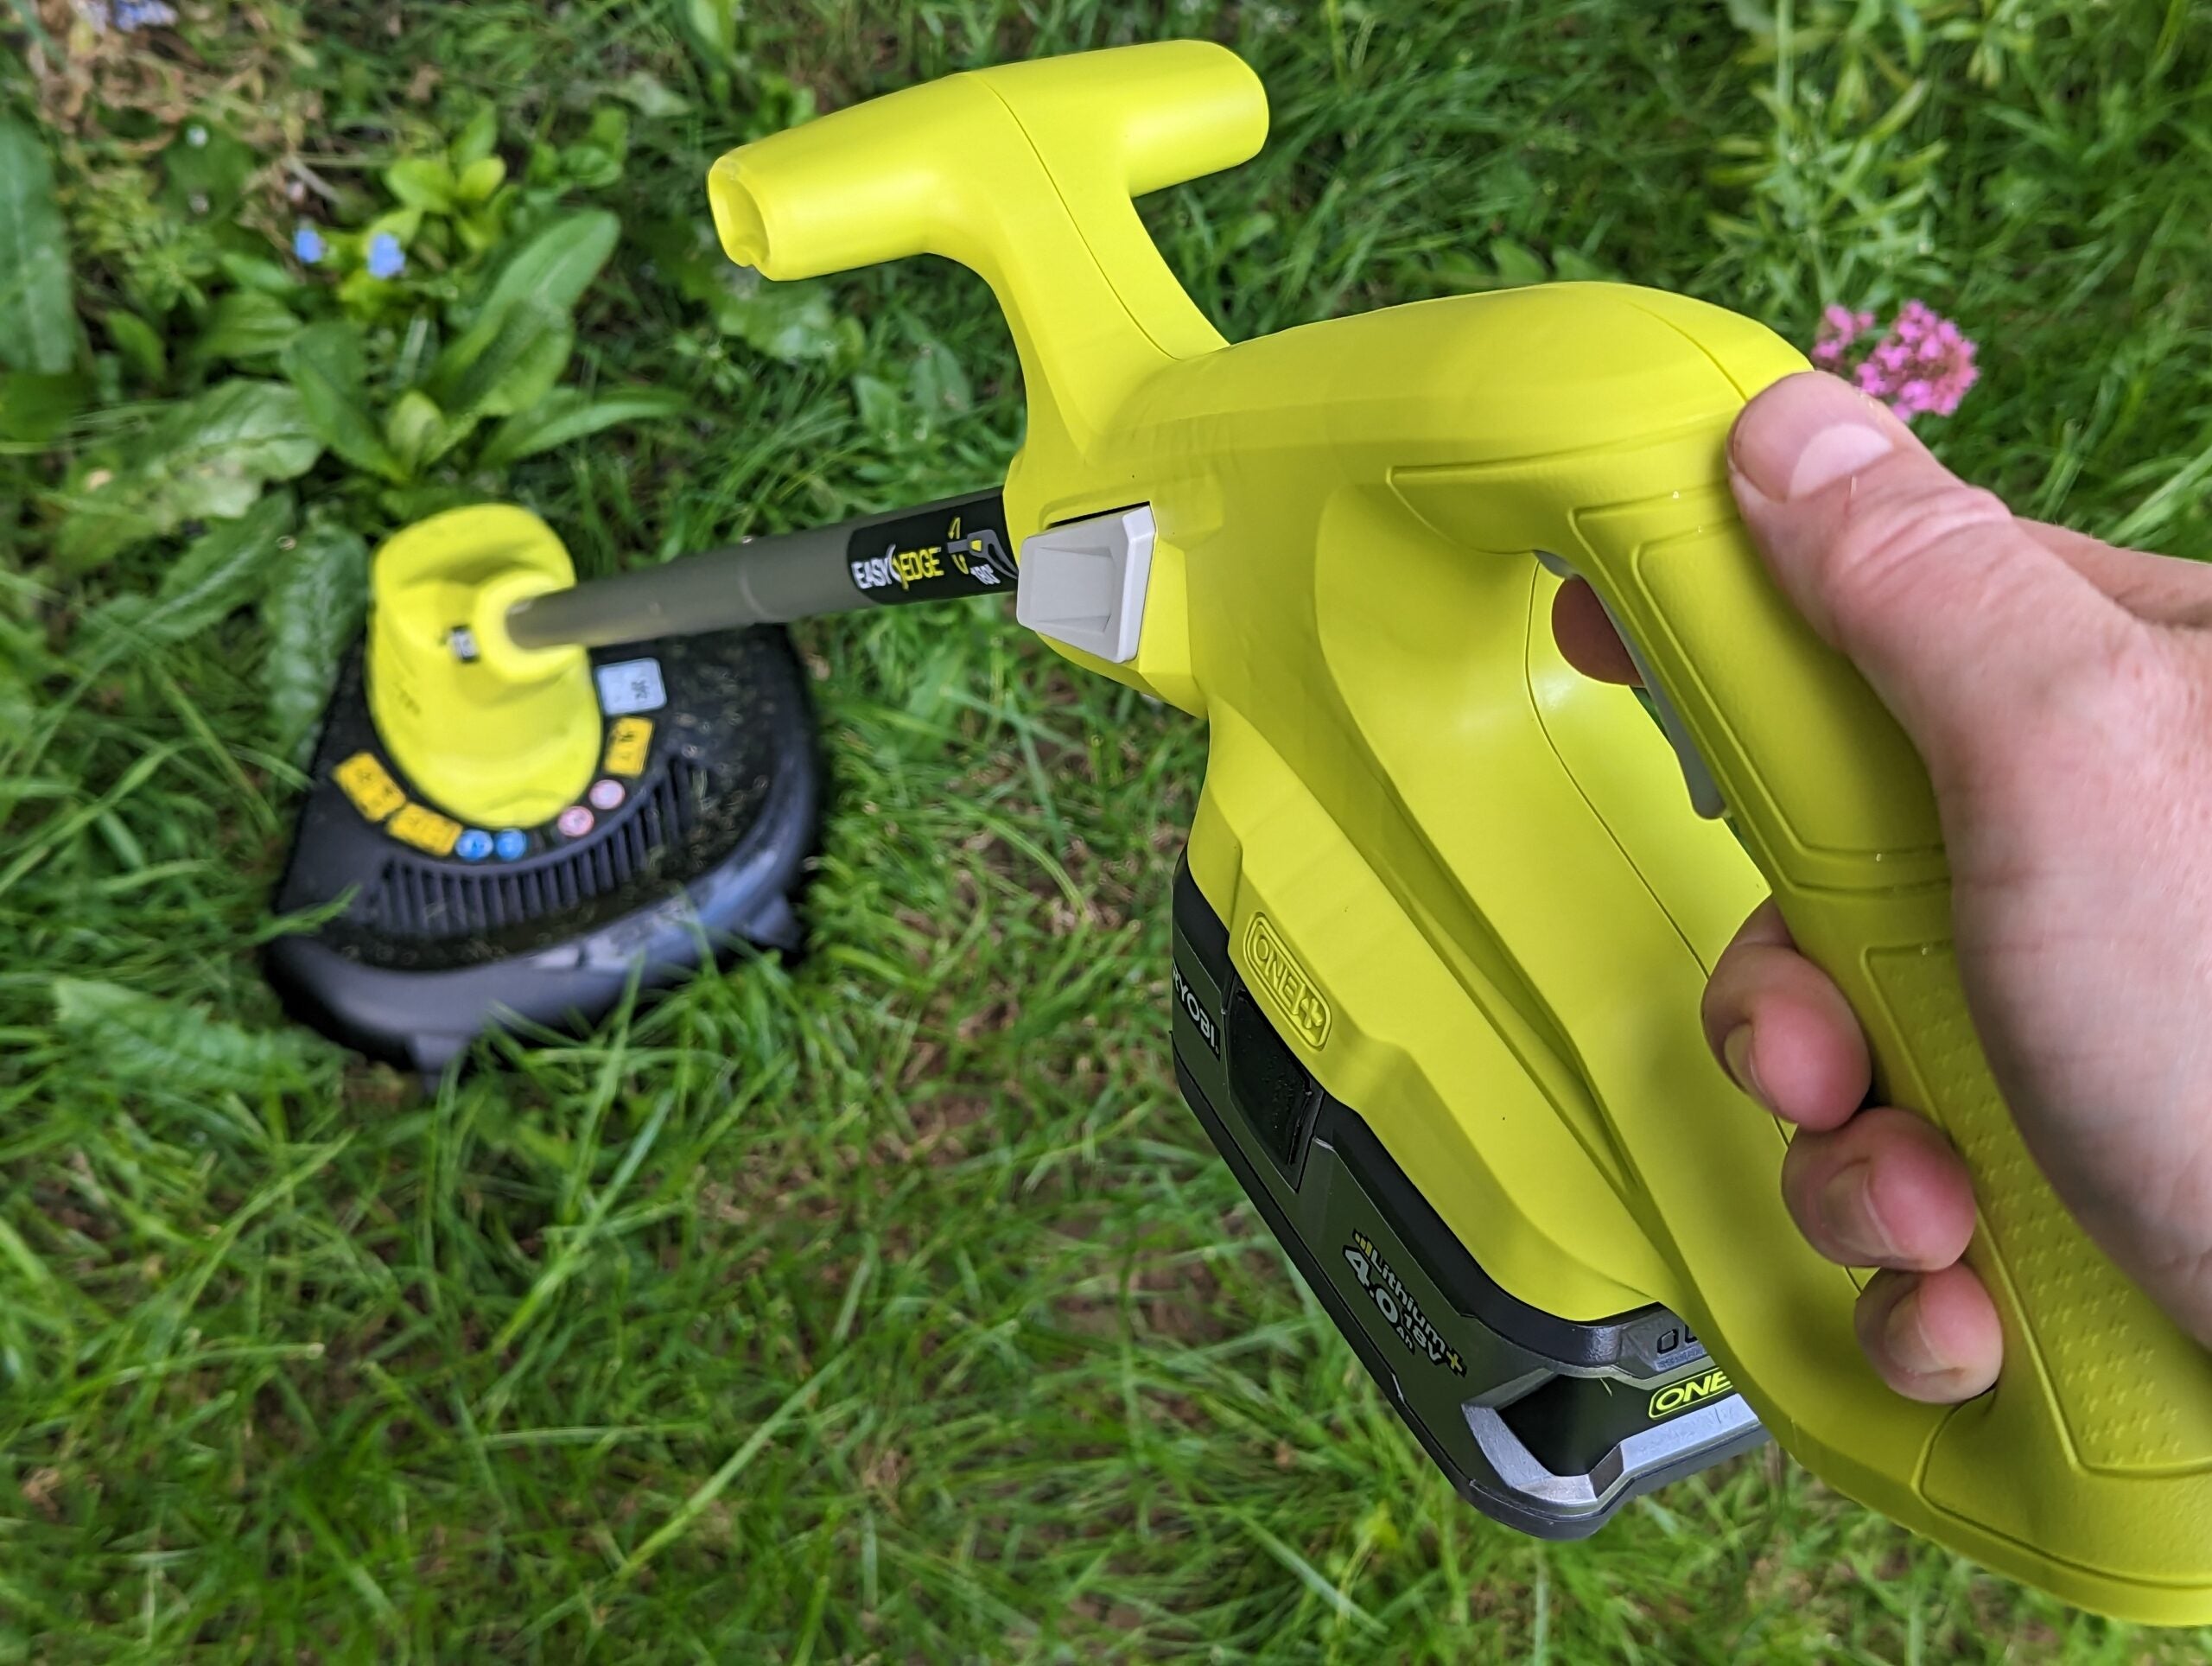
How To Switch Ryobi Trimmer To Edger
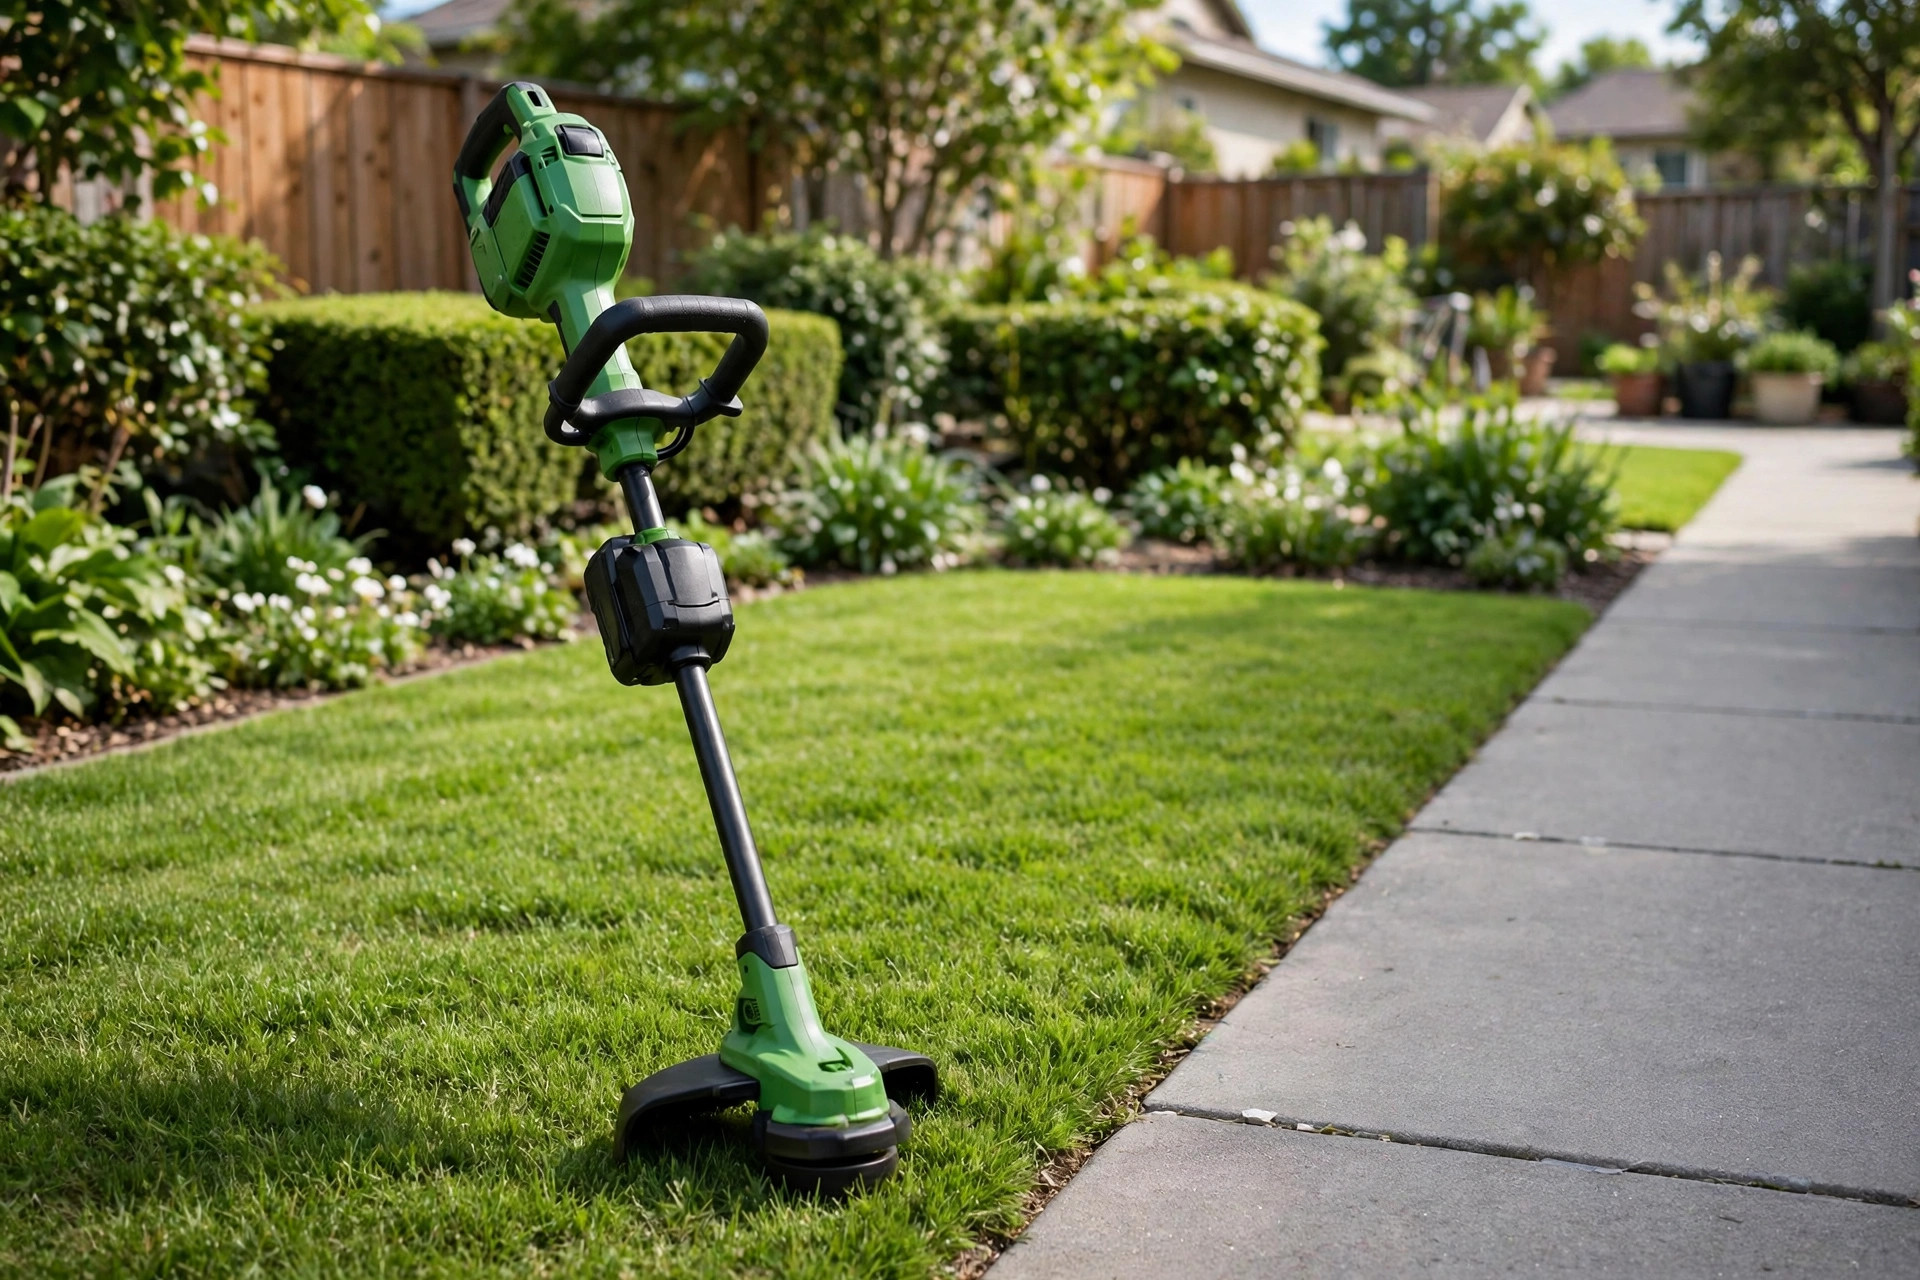
Isn’t it amazing how a single piece of garden tool can serve multiple functions? With just a quick adjustment, the trimmer transforms. It turns into an edger for neater edges. Learning how to switch Ryobi trimmer to edger helps.
The Ryobi trimmer’s design values function and convenience. By merely rotating the shaft, everything changes. The trimmer transitions into an edger quite smoothly. This clever design removes the need for extras. One tool handles trimming and edging jobs well.
When it comes to landscaping, having the right tools can make all the difference. The Ryobi Trimmer already serves many homeowners well. Professionals also use it for clean, neat yards. A quick, simple switch turns it into edger. Let us walk through each simple step together.
Quick answer: Turn off and unplug your Ryobi trimmer first. Remove the trimming guard from the trimmer head. Rotate the cutting head to the edging position. Replace the guard and adjust it for edging mode. Then adjust the handle and start edging carefully.
- How to Switch Ryobi Trimmer to Edger
- Step 1: Assembling the Parts
- Step 2: Detaching the Trimmer Head
- Step 3: Attaching the Edger
- Step 4: Preparing for Operation
- Step 5: Operating Your Ryobi Edger
- After the Switch: Getting the Most from Your Edger
- Frequently Asked Questions
- Safety and String Questions
- Ease and Model Questions
- Conclusion: How to Switch Ryobi Trimmer to Edger
How to Switch Ryobi Trimmer to Edger
This switch gives your trimmer one added capability. Your lawn gains a clean, professionally manicured look. See how to edge with Ryobi weed eater for Ryobi-specific edging tips.
Turn off and unplug the trimmer before starting. Remove the trimming guard before you rotate anything. Rotate the cutting head into the edging position. Replace the guard and adjust it for edging mode.
| Trimmer Mode | Edger Mode |
|---|---|
| Cutting head sits flat and horizontal | Cutting head stands vertical to ground |
| Guard covers the spinning trimmer line | Guard slides down for edging work |
| Line trims grass and light weeds | Line cuts neat sidewalk edges cleanly |
Step 1: Assembling the Parts
To start, it’s crucial to have the necessary parts assembled and ready. Lay the disassembled trimmer out before you start. You can find and fit components much easier. Make sure to include the main trimmer body, handle, guard, spool, battery, and shaft connector.
For this task, it’s essential to have the right edger attachment. Ryobi provides various optional attachments sold separately. Pick the correct edger attachment for this task. Spot its short metal rod and end wheel.
Once you have all the parts ready, make sure your workspace is clean and uncluttered. It’s best to perform these steps on a flat surface in a well-lit area. Always keep your instruction manual nearby, in case you need to reference it.
Wear suitable protective clothing before you begin working. Gloves and safety glasses protect you from injury. Keep every part within easy reach while working.
Step 2: Detaching the Trimmer Head
Detach the trimmer head from the shaft first. Press the collar on the shaft connector firmly. Then pull the trimmer head off the shaft. The collar is usually a bright green button. Find it where shaft meets the trimmer head.
Keep the trimmer head in a safe place. You will need it when switching back later. Power the trimmer off before you begin work. Remove the battery to avoid accidental startups completely.

The process should feel smooth from the start. Press the collar button firmly when resistance appears. Consult the user manual when the head sticks. Or contact Ryobi support page for personal help today.
This step is straightforward, but it must be done with care. Never force the trimmer head out by hand. Avoid tools that could damage your Ryobi trimmer. Damage makes switching back much harder later on.
Step 3: Attaching the Edger
After you have successfully detached the trimmer head, it’s time to attach the edger attachment. Insert the edger into the shaft connector now. Use the spot where the head sat before. Ensure that the edger attachment collar aligns with the shaft connector’s button.
Press the collar and push the edger inward. Push until you hear it click into place. Release the collar after the click sounds clear. Tug gently to confirm the lock holds securely.
This step, like the previous one, should be fairly straightforward. Double-check alignment when the edger will not fit. Remember, forcing the components together can lead to unnecessary damage. Learn how to use a string trimmer as an edger next here.
The edger now sits attached to the body. Next, you will prepare the tool for operation. You have passed the halfway point already now.
Step 4: Preparing for Operation
Once you’ve successfully attached the edger, it’s time to get ready for operation. Start by adjusting the handle to a comfortable position. Position the handle for a comfortable holding grip. The wheel should sit perpendicular to the ground.
Next, adjust the length of your Ryobi tool to suit your height. Stand straight without bending during edging work sessions. Keep the edger wheel resting on the ground. This will allow for more efficient edging and reduce fatigue.
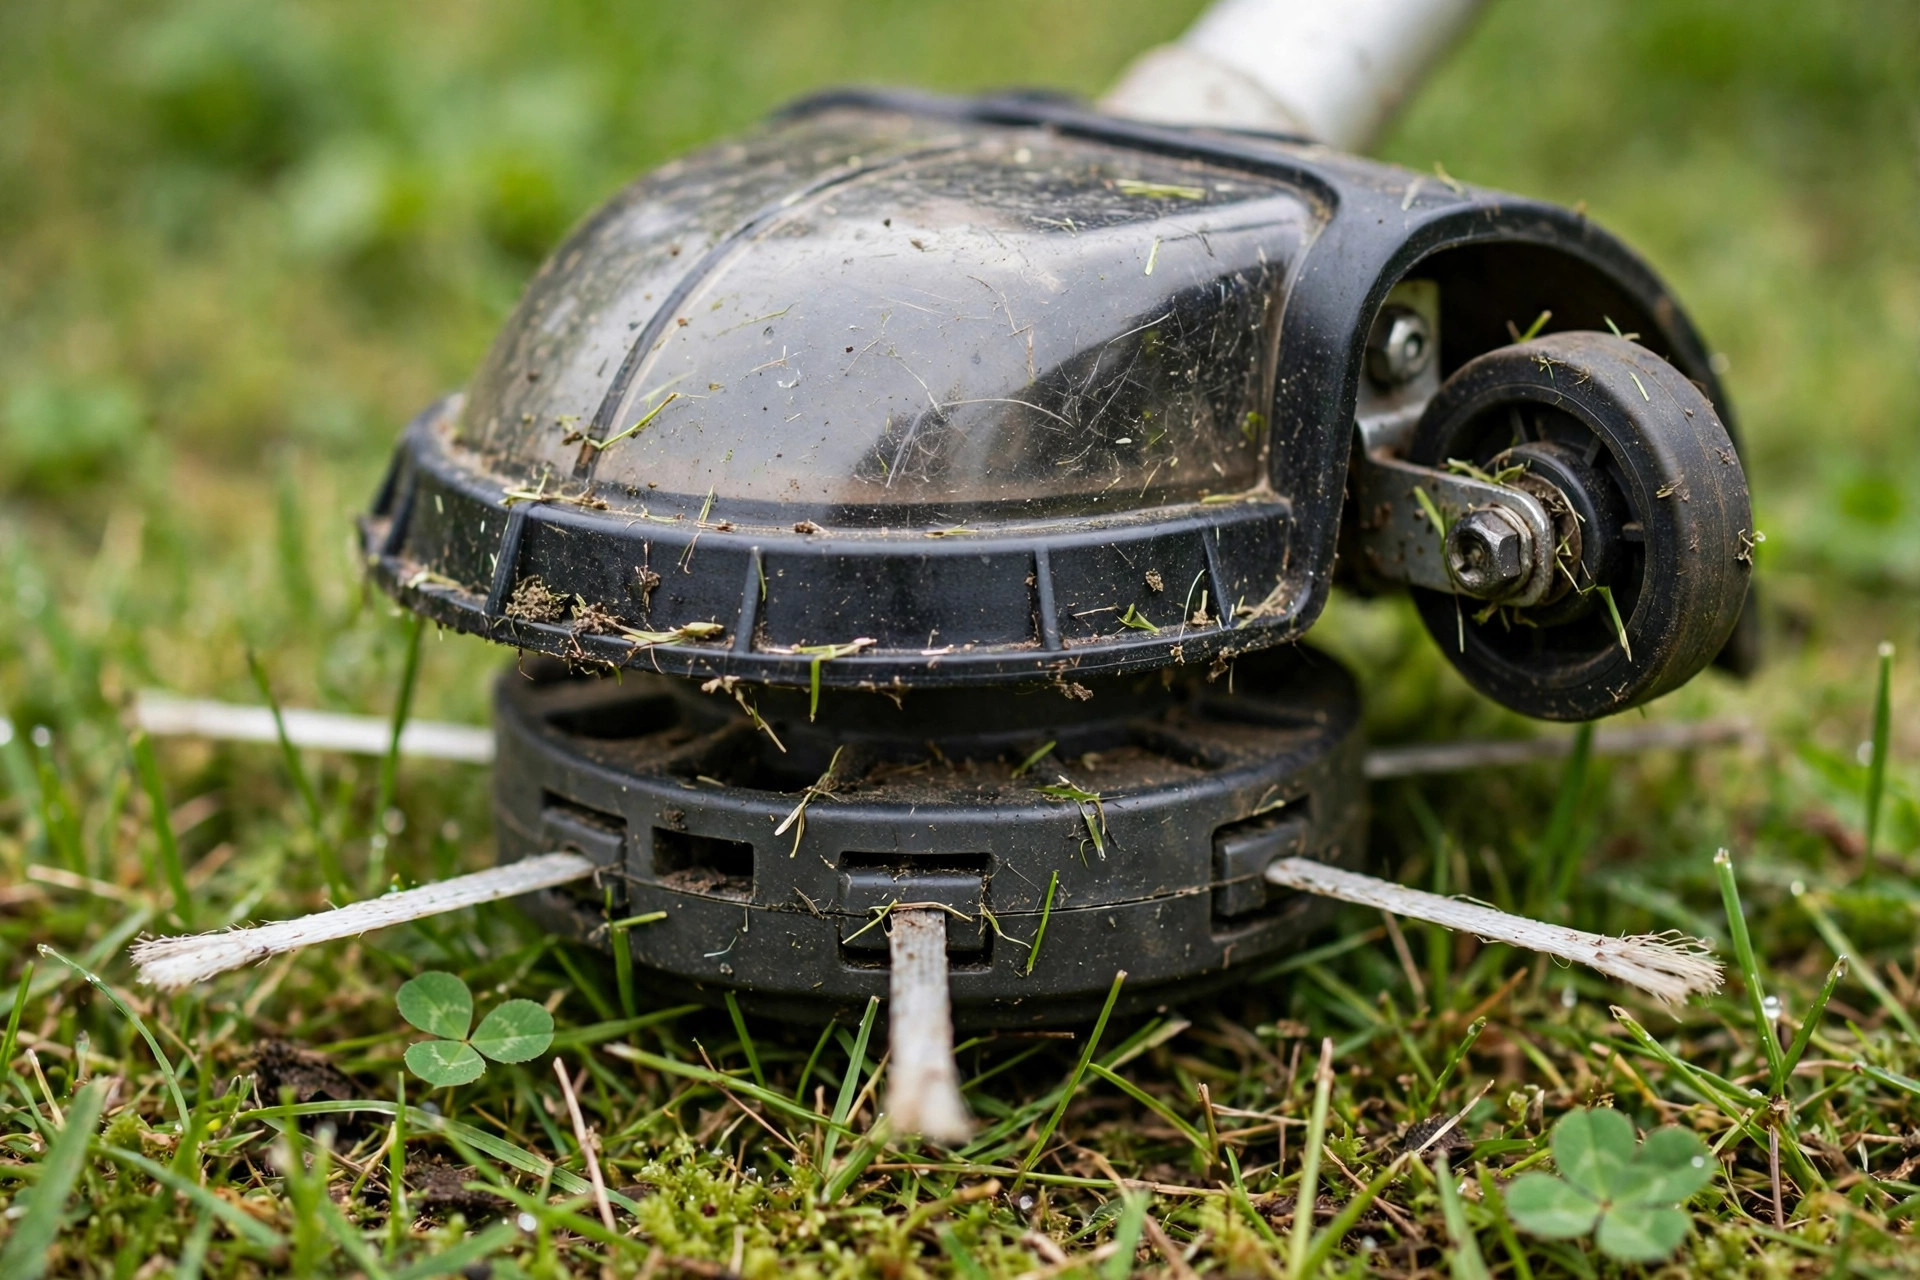
After adjustments, ensure that the battery is fully charged. Insert the battery into the power slot now. Find the slot atop the trimmer body usually. Remember, using a fully charged battery will ensure consistent results when edging your lawn.
Make sure you are wearing proper protective gear including safety glasses, gloves, and sturdy shoes. This is to prevent any injuries while using your Ryobi tool. Clear the edging area before you start working. Remove rocks, heavy weeds, and loose debris first. Debris can hurt performance and damage the edger.
Step 5: Operating Your Ryobi Edger
Now that the edger is set up correctly, you can start using it. Begin at one end of the edging area. Place the wheel on the concrete edge firmly. Set the blade down in the grass beside. Start the edger by pushing the power button usually located near the handle.
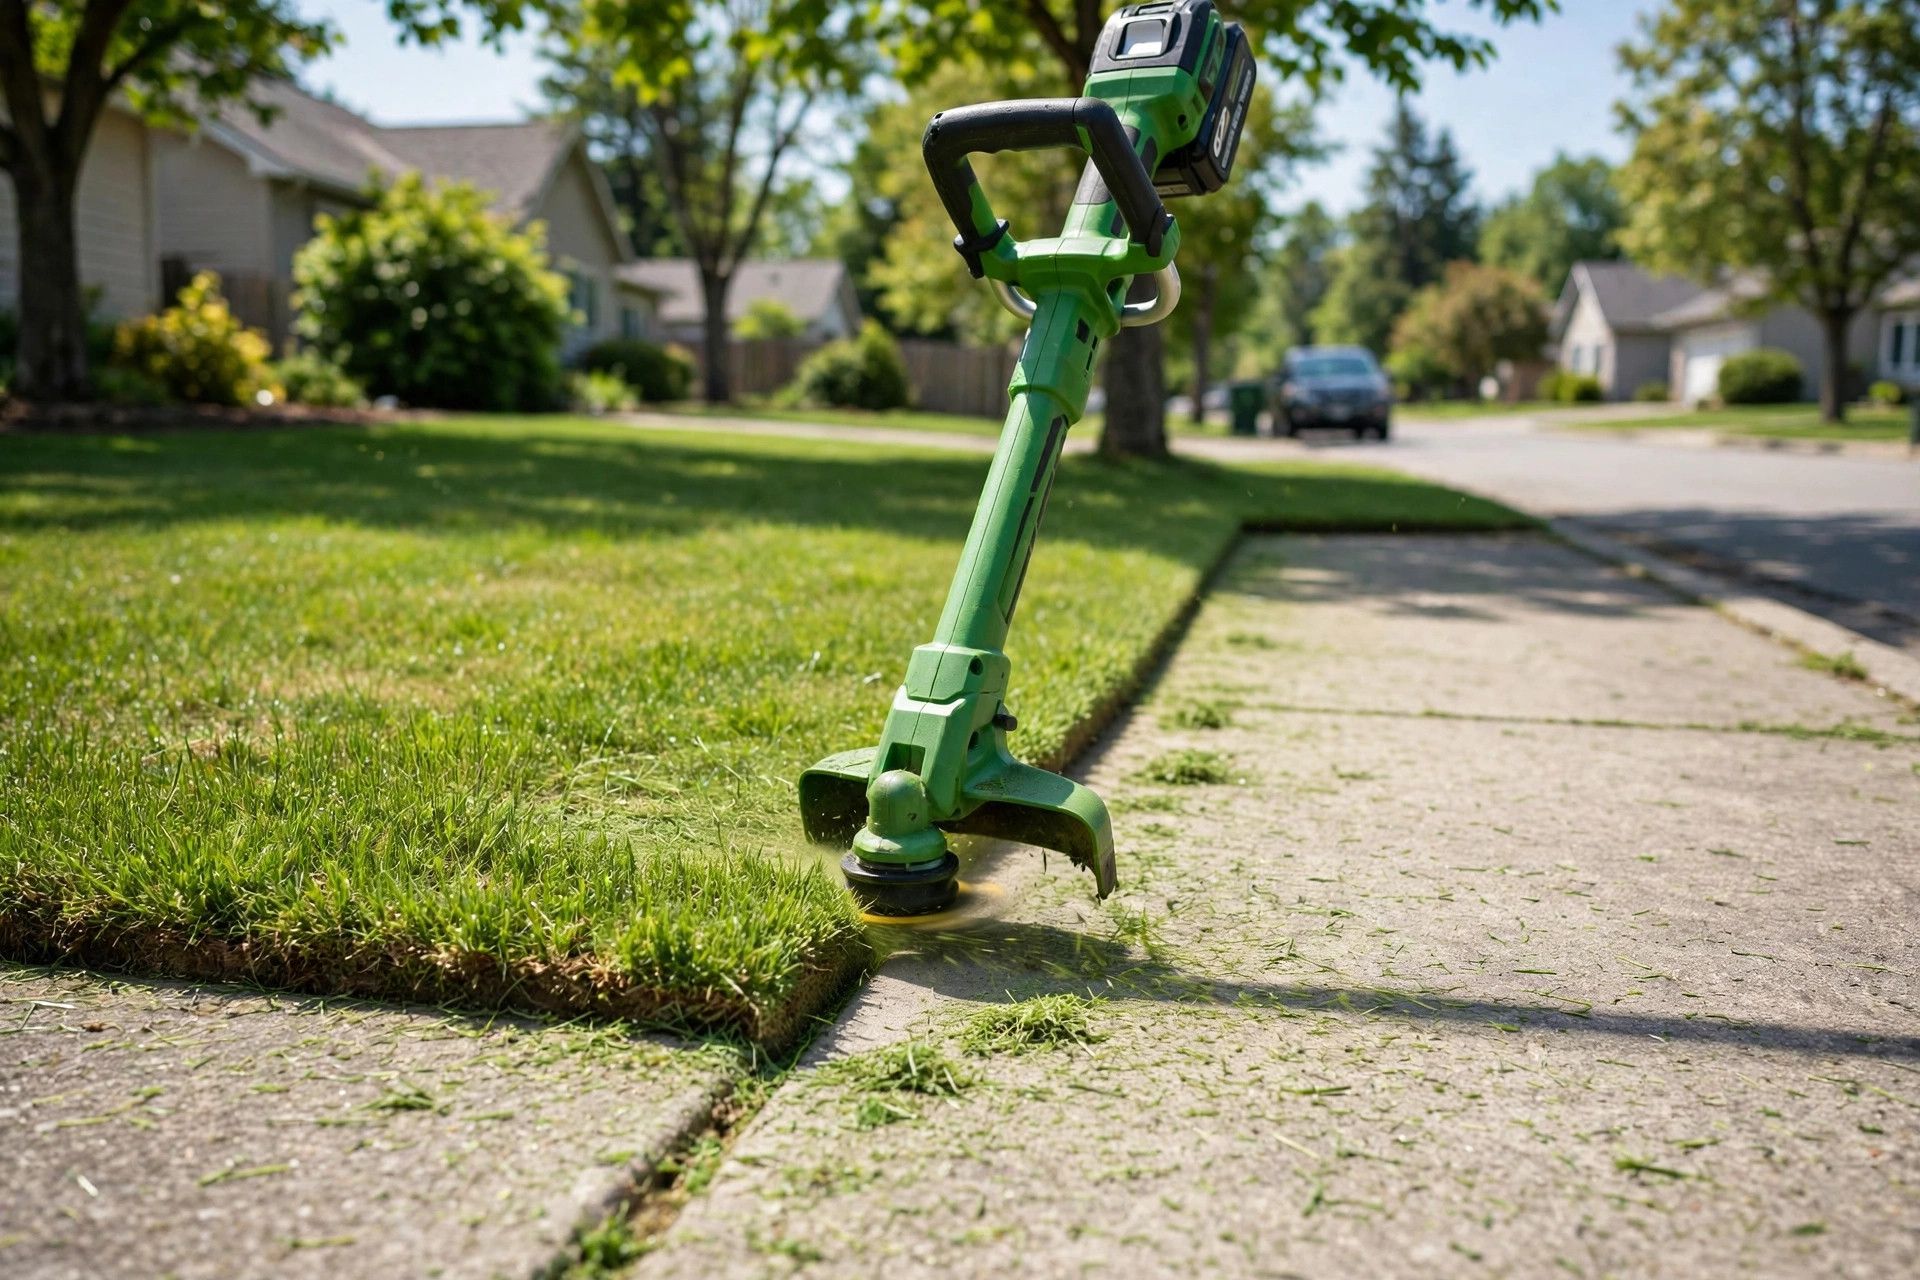
Guide the edger along the concrete edge slowly. Let the wheel ride along the edge steadily. Let the blade cut through the grass cleanly. Edge at a moderate pace the whole way. Slower pacing lets the blade cut more effectively.
If you face any resistance, stop the edger, and clear away any hindrance before continuing. Finish one section, then move to the next. Repeat the process across your required area fully. See how to edge with string trimmer for basic edging technique.
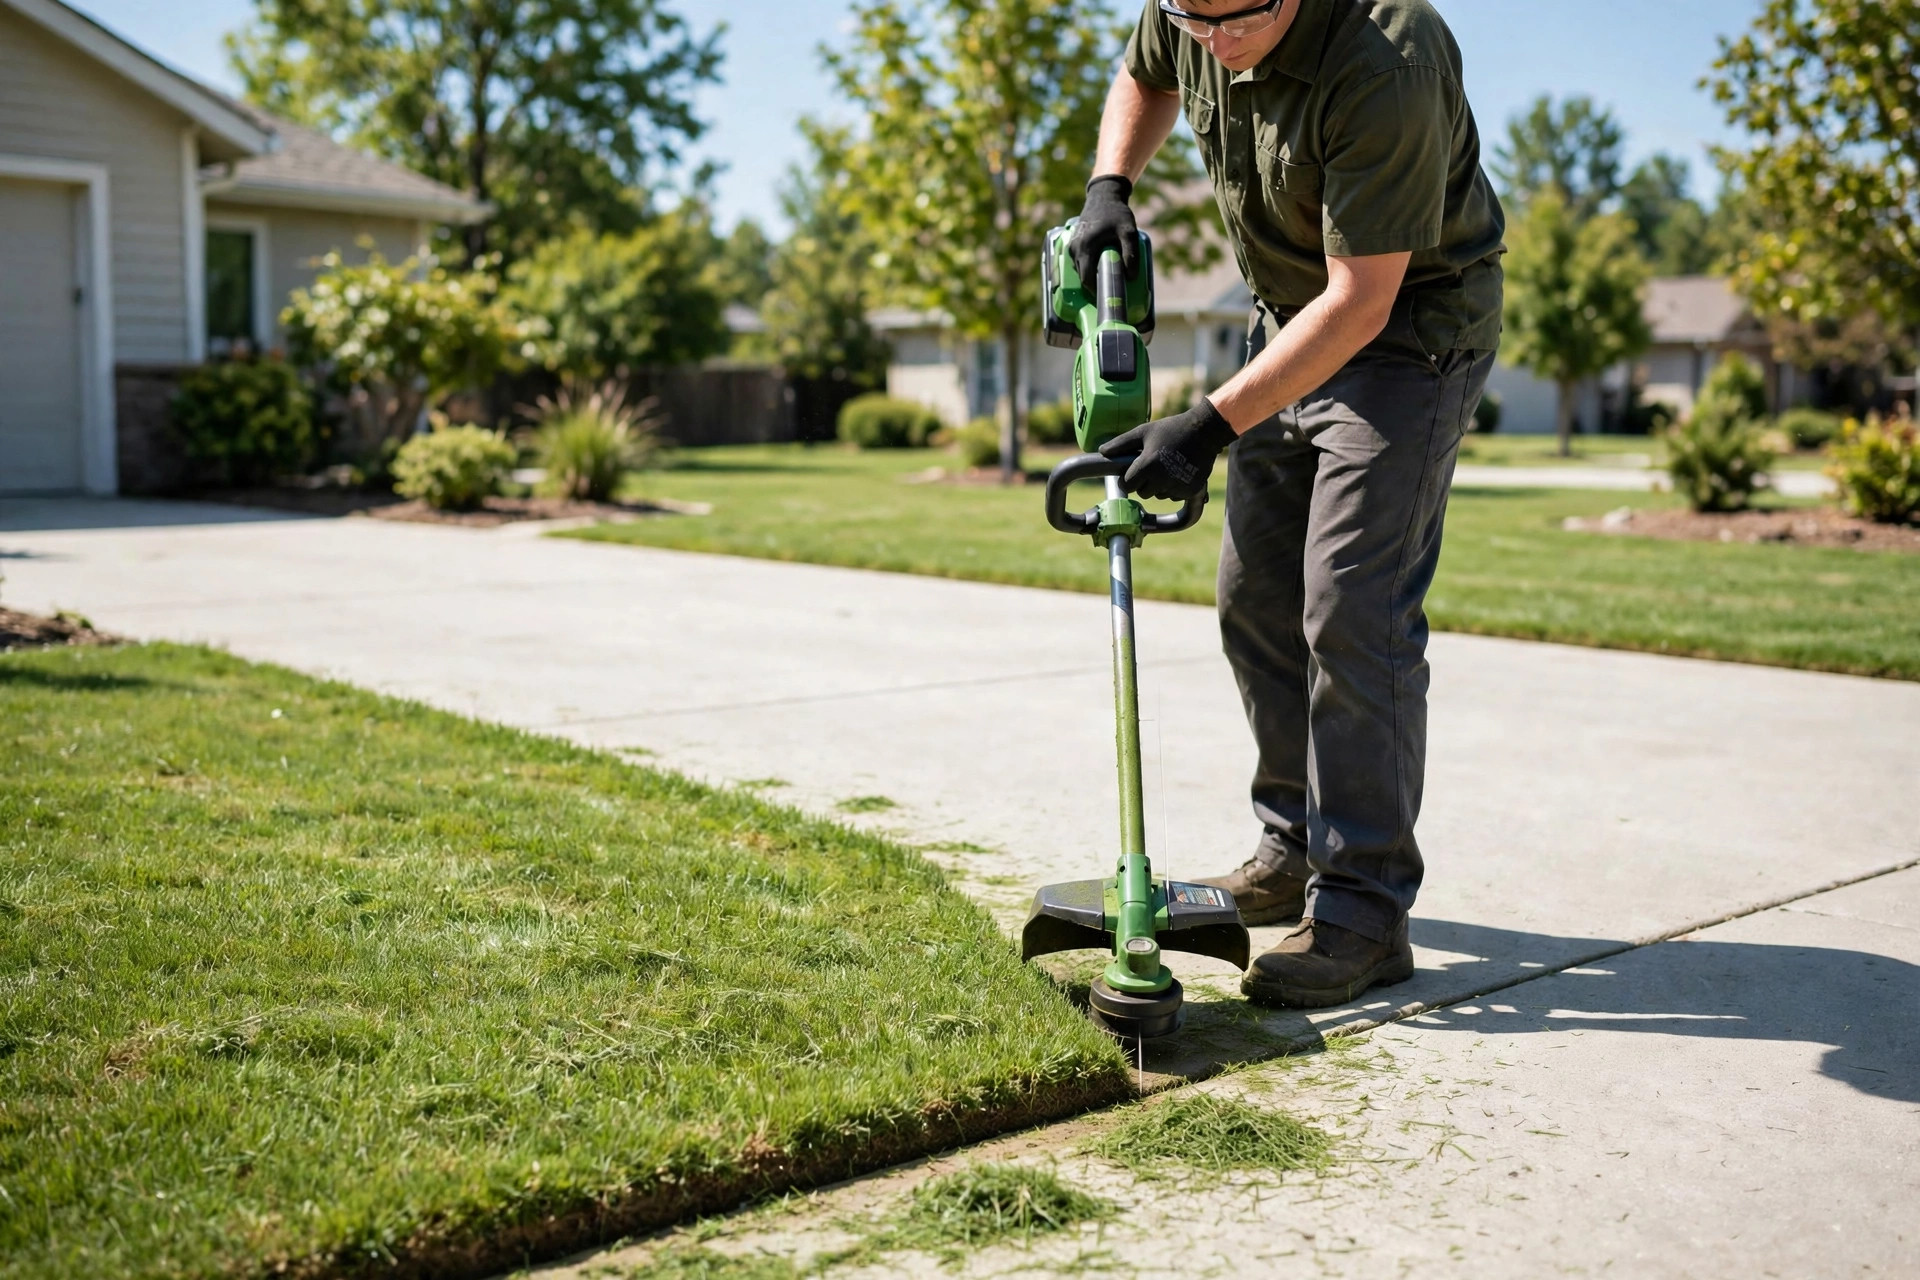
Be cautious while operating your Ryobi edger to avoid any harm. Hold the edger firmly with both hands always. Keep the cord far away from the blade. Distance prevents accidental cuts during every edging pass. Once you’re done edging, remove the battery before storing your Ryobi trimmer.
After the Switch: Getting the Most from Your Edger
Making the switch does require some effort first. The task becomes easy with a little practice. Follow these steps for the most from yours. Maintain your yard precisely and efficiently every week.
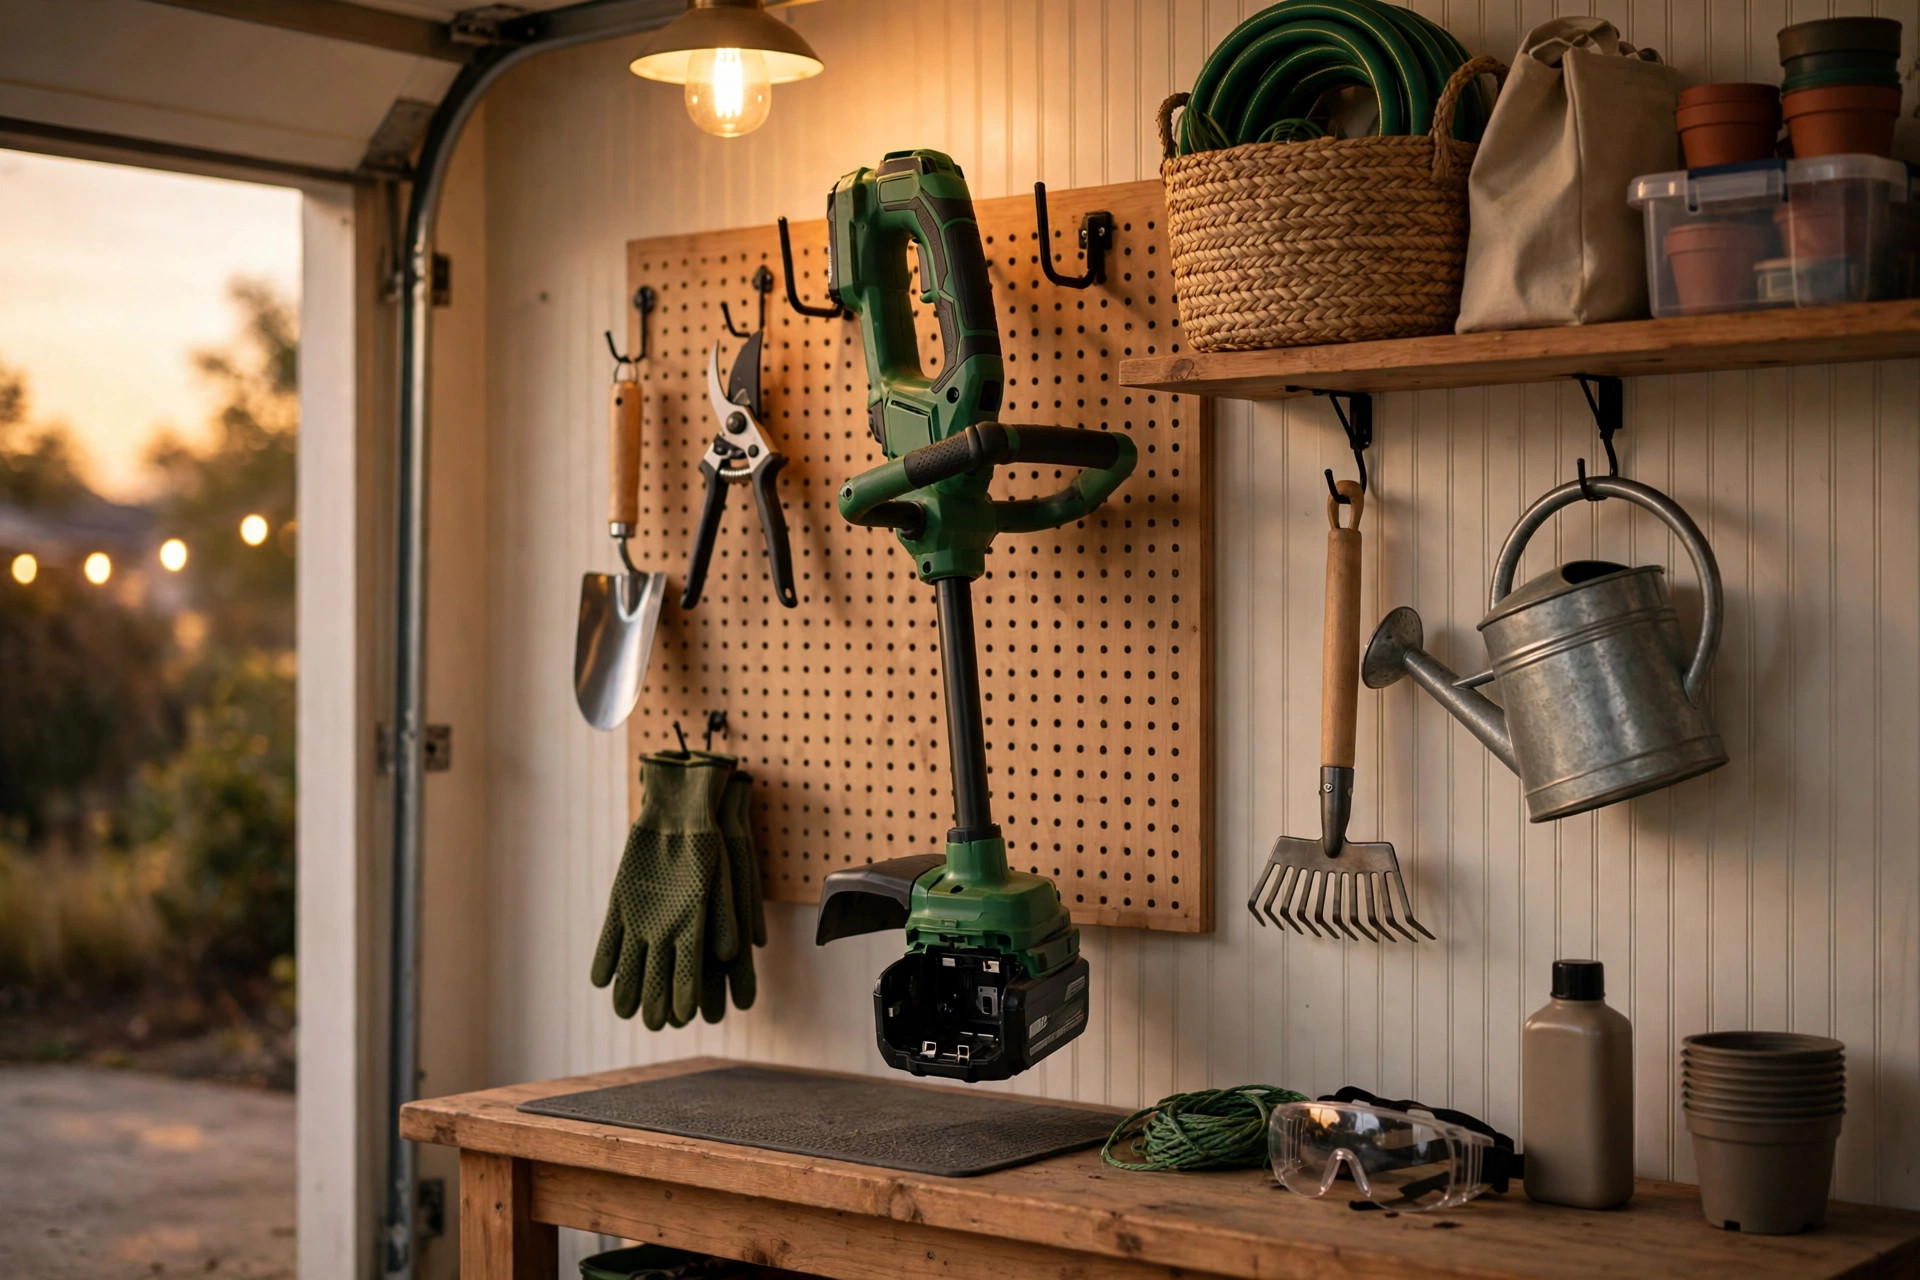
The table below compares both working modes side-by-side. Trimming mode suits open grass areas best overall. Edging mode suits borders, paths, and driveways best.
| Feature | Trimmer Mode | Edger Mode |
|---|---|---|
| Cutting head | Flat and horizontal | Vertical to the ground |
| Main job | Trimming grass and weeds | Cutting clean lawn edges |
| Guide parts | Guard in trimming position | Guard slid down for edging |
| Best surface | Open lawn areas | Sidewalks and driveways |
Remove the battery before storing the tool away. Learn how to change string on Ryobi 40V trimmer when line wears. See how to replace spool on Ryobi 18V trimmer for worn spools. Read the EPA lawn and garden page before spraying nearby.
Frequently Asked Questions
New Ryobi owners often wonder about versatile usage. You have come to the right place today. Common questions about switching appear right below here.
What steps do I need to take to switch my Ryobi trimmer to an edger?
Switching your Ryobi trimmer to an edger is quite straightforward. First, make sure the trimmer is switched off. Let the machine cool completely before you continue. Turn the shaft so the head stands vertical. Loosen the knob at the shaft connection point.
Rotate the shaft, then tighten the knob again. Fold the edge guide out of the way. Push the button and slide the guard downwards. Finally, adjust the cutting head angle for maximum comfort during edging. Now your Ryobi trimmer is ready to be used as an edger.
Safety and String Questions
Are there any safety precautions I should be aware of when switching my Ryobi trimmer to an edger?
Yes, there are a few safety precautions that you should adhere to. Always switch the trimmer off before switching modes. Let the trimmer cool completely before handling it. An accidental start could lead to serious injury. Hot parts could also injure your hands badly.
Secondly, always wear goggles or protective eyewear. Trimming or edging can sometimes throw up debris and you need to protect your eyes. Keep children, pets, and bystanders far away safely. Read and understand the operator’s manual before starting. Seasoned users benefit from refreshing their memory too.
Can I use the same string in my Ryobi trimmer when I switch it to an edger?
Yes, you can use the same string. The beauty of the Ryobi trimmer is its versatility. The same string works for trimming jobs fine. The same string also works for edging jobs. However, you might want to pay attention to how you are using the edger.
Edging along concrete wears the string out faster. Regular maintenance of your trimmer/edger is a good practice. Check the string often and replace it when necessary. This ensures that you’ll always have the best possible edge and trim.
Ease and Model Questions
See how to use a Ryobi lawn edger for more edging guidance. Also see how to edge a sidewalk with a string trimmer for clean edges. Both guides cover safe, steady edging technique well.
Is it hard to switch the Ryobi trimmer to an edger?
No, it’s not difficult to convert your Ryobi trimmer into an edger. Ryobi designed the trimmer for user-friendly handling throughout. Novices and seasoned landscapers use dual functionality easily. Never rush the process at any single step.
Turn the shaft and readjust the guard first. Set the cutting head angle for comfortable edging. You simply reposition a few adjustable parts here. Every moving part was built to adjust easily. Handle your equipment with care throughout the switch.
Can all models of Ryobi trimmers be switched into an edger?
Most Ryobi trimmer models offer dual functionality today. Most models switch into an edger quite easily. Versatile tools help users handle many garden tasks. Users avoid buying numerous separate equipment pieces instead.
Check the user manual for your specific model. Or ask Ryobi customer service directly for confirmation. Models with rotating heads can switch over easily. Models with attached blades can switch over too.
Conclusion: How to Switch Ryobi Trimmer to Edger
Switching needs no special tools at all here. By just rotating the head of the trimmer, you’re able to conveniently transform your device. This feature offers a versatile tool that can perform various garden tasks efficiently. Safety comes first before making any adjustments ever. Unplug the trimmer or switch off the engine.
These simple steps make switching easy every time. Switching roles truly enriches the trimmer’s value greatly. Your lawn deserves that neat, professional finish today. Now you know how to switch Ryobi trimmer to edger.

I’m Patricia D. Johnson, an affiliate marketer and blogger specializing in trimmers and grooming tools. I create honest reviews, buying guides, and practical tips to help readers choose the right trimmer for their needs. With a focus on quality, performance, and value, I simplify the decision-making process so consumers can make confident purchases.