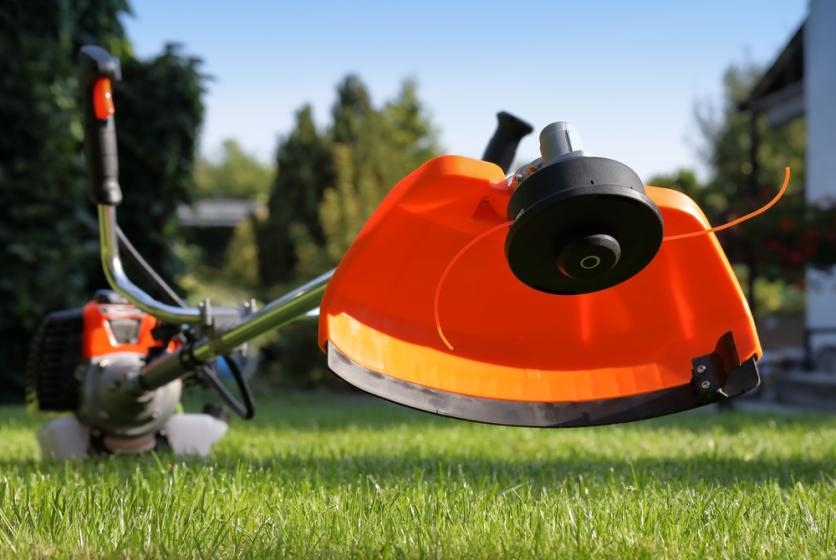
Are you tired of struggling with a dirty and inefficient string trimmer? Look no further! In this comprehensive guide, we will walk you through the step-by-step process of cleaning your string trimmer to ensure peak performance and longevity. Whether you’re a professional landscaper or a homeowner looking to spruce up your yard, this article will equip you with the knowledge and techniques to keep your string trimmer in pristine condition. So, grab your cleaning supplies and let’s dive into the world of string trimmer maintenance!
Maintaining a clean and well-functioning string trimmer is essential for achieving those perfectly manicured edges and tidy lawns. But where do you start? Don’t worry, we’ve got you covered. From removing debris and grass clippings to cleaning the air filter and sharpening the blades, this guide will walk you through every step of the cleaning process. You’ll learn how to disassemble your trimmer, identify common problem areas, and effectively remove dirt and grime that can hinder performance.
By the end of this article, you’ll have the confidence and skills to tackle any cleaning task, ensuring that your string trimmer is always ready to tackle the toughest jobs. So, let’s roll up our sleeves and get your trimmer looking and performing like new!

Source: truevalue.com
How to Clean a String Trimmer: Step-by-Step Guide
Cleaning your string trimmer regularly is essential to keep it in good working condition and ensure optimal performance. In this step-by-step guide, we will walk you through the process of cleaning your string trimmer effectively. By following these simple steps, you can maintain the longevity of your trimmer and keep your yard looking neat and well-maintained.
Gather the Necessary Tools and Materials
Before starting the cleaning process, it’s important to gather all the necessary tools and materials. This will ensure that you have everything you need within reach, making the process more efficient. Here’s a list of the items you’ll need:
1. Safety goggles or glasses to protect your eyes
2. Gloves to protect your hands
3. Cleaning brushes or toothbrushes with stiff bristles
4. A bucket of warm soapy water
5. A clean cloth or rag
6. A can of compressed air (optional)
7. Lubricating oil or grease for the trimmer head (refer to your trimmer’s manual for the recommended type)
Step 1: Safety First
Before you begin cleaning your string trimmer, it’s crucial to prioritize safety. Ensure that the trimmer is turned off and disconnected from any power source. This will prevent any accidental startup or injury while cleaning. Put on your safety goggles or glasses and gloves to protect yourself from any debris or chemicals you may encounter during the cleaning process.
Next, inspect the trimmer for any loose or damaged parts. If you notice any issues, such as a cracked guard or a loose handle, it’s best to address them before proceeding with the cleaning. Safety should always be your top priority when handling power tools.
Step 2: Remove Excess Debris
Once you’ve ensured your safety, it’s time to remove any excess debris from the trimmer. Start by using a brush or toothbrush with stiff bristles to gently dislodge any grass, dirt, or other debris that may have accumulated on the surface of the trimmer. Pay special attention to the trimmer head, as this is where most of the debris tends to accumulate.
If the debris is stubborn and doesn’t come off easily, you can use a can of compressed air to blow it away. Be cautious not to direct the air towards your face or any sensitive parts of the trimmer, as this may cause damage.
Step 3: Clean the Trimmer Head
The trimmer head is the part of the trimmer that houses the cutting line. Over time, this area can become clogged with grass clippings and other debris, affecting the trimmer’s performance. To clean the trimmer head, follow these steps:
1. Remove the trimmer head cover by unscrewing it in a counterclockwise direction. Refer to your trimmer’s manual for specific instructions on how to remove the head cover.
2. Once the cover is off, carefully remove the spool and cutting line. Take note of how the line is wound around the spool so that you can properly reassemble it later.
3. Clean the trimmer head, spool, and cutting line using a brush or toothbrush and warm soapy water. Gently scrub away any dirt or debris, ensuring that all the components are thoroughly cleaned.
4. Rinse the cleaned parts under running water to remove any soap residue. Dry them thoroughly with a clean cloth or rag before reassembling.
Step 4: Lubricate and Reassemble
After cleaning the trimmer head, it’s important to lubricate it to ensure smooth operation. Refer to your trimmer’s manual for the recommended lubricating oil or grease, as different trimmers may require different types.
Apply a small amount of lubricant to the trimmer head’s moving parts, such as the gears or bearings. This will help reduce friction and prolong the trimmer’s lifespan. Once lubricated, carefully reassemble the trimmer head, ensuring that the spool and cutting line are properly aligned and secured.
By following these step-by-step instructions, you can effectively clean your string trimmer and maintain its performance and durability. Remember to always prioritize safety and consult your trimmer’s manual for any specific cleaning or maintenance instructions. Regular cleaning will not only keep your trimmer working smoothly but also ensure that your yard always looks well-groomed.
Source: espares.co.uk
Frequently Asked Questions
Here are some commonly asked questions about how to clean a string trimmer:
How often should I clean my string trimmer?
It is recommended to clean your string trimmer after every use to maintain its performance and prolong its lifespan. Regular cleaning helps remove dirt, debris, and grass clippings that can accumulate and affect the trimmer’s efficiency.
Start by unplugging the trimmer or removing its battery. Use a brush or compressed air to remove loose debris from the trimmer head, cutting line, and air filter. You can also wipe down the exterior surfaces with a damp cloth or mild detergent. Properly clean and store your trimmer to ensure it stays in good working condition.
How do I clean the cutting line on my string trimmer?
Cleaning the cutting line on your string trimmer is essential for optimal performance. After each use, remove the trimmer head and inspect the cutting line for any signs of wear or damage. If needed, replace the line according to the manufacturer’s instructions.
To clean the cutting line, use a brush or a damp cloth to remove dirt, grass clippings, and other debris that may have accumulated. Ensure the line is free from any obstructions that may affect its ability to cut effectively. Regularly cleaning the cutting line will help maintain its sharpness and prevent clogs during use.
Can I use water to clean my string trimmer?
While it is important to keep your string trimmer clean, it is generally not recommended to use water to clean it. Water can damage the electrical components of the trimmer, especially if it is not properly sealed or waterproof.
Instead, use a brush, compressed air, or a damp cloth to remove dirt and debris from the trimmer. If necessary, you can use mild detergent or a specialized cleaning solution to tackle tougher stains. Always refer to the manufacturer’s instructions for the specific cleaning recommendations for your string trimmer model.
How do I clean the air filter on my string trimmer?
The air filter plays a crucial role in preventing dust and debris from entering the engine of your string trimmer. Cleaning the air filter regularly helps maintain optimal performance.
To clean the air filter, first, remove it from the trimmer according to the manufacturer’s instructions. If it is a foam filter, rinse it with warm, soapy water, then thoroughly rinse and allow it to dry completely before reinstallation. For paper filters, gently tap them against a solid surface to remove any loose debris. Replace the air filter if it is damaged or excessively dirty.
Are there any safety precautions I should take while cleaning my string trimmer?
Yes, there are a few safety precautions to consider while cleaning your string trimmer. Always make sure the trimmer is turned off and unplugged or the battery is removed before starting any cleaning procedures. This helps prevent accidental starts or injuries.
Avoid using excessive force or sharp objects that could damage the trimmer. If using compressed air, ensure you are in a well-ventilated area and wear safety goggles to protect your eyes from debris. Additionally, always follow the manufacturer’s instructions and guidelines for cleaning and maintenance to ensure your safety and the trimmer’s longevity.
How to clean your brushcutter?
Final Words:
In conclusion, mastering the art of cleaning a string trimmer is essential for any homeowner or professional landscaper. By following the steps outlined in this guide, you can ensure that your trimmer remains in optimal condition, providing you with years of reliable service.
Regular maintenance and cleaning not only extend the lifespan of the trimmer but also enhance its performance, allowing you to achieve precise and neat results every time you use it.
Remember, safety should always be a top priority when cleaning a string trimmer. Disconnect the power source, wear protective gear, and exercise caution when handling sharp blades or cleaning agents. By dedicating a little time and effort to proper cleaning and maintenance, you can enjoy a well-functioning string trimmer that makes your outdoor tasks a breeze.
So, go ahead and put these cleaning techniques into practice – your trimmer will thank you, and your yard will look its best.
