How to Oil a Trimmer
Even top trimmers lose their edge with no care. Learning how to oil a trimmer keeps cuts smooth. Oiling adds years to tool life with small effort. A few drops guard blades and motor at once. Oil guards both. Care is quick.
Friction dulls blades much faster with no oil care. Oil makes a shield that keeps moisture out. Clean blades take fresh oil far better too. The routine takes just a few minutes in all. Clean blades drink oil. Minutes only.
Five steps below cover cleaning through the last wipe. Oil choices, gains and slips follow right after. Short answers close the guide at the end. Small habits keep each trimmer at its best. Five steps in all. Answers close it.
Quick answer: Clean the blades thoroughly before oiling them first. Add a few drops of light clipper oil. Run the trimmer briefly to spread the oil. Wipe away excess oil with a clean cloth. Repeat before and after every single use ideally.
- How to Oil a Trimmer: Quick Steps
- Step 1: Clean the Trimmer First
- Step 2: Choose the Right Oil
- Step 3: Apply the Oil
- Step 4: Run the Blades Briefly
- Step 5: Wipe Off Excess Oil
- Why Oiling Your Trimmer Matters
- Maintenance Tips for Smooth Running
- Common Mistakes and How to Avoid Them
- Frequently Asked Questions
- Conclusion: How to Oil a Trimmer
How to Oil a Trimmer: Quick Steps
Five steps keep blades sharp and safe at all times. Clean first, then oil, run and wipe with care. Later parts explain each step in more detail. Our lubricating oil guide covers oil types in depth. Clean, oil, run, wipe. Steps in order.
| Step | What to Do |
|---|---|
| 1. Clean the trimmer | Brush out hair, wash detachable parts |
| 2. Choose the oil | Light, non-gumming clipper oil |
| 3. Apply the oil | A few drops along the blade |
| 4. Run the blades | 20 to 30 seconds over a towel |
| 5. Wipe the excess | Clean dry cloth, check corners |

Step 1: Clean the Trimmer First
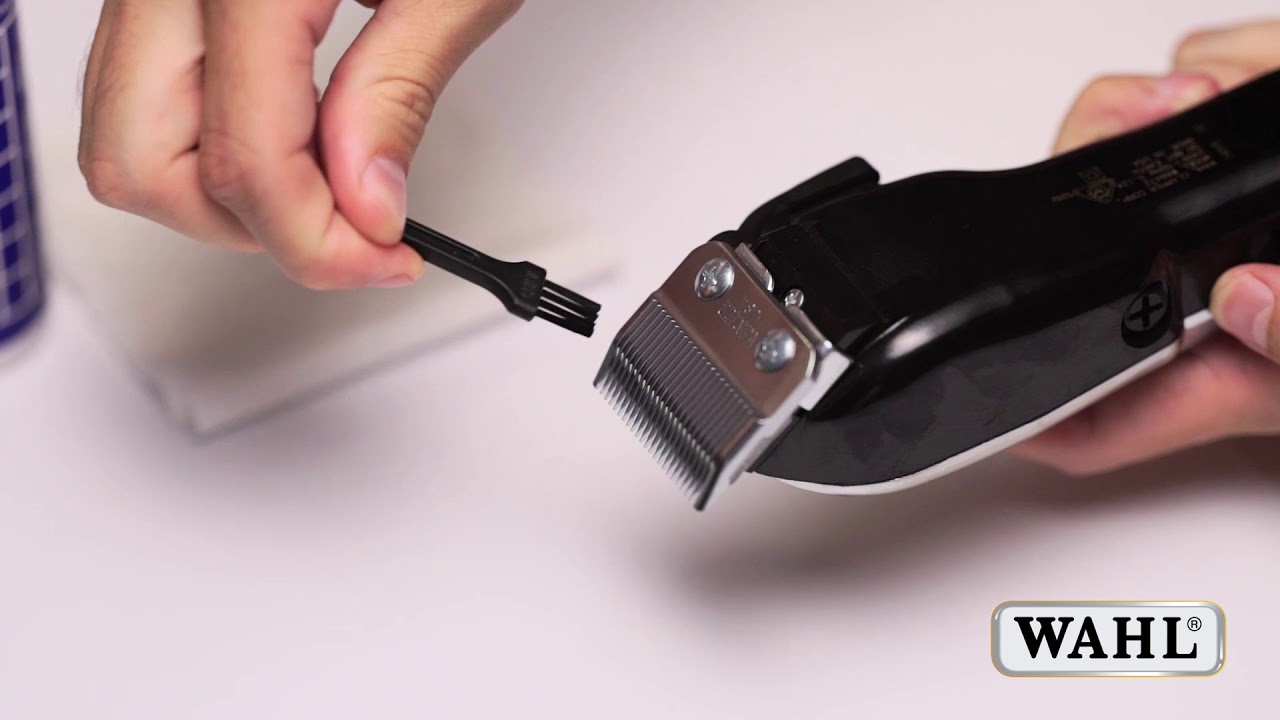
Cleaning comes first, since oil needs clean blades. Unplug the trimmer before you start, for safety. Brush out hair and grit from between the blades. A toothbrush or makeup brush works well here. Clean first. Oil needs clean blades.
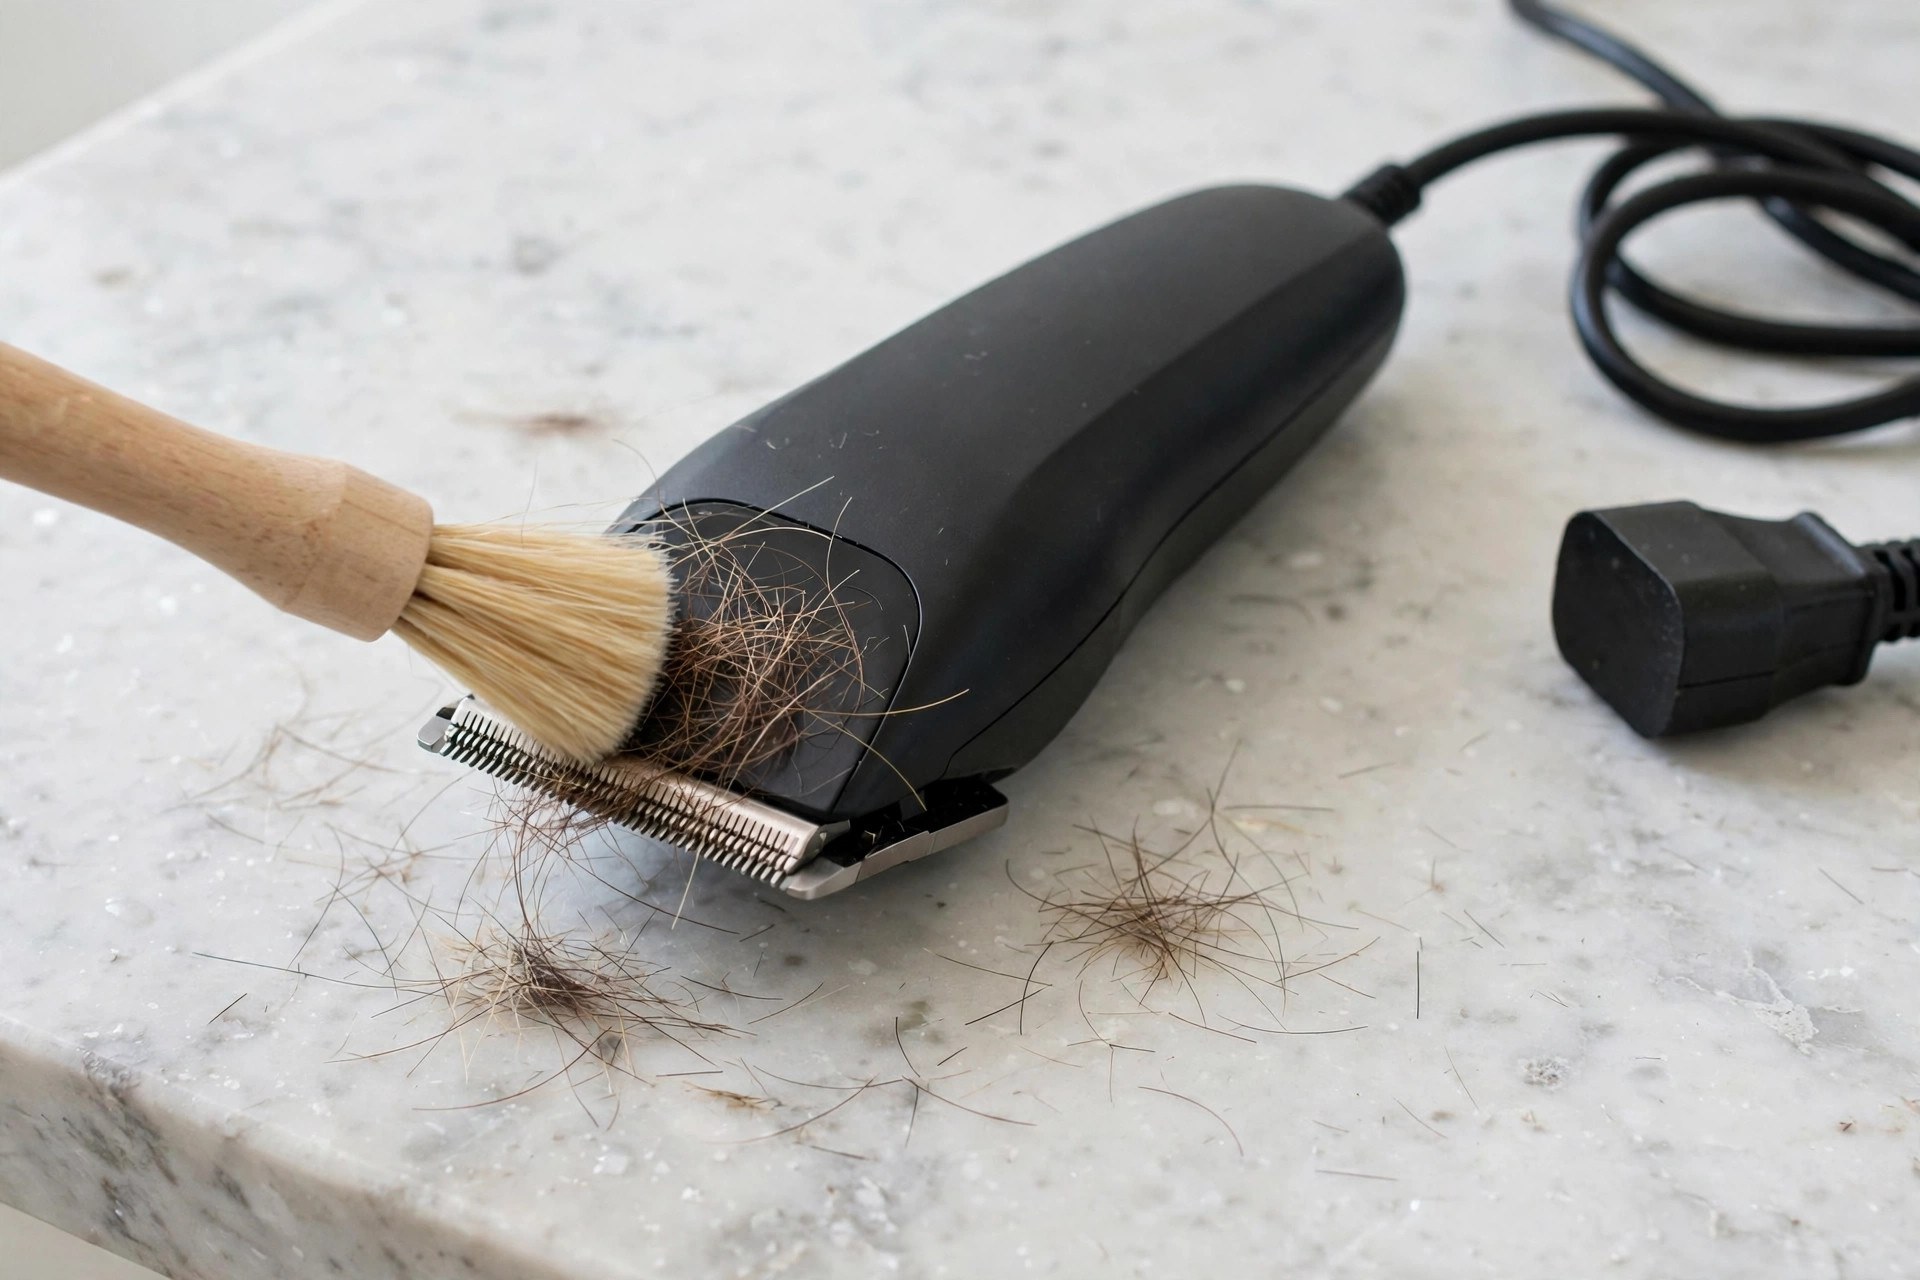
Parts that come off allow a deeper clean. Rinse waterproof parts under warm water if the guide allows. Dry each part in full with a clean cloth. Put parts back once all is dry inside. Dry in full. Parts back after.
Wipe parts that cannot soak with a damp cloth with care. Keep the cloth just damp to avoid harm. Compressed air blows out tiny trapped specks with ease. Clean after each use to guard blade sharpness. Damp cloth only. Air clears specks.
Step 2: Choose the Right Oil
The right oil guards blades and does not gum them. Oil made for trimmers is most times the best choice. These oils stay light and cut friction well. Heavy oils clump and slow cutting a lot. Light oil wins. Heavy oil clumps.

| Type of Oil | Characteristics | Best For |
|---|---|---|
| Clipper Oil | Light, reduces friction, non-gumming | Electric Trimmers |
| Coconut Oil | Natural, eco-friendly, good lubrication | Manual and some Electric Trimmers |
| Multi-purpose Oil | Convenient, may leave buildup | Various Appliances |
Coconut oil gives a natural, eco-friendly choice at times. Check it suits your trimmer before you switch. Not each natural oil suits each trimmer model. Multi-purpose oils can leave buildup over time. The manual gives the safest pick for yours. Check the fit first. Manual knows best.
Step 3: Apply the Oil
Hold the trimmer with blades face up first. Gravity helps the oil spread even that way. Add a few drops along the blade length. Too much oil pulls in dust and grit fast. Blades face up. Drops spread even.
Heads that come off make oiling simpler on some models. Take the head off and oil each part on its own. Put parts back with care once each part is oiled. Our sharpening guide covers blade care in full. Parts off, oil each. Back with care.
Step 4: Run the Blades Briefly
Running the blades spreads oil through moving parts. Run the trimmer for twenty to thirty seconds or so. Hold it over a paper towel at the same time. Blades face down so extra oil drips out. Short run spreads oil. Towel catches drips.

Check the blades for even oil spread after. Dry spots may need one more drop or two. Wipe all down with a clean, dry cloth. Steady running also shows new faults quite early. Check for dry spots. Wipe all down.
Step 5: Wipe Off Excess Oil
Extra oil pulls in dust, so wipe it off. Use a clean, dry cloth or paper towel. Wipe in full, yet with a soft touch, to guard the blades. Check nooks and corners where oil builds up most. Wipe extra off. Dust stays out.
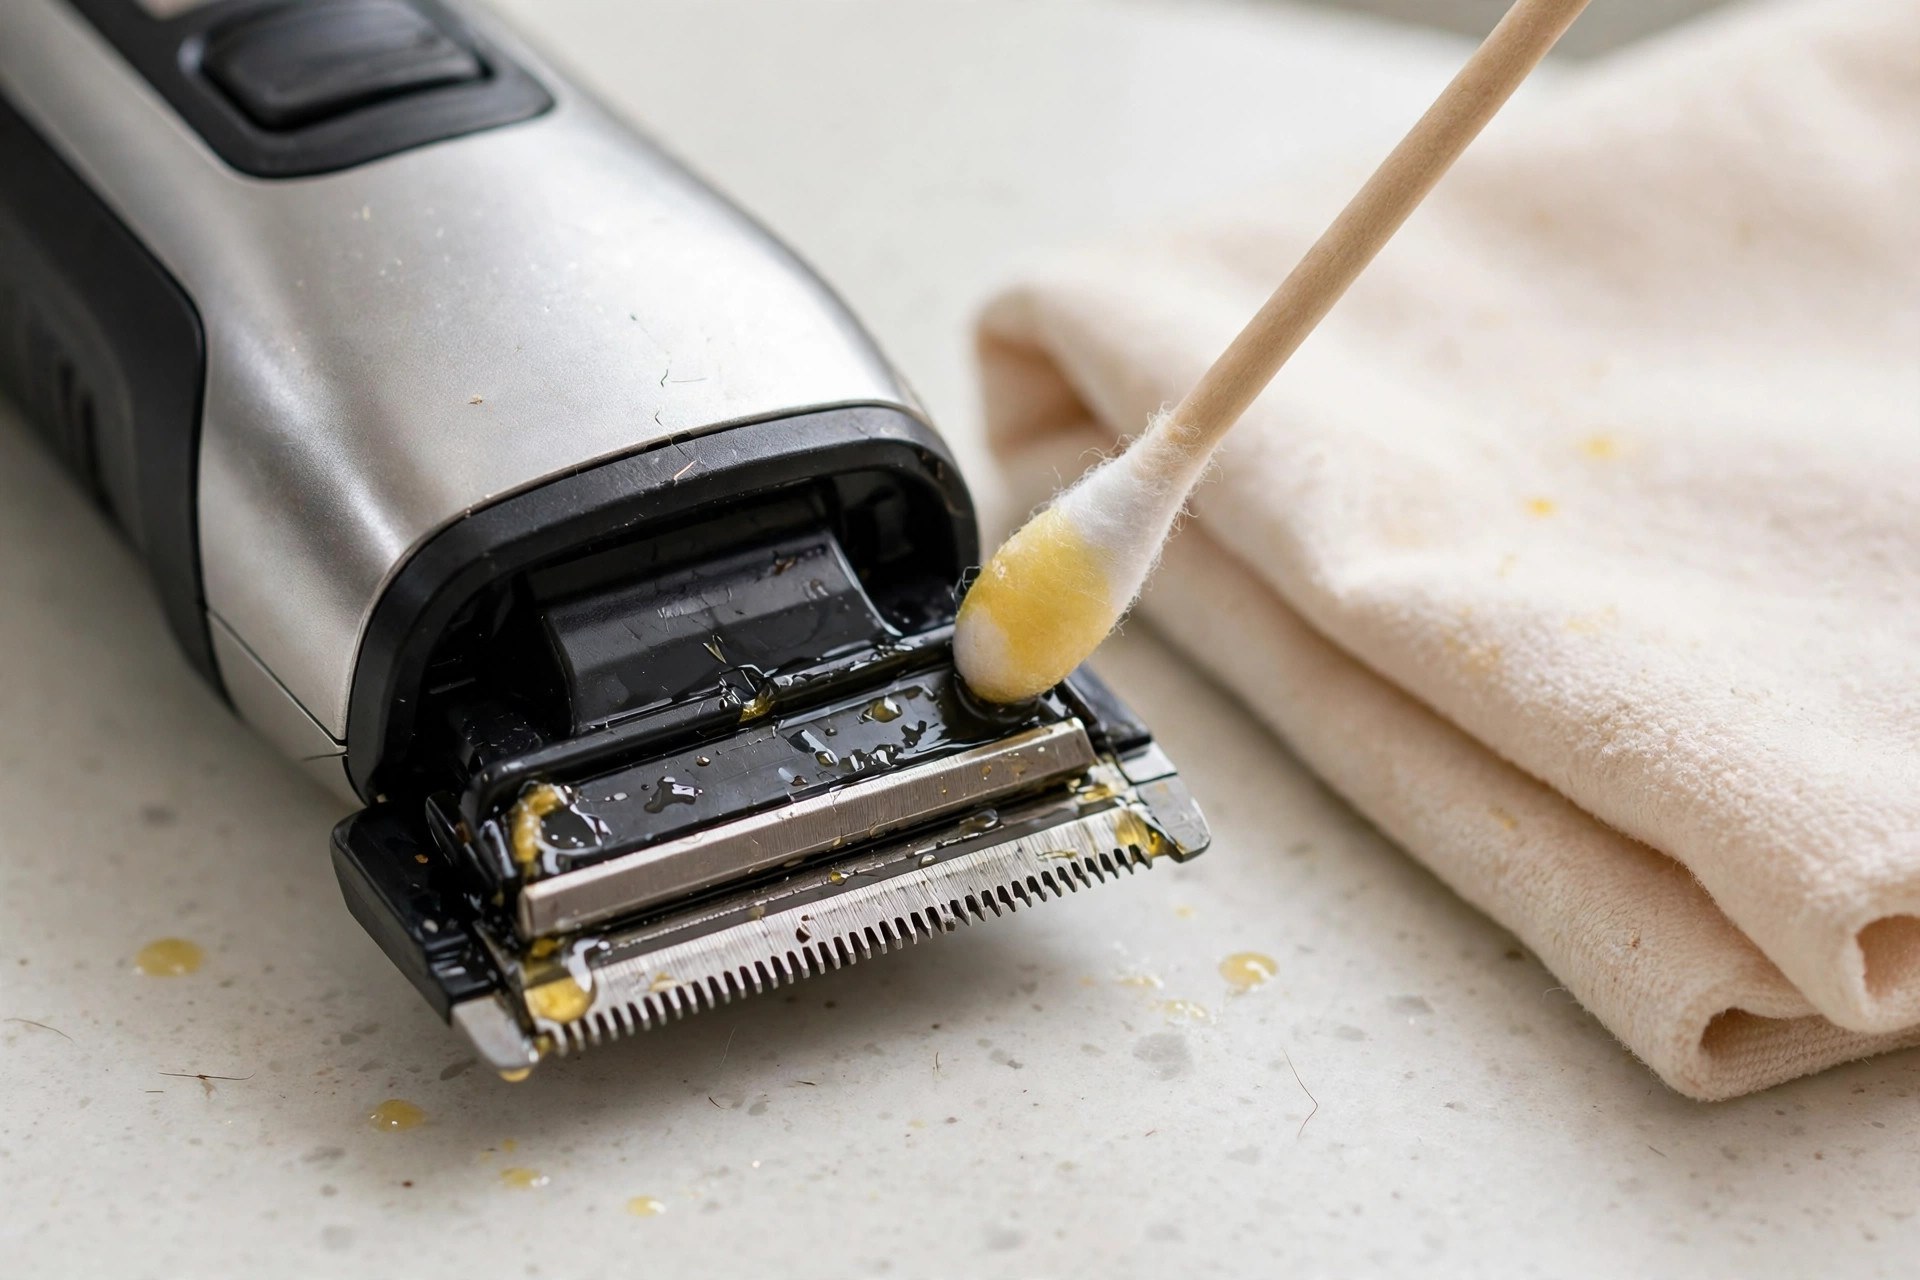
A cotton swab reaches tight spots with ease. Keep oil scraps away from the motor area. Check blades for dull spots, chips or rust. Early finds stop bigger faults down the road. A set wiping cloth makes the whole routine simpler. Swab tight spots. Keep motor clear.
Why Oiling Your Trimmer Matters
Steady oiling cuts friction between the moving blades. Less friction keeps blades sharper for much longer. Fewer swaps and better trims come from that. With no oil, trimmers run hot and wear out faster. Less friction, sharp blades. Oil does it.
Oil also forms a shield that keeps moisture out. That shield stops rust on metal parts well. Less blade friction eases strain on the motor too. Motors that work well use less energy and work better. Oil blocks rust. Motors strain less.
Our repair guide explains how to fix common faults. Top gains include longer blade life in all. Rust stops, smoother work and lower costs follow. A few drops make a real mark in all. Few drops, big gains. Life runs long.
Maintenance Tips for Smooth Running
Clean the trimmer after each use, with no skips. Oil the blades before and after each use. Store the tool in a dry place with no dust. A cover guards it from moisture well. Clean each use. Store it dry.
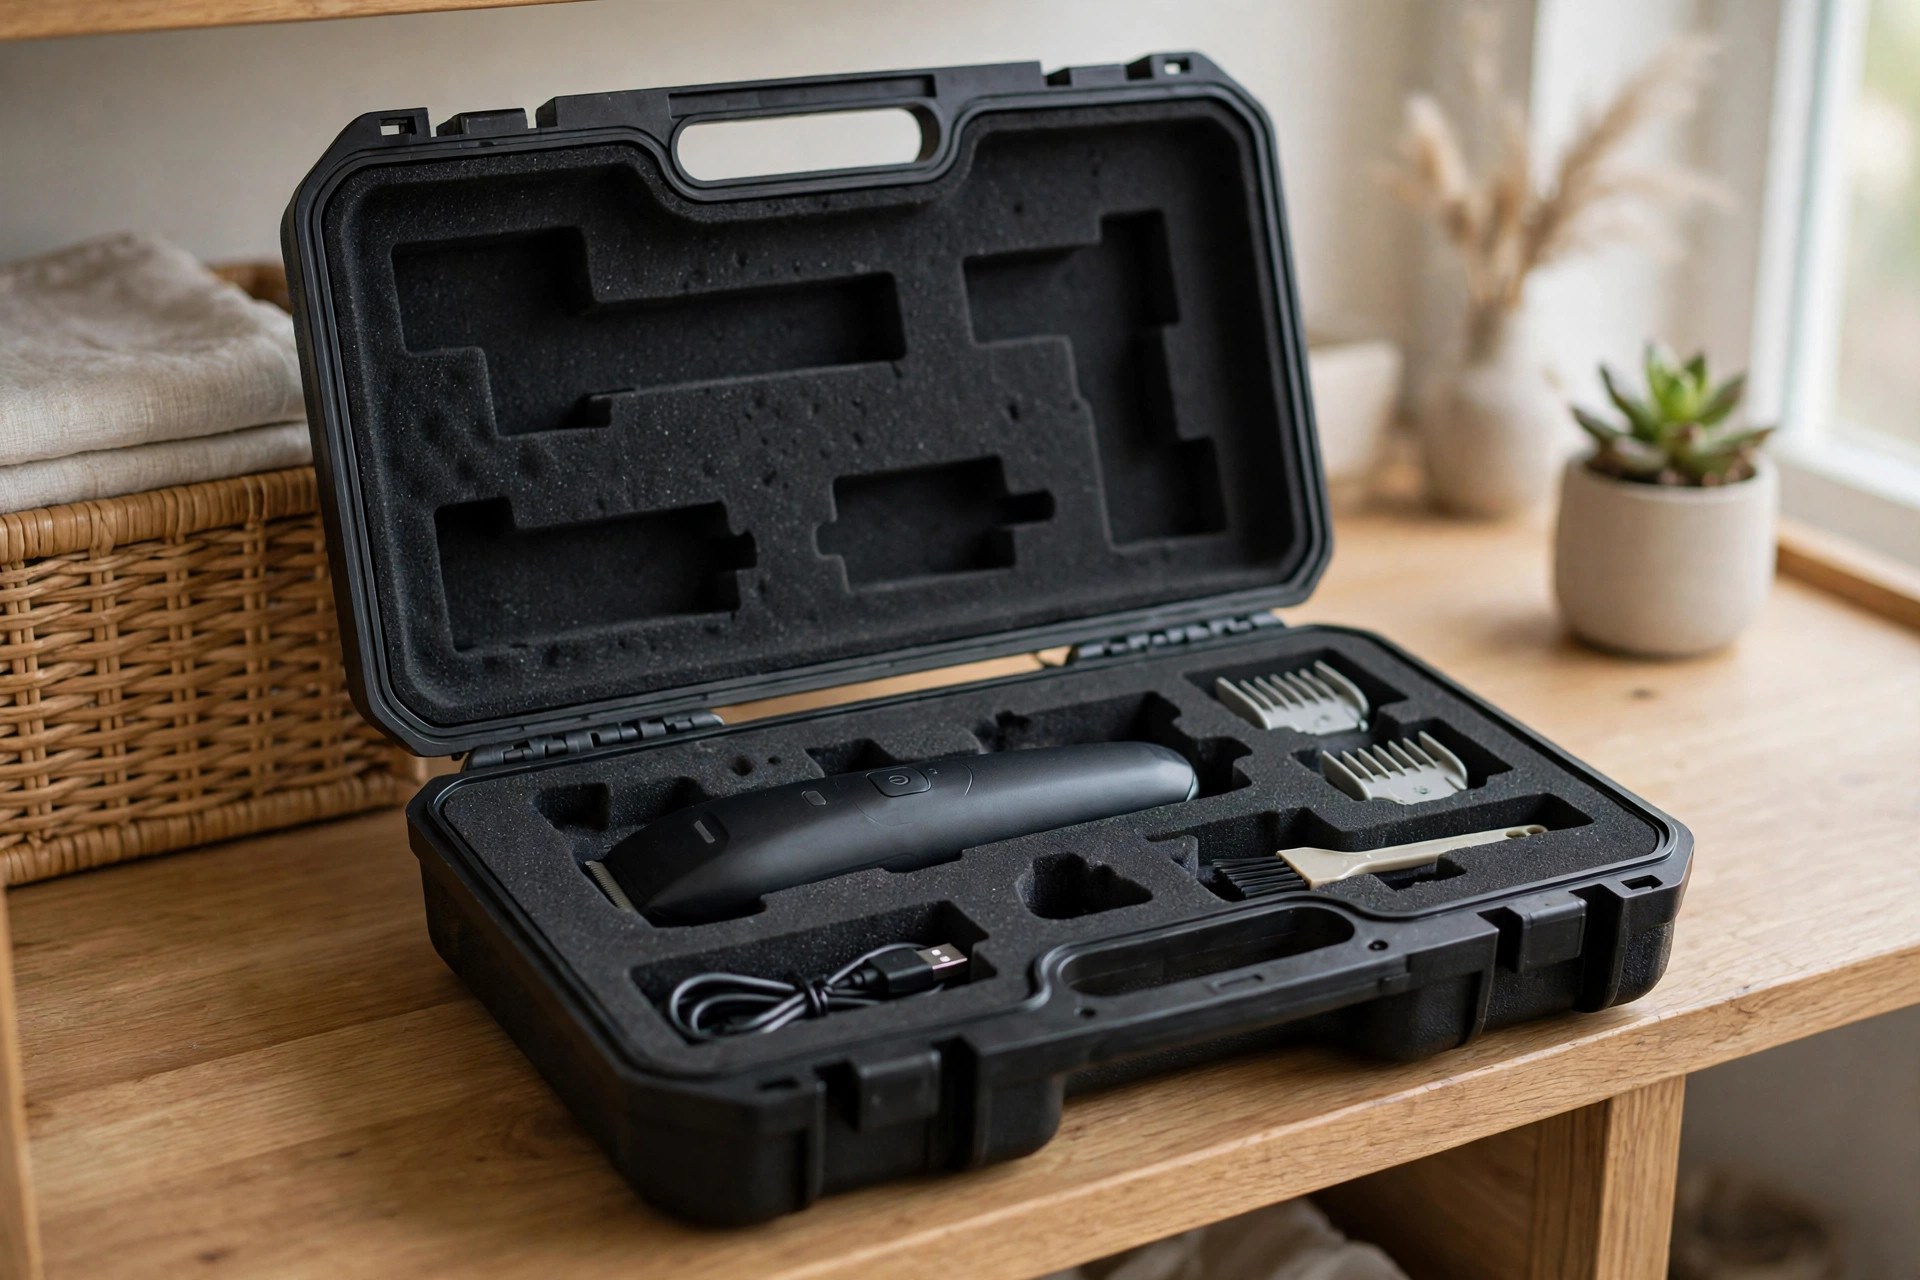
Keep the trimmer out of damp places in full. Our cleaning guide covers washing steps in full. Check for dull spots, chips or rust at set times. Fix each fault at once before it grows worse. Our water cleaning guide explains safe rinsing. Check for rust. Fix faults fast.
Common Mistakes and How to Avoid Them
Skipping care is the most common slip of all. Skipped cleaning lets hair and grit build up. Buildup dulls blades and slows cutting work. A plain brush and rinse make real change. Brush and rinse. Buildup dulls.
Thick oils gum up blades over time. Always pick light, non-gumming oils for trimmers. Too much oil makes its own buildup faults too. Damp or dusty storage brings rust and harm. Light oils only. Storage stays dry.
Skipped wear checks let small harm grow unseen. Our blade life guide explains swap timing. Odd sounds or heat need fast care at all times. Dodging these slips adds years to tool life. Check wear at times. Sounds warn you.
Frequently Asked Questions
These answers repeat this guide’s own points only. They track the same steps set out above. Short answers close the guide at the end. Maker pages like STIHL publish trimmer care guidance. Same steps above. Short and plain.
Why is it important to clean my trimmer regularly?
Steady cleaning stops hair and grit from building up. Buildup dulls blades and slows cutting work a lot. Cleaning also cuts wear on motor parts by much. A clean trimmer just works at its best. Skips can lead to faults in the works over time. Clean tools work best. Buildup dulls.
What type of oil should I use for my trimmer?
Light, non-gumming clipper oil works best for most. Makers most times name it for their own models. It cuts friction and makes no work-slowing buildup inside. Keep heavy and multi-purpose oils out, since they gum. Check your manual for the oil pick for your model. Light oil, no buildup. Manual first.
How often should I oil my trimmer?
Oil before and after each use for the best results. That routine keeps blades sharp and friction low. Those who trim less should oil once a month at least. Steady oiling stops rust from forming on blades. It adds years to blade life over time. Oil each use. Once a month at least.
Can I use household oils as an alternative?
Some home oils may work for a short time at best. Vegetable and mineral oils are thicker than ideal. Thick oils can clog blades over time, bit by bit. Coconut oil works if your model allows it. Check it suits first, then pick maker-named oils in most cases. Thick oils clog. Check the fit first.
What are signs that my trimmer needs maintenance?
Weak cutting shows that care is due. Odd noises point to faults that need care too. Dull blades and heat are more warning signs. Steady checks catch these faults quite early. Fast care keeps work smooth for much longer. Weak cuts warn you. Checks catch faults.
Conclusion: How to Oil a Trimmer
So, how to oil a trimmer for work that lasts? Clean first, pick light oil and use just a bit. Run the blades for a short spell, then wipe extra oil off. Store it dry and covered between each use. Small routines guard blades, motor and purse alike. Clean, oil, wipe. Store it covered.
A well-kept trimmer saves time, money and stress. Close care for small points stops larger faults later. Steady care keeps each trim smooth and easy. Few habits pay back their effort so well. Your trimmer stays ready when you need it. Care saves money. Tools stay ready.

I’m Patricia D. Johnson, an affiliate marketer and blogger specializing in trimmers and grooming tools. I create honest reviews, buying guides, and practical tips to help readers choose the right trimmer for their needs. With a focus on quality, performance, and value, I simplify the decision-making process so consumers can make confident purchases.