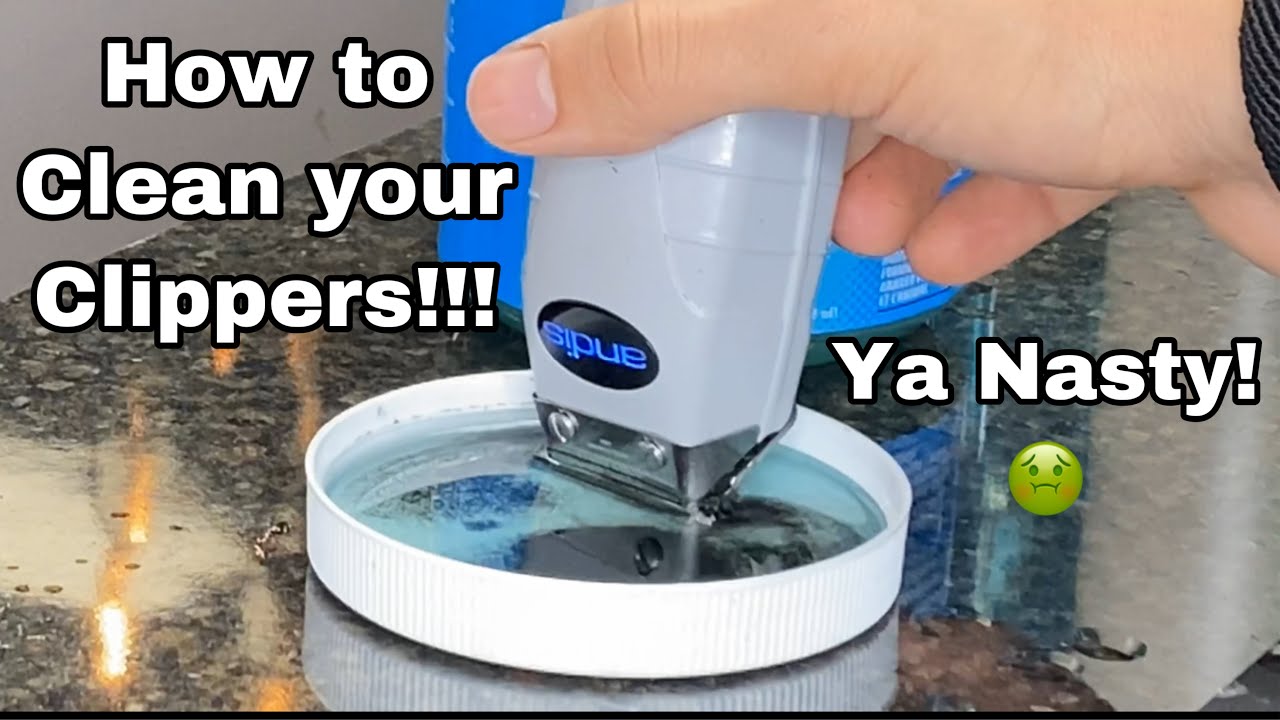
Keeping personal grooming tools clean and sanitized is crucial for maintaining good hygiene and preventing the spread of bacteria and germs. One such grooming tool that requires regular disinfection is the trimmer blade. Whether you use it for grooming your hair, beard, or body, ensuring that the trimmer blade is properly disinfected is essential to keep it in optimal condition and prevent any potential infections. In this guide, we will delve into the step-by-step process of how to disinfect a trimmer blade effectively, providing you with the knowledge and techniques to maintain a clean and safe grooming experience.
When it comes to personal grooming, cleanliness should never be compromised. Neglecting to clean and disinfect your trimmer blade can result in the accumulation of dirt, oil, and bacteria, which can not only affect the performance of the trimmer but also pose a risk to your skin health.
By understanding the proper methods of disinfection, you can ensure that your trimmer blade remains germ-free and ready for use whenever you need it.
So, if you’re ready to take your grooming routine to the next level of cleanliness, join us as we explore the best practices for disinfecting a trimmer blade, guaranteeing a hygienic and safe grooming experience.
How to Disinfect Trimmer Blade:
- Thoroughly clean the trimmer blade with a brush to remove any debris.
- Prepare a mixture of warm water and mild soap.
- Immerse the blade in the soapy water and let it sit for a few minutes.
- Gently scrub the blade with a soft toothbrush to remove any remaining dirt.
- Rinse the blade with clean water to remove the soap.
- Disinfect the blade by soaking it in a solution of 70% isopropyl alcohol for at least 5 minutes.
- Rinse the blade with water again and let it air dry completely before reassembling the trimmer.
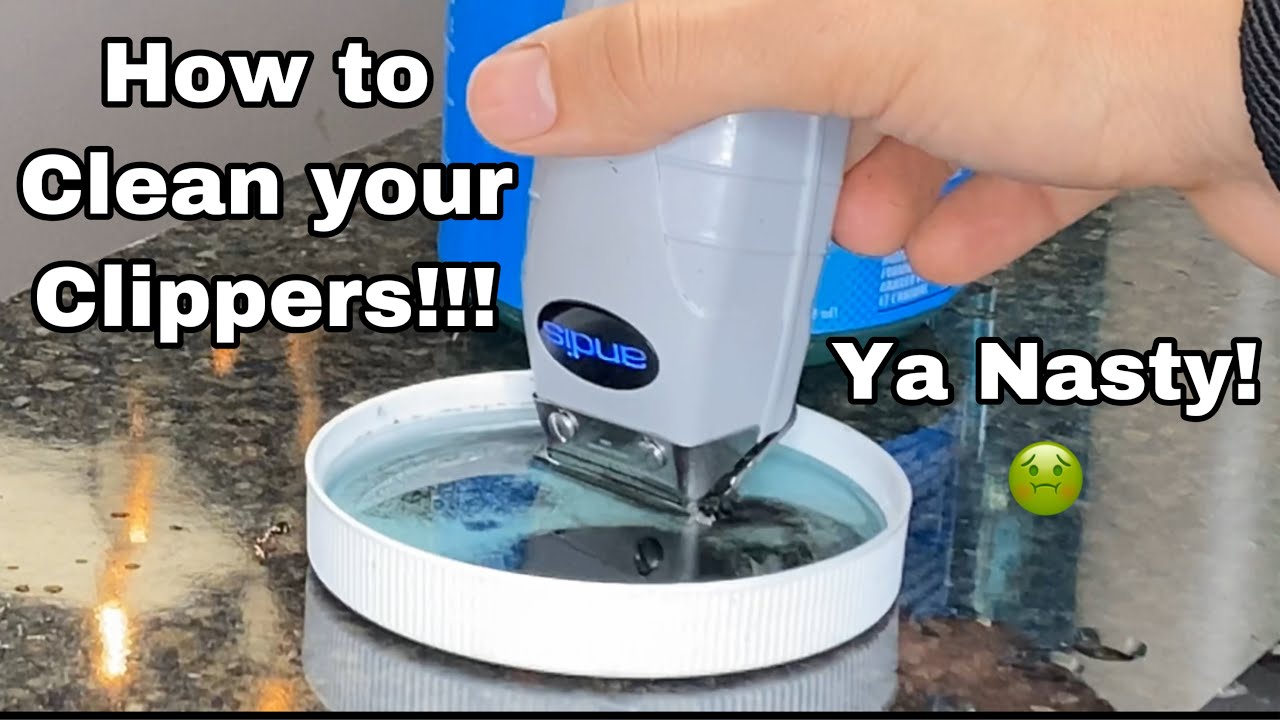
Source: ytimg.com
How to Disinfect Trimmer Blade: A Guide for Hygienic Trimming
Properly disinfecting your trimmer blades is crucial for maintaining hygiene and preventing the spread of bacteria and infections. Regularly cleaning and sanitizing your trimmer blades not only ensures a longer lifespan for the equipment but also keeps your clients safe and satisfied. In this guide, we will walk you through the step-by-step process of disinfecting your trimmer blades effectively and safely.
Step 1: Preparation
Before starting the disinfection process, gather all the necessary supplies. You will need:
- Isopropyl alcohol or blade disinfectant solution
- Clean cloth or paper towel
- Small brush or toothbrush
- Container or tray
Ensure that your work area is clean and well-lit. This will make the process easier and help you identify any debris or build-up on the blades.
Step 2: Remove the Blades
To properly disinfect the trimmer blades, you need to remove them from the trimmer. Follow the manufacturer’s instructions for safely detaching the blades. In most cases, you will need to unscrew them or release a latch to remove them.
Once the blades are detached, carefully place them on a clean surface. Inspect the blades for any hair, dirt, or debris. Use a small brush or toothbrush to gently remove any visible particles.
Step 3: Disinfection
Take a container or tray and pour a sufficient amount of isopropyl alcohol or blade disinfectant solution into it. Place the blades into the container, ensuring they are fully submerged. Let them soak for the recommended time, usually around 10-15 minutes.
While the blades are soaking, you can use a clean cloth or paper towel to wipe down the trimmer body, removing any hair or residue. This helps prevent cross-contamination when reassembling the trimmer.
Step 4: Rinse and Dry
After the recommended soaking time, carefully remove the blades from the disinfectant solution. Rinse them under running water to remove any remaining solution. Inspect the blades to ensure they are clean and free of any debris.
Gently pat the blades dry with a clean cloth or allow them to air dry completely before reattaching them to the trimmer. Make sure the blades are completely dry to prevent any water damage to the trimmer.
Step 5: Reassemble and Store
Once the blades are dry, follow the manufacturer’s instructions to reattach them to the trimmer. Ensure they are securely fastened before storing the trimmer in a clean and dry place.
Remember to disinfect your trimmer blades after each use to maintain optimal hygiene. Regularly inspect and clean your trimmer to prevent build-up and ensure its longevity. By following these steps, you can ensure the safety and satisfaction of your clients while prolonging the lifespan of your trimmer.
Frequently Asked Questions
Here are some commonly asked questions about how to disinfect trimmer blades:
Why is it important to disinfect trimmer blades?
It is important to disinfect trimmer blades because they come into contact with various surfaces, including hair, skin, and potentially bacteria or viruses. Disinfecting the blades helps prevent the spread of infections or diseases. Regular disinfection also helps maintain the performance and longevity of the trimmer blades.
What materials do I need to disinfect trimmer blades?
To disinfect trimmer blades, you will need a few materials. These include isopropyl alcohol or a disinfectant spray, a clean cloth or paper towel, a small brush for removing debris, and a container for soaking the blades if necessary. It is essential to use disinfectants that are safe for use on metal surfaces.
How often should I disinfect trimmer blades?
The frequency of disinfecting trimmer blades depends on the frequency of usage. For personal use, it is recommended to disinfect the blades after each use. If the trimmer is used in a professional setting, such as a barber shop, the blades should be disinfected between each client to prevent cross-contamination. Regular maintenance, including cleaning and disinfecting, will help keep the blades in optimal condition.
How do I disinfect trimmer blades?
To disinfect trimmer blades, start by turning off the trimmer and unplugging it if applicable. Use a small brush or toothbrush to remove any debris or hair from the blades. Then, dampen a cloth or paper towel with isopropyl alcohol or disinfectant spray and gently wipe the blades. If the blades are removable, you can soak them in a disinfectant solution for a few minutes. After disinfection, make sure the blades are completely dry before reassembling or storing the trimmer.
Are there any additional tips for disinfecting trimmer blades?
Yes, here are a few additional tips for disinfecting trimmer blades:
1. Always refer to the manufacturer’s instructions for specific cleaning and disinfection recommendations for your trimmer model.
2. Avoid using bleach or harsh chemicals on trimmer blades, as they can cause damage.
3. If you are using a disinfectant spray, make sure to spray it onto a cloth or paper towel first, rather than directly onto the trimmer, to prevent any liquid from entering the internal components.
4. Regularly oil the trimmer blades after disinfection to ensure smooth operation and prevent rusting.
By following these tips, you can effectively disinfect your trimmer blades and maintain their performance and hygiene.

Source: wikihow.com
HOW TO DISINFECT DIRTY CLIPPERS AND TRIMMERS
Final Words:
In conclusion, properly disinfecting your trimmer blade is crucial for maintaining hygiene and preventing the spread of germs. By following these simple steps and using the right disinfectant, you can ensure that your trimmer remains clean and safe to use. Remember to always prioritize safety and cleanliness, not only for yourself but also for those around you.
Taking the time to disinfect your trimmer blade not only helps prevent the transfer of bacteria and viruses but also prolongs the lifespan of your equipment. By regularly cleaning and disinfecting your trimmer blade, you can maintain its sharpness and performance, ensuring a precise and efficient trimming experience. So, don’t overlook the importance of proper disinfection in your grooming routine – it’s a small step that can make a big difference in your overall health and wellbeing.
