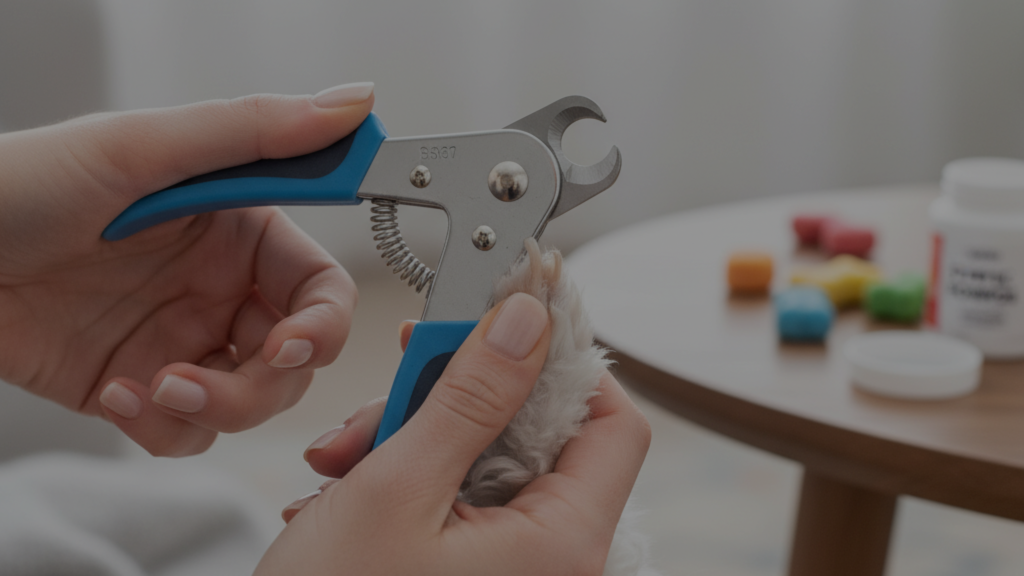
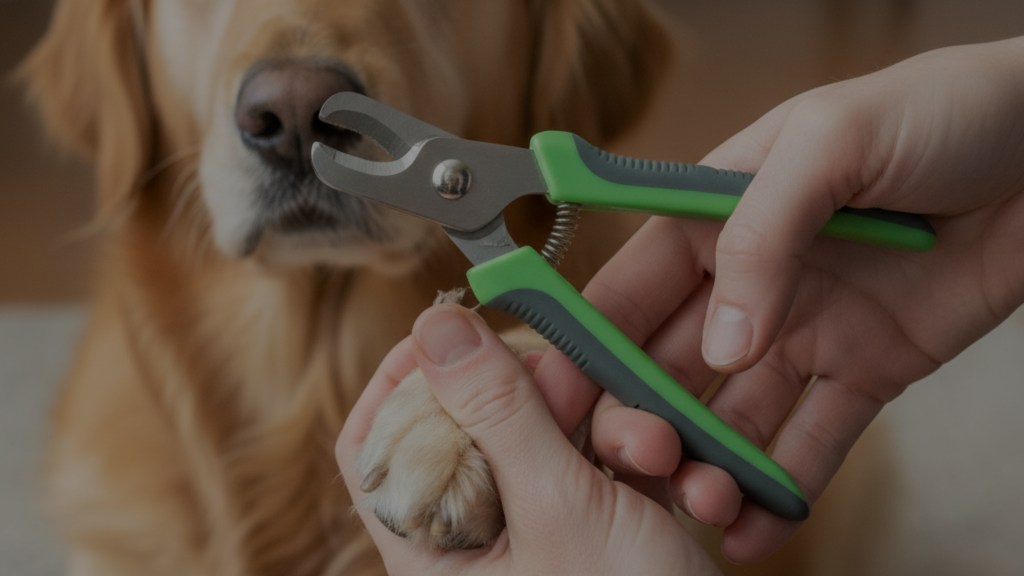
Trimming your pet’s paws can feel scary. You want to keep your furry friend safe and happy. Learning how to hold a dog nail clipper the right way is the first step toward a stress-free grooming day.
Proper hand placement gives you total control. It prevents slips and keeps your dog calm.
In this guide, you will learn the exact grips used by professional groomers. You will discover how to position your fingers for the perfect cut every time.
Why Your Grip Matters More Than You Think
A shaky hand leads to mistakes. If you hold the tool wrong, you might cut the “quick.”
The quick is the vein inside the nail. It hurts if you nick it.
When you master the grip, you feel more confident. Your dog can feel your confidence. This makes the whole process faster.
Tools and Prerequisites
Before you touch a paw, you need the right gear. Not all clippers are the same.
Choosing the Right Tool
There are three main types of clippers. Each one requires a slightly different hand position.
Clipper Type
Best For
Grip Style
Plier Style
All dog sizes
Palm-squeeze grip
Guillotine Style
Small to medium dogs
Finger-loop grip
Scissor Style
Tiny dogs and puppies
Traditional scissor grip
Safety Checklist
Make sure you have these items ready:
Styptic Powder: This stops bleeding if you make a mistake.
High-Value Treats: Use small bits of chicken or cheese.
Bright Lighting: You must see where the nail ends.
A Calm Space: Find a quiet room with no distractions.
A clean infographic showing a Grooming Prep Station with clippers, treats, and styptic powder neatly arranged.
How to Hold a Plier-Style Clipper
Plier-style clippers are the most common. They have a spring between the handles. This helps the tool open back up after each cut.
The Palm-Squeeze Grip
Place the bottom handle against your palm. Use your four fingers to wrap around the top handle.
Your thumb should rest on the side of the handle for stability. This grip uses the strength of your whole hand.
Positioning the Safety Guard
Most plier clippers have a small metal tab. This is the safety guard.
Keep your index finger near the guard but away from the blade. This allows you to flip the guard on or off with one flick.
Critical Warning: Never put your finger inside the “V” of the blades. Always keep your digits on the rubberized handles.
How to Hold a Guillotine-Style Clipper
These tools have a hole where the nail goes. A single blade slides up to cut the tip.
The Finger-Loop Grip
Slide your fingers through the lower handle loop. Rest your thumb on the moving lever.
Hold it like you would hold a heavy-duty stapler. The blade should be facing you so you can see exactly where it will land.
Maintaining a Steady Wrist
Keep your wrist straight. Do not bend it at an odd angle.
Moving your arm instead of just your wrist gives you more power. It also prevents the tool from twisting on the nail.
The Secret to the “Pinch” Technique
Holding the clipper is only half the battle. You must also hold the dog’s paw correctly.
Supporting the Toe
Use your non-dominant hand to hold the paw. Gently squeeze the individual toe you are working on.
This “pinches” the nail forward. It separates it from the hair and other toes.
Stabilizing Your Hands
Rest the hand holding the clippers against the hand holding the paw. This creates a “bridge.”
If the dog twitches, both hands move together. This prevents the blade from slipping into the wrong spot.
How to Hold Dog Nail Clippers: Step-by-Step Instructions for the Perfect Cut
Follow these steps to ensure you are holding and using the tool safely.
Step 1: The Comfort Check
Sit on the floor with your dog. Do not force them into a position.
Hold the clippers in your hand without cutting anything. Let the dog sniff them. Give a treat.
Step 2: The Anchor Point
Place your elbow against your side. This anchors your arm.
It stops you from making large, jerky movements. Small, controlled movements are much safer.
Step 3: The Angle of Attack
Hold the clipper at a 45-degree angle. Do not cut straight across the nail.
Cutting at an angle follows the natural curve of the nail. It avoids the quick more effectively.
Step 4: The Squeeze
Apply firm, quick pressure. Do not squeeze slowly.
A slow squeeze can crush the nail instead of cutting it. A fast “snap” creates a clean edge.
Expert Tips for Success
Even with the right grip, things can be tricky. Use these professional secrets to make it easier.
Take Small Bites
Do not try to cut the whole nail at once. Cut tiny slivers.
Look at the end of the nail after every clip. When you see a small dark dot in the center, stop. That is the start of the quick.
Mind the Fur
If your dog has long hair, it can get caught in the clipper hinges. This hurts and scares the dog.
You can put an old nylon stocking over the paw. Push the nails through the fabric. This keeps the hair back and out of your way.
Use Your Body Weight
For large dogs, you may need more leverage. Keep the clippers close to your body.
Use the weight of your shoulder to help press the handles. This keeps your hand from getting tired.
Troubleshooting Common Grip Problems
My hand is too small for the clippers
If the handles are too wide, try a “junior” size clipper. You can also use two hands to steady the tool before you make the cut.
The clippers keep slipping
Check the handles for oil or dirt. Wipe them with a dry cloth.
Many clippers have rubber grips. If yours are plain metal, wrap some athletic tape around the handles for a better feel.
My dog won’t stop moving
Do not try to hold the clipper and the dog at the same time. Have a friend hold the dog’s head and feed them treats.
Your only job is to hold that one paw and the clipper. Focus on your hand placement.
Conclusion
Mastering how to hold a dog nail clipper takes practice and patience. By using the palm-squeeze grip and anchoring your hands together, you create a safe environment for your pet. Always remember to take small cuts and stay calm. Your dog will learn to trust your steady hands, and nail trims will become a simple part of your routine.
Frequently Asked Questions
Which hand should I use to hold the clippers?
Always use your dominant hand (the one you write with). This hand has the best motor control and strength for a clean cut.
Should I hold the clippers vertically or horizontally?
Hold them so the blades are perpendicular to the nail. Most people find a horizontal grip easiest when the dog is lying down.
How tight should I squeeze the handles?
Hold them firmly enough so they don’t wiggle, but don’t white-knuckle them. You need to be relaxed to feel the resistance of the nail.
What if I am left-handed?
Most plier-style clippers are “ambidextrous.” They work the same way in either hand. Just ensure the safety guard is moved to a position where it doesn’t block your view.
I’m Patricia D. Johnson, an affiliate marketer and blogger specializing in trimmers and grooming tools. I create honest reviews, buying guides, and practical tips to help readers choose the right trimmer for their needs. With a focus on quality, performance, and value, I simplify the decision-making process so consumers can make confident purchases.
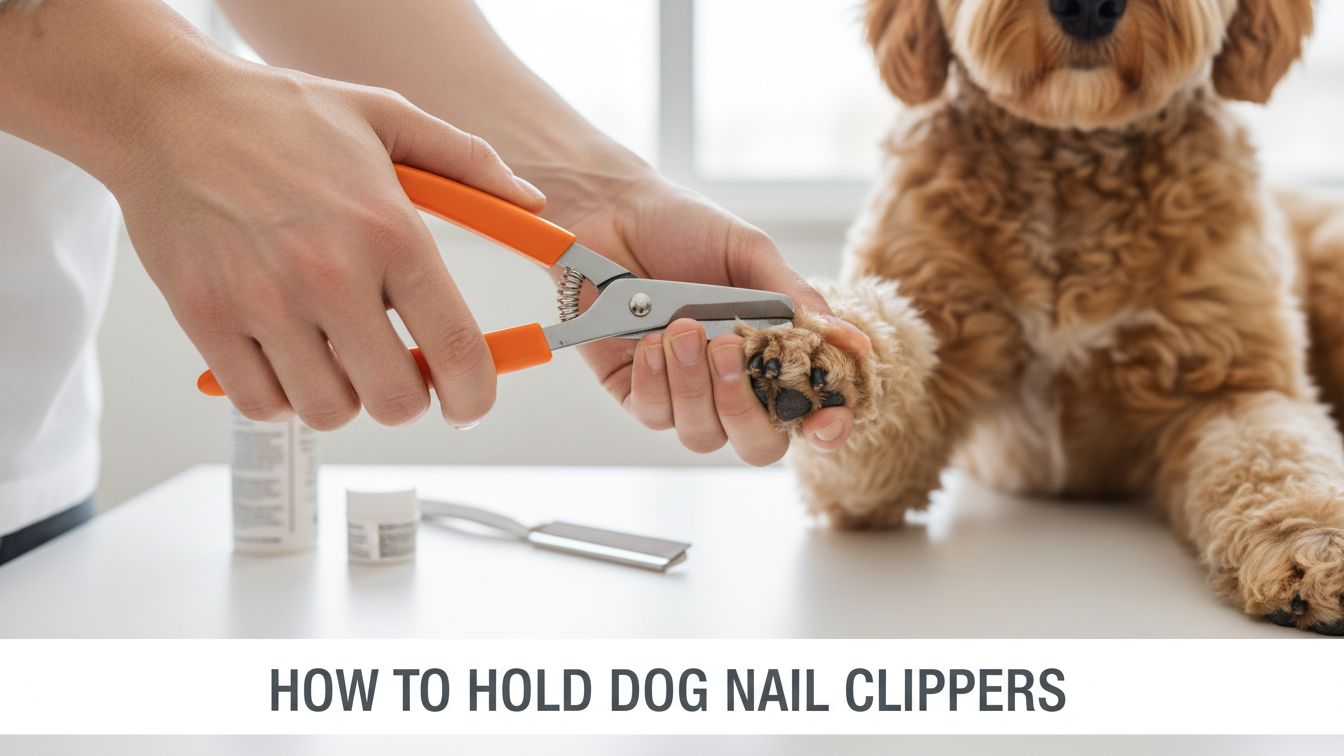


 A clean infographic showing a Grooming Prep Station with clippers, treats, and styptic powder neatly arranged.