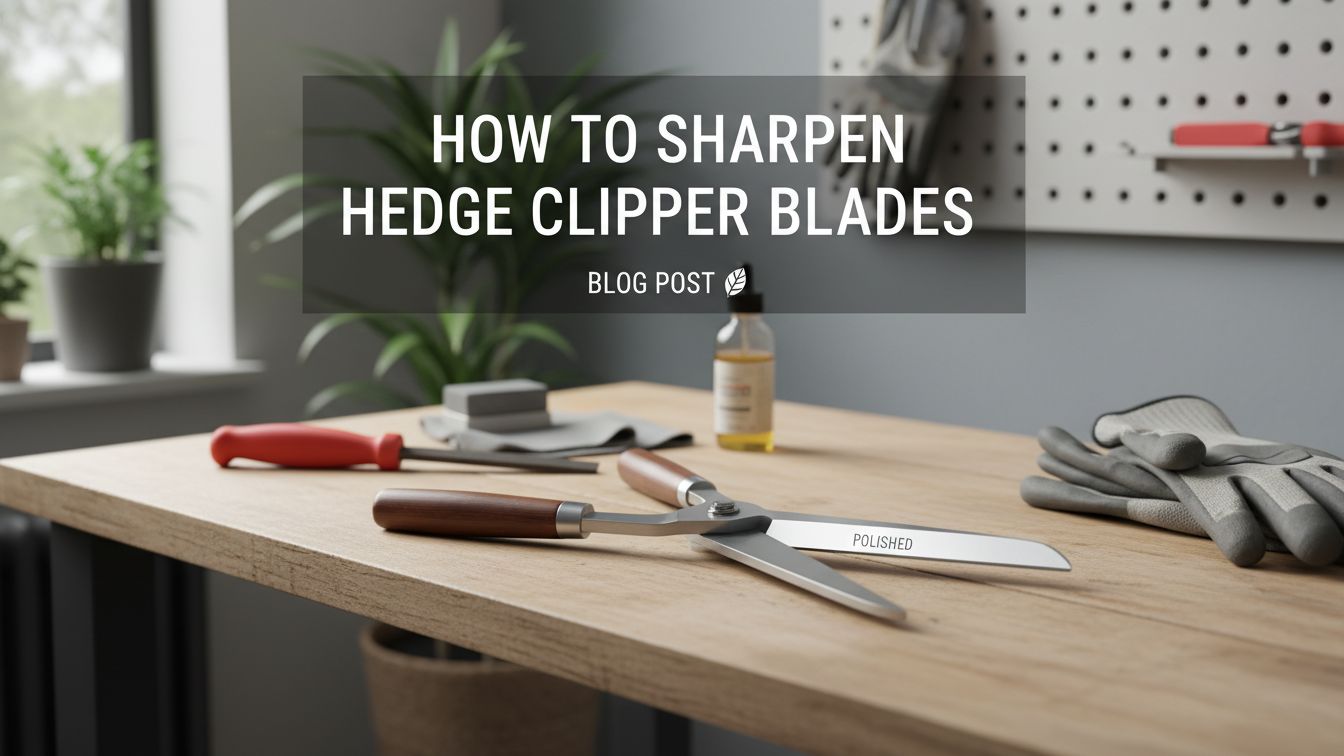

Cutting your bushes with dull tools is hard work. It tears the leaves and makes your garden look messy. Learning how to sharpen hedge clipper blades will make your chores much faster.
Sharp blades slice through wood like butter. This keeps your plants healthy and strong. You do not need to be a mechanic to do this.
You only need a few basic tools and a little bit of time. This guide will show you every single step. Your garden will thank you for the extra effort.
 A close-up, high-quality photo of a shiny, sharp hedge clipper blade next to a dull, rusted one for comparison.
Tools and Prerequisites
Before you start, you must gather your gear. Having everything ready saves you from stopping halfway through.
Required Equipment Table
| Tool Type | What it Does | Why You Need It |
|---|---|---|
| Mill File | Grinds the metal | The main tool for manual sharpening. |
| Safety Gloves | Protects hands | Prevents cuts from the sharp edges. |
| Safety Glasses | Protects eyes | Blocks metal flakes from flying into eyes. |
| Cleaning Brush | Removes dirt | Clears sap and gunk off the blades. |
| Lubricant Oil | Prevents rust | Keeps the metal smooth and moving well. |
| Clamps | Holds the tool | Keeps the clippers still while you work. |
Preparing Your Workspace
Find a flat, sturdy table or a workbench. Make sure you have plenty of light. You need to see the angle of the blade clearly.
Critical Warning: Never try to sharpen blades while they are wet. Water makes the tools slippery and can lead to nasty accidents.
 A clean workbench with all the tools listed in the table neatly organized and labeled.
How to Sharpen Hedge Clipper Blades: Step-by-Step Instructions
Follow these steps exactly. Take your time and do not rush.
Step 1: Cleaning the Blades
You cannot sharpen a dirty tool. Sap and dried leaves act like glue on the metal.
Scrubbing Away Debris
Use a stiff wire brush or a soapy sponge. Scrub both sides of each blade. If the sap is very sticky, use a bit of rubbing alcohol.
Drying the Metal
Wipe the blades completely dry with a clean rag. Any moisture left behind can cause rust later.
Step 2: Securing the Clippers
Safety is the most important part of this job. You do not want the clippers moving while you push the file.
Using a Vice or Clamps
If you have a workbench vice, use it. Place the handle of the clippers in the vice. Tighten it until the tool does not wiggle.
 A pair of long-handle hedge shears held firmly in a metal bench vice, blades facing upward.
Positioning for Ease
Make sure the beveled edge is facing you. The “bevel” is the slanted part of the blade that creates the edge.
Step 3: Finding the Angle
Every blade has a specific slant. You must follow this existing angle.
Identifying the Bevel
Look closely at the edge. You will see a factory-made slope. This is usually around 20 to 30 degrees.
Matching the File
Lay your mill file flat against that slope. Do not change the angle. If you go too steep, the edge will be weak.
Step 4: The Sharpening Stroke
This is where the magic happens. You must use the right motion to get a keen edge.
One-Way Strokes
Always push the file away from your body. Start at the base of the blade and slide to the tip.
No Back-and-Forth
Never “saw” the file back and forth. This ruins the metal edge. Lift the file off the blade after every stroke.
 An infographic showing a Green Check for a single-direction stroke and a Red X for a back-and-forth sawing motion.
Count Your Strokes
Do about 10 to 15 strokes. Count them so you can do the exact same number on the other side. This keeps the blades balanced.
Step 5: Removing the Burrs
After sharpening, you will feel a rough edge on the flat side of the blade. This is called a “burr.”
The Flip Side
Turn the clippers over. The back of the blade should be perfectly flat.
Flat Filing
Lay the file completely flat against the back. Lightly stroke it once or twice. This snaps off the metal burr and leaves a smooth finish.
 A macro photo showing the tiny metal burr on the edge of a blade and a hand removing it with a flat file.
Step 6: Lubrication
Metal needs protection from the air. This prevents rust from forming.
Applying Oil
Put a few drops of 3-in-1 oil or linseed oil on a rag. Wipe it over the shiny, newly sharpened metal.
Moving the Joints
Open and close the clippers a few times. This works the oil into the pivot point.
 A hand using a small oil can to apply drops of oil to the pivot screw of the hedge clippers.
Expert Tips and Troubleshooting
Even pros run into problems sometimes. Here is how to fix them.
Dealing with Nicks
If you hit a rock, you might see a “dent” in the blade. Do not worry. Just file that spot a little longer until the edge is straight again.
The Paper Test
Want to know if you are done? Try to cut a single piece of paper. If it slices cleanly without tearing, you are a master.
Pro Tip: If your clippers feel “sticky” after sharpening, the center bolt might be too tight. Loosen it just a tiny bit.
When to Replace Blades
Sometimes blades are too thin or too rusted to save. If you see large cracks in the metal, it is time to buy a new pair.
 A photo of a Paper Test where a sharp blade is making a perfect, straight cut through a sheet of notebook paper.
Frequently Asked Questions
How often should I sharpen my clippers?
You should sharpen them at least once a year. If you have a very large yard, do it every few months.
Can I use a power grinder?
You can, but it is risky for beginners. Power tools generate heat. Too much heat can “soften” the metal and ruin the blades forever.
What if my blades are curved?
Curved blades are harder to file. You should use a “round file” or a whetstone instead of a flat mill file.
Do I need to take the clippers apart?
For a basic sharpening, no. For a deep clean or to fix heavy rust, taking them apart helps. Just remember where the washers go!
 A diagram of a disassembled pair of hedge shears showing the bolt, washers, and two separate blades.
Conclusion
You now know exactly how to sharpen hedge clipper blades by yourself. You have saved money by not hiring a professional. Your bushes will look better because the cuts will be clean and healthy. Remember to always work slowly and wear your safety gear. A sharp tool is a safe tool because you do not have to force it to work. Now, get out into the garden and enjoy your like-new equipment!

I’m Patricia D. Johnson, an affiliate marketer and blogger specializing in trimmers and grooming tools. I create honest reviews, buying guides, and practical tips to help readers choose the right trimmer for their needs. With a focus on quality, performance, and value, I simplify the decision-making process so consumers can make confident purchases.