- First, remove the old line from your string trimmer.
- Next, cut a new line to the recommended length.
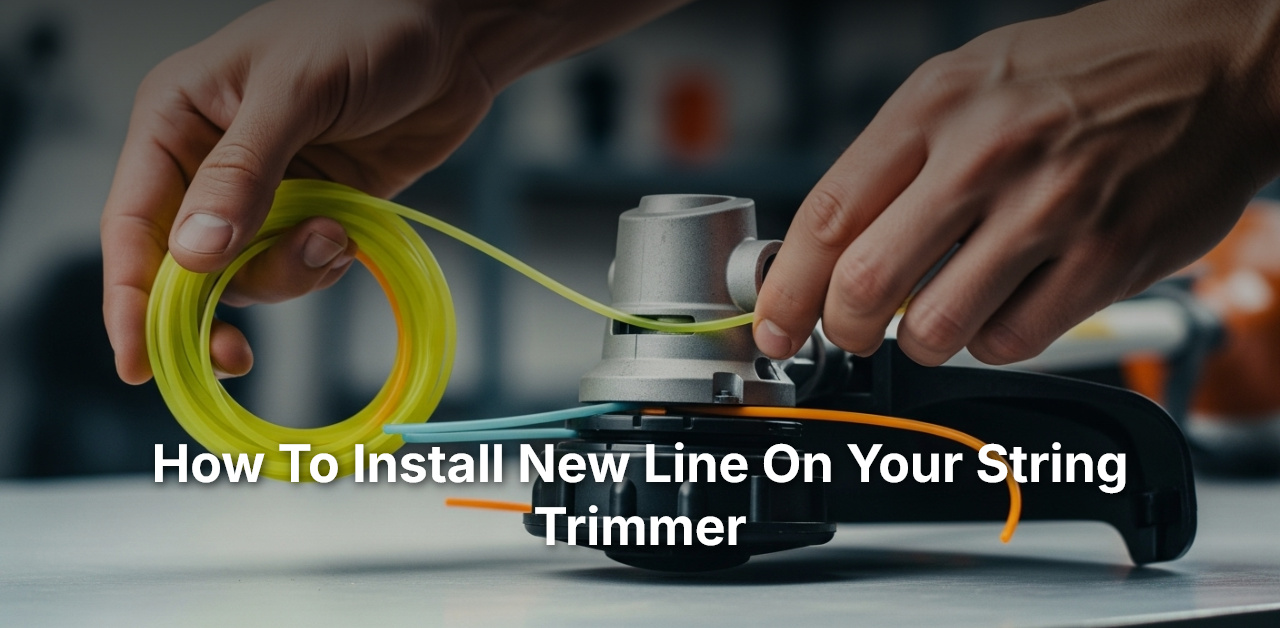
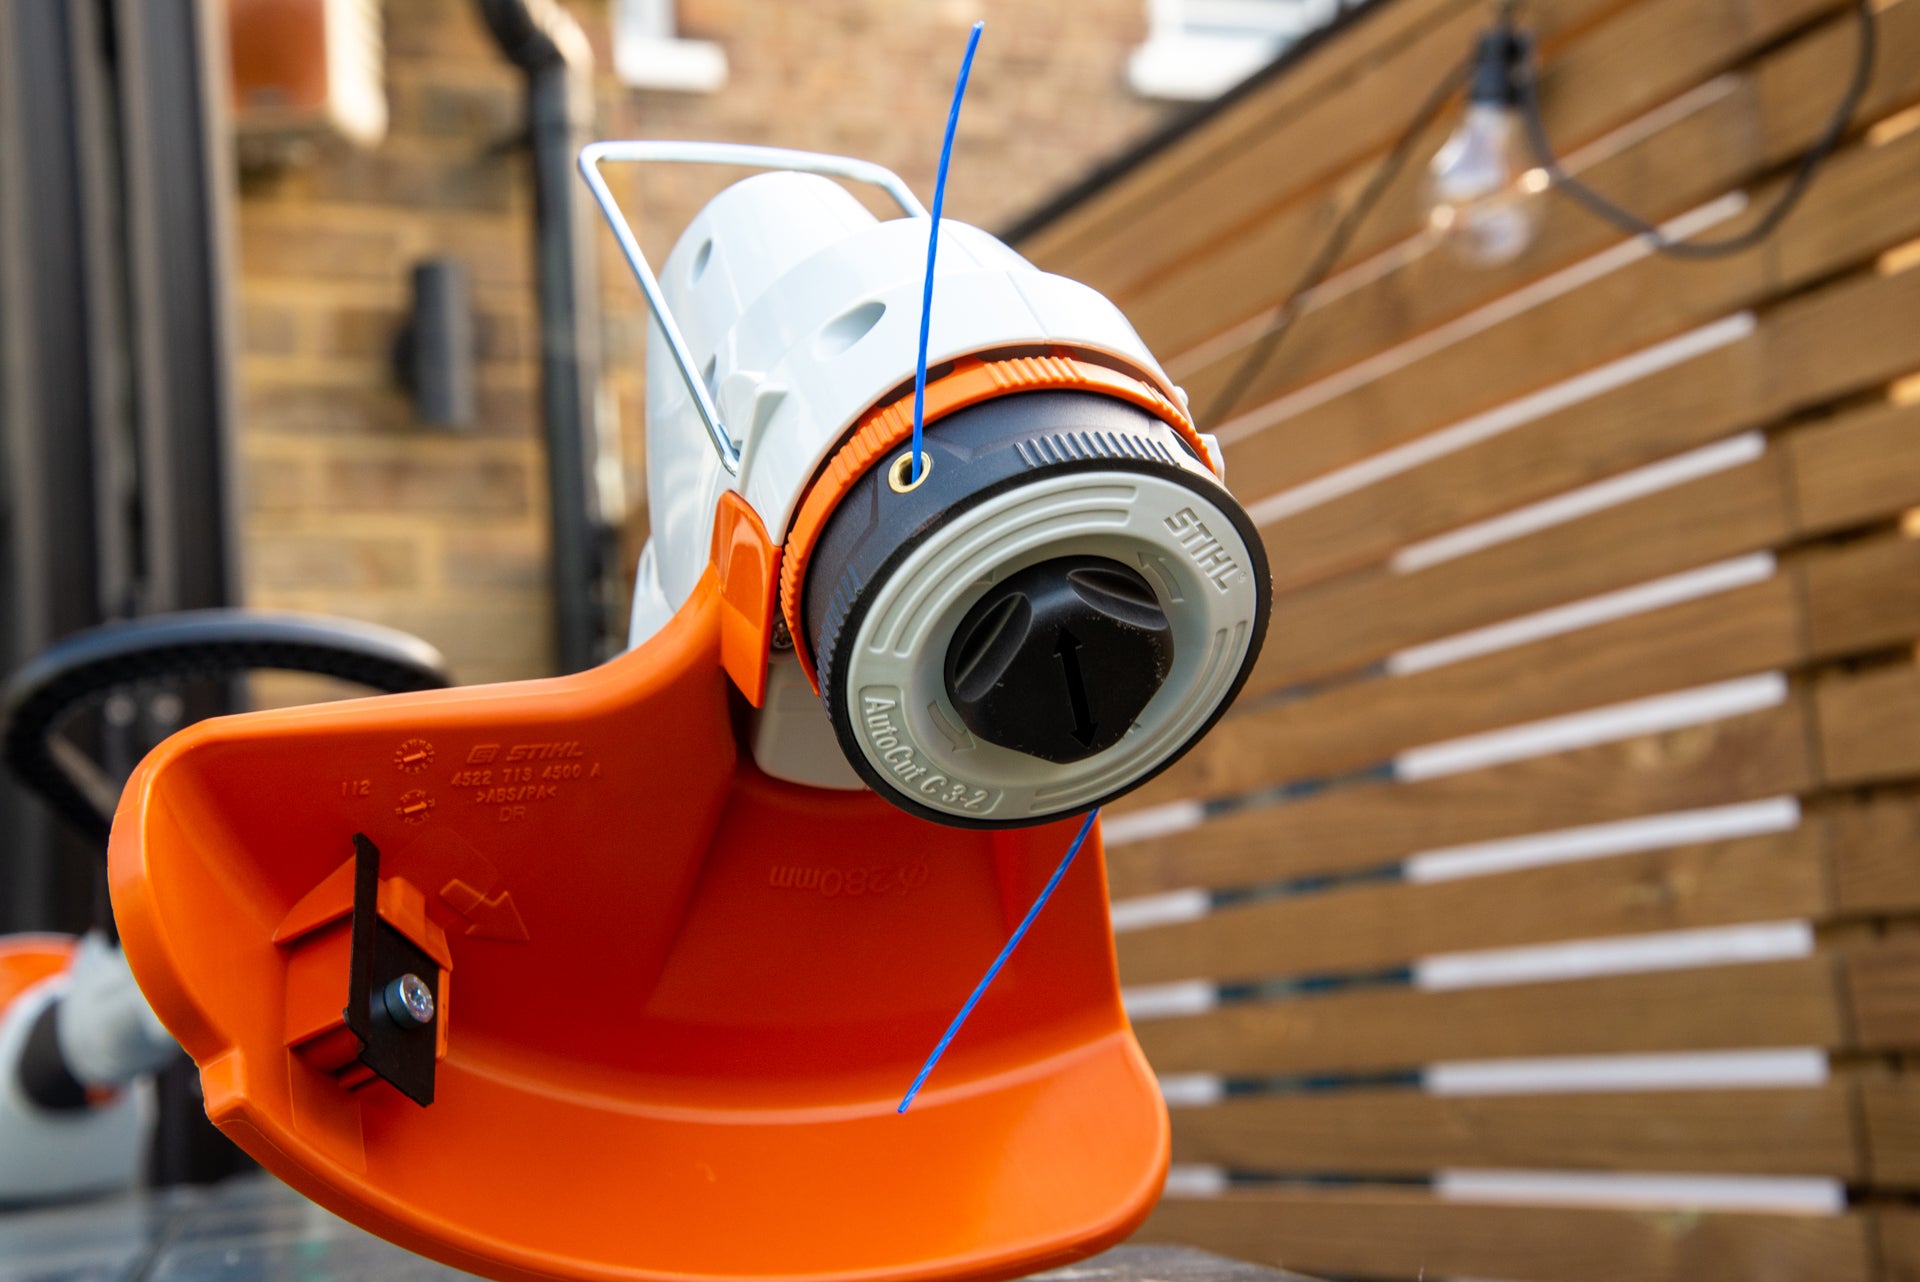
- Then, find and thread the line through the hole in the trimmer head.
- Lastly, wind the new line around the spool in the correct direction.
I have often found it quite astonishing that a vast majority of people shy away from their string trimmers, simply because they don’t know how to replace the line efficiently. This everyday gardening tool, which saves us countless hours taming overgrown grass and weeds, can be intimidating for many. It’s a process that when learned, can make our gardening chores a breeze.
The practice of replacing a string trimmer’s line has been around since the inception of the device itself in the early 1970s. Over 150 million trimmers are sold worldwide every year, yet a startling number of users are unaware of proper line replacement techniques! Fret not, the process is as easy as removing the head of the trimmer, winding your new line, and securing it. This not only saves your trimmer from unnecessary pressure but also contributes to a neater and healthier lawn.
 Source: trustedreviews.com
How to Install New Line on Your String Trimmer: Step-by-Step Guide for Beginners
The efficiency of your yard work largely depends on how well your string trimmer operates. A critical aspect of this operation involves knowing ‘how to install new line on your string trimmer’. This handy guide illustrates a step-by-step procedure that you can easily follow to ensure your string trimmer always stays ready for the job. Let’s dive into it.
Step 1: Safety Preparations
Before you learn how to install new line on your string trimmer, it’s important to understand the safety measures. Ensure your trimmer is switched off and disconnected from any power source to prevent accidental startups. Wear protective gloves to safeguard your hands during the process and work in a clutter-free space.
Step 2: Removing the Old Line
The first tangible step of how to install new line on your string trimmer is getting rid of the old one. Locate the trimmer head cap, which is usually at the bottom of the unit, and unscrew it by following the manufacturer’s release instructions. Next, pull out the spool from the trimmer head and discard the old line.
Step 3: Winding the New Line
Take the new trimmer line (diameter width as specified by your trimmer’s manufacturer) and measure approximately 10-25 feet, depending on your spool’s size. Cut this piece and wind it neatly and tightly around the spool in the direction of the arrow marked on it. Ensure the line doesn’t cross over itself as it can cause future feeding problems.
Step 4: Reinserting the Spool and Line
After winding, leave about 6 inches of line unwrapped. Thread this end through the hole in the trimmer head and reinsert the spool into the head. Make sure the line does not unwind during this process. After the spool is properly seated, pull on the line to ensure it feeds properly through the head.
Step 5: Reattaching the Trimmer Head Cap
The final step in how to install new line on your string trimmer is to secure the trimmer head cap back on. After making sure the line feeds correctly, replace the cap and secure it in place with a firm twist or snap, depending on your trimmer’s design.
Your string trimmer is now ready for use with a fresh line installed. Remember to inspect the line occasionally to ensure it’s not wearing out or breaking. A well-maintained string trimmer guarantees an efficient and neat yard job every time you power it up. Now that you can confidently install new line on your string trimmer, you’re a step closer towards mastery in yard maintenance. Happy trimming!
How to Change the Line | Weed Eater String | Replace Weed Wacker
Frequently Asked Questions
If you’re a homeowner or landscaper, maintaining your string trimmer is an essential part of yard maintenance. Among the maintenance procedures, replacing or installing the line on your trimmer can be the most daunting. To help you, we’ve created a set of Frequently Asked Questions (FAQs) about the process.
1. What is the first step to take when preparing to install a new line on my string trimmer?
The first step in preparing to install a new line on your string trimmer is to remove the old line. You can do this by removing the spool cap and then carefully unwinding the old line from the spool. Ensure you dispose of the line responsibly to prevent harm to wildlife.
Once you’ve removed the old line, it’s a good idea to clean the spool cap and the spool itself. You can do this using a cloth or brush to remove any particles of grass or dirt which have built up over time. This will help the new line to feed through more smoothly when you install it.
2. Can I install any line size on my string trimmer?
No, it’s not recommended to install any line size on your string trimmer. The size of the line you should use depends on the model of your trimmer. Using the wrong size could damage the trimmer or affect its performance.
You can usually find the recommended line size in the instruction manual that came with your trimmer when you bought it. If you’re unable to find this, you might be able to find the information by searching online. Use the model number of your trimmer to find the correct size of line to install.
3. How do I wind the new line onto the spool?
Winding the new line onto the spool can be a tricky task if you’re unfamiliar with it. Begin by cutting a length of new line, typically around 15-25 feet. Feed one end of the line through the hole in the center of the spool, leaving about 6 inches sticking out the other side.
Next, wind the line onto the spool, following the direction indicated on the spool itself. Make sure to wind the line tightly and neatly to avoid it tangling when in use. Once you have wound all but about 6 inches of the line onto the spool, you can clip it into the slot on the edge of the spool to hold it in place.
4. How do I reinstall the spool back into my string trimmer?
Once the line is wound onto the spool, you can reinstall it back into the string trimmer. Firstly, ensure that the line feeds through the hole in the trimmer head. Next, align the notch on the spool with the spring in the trimmer head, and push the spool into place.
Next, you’ll need to fit the spool cap back on. Ensure you align the tabs on the cap with the slots on the head, then push down and turn it until it clicks into place. Finally, pull the ends of the line to disengage them from the holding slots on the spool, and you’re ready to go.
5. What is the importance of installing the correct line on my string trimmer?
Installing the correct line on your string trimmer is crucial for a few reasons. Firstly, using the wrong size could damage your trimmer. A line that’s too thick might strain the motor, while a line that’s too thin might not be strong enough to cut through vegetation effectively.
Additionally, different lines are designed for different types of trimming. A medium-duty line, for example, is best suited to trimming grass and light weeds. In contrast, a heavy-duty line is better for tougher vegetation like thick weeds and small bushes. Choosing the right line for your needs ensures you get the best performance from your trimmer.
How to replace string trimmer edger line
Conclusion
Learning how to install a new line on a string trimmer has a lot of benefits; it saves us time and money. We’ve discussed the steps: making sure the trimmer is off and cool, removing the old line, threading the new one in, and winding it up. The key is always to ensure safety and follow the trimmer manufacturer’s instructions when unsure.
We’ve also touched on the importance of regular maintenance. It’s a good idea to inspect our trimmer line regularly, replacing it when it wears thin or breaks. Remember, the correct maintenance ensures the trimmer’s optimal performance and extends its life. With practice, replacing trimmer lines becomes quicker and easier for us.

I’m Patricia D. Johnson, an affiliate marketer and blogger specializing in trimmers and grooming tools. I create honest reviews, buying guides, and practical tips to help readers choose the right trimmer for their needs. With a focus on quality, performance, and value, I simplify the decision-making process so consumers can make confident purchases.