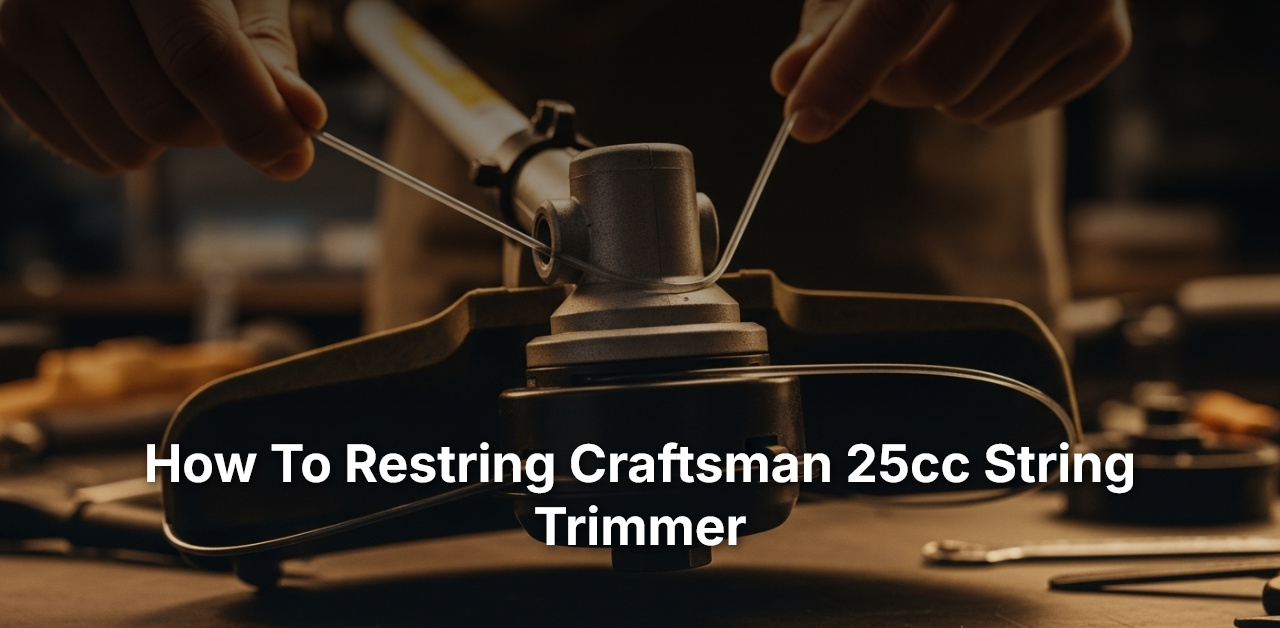
- First, locate the two holes on the trimmer head.
- Next, cut two 12-inch pieces of string.
- Insert the end of each string into the holes.
- Wind both strings in the same direction until they’re secure.
- Finally, reinstall the trimmer head back onto your Craftsman 25cc trimmer.
Isn’t it amazing how a seemingly daunting task can be effortless if you know the right process? That’s the case when you’re trying to restring a Craftsman 25cc string trimmer. Don’t squander your valuable time rifling through a plethora of confounding instructions; instead, let me guide you through the step-by-step procedure.
Restringing a 25cc Craftsman string trimmer is a primary yet vital maintenance aspect that many users tend to overlook or find challenging. Born out of necessity, the string trimmer has morphed over time with technology and is popular for its efficiency to reach places mowers can’t. Hence, a well-maintained string trimmer, including regular string replacements, can increase productivity by a massive margin of up to 60%. Let’s embark on this restringing journey together!
How to Restring a Craftsman 25cc String Trimmer (Step-by-Step Guide)
A well-maintained trimmer can add a professional finishing touch to your lawn care routine. But after extensive usage, one common maintenance procedure that you’ll need to master is the re-stringing process. This tutorial will guide you through the steps on how to restring craftsman 25cc string trimmer, to keep it in optimum running condition.
Step 1: Gather the Required Tools
Before commencing the process, it’s important to have the right set of tools in place. You’ll require a new trimmer line, screwdriver, gloves, and safety goggles. The craftsman 25cc string trimmer favors using a 0.095-inches diameter trimmer line, but it can accommodate lines between 0.080 and 0.110 inches.
Prepare your workspace by ensuring it’s clean and well-lit. Using gloves and safety goggles is a best practice to ensure your safety during the course. This way, you can protect your hands from possible cuts and shield your eyes from any parts that might accidentally fly off during the process.
Keeping a Screwdriver at hand will be beneficial for removing and replacing certain parts during the process. Remember to buy a quality screwdriver that can withstand pressure and won’t strip the screws on your trimmer.
Lastly, Make sure the replacement string you’re using is specific to your trimmer model. Using the wrong type of string could potentially damage your trimmer or cause it to malfunction.
Step 2: Remove the Old String
Start by turning off the trimmer and disconnecting its spark plug wire for safety reasons. Locate the trimmer head at the bottom of the shaft. Some models house a retainer that needs to be pressed in to release the spool, while others need it to be unscrewed.
Once the retainer or screw is removed, gently take off the spool from its housing. Beware of small parts like springs that may come out with it; safely set these aside to reassemble later.
The old string will either be unwound or cut through and removed. It’s necessary at this point to inspect the spool and retainer for any damages. Damages should be addressed before proceeding as this can affect the performance of your trimmer.
Clean out all debris from the spool base, retainer, and spool. This is vital to ensure the trimmer operates smoothly. Use a cloth or a small brush to clear dust and grass clippings.
Step 3: Load the New String
Take the new string and cut about 10-25 feet of it using a pair of sharp scissors. Insert the end of your string into the hole in the center of the spool. Make sure it enters and exits through the other side of the hole. This is an important step in learning how to restring craftsman 25cc string trimmer.
After securing the string in the hole, start winding the string around the spool. Make sure you wind in the same direction as indicated on the top of the spool. If no direction is provided, it’s safe to wind the string in a clockwise direction.
Wind evenly and tightly until you’re left with 6-12 inches of string. Insert the remaining string into the notch located on the rim of the spool. This will prevent the string from unraveling.
If your trimmer uses a twin spool, cut two separate lengths of line, insert the ends into the spool holes, and wind both simultaneously following the same process.
Step 4: Replace the Spool
Once the string is secure, reintroduce the spool into the trimmer head. Ensure that the end of the string passes through the eyelet located on the trimmer head.
Snap the retaining cap back in place or screw it back if it was unscrewed. Then, pull gently on the string to release it from the holding notch and advance it from the trimmer head. This is to ensure the string feeds properly when in use.
Lastly, connect the spark plug wire back, start the engine, and let it idle for a few minutes. Check to see if the string advances when you tap the head on the ground.
If it works as intended, congratulations, you’ve successfully learned how to restring craftsman 25cc string trimmer. But if it doesn’t, turn off the engine and revisit the steps here to ensure you didn’t miss anything.
Step 5: Regularly Maintain your String Trimmer
Once you manage to restring your trimmer successfully, maintenance should become an easy and regular routine. Regular upkeep will not only prolong the life of your trimmer but will also maintain its performance at the top level.
Make it a habit to clean your trimmer after every use. Also, check the string often and restring when you notice any wear. This will ensure a quality cut every time.
Don’t worry if you need to restring frequently. Frequent restringing simply means your Craftsman 25cc trimmer is being well used, maintaining your lawn just the way you want it.
Remember, a well-maintained trimmer not only ensures a well-groomed lawn but also reduces the chances for mechanical issues in the long run.
With these steps as your guide, restringing your Craftsman 25cc string trimmer is no more a daunting chore. You’re now equipped with the expertise to maintain and enhance the performance of your prized lawn care tool. In fact, you might find tending to it to be a fulfilling task that comes naturally to you over time.
Craftsman Gas 2-Cycle 25 cc Trimmer (2-in-1 Head): Trimmer Line Replacement
Frequently Asked Questions
Many individuals face challenges when it comes to restringing their Craftsman 25cc string trimmer. Here, we offer expert responses to some of the queries you might have on this topic.
1. What safety precautions should I take before restringing my Craftsman 25cc string trimmer?
Before restringing your Craftsman 25cc string trimmer, safety should always be your priority. Ensure the trimmer is turned off and detached from any power source. This significantly minimizes the risk of injury or electric shock.
Wear protective gloves to keep your hands safe from the sharp edges of the trimmer and the new string. Clear your workspace of debris and have a stable surface to work on. Lastly, make sure you always follow the manufacturer’s guidelines during the restringing process.
2. What materials will I need to restring my Craftsman 25cc string trimmer?
To restring your Craftsman 25cc string trimmer, you will require a new trimmer line compatible with your unit. The line’s diameter and length should align with the manufacturer’s specifications for optimal trimming performance.
Additionally, you might find it useful to have a pair of sharp scissors or a utility knife for cutting the new line, and needle-nose pliers can be helpful to remove any old line stuck in the trimmer head.
3. How often should I restring my Craftsman 25cc string trimmer?
The frequency of restringing your Craftsman 25cc string trimmer strongly depends on how often you use the tool and the type of vegetation you deal with. If you use the trimmer quite often or on tough, dense vegetation, you might have to restring it more frequently.
As a general rule, restringing should occur once you notice your trimmer is not cutting as effectively as it should or the line is worn, brittle, or missing. Regularly checking the condition of your trimmer line will help you assess when it’s time for a restring.
4. Why does my Craftsman 25cc string trimmer line keep breaking?
If your Craftsman 25cc string trimmer line keeps breaking, it is likely due to one of several reasons. The line might be old or brittle, which increases its likelihood of snapping. Alternatively, you might be using an incorrect line size for your trimmer, leading to undue stress and breakage.
Furthermore, you might be trimming against hard objects like rocks, fences, or concrete which can cause the line to snap. Over time, exposure to sunlight and varying weather conditions can also weaken the line, causing it to break easily.
5. What is the correct way to store my Craftsman 25cc string trimmer to prolong the string’s lifespan?
Proper storage of your Craftsman 25cc string trimmer can indeed prolong the string’s lifespan. Always store your trimmer in a cool, dry place away from direct sunlight. Exposing your trimmer to harsh weather conditions or sunlight can make the string brittle, leading to frequent breakage during use.
In addition, ensure that when storing, the string is not under tension. It is advisable to let off a small amount of line out of the head before storing your trimmer. Regular maintenance, including cleaning and lubrication, will also contribute to the overall longevity of the trimmer line.
Conclusion
Restringing your Craftsman 25cc string trimmer is a pretty simple task after you understand the steps. We started by ensuring safety measures like disconnecting the spark plug. Getting the spool ready by cleaning and inspection was our next step. Then we prepared our new string, measured, and cut it to the appropriate length. The important part in this process was winding the string correctly onto the spool, and finally reinstalling it into the trimmer. Remember to keep the tension even when winding!
Take pride in mastering this simple maintenance task. This skill can save you time and unnecessary expense for something that you can do yourself. Just always remember, safety comes first when handling such tools, and follow precisely our directions. The next time you notice a decrease in the cutting performance of your Craftsman 25cc string trimmer, you’ll know exactly what to do. Happy gardening!

I’m Patricia D. Johnson, an affiliate marketer and blogger specializing in trimmers and grooming tools. I create honest reviews, buying guides, and practical tips to help readers choose the right trimmer for their needs. With a focus on quality, performance, and value, I simplify the decision-making process so consumers can make confident purchases.