
To string a Hyper Tough weed eater, first, make sure the engine is off and cool. Then, remove the spool cover by pressing on the side tabs and lifting it off. Next, remove any remaining old string from the spool. Insert the new string into the anchor hole and wind it clockwise, leaving about 6 inches unwound. Finally, thread the string through the exit hole and reattach the spool cover. Start the engine and trim away!
When it comes to tackling those pesky weeds in your yard, a hyper tough weed eater can be a game changer. With its powerful motor and durable design, it’s ready to take on even the toughest weeds. But before you can start trimming, you need to know how to properly string your weed eater. Don’t worry, I’ve got you covered. In this guide, I’ll walk you through the steps to stringing your hyper tough weed eater, so you can get back to enjoying a pristine lawn in no time.
First, let’s start with a little background. Hyper tough weed eaters have been around for years, and they continue to be a popular choice among homeowners and professional landscapers alike. The key to their success lies in their innovative string design, which ensures maximum cutting power and efficiency. In fact, studies have shown that hyper tough weed eaters can trim weeds up to 50% faster than traditional models. Now that’s impressive! So, let’s dive into the process of stringing your weed eater.
Understanding the Hyper Tough Weed Eater
Before we dive into the process of stringing a Hyper Tough weed eater, let’s take a moment to understand the tool itself. The Hyper Tough weed eater is a powerful and versatile piece of equipment used for trimming and edging lawns. It is designed to cut through thick weeds and overgrown grass with ease, making it an ideal choice for homeowners and professionals alike.
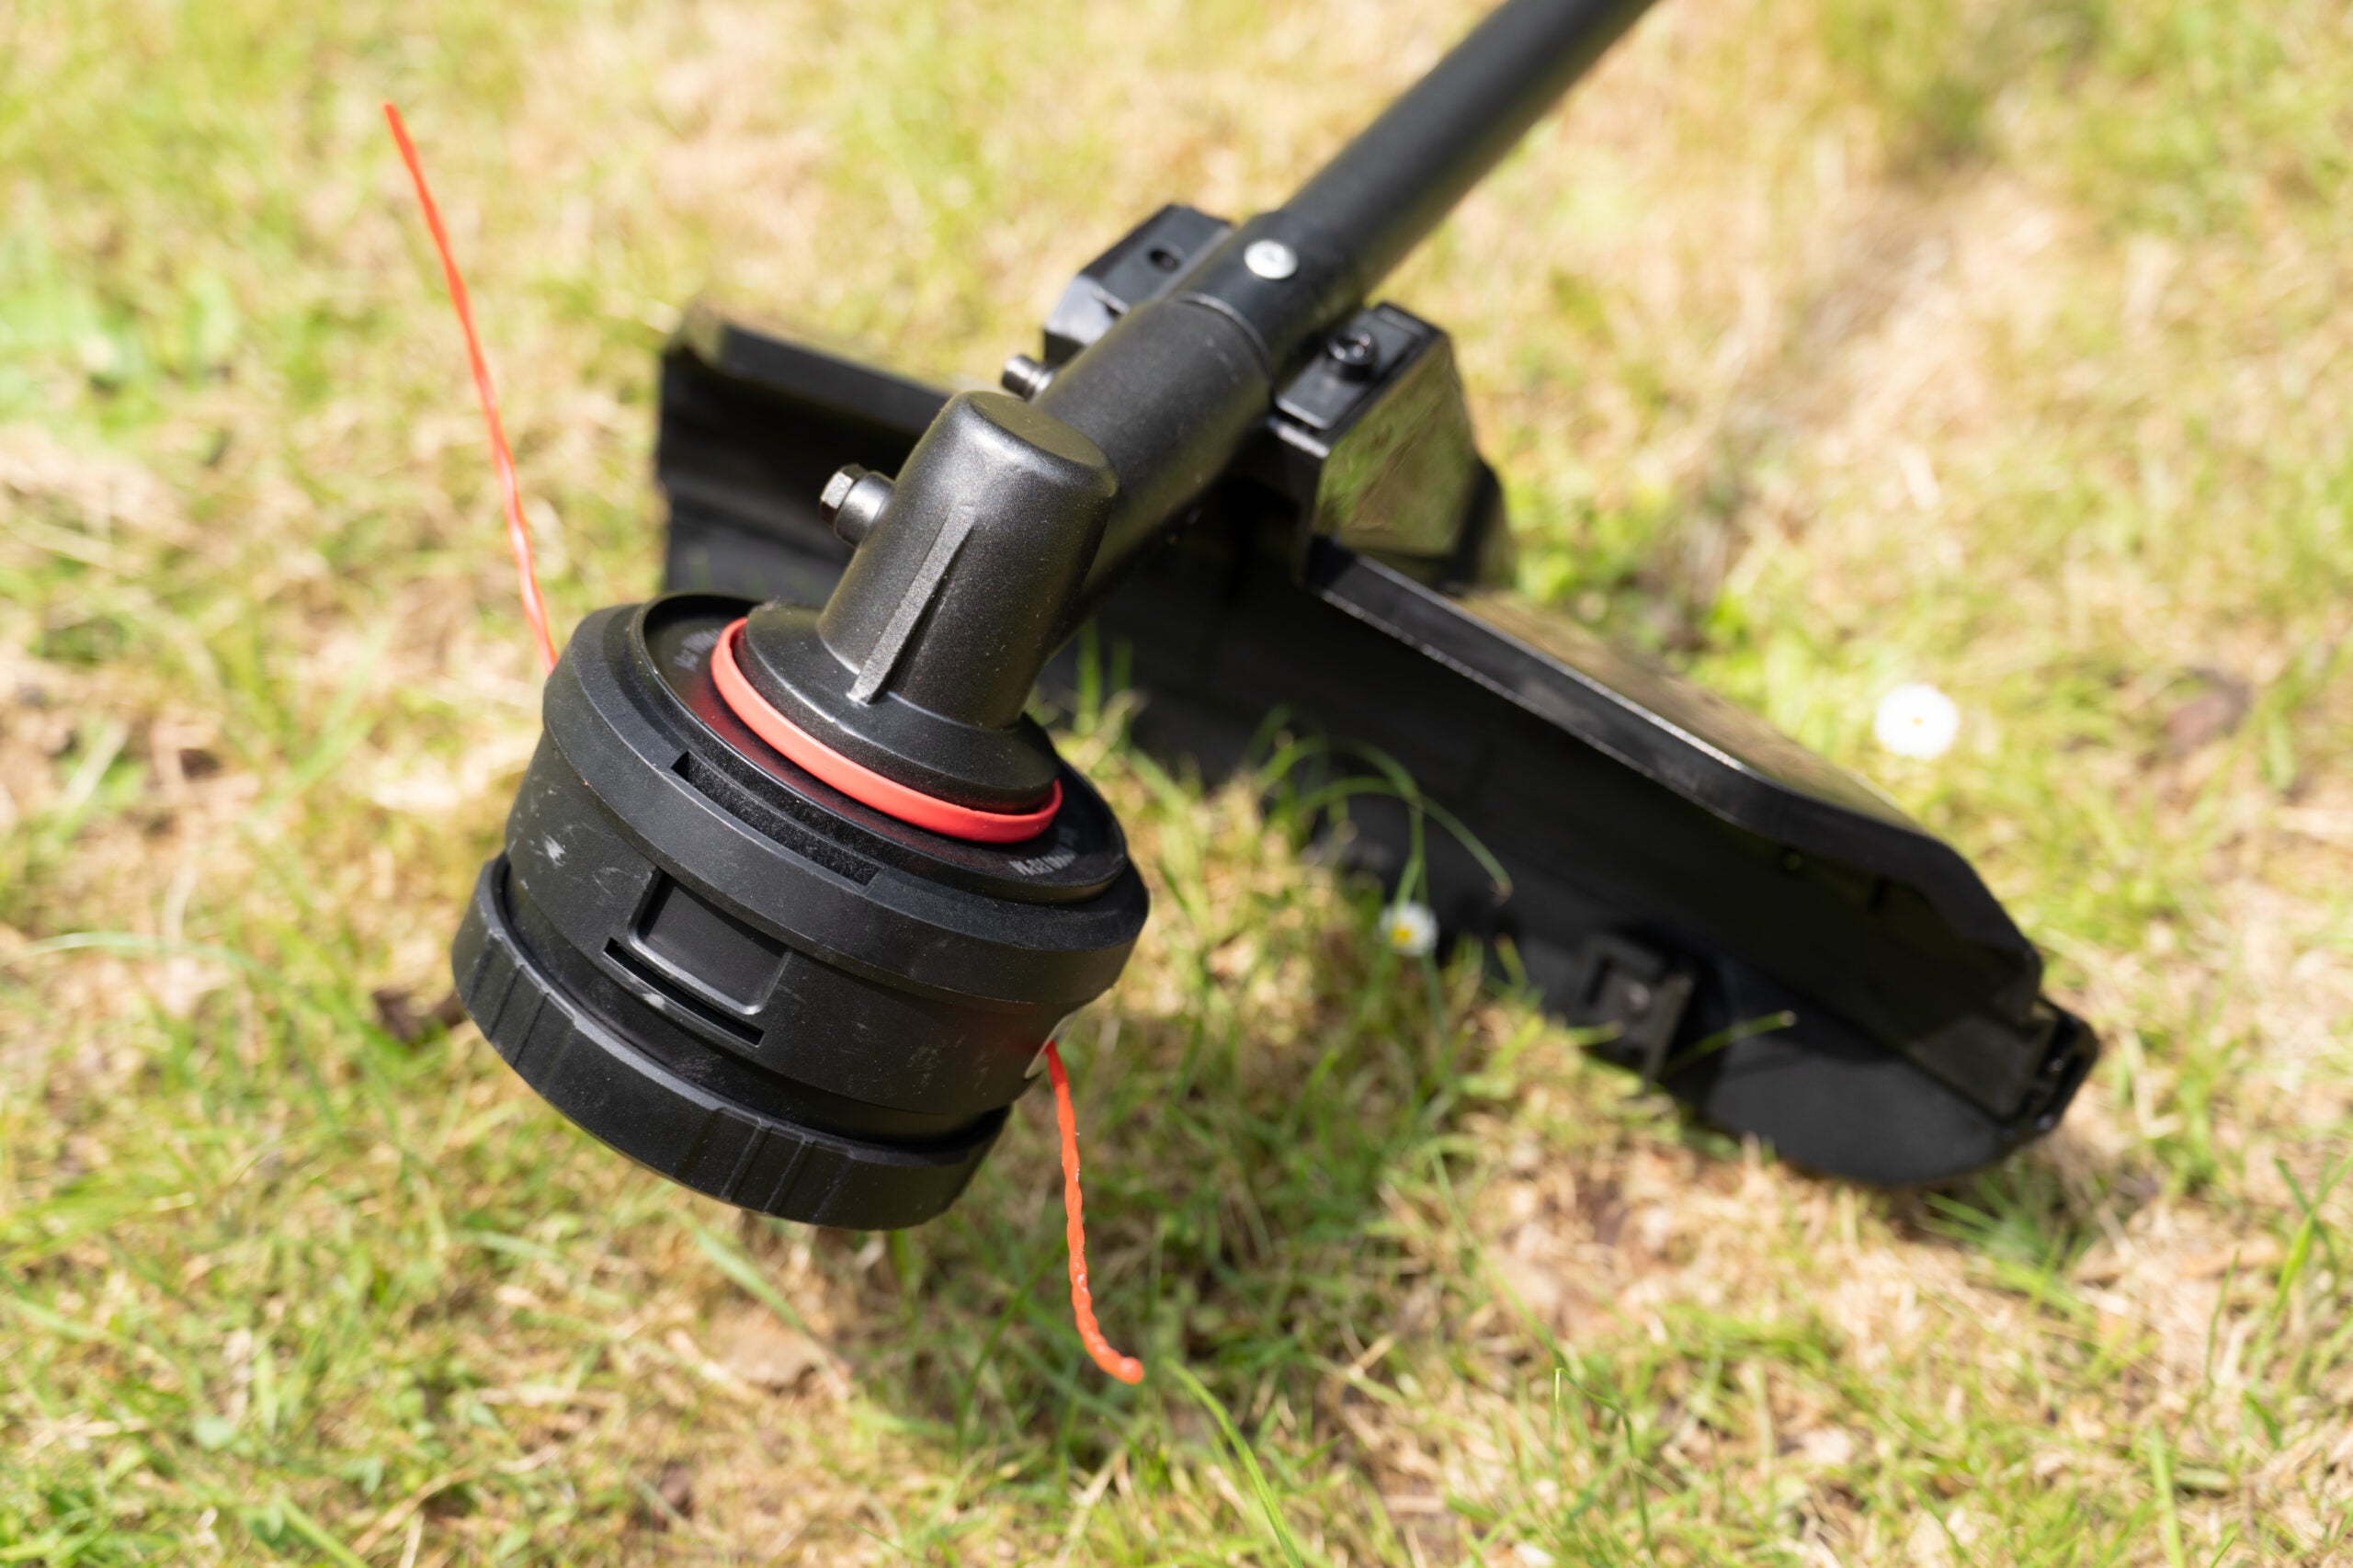
The weed eater consists of a motor, a shaft, and a cutting head. The cutting head is where the string, also known as a line, is attached. Over time, the string wears down and needs to be replaced. Stringing the Hyper Tough weed eater is a simple process that can be done in a few easy steps. In this guide, I will walk you through the process of stringing your Hyper Tough weed eater, ensuring that you can continue maintaining your lawn effortlessly.
Step 1: Gather the Necessary Tools and Materials
Before you begin stringing your Hyper Tough weed eater, it’s essential to gather all the necessary tools and materials. This will ensure a smooth and uninterrupted process. Here’s what you’ll need:
- A replacement spool of trimmer line: Ensure that the line is compatible with your Hyper Tough weed eater model.
- Safety goggles or glasses: Protect your eyes from any debris that may fly up during the stringing process.
- Gloves: Keep your hands safe from any sharp edges or moving parts.
- A clean, flat surface: This will serve as your workstation for stringing the weed eater.
Step 2: Prepare the Weed Eater for Stringing
Now that you have gathered all the necessary tools and materials, it’s time to prepare the weed eater for stringing. Follow these steps:
- Ensure that the weed eater is turned off and the power source is disconnected.
- Locate the cutting head at the end of the shaft.
- Inspect the cutting head for any signs of damage or wear. If necessary, clean or replace the cutting head.
- If there is any old string remaining in the cutting head, remove it to make room for the new string.
Step 3: Load the String Onto the Spool
With the weed eater ready for stringing, it’s time to load the new string onto the spool. Follow these instructions carefully:
- Hold the replacement spool in one hand and locate the small hole in the center.
- Take one end of the trimmer line and insert it through the hole. Leave a small tail of about 6 inches.
- Wrap the trimmer line around the spool, following the direction indicated by the arrows on the spool. Ensure that the line is wound tightly and evenly.
- Leave a small tail of about 6 inches at the end of the line.
Step 4: Thread the String Through the Cutting Head
With the string loaded onto the spool, it’s time to thread it through the cutting head. Follow these steps:
- Find the small holes, usually two, on the top of the cutting head.
- Insert the ends of the string into the holes, one on each side. Ensure that they are securely in place.
- Rotate the spool in the opposite direction of the arrows on the cutting head. This will release the line from the spool and allow it to extend.
- Once the line is extended to the desired length, pull it through the holes until it is even on both sides.
Step 5: Test the String and Start Strimming
Now that the string is loaded and threaded correctly, it’s time to test it and start strimming. Follow these final steps:
- Hold the weed eater firmly and turn it on.
- Allow the trimmer line to reach full speed and check the length. Adjust if necessary.
- Gently tap the cutting head on the ground. This will release more trimmer line as needed.
- You are now ready to start strimming your lawn. Move the weed eater in a sweeping motion, trimming the grass and weeds as you go.
Stringing a Hyper Tough weed eater is a straightforward process that can be done in just a few minutes. By following these steps, you can ensure that your weed eater is always ready to tackle even the toughest jobs. Remember to wear the necessary protective gear and exercise caution while operating the tool. Happy trimming!
How to reload restring Hyper Tough (Walmart) 20V battery trimmer weed eater
Frequently Asked Questions
Here are some common questions about how to string a Hyper Tough weed eater:
How do I replace the string on my Hyper Tough weed eater?
To replace the string on your Hyper Tough weed eater, follow these steps:
- Step 1: Turn off the weed eater and disconnect the spark plug to ensure safety.
- Step 2: Locate the spool head at the bottom of the weed eater, which houses the string.
- Step 3: Unscrew the spool head by turning it counterclockwise. Be careful not to lose any small parts.
- Step 4: Remove any remaining string from the spool head.
- Step 5: Cut a length of new string, typically around 8 to 10 feet.
- Step 6: Insert one end of the string into the hole in the center of the spool head, and then wind the string around the spool in the direction indicated by the arrows.
- Step 7: Leave about 6 inches of string unwound, and then secure it in the holding notches on the spool head.
- Step 8: Screw the spool head back onto the weed eater by turning it clockwise until it is secure.
- Step 9: Reconnect the spark plug and test the weed eater to ensure the new string is working properly.
What type of string should I use for my Hyper Tough weed eater?
When choosing a string for your Hyper Tough weed eater, it is important to use the correct type to ensure optimal performance. Here are some recommendations:
– Opt for a string that is specifically designed for use in weed eaters or trimmers.
– Look for a string with a recommended diameter that matches the specifications of your weed eater. This information can usually be found in the user manual or on the manufacturer’s website.
– Consider the type of vegetation you will be cutting. For thick or stubborn weeds, a string with a higher durability rating may be more suitable.
By using the correct string for your Hyper Tough weed eater, you can ensure efficient cutting and reduce the risk of damage to the equipment.
How often should I replace the string on my Hyper Tough weed eater?
The frequency of string replacement on your Hyper Tough weed eater will depend on several factors, such as the frequency and intensity of use, the type of vegetation being cut, and the condition of the string. However, as a general guideline, it is recommended to replace the string when it becomes worn, frayed, or breaks frequently.
Regularly inspect the string for signs of damage or wear, and replace it as needed to maintain optimal cutting performance. It’s also a good practice to replace the string at the beginning of each cutting season to ensure you start with fresh, reliable string.
What safety precautions should I take when stringing my Hyper Tough weed eater?
Stringing a Hyper Tough weed eater involves potential risks, so it’s important to follow these safety precautions:
– Always wear protective eyewear, gloves, and long pants to protect yourself from debris and potential injury.
– Turn off the weed eater and disconnect the spark plug before starting any maintenance tasks to prevent accidental starting.
– Follow the manufacturer’s instructions and guidelines for string replacement to ensure proper installation and avoid damaging the equipment.
– Use caution when handling the string, as it can be sharp and cause injury if mishandled.
Can I use other brands of string in my Hyper Tough weed eater?
While it is recommended to use the specified string recommended by the manufacturer for your Hyper Tough weed eater, you may be able to use other brands of string as long as they are
How to restring a Hyper Tough weed eater the right way
Final Words
In conclusion, stringing a Hyper Tough weed eater is a simple process that requires a few steps. First, gather the necessary tools and equipment, including a replacement string and safety goggles. Then, locate the trimmer head and remove the spool cover to access the empty spool.
Next, insert one end of the new string into the small hole on the spool and wind it in the direction indicated by the arrows. Once the string is wound, feed the other end through the trimmer head and secure it in place. Finally, replace the spool cover and tighten it securely. Now, you’re ready to tackle your yard work with a freshly strung Hyper Tough weed eater!
