There’s always a satisfying sensation we get when we ace a simple DIY task like winding a spool on that persistent string trimmer. Imagine having at your disposal the skill to accomplish this often frustrating task. The good news is, you only need your intuition and a basic understanding of your trimmer’s components to put those trimmer line nightmares behind you.
Back in the days, keeping your lawn neatly edged took much longer-an era before the invention of string trimmers. Now, with every latest model that comes out, we’re witnessing an ever-increasing growth in efficiency. Interestingly, the string trimmer line was originally made from nylon, a material choice that still stands to this day! With such technological advancements and material consistency, isn’t it empowering to be part of this continuous journey through time by mastering how to wind your string trimmer spool?
- We start by ensuring the trimmer is switched off and the spool is clean.
- Then, I take around 10-15 feet of a new trimming line and fold it in half.
- We feed the line into the anchor hole on the inner reel, keeping it even on both ends.
- Next, I wind the line around the reel in the direction indicated on the spool.
- Last, I reassemble the trimmer head, ensuring the line feeds through the exit hole correctly.
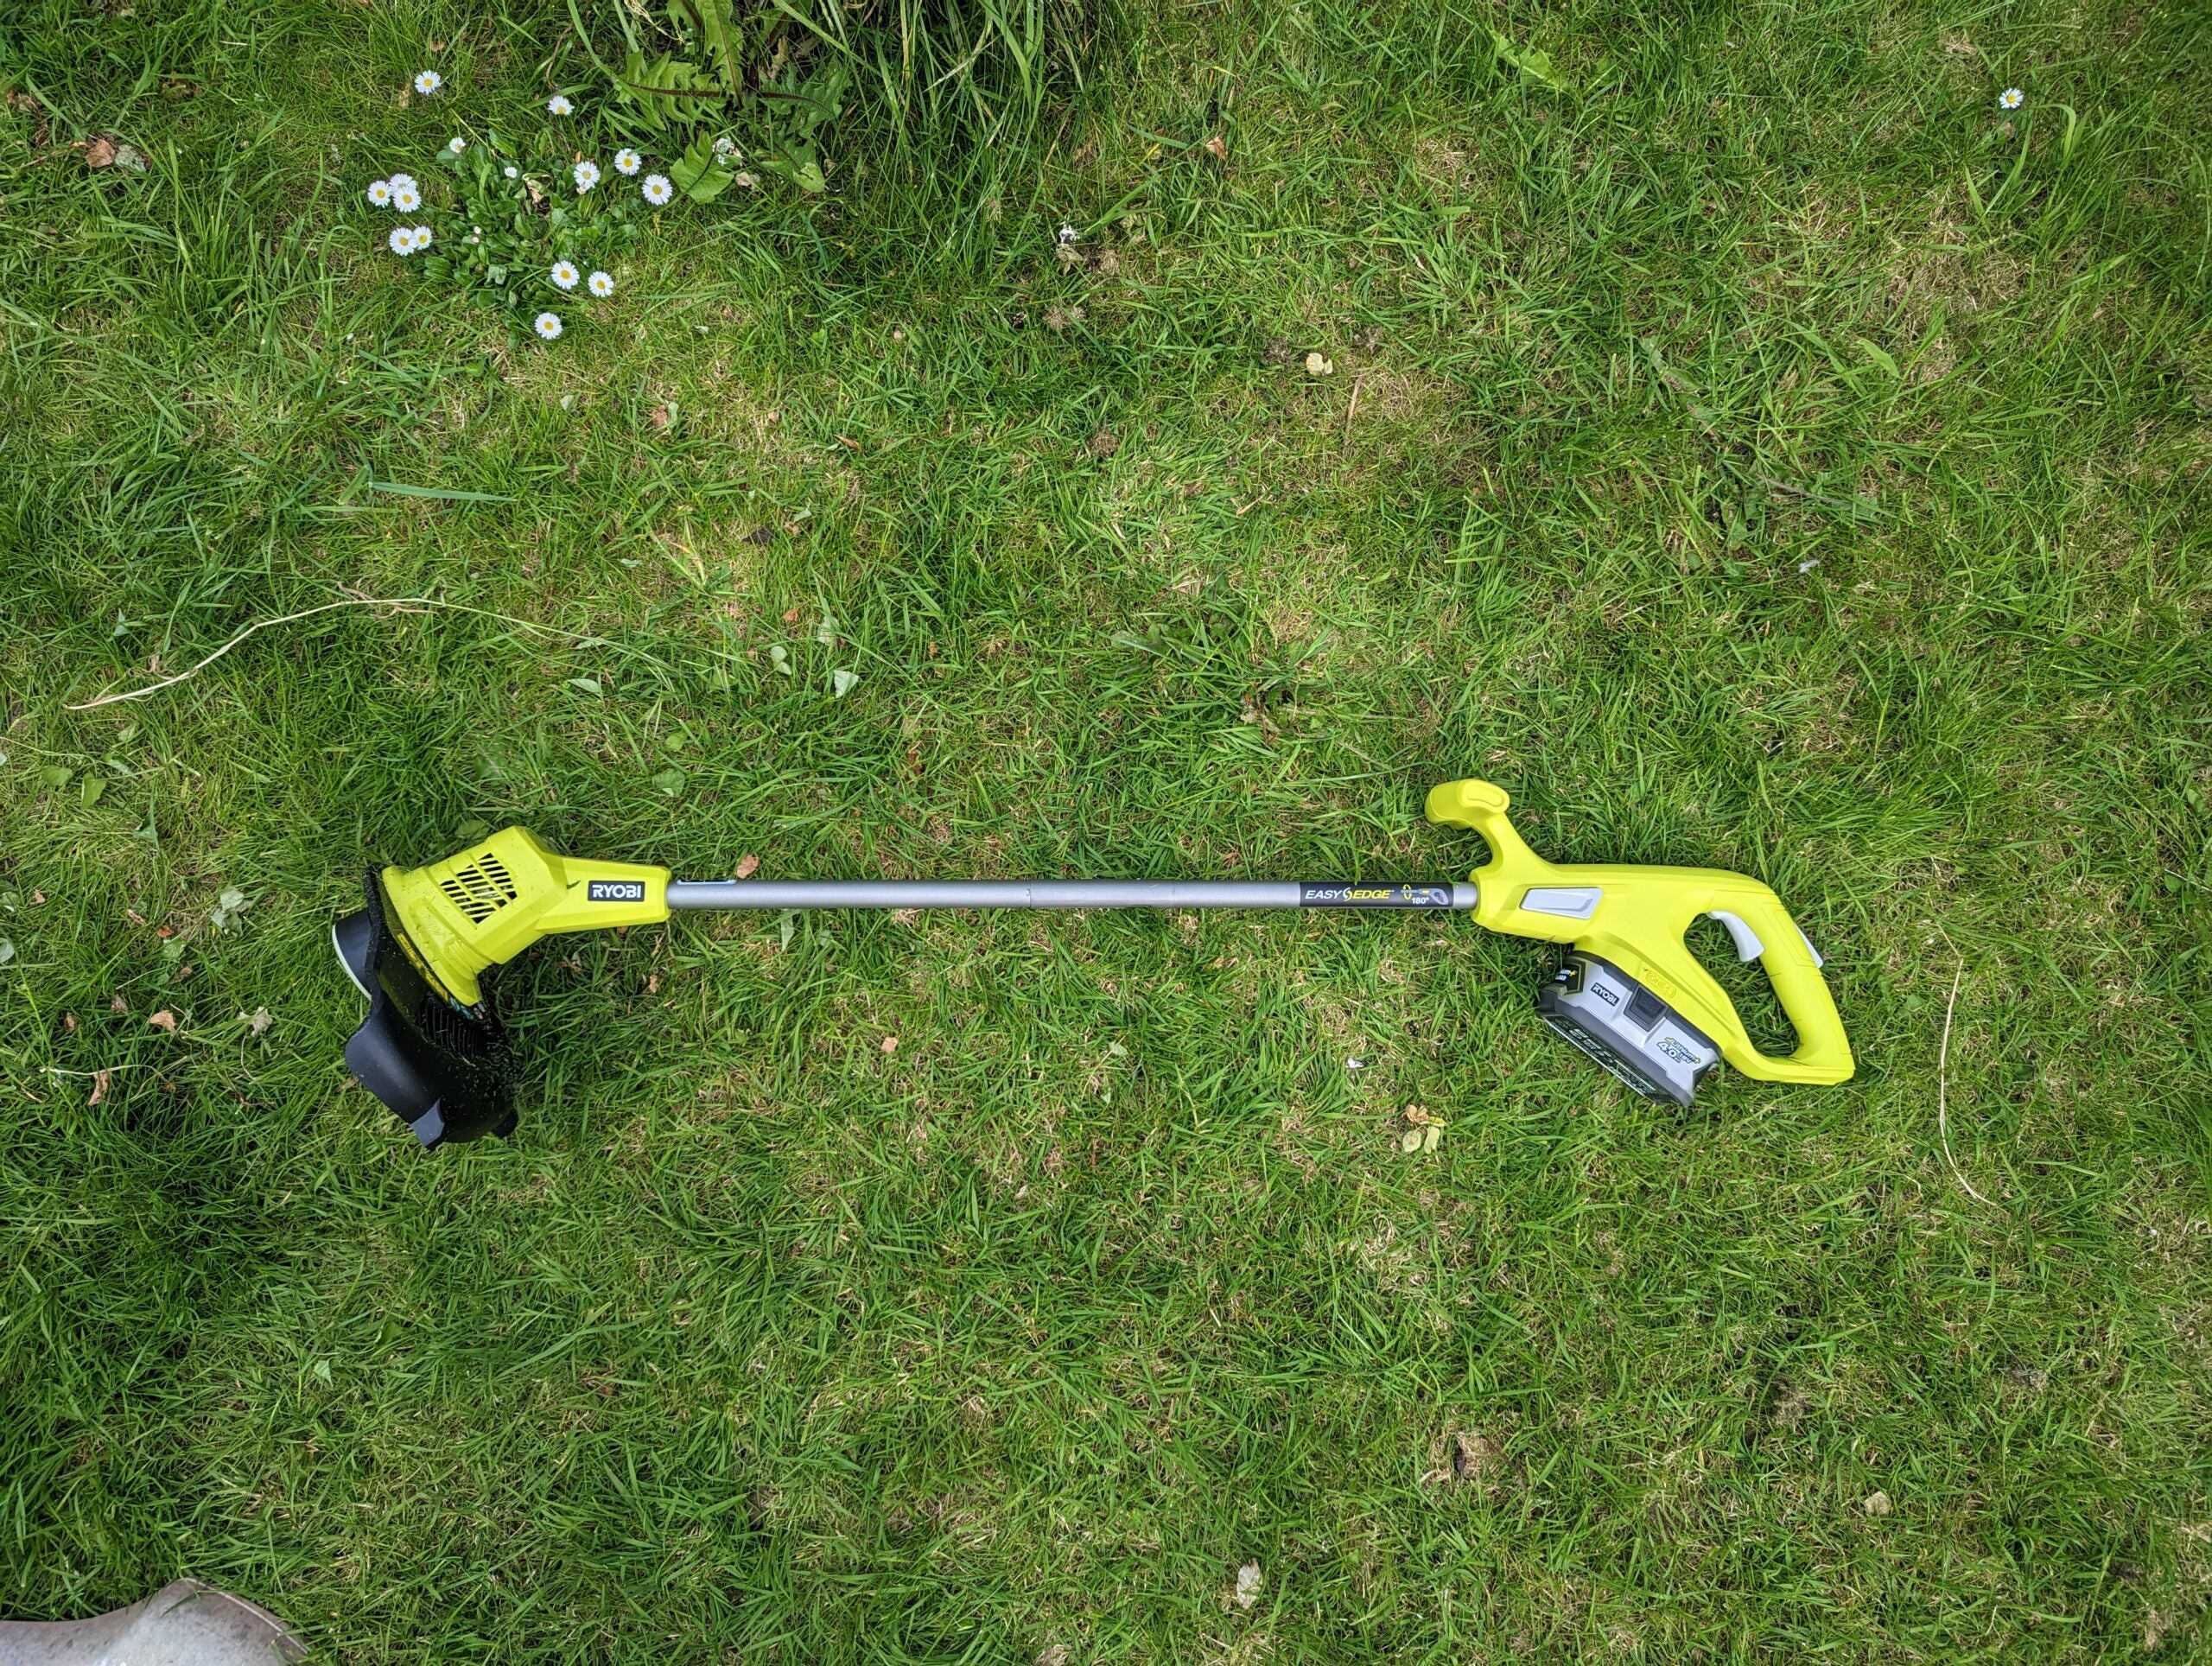
 Source: trustedreviews.com
Mastering the Art of Winding a String Trimmer Spool
Your weed eater, also known as a string trimmer, is a handy tool for keeping your yard tidy. However, one common maintenance task, “how to wind a string trimmer spool?”, can sometimes pose a challenge. With this comprehensive guide, we’ll transform this daunting task into a simple routine.
Step-1: Unplug and Disassemble the Trimmer
Before you start the winding process, it’s imperative to ensure your own safety. Disconnect the trimmer from any power source. If it is electric, unplug it; if it’s gas-powered, check that it’s off.
Next, remove the “head” of the trimmer, i.e., the part where the spool resides. This particular step can slightly vary between models, but generally, push on tabs that hold the trimmer head cover in place, and lift off the cover. Once the cap is off, remove the spool from inside.
Always remember to inspect the interior for any damage or debris. Cleanliness prevents your string trimmer from malfunctioning and extends the device’s lifespan.
Keeping all detached parts in a safe place is fundamental. You don’t want to lose essential pieces or mix them up, which could disrupt the winding process.
Step-2: Preparing the String
When it comes to knowing how to wind a string trimmer spool, choosing and preparing your string is a vital part. Always refer to your user manual to determine the appropriate thickness and type of string to use.
A good rule of thumb is that thicker weeds require thicker lines. Once you’ve chosen your string, measure out about 15 -25 feet – this length is typical for most trimmer spools.
Take the end of your line and make a loop approximately 5 inches from the end. The next step is to create a larger second loop by bringing the end of the first loop back onto the line.
After creating a larger loop, slide the end of the loop down onto the line to create a knot, make sure it is tight, and then cut the end of the loop that’s sticking out past the knot.
Step-3: Winding the Spool
Begin to wind the string around the spool. It would be best if you wound in the direction of the arrows on the spool. Be sure to wind tightly and evenly, ensuring a level wind without any overlaps or twists.
When winding, avoid putting the string on the notches at the edge of the spool. String on these hooks can lead to feeding problems when you’re operating your trimmer.
A correctly wound spool will have neatly and evenly distributed string lines across it. If that’s not the case, it’s an indication that you need to unwind the string and start winding it again.
Once you’re done winding, clip the remaining string into the notch on the spool. This will hold the string in place while you prepare to reassemble the trimmer head.
Step-4: Reassembling the Trimmer
Before reassembling, double-check that the coiled line remains secure in the spool. Reinsert the spool back into the trimmer head, ensuring that it sits perfectly in place. The trimmed end of the line should thread through the hole in the trimmer head.
Next, tug the string slightly to unlatch it from the holding notch. Holding the line in place, replace the cover to the trimmer head.
Reattach the trimmer head to the main trimmer body. Make sure everything fits neatly back into place.
Step-5: Testing the Trimmer
Once you’ve perfectly assembled your trimmer, it’s time to test its operation. Just plug it back into the power source or fill it with gas and switch it on. If everything was done correctly, your trimmer should dispense the line as needed from the newly wound spool.
If the line isn’t feeding correctly, there might be a problem with how the string has been wound. In such a case, you might have to disassemble the trimmer and re-wind the spool.
The entire process of winding a string trimmer spool may seem a bit complex initially. However, with a bit of practice and experience, you will master the technique.
Remember that how well your trimmer works is related to how well you maintain and care for it. Winding the string trimmer spool is a simple yet essential part of this maintenance. Buying pre-wound spools can be convenient, but doing it yourself is a more economical and satisfying option.
The steps we’ve laid out answer the commonly asked question of how to wind a string trimmer spool?. With practice, it becomes a quick and easy task. In addition to saving you money on pre-wound spools, it also extends the life of your equipment by ensuring it is always in good working order.
EASIEST WAY TO STRING YOUR WEED EATER
Frequently Asked Questions
If you’ve been experiencing problems with your string trimmer, chances are you need to wind the spool. Here are top 5 questions we’ve gathered and their detailed responses on the subject:
What type of line should I use to wind my string trimmer spool?
In order to achieve optimal results, it’ll depend on the type and size of the weeds you’re going to cut. For smaller yards with light vegetation, a round, .065-inch line will do just fine.
However, if there are dense weeds or a larger yard, you’ll want to go with a .085-inch line or greater. Also remember to check your trimmer’s manual for the manufacturer’s recommendations.
Can I wind two lines onto my string trimmer spool?
Yes, you can do so if your trimmer spool is designed to accept two lines. Double-check your trimmer’s owner’s guide to see if it’s possible. Dual-lined trimmers offer more cutting power, and they’re great for tackling heavy weeds and grass.
When winding two lines, ensure they are of equal length for balance and optimal operation. If your spool is not designed for two lines, attempting to do so may cause damage to the trimmer.
Why is the line on my string trimmer spool always breaking?
There are a number of reasons why this can happen. First, your trimmer line may be too thin for the weeds or grass you’re cutting. Alternately, the line could be old and brittle, which makes it susceptible to breaking.
Improper winding can also be the reason behind the frequent line breaks. Make sure the line is loaded tightly and neatly around the spool, and it should not cross in the middle. The spool itself also needs to be in good condition.
Do all string trimmers take the same size spool?
No, not all users; it varies depending on the make and model of the string trimmer. Some trimmers accept a wider diameter trimmer line while others may need a thinner one.
Therefore, I recommended checking the owner’s manual for your particular trimmer model before purchasing a replacement spool or line. Using the incorrect size could potentially damage your string trimmer.
Does the direction that I wind the string onto the spool matter?
Yes, it does matter. Each trimmer spin a certain way, so the line has to be loaded in the opposite direction. This means if the spool spins clockwise, you need to wind the line counterclockwise, and vice versa.
You will usually find an arrow or other visual indicators on the spool itself showing the direction to wind the line. Winding the line in the wrong direction can lead to poor performance or potential damage to your string trimmer.
How To Tips for Easy Restring of Weed Eater with 2 strings
Final Words
We’ve seen how simple it is to wind a string trimmer spool. Clean your work area and prepare the trimmer line to start. Work in layers, carefully winding your new line onto the spool in the direction shown. Remember, no overlap and maintain the tension. Then click it back into place and you’re good to go!
Mastering this not only saves you trips to the local garden center but also ensures your gardening chores are done efficiently. Here’s to happy trimming and a well maintained garden with your newly wound string trimmer spool.
