
How to Use an Electric Lawn Edger
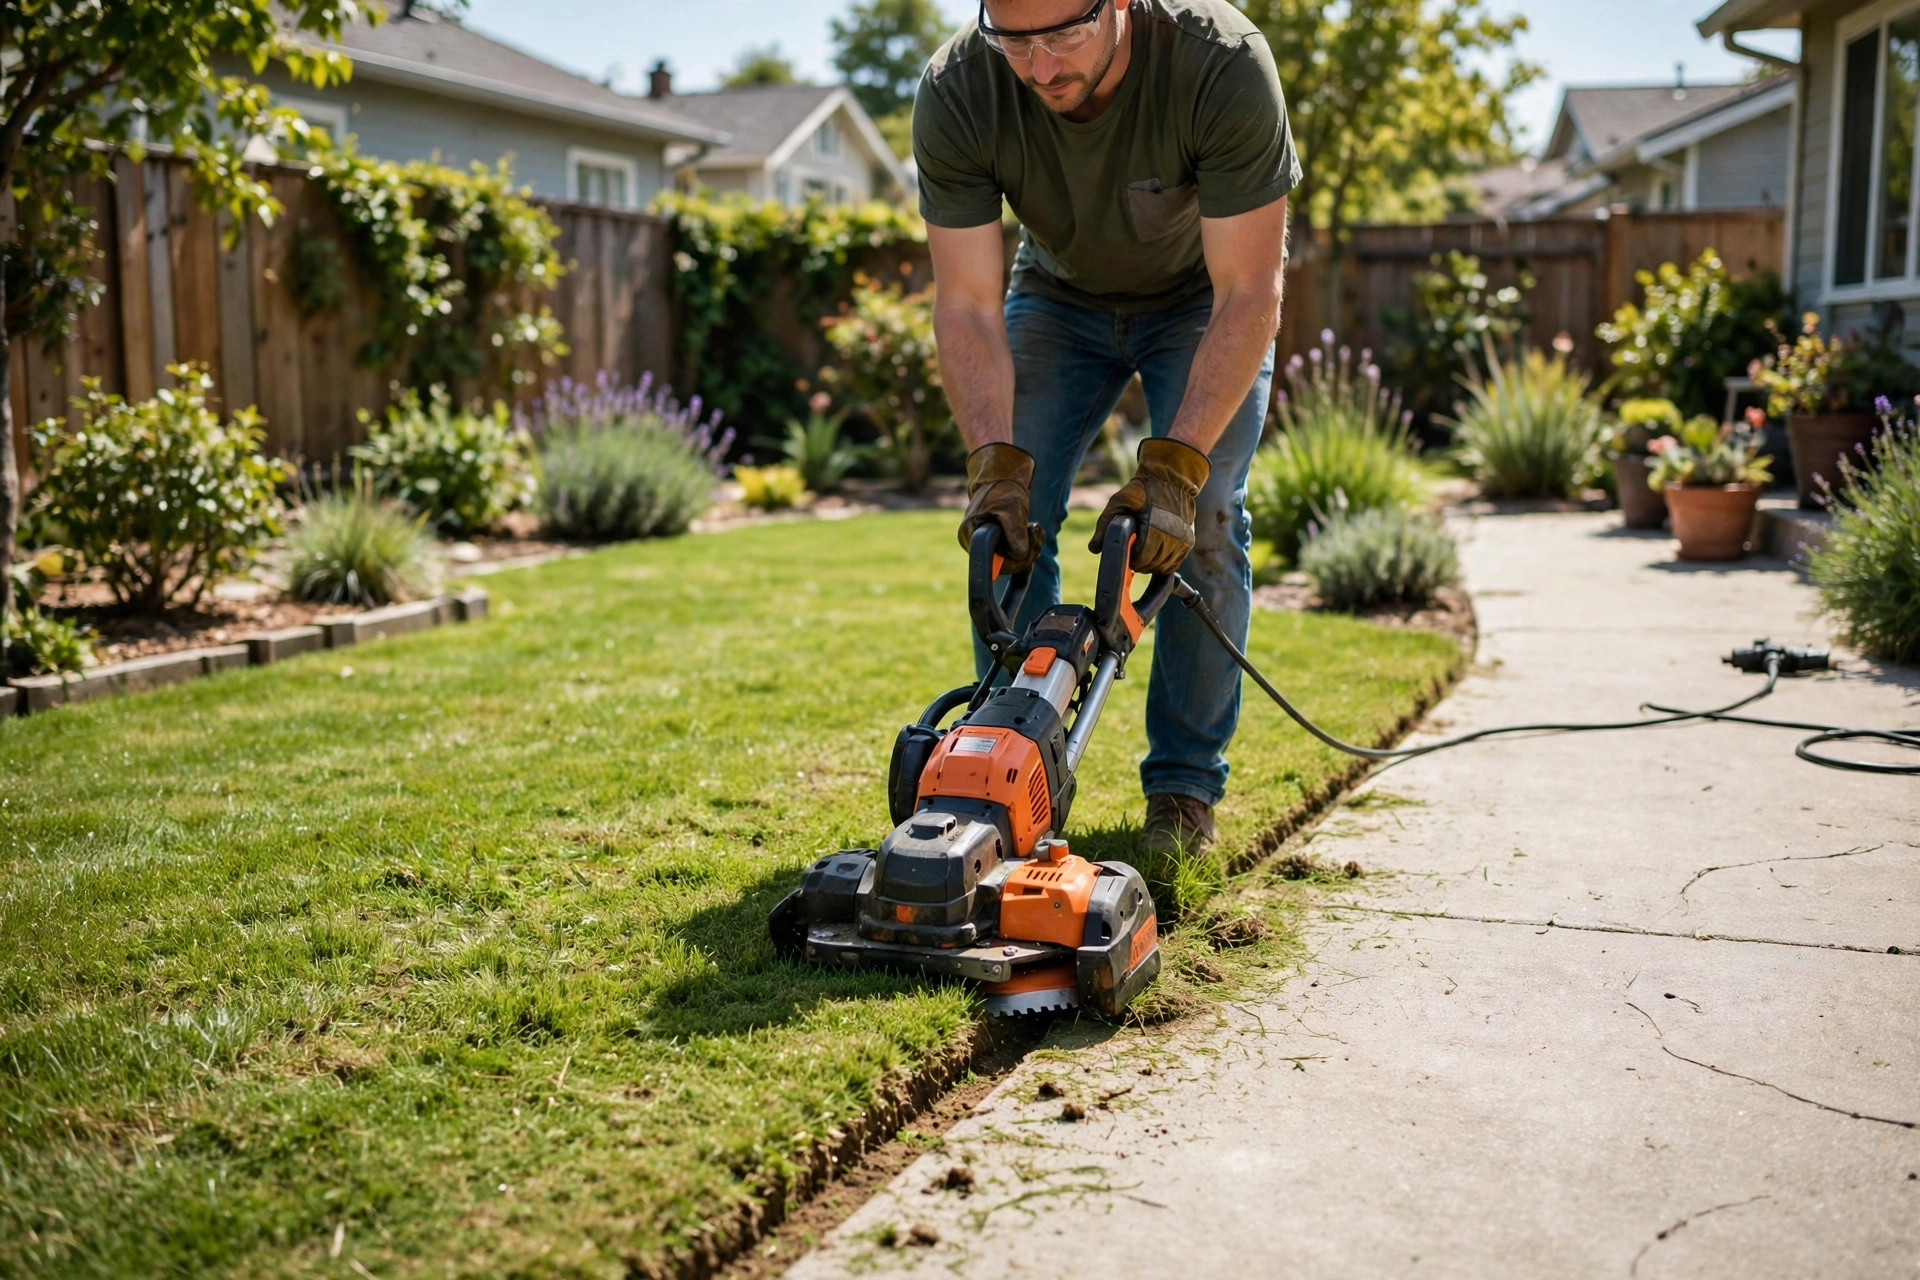
A beautifully manicured lawn is a pride for every homeowner. Have you ever admired the sharp lines between a lawn and a path? That’s the craftsmanship of an electric lawn edger, my new best friend for weekend gardening.
Electric lawn edgers make edging simple for any homeowner today. The results are worth the effort, and the steps are easy to learn. It’s not rocket science; we just need patience and the right guidance. This guide shows how to use an electric lawn edger step by step.
You will learn to prep your yard, start the edger, and edge with care. By the end, you will feel ready to trim your own lawn with confidence. Let us walk through each step in plain, simple language together.
- To use an electric lawn edger, first ensure your gear. Protective clothing including gloves and goggles are a must.
- Before starting, check if the edger’s blade is sharp and the cord is secured.
- Start by edging along the borders of your lawn, slowly moving the edger forward without forcing it.
- Finally, clean up the edgings and check if the edges are well outlined.
Quick answer: Check the blade, put on gloves and goggles, and clear the lawn first. Plug in the edger, set the depth to two or three inches. Hold it at ninety degrees for a straight, clean edge. Push it slowly along the edge and keep the cord behind you. Clean the blade well after each use.
- How to Use an Electric Lawn Edger: Step-by-Step Guide for Clean, Sharp Edges
- Step 1: Assemble Your Electric Lawn Edger
- Step 2: Prepare the Area for Edging
- Step 3: Adjust Depth and Angle Settings
- Step 4: Start the Edging Process
- Step 5: Clean Up and Maintain Your Edger
- Frequently Asked Questions
- More Questions About Electric Lawn Edgers
- Conclusion: How to Use an Electric Lawn Edger With Confidence
How to Use an Electric Lawn Edger: Step-by-Step Guide for Clean, Sharp Edges
Beautiful lawns do not come easy – it involves regular maintenance and precision. Edging plays a big part in this care. It shapes clean lines around paths and driveways. And when it comes to ease and saving effort, nothing beats an electric lawn edger. So let us look at how to use an electric lawn edger in detail.
Step 1: Assemble Your Electric Lawn Edger
Step-1: Assembling the Electric Lawn Edger
The first step is to assemble your electric lawn edger. Your edger may arrive in parts, so you must put the pieces together. Start by reading the manufacturer’s instructions carefully. These steps are clear and precise, and they help you avoid mistakes.
Commonly, assembly involves attaching the edger’s handle to its body. You may need to secure it with screws or bolts, depending on the model. After that, attach the blade guard to the edger. The guard keeps your hands safe from the sharp blade.
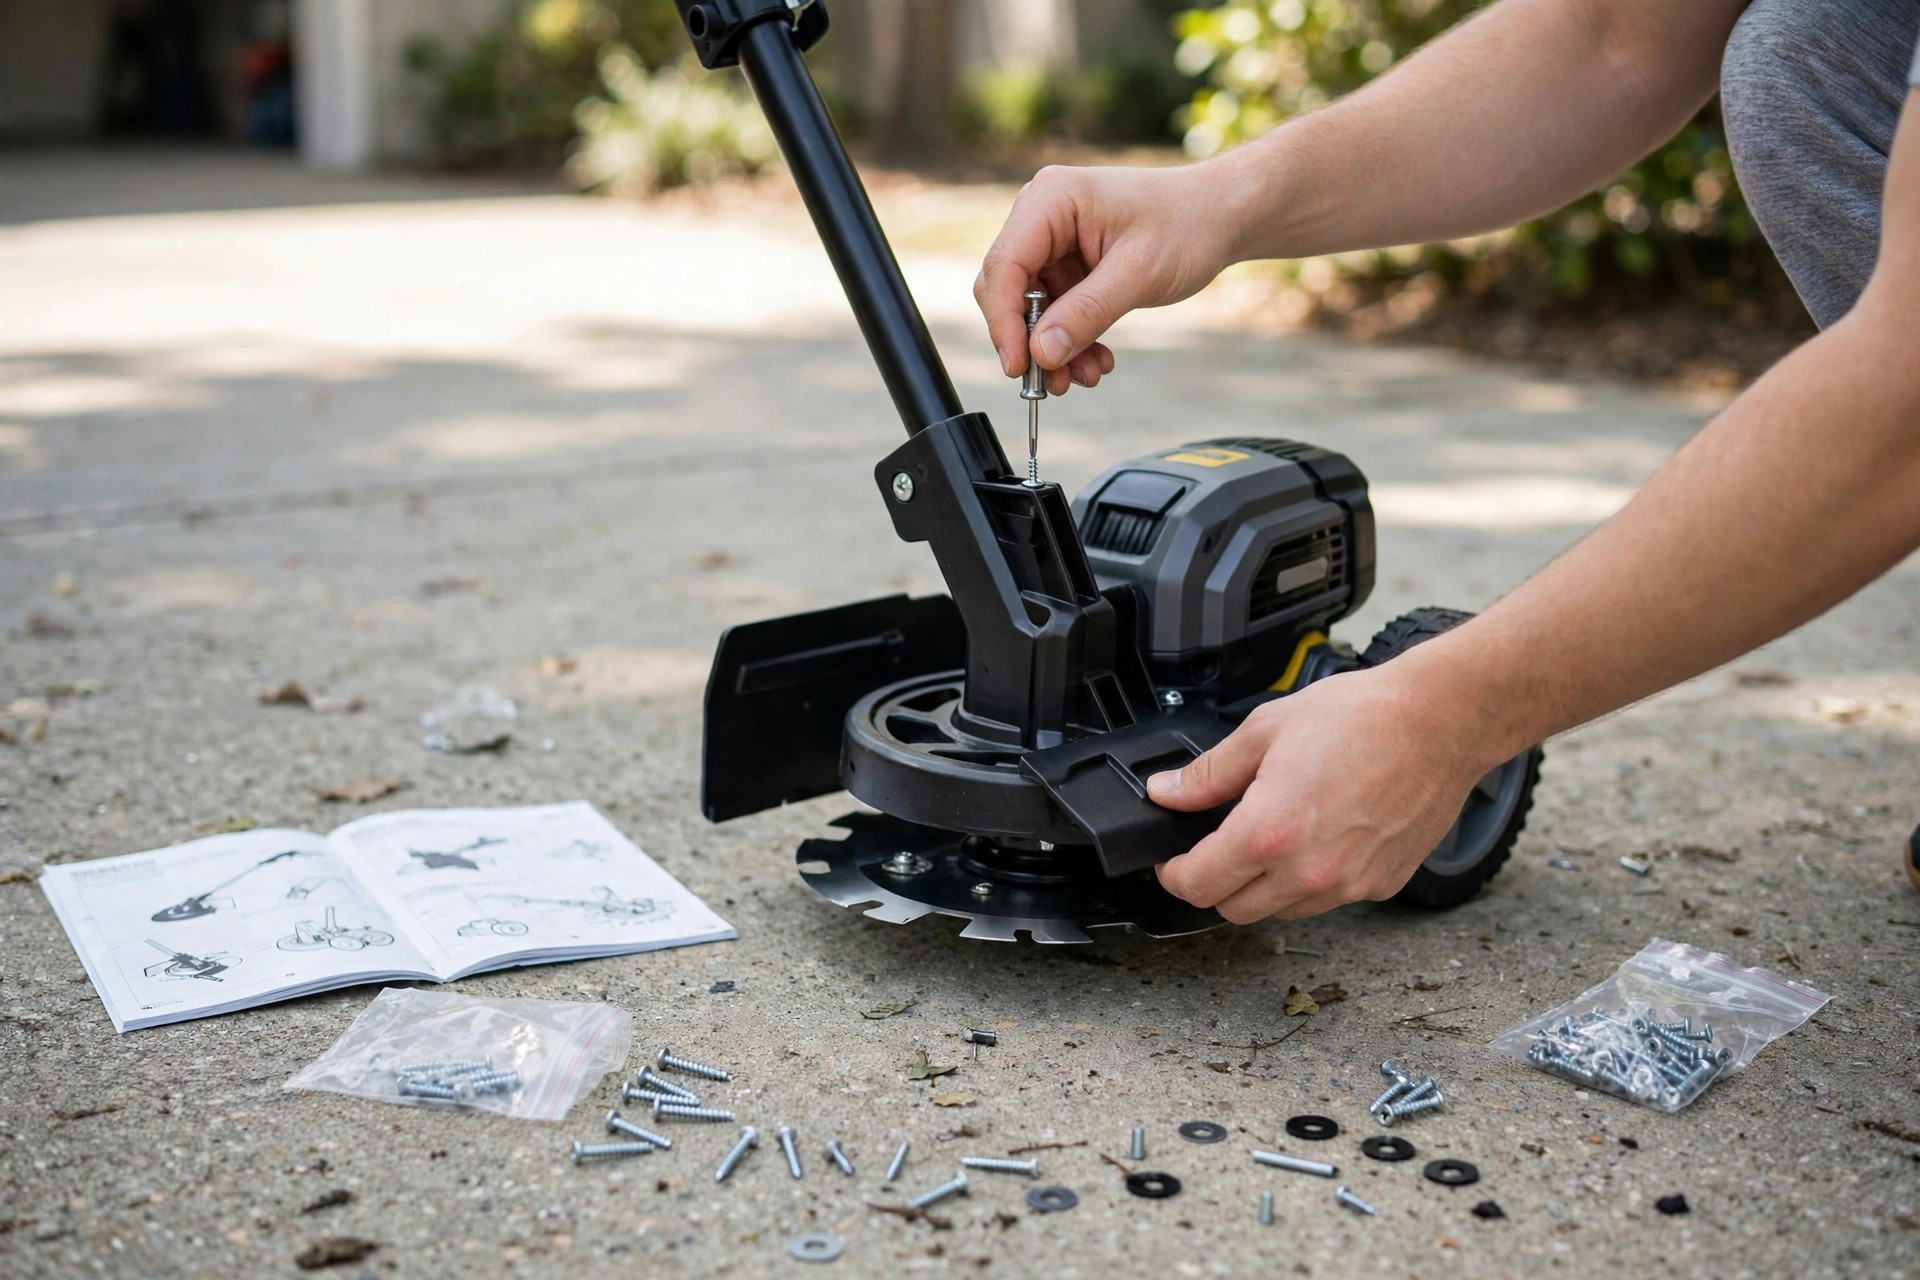
Once the handle and guard are in place, install the blade. Make sure it’s secure but still able to spin freely. Wrap up the assembly by connecting the power cord. Most electric lawn edgers are corded to provide consistent power. Exact steps may change with your model, but this guide gives you a start.
Lastly, test if the assembled edger powers up and functions as expected without issues. If it doesn’t, re-check your connections and the user guide. A quick test now saves trouble when you start edging. If your blade looks dull, read our guide to sharpening a lawn edger blade.
Step 2: Prepare the Area for Edging
Step-2: Preparing the Area for Edging
Next, prepare the lawn, walkways, flower beds, and paths for edging. Good prep is a key task, and it leads to the best result. See the EPA lawn and garden guide before you prep your lawn. A rotary lawn edger works well for small jobs too.
Begin by trimming your lawn using a mower. Mow first so loose clippings do not make a mess later. After mowing, clear out any obstructions on the ground where you plan to edge. This includes rocks, thick roots, branches, or any other debris.
Additionally, mark the areas where you plan to edge. You can use a garden hose, spray paint or a string to outline the area. This marked path helps you cut a clean, straight edge.
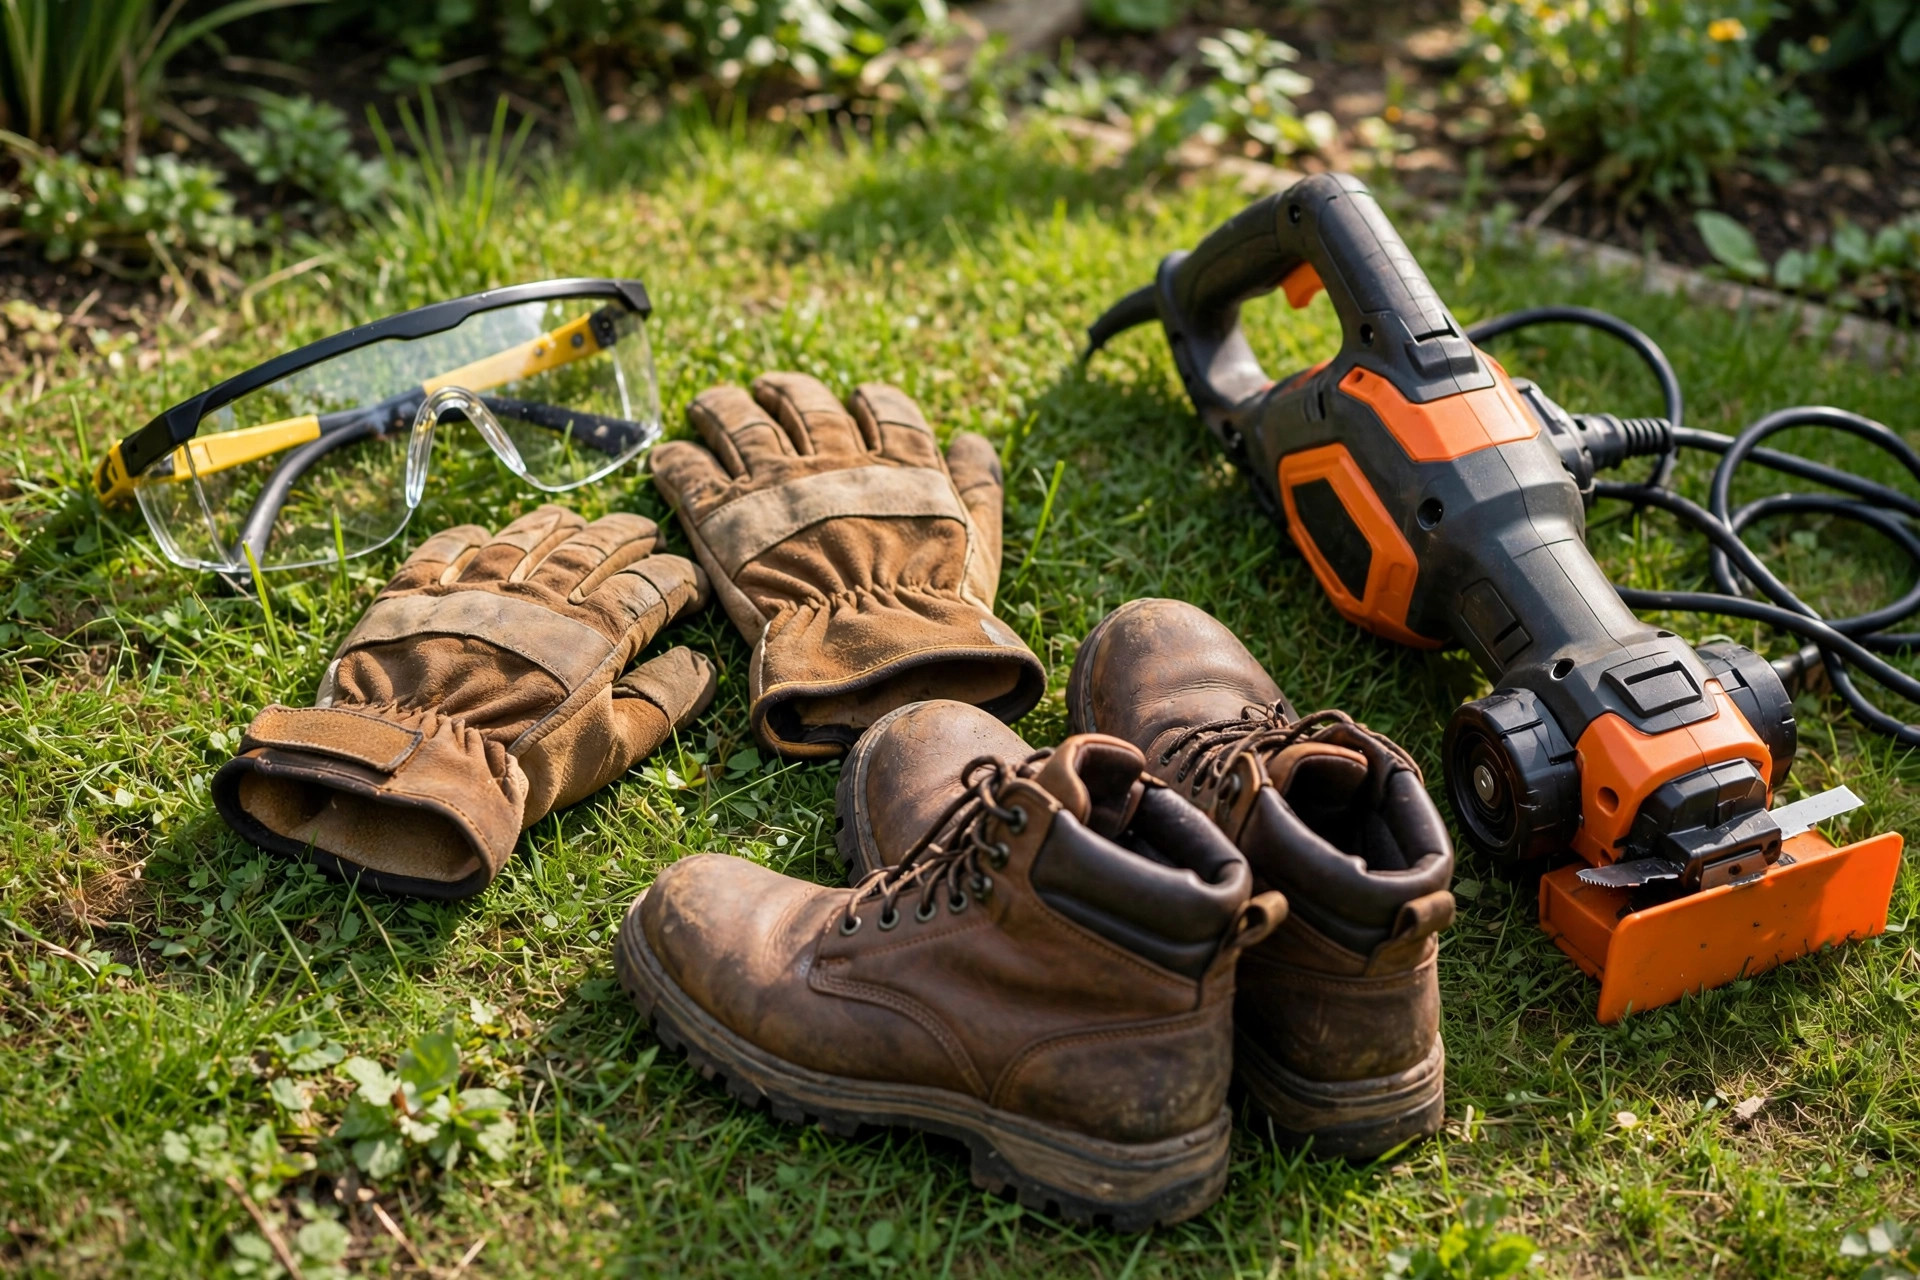
The final part of the preparation involves ensuring safety. Put on the right protective gear before you start. Always wear safety glasses to shield your eyes from flying debris. Wear solid shoes with good grip while you work. Avoid loose clothes or jewelry that can catch in the machine.
Step 3: Adjust Depth and Angle Settings
Step-3: Adjusting the Electric Lawn Edger’s Depth and Angle Settings
Depth and angle settings shape the neat, clean edge you want. These settings matter most when you want a precise edge. Let us break down each setting for you now.
The depth setting controls how deep the blade cuts into the ground. The deeper the cut, the more defined your edge will be. A depth of two to three inches suits most lawns well. This depth is enough to cut through grass roots and leave a clean edge.
| Setting | What to Use | Result |
|---|---|---|
| Depth | Two to three inches | Cuts through roots for a clean edge |
| Angle, straight edge | Ninety degrees to the ground | A crisp, straight line |
| Angle, slanted edge | Tilt the blade slightly | A soft, sloped edge |
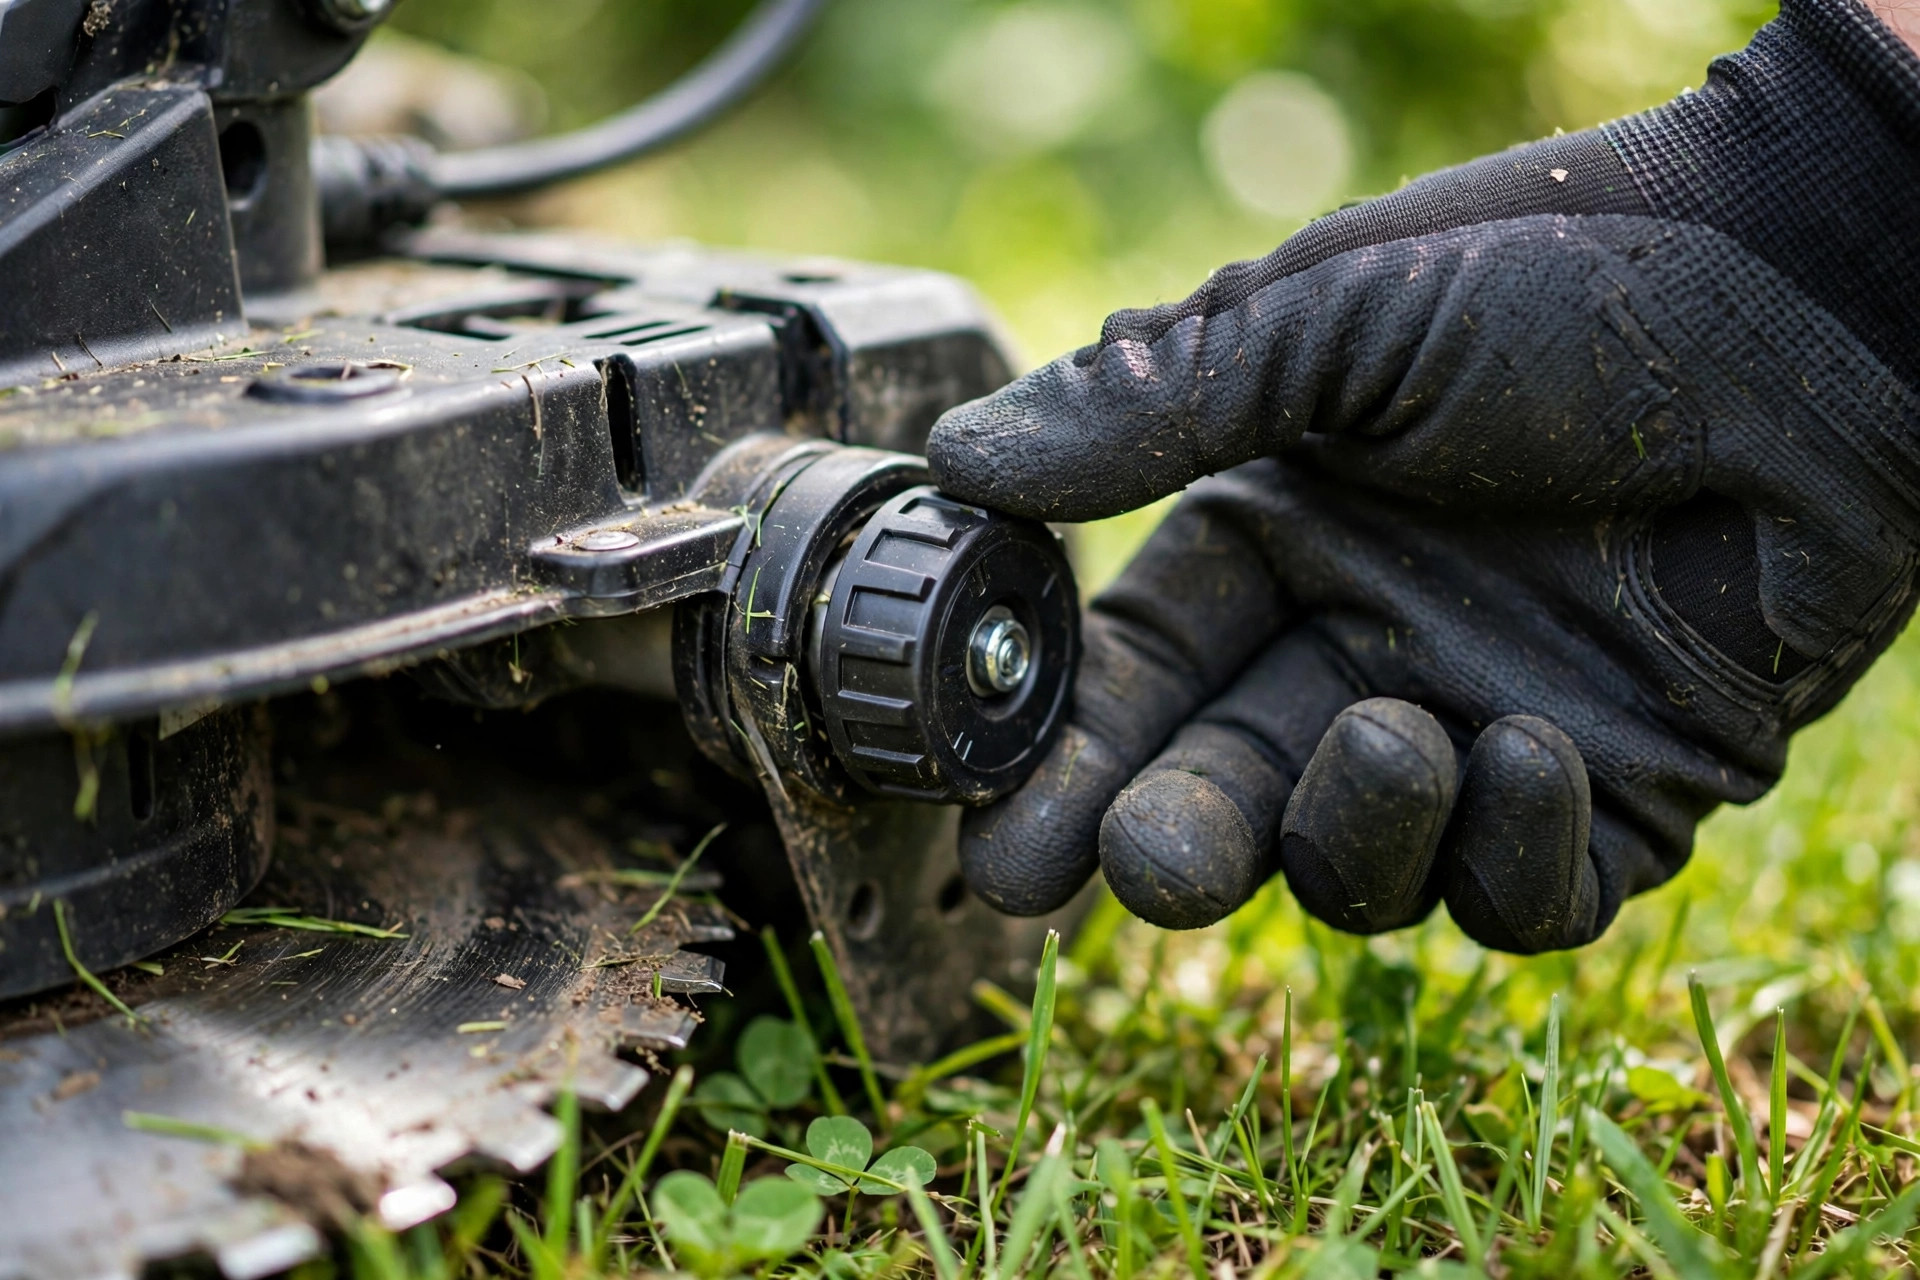
After depth, the next setting you need to adjust is the edger’s angle. The angle determines whether your edge will be straight or at an angle. For straight edges, set the edge at 90 degrees to the ground. For slanted edges, tilt the blade appropriately, as per your preference.
Remember to test these settings on a small patch before going in full swing. Make adjustments as necessary until you are satisfied with the results. This test run helps you get it right on the full lawn. If the cut looks rough, read our guide to fixing a lawn edger.
Step 4: Start the Edging Process
Step-4: Starting the Edging Process
By now you have built the edger, prepped the lawn, and set the blade. Now it is time to start cutting those perfect edges. Firstly, plug your electric lawn edger into a suitable extension cord. Ensure the cord length is enough to comfortably reach each area of your yard. Once you ensure that you are prepared, position the edger at your starting point.
Switch on the electric lawn edger and let it spin up. Push the edger slowly into the grass at the pavement edge. Follow the path you marked for a straight cut. Move steadily and keep the machine straight. No need to rush; slow, regular speed will offer a cleaner cut.
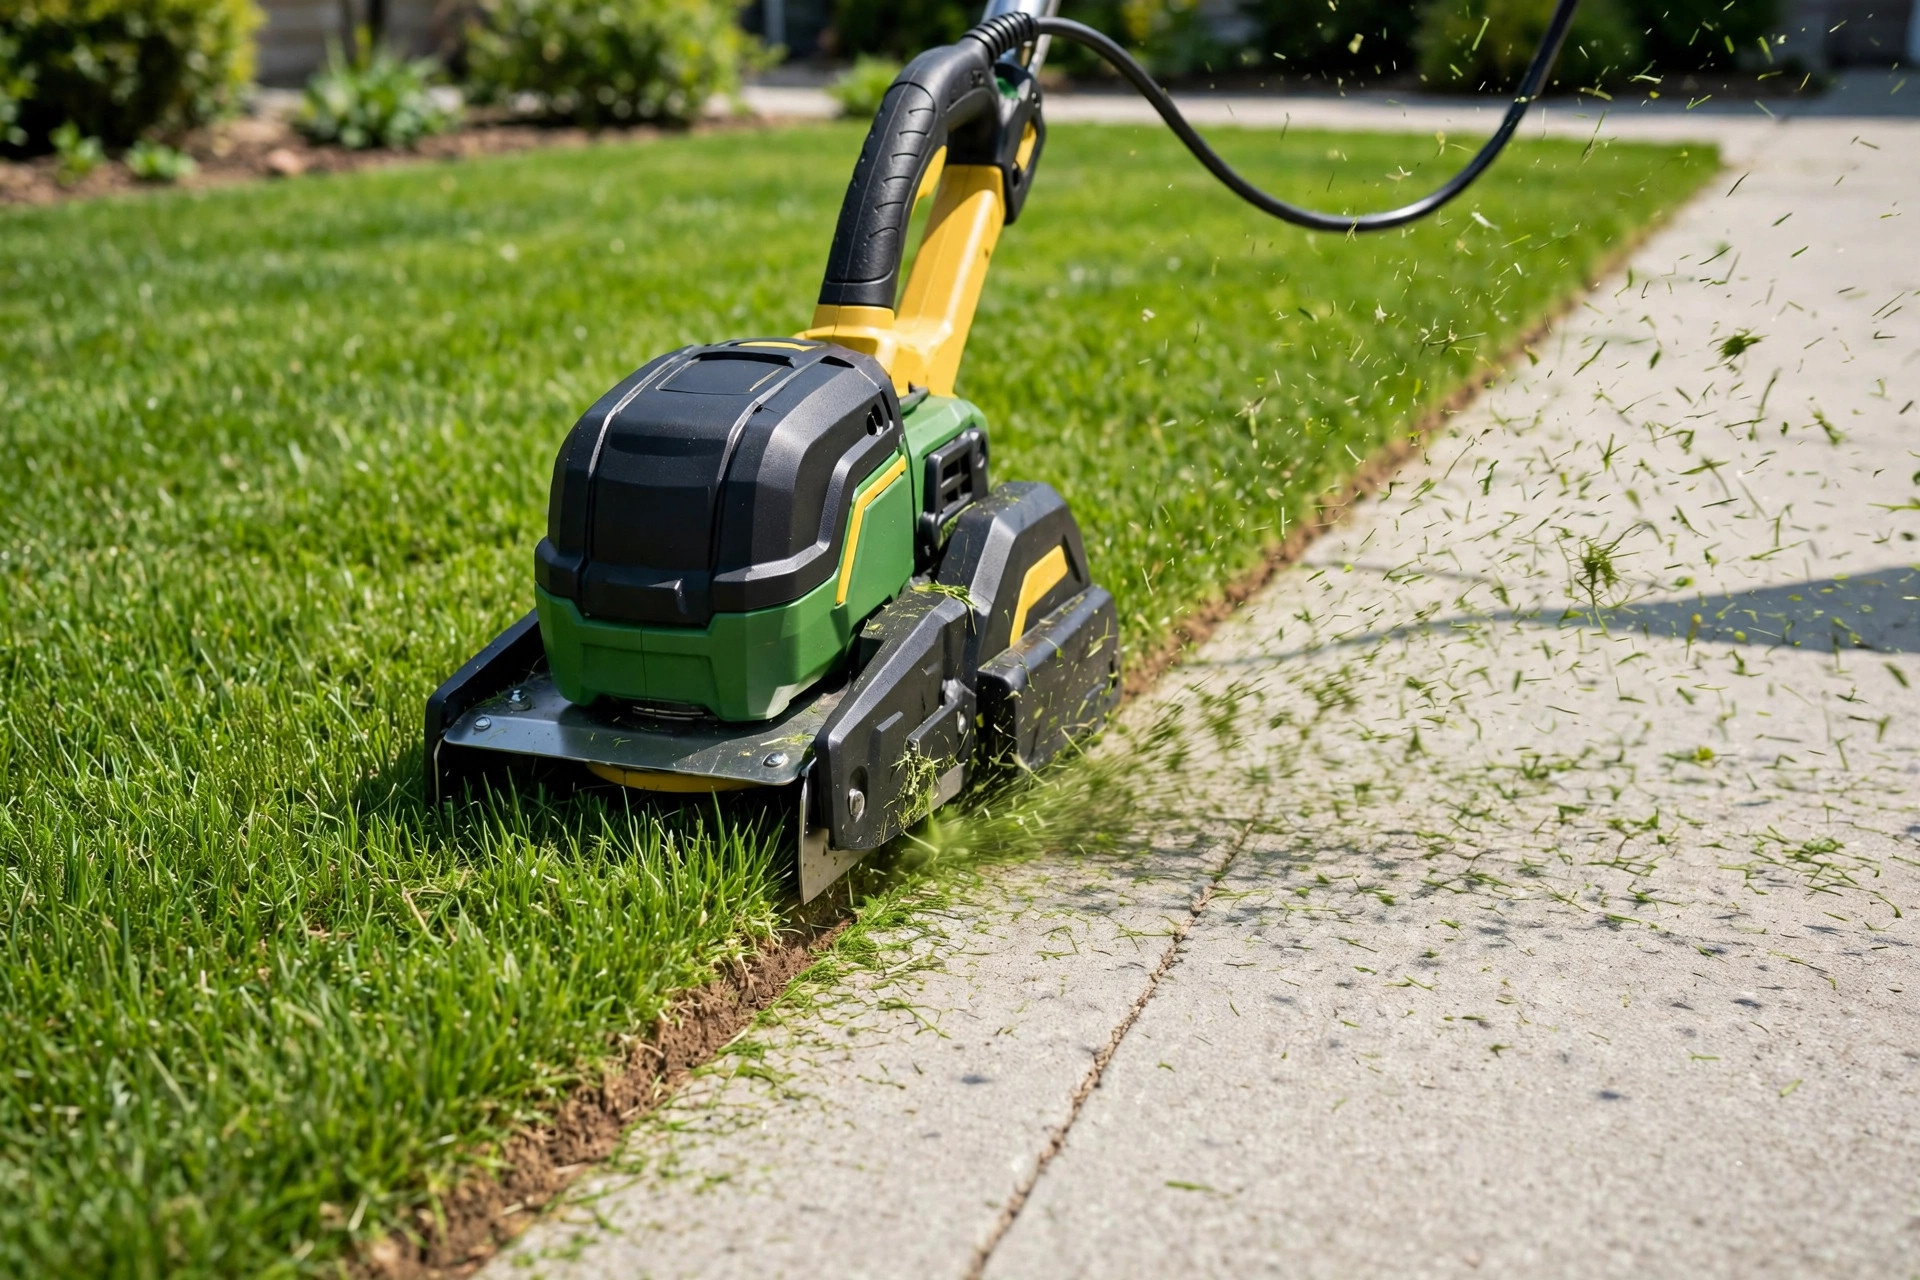
Continue this process, maintaining a comfortable pace and holding the edger firm. Watch the power cord, steer clear of it, and never pull on it. To finish the edge, simply lift the edger, turn it off, and unplug it. For bigger yards, a cordless model may suit you better.
Step 5: Clean Up and Maintain Your Edger
Step-5: Cleaning Up and Maintenance
After edging, one last step remains: cleaning and care. Never skip this part, since it keeps your edger ready for use. A few minutes of care now saves big repairs later.
Start the cleanup by picking up larger pieces of debris by hand. Sweep small clippings away with a broom or a leaf blower. Next, clean the edger with care and patience. Remove grass and dirt from the edger body and blade. Ensure you disconnect the edger from the power source before cleaning it.
Maintenance tasks usually involve checking the blade for any signs of damage or wear. With heavy use, the blade may need a swap to stay sharp. Additionally, regular lubrication might keep things running smoother and longer.
| Care Task | When to Do It | Why It Matters |
|---|---|---|
| Clean the blade and body | After each use | Stops rust and clogged parts |
| Check the cord for damage | Before each use | Prevents shocks and faults |
| Sharpen or swap the blade | When cuts look rough | Keeps your edges clean |
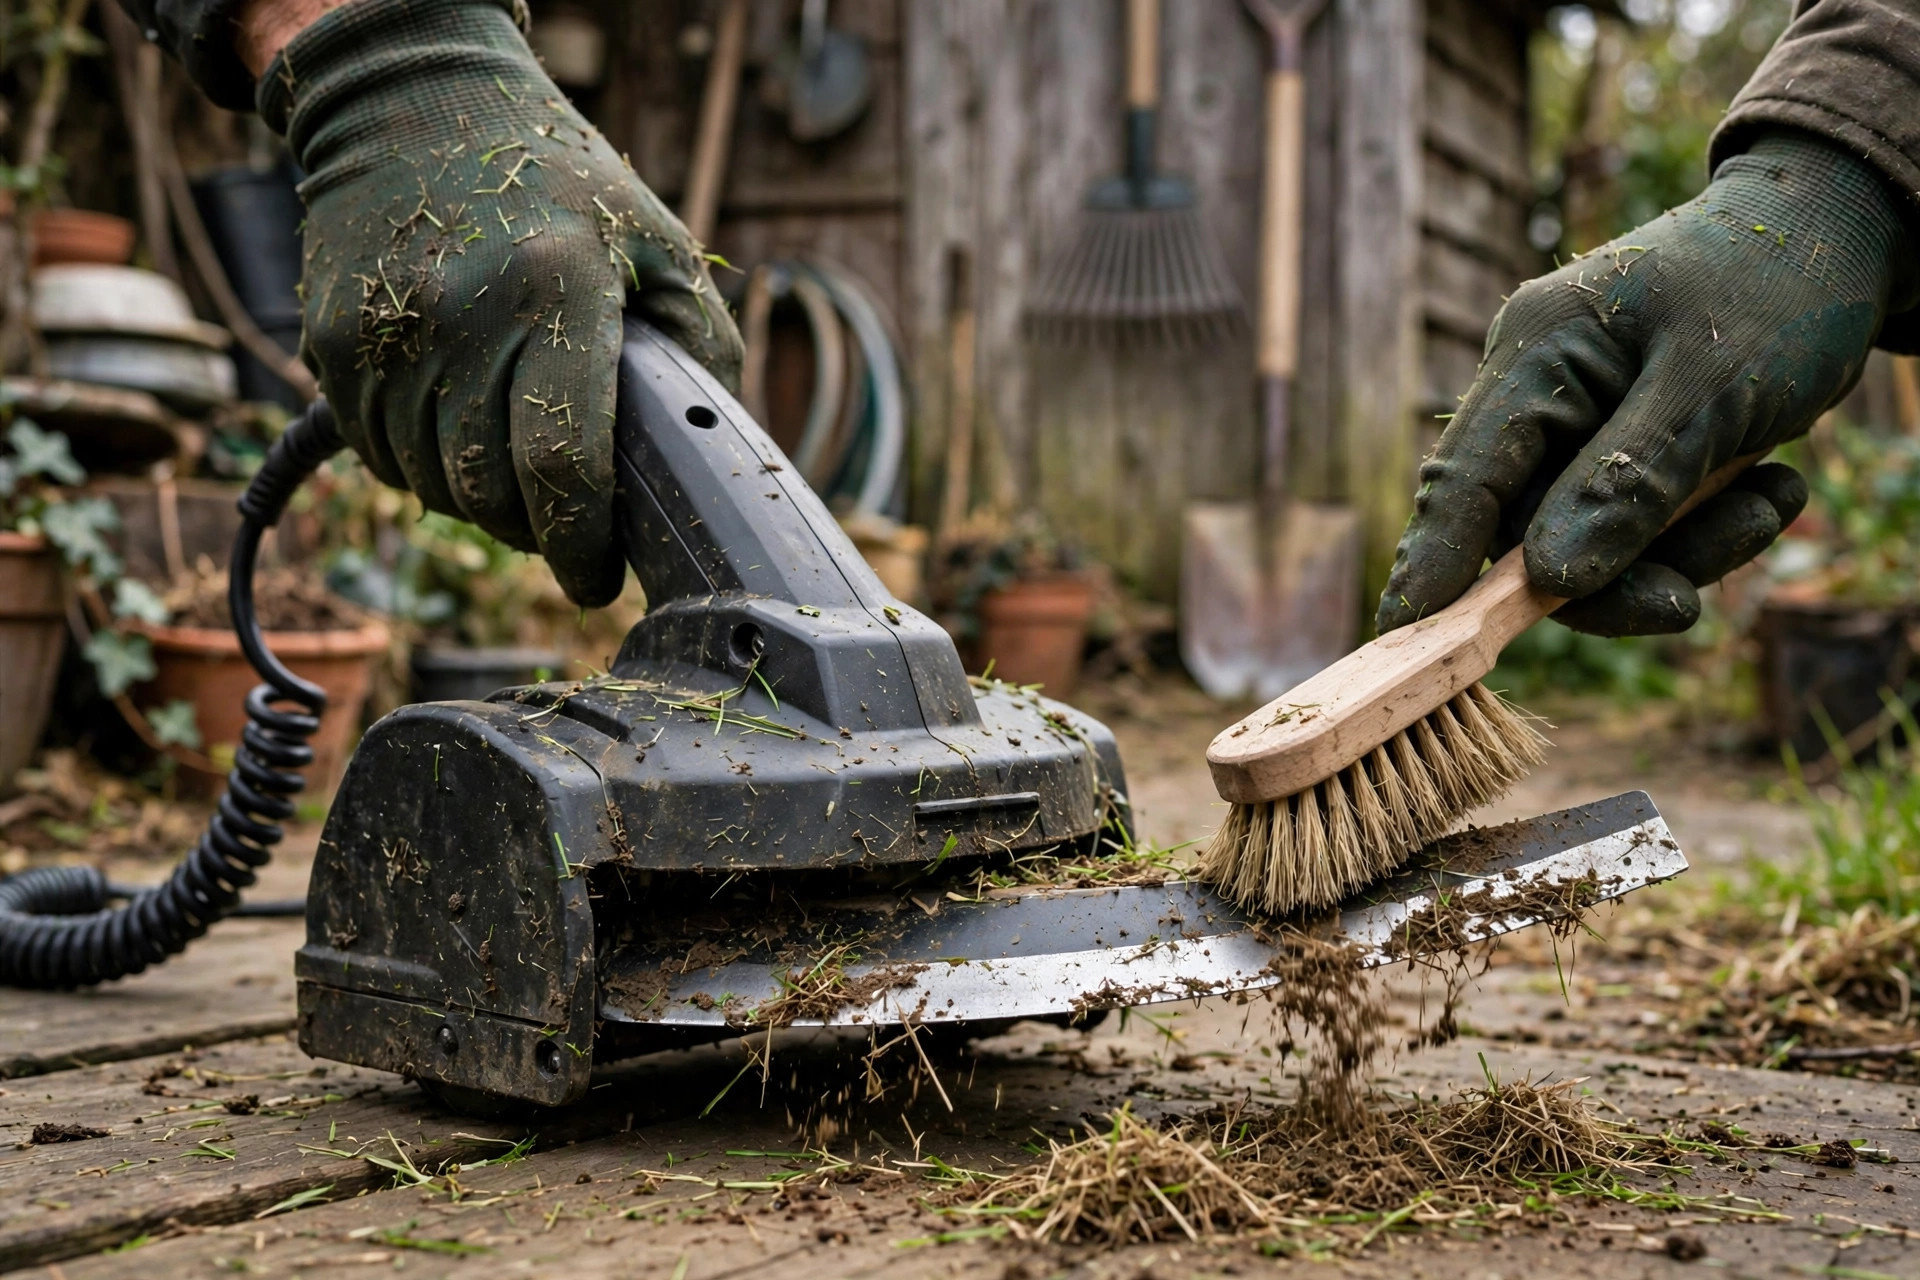
Storing your edger properly also falls in the maintenance category. Keep it dry, since damp air can cause rust and damage. For wider yard care, read our guide to using a lawn trimmer.
Embracing the art of lawn edging can elevate the overall aesthetics of your lawn. Now you know how to use an electric lawn edger in detail. Regular practice will refine your edging skills further, bringing you closer to your dream lawn. So plug in your edger and let the transformation begin!
Frequently Asked Questions
Understanding how to use an electric lawn edger can enhance your gardening skills significantly. Here we answer top questions about this handy tool. Each answer comes straight from the guide above.
1. Why is an electric lawn edger beneficial for my garden?
Using an electric lawn edger offers numerous benefits. First, it shapes clear lines between lawns, paths, and patios. This neat look can raise the appeal of your home.
Secondly, electric lawn edgers are relatively easy to use and maintain. They don’t release environmentally harmful emissions, unlike gas-powered equivalents. Plus, they’re quieter and often lightweight, providing a convenient, user-friendly gardening solution. See our guide to the best electric lawn edger for top models.
2. What safety precautions should I take when using an electric lawn edger?
Safety is everything when it comes to using power tools like an electric lawn edger. Before starting, ensure you’re equipped with safety gear, including gloves, safety glasses, and sturdy footwear. Also, check the edger and the cord for any visible damage or loose parts.
While you work, keep the cord clear of the blade path. Stay focused, and never edge in wet weather or on wet ground. Wet soil can clog the blade and raise the risk of shocks.
3. How do I maintain my electric lawn edger?
Like all garden tools, electric edgers need regular care to last. Clean soil and grass off the blade and body each time. Check for signs of wear or damage, primarily on the blade and the power cord.
The blade will wear out over time and need a swap. Follow the manual for cleaning and care steps. A sharp blade cuts clean lines with less strain on the motor.
More Questions About Electric Lawn Edgers
4. When is the best time to use an electric lawn edger?
The best time depends on your lawn growth and your own schedule. However, it is usually best to edge your lawn right after mowing it. Short grass shows the edges better, so cuts come out cleaner.
Spring and early summer are great times to start edging. Edge often in the growing season to keep lines neat. A quick edge after each mow keeps the yard tidy.
5. Can I use my electric lawn edger for other tasks?
Electric edgers mainly cut clean, sharp lines along lawn edges. However, many modern models come equipped with features that allow for other uses. Some models can turn into trenchers for cables or pipes.
Always check the manual before you try other tasks. Misuse can harm the tool, void the warranty, or cause harm. Use the tool as intended for the best results and to ensure durability. Check the STIHL website for more edger care tips.
Conclusion: How to Use an Electric Lawn Edger With Confidence
We’ve covered the steps to operate an electric lawn edger effectively and safely. Remember, you should always check the area for rocks, sticks, or any other potential hazards. Keep the edger at a pace that suits you, neither too fast nor too slow. Keep in mind the depth and angle of the cut required for your yard.
Keeping the edger well-maintained is also important for its longevity. Clean it after each use, sharpen a dull blade, and store it dry. With this knowledge, you can shape a neat, pro-style lawn.

I’m Patricia D. Johnson, an affiliate marketer and blogger specializing in trimmers and grooming tools. I create honest reviews, buying guides, and practical tips to help readers choose the right trimmer for their needs. With a focus on quality, performance, and value, I simplify the decision-making process so consumers can make confident purchases.