
How to Use a Rotary Lawn Edger
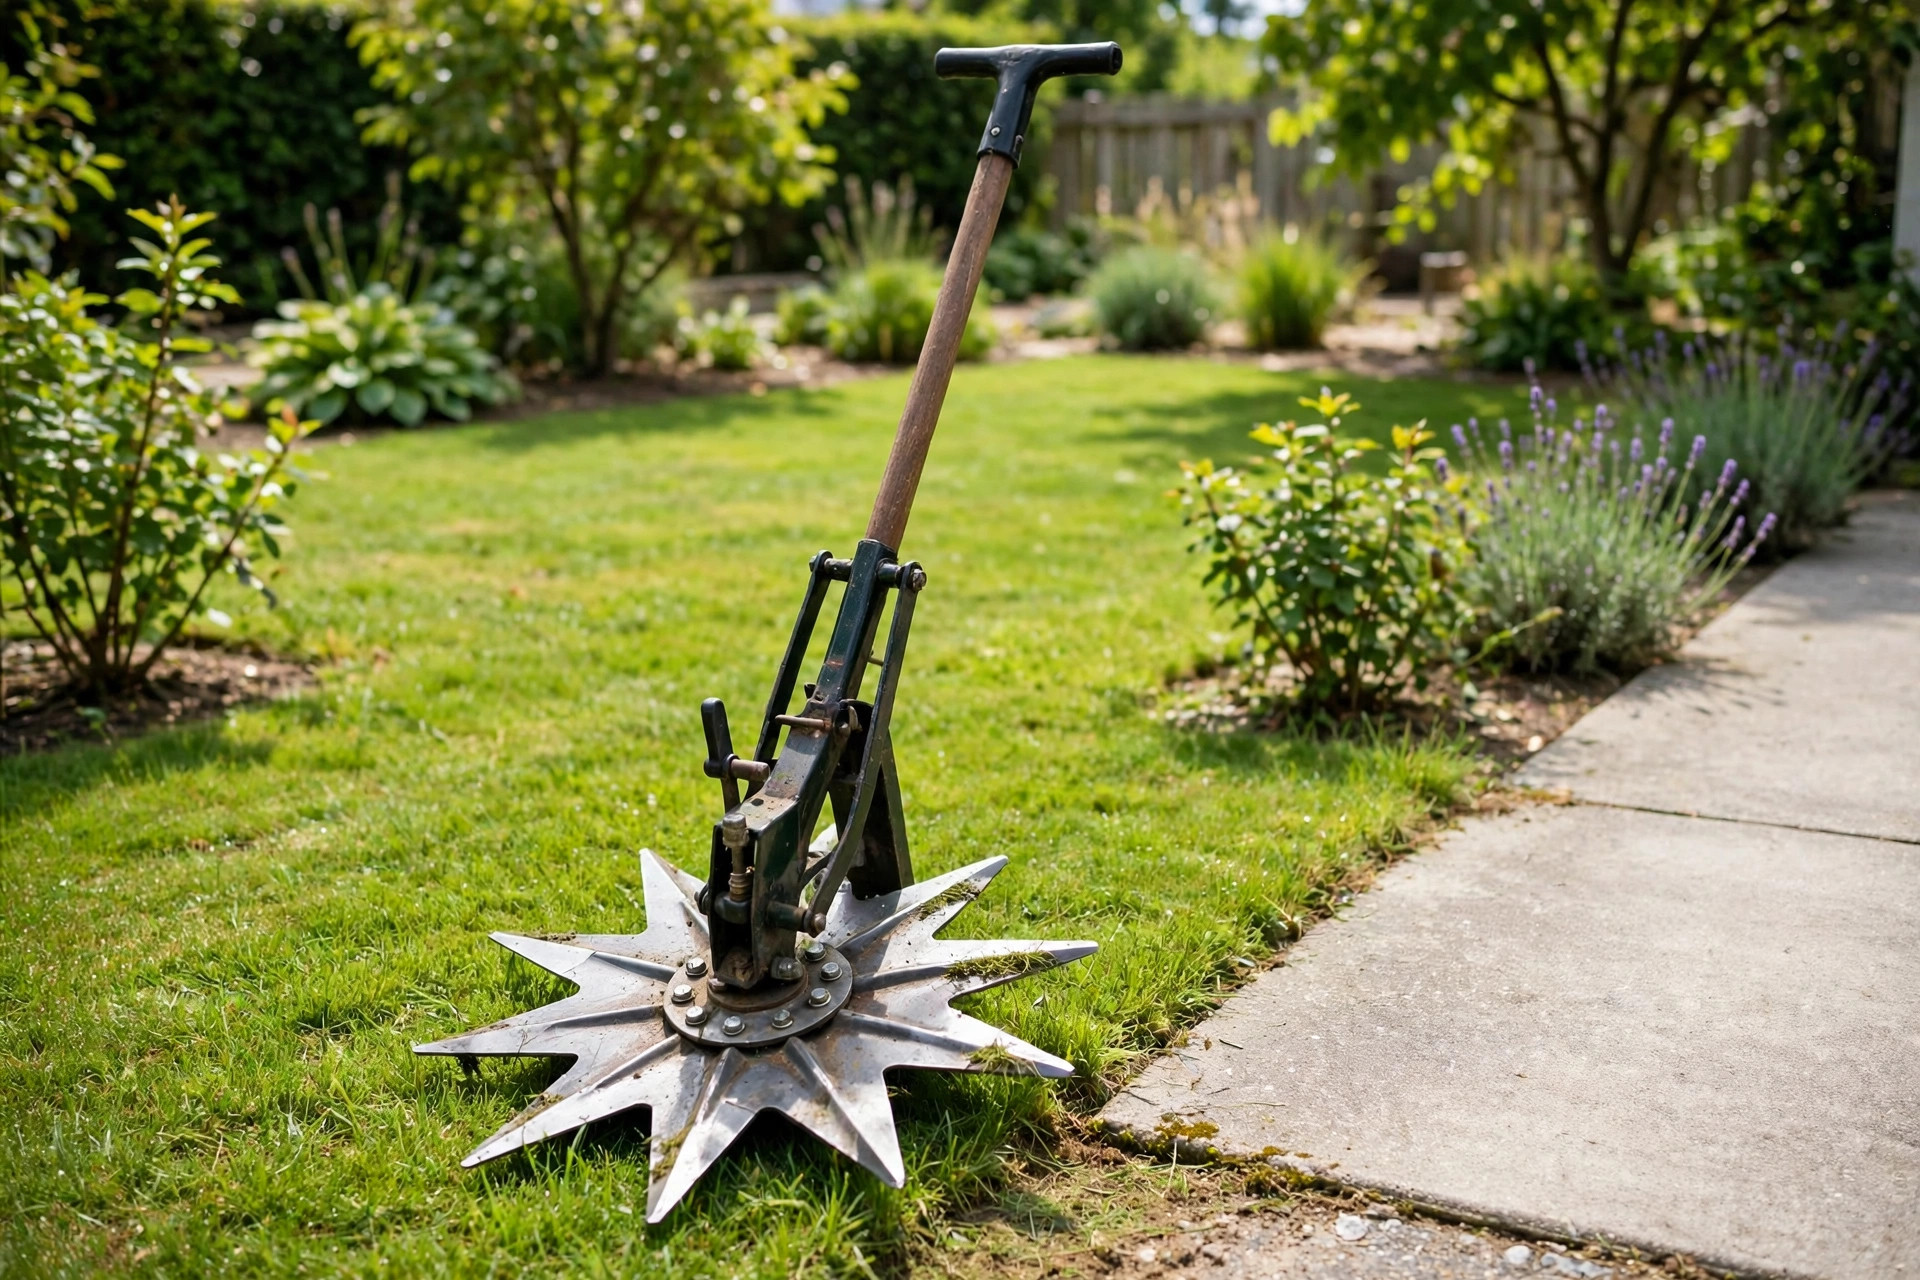
Ever wonder why some lawns have flawless edges? The secret lies in a handy tool known as a rotary lawn edger. This tool can transform a lawn from average to impressively manicured in no time.
A rotary lawn edger is a simple hand tool with a star wheel blade. With practice, it gives your lawn a pro finish that stands out. This guide shows how to use a rotary lawn edger step by step.
You will learn to prep the lawn, set the blade, and edge with care. By the end, you will feel ready to shape crisp edges on your own lawn. Let us walk through each step in plain, simple language together.
- First, I place the rotary lawn edger along the edge of my lawn, ensuring the blade is orientated towards the grass cut-off point.
- I then push down on the edger’s handle, driving the blade into the soil.
- Finally, I move the edger along the intended path, creating a crisp edge.
Quick answer: Clear the lawn, mow first, and put on gloves and goggles. Set the blade depth and check that it is sharp. Push the edger slowly along the edge and keep a steady pace. Clean the blade and store the tool in a dry place.
- How to Use a Rotary Lawn Edger: A Simple Guide for Clean, Sharp Lawn Edges
- Step 1: Prepare for Edging
- Step 2: Adjust the Rotary Edger
- Step 3: Start Edging
- Step 4: Clean Up and Maintenance
- Step 5: Enjoy the Results
- Frequently Asked Questions
- More Questions About Rotary Lawn Edgers
- Conclusion: How to Use a Rotary Lawn Edger With Confidence
How to Use a Rotary Lawn Edger: A Simple Guide for Clean, Sharp Lawn Edges
The art of lawn maintenance is not complete until an immaculate edge is created. A rotary lawn edger is a trusted friend for sharp, clean landscape edges. This guide covers how to use a rotary lawn edger and stay safe.
Step 1: Prepare for Edging
Step 1: Prepare for Edging
Begin by surveying your lawn and identifying the areas that need edging. This can be along your driveway, walkways, flower beds, or garden boundaries. Clear spots save your blade from rocks and thick grass.
Mow your lawn first, before you start edging. This will give your edges a more defined look once you’re done. Even grass also makes the edge line easy to see.

If the soil feels hard, water the area lightly first. Soft ground lets the blade cut in with ease. Wet soil also keeps dust down while you work.
Finally, put on your protective gear before you start. This means gloves, safety goggles, and sturdy closed-toe shoes. Safety is always a priority when handling gardening tools. For power edging, read our guide to using an electric lawn edger.
Step 2: Adjust the Rotary Edger
Step 2: Adjust the Rotary Edger
Most rotary lawn edgers are adjustable to cater to different user heights and edging depths. Set the handle height so you can stand upright as you work. This reduces unnecessary strain on your back.
The blade depth controls how deep into the soil the edger cuts. For normal edging tasks, a medium setting usually works best. A shallow cut looks rough, while a deep cut can hit sprinkler lines.
| Setting | What to Use | Result |
|---|---|---|
| Handle height | Set to your height | Upright posture, less strain |
| Blade depth | Medium setting | Clean edge at a safe depth |
| Blade sharpness | A sharp edge | Smooth cuts with less effort |
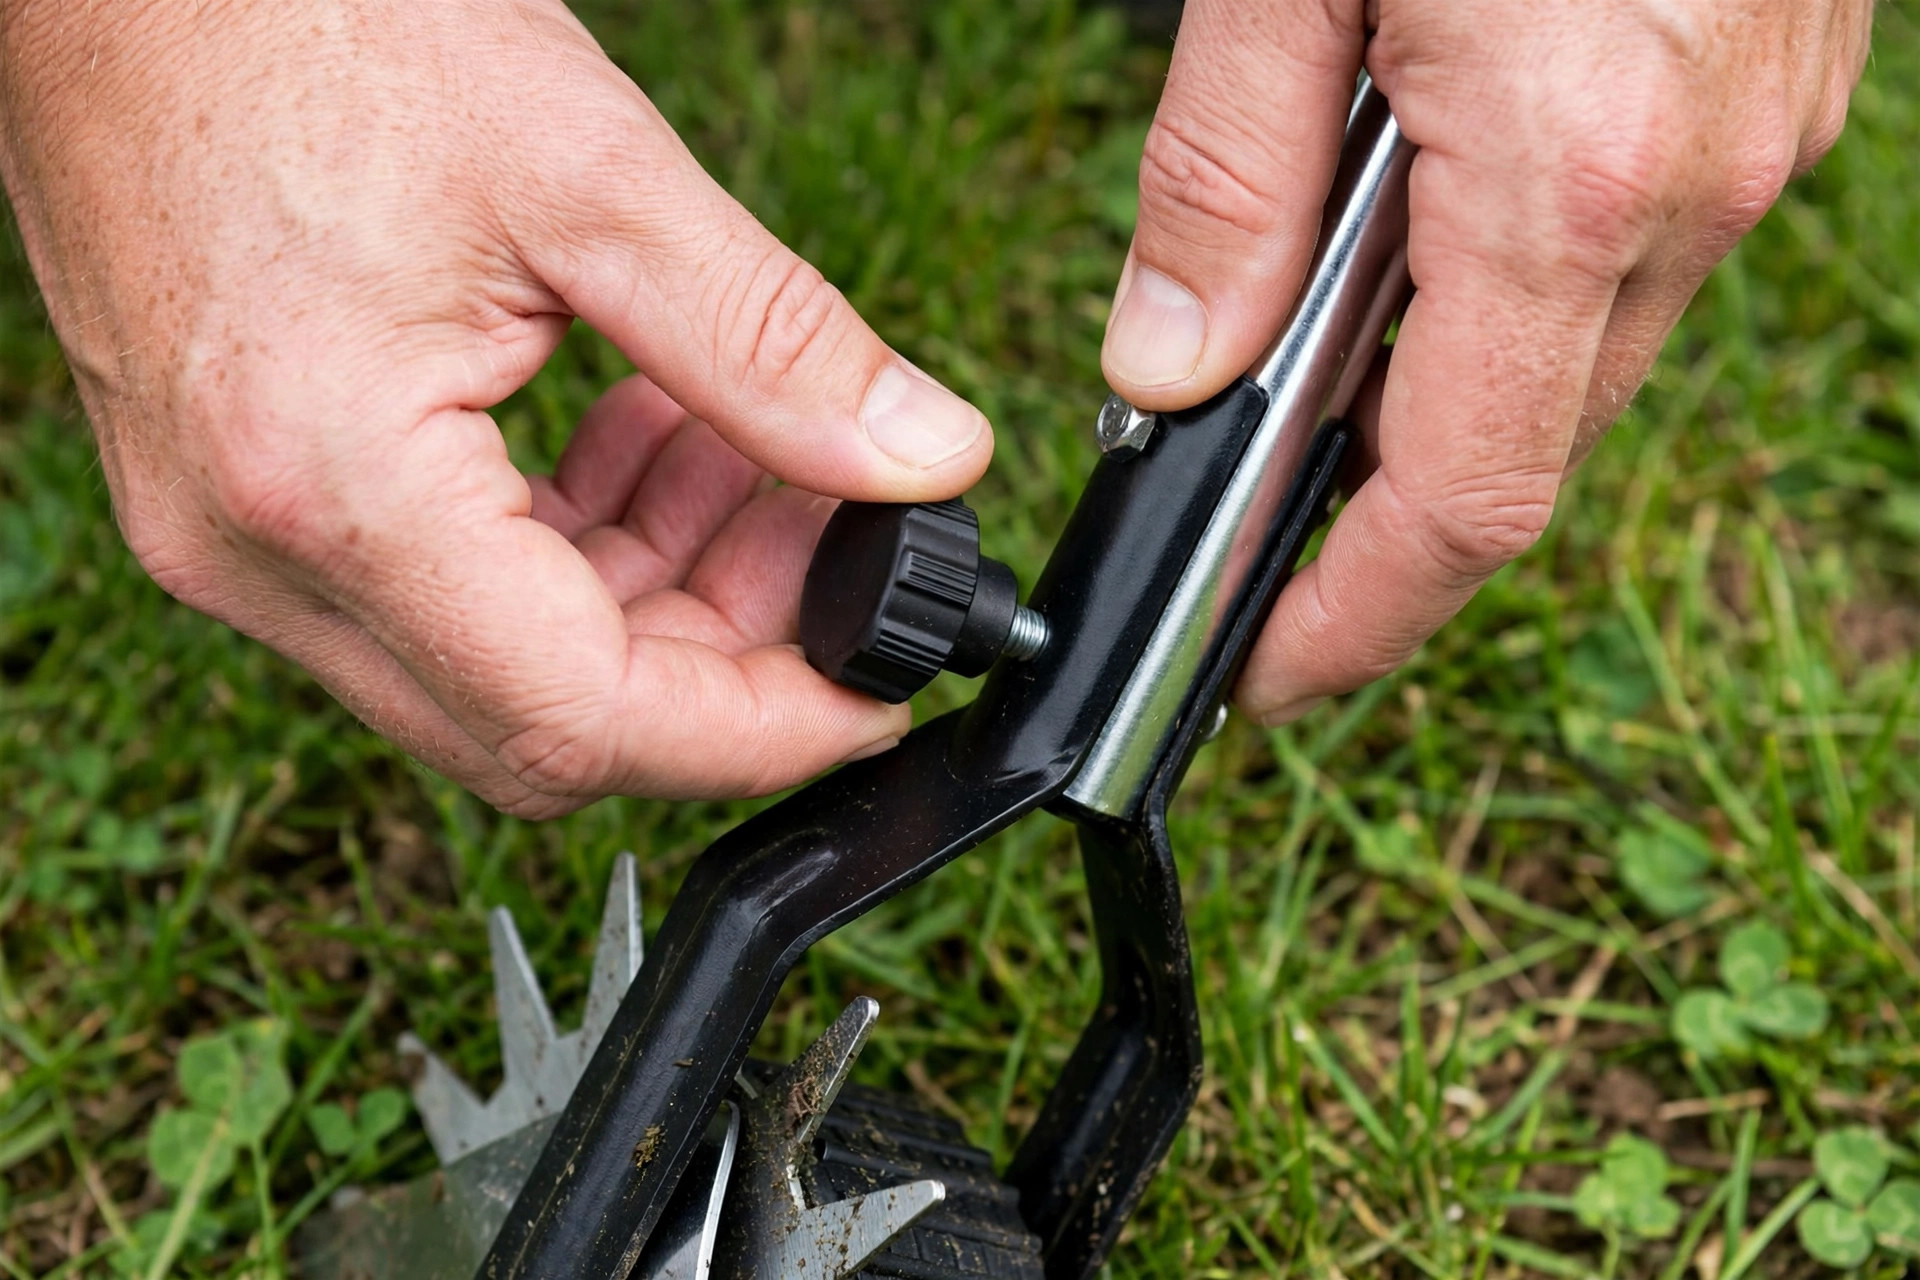
Always ensure the blade is appropriately sharpened. A dull blade will make your work challenging and potentially damage your lawn edges. The blade should be sharp enough to cut through the grass smoothly.
Secure all adjustment knobs and bolts after setting your desired heights. This will ensure the tool remains stable as you work, guaranteeing consistent results. Loose knobs can shift the blade and spoil the edge.
Step 3: Start Edging
Step 3: Start Edging
Once your edger is set up, it’s time to start the process. Place the blade where your lawn meets the sidewalk or driveway. Hold the handle firm and push down to cut the lawn.
Slowly move the edger forward, applying even pressure to maintain a uniform depth. Keep the wheel lined up with the hard surface as a guide. Even pressure keeps the depth the same all along.
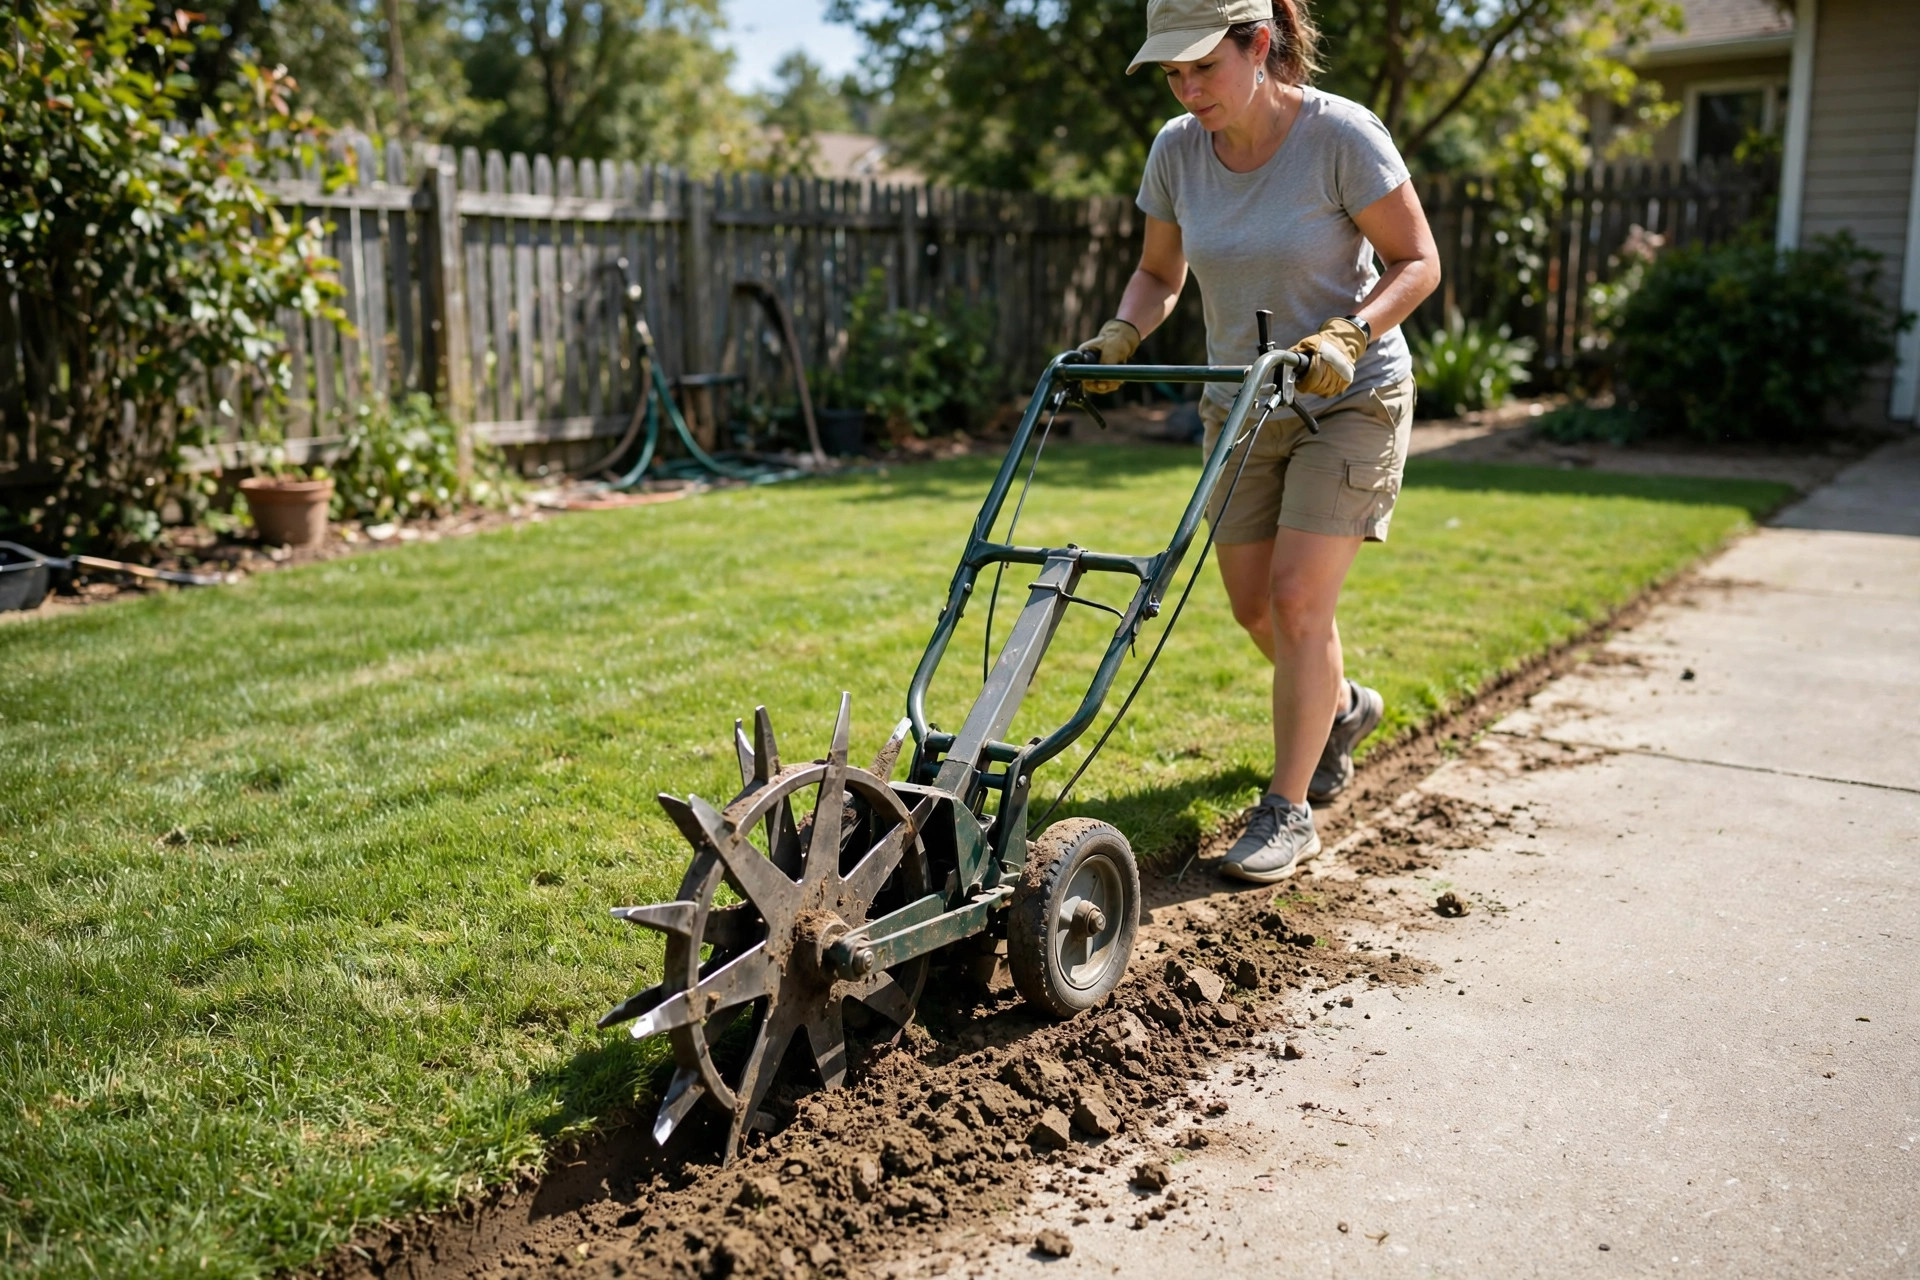
Use a back-and-forth motion if you encounter a challenging spot or thick grass clumps. This helps you cut through more effectively while maintaining the edge’s neatness. Thick clumps may need two or three slow passes.
Continue the same process along the specific edge until it’s completely done. It’s crucial to maintain consistency in your edging for a neat and uniform look. Work one edge at a time until the whole lawn is done. If the blade jams, read our guide to fixing a lawn edger.
Step 4: Clean Up and Maintenance
Step 4: Clean Up and Maintenance
Once you’re done with the edging task, it’s time to clean up. Use a broom or leaf blower to clear the edging debris from your hard surfaces. Compost the collected debris or dispose of it as per your local regulations.
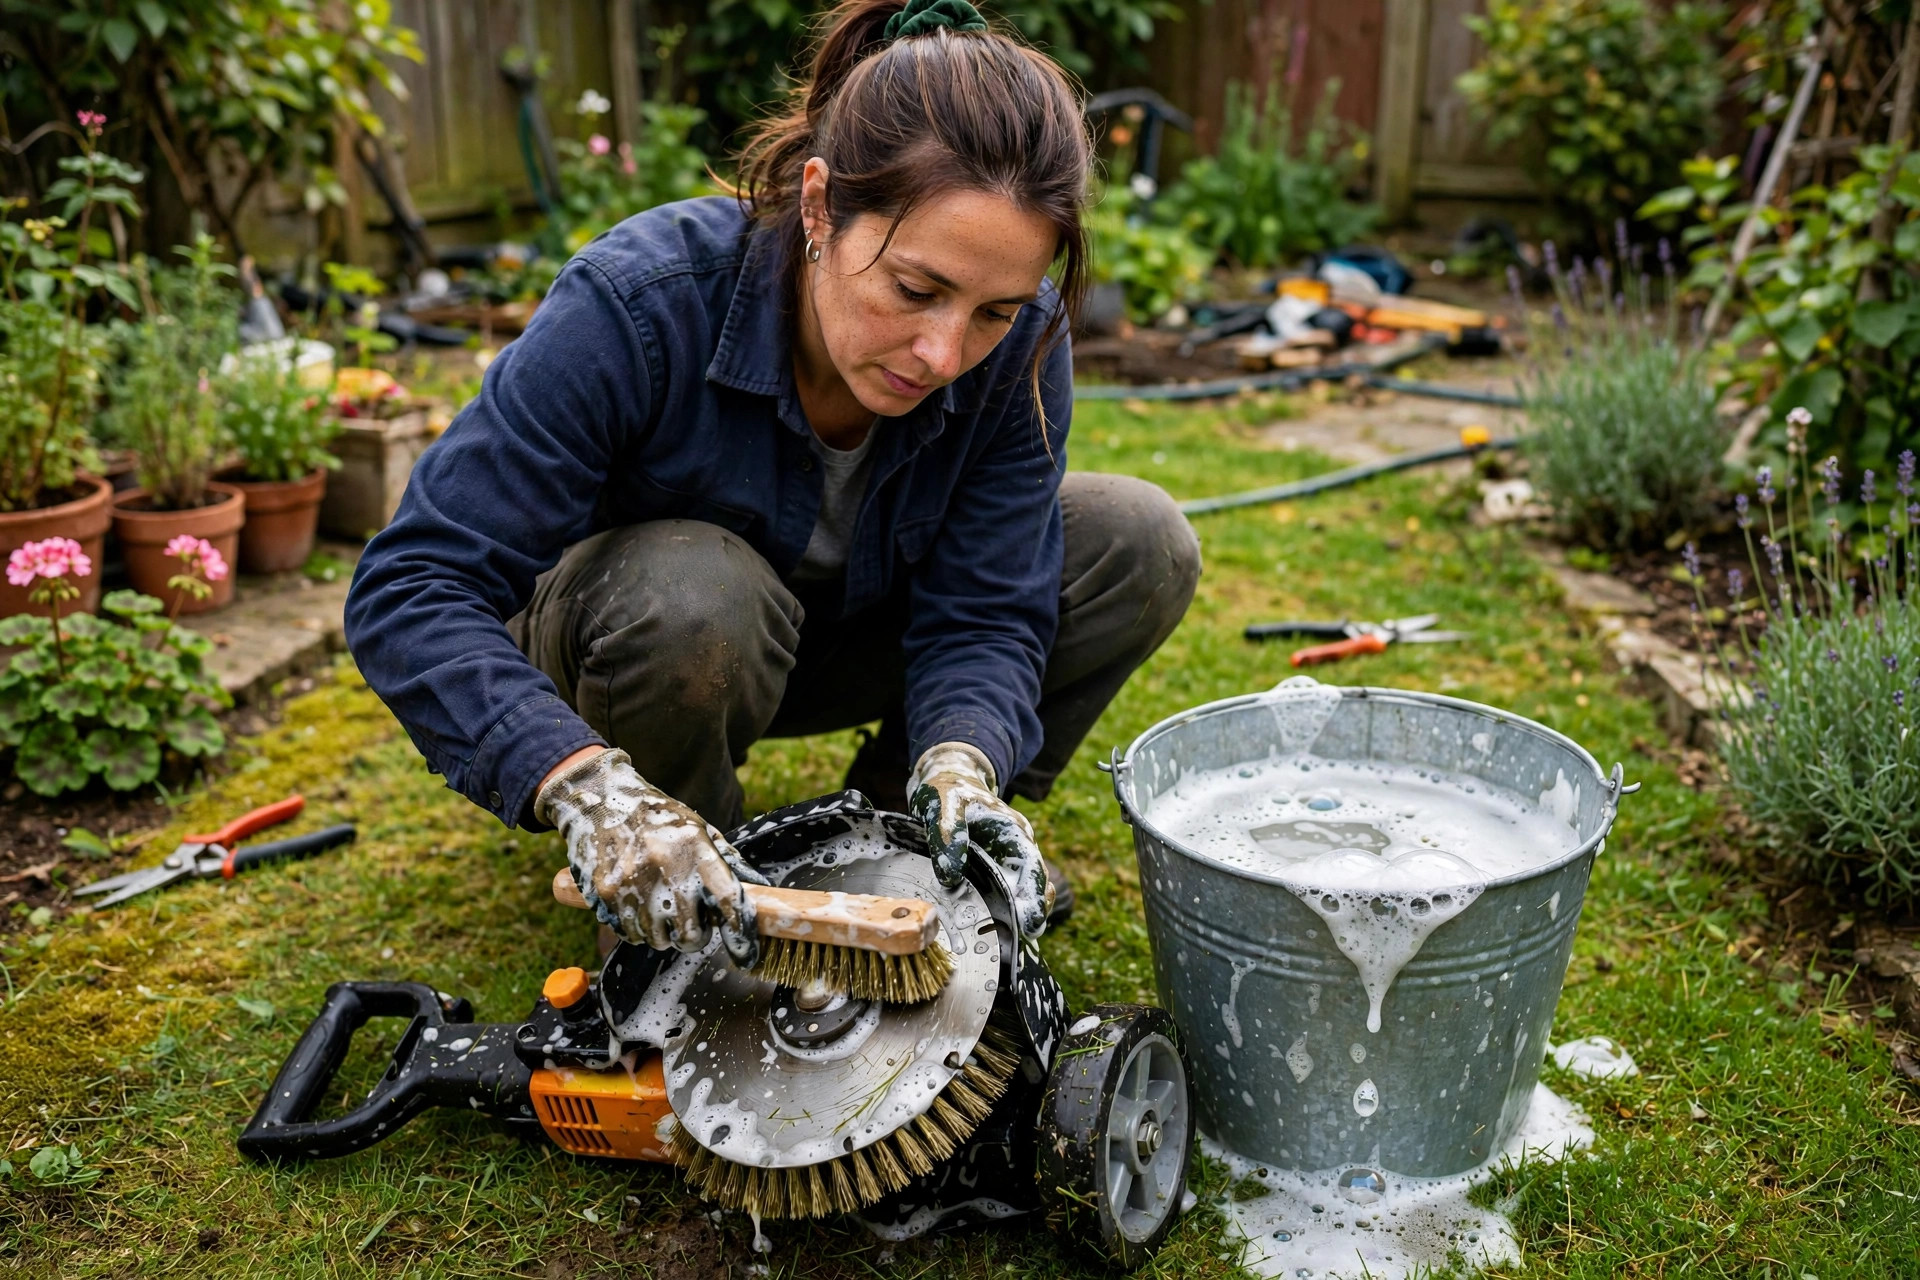
Clean the rotary edger’s blade with a stiff brush and warm soapy water. This helps remove dirt and grass build-up that could potentially rust and blunt the blade. Dry the blade properly after cleaning to prevent moisture seepage into the metallic parts.
Check the blade and other parts on a regular basis. Replace or repair any parts that are dangerously worn out or damaged. A well-maintained tool increases its longevity and effectiveness.
Lastly, store the edger in a safe, dry place, away from children’s reach. This helps protect the tool from harsh weather conditions and potential accidents. Keep it out of reach so kids stay safe around it. If the blade looks dull, read our guide to sharpening a lawn edger blade.
Step 5: Enjoy the Results
Step 5: Enjoy the Results
Step back and admire the work you’ve done. The clean, neat edges will have transformed your lawn, giving it a polished finish. It also stops grass from spreading into paths and beds.
Consistent edging keeps your lawn looking neat and well-maintained. Fast grass may need an edge every two weeks in season. Slow grass can wait longer between edging days.
With the right practice, you’ll get better and faster at using your rotary lawn edger. Remember to regularly maintain the tool and always put safety first during its operation. Good care keeps the tool sharp and safe to use.
| Care Task | When to Do It | Why It Matters |
|---|---|---|
| Clean the blade | After each use | Stops rust and wear |
| Check screws and parts | Each season start and end | Keeps the tool safe |
| Store in a dry place | After every job | Stops rust and damage |
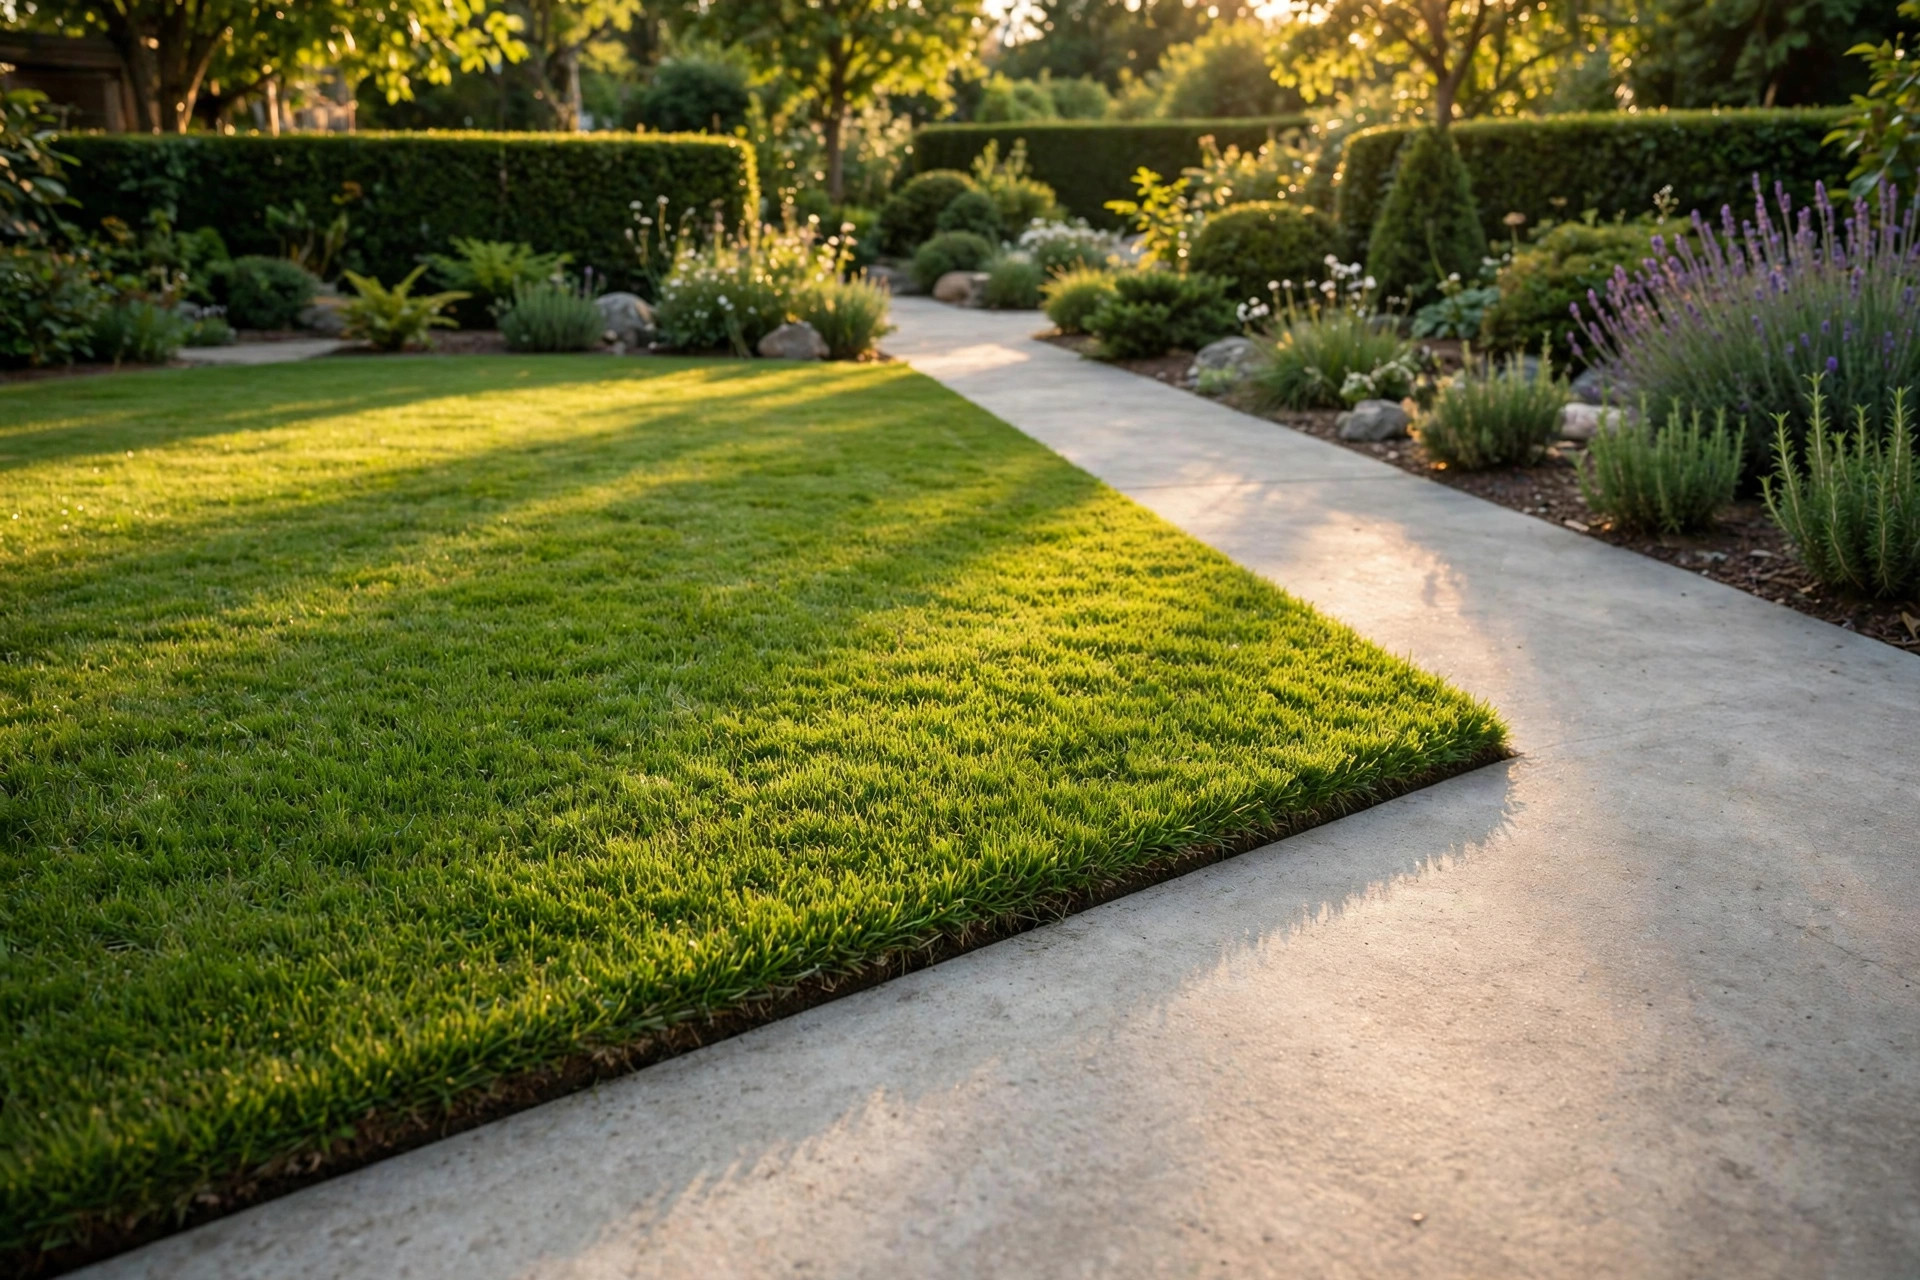
A manicured lawn lifts the whole look of your home. With this guide, your lawn can be the highlight of your home. Enjoy the neat edges you worked hard to shape.
You now have the skill to edge like a seasoned pro. This simple skill lifts your whole lawn care routine. Keep at it, and each edge will look better than the last. For wider yard care, read our guide to using a lawn trimmer.
Frequently Asked Questions
Rotary edgers are great tools for clean edges on lawns and paths. Here are some common questions about how to use them. Each answer comes straight from the guide above.
1. What should I consider before using a rotary lawn edger?
Before I edge, I mark the path or lawn edge clearly. This helps me maintain straight edges and avoid damaging my favorite plants. I also check the tool: the blade must be sharp and the handle firm.
In addition, I wear appropriate clothing, including sturdy shoes and long pants, to prevent injury. Finally, I check the weather, since wet soil can clog the blade. Dry days give the cleanest cuts with the least mess. For thick growth, read our guide to trimming a lawn without a trimmer.
2. What techniques ensure a clean cut?
The key to achieving a perfectly-edged lawn is technique. I move straight, steady, and slow so the blade cuts deep and clean. Instead of forcing the edger, I let the machine do the work. I also ensure consistent edge depth, which can be established through careful observation and practice.
I edge in sections, since that gives better results than one long pass. After each section, I clear cuttings and dirt from the fresh edge. This keeps the edges neat and tidy.
More Questions About Rotary Lawn Edgers
3. How often should I use a rotary lawn edger?
Edge timing varies with grass type and growth speed. I usually edge every two weeks in the growing season. This keeps my lawn looking tidy and well maintained. Edge again when the lines start to look rough or overgrown. See our guide to the best lawn edger for top models.
Off-season, I use the edger less frequently, usually only as required to maintain neat borders. Good technique and care keep the tool working for many seasons. A little care after each job goes a long way.
4. How should I maintain my rotary lawn edger?
Maintenance is key to keeping your rotary lawn edger in top shape. After each use, I clear dirt and grass cuttings off the blade. I also check the blade for signs of wear or damage. Over time, I may need to sharpen the blade to maintain efficient lawn edging.
At each season start and end, I give my edger a full check. I tighten loose screws, oil moving parts, and swap worn pieces. Storing the edger in a dry, clean place also helps prolong its lifespan. See the EPA lawn and garden guide for safe yard care tips.
Conclusion: How to Use a Rotary Lawn Edger With Confidence
So here is the full picture in short. Using a rotary lawn edger is simple once you know the steps. It is important to make sure your edger is sharp and functional before you start. Then, hold it at the correct angle to ensure a deep, clean edge.
Remember to always keep safety in mind while using the rotary lawn edger. Wear goggles and gloves every time you edge. Make sure to keep your feet well away from the blade when it’s operating. Check the STIHL website for more lawn care tips and guides.

I’m Patricia D. Johnson, an affiliate marketer and blogger specializing in trimmers and grooming tools. I create honest reviews, buying guides, and practical tips to help readers choose the right trimmer for their needs. With a focus on quality, performance, and value, I simplify the decision-making process so consumers can make confident purchases.