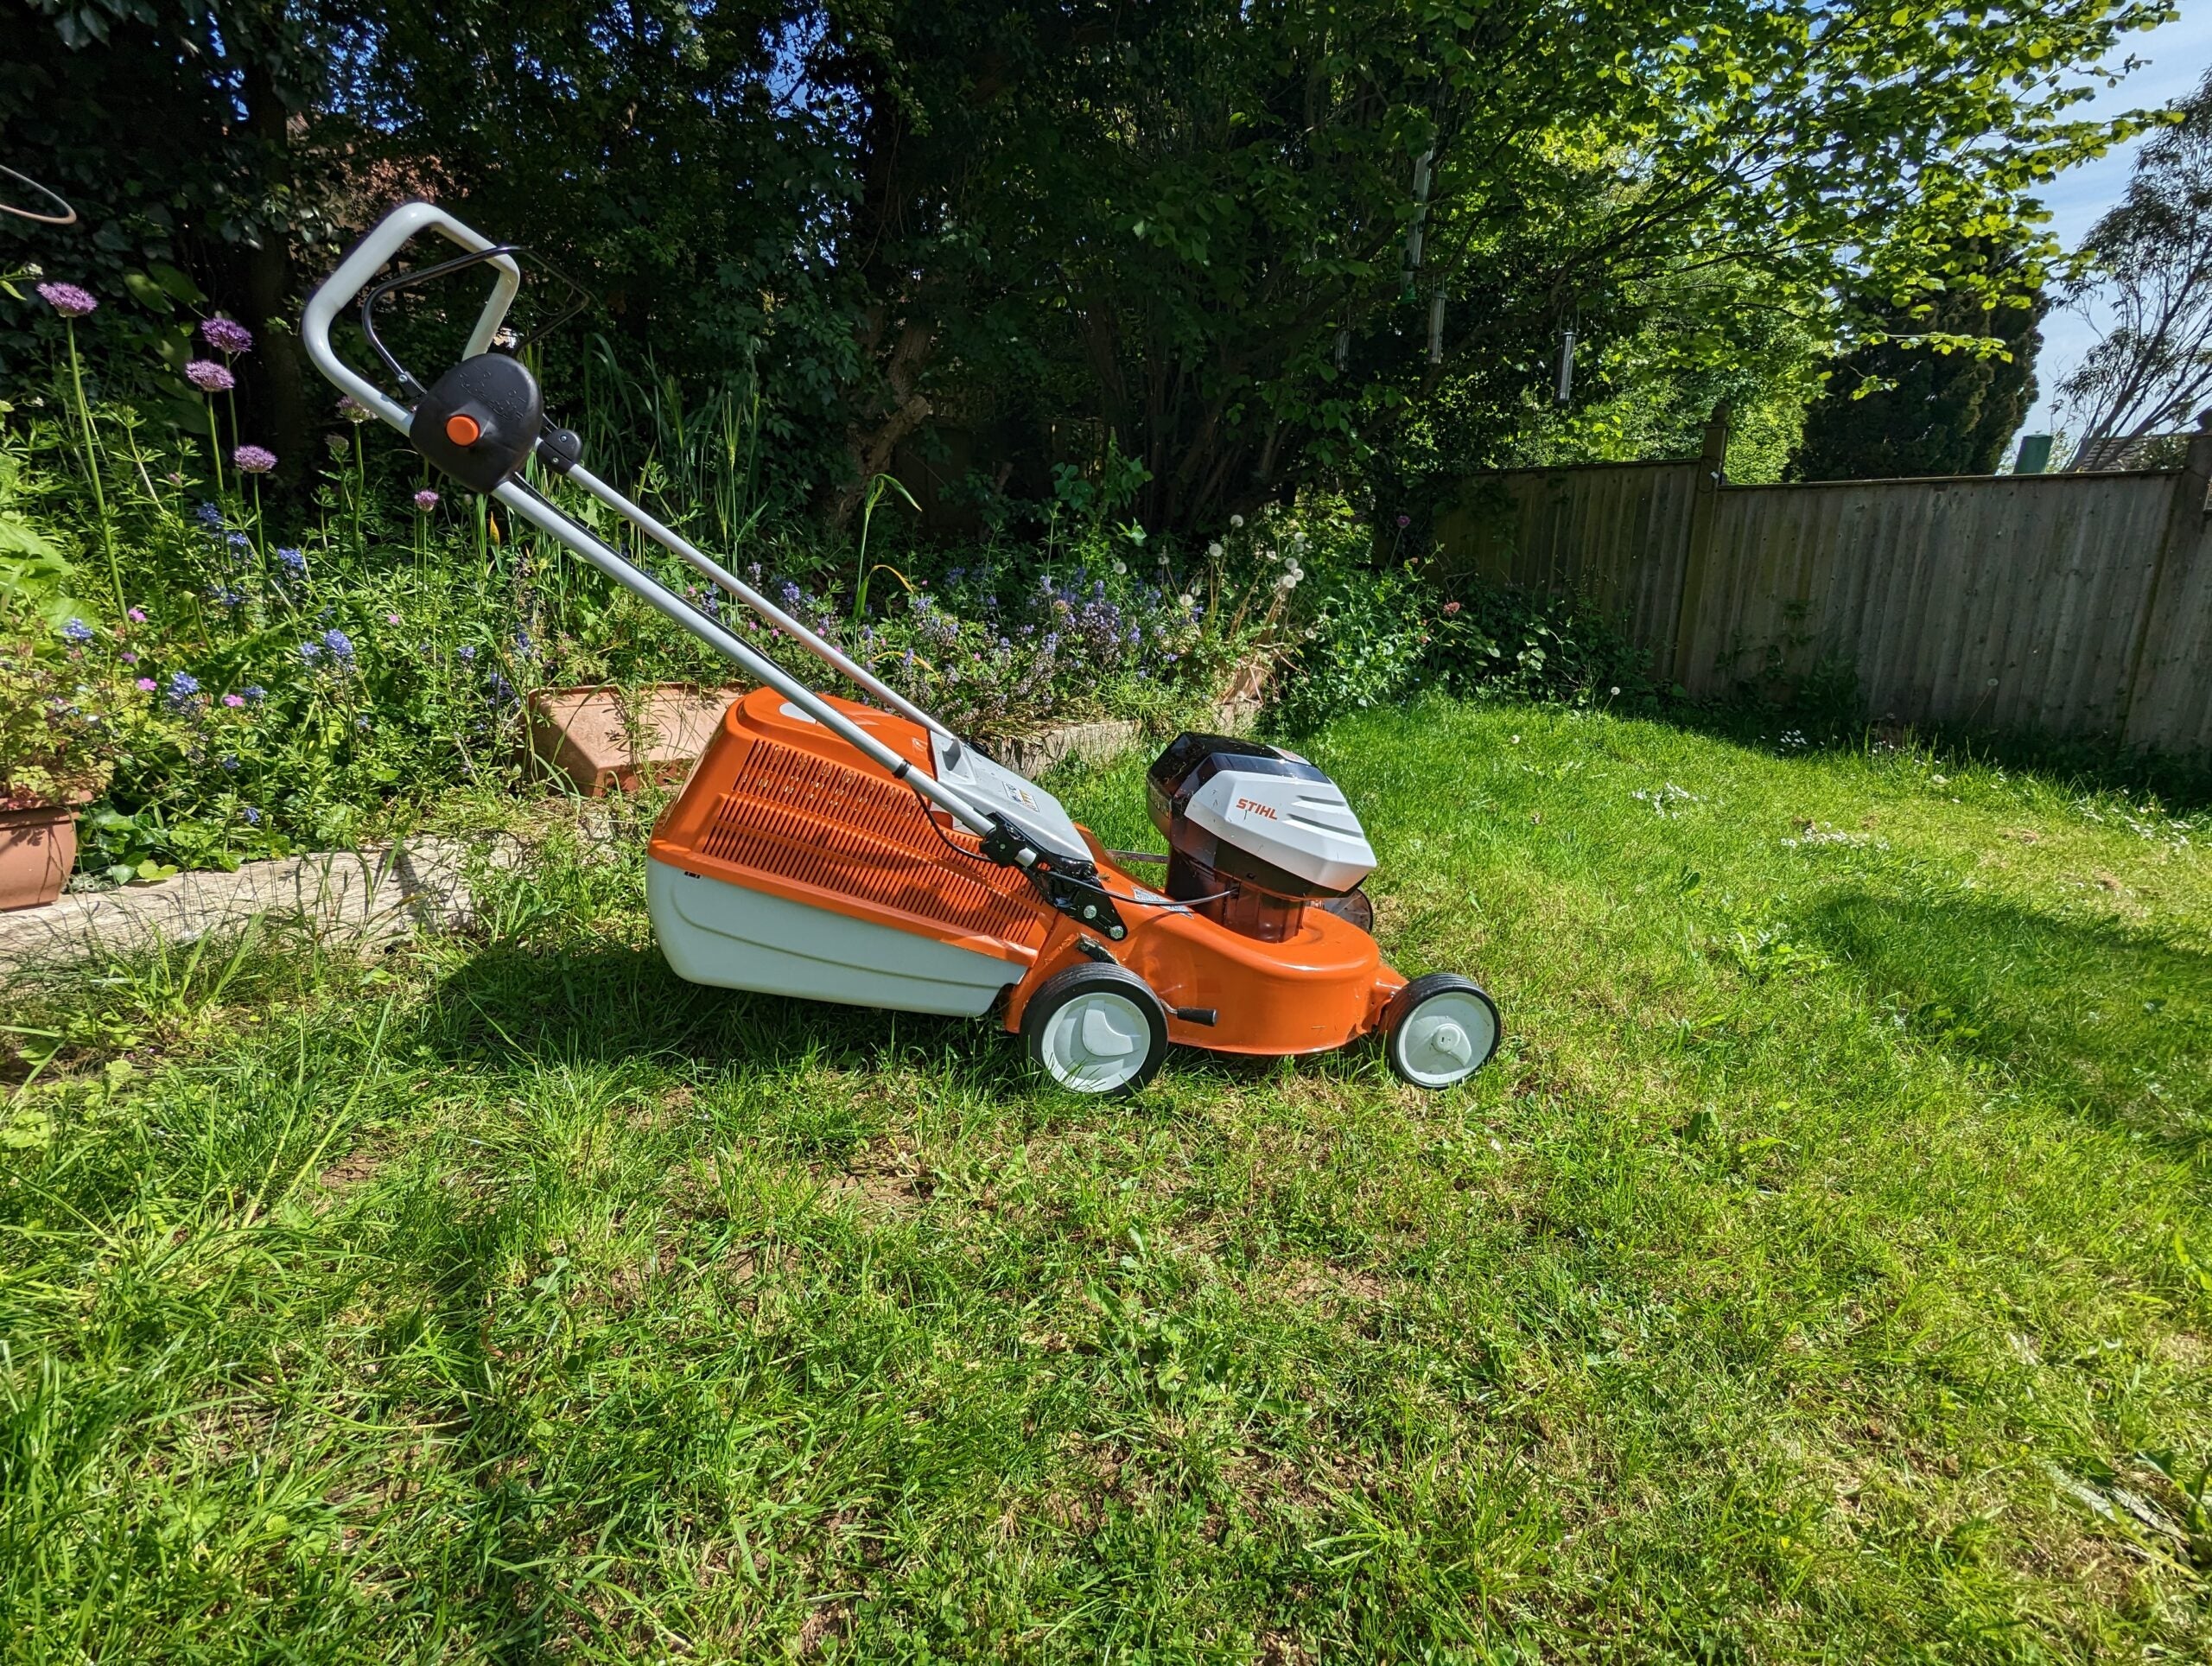
How to String a Walk Behind Trimmer?
A walk behind trimmer cuts grass and weeds in hard-to-reach spots. You push it like a lawnmower, so it suits larger areas well. Its rotating head spins a stiff nylon string at high speed. The string wears down over time and needs fresh line.
This guide shows how to string a walk behind trimmer step by step. You will learn the tools, the spool steps, and the safety checks. We cover the right string size and the best winding method. The tables show the facts side by side for quick reading.
Stringing a trimmer is simple once you know the steps. A few simple tools and the right line solve most cases. Follow the maker steps and check the line before each use. Read on to string your trimmer and cut with ease.
Quick answer: Turn off the trimmer and remove the spark plug wire first. Take out the old line, clean the head, and fit the spool. Wind the new line in the arrow direction and keep it taut. Lock the bump knob, pull the line free, and reattach the plug.
How to String a Walk Behind Trimmer: Key Points
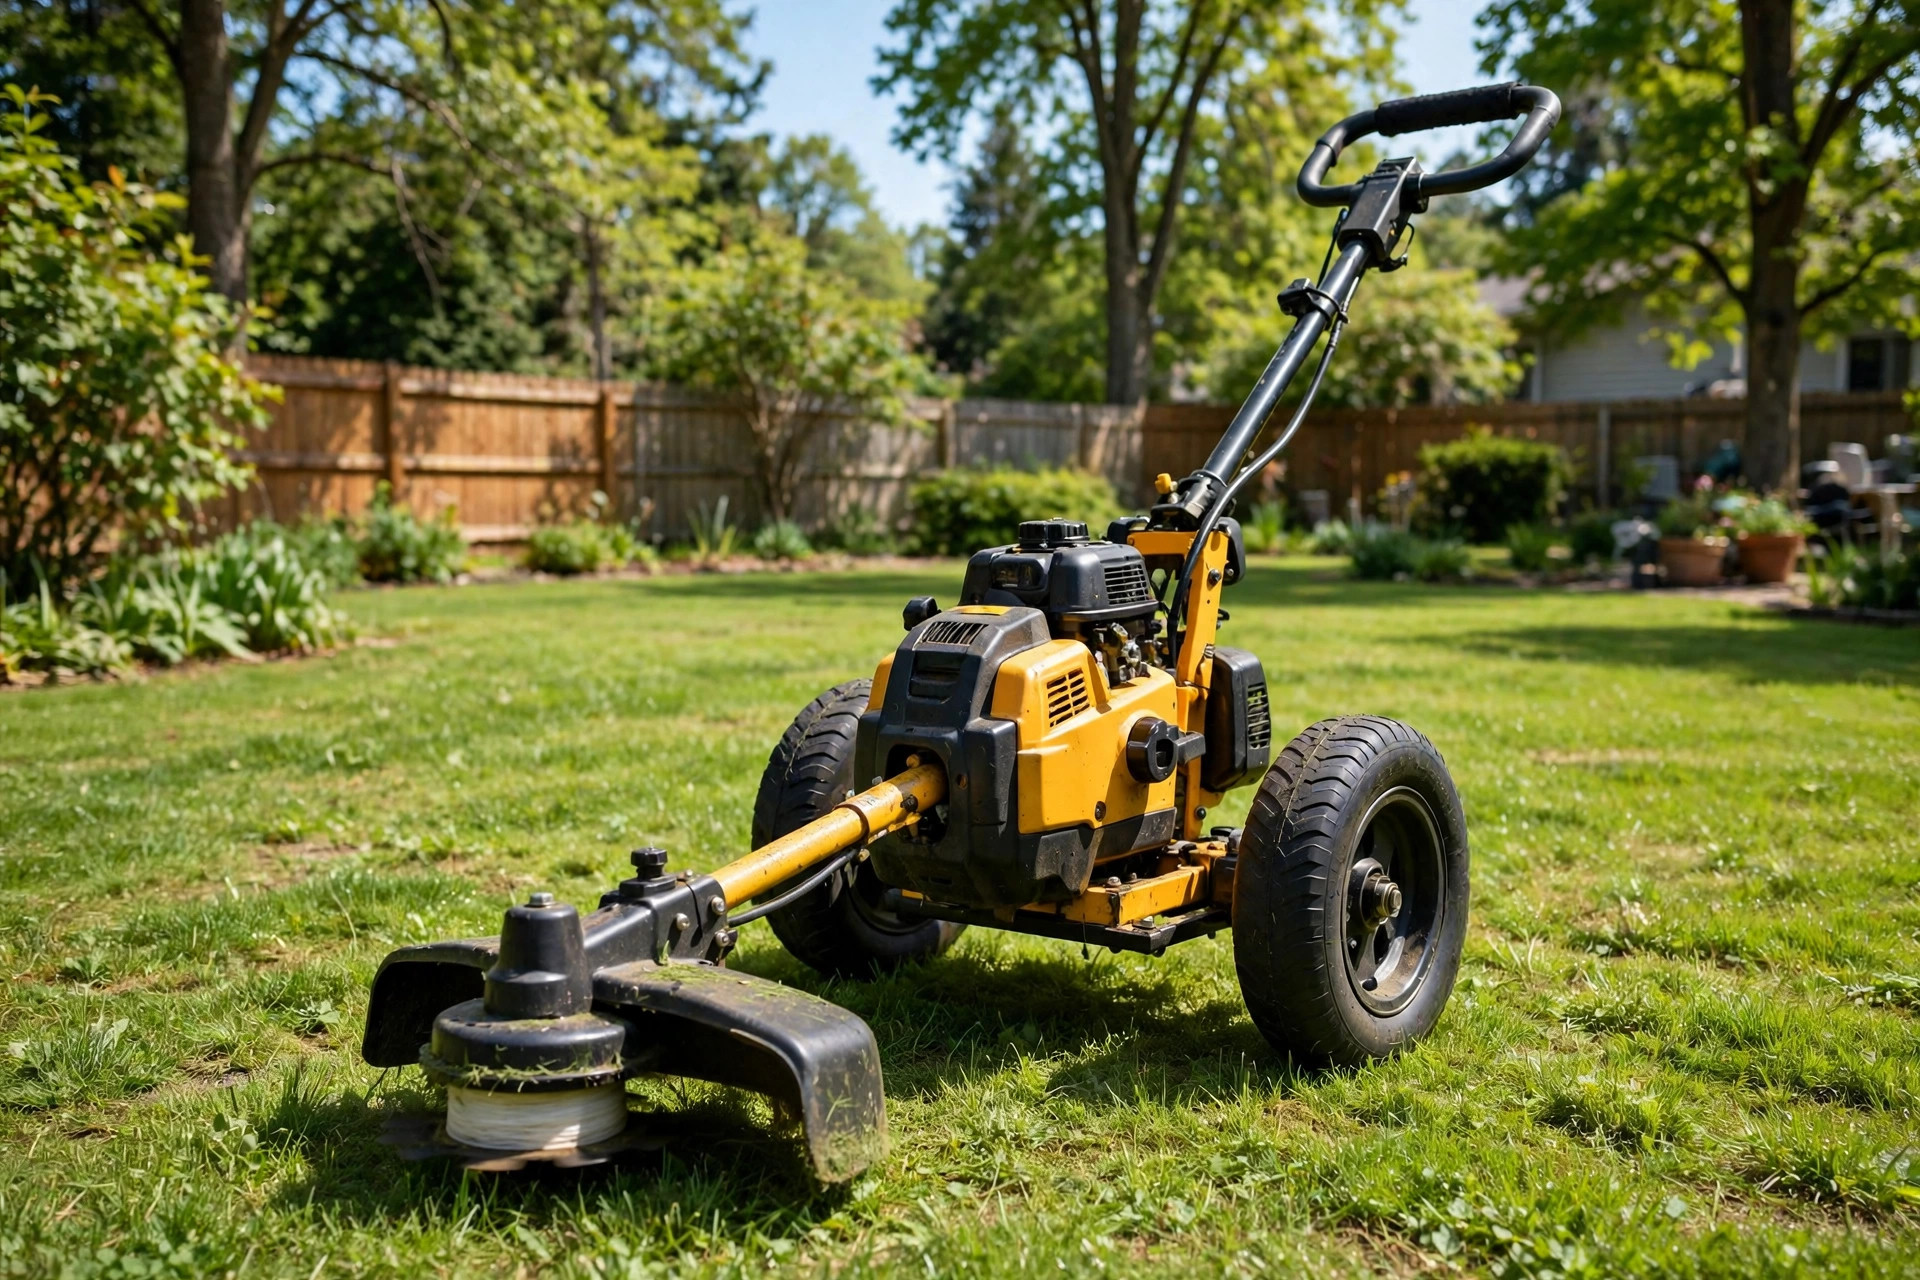
A walk behind trimmer is also called a wheeled string trimmer. It cuts grass, weeds, and plants along fences and driveways. The wheeled design makes it fast on larger areas. A rotating head spins stiff nylon string at high speed. Good stringing keeps the tool in top working shape.
The Short Answer
A loose line cuts poorly, so check the spool first. Use the right line size for your trimmer model. Wind the line tight and follow the arrow direction. Our trimmer head guide shows how to open the head safely.
Understanding the Basics of a Walk Behind Trimmer
A walk behind trimmer is a gardening tool for tough spots. It trims grass and weeds along fences, driveways, and edges. Unlike handheld trimmers, you push it like a lawnmower. The wheels make it fast and easy on larger areas.
How the String Cuts
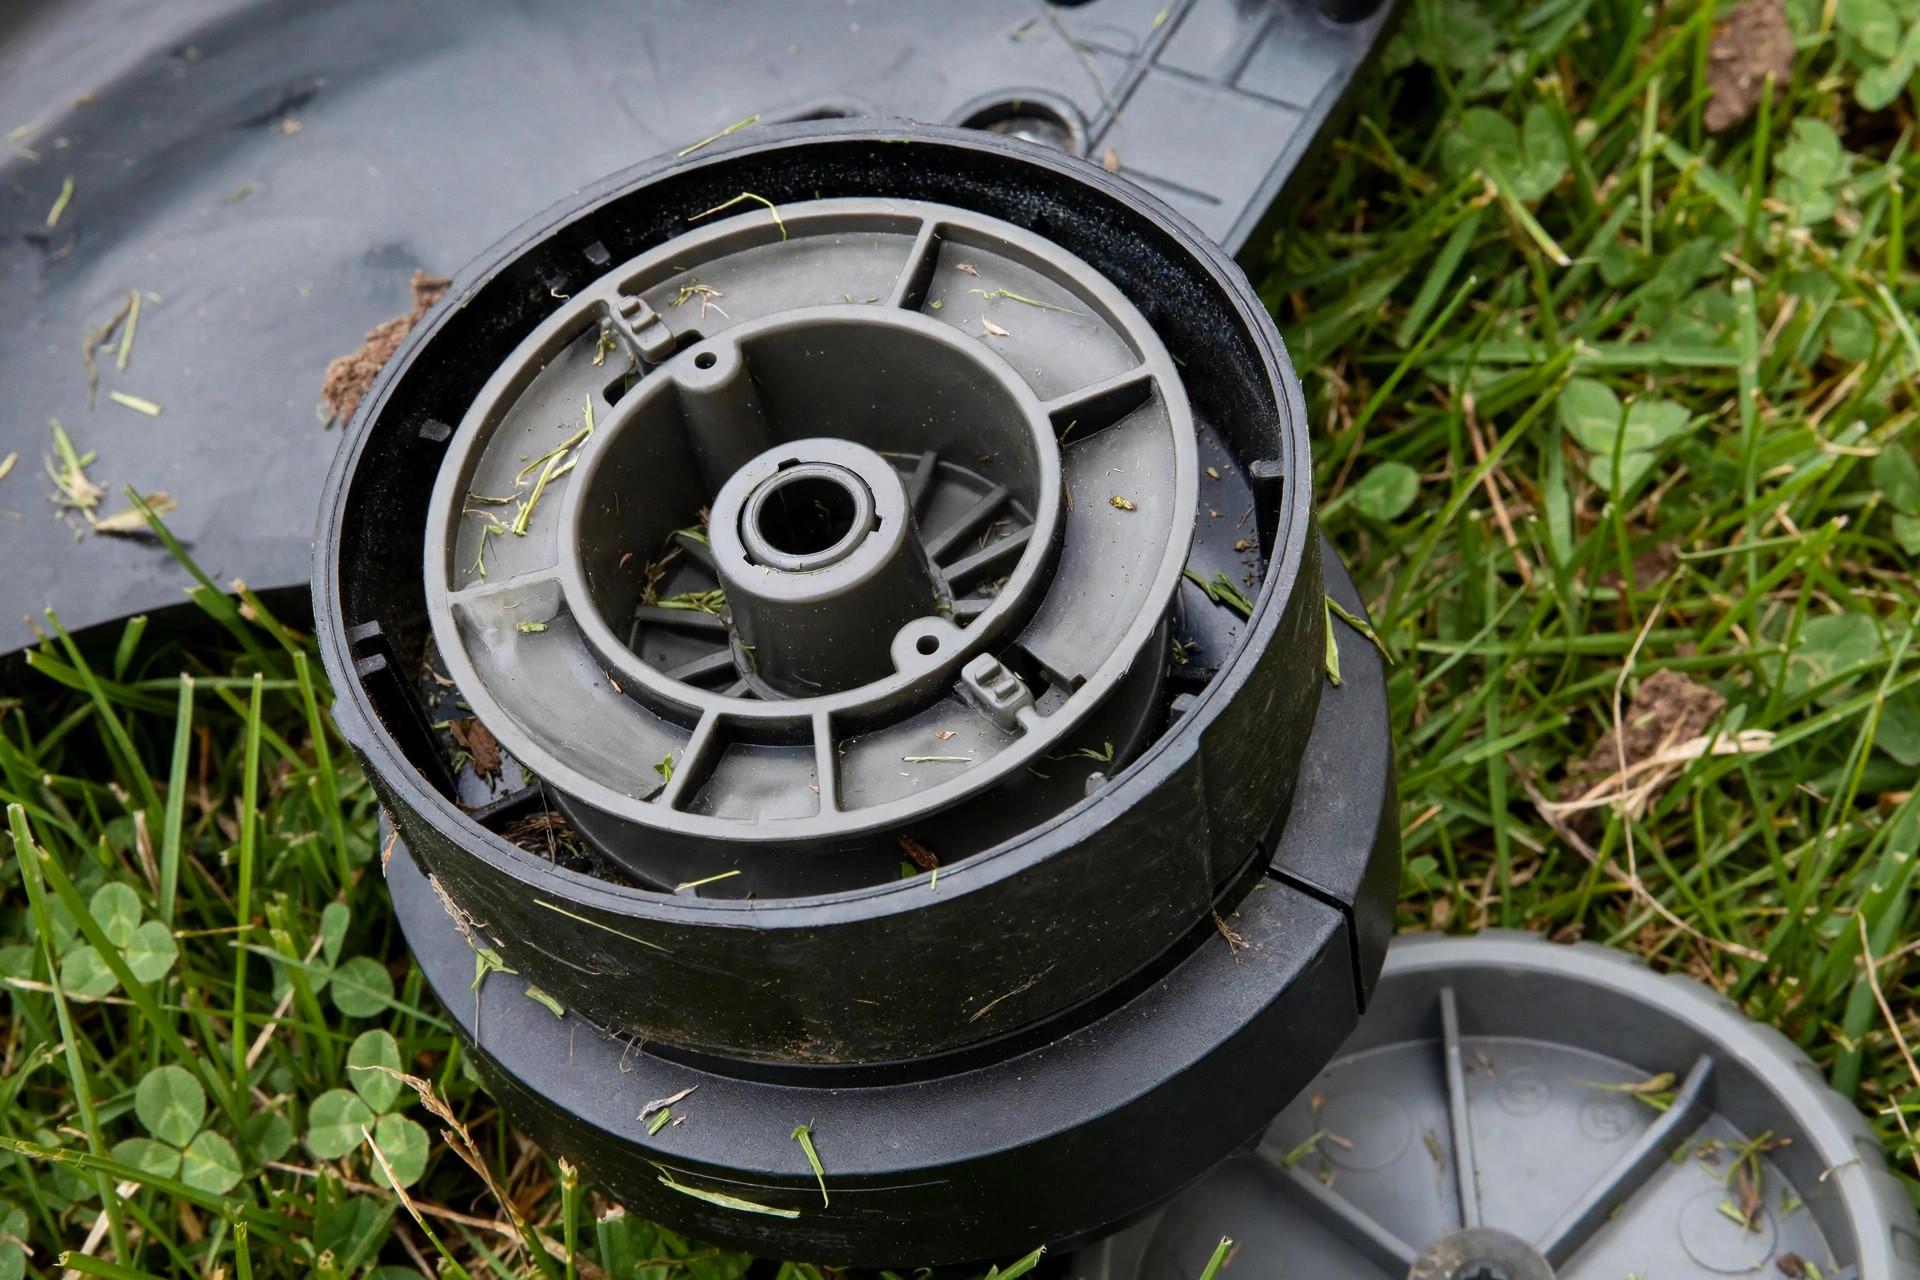
The head spins a stiff nylon string at high speed. The fast string slices through grass and light weeds. Over time the string wears down and needs fresh line. A fresh line cuts clean and keeps the trim neat.
How to String a Walk Behind Trimmer Step by Step
Five steps take you from old line to fresh line. Work on a stable surface with the head facing up. Keep the line taut and wind it in even turns. A loose or tangled wind can jam the spool fast.
| Item | Use |
|---|---|
| Replacement trimmer string or spool | New line for the spool |
| Gloves | Hand protection |
| Safety goggles | Eye protection |
| Clean cloth or rag | Wipe the head and spool |
| Wrench or pliers | Open the head if needed |
Step 1: Gather the Materials
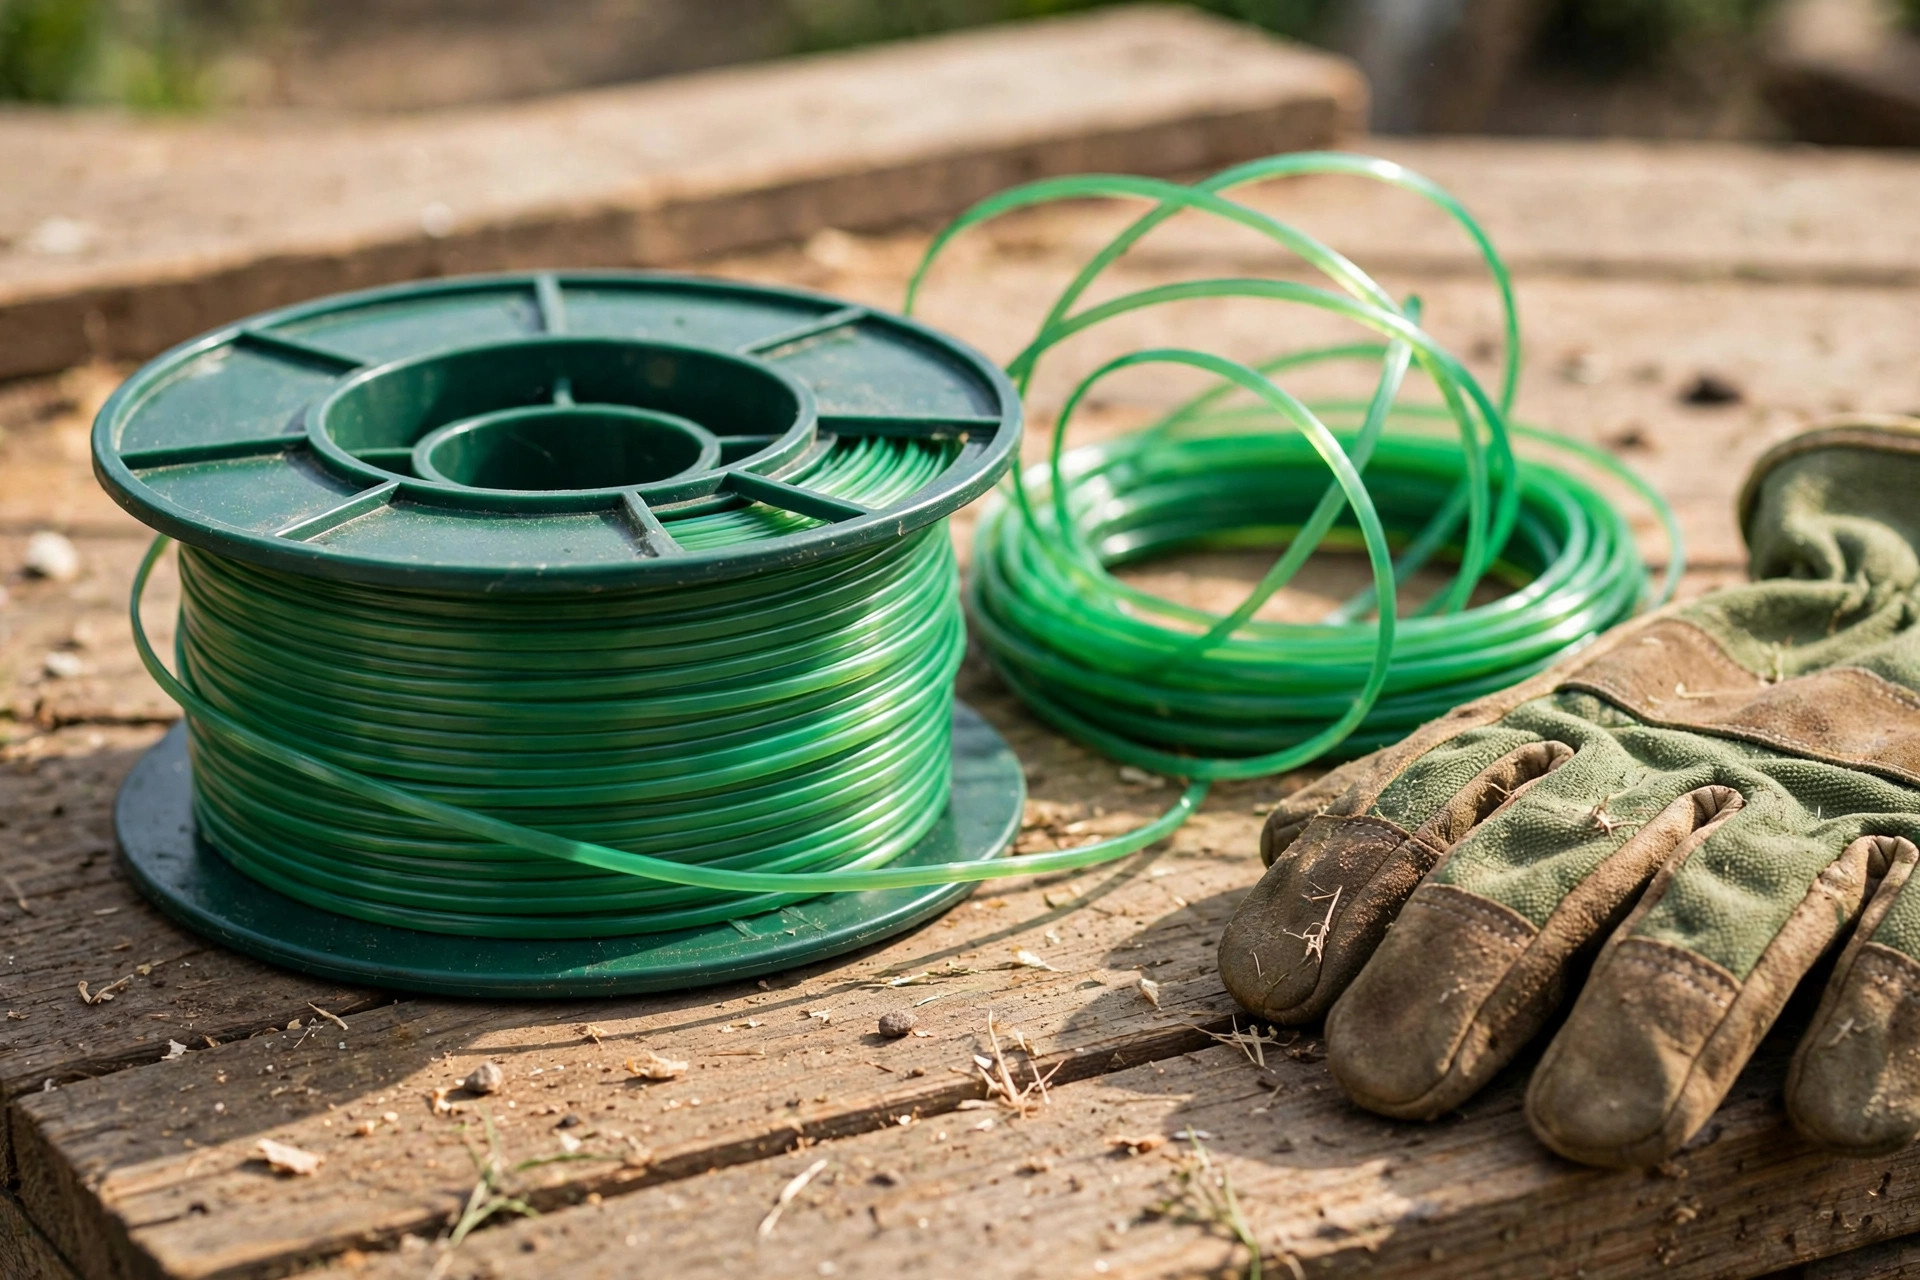
Gather the line, gloves, goggles, and a clean cloth. Keep a wrench or pliers close by if needed. Our repair guide shows how to fix a trimmer that fails.
Step 2: Prepare Your Trimmer
Turn off the trimmer and let the engine cool down. Remove the spark plug wire to stop accidental starts. Lay the trimmer flat with the head facing up. A clear head makes the next steps much safer.
Step 3: Remove the Old String
Find the trimmer head at the bottom of the tool. Turn the bump knob counterclockwise to unlock the spool. Pull the spool out and wipe off the debris. Our wire guide explains loose line and how to fix it.
Step 4: Prepare the New String
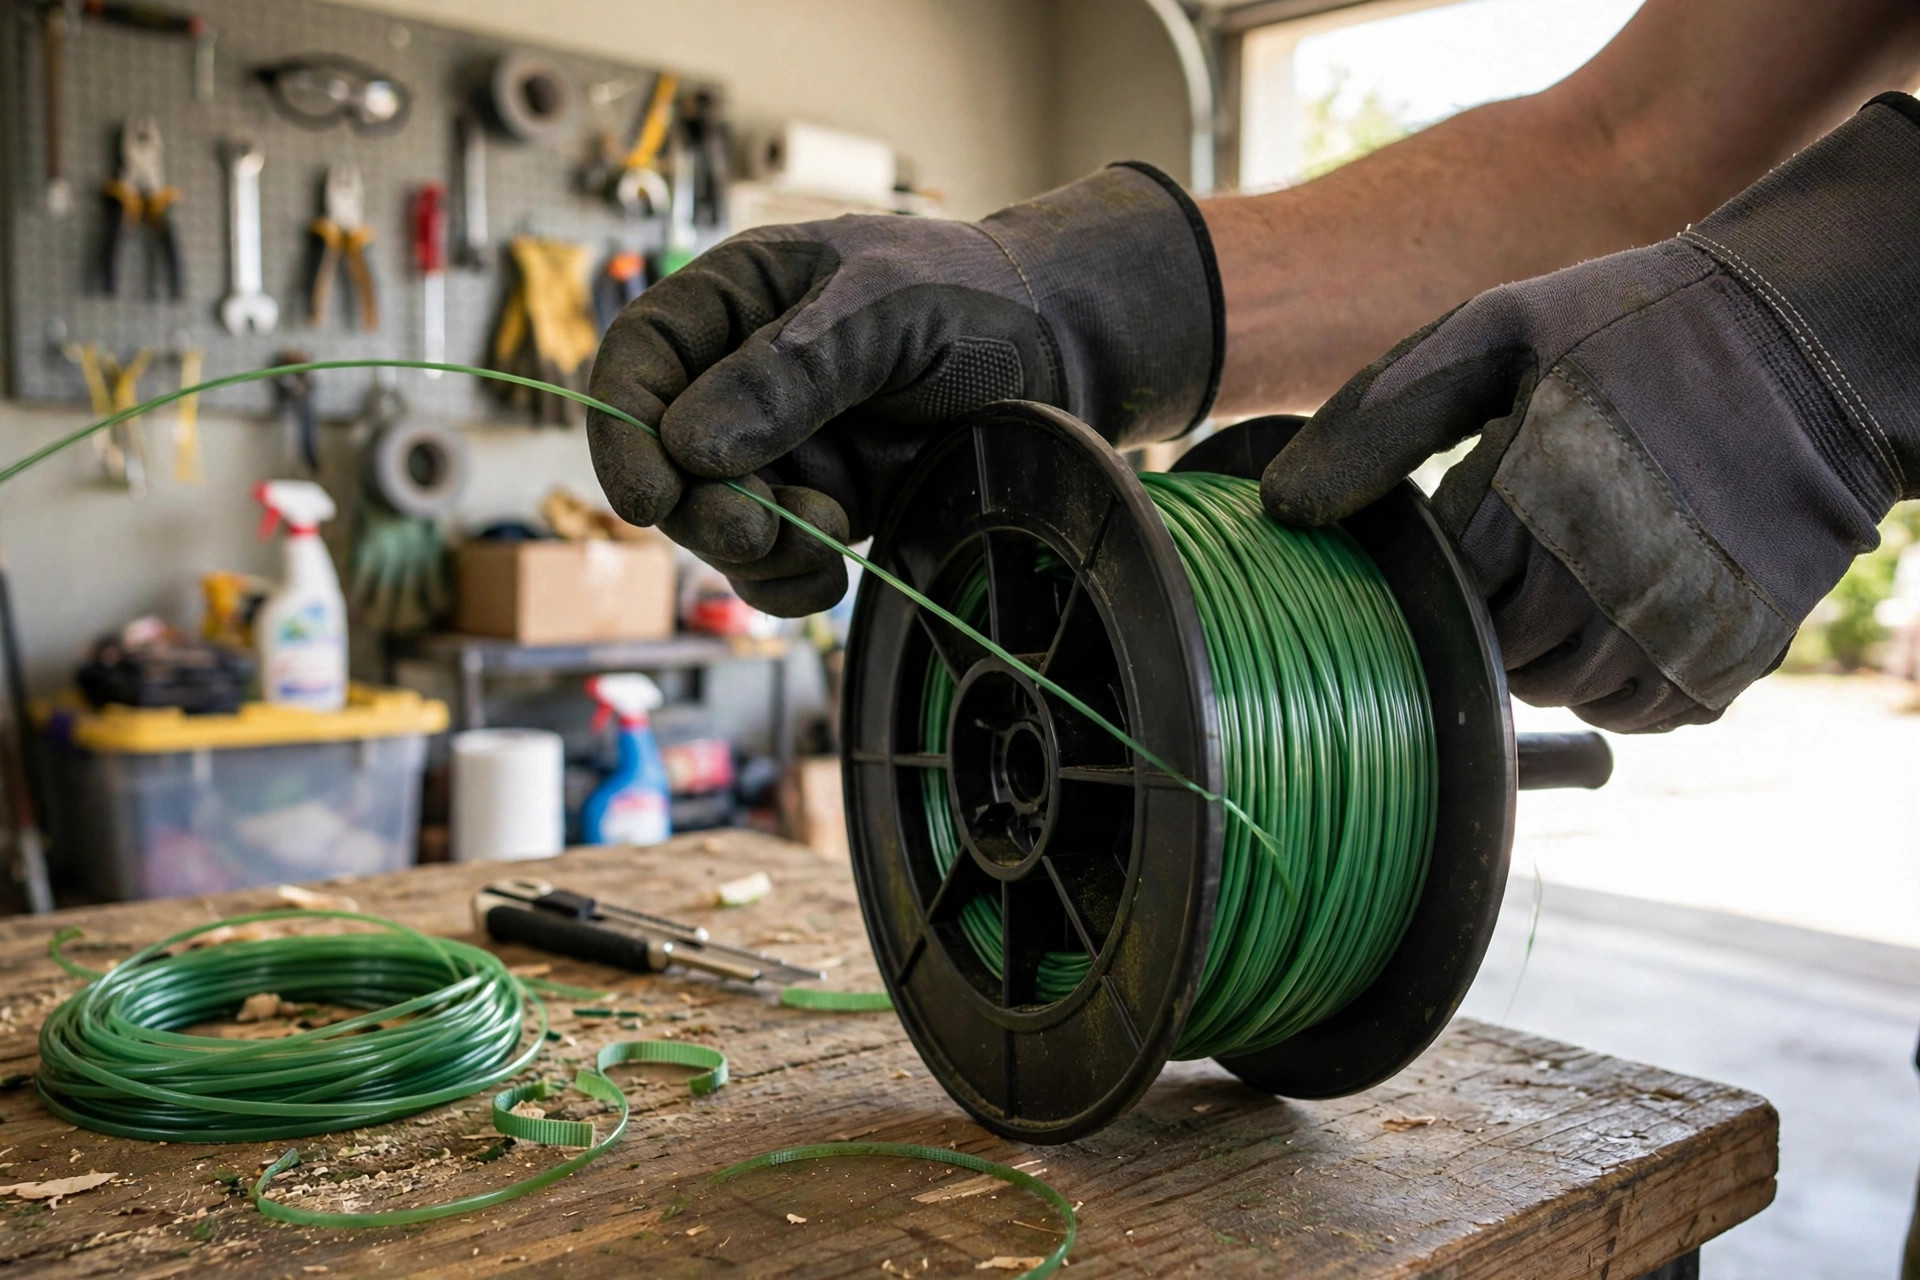
Put on your gloves and safety goggles for protection. Find the line holes or notches on the spool sides. Cut the line to the length your manual states. Insert one end and wind it in the arrow direction.
Step 5: Install the New String
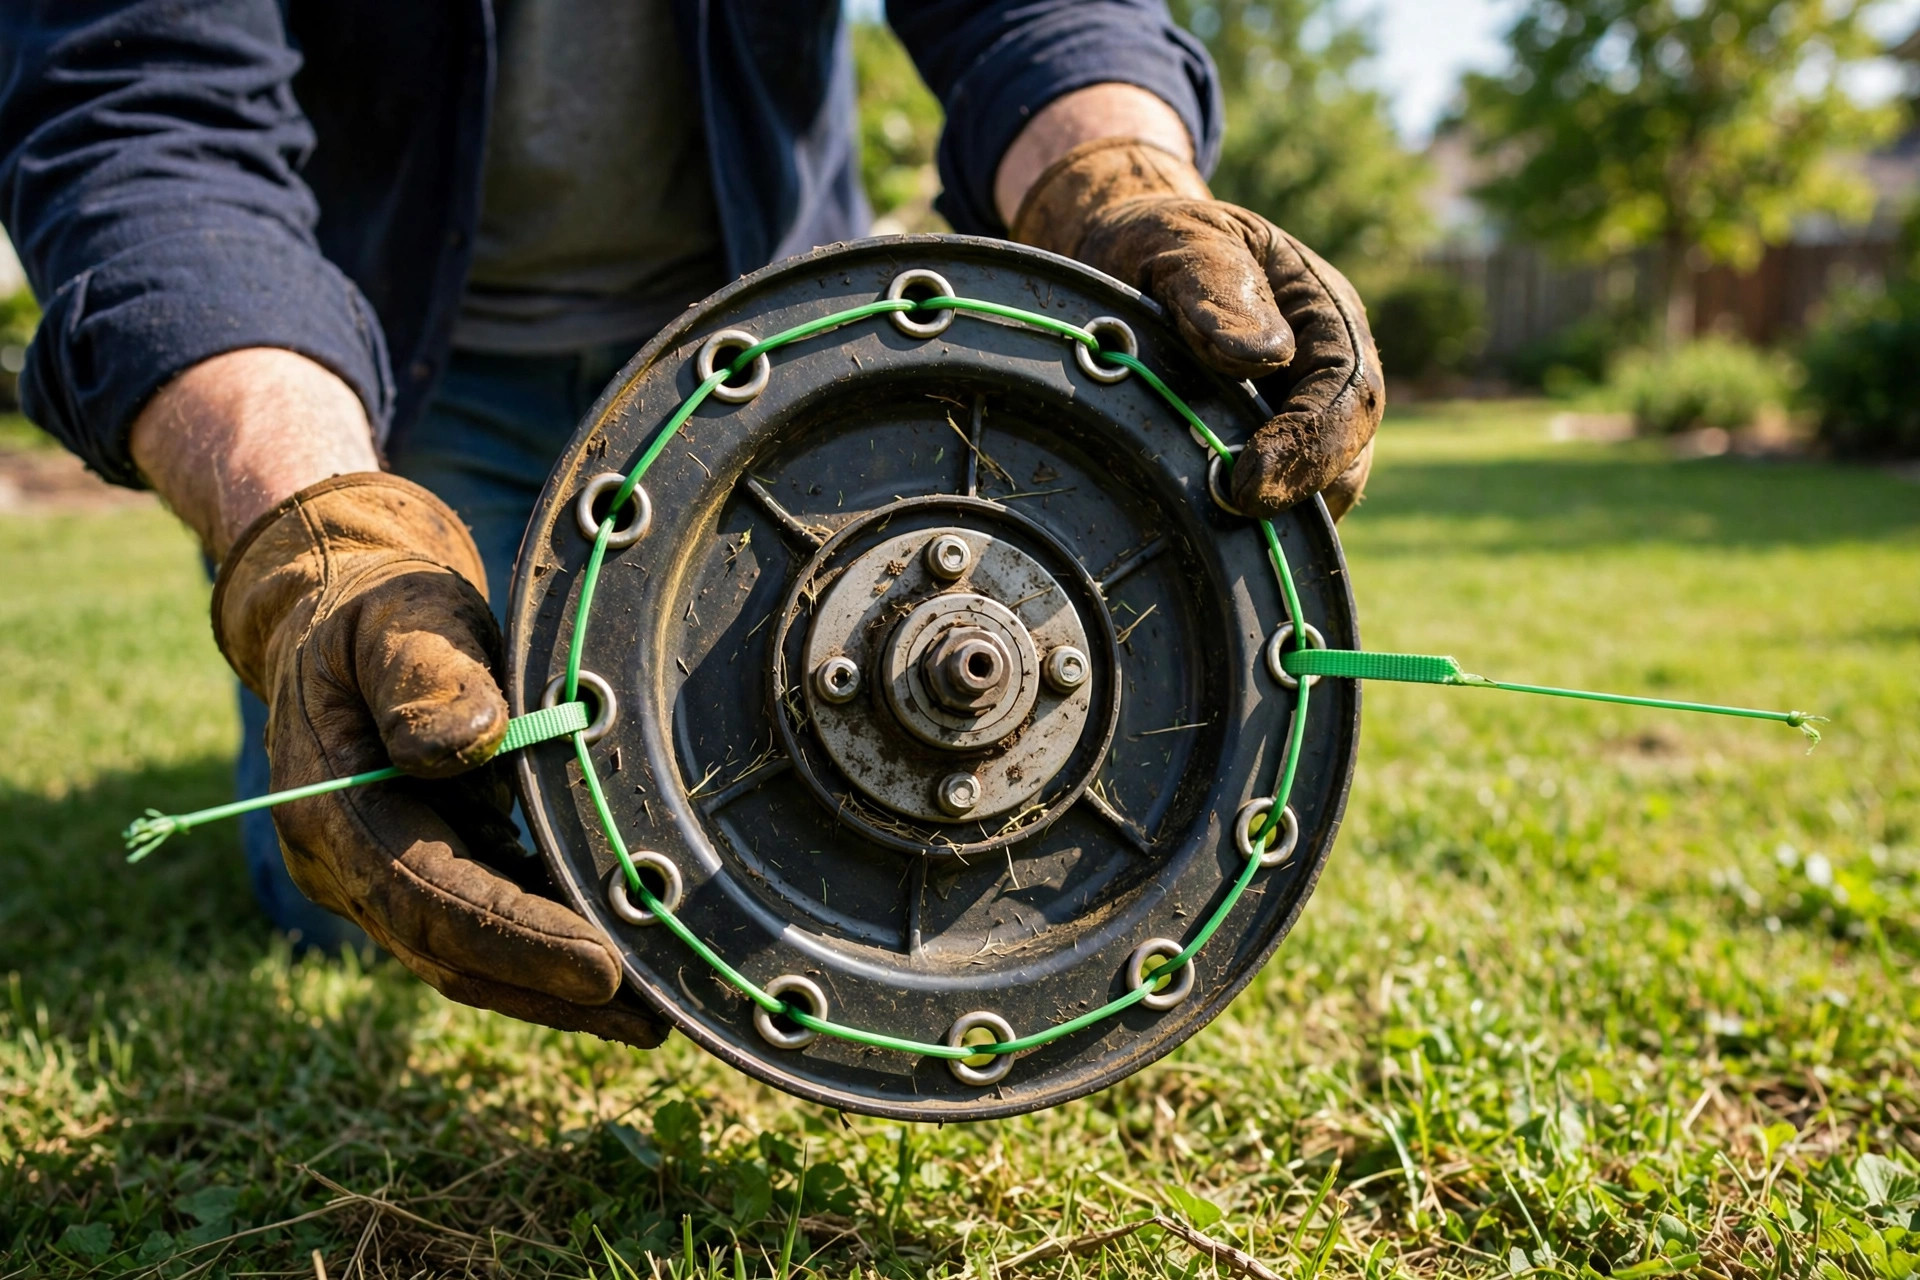
Slide the wound spool back into the trimmer head. Seat it firm and turn the bump knob clockwise. Pull the line sharp to free it from the slots. Our auto-feed guide explains heads that feed line alone.
Caring for Your Trimmer Line
Clean the line after each use to stop debris buildup. Wipe off grass clippings from the line and head. Check the line often for fraying, wear, or damage. Our blade life guide tells you when parts wear out.
| Situation | Action |
|---|---|
| Line worn or frayed | Replace it at once |
| Line breaks often | Replace it at once |
| After 10 to 15 hours of use | Check the line and replace it |
| Start of each cutting season | Fit a fresh line |

Line Sizes to Know
Common line sizes run from 0.065 to 0.105 inches. Check your manual for the size your model needs. The size is often marked on the spool or head. Our sharpening guide shows how to keep blades keen and safe. Visit the STIHL USA site for trimmer parts and support guides.
Keep Parts Moving
Oil the moving parts so the head turns with ease. A little oil cuts friction and slows wear down. Store the trimmer dry and out of the rain. Our oiling guide shows how to oil trimmer parts right.
Frequently Asked Questions
How often should I replace the trimmer line on my walk behind trimmer?
Replace the line when it wears out or breaks. It often wears out after 10 to 15 hours of use. Check the line often for fraying or clear damage. Fit a fresh line at the start of each season.
How do I know which size of trimmer line to use for my walk behind trimmer?
Check the user manual for the size your model needs. The size is often marked on the spool or head. Common sizes run from 0.065 to 0.105 inches. Pick a line that fits your machine for best cuts.
What is the proper method to string the trimmer line on my walk behind trimmer?
Turn off the engine and disconnect the spark plug first. Remove the old line and cut new line to size. Insert one end into the eyelet and wind per the arrow. Repeat the steps for a second strand if needed.
How do I adjust the trimmer line height on my walk behind trimmer?
Check the manual to find the height adjustment control. Use the lever or knob to move the line up or down. Keep the height even on both sides of the head. Test the height with a few passes over the grass.
How do I maintain the trimmer line on my walk behind trimmer?
Clean the line after each use to stop debris buildup. Wipe off grass clippings from the line and head. Check the line often for wear, fraying, or damage. Replace worn line at once for the best cutting results.
Conclusion: How to String a Walk Behind Trimmer
So, how to string a walk behind trimmer the right way? Turn it off, clean the head, and wind fresh line. Keep the line taut and follow the arrow direction. Check the line size and replace worn line on time. Good care keeps your trimmer working well for years.
Practice makes stringing fast, neat, and easy over time. Keep spare line close by for quick changes at home. Follow the maker steps and check tension before each use. A well-strung trimmer keeps your lawn neat and tidy.
