
How to Change a Trimmer Head
A trimmer head wears out after many long sessions. Worn heads cut unevenly and vibrate badly. Knowing how to change a trimmer head restores smooth cutting. A fresh head also protects the motor from strain. This guide walks through the whole swap step by step.
Most trimmers share the same basic head design. The head spins line or blades at speed. Bump feed, automatic feed and fixed-line heads differ. Each type fits only certain trimmer models. Check your manual before buying any replacement.
Six steps cover safety through final testing. Later sections explain each stage more fully. Benefits, head types and troubleshooting follow after them. Short answers close the guide at the end. Careful work keeps trimmers reliable for years.
Quick answer: Turn off and unplug the trimmer first. Remove the old head by unscrewing or unclipping it. Check the new head for defects before fitting. Align it with the shaft and secure it firmly. Tighten all screws or clips, then test it briefly.
- How to Change a Trimmer Head in Six Steps
- Step 1: Safety Precautions
- Step 2: Remove the Old Trimmer Head
- Step 3: Prepare the New Trimmer Head
- Step 4: Install the New Trimmer Head
- Benefits of Changing a Trimmer Head Regularly
- Types of Trimmer Heads
- Troubleshooting Common Problems After Changing a Trimmer Head
- Maintenance Tips for Trimmer Heads
- Frequently Asked Questions
- Conclusion: How to Change a Trimmer Head
How to Change a Trimmer Head in Six Steps
Six steps complete a safe trimmer head swap. Work through them slowly in order shown. Later sections explain each stage more fully. Rushing invites misalignment and loose fasteners later.
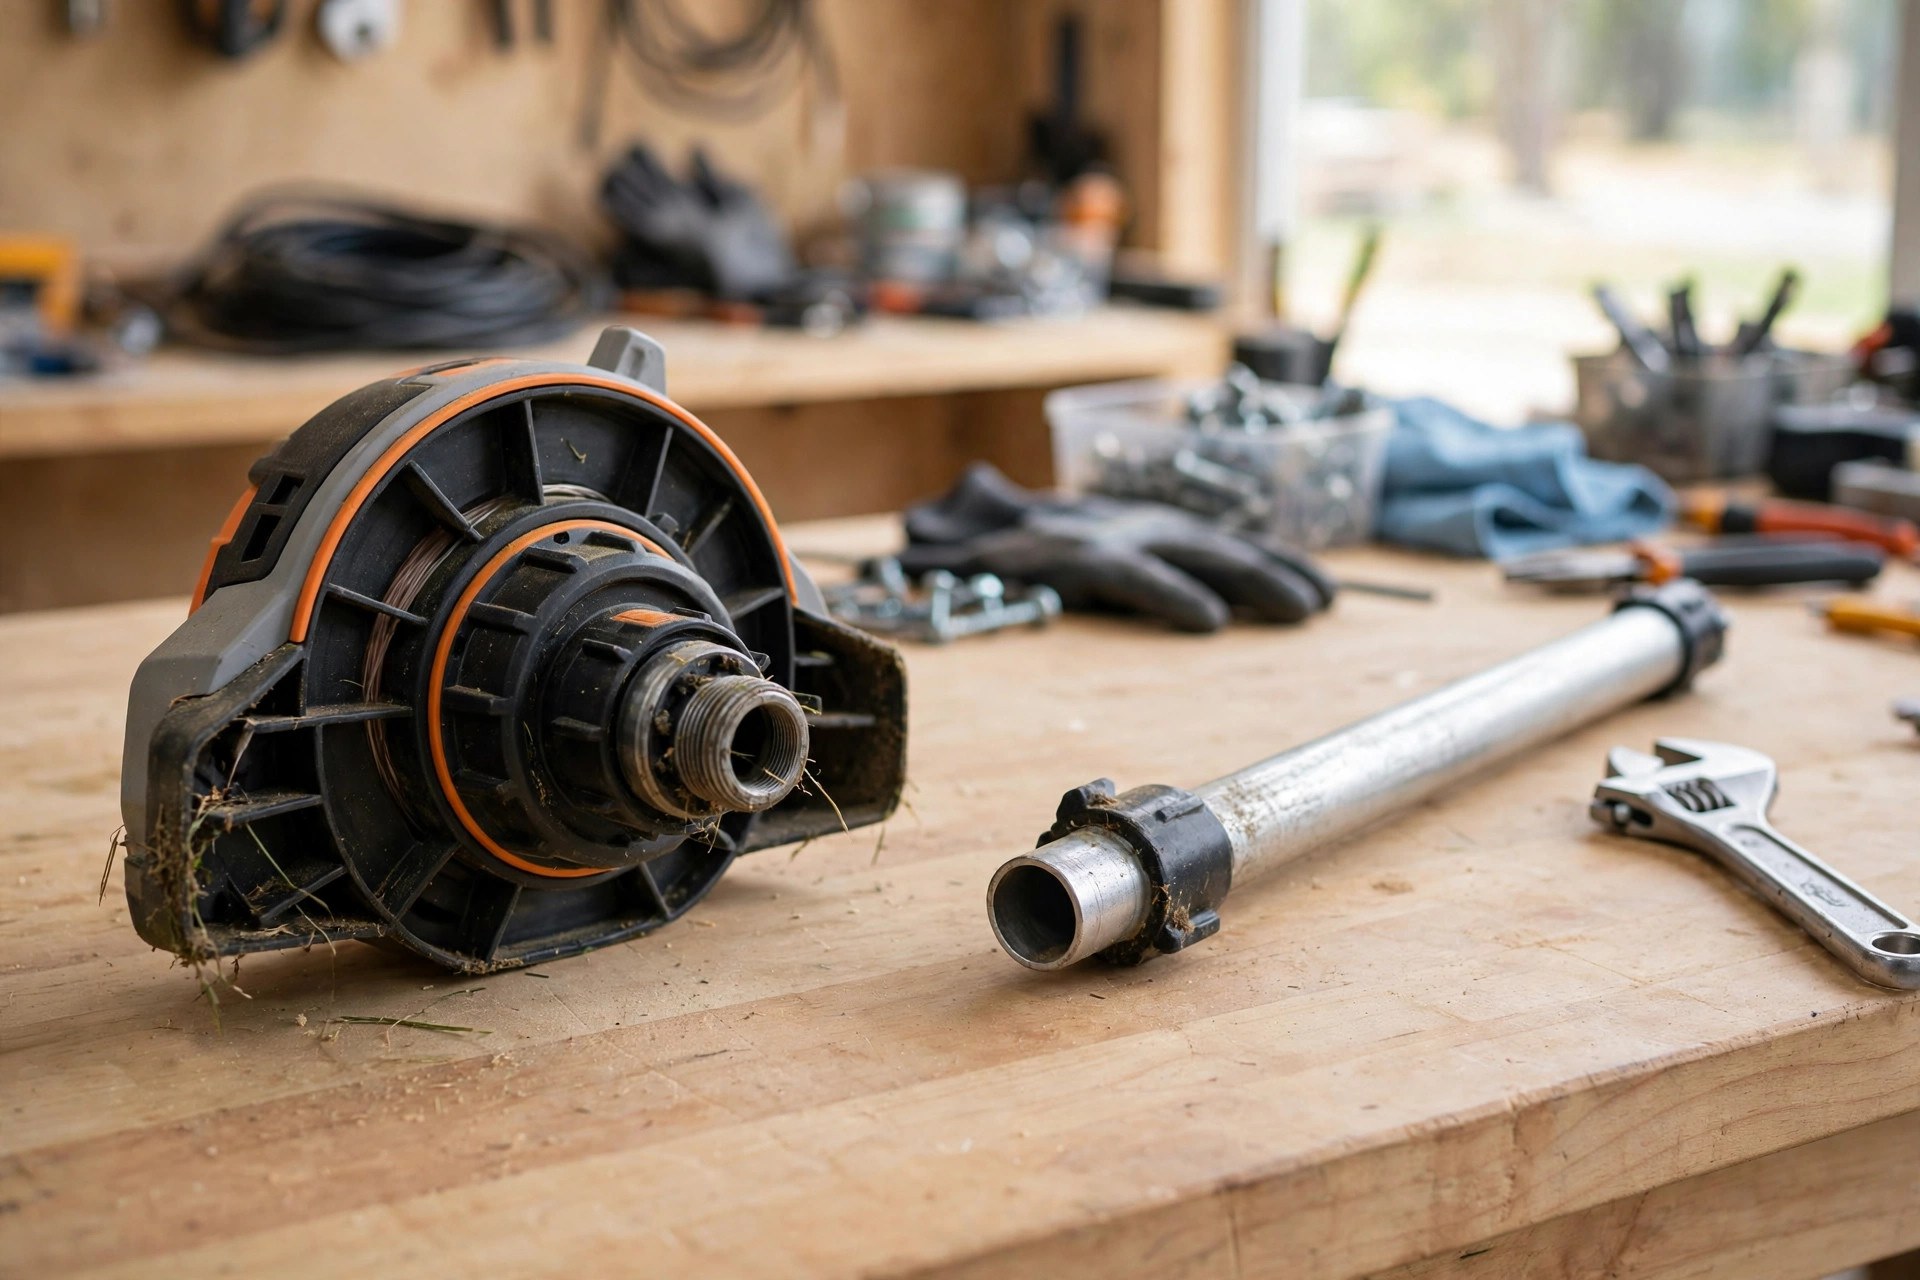
| Step | What to Do |
|---|---|
| 1. Stay safe | Turn off and unplug the trimmer |
| 2. Remove old head | Unscrew or unclip it from the shaft |
| 3. Prepare new head | Check defects and assemble its parts |
| 4. Fit new head | Align, slide on and secure firmly |
| 5. Tighten everything | Screws or clips, check stability twice |
| 6. Test it | Run briefly in a safe open area |
Step 1: Safety Precautions
Turn the trimmer off before touching anything. Unplug it from any power source completely. Remove the battery on cordless models too. A disconnected trimmer cannot start by accident. Safety always comes before speed during repairs.
Wear gloves and safety glasses throughout the job. Gloves protect hands from sharp edges and residue. Safety glasses shield eyes from flying debris. Dress appropriately and keep loose clothing away. These simple precautions prevent minor injuries easily.
Work in a well-lit area with clear space. A tidy workspace keeps small parts visible always. Keep children and pets away from the work zone. Read your manual before starting the swap. Manuals give model-specific safety guidance and diagrams.
Step 2: Remove the Old Trimmer Head
Lay the trimmer flat on a stable surface. Stability keeps the head steady while you work. Grip the base with a wrench for leverage. Identify the direction before twisting anything hard. Most heads unscrew by turning counterclockwise today.
Some heads use a release button instead. Press the button while turning the head gently. The head should come off smoothly after that. Keep all screws and small parts together safely. A small dish holds tiny components very well.

Stuck heads need a little lubricant first. Lubricant loosens tight threads within minutes easily. Tap the head gently with a rubber mallet. Avoid excessive force that could damage parts. Our head removal guide covers disassembly steps too.
Clean the mounting area before fitting the new head. Remove debris and residue from previous use. A clean surface helps the new head attach. Wipe it down with a cloth first.
Step 3: Prepare the New Trimmer Head
Check the new head closely for any defects. Inspect every part to ensure nothing is broken. Refer to the manual for assembly instructions first. Proper preparation saves time and prevents surprises later. Gather tools before starting the installation work.
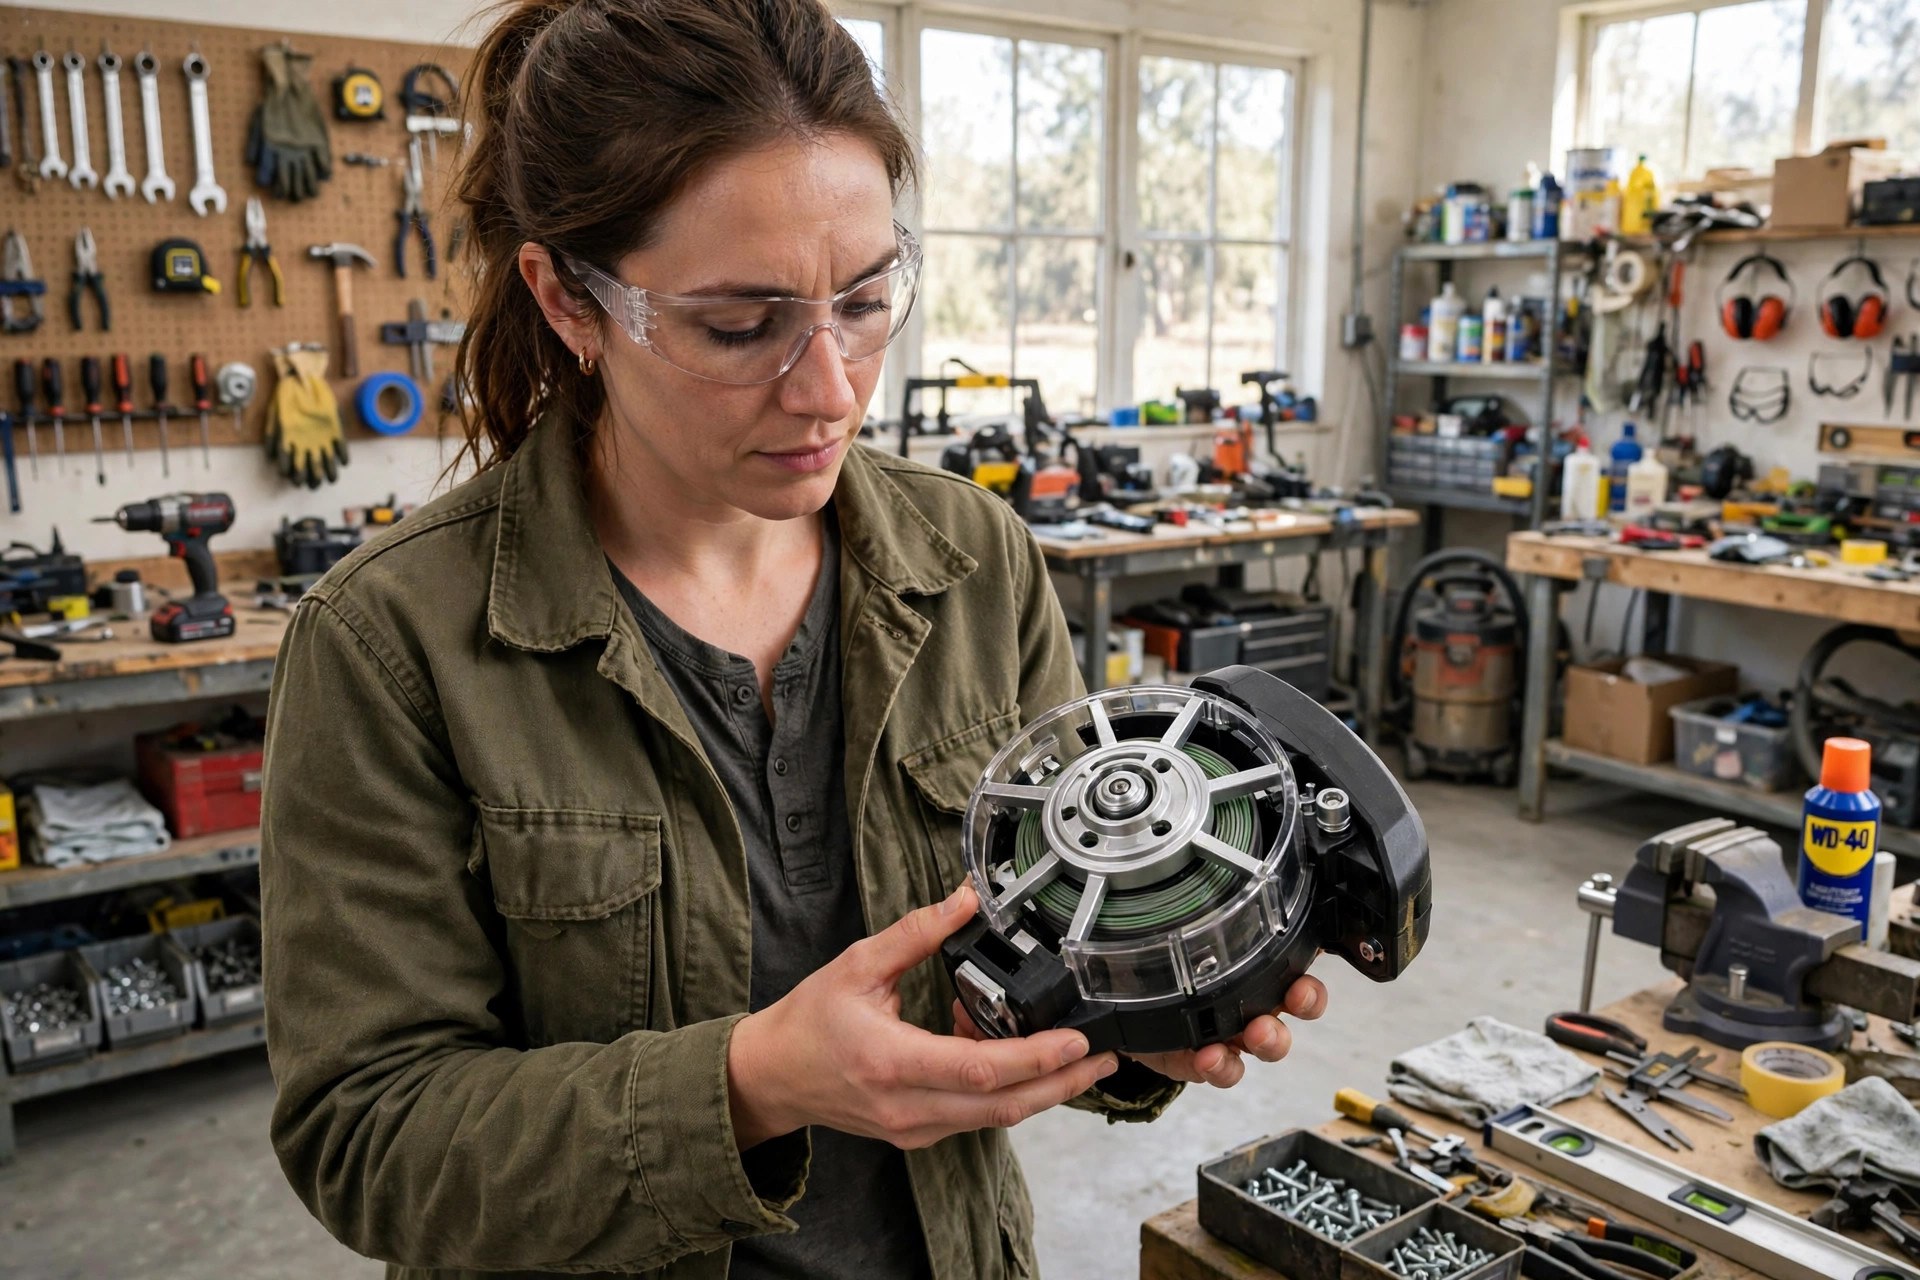
You may need a wrench, screwdriver or adapter. Keep every tool within easy reach always. Assemble the head parts in the manual order. Lay components out neatly on a clean surface. Double-check each connection for security before proceeding.
Prepare the trimmer line you plan to use. Cut it to the recommended length first. Wind it onto the head exactly as directed. Incorrect winding causes poor performance and tangles. Our interchangeability guide explains which heads fit your model.
Step 4: Install the New Trimmer Head
Align the new head with the shaft carefully. Check the manual for the correct position first. Slide the head onto the shaft until snug. This alignment matters for smooth operation later. A poor fit causes vibration and uneven cutting.
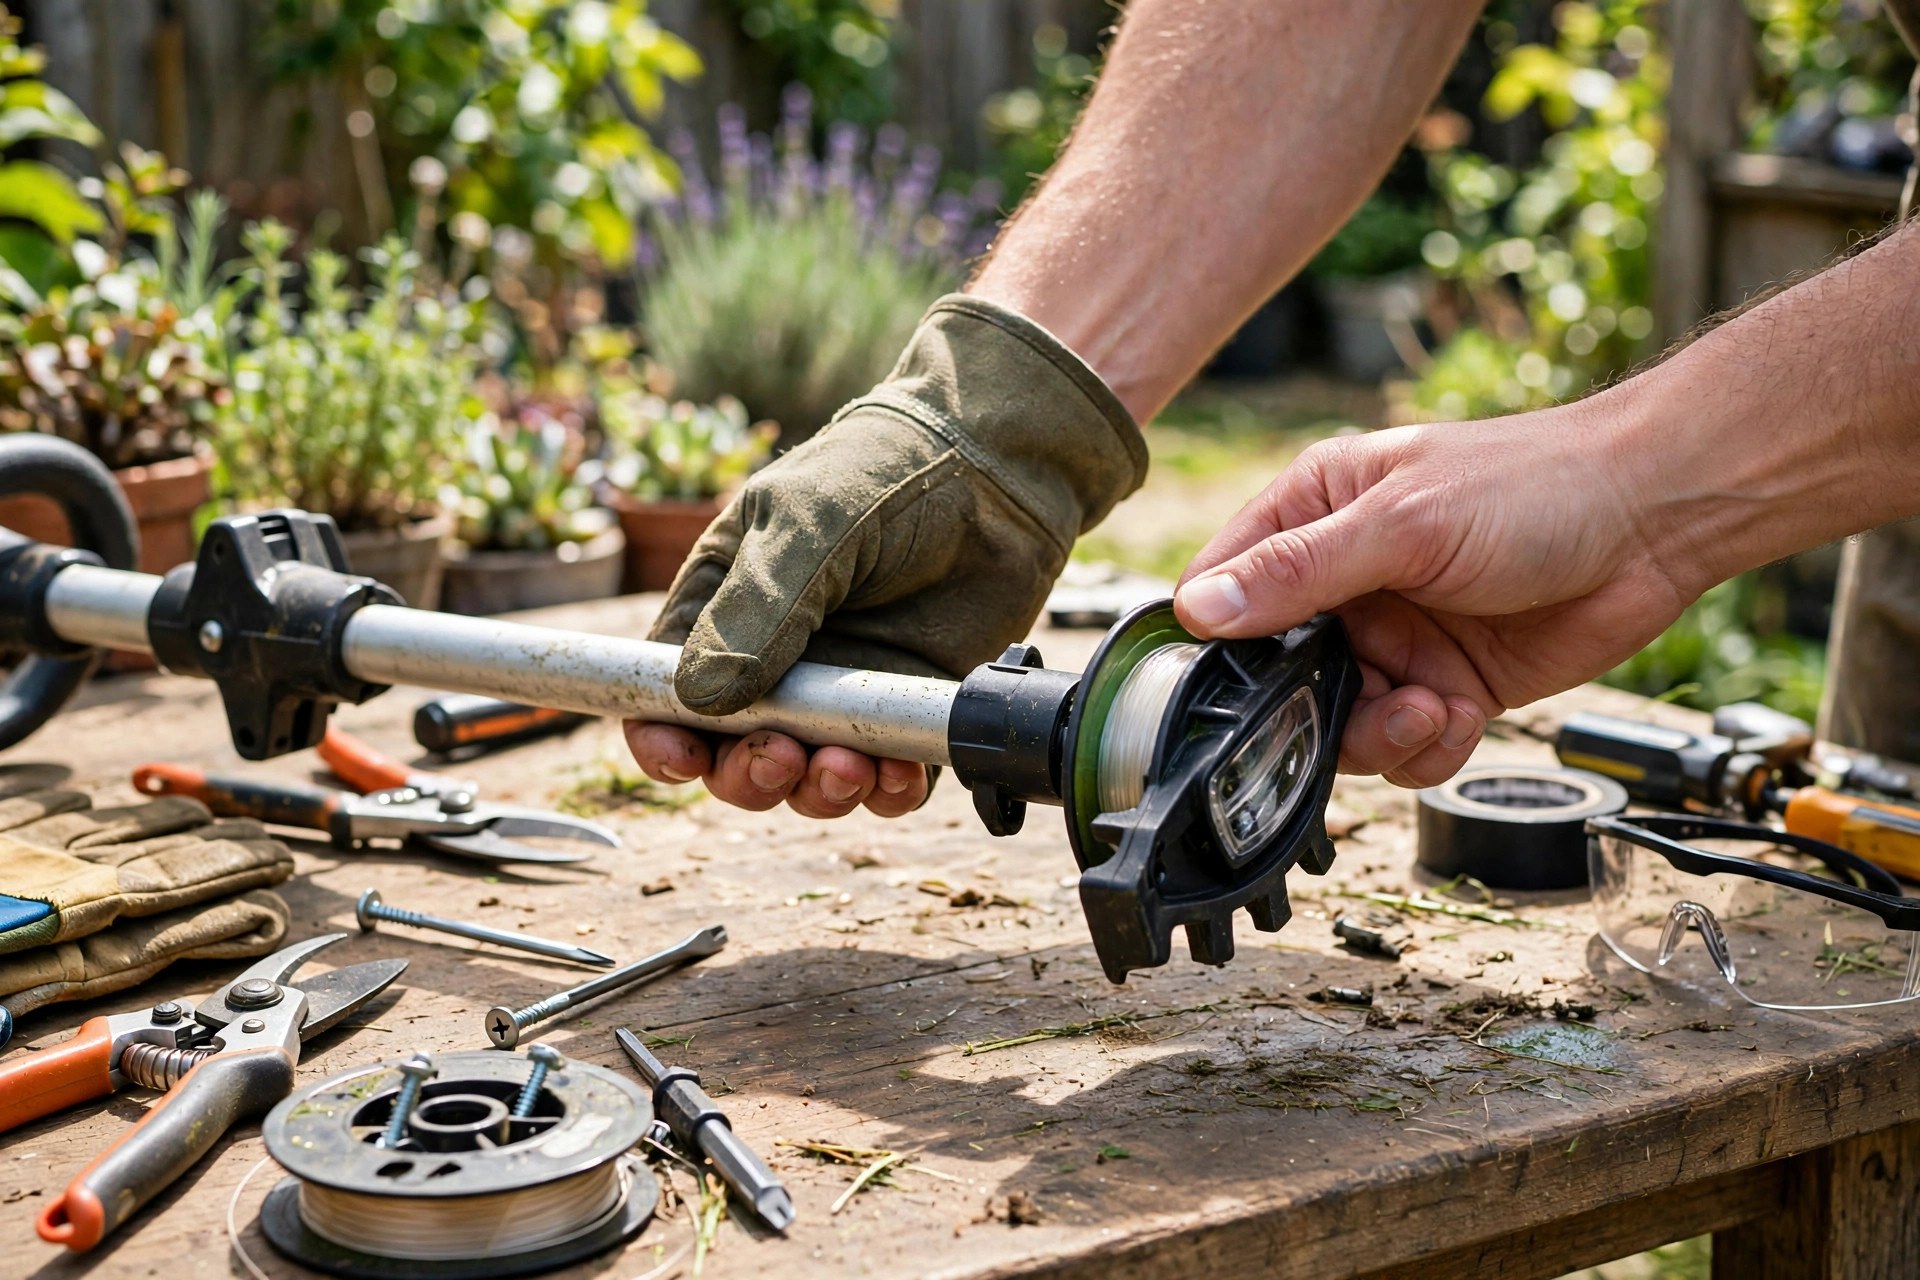
Secure the head by tightening screws or clips. Use the correct tool for firm fastening always. A loose head causes issues during every use. Double-check every screw for tightness right now. Engage the locking mechanism if your model has one.
Rotate the head manually to check free movement. It should spin without any resistance at all. Test the trimmer briefly in a safe area. Listen for unusual sounds and check for vibration. Our reassembly guide shows correct fitting order too.
Benefits of Changing a Trimmer Head Regularly
A fresh head cuts cleaner and more precisely. Worn heads tear grass instead of cutting cleanly. Regular changes keep your lawn looking its best. Maintenance also keeps the whole trimmer in top shape. Sharp heads make every trimming session feel easier.
New heads cut faster and more smoothly too. Faster cutting saves time and effort every week. Less strain on the motor extends its life. Efficiency matters most for large yards and gardens. A well-kept trimmer handles heavy work without strain.
Worn heads can break or malfunction during use. Breakage poses a real risk to the operator. New heads operate reliably and reduce accident chances. Regular changes also save money over the years. A new head costs less than repairing damage.
Types of Trimmer Heads
Trimmer heads come in several types today. Each type suits different tasks and gardens. Choosing the right type matters for performance. Our assembly guide shows head fitting details clearly.
| Type | How It Works |
|---|---|
| Bump feed | Tap the ground to release more line |
| Automatic feed | Advances line on its own as needed |
| Fixed-line | Holds pre-cut lengths for precise work |
| Bladed | Uses plastic or metal blades for thick brush |
| Specialty | Tilt-adjustable or extended reach for slopes |
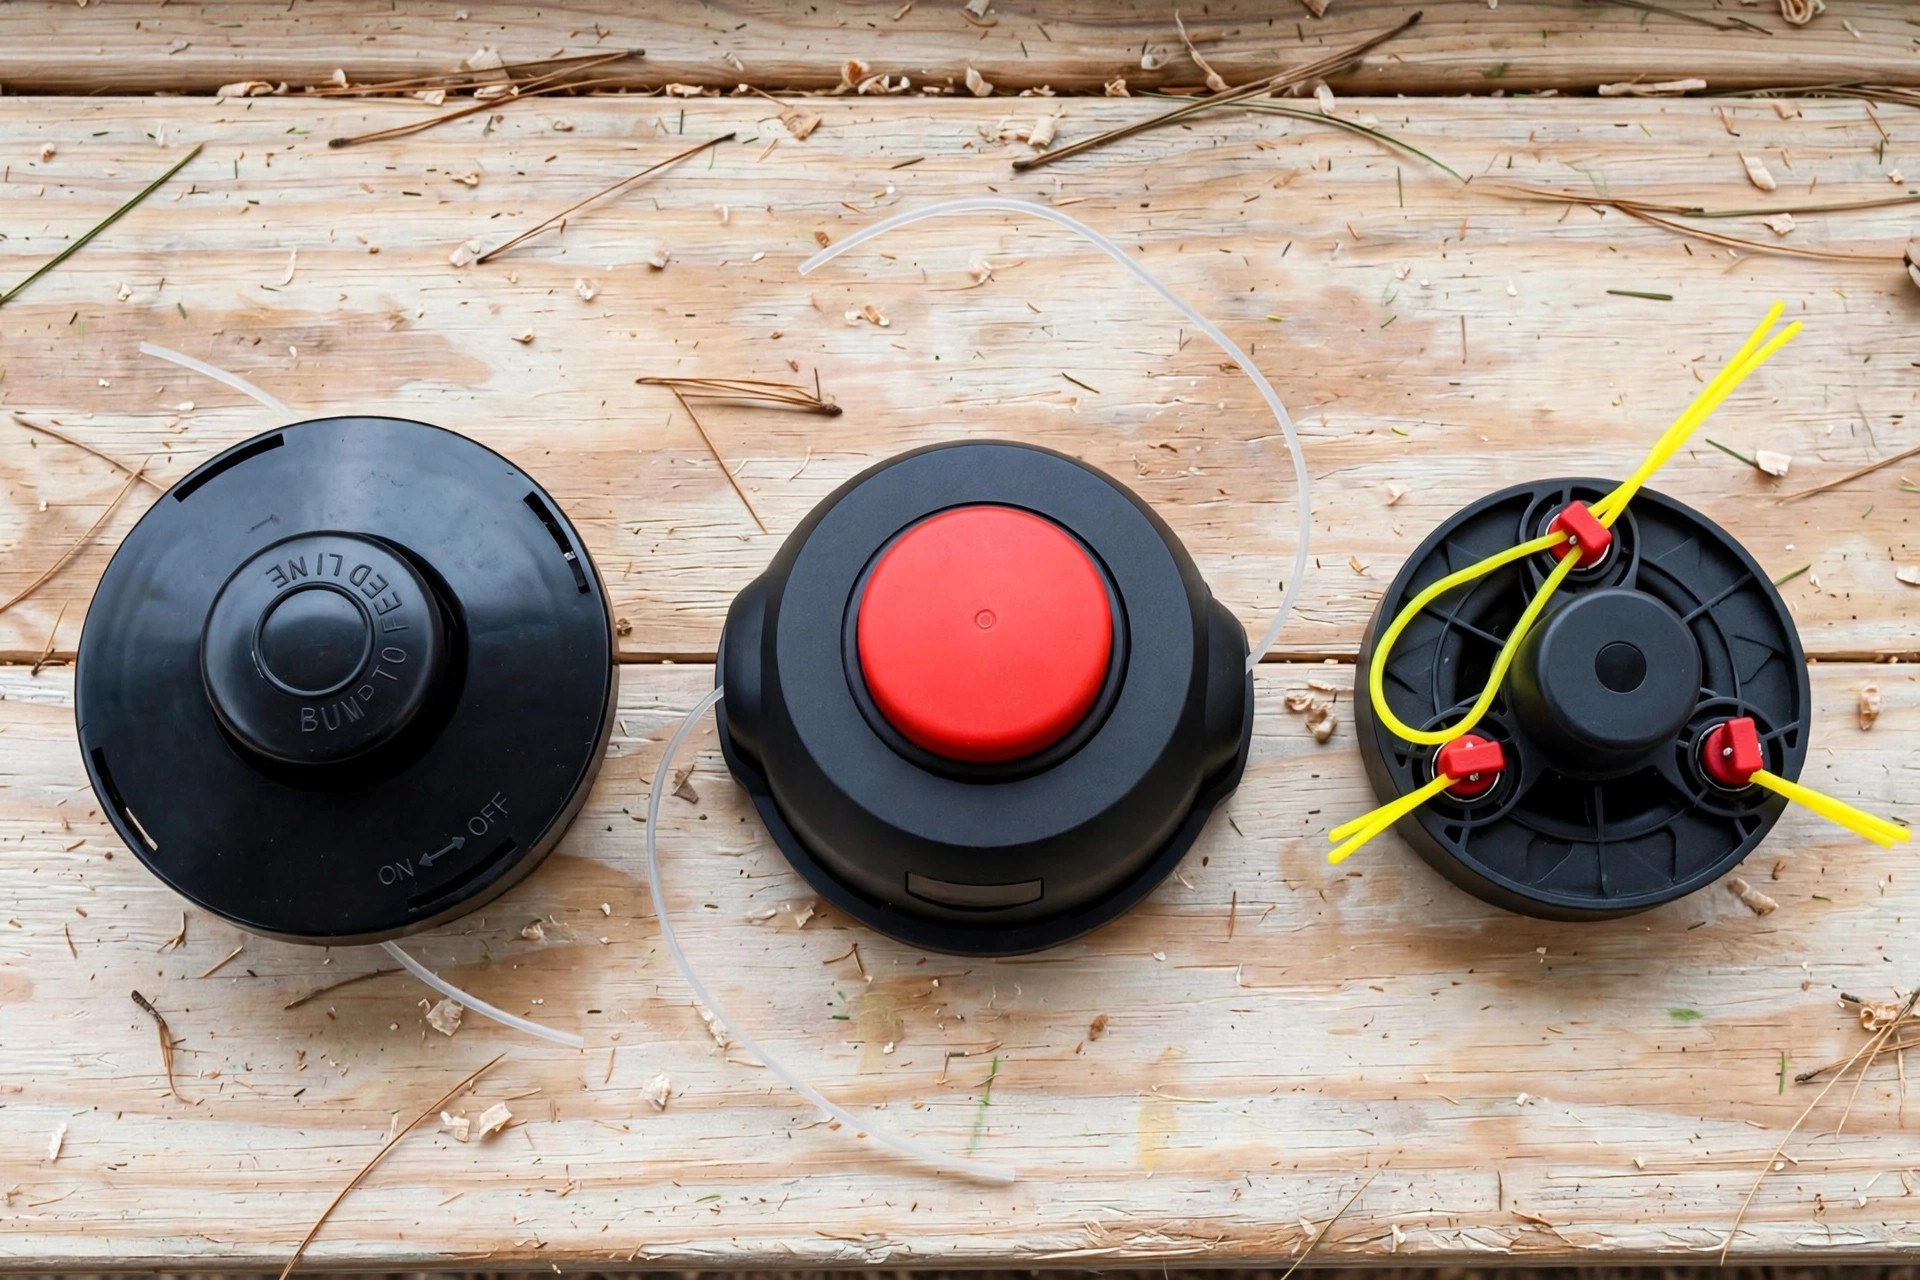
Bump feed heads suit long sessions very well. Automatic feed heads save time without manual adjustments. Fixed-line heads offer great precision for detail work. Bladed heads handle thick weeds and heavy brush. Specialty heads help on slopes and tight spaces.
Troubleshooting Common Problems After Changing a Trimmer Head
Vibration after a swap usually means imbalance. Tighten every screw and check shaft alignment. An unbalanced head wears parts out much faster. Recheck the fit before using the trimmer again.
Line that will not feed often has a jammed spool. Open the head and inspect the spool closely. Clear tangles and rewind the line correctly now. Replace the spool if the problem keeps returning. Smooth line feeding matters for every trimming session.
A head that will not spin needs inspection first. Turn the trimmer off and check the drive shaft. Look for debris or misalignment at the connection. Internal damage needs a professional repair visit. Our repair guide covers faults beyond simple assembly.
Unusual noises point to loose parts inside usually. Double-check every component and tighten them firmly. Uneven cutting often means short or tangled line. Make both line lengths equal before trimming again. Our sharpening guide explains safe edge restoration fully.
Maintenance Tips for Trimmer Heads
Clean the head after every single use. Remove grass and debris with a small brush. A clean head works efficiently and lasts longer. Inspect it before and after each use too. Replace damaged parts immediately without waiting longer.

Apply lubricant to moving parts as directed. Lubrication reduces friction and wear over time. Use only the lubricant your manufacturer recommends here. Check screws and bolts for tightness regularly now. Our oiling guide explains blade lubrication fully.
Replace the trimmer line before it turns brittle. Keep an extra spool handy for quick swaps. Store the trimmer in a dry, cool place. Cover it to protect against dust and moisture. Proper storage keeps equipment in top condition always.
Frequently Asked Questions
These answers repeat this guide’s own points only. They follow the same steps explained above closely. Short answers close the guide at the end. Maker pages like STIHL publish official trimmer guidance.
How often should I change my trimmer head?
Check the head every few months for wear. Replace it when cutting feels weak or uneven. Heavy-duty users may need changes more often. Thick grass and weeds wear heads faster. Regular inspection keeps performance at its best.
Can I use any brand of trimmer head on my trimmer?
Many heads fit several brands, but not all. Check compatibility information from the manufacturer first. An incompatible head can damage your equipment badly. Your manual lists brands and models that fit. Always follow its guidance before buying anything.
What are the signs that my trimmer head needs replacing?
Poor cutting and excessive vibration signal wear clearly. Cracks or broken parts mean replacement time now. A dull line or feeding trouble also signals wear. Catch these signs early with regular checks. Early replacement keeps trimming smooth and safe.
Are there different types of lines for different trimming tasks?
Thicker lines suit tough jobs like dense weeds. Thinner lines work well for light edging tasks. Match the line to the job for best results. The right line makes trimming faster and easier. Your manual lists the correct line for each task.
How do I properly store my trimmer when not in use?
Clean debris from the head and body first. Store it somewhere dry, away from direct sunlight. Moisture and heat can rust parts over time. A cover adds protection against dust and dirt. Proper storage extends trimmer life considerably overall.
Conclusion: How to Change a Trimmer Head
So, how to change a trimmer head with confidence? Turn it off, remove the old head carefully. Check the new head, fit it snugly and tighten. Test it briefly in a safe open area. Correct fitting prevents most problems before starting.
Regular changes keep cutting sharp and safe always. Clean, inspect and lubricate parts on schedule. Store the trimmer dry and replace worn parts. Your trimmer then serves reliably for seasons. Simple habits deliver smooth trimming every time.

I’m Patricia D. Johnson, an affiliate marketer and blogger specializing in trimmers and grooming tools. I create honest reviews, buying guides, and practical tips to help readers choose the right trimmer for their needs. With a focus on quality, performance, and value, I simplify the decision-making process so consumers can make confident purchases.