
How to Open Babyliss Trimmer
A closed trimmer blocks cleaning and repairs completely. Learning how to open babyliss trimmer removes that worry. Opening gives access to blades, battery and motor. Maintenance, cleaning and troubleshooting all start here.
This guide follows the full opening process carefully. Tools and screw removal come first here. Casing separation and interior access follow next. Reassembly and testing close the whole job. Gentle hands prevent almost every opening mistake.
Safety stays first throughout the whole process. Switching off and unplugging prevents accidental starts. Patience protects delicate clips and casing parts. Your trimmer rewards careful handling for years. Regular opening keeps performance strong between services.
Quick answer: Gather a Phillips screwdriver, flathead screwdriver and tweezers first. Switch the trimmer off and unplug it completely. Remove the casing screws one by one carefully. Pry the casing apart and release clips gently. Finish your work, then reassemble and test everything.
How to Open Babyliss Trimmer: Quick Answer
The quick list below mirrors the post. Five short actions cover the whole job. Detailed steps then expand every action fully.
| Quick Step | What the Post Says |
|---|---|
| Gather tools | Phillips, flathead, tweezers and cloth |
| Remove screws | One by one, stored safely |
| Separate casing | Pry gently, release clips with tweezers |
| Work inside | Clean, replace or troubleshoot parts |
| Reassemble | Press until click, retighten screws |
The Wikipedia screwdriver page explains screwdriver types and safe handling. The Wikipedia BaByliss page outlines the brand background briefly. Our Babyliss blade replacement guide shows the blade swap itself. Our blade replacement answer covers blade timing questions. Knowing the process prevents most opening mistakes entirely.
Gather Tools and Remove the Casing Screws
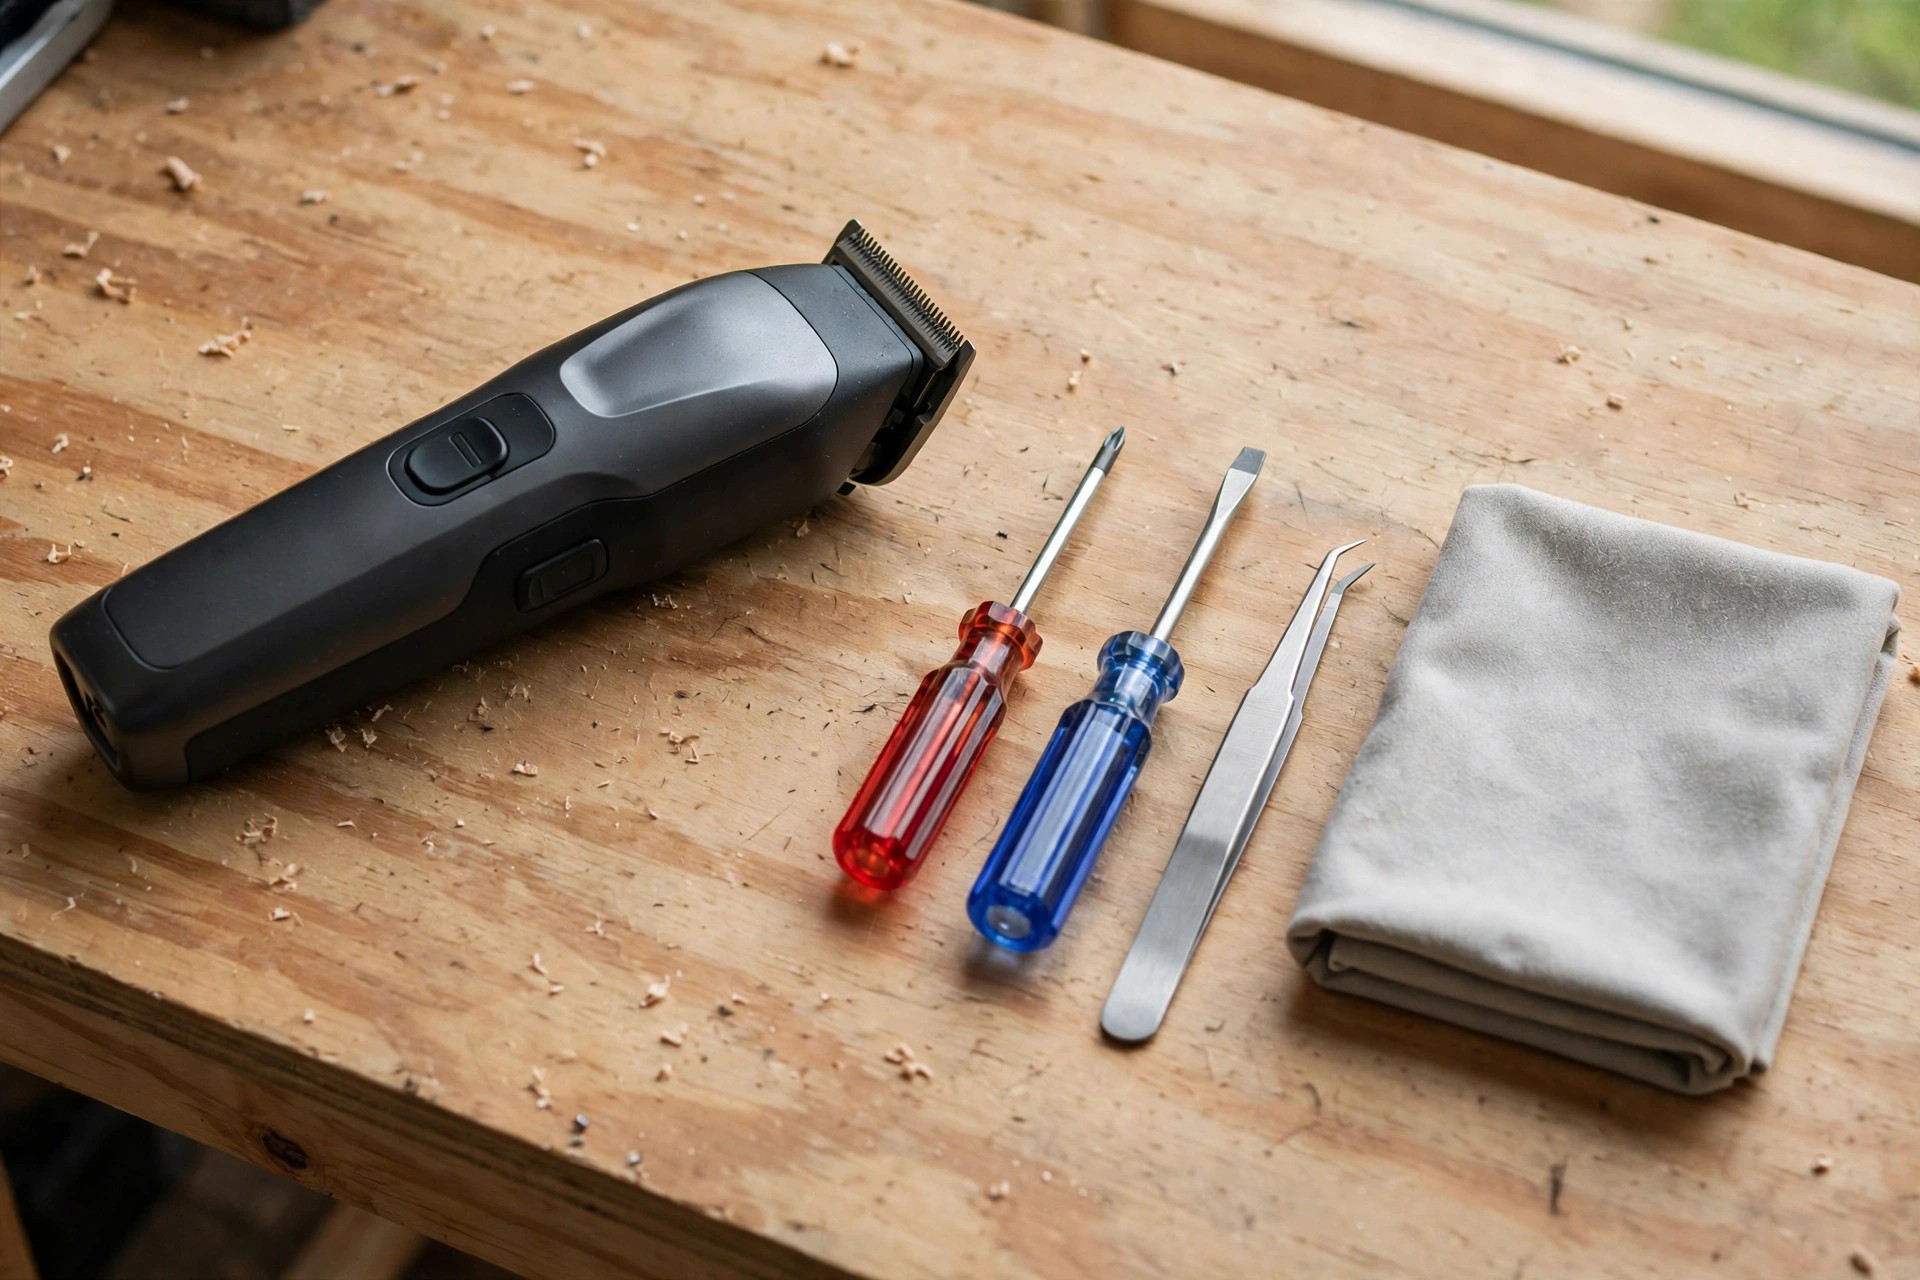
Gather every necessary tool before beginning work. A small Phillips screwdriver removes casing screws. A flathead screwdriver pries the casing apart. Tweezers release stubborn clips and latches safely.
| Tool | What the Post Says |
|---|---|
| Phillips screwdriver | Removes the casing screws |
| Flathead screwdriver | Pries the casing open gently |
| Tweezers | Release hidden clips and latches |
| Clean cloth | Wipes dirt and debris away |
Keep a clean cloth within easy reach. It wipes dirt and debris during opening. Prepared tools make the whole process efficient.
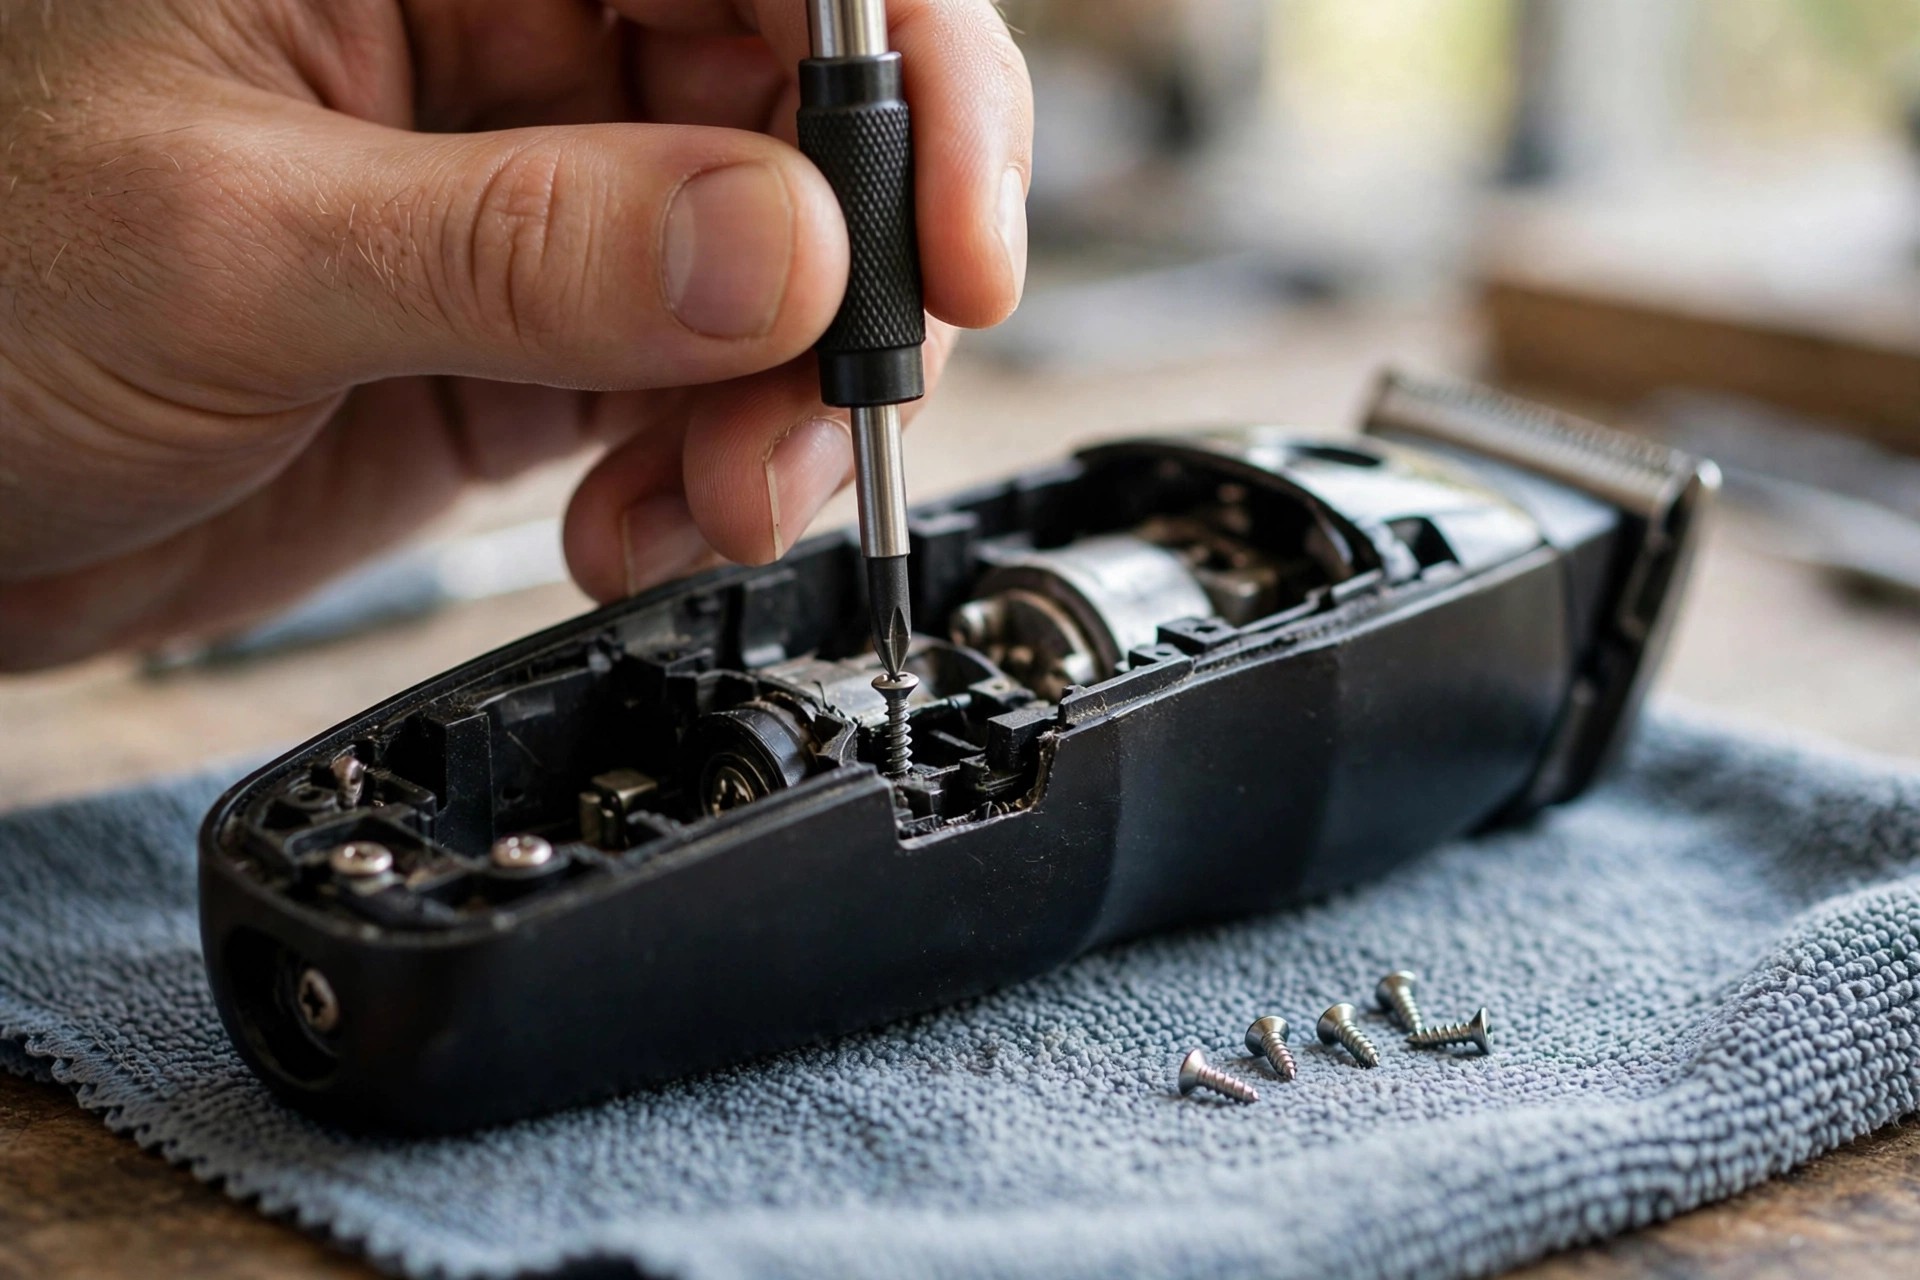
Turn the trimmer off before touching screws. Unplug it from the power source completely. Inspect the casing to locate every screw. Remove screws gently, one by one, always. Store them safely to avoid losing any.
Separate the Casing and Work Inside
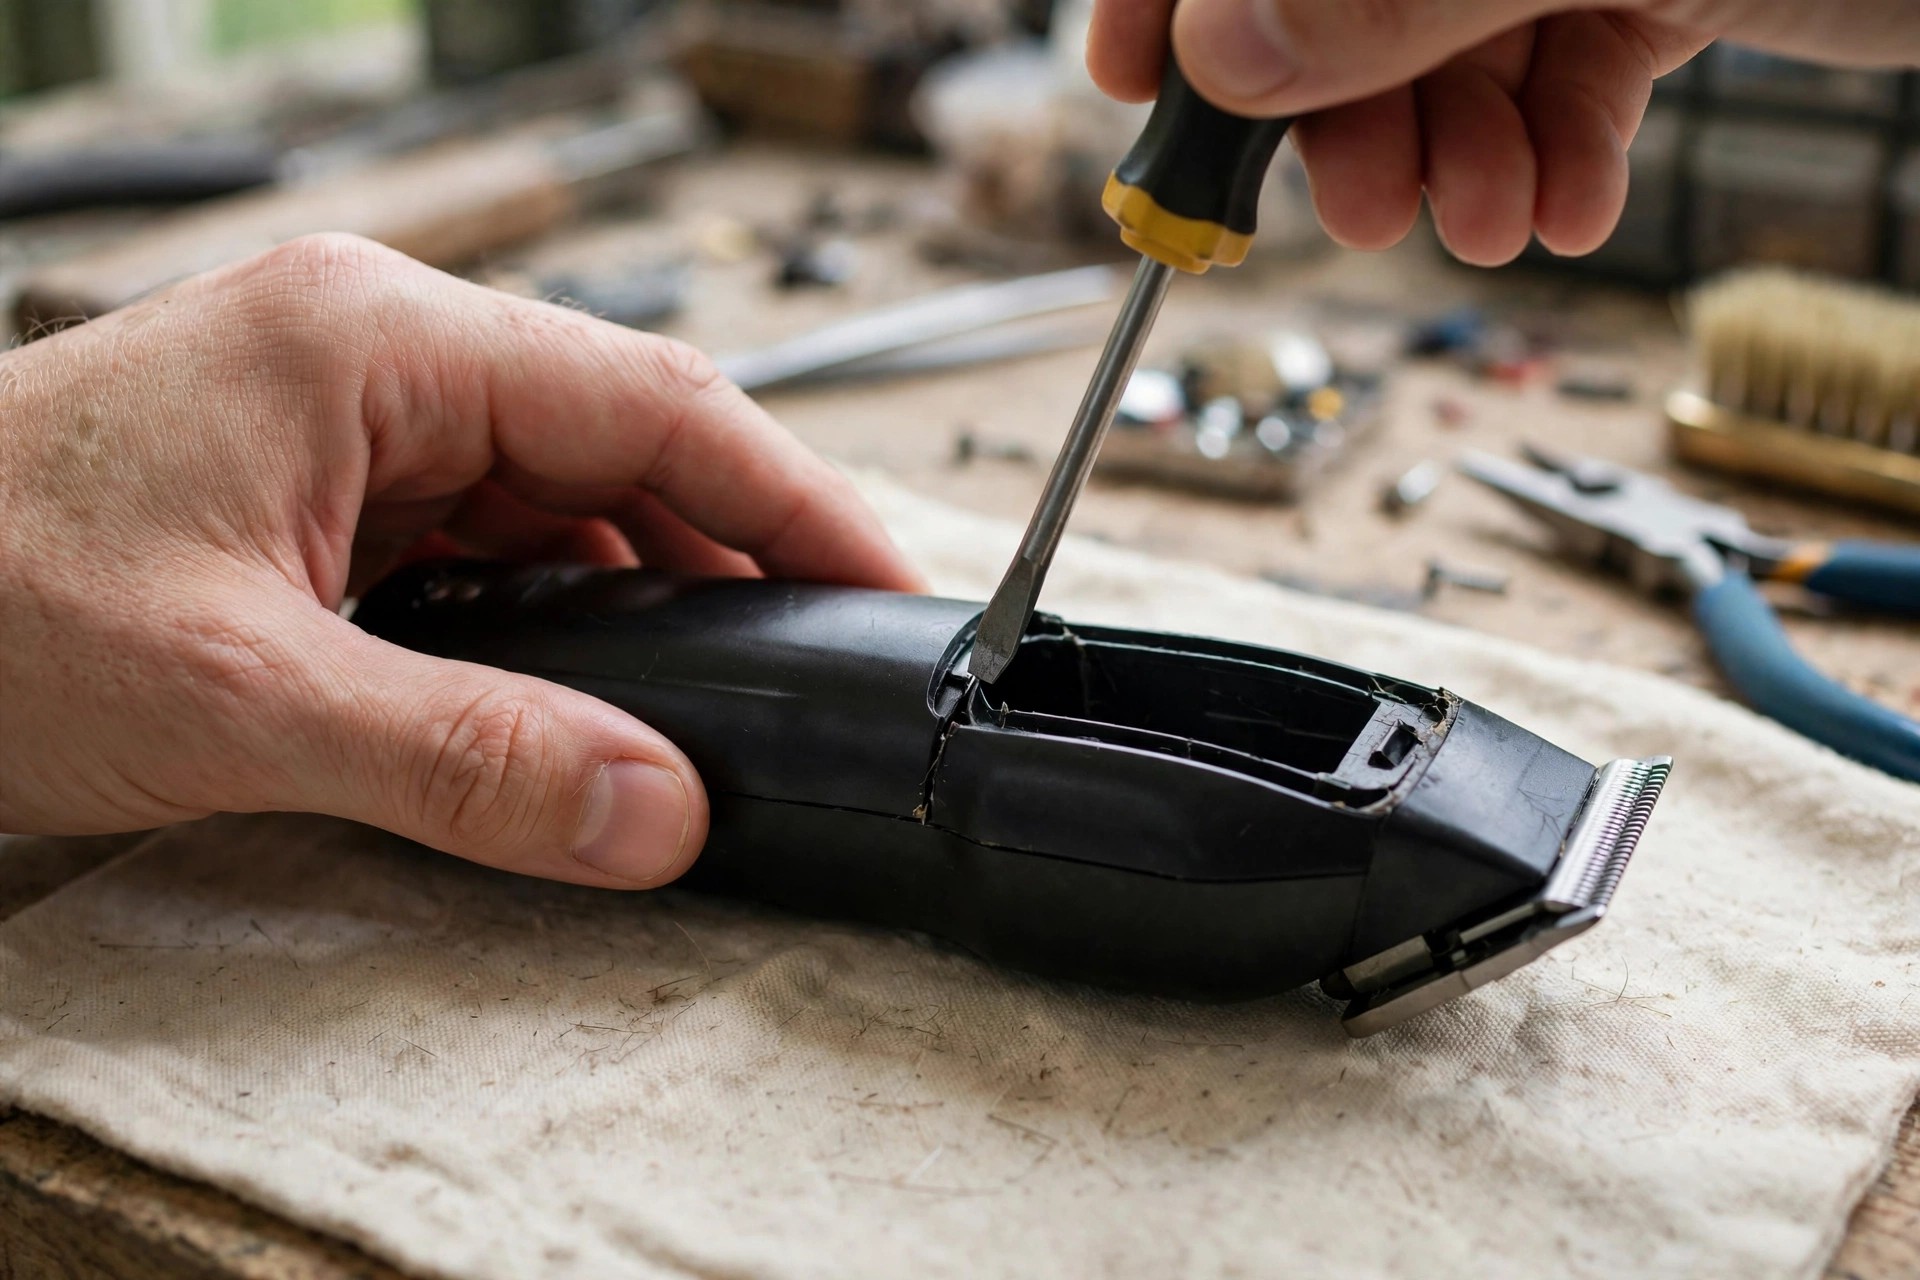
Separate the casing once screws are out. Pry gently with the flathead screwdriver edge. Excess force can damage casing or hands. Tweezers release resistant clips without breaking them.
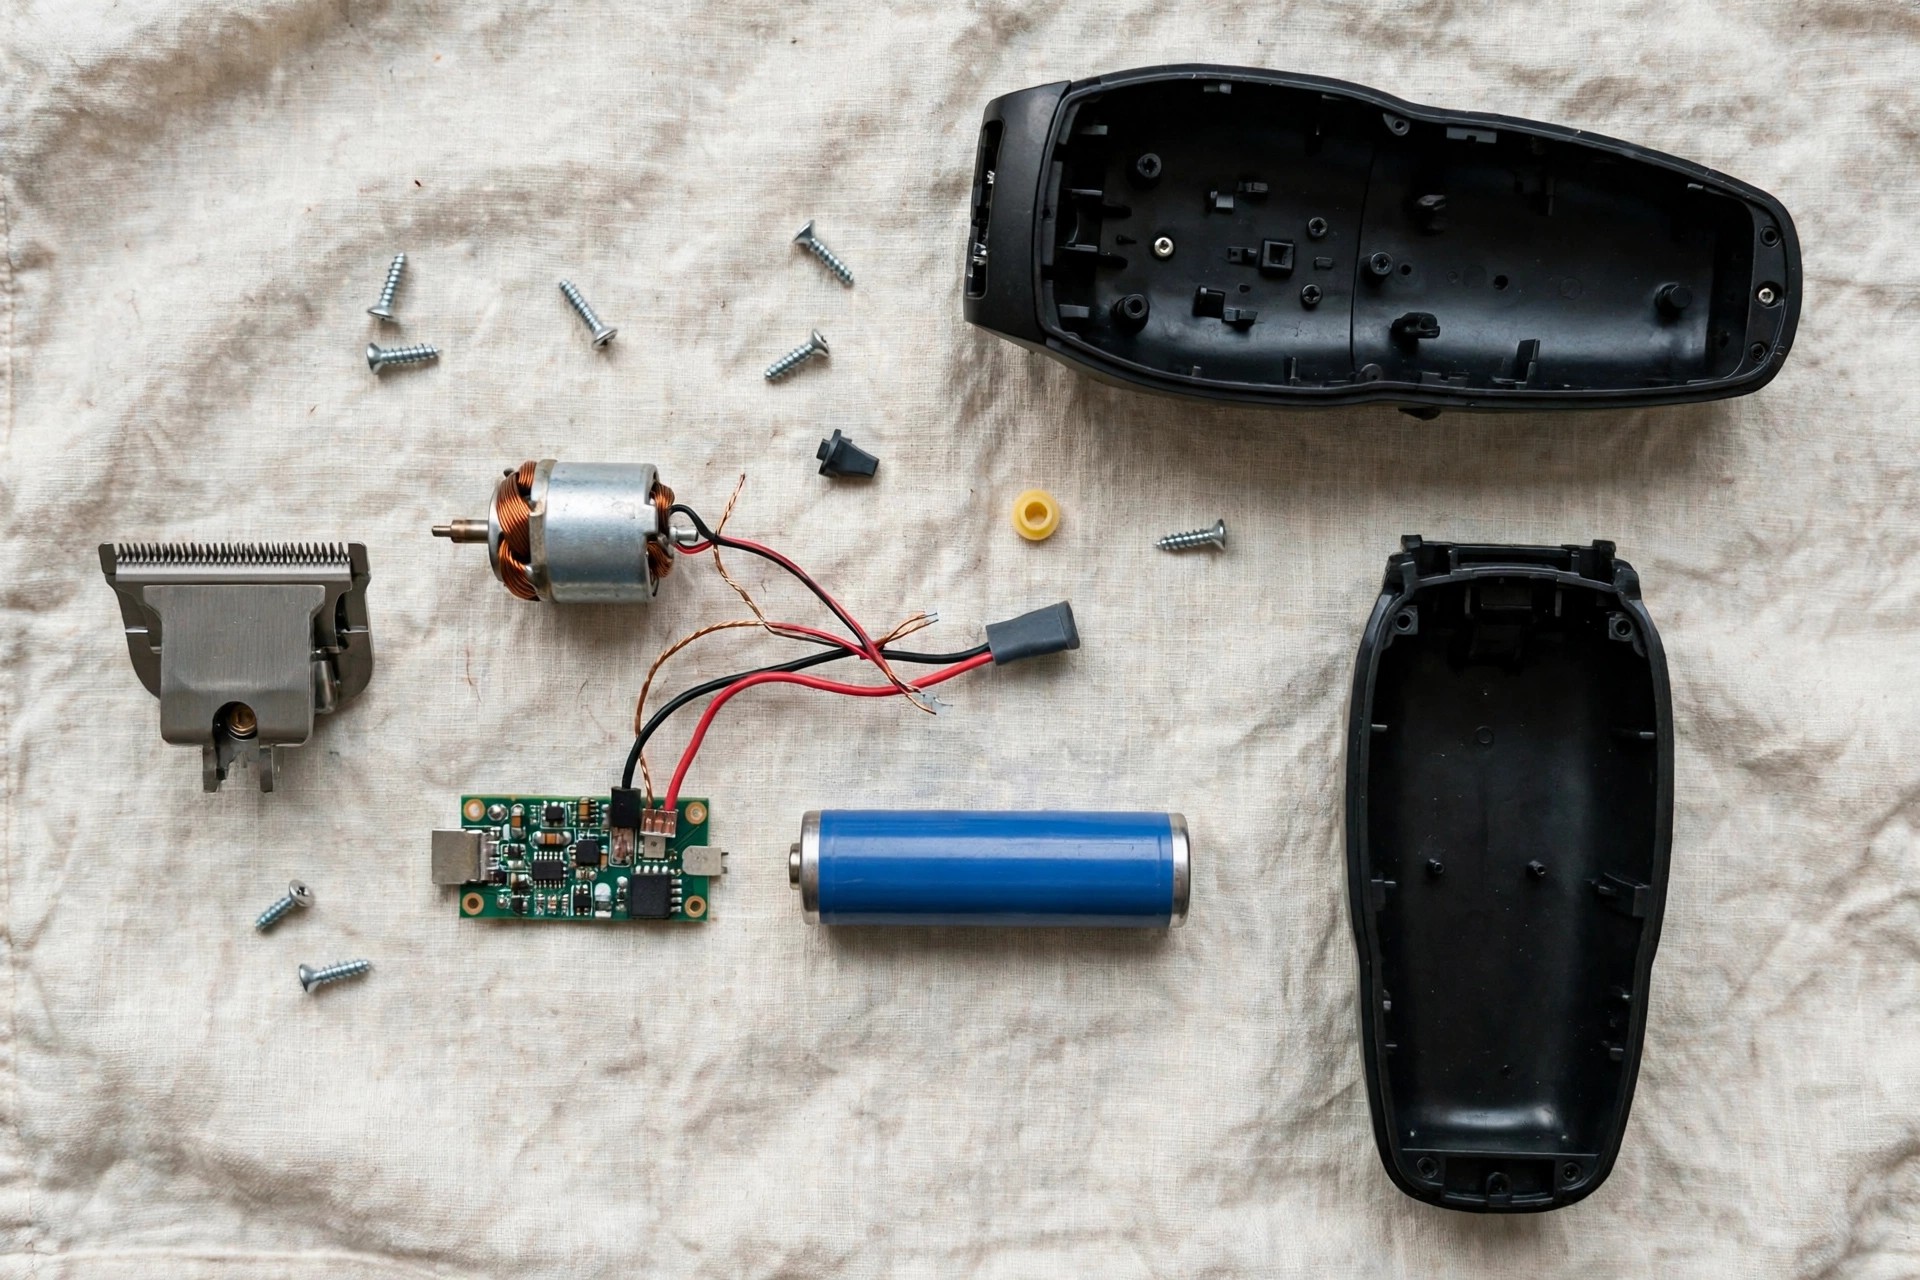
Take your time during this separation step. Familiarize yourself with parts and their functions. Understanding internals helps every future maintenance task.
Please note: The step guide opens the casing with screws. One answer below describes tool free lever models. Both designs appear inside the original post. Check your own model before forcing anything.
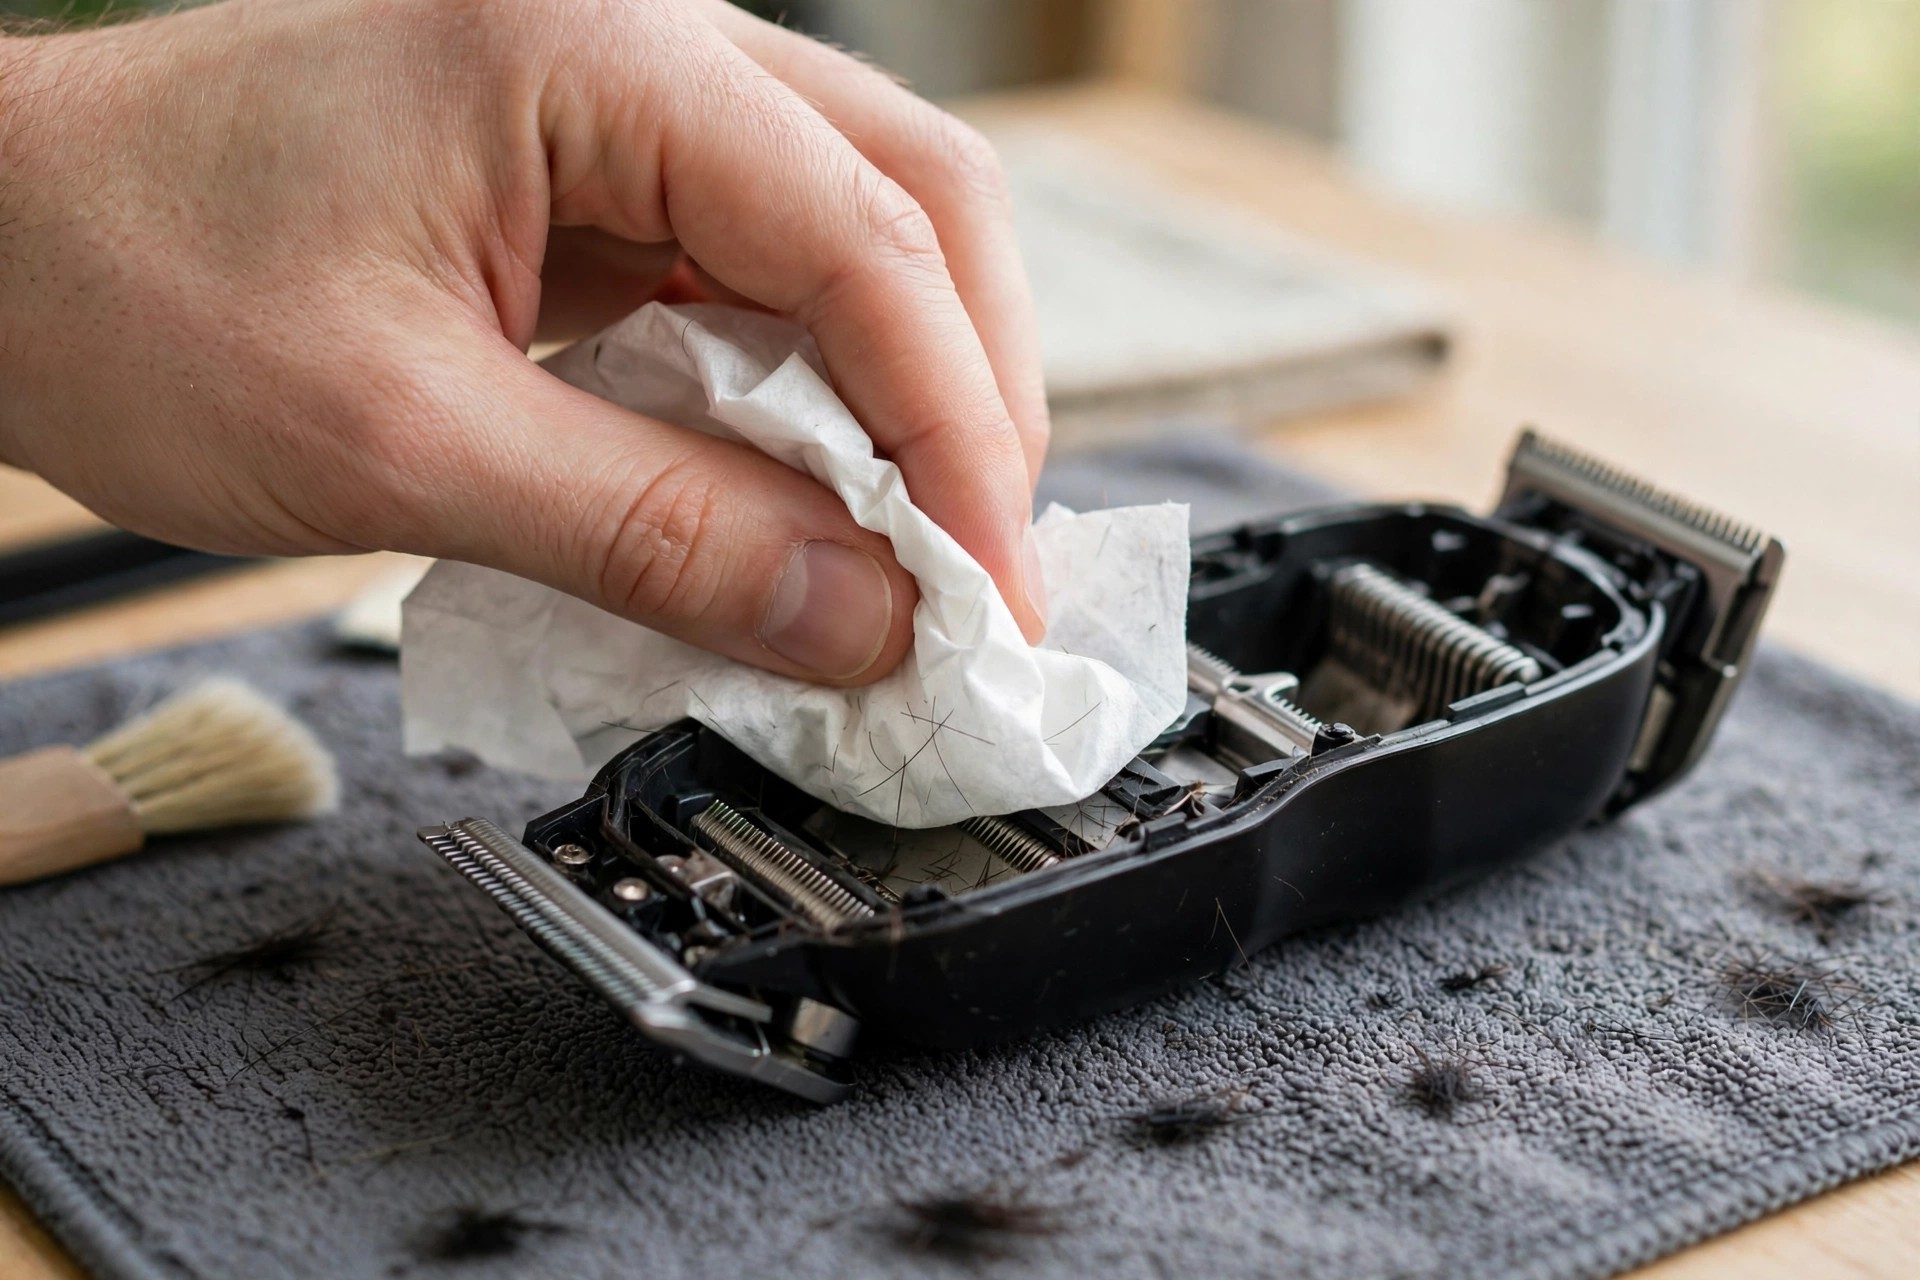
Clean the blades with your cloth now. Remove accumulated hair and debris very carefully. The manual or a professional guides replacements. Handle every interior component with real care. Our Babyliss sharpening guide restores dull blade edges.
Reassemble, Test and Maintain the Trimmer
Reassemble the trimmer after finishing your work. Align the casing halves carefully once more. Press them together until they click shut. Retighten screws evenly, never excessively tight though.
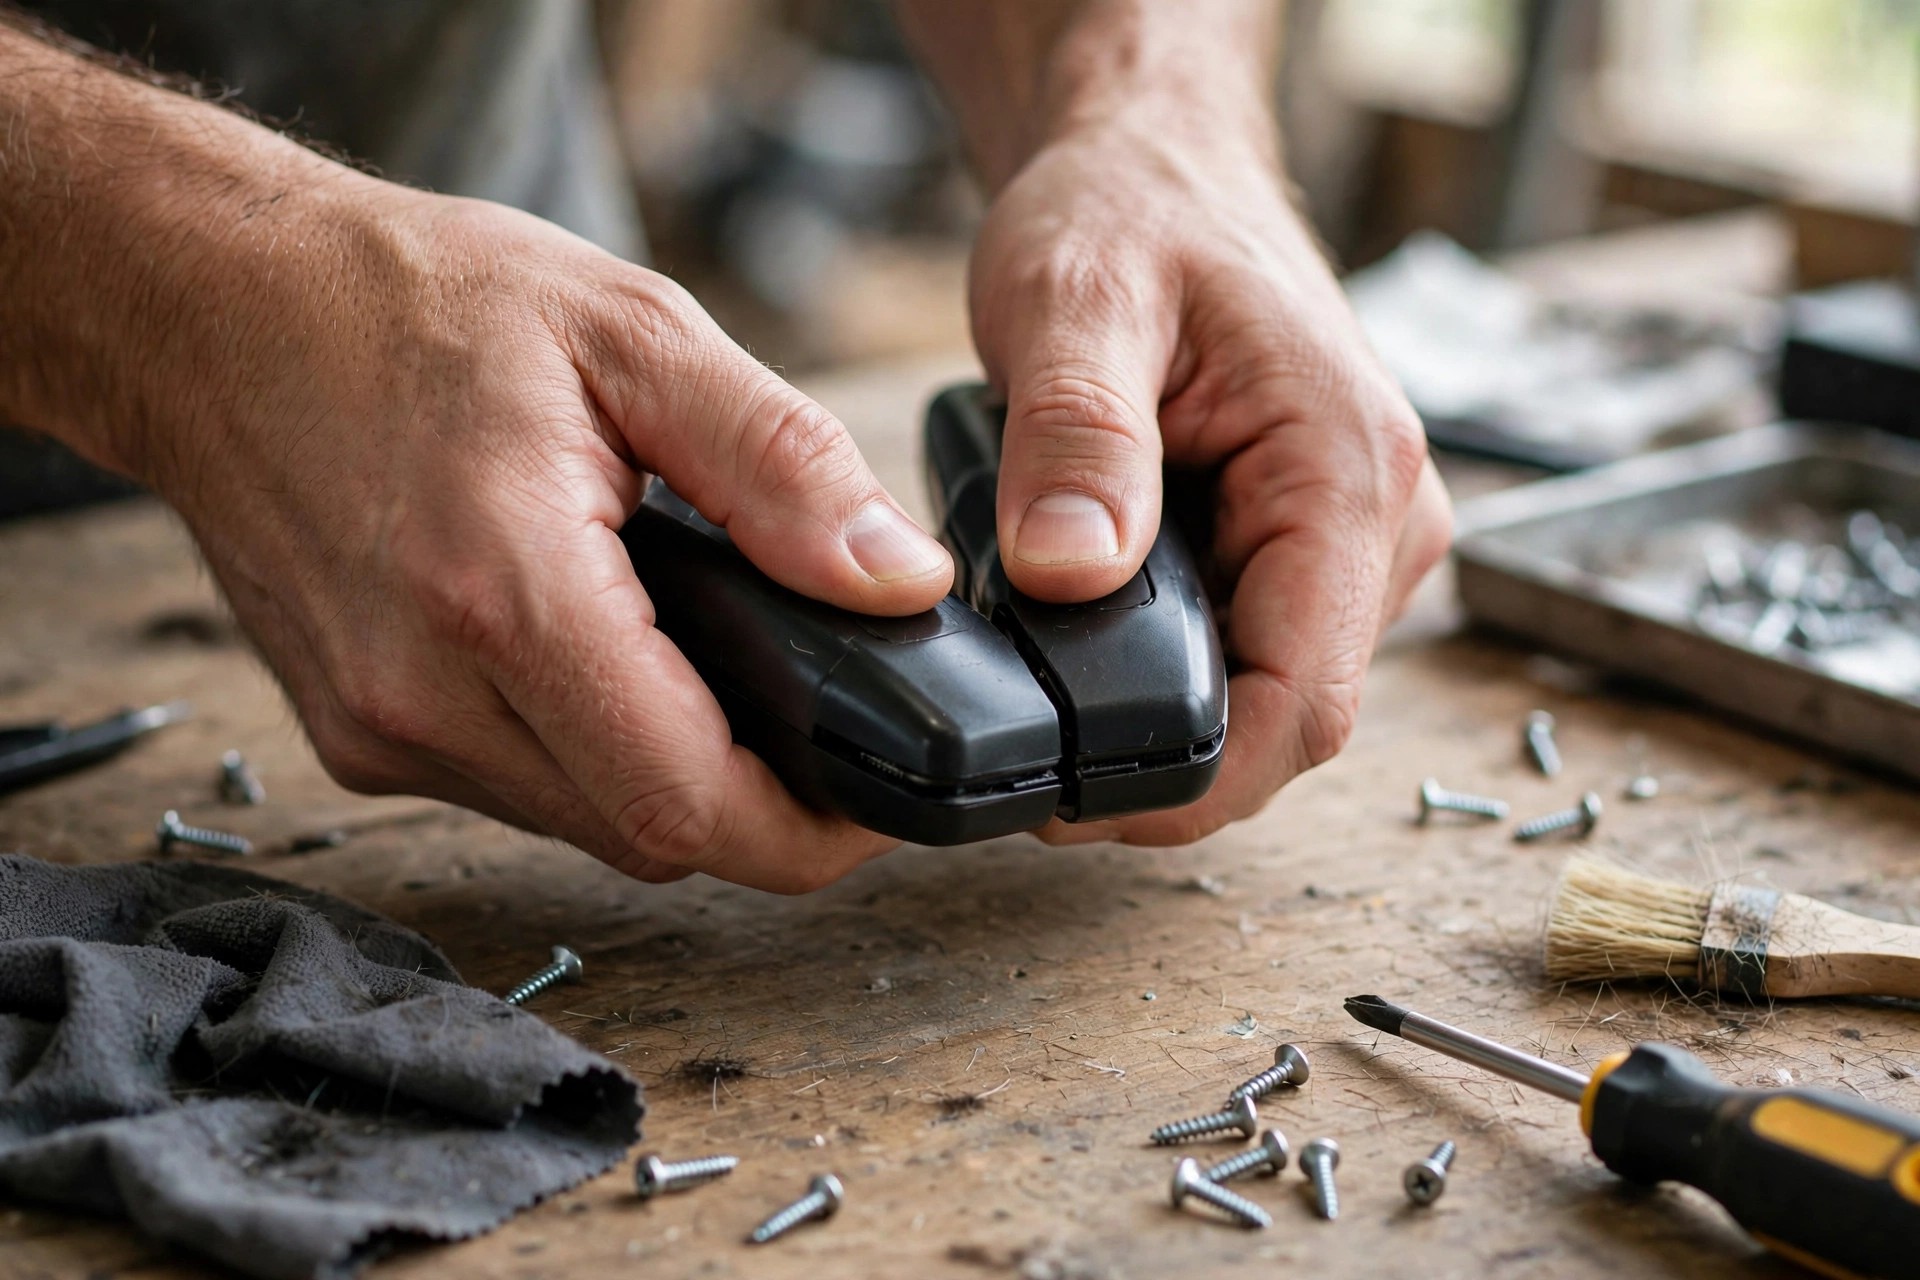
Plug the trimmer in and test it. Check buttons, switches and blades work properly. Reopen and inspect if anything seems wrong. Babyliss support or professionals handle persistent problems. Our trimmer charging answer explains common power faults.
Clean the blades regularly after opening sessions. Our blade oiling guide explains when blades need oil. Store the trimmer somewhere dry and safe. Our Babyliss repair guide covers deeper fault repairs. Our clipper cleaning guide details full cleaning routines.
Frequently Asked Questions
How do I open a Babyliss trimmer?
Make sure the trimmer is off first. Unplug it from any power source completely. Find the small screw or lever nearby. Loosen the screw or slide the lever. Then separate the top from the bottom carefully.
Can I open a Babyliss trimmer without any tools?
Yes, some models open without any tools. A lever or switch unlocks those casings. Slide or push it as indicated directly. Screw models still need a small screwdriver. Check your model design before starting work.
Why would I need to open my Babyliss trimmer?
Opening allows thorough cleaning of blade areas. Accumulated hair and debris come out easily. Maintenance reaches the motor and battery inside. Repairs begin by identifying the faulty part. Some repairs still need professional assistance though.
Are there any safety precautions I should take when opening a Babyliss trimmer?
Always switch off and unplug it first. Handle the blade area very carefully always. Blades stay sharp even when switched off. Protective gloves add safety for nervous hands. Follow the manufacturer instructions and guidelines closely.
Can I find a tutorial video on how to open a Babyliss trimmer?
Yes, many tutorial videos exist online already. YouTube and the Babyliss website host them. Visual guidance makes steps easier to follow. Choose reliable sources matching your exact model. Wrong model guidance can cause accidental damage.
Careful opening soon becomes second nature completely. Regular practice builds calm, confident maintenance habits. Your trimmer stays cleaner and lasts longer.
Conclusion: How to Open Babyliss Trimmer
So, learning how to open babyliss trimmer pays off. Simple tools unlock thorough cleaning, maintenance and small repairs. Off and unplugged always comes first here. Gentle prying protects clips and casing parts. Testing afterwards confirms everything works properly again.
Always consult the manual for model specific guidance. Familiar parts make future troubleshooting much easier overall. Proper regular care extends lifespan and performance greatly. Confident opening elevates your whole grooming routine daily. Your trimmer rewards patience with professional results.
