Why My Trimmer Is Not Charging: Four Checks
A dead trimmer interrupts your grooming routine badly. You may wonder, why my trimmer is not charging? Four common causes explain most charging failures here. Each cause has a simple check at home. Start with the socket before blaming the trimmer.
The electric socket may not deliver power properly. The charger itself may be faulty or damaged. Poor placement in the stand breaks the connection. Dirt on the pins also blocks charging quietly.
Work through the four checks in order below. Most owners find the fault within minutes themselves. You rarely need a replacement before checking first. Keep the trimmer clean while you troubleshoot it.
Quick answer: Check the socket, charger, stand placement, and cleanliness. A faulty charger or dead socket stops charging completely. Dirty pins and poor seating break the connection too. Clean the pins and seat it firmly again. A fully drained battery may need thirty minutes connected.
Why My Trimmer Is Not Charging? The Short Answer
Start troubleshooting before assuming the trimmer is faulty. The socket, charger, placement, and dirt lead causes. The Wikipedia battery charger page explains how chargers work. Our charging signs guide shows healthy charging signs.
| Cause | First Check |
|---|---|
| Electric socket issue | Plug another device into the same socket |
| Faulty charger | Inspect for frayed wires or loose connections |
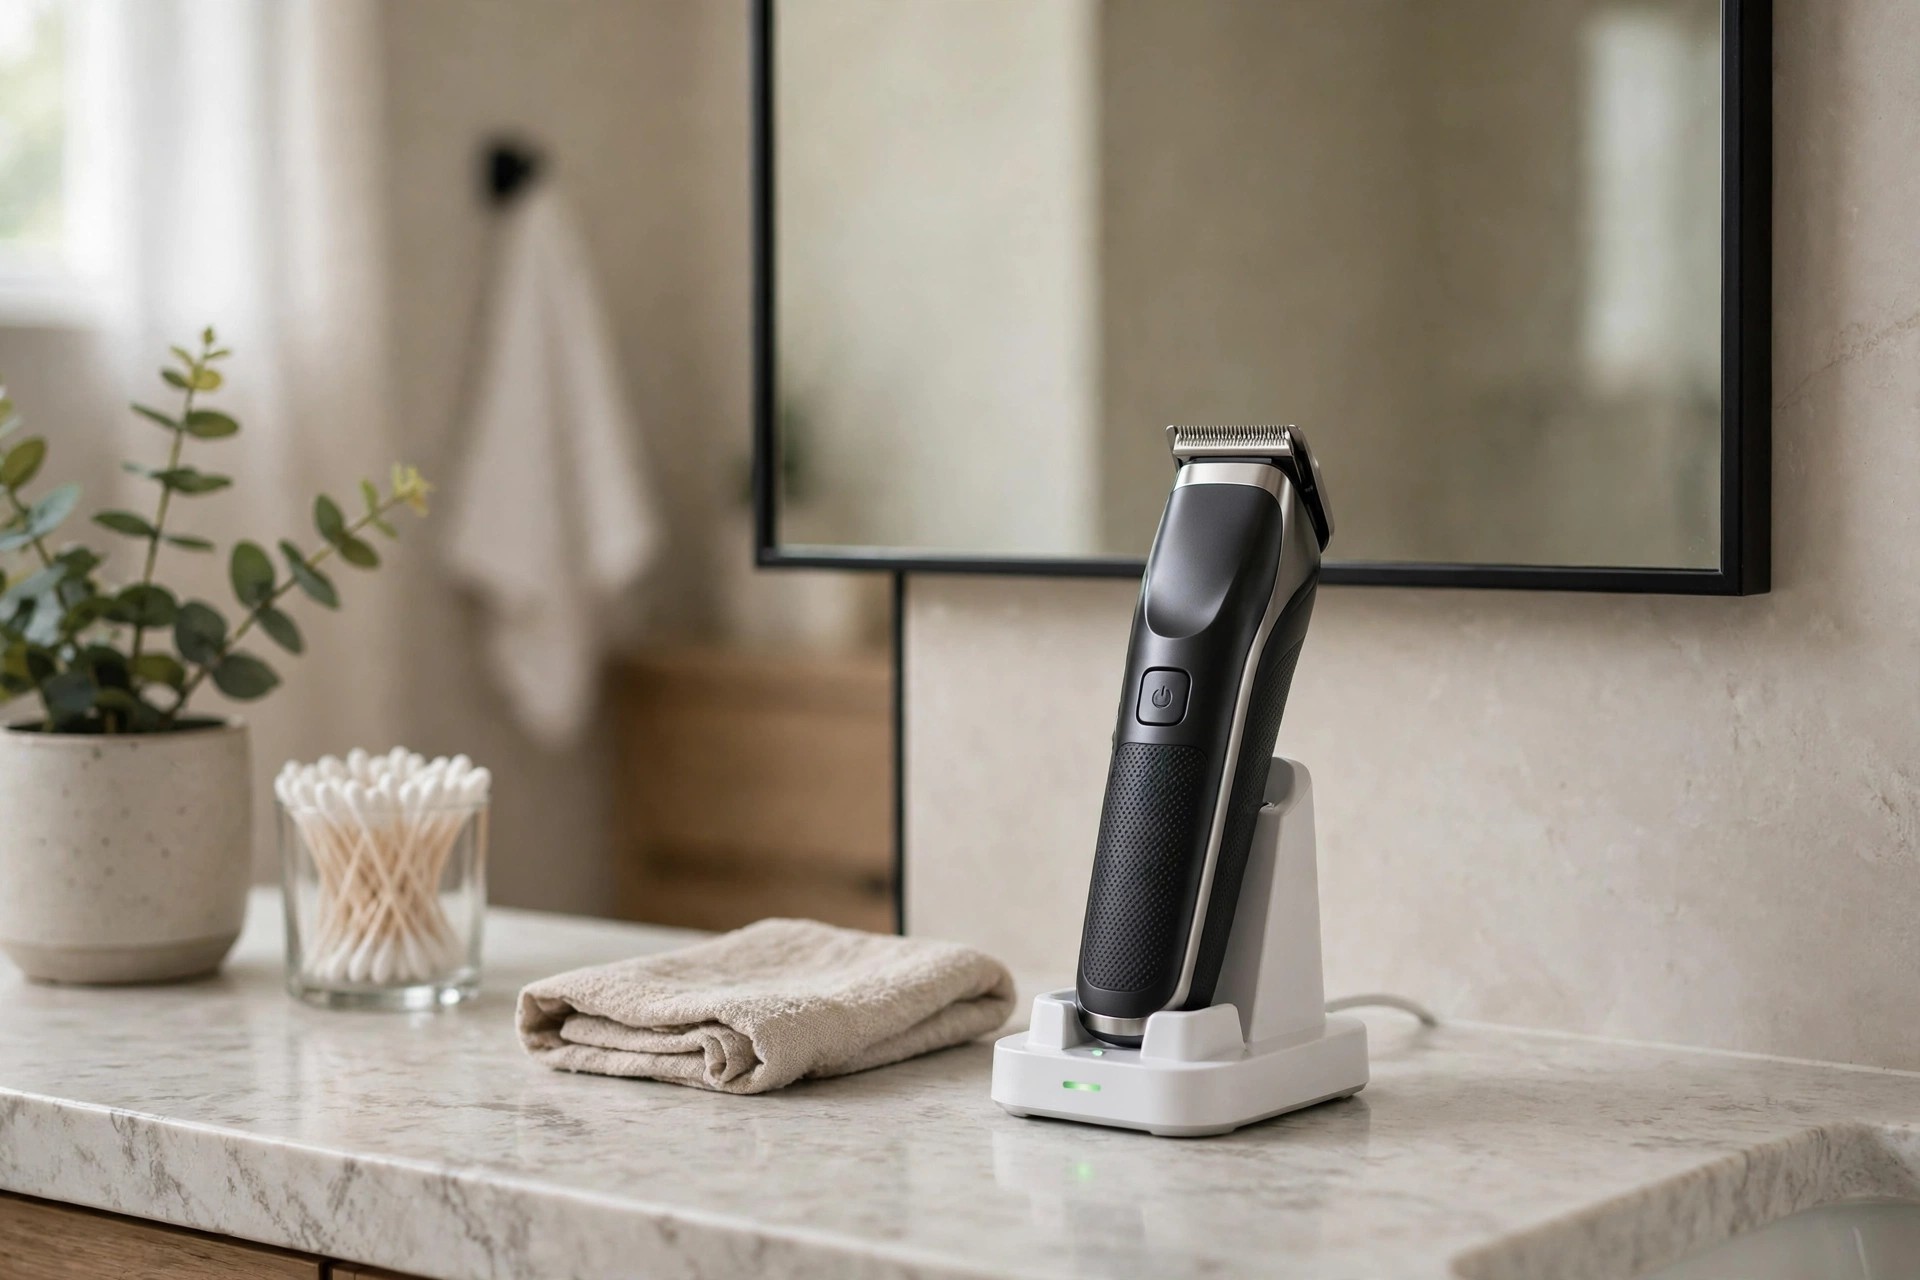
| Incorrect stand placement | Align the trimmer pins with the stand pins |
| Dirty trimmer | Clean the port and pins with a dry cloth |
The table above orders the checks sensibly overall. Each check takes only a few minutes alone. Our stopped working guide covers total failures too.
First Check: Test the Electric Socket
First, confirm the socket actually provides power properly. Remove the charger and plug in another device. A phone charger or lamp works for testing. If it stays dead, the socket is faulty.
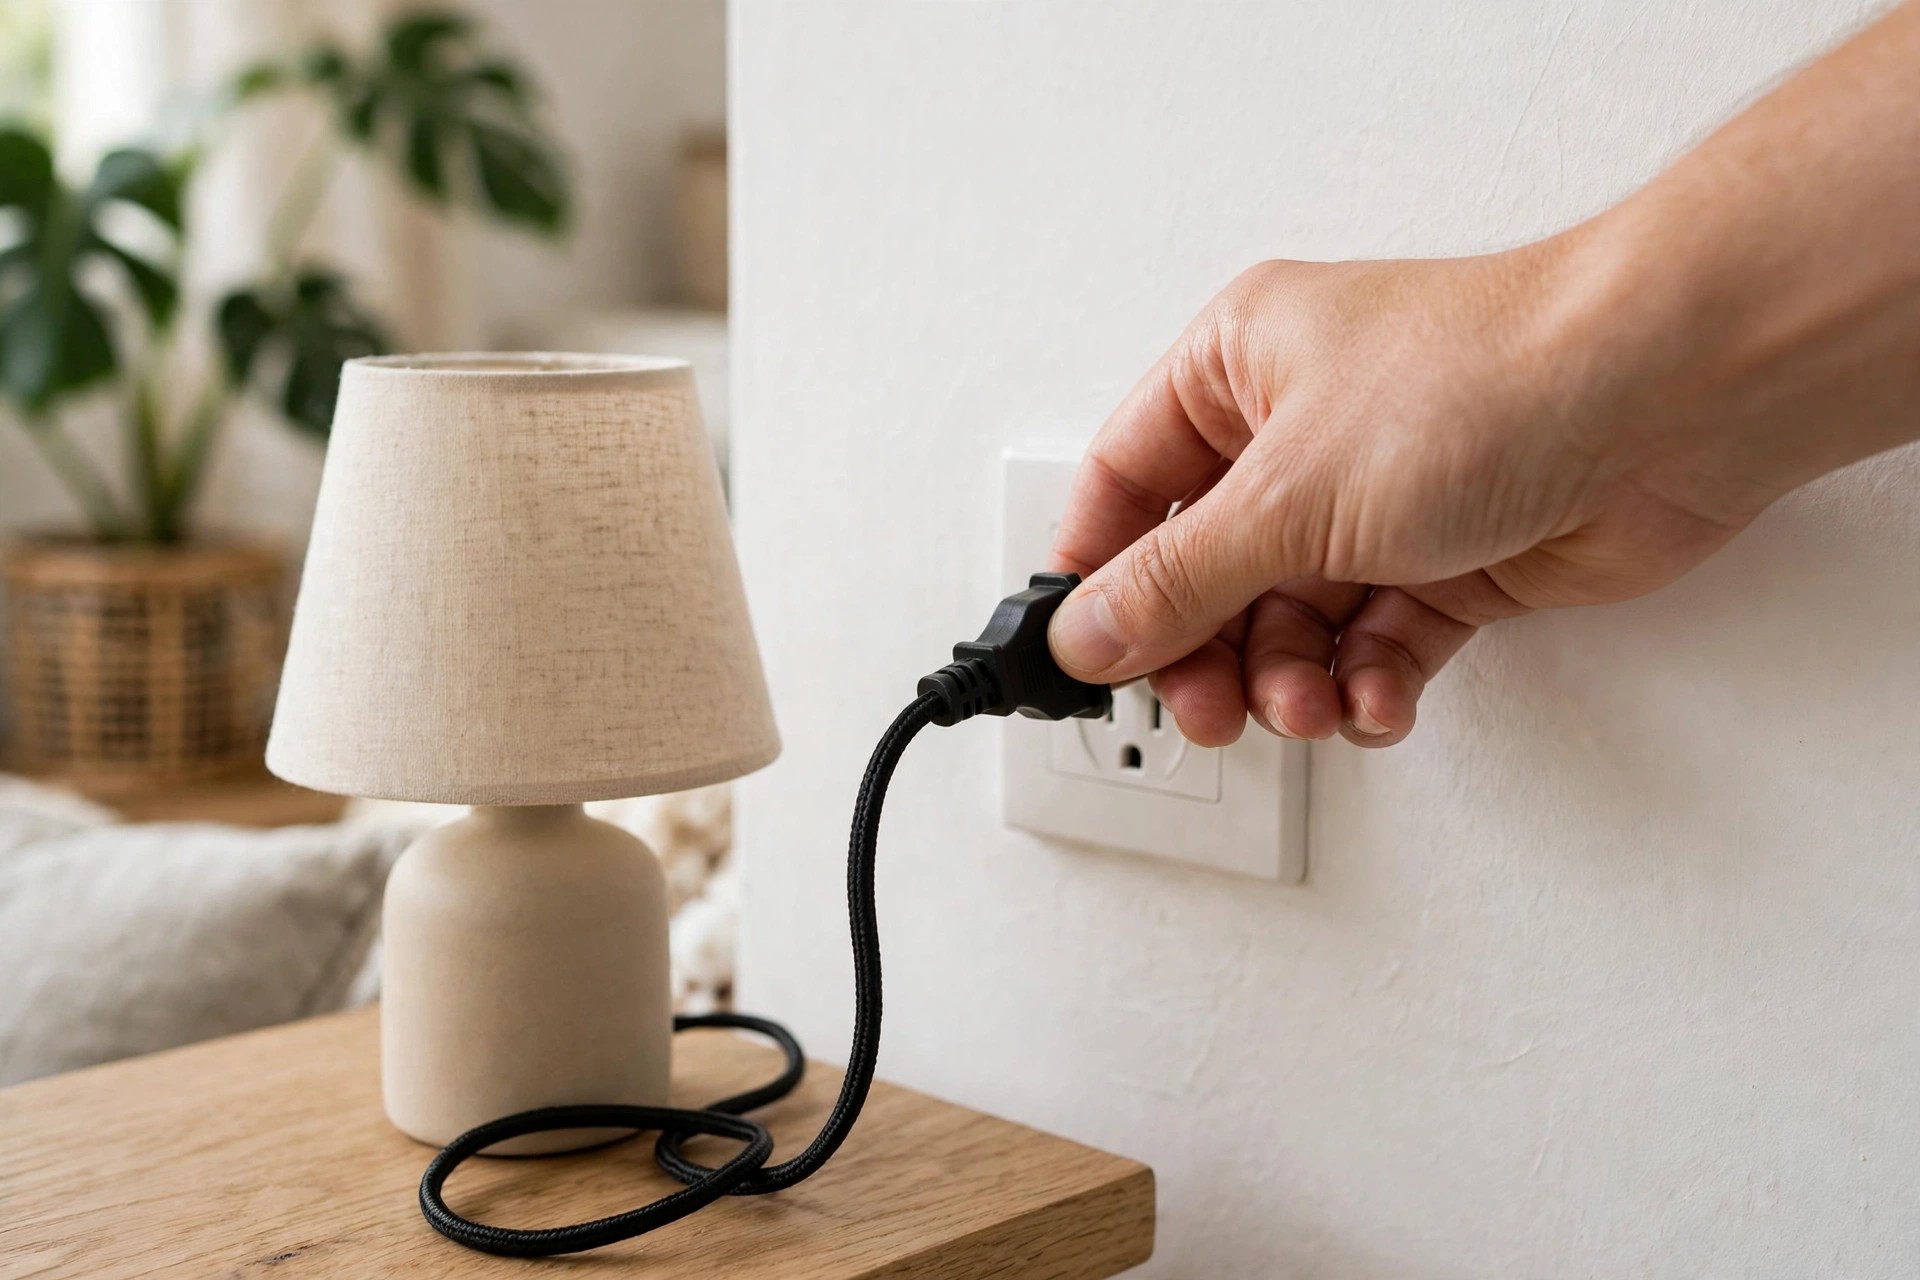
Testing With Another Device
A hairdryer or fan also tests the socket. If the device works, the socket provides power. Then the issue lies with the trimmer itself. Inspect sockets for damage, looseness, or burn marks.
Consult a professional electrician for damaged sockets always. Try a different socket or extension cord instead. Ensure the cord handles the trimmer power requirements. Our body trimmer guide explains your tool type.
Second Check: Try a Different Charger
Next, inspect the charger for visible damage signs. Frayed wires or loose connections signal real trouble. Stop using a damaged charger immediately for safety. Purchase a replacement charger if you find damage.
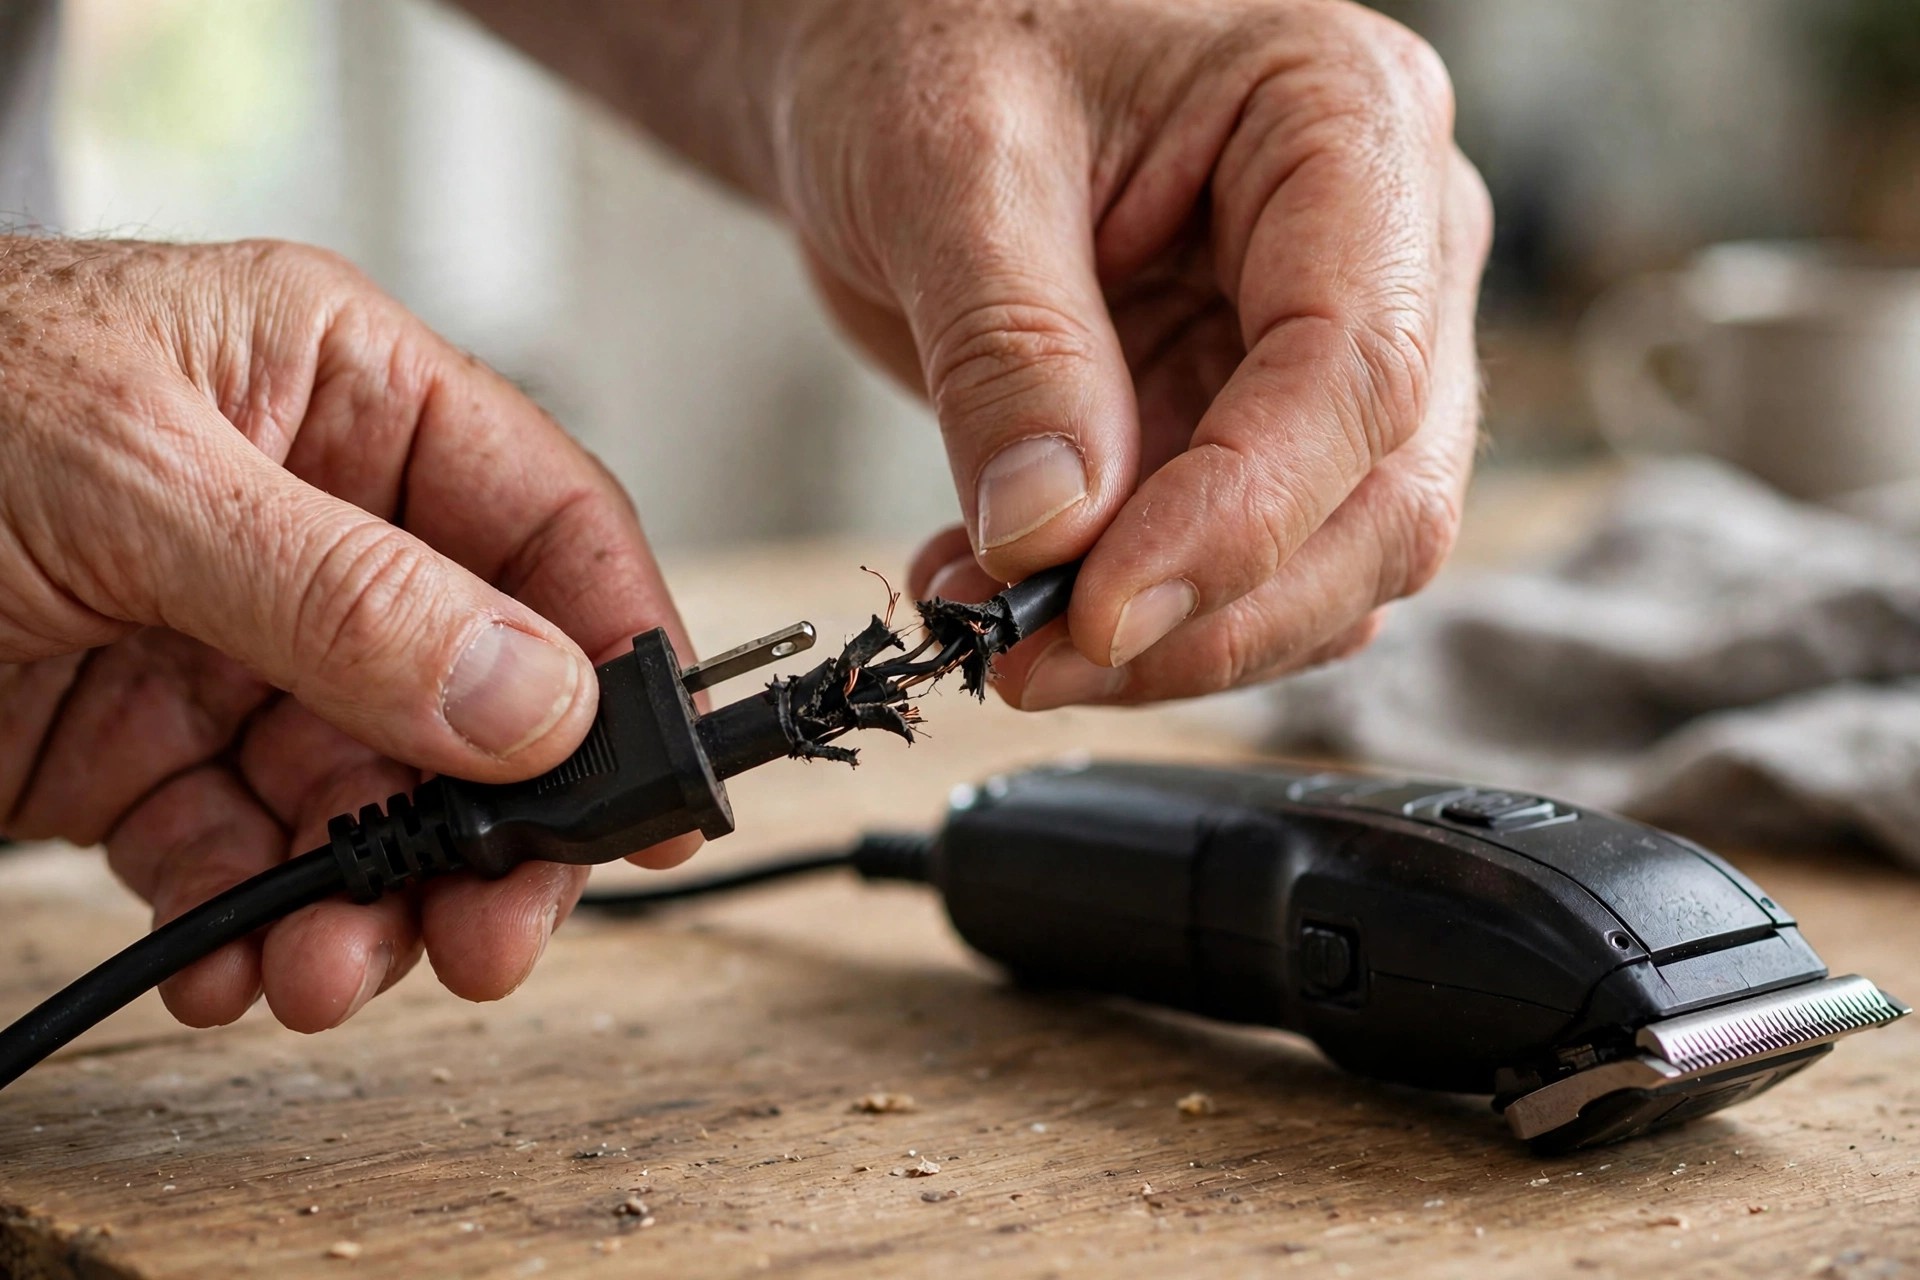
Test the trimmer with a compatible replacement charger. Different models may require different chargers, so verify. Watch for LED lights showing the charging process. An incompatible charger can damage your trimmer further.
| Test Result | What It Means |
|---|---|
| Charges with the replacement | The original charger is faulty; replace it |
| Still not charging | The fault sits inside the trimmer itself |
| No indicator lights at all | Leave it connected thirty minutes, then recheck |
Our battery life guide explains battery ageing signs. Keep the original charger until testing finishes completely. A working spare charger speeds up future troubleshooting.
Third Check: Seat It Right in the Stand
Some trimmers need precise placement in the stand. The trimmer must establish proper contact with pins. Check your manual for the correct seating position. The trimmer should fit snugly without any wobbling.
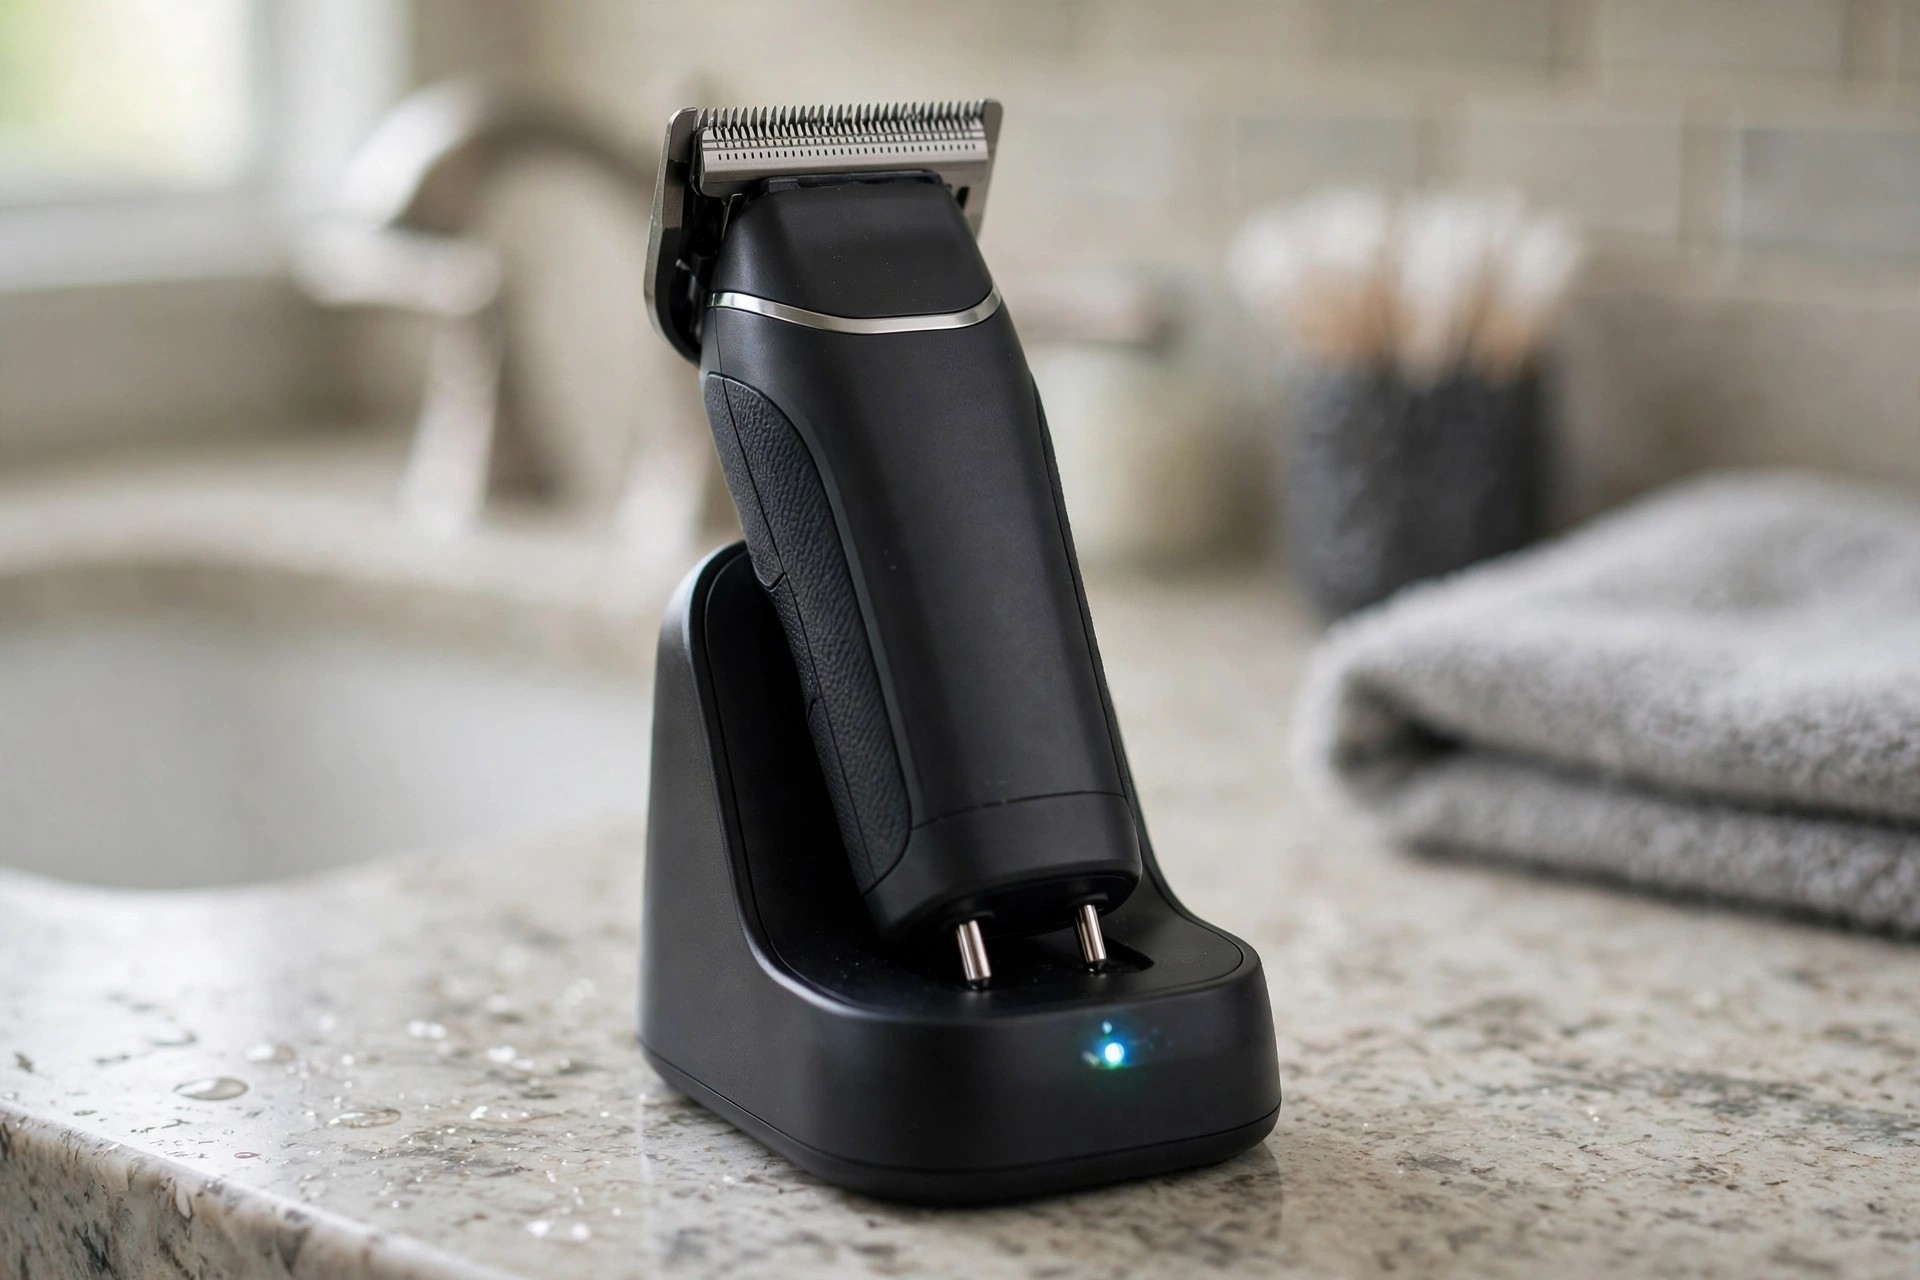
Press down gently until you feel slight resistance. A click can signal a secure connection forming. Avoid excessive force that could damage the stand. Even slight misalignment can prevent charging from starting.
Inspect both pin sets for dirt or debris. Foreign objects inside the stand also block connections. Our waterproof trimmer guide covers moisture limits too.
Fourth Check: Clean the Pins and Port
Dirt, hair, and debris accumulate over time quietly. They settle in the port and on pins. That buildup prevents a proper electrical connection forming. Clean carefully with a soft, dry cloth.
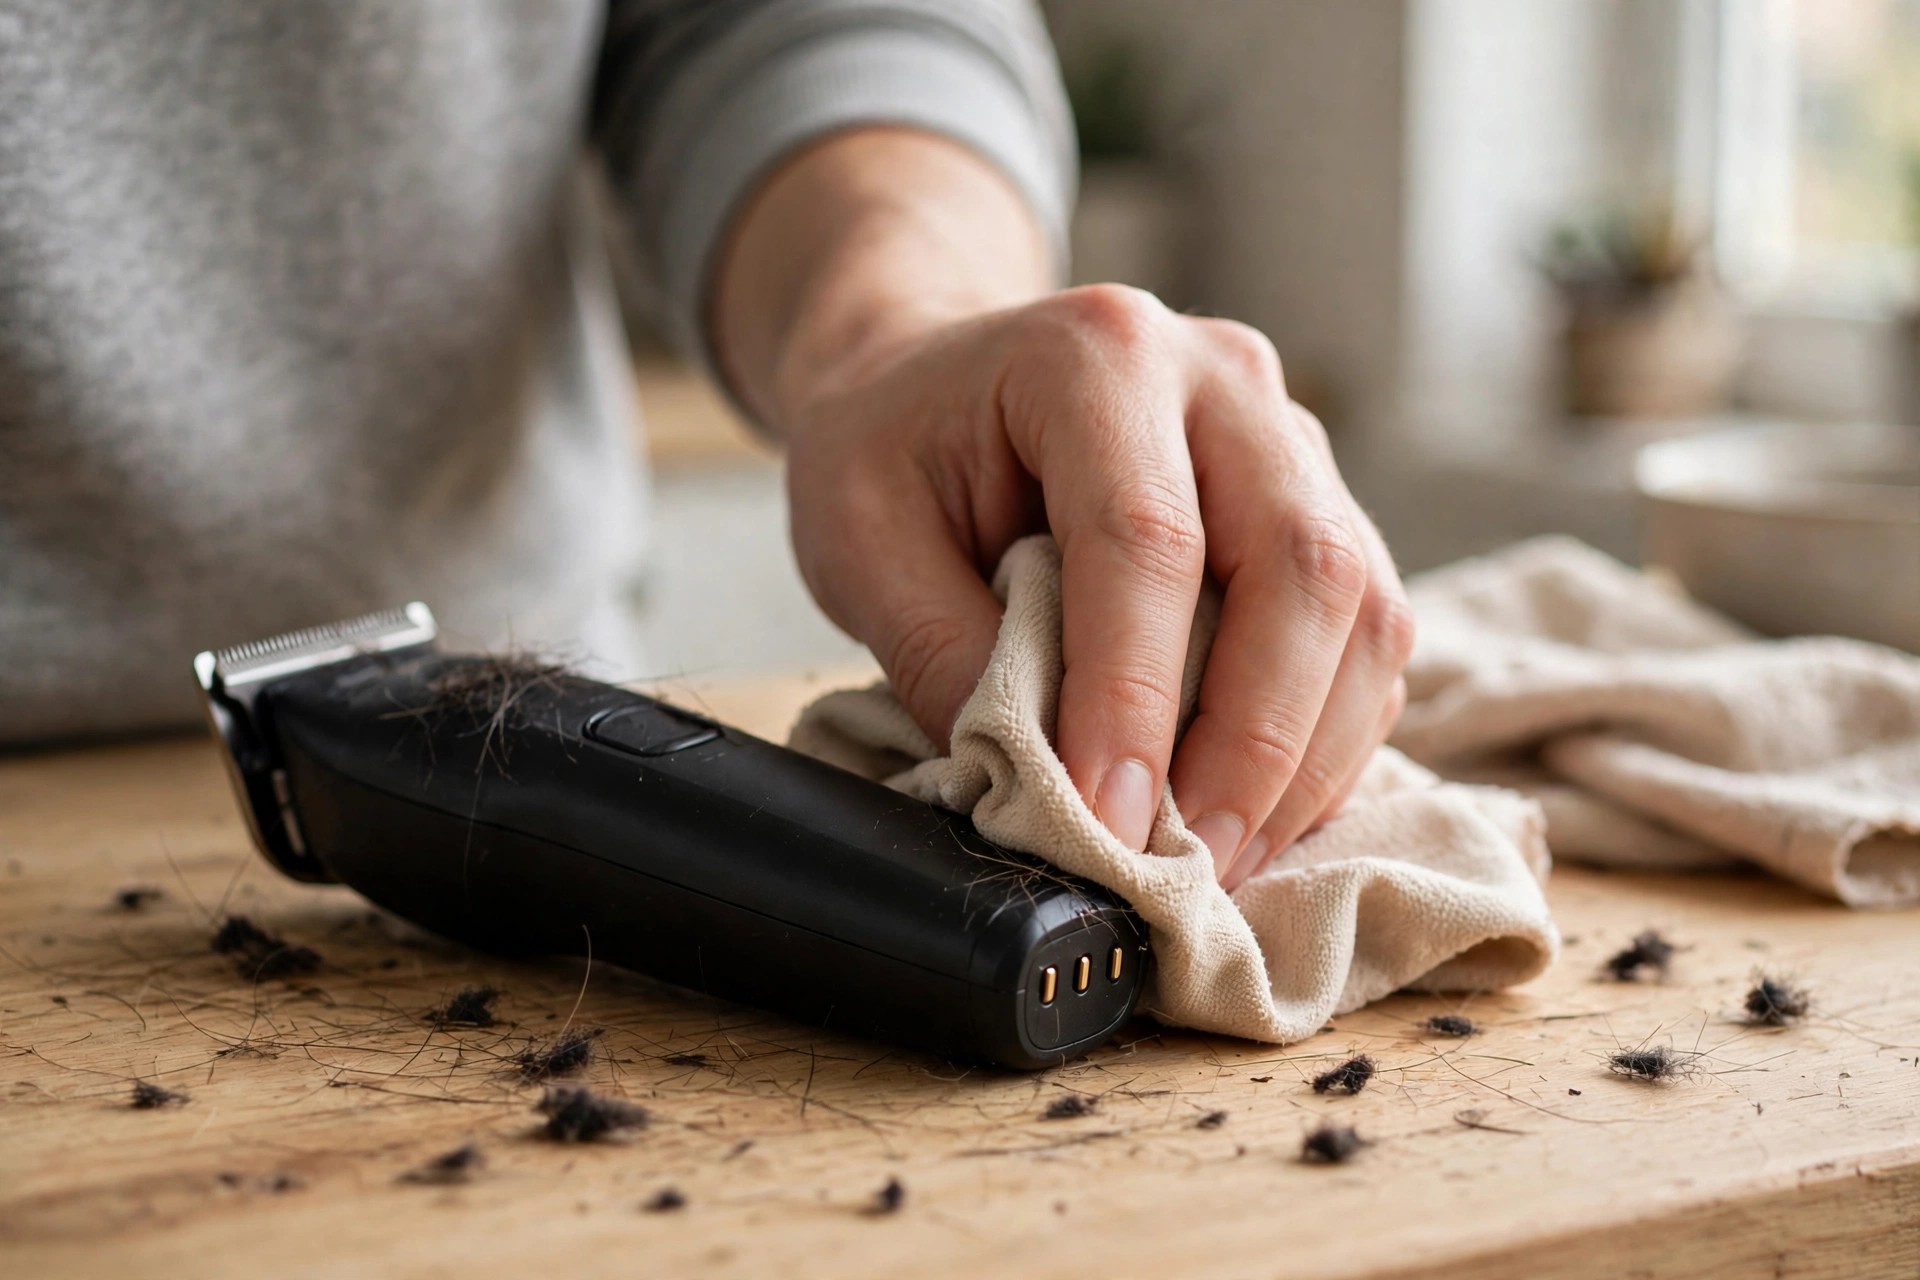
A small brush removes stubborn particles quite gently. Never let water or liquid inside the trimmer. Moisture damages internal components and creates danger too. Our body trimmer cleaning guide covers routine cleaning. Our bikini trimmer cleaning guide gives similar dry methods.
If It Still Will Not Charge
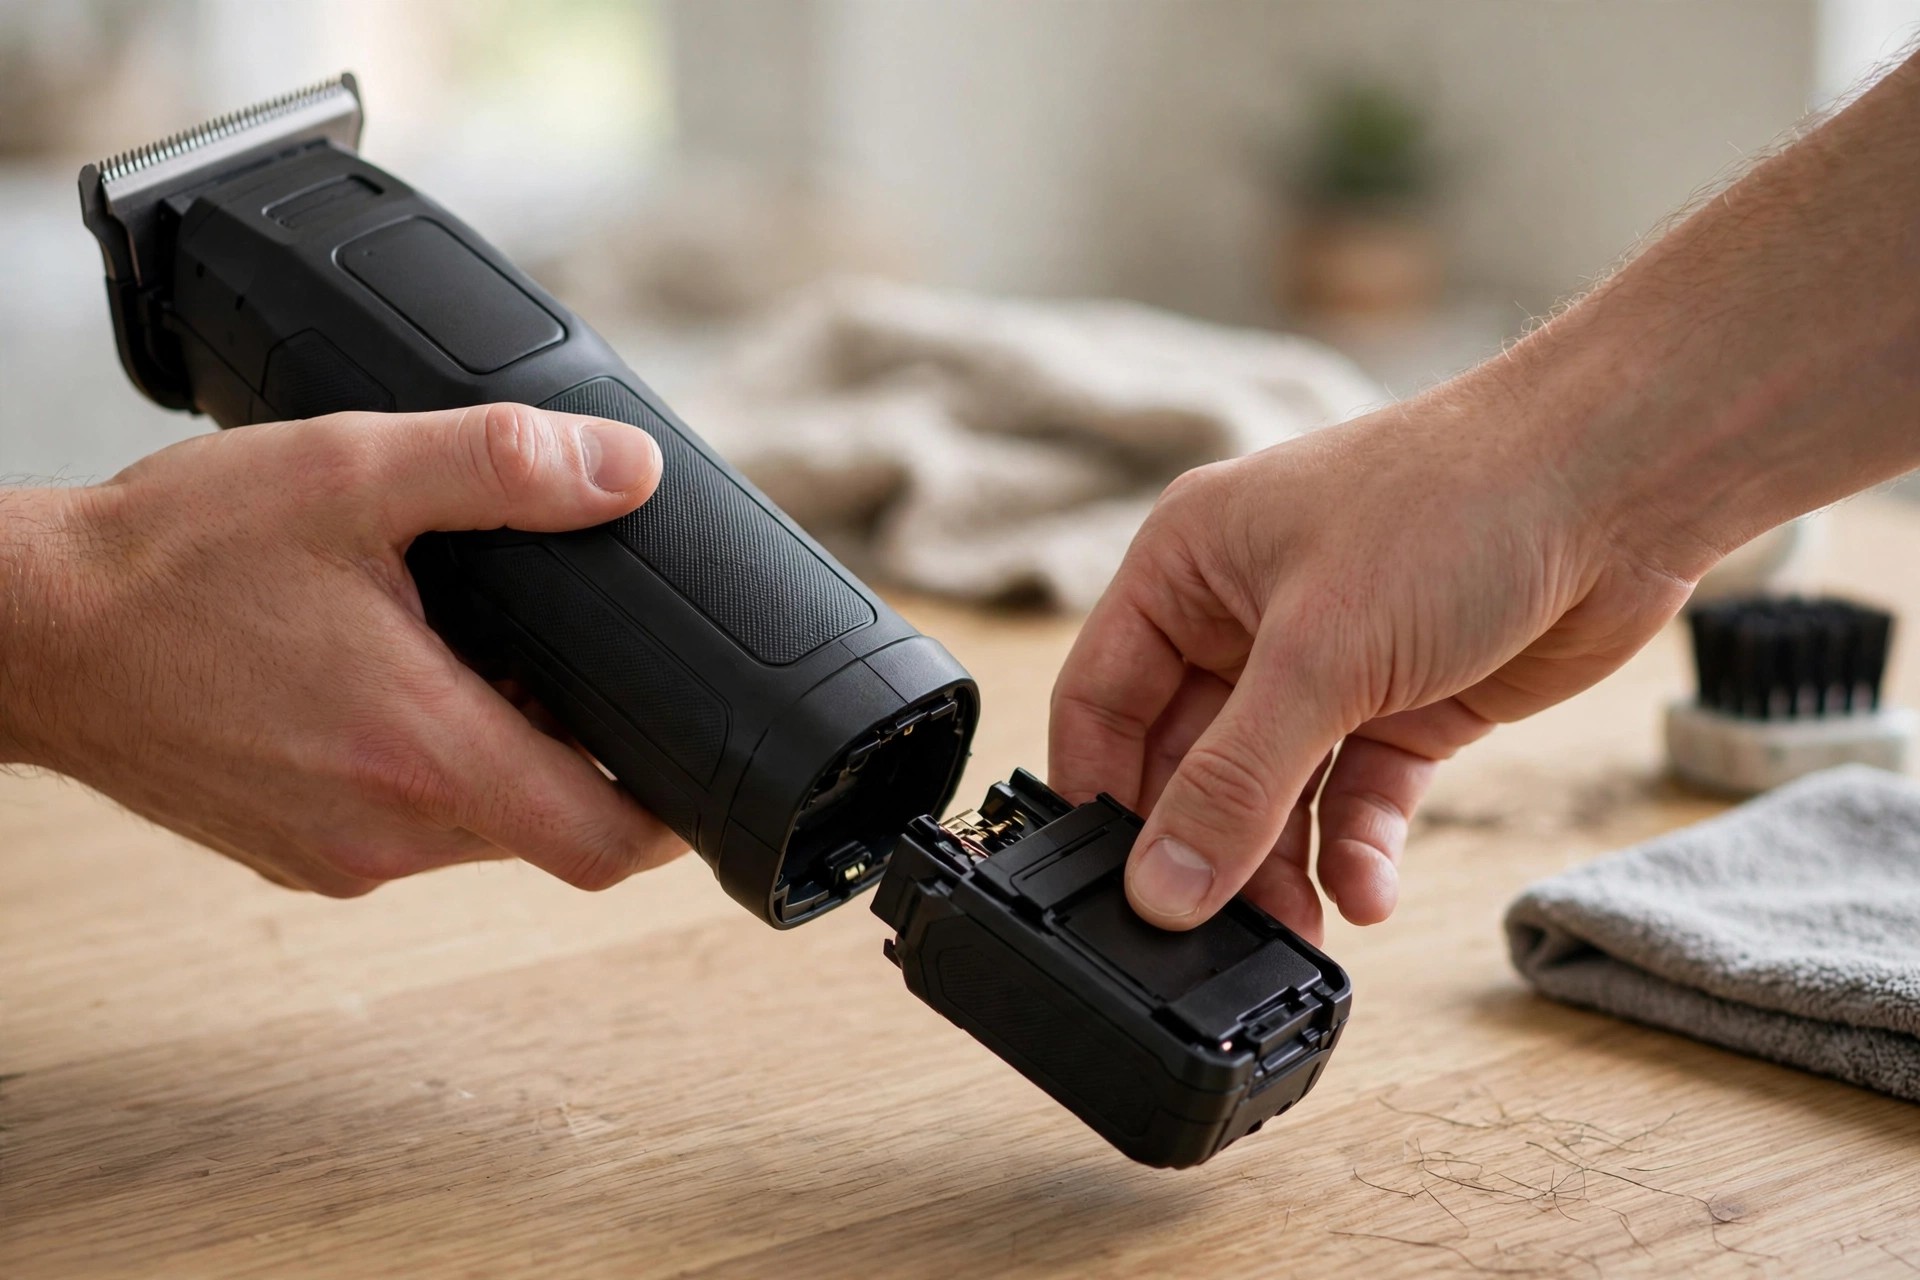
A completely drained battery may show no lights. Leave it connected for at least 30 minutes. Then check whether the indicator lights turn on. Reset by removing and reinserting the battery afterward.
Wait approximately 30 seconds before reinserting the battery. If lights stay off, contact manufacturer customer support. Share your model and the steps taken already.
Frequently Asked Questions
What to do if my trimmer charger is not working?
Check the electric socket where it is plugged. Try using a different charger for the trimmer. Place the groomer correctly in the charging stand. Clean the groomer, since dirt blocks charging contacts. Consider a replacement charger if problems persist afterward.
Why is my shaver not charging?
Check whether the electric socket works properly first. Try a different charger if the socket works. Seat the shaver correctly in the charging stand. Clean it if dirt covers the charging pins.
How do I know if my trimmer is charging?
Check the socket where you plugged the charger. Try a different charger to resolve the issue. Seat the groomer correctly in the charging stand. Clean the groomer in case it is dirty. A faulty charger remains possible after these steps.
Why is my trimmer not turning on?
A drained battery may stop it turning on. Plug it in and see whether charging starts. Check for damage to the cord or port. Seat it correctly and clean away any dirt.
What if my trimmer battery drained completely?
Connect the charger and check the indicator lights. Leave it connected for at least 30 minutes. A fully drained battery often needs that time. Try the battery reset if lights stay off.
Conclusion: Why My Trimmer Is Not Charging
So, why my trimmer is not charging today? Sockets, chargers, seating, and dirt explain most cases. Always rule out the socket before spending money. Replacement chargers come last, not first, in troubleshooting. Four simple checks find the fault quite fast.
Clean pins and correct seating prevent most failures. Follow the manufacturer instructions for your exact model. Regular dry cleaning keeps charging contacts working well. Contact customer support when every check fails you. Your trimmer returns to full power quite soon.
