How to Fix Trimmer Line
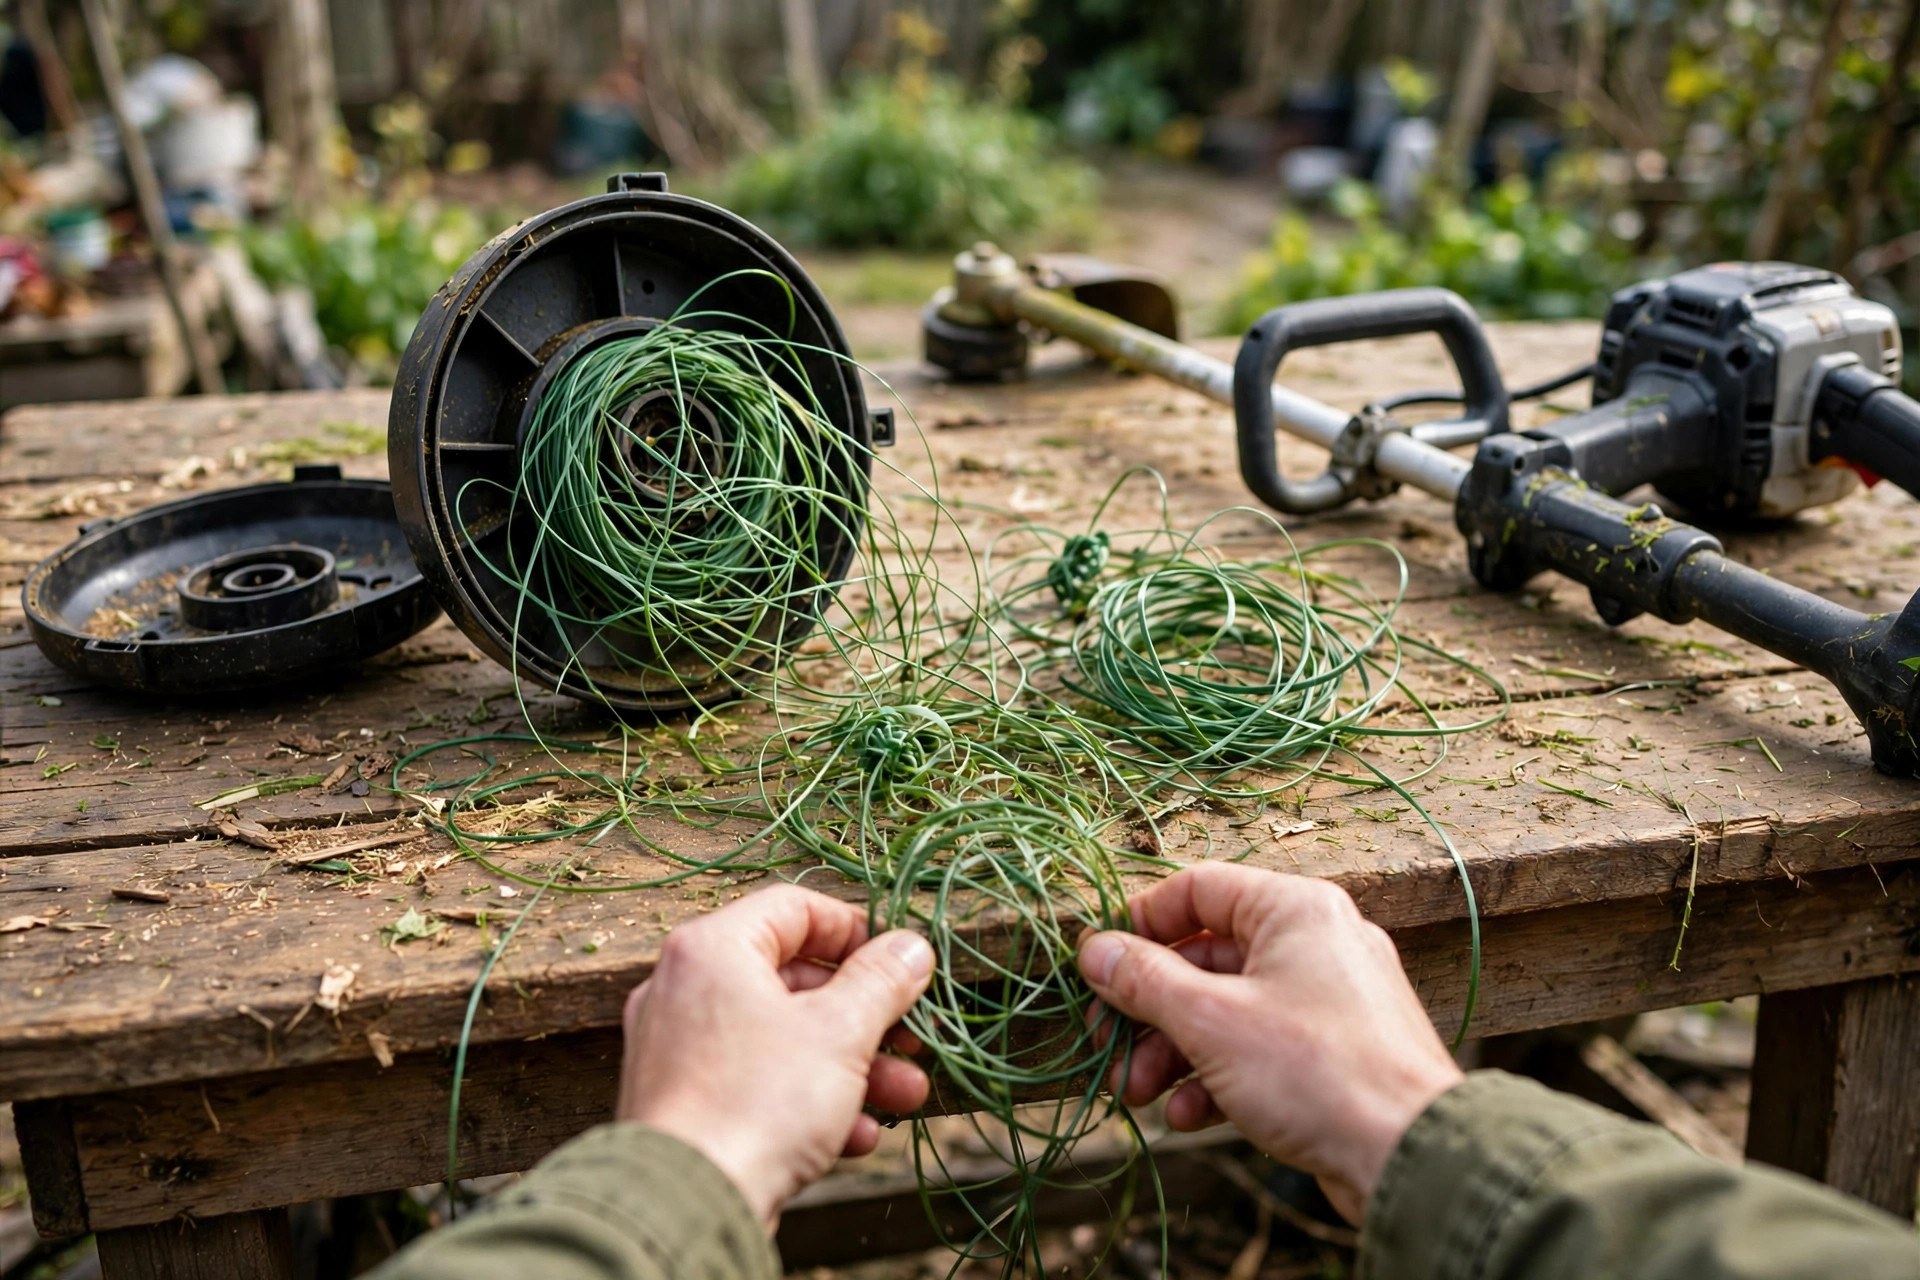
A broken trimmer line can stall your yard work. Many owners ask how to fix trimmer line fast. A faulty line frustrates pros who value tidy results. Fixing the fault fast keeps tools working well. Broken line stalls work. Fast fixes help.
Fixing trimmer line has grown simpler over the years. Steady breaks often stem from wrong string size. Poor fitting also causes many repeat line failures. The right tools and techniques cut downtime a lot. Wrong size breaks line. Good fitting cuts stops.
Start each repair by finding the problem first. Check if line is tangled or broken inside. The right line type matters for each trimmer. Not all lines fit each trimmer model on sale. This guide covers finding, choice, fitting and care. Find the fault first. Fit comes next.
Quick answer: Yes, you can fix most trimmer line problems yourself. Start by diagnosing tangles, breaks or debris blockages. Then choose the correct line size and type. Wind the new line evenly following spool arrows. Simple maintenance then keeps the line feeding smoothly.
- How to Fix Trimmer Line: Where to Start
- Step 1: Diagnose the Problem
- Step 2: Choose the Correct Trimmer Line
- Step 3: Properly Install the Trimmer Line
- Mistakes to Avoid When Fixing a Trimmer Line
- How to Maintain Your Trimmer for Long-Term Use
- Frequently Asked Questions
- Breaks, Temperature and New Line Questions
- Conclusion: How to Fix Trimmer Line
How to Fix Trimmer Line: Where to Start
Picking the right trimmer line is key after the check. Many experts advise comparing lines before buying. The wrong line size causes frequent breaks and waste. Ensure your line suits your most common tasks. Quality lines tend to last longer for users. Wrong size breaks a lot. Good lines last.
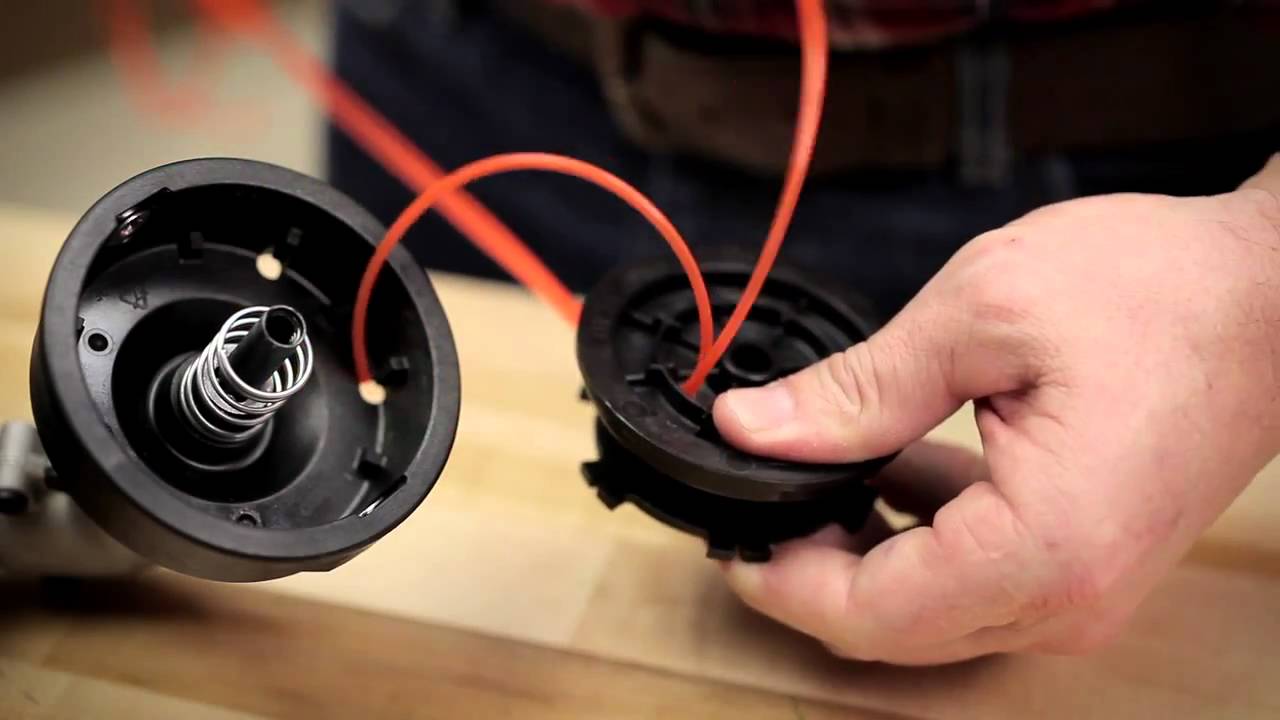
Proper fitting is key for line function overall. Open the trimmer head and remove old line. Feed new line through the head eyelets with care. Wind it evenly in the direction marked there. Close the head once line sits firmly inside. Wind it even. Close it firm.
| Step | Action |
|---|---|
| 1 | Turn off and unplug the trimmer for safety |
| 2 | Open the head and remove old or tangled line |
| 3 | Cut new line to the recommended length |
| 4 | Insert one end into the spool eyelet |
| 5 | Wind evenly in the direction indicated |
| 6 | Leave six inches free and secure in notches |
| 7 | Close the head and test line feeding |
Avoid common mistakes to ensure long term use. Never force trimmer line into the head by force. Forcing can damage the head and spool inside. Read why does my trimmer line keep breaking when breaks keep repeating. Proper care and storage extend line life a lot. Force harms the head. Care adds line life.
Step 1: Diagnose the Problem
Finding the fault begins with a close look each time. Check if the line is tangled or jammed. Look for visible damage like nicks or cuts. Nicks can signal why the line keeps breaking. Check the reel for cracks or warping too. Nicks tell the tale. Cracks count too.

Remove the head when the fault stays hidden. Debris like dirt or grass can clog the works. Clogs can stop the line from feeding right. Steady cleaning cuts these faults over time a lot. Keep the trimmer head clean and blockage free. Dirt clogs the works. Clean heads feed right.
Measure the line length after clearing any debris. Too short line may not feed well through. Too long line can overwork the motor instead. Overwork can lead to line breakage over time. Match length to the maker specs each time. Short line feeds poorly. Long line strains motors.
Check if the right line type is fitted. Not all trimmer lines suit all trimmers the same. Maker advised lines stop frequent breakage problems overall. Your manual helps you choose the right type. That check saves trouble down the road. Right type stops breaks. Manuals guide the choice.
Step 2: Choose the Correct Trimmer Line
Choosing the right line is key for smooth work. First, weigh the thickness of the line with care. Thin lines suit light work like trimming grass. Thicker lines handle heavier jobs like tall weeds. Always check maker advice for your own trimmer. Thin suits light work. Thick suits tall weeds.
| Line Size | Best For |
|---|---|
| Thin line, 0.065 to 0.080 inches | Light work like trimming grass |
| Thicker line, 0.085 to 0.110 inches | Heavier jobs like tall weeds |
Next, think about the material of the line. Nylon lines are common and suit most tasks. Some lines add aluminum or composite for strength. Extra strength helps against denser growth a lot. Compare options in is thicker trimmer line better before deciding finally. Nylon suits most tasks. Strong stock helps most.
Line shape also shapes work rate quite a lot. Round lines last long and fit with ease. Square lines cut cleaner but wear out faster. Twisted lines cut noise and shake during use. Use how to choose trimmer line steps to match shape well. Round lasts and fits easy. Twisted runs quieter.
Finally, weigh how much line you truly need. Lines come in rolls of varied lengths today. Larger rolls can be cost effective for big jobs. A shorter roll may do for rare jobs. Weigh your workload before buying any roll today. Big jobs need big rolls. Rare jobs need less.
Step 3: Properly Install the Trimmer Line
Proper fitting is crucial for smooth operation overall. Start by turning off and unplugging your trimmer. Open the trimmer head and remove old line. Tabs or screws may guard the inside of the head. These steps ensure a clean slate for new line. Power off comes first. Clean slate, then fit.
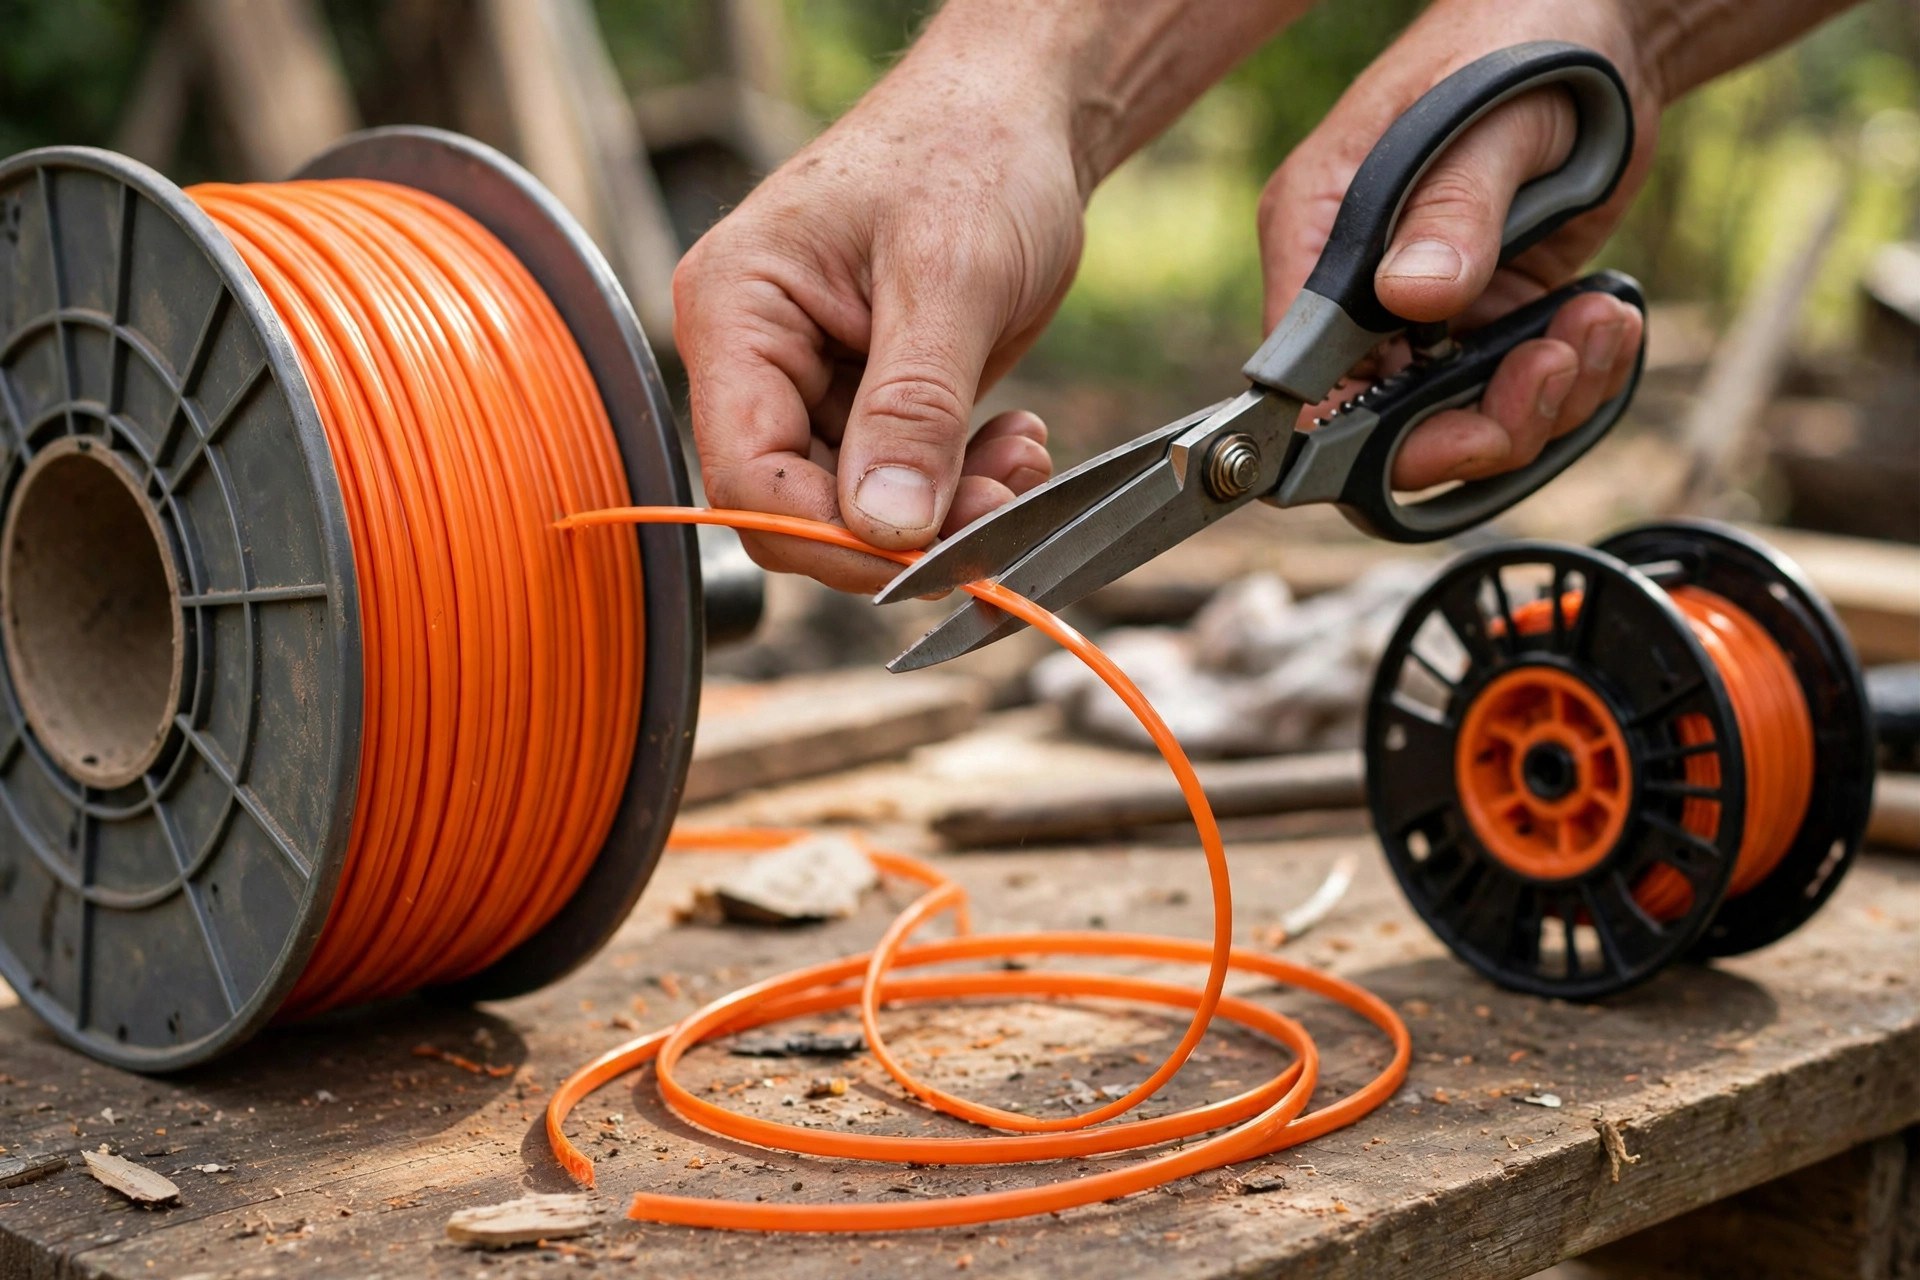
Next, cut a good length of new line. Most times, 15 to 25 feet works well overall. Insert one end into the head eyelet with care. Wind evenly the way the spool arrows show. Arrows mark the right winding direction there. Arrows show the way. Wind with care.
Leave about six inches on each end afterward. Insert these ends into the holding notches firmly. Notches keep line secure while you refit the head. Close the cover till it snaps fully shut. Good closure keeps line from loosening during use. Six inches stay free. Snaps shut means shut.
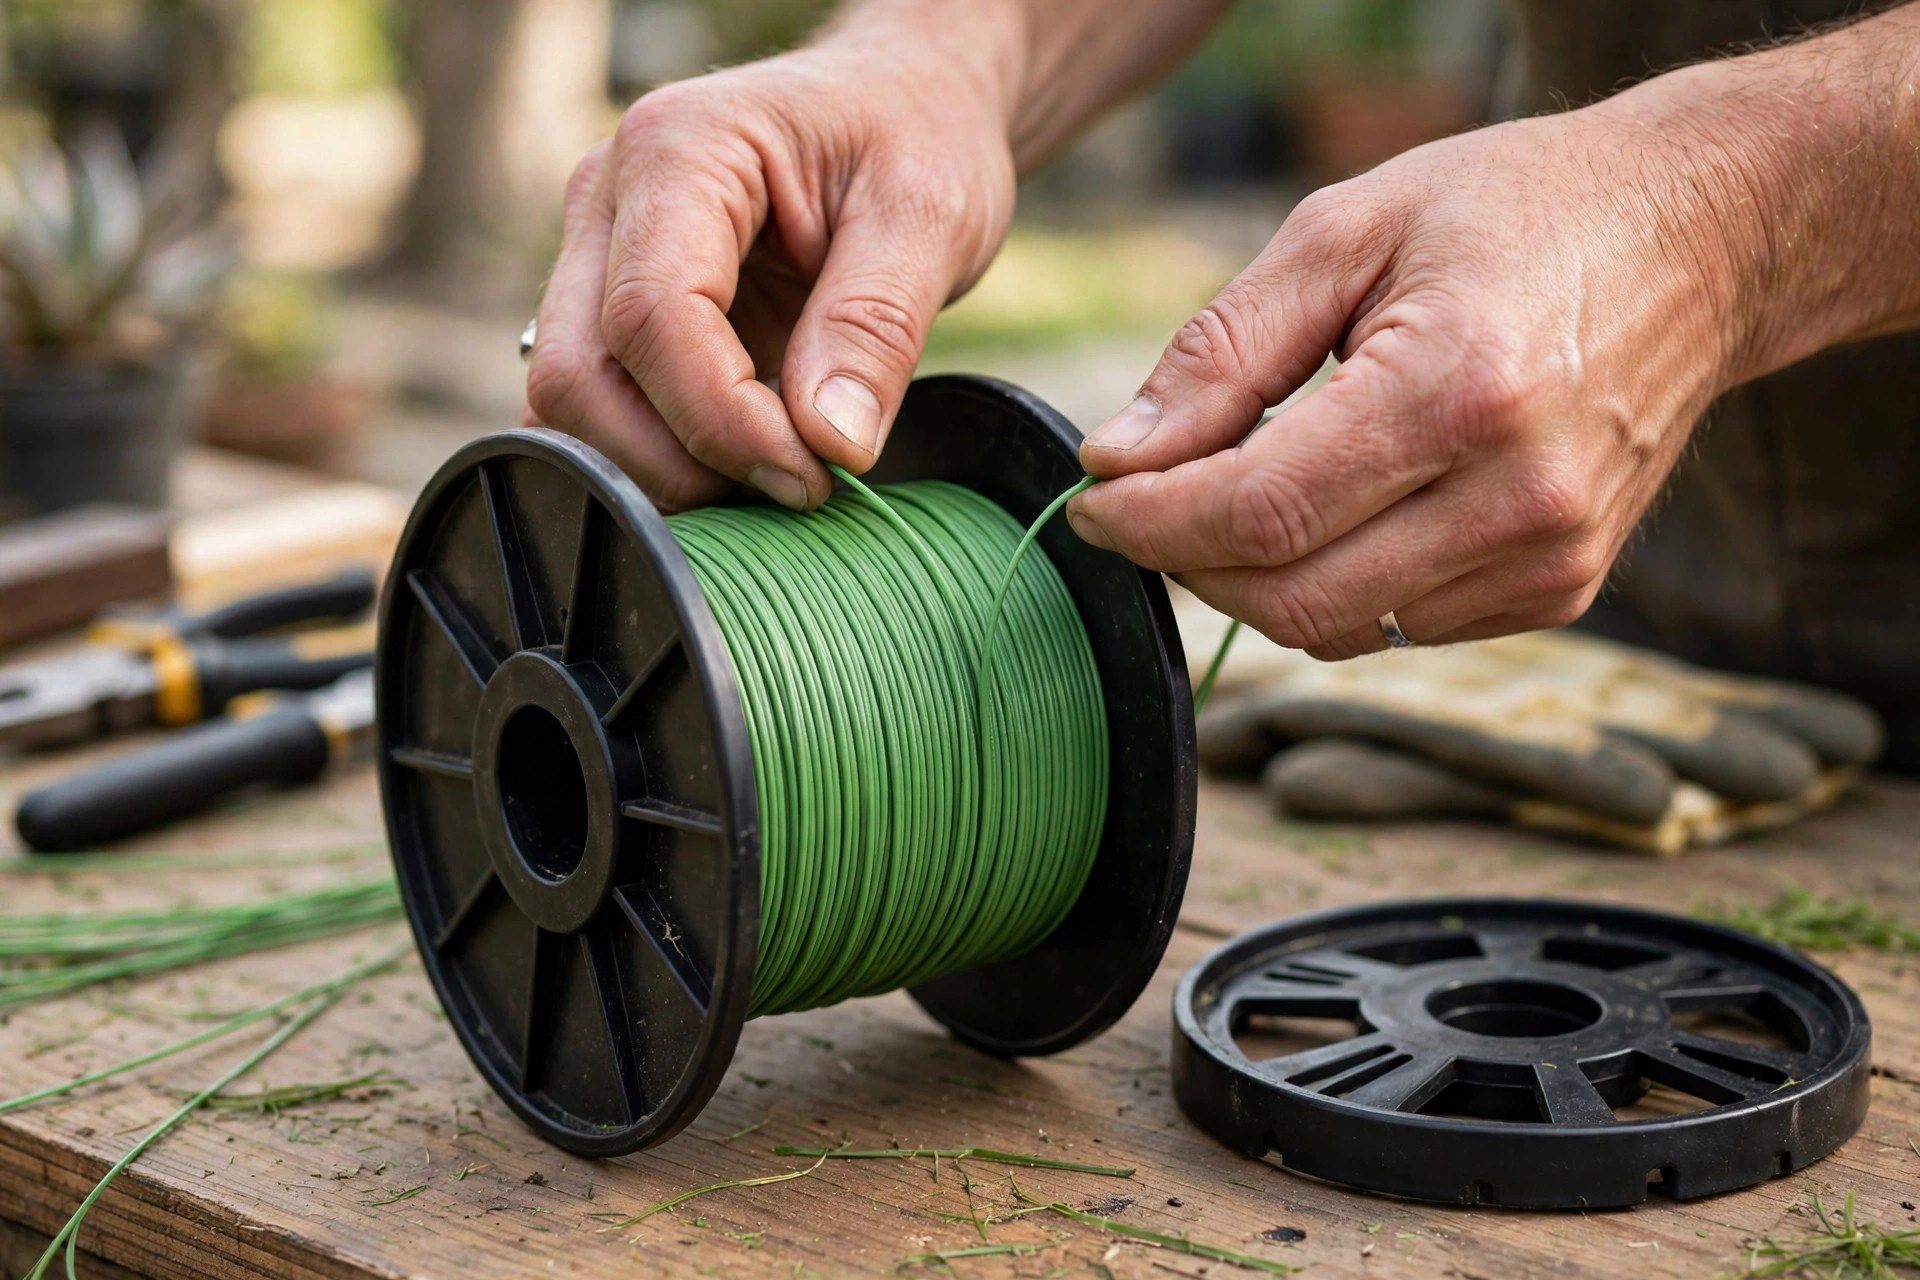
Test the line to confirm correct feeding afterward. Turn on the trimmer and run it briefly. Check line extends evenly without jamming at all. Rewind tighter if feeding looks uneven or stuck. Well fitted lines cut wear and lift cutting work. Test before you trim. Even feed is the goal.
Consult your user manual when fitting issues appear. The manual gives clear steps and fault tips. Maker pages like STIHL USA also share guidance. Online forums can also help solve common problems. Keeping help handy saves time and stress overall. Manuals solve most faults. Help sits near.
Finally, store your trimmer line the right way afterward. Avoid direct sunlight or extreme cold during storage. A cool, dry place works best here. Good storage keeps line flex and strength longer. See are you supposed to soak string trimmer line for soaking and storage care. Cool and dry wins. Sun and cold harm line.
Mistakes to Avoid When Fixing a Trimmer Line
Using the wrong line size is one mistake. Too thick or thin lines cause frequent breaks. They also bring waste to each trimming session. Always check the manual for advised line diameter. Compare sizes in can i use thicker trimmer line before buying line. Wrong size wastes work. Check the manual first.
Winding the line the wrong way is one more common error. Follow the arrows on the spool at all times. Wrong winding leads to tangling and jamming problems. Tangling can damage the trimmer head over time. Good winding ensures smooth running each session outside. Arrows rule the wind. Wrong winds jam fast.
Skipping head cleaning before a swap is one more mistake. Dirt and grass bits build up inside the head. Bits can slow line work and cause blockages. A clean head lets new line move freely. Take minutes to wipe down the inside first. Clean heads feed freely. Wipe the inside first.

Poor storage of trimmer line also causes problems. Direct sunlight or harsh weather can weaken line. Store line in a cool dry place always. Avoid hanging line in damp or hot areas. Proper storage extends the life of your line. Sun weakens line. Cool, dry storage wins.
Skipping routine upkeep is one more big mistake overall. Steady checks help spot problems early on. Check the head, line and motor function often. Missing the manual can lead to many issues. Each model has its own needs and rules inside. Checks catch faults early. Each model has rules.
How to Maintain Your Trimmer for Long-Term Use
Steady cleaning is key for upkeep of your trimmer. Remove grass clippings and dirt after each use. Use a brush for hard to reach areas. This stops buildup that can slow line work. The EPA lawn and garden page shares safer lawn care habits. Brush out the dirt. Buildup slows work.
Check the trimmer line often for wear signs. Replace line when it turns brittle or frayed. Fresh line lifts work rate and cuts motor strain. See does trimmer line get brittle with age for why age weakens line. Store spare line cool and dry to last long. Brittle line must go. Fresh line cuts strain.
Oil moving parts to keep them working well. Apply small oil amounts to head and shaft. This cuts friction and wear during use a lot. Use only the oil the maker advises at all times. Steady oiling helps extend trimmer life a lot. Small oil, big gain. Maker oil only.
Check air filter and spark plug on gas models. A clogged filter cuts work rate and wastes fuel. Clean or replace the air filter as needed. Check the spark plug for wear signs often. Swap worn plugs each year for smooth running overall. Clogged filters waste fuel. Worn plugs must go.
Store your trimmer the right way when not in use. Hang it on a hook somewhere dry and sheltered. This keeps moisture and dirt off parts inside. Proper storage keeps the trimmer safe and ready. Dry hooks keep tools safe. Tools stay ready.
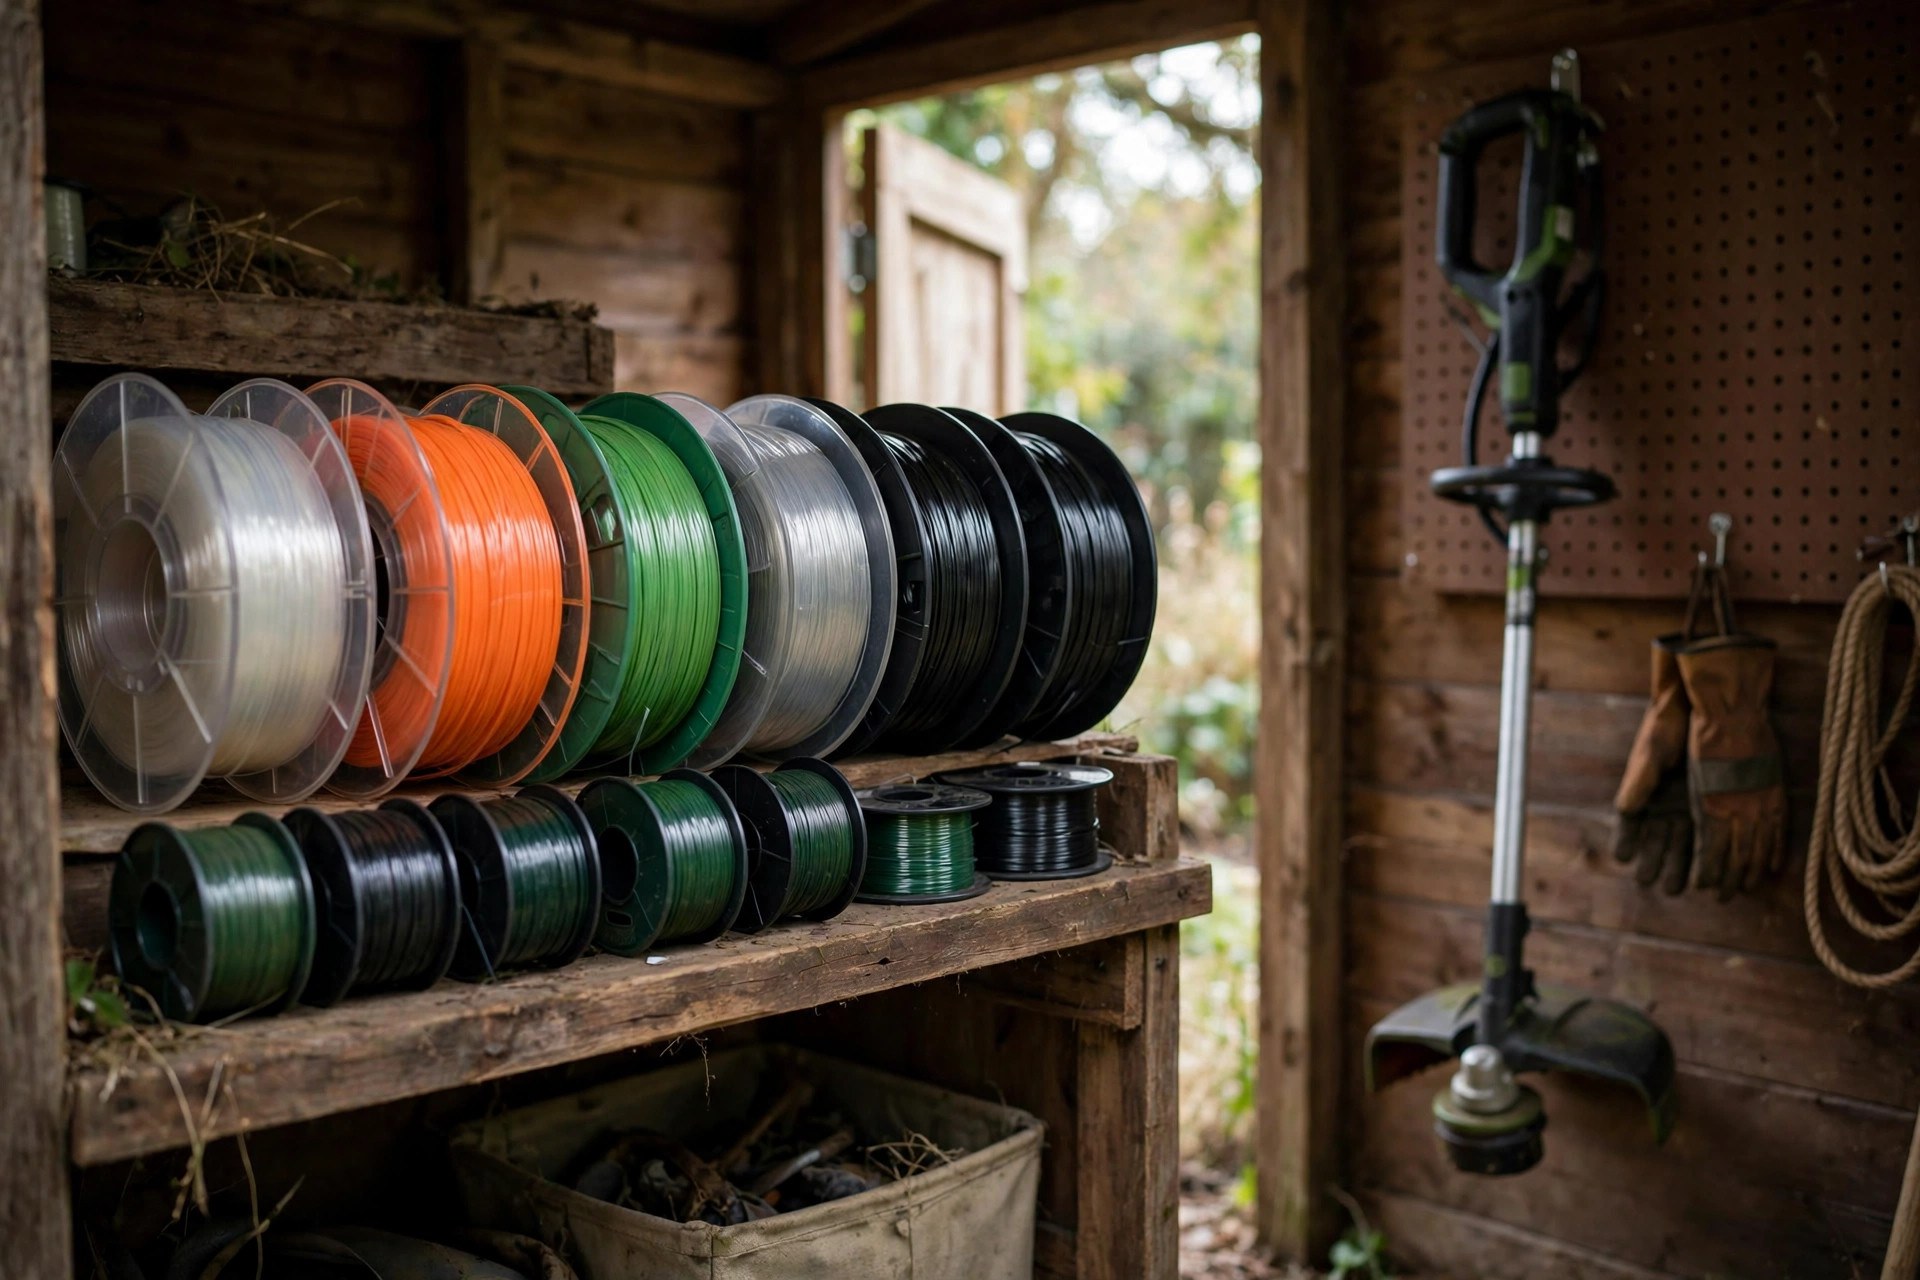
Finally, do yearly upkeep checks each year overall. Check screws, bolts and fasteners for tightness everywhere. Tighten loose parts and swap worn parts promptly. A steady schedule stops surprise breakdowns from happening. Your trimmer rewards care with years of sound service. Loose parts need a wrench. Care stops breakdowns.
Frequently Asked Questions
These answers cover swap timing and line choice. They also cover frequent breaks and temperature effects. Simple guidance keeps each answer practical and safe. Breaks and heat both show. Answers stay practical.
How often should I replace my trimmer line?
Swap timing depends on use amount and load. Steady lawn care needs new line every two to three months. Heavy or pro use needs more frequent swaps. Hard use wears line fast. Light use lasts months.
Watch line state during each use with care. Frayed or brittle line means a swap is due. Steady checks ensure smooth trimming without mid task breaks. Read how long does trimmer line last for clear wear signs. Frayed line means swap time. Checks keep cuts smooth.
Can I use any type of trimmer line with my machine?
No, always follow your manual for line advice. Your manual lists the right type and size clearly. A wrong-fit line can bring waste and damage. It can even damage the trimmer head itself. Manuals list the right fit. Wrong fits harm heads.
Different tasks require different lines for best results. Thicker lines suit heavy duty work far better. Always match line type with the task ahead. Matching ensures best results during each session outside. Match line to task. Thick suits heavy work.
Breaks, Temperature and New Line Questions
Three more answers cover breaks and temperature effects. They also explain why new line fails early. Maker guidance sits behind each answer given below. Breaks, heat and early fails. Maker rules back each.
What causes my trimmer line to break frequently?
Wrong line thickness often causes frequent breaks overall. Poor fitting methods also cause many repeat breaks. Thick growth or hard surfaces add more breaks. Wrong size breaks line. Poor fits break it too.
An overloaded motor can also lead to breakage. Too much or too thick line overloads motors. Follow maker guidelines to avoid these problems in full. Too much line strains motors. Maker rules prevent harm.
Does temperature affect my trimmer line?
Yes, extreme heat and cold affect trimmer line a lot. High heat can make the line brittle overall. Hard cold may cut its flex a lot. Heat makes line brittle. Cold cuts its flex.
Store trimmer and extra lines somewhere cool and dry. Good storage extends line lifespan over time. That care keeps line flexible for longer use. Cool, dry storage wins. Flex lasts longer.
Why does my new trimmer line fail quickly?
Fast failure can signal poor fitting work overall. Poor grade stock can also cause early failure. Wind line the right way, following the spool arrows. Poor fits fail fast. Arrows show the wind.
Wrong-matched types also cause early failure quite often. Lines too thick or thin both fail early. Matched stock ensures lasting work per maker guidelines. Wrong types fail early. Matched stock lasts.
Conclusion: How to Fix Trimmer Line
Knowing the check, choice and fitting keeps line lasting. A good check finds the real problem first each time. Right line choice stops most repeat failures overall. Good fitting keeps feeding smooth during work sessions. Avoiding common mistakes saves time and cuts stress. Checks find real faults. Good fits feed smooth.
Steady upkeep makes a real difference over time. You can master how to fix trimmer line with confidence. Steady care keeps your trimmer in top shape. Your trimmer stays ready for any task ahead. Smooth running follows for years to come afterward. Upkeep pays over time. Care keeps tools ready.

I’m Patricia D. Johnson, an affiliate marketer and blogger specializing in trimmers and grooming tools. I create honest reviews, buying guides, and practical tips to help readers choose the right trimmer for their needs. With a focus on quality, performance, and value, I simplify the decision-making process so consumers can make confident purchases.