
How to Fix Grass Trimmer String
A broken line stops yard work fast. Homeowners often ask how to fix grass trimmer string. The repair stays simple once steps are clear. This guide walks through the whole job safely.
The tool spins thin nylon string at speed. That string cuts grass, weeds and small plants. String trimmers date back to the early 1970s. Frayed or snapped line ruins cutting performance quickly. Fresh string restores a clean, even cut again.
You need no expert help for this repair. Our restringing guide covers the general spool method too. Work slowly and keep every part in order. Short answers at the end settle common questions. Our trimmer edging guide covers another job fresh line handles.
Quick answer: Fixing a snapped line takes minutes at home. Disconnect the power before touching the head at all. Remove the head and clear the old string. Wind fresh line neatly onto the clean spool. Refit the head and test the feed slowly.
Safety First: Before You Touch the String
Safety comes before every other step here. Disconnect the trimmer from any power source first. Electric models need unplugging from the outlet completely. Battery models need the battery removed entirely instead.
Position the trimmer upright with head on top. That position prevents accidental operation during the repair. It also gives a clearer working view overall. Prepare a clean, flat surface for parts.
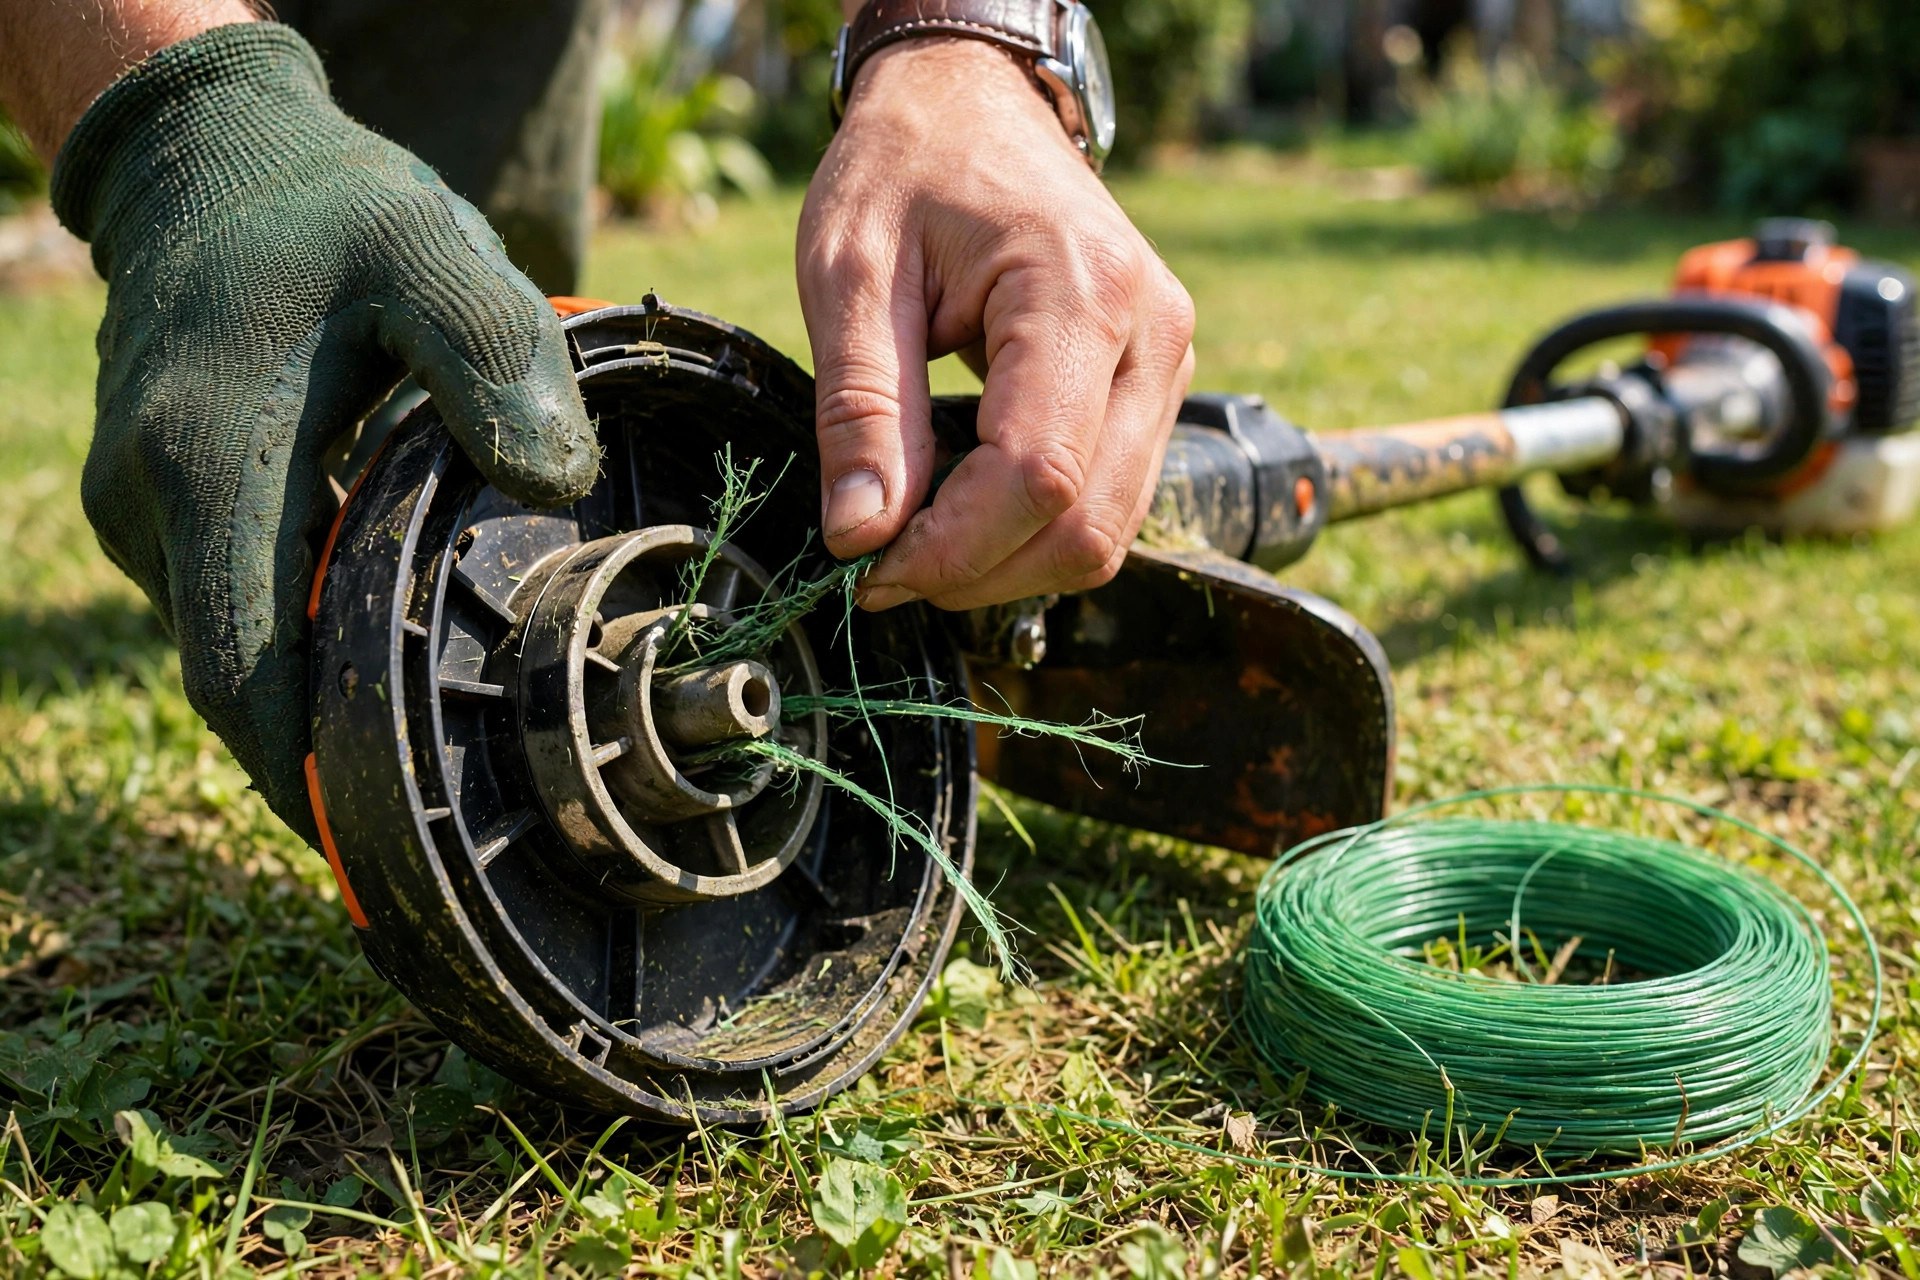
Protective gloves guard hands against cuts and scrapes. Safety glasses shield eyes from dust and debris. Keep removed parts in their removal order nearby. Nothing gets lost on a tidy surface.
Removing the Trimmer Head Safely
The head connects to the shaft several ways. Some models use a nut or bolt connection. Others use a series of small tabs instead. Loosen yours with the appropriate tool carefully.
| Connection | Guide’s Point |
|---|---|
| Nut or bolt | Loosen with the right tool, turning counter-clockwise |
| Tabs | Press down and lift the head free |
| Cap with tabs or screw | Press the tabs or loosen the screw |
Hold the spool so it cannot fall out. Turn the cutting head counter-clockwise to loosen it. Lift the head off the trimmer very carefully. Keep every inside part safe and accounted for.
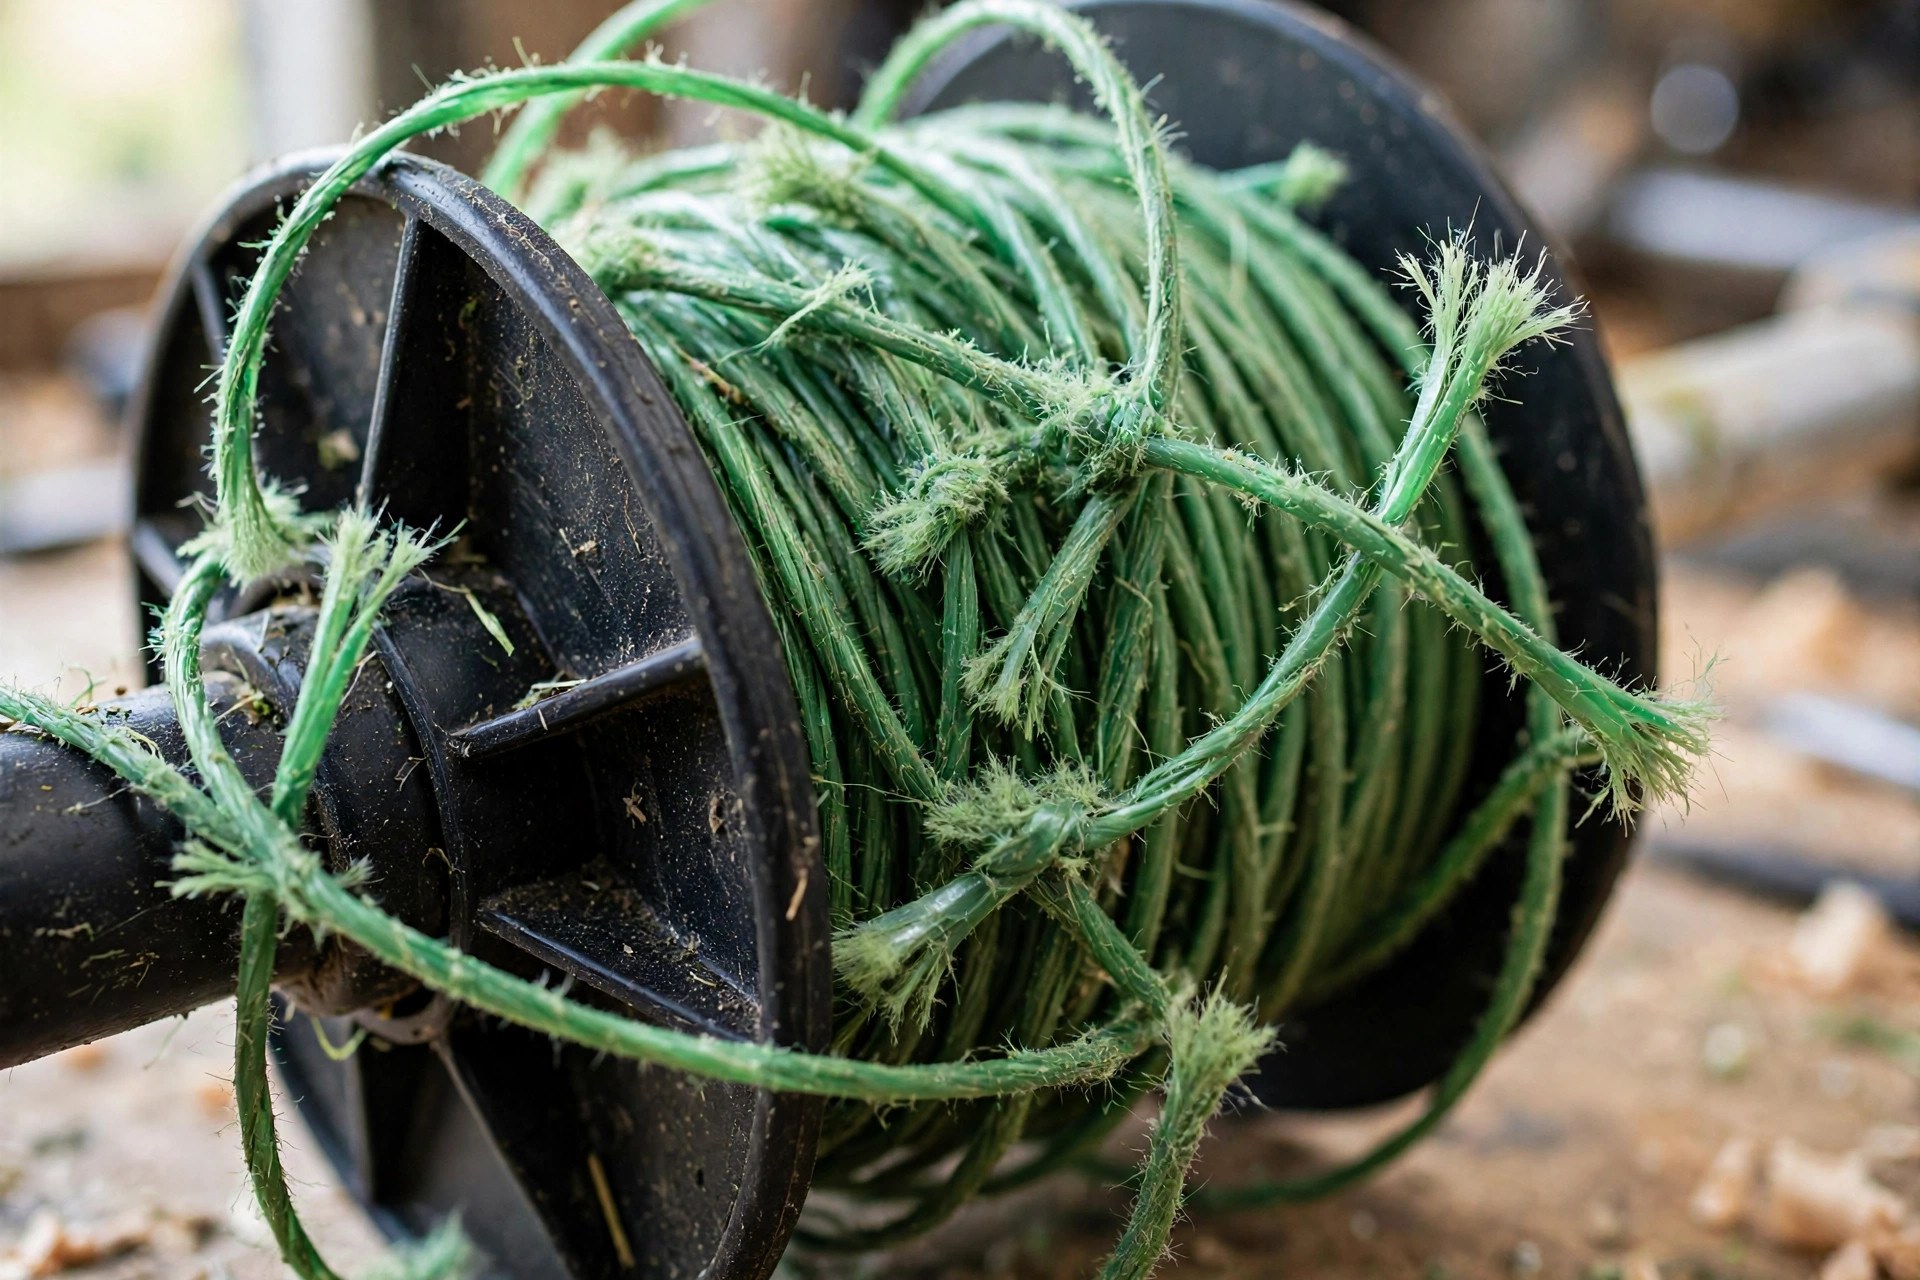
Examine the head closely for wear or damage. A worn or damaged head needs full replacement. Clean away residual grass, dirt and debris thoroughly. Maker pages like STIHL USA publish model specific guidance. Always consult your own model manual first though.
How to Fix Grass Trimmer String: Load the Line
Cut the new line to the manual length. Most manuals specify around fifteen to twenty-five feet. The exact figure depends on trimmer size mostly. Find the anchoring hole in the spool middle.
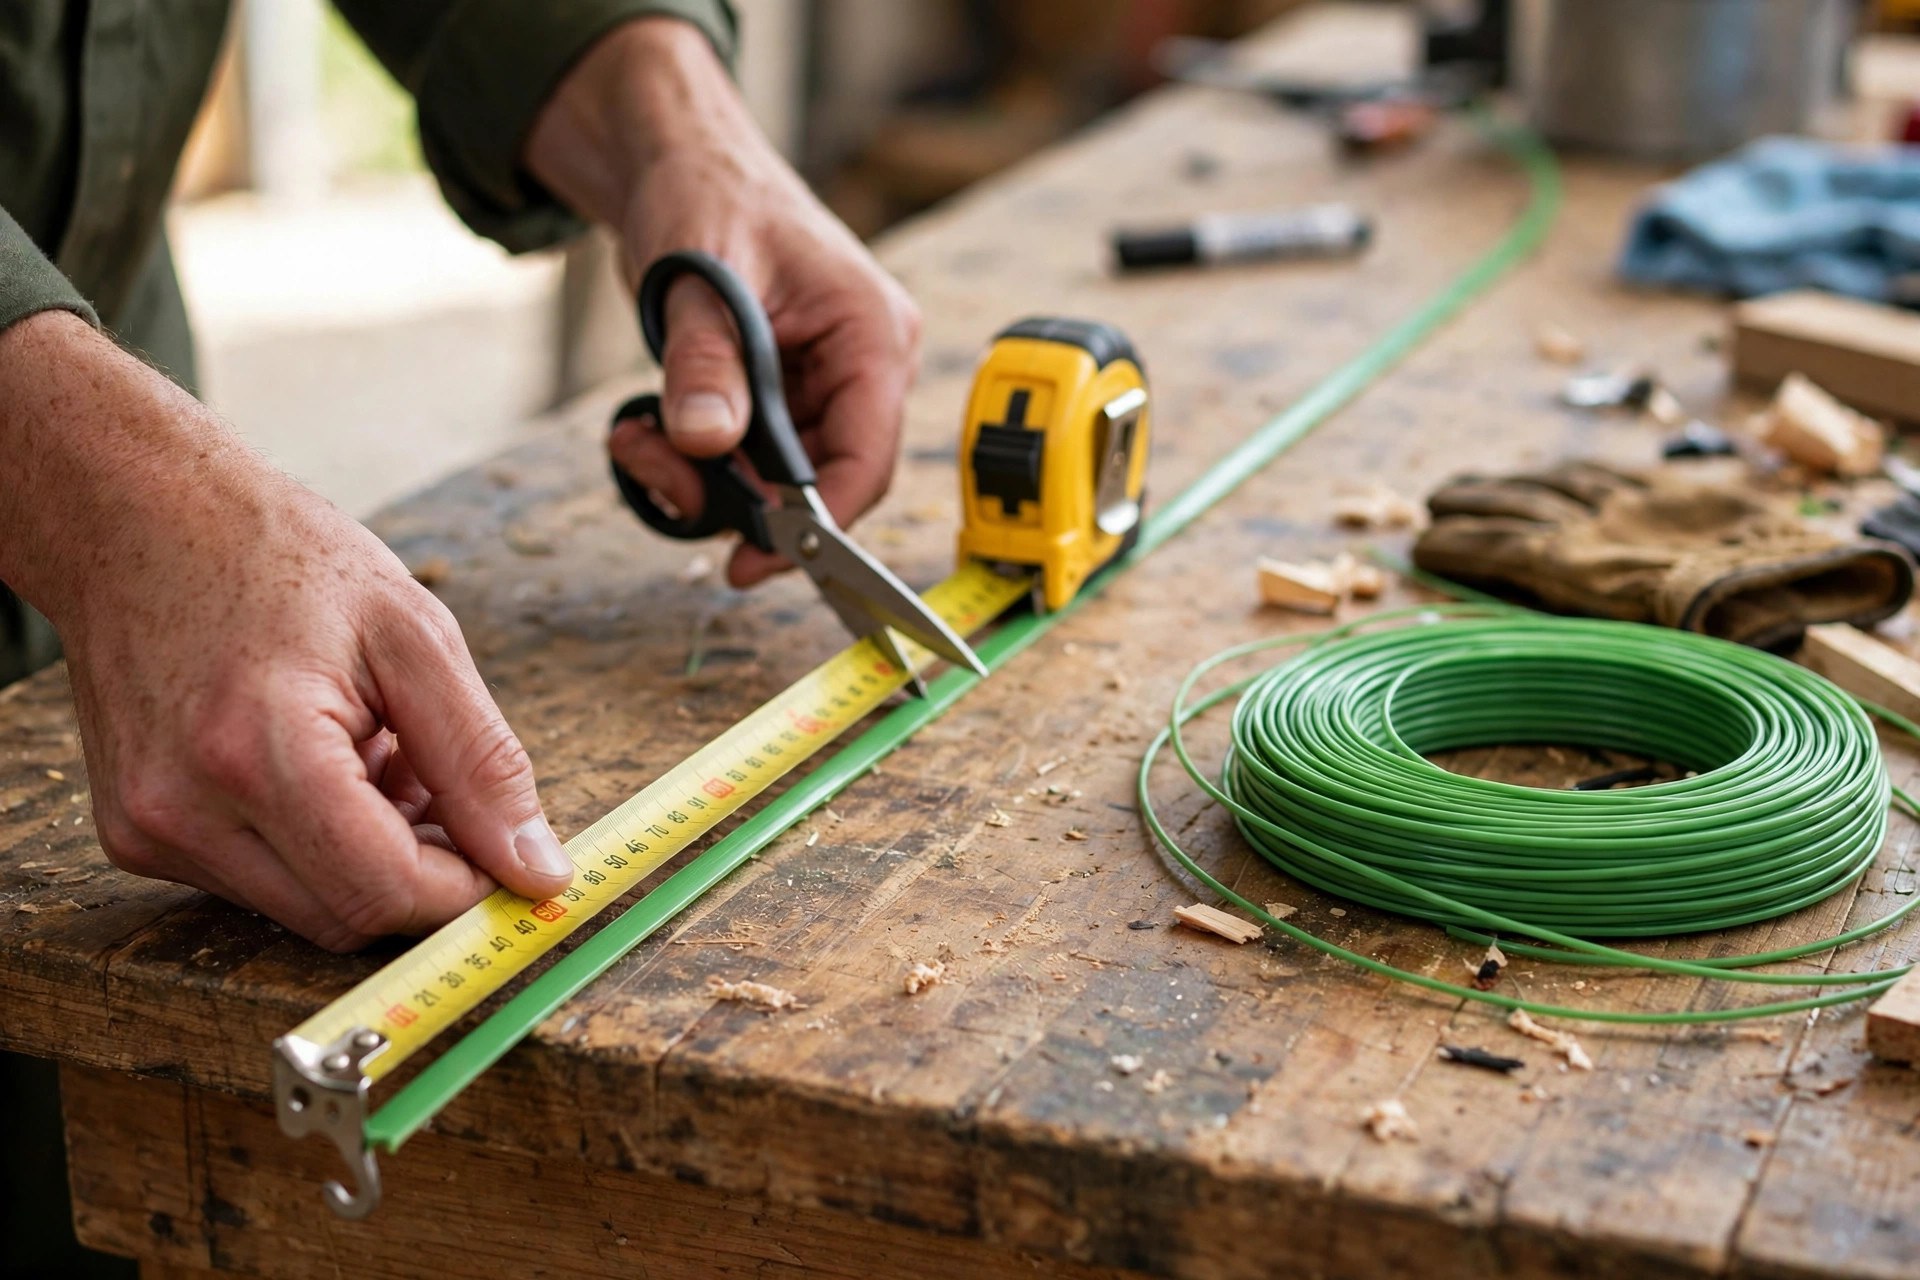
Insert one end into the anchoring hole firmly. Wind the line in the arrow direction shown. Keep every layer snug against the previous one. Neat winding prevents jamming and uneven feeding later.
| Duty Level | String Diameter This Guide Gives |
|---|---|
| Light-duty electric | Thin round .065-.080 inch string |
| Medium-duty | .085-.105 inch string suits most jobs |
| Heavy-duty and professional | .110 inch and above diameter string |
Leave about six inches unwound at the end. That loose tail becomes your new cutting line. Dual line spools repeat the same process again. Both lines must match in length exactly overall. Our line sizing guide explains diameter choices fully.
Refitting the Head and Final Checks
Feed the line end through the head hole. Dual lines thread through their respective holes separately. Place the spool back inside the head carefully. Keep the line aligned with the guide hole. Misalignment causes jamming or feeding problems later on.
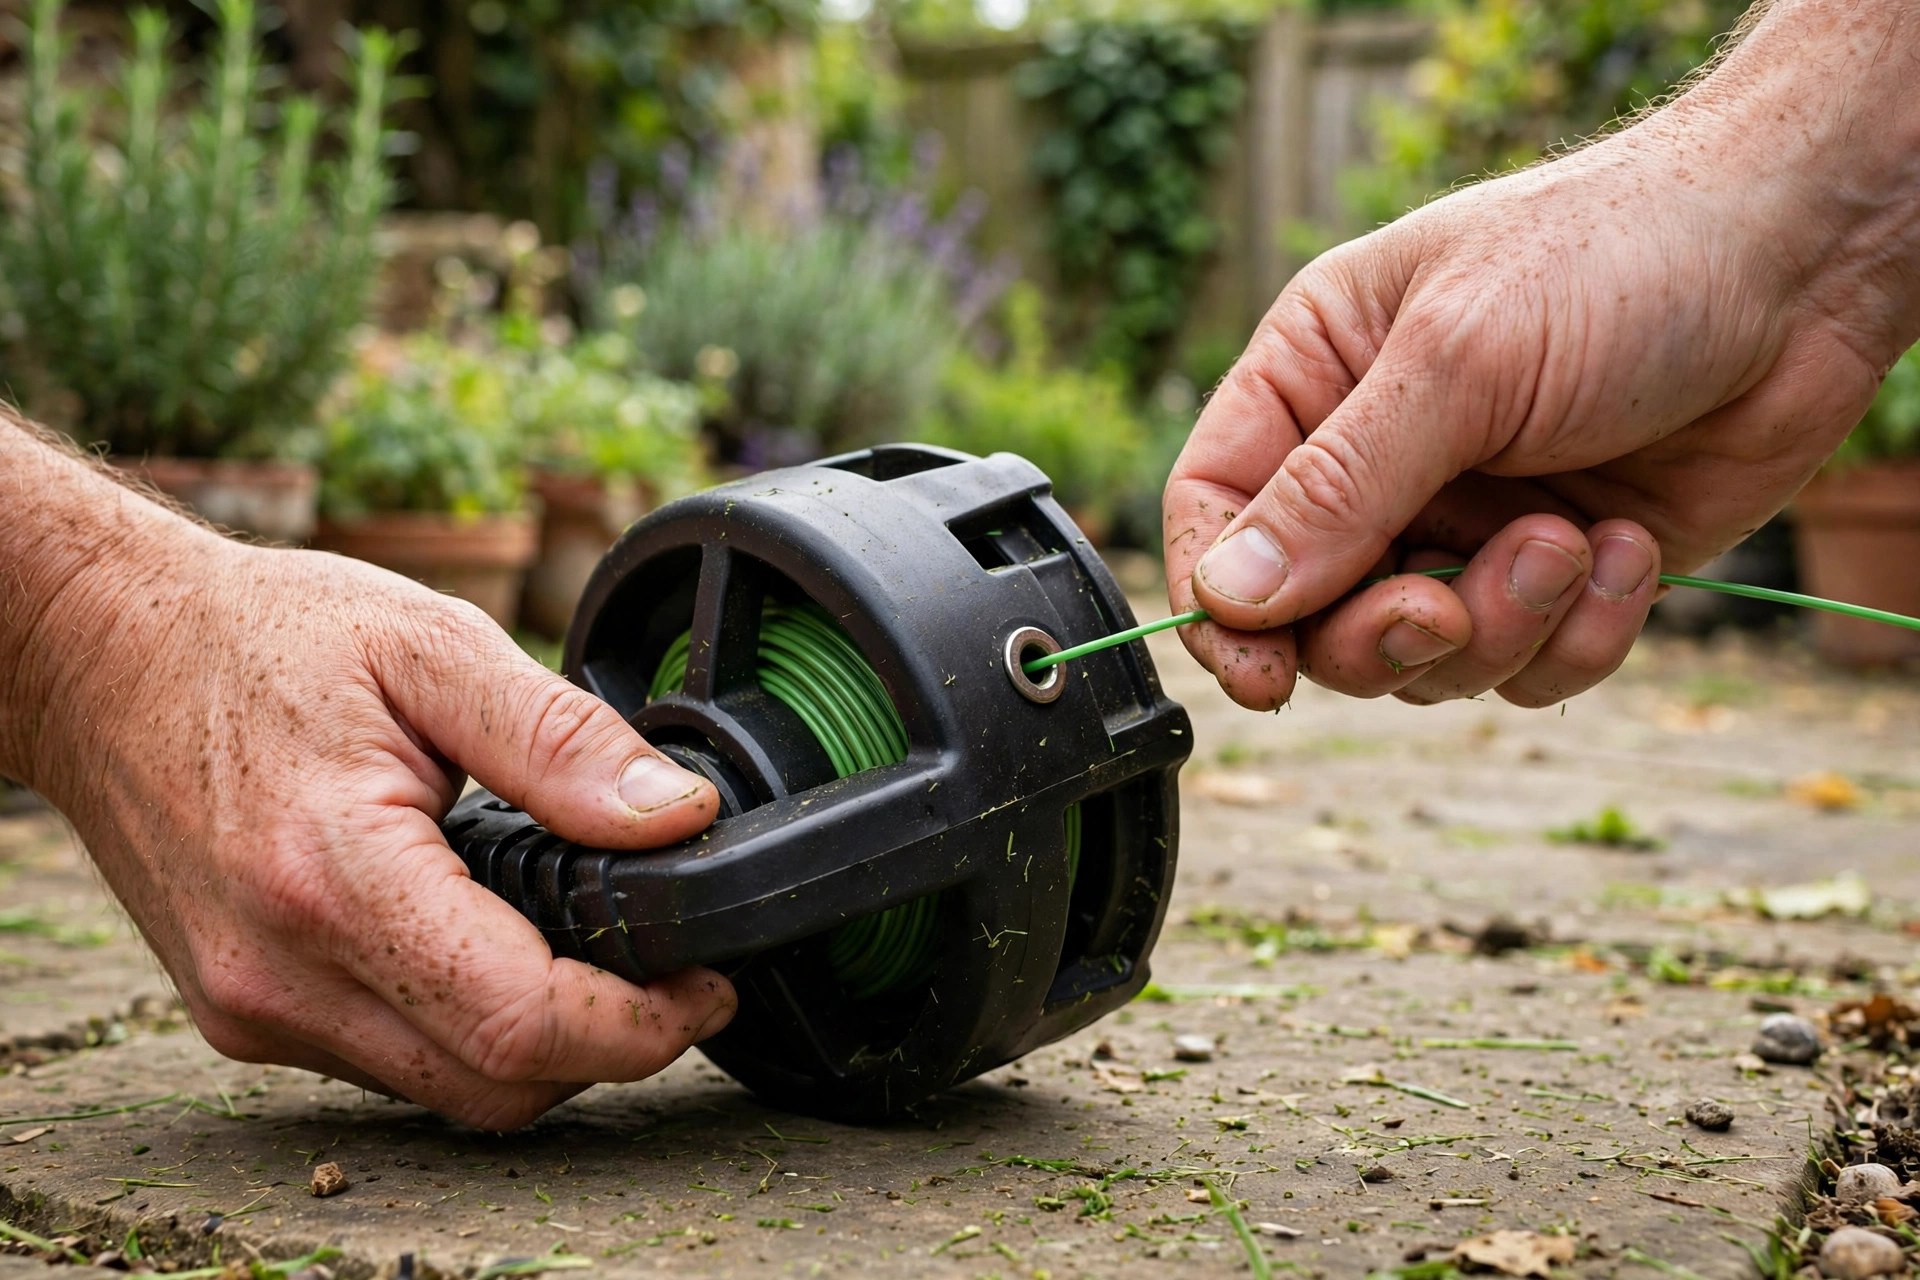
Push the spool down until it fits naturally. Never force a spool into place during refitting. Replace the cover, aligned with grooves or notches. Tighten any bolt or nut without over-tightening it.
Run a slow test before trimming anything real. Engage the throttle slowly and watch the feed. Too much line makes the trimmer overwork hard. Too little line gives an inefficient cut instead. Our holding guide shows steady trimming technique.
Tap the head on the ground for more. Bump feeding releases fresh line during use outside. Check line condition and length before big jobs. Shake and bump techniques adjust manual feed systems. Our edging technique guide shows fresh line edging cleanly.
Frequently Asked Questions
These answers repeat this guide’s own points only. They follow the same steps explained above closely. Short answers close the guide at the end.
Why does my grass trimmer string break so often?
Wrong or poor quality string breaks most often. Line too thin for your model snaps easily. Fences, walls and stones snap line on impact. Extreme temperature swings degrade the material over time. Our line breakage guide covers repeated failures fully.
How do I replace the string on my grass trimmer?
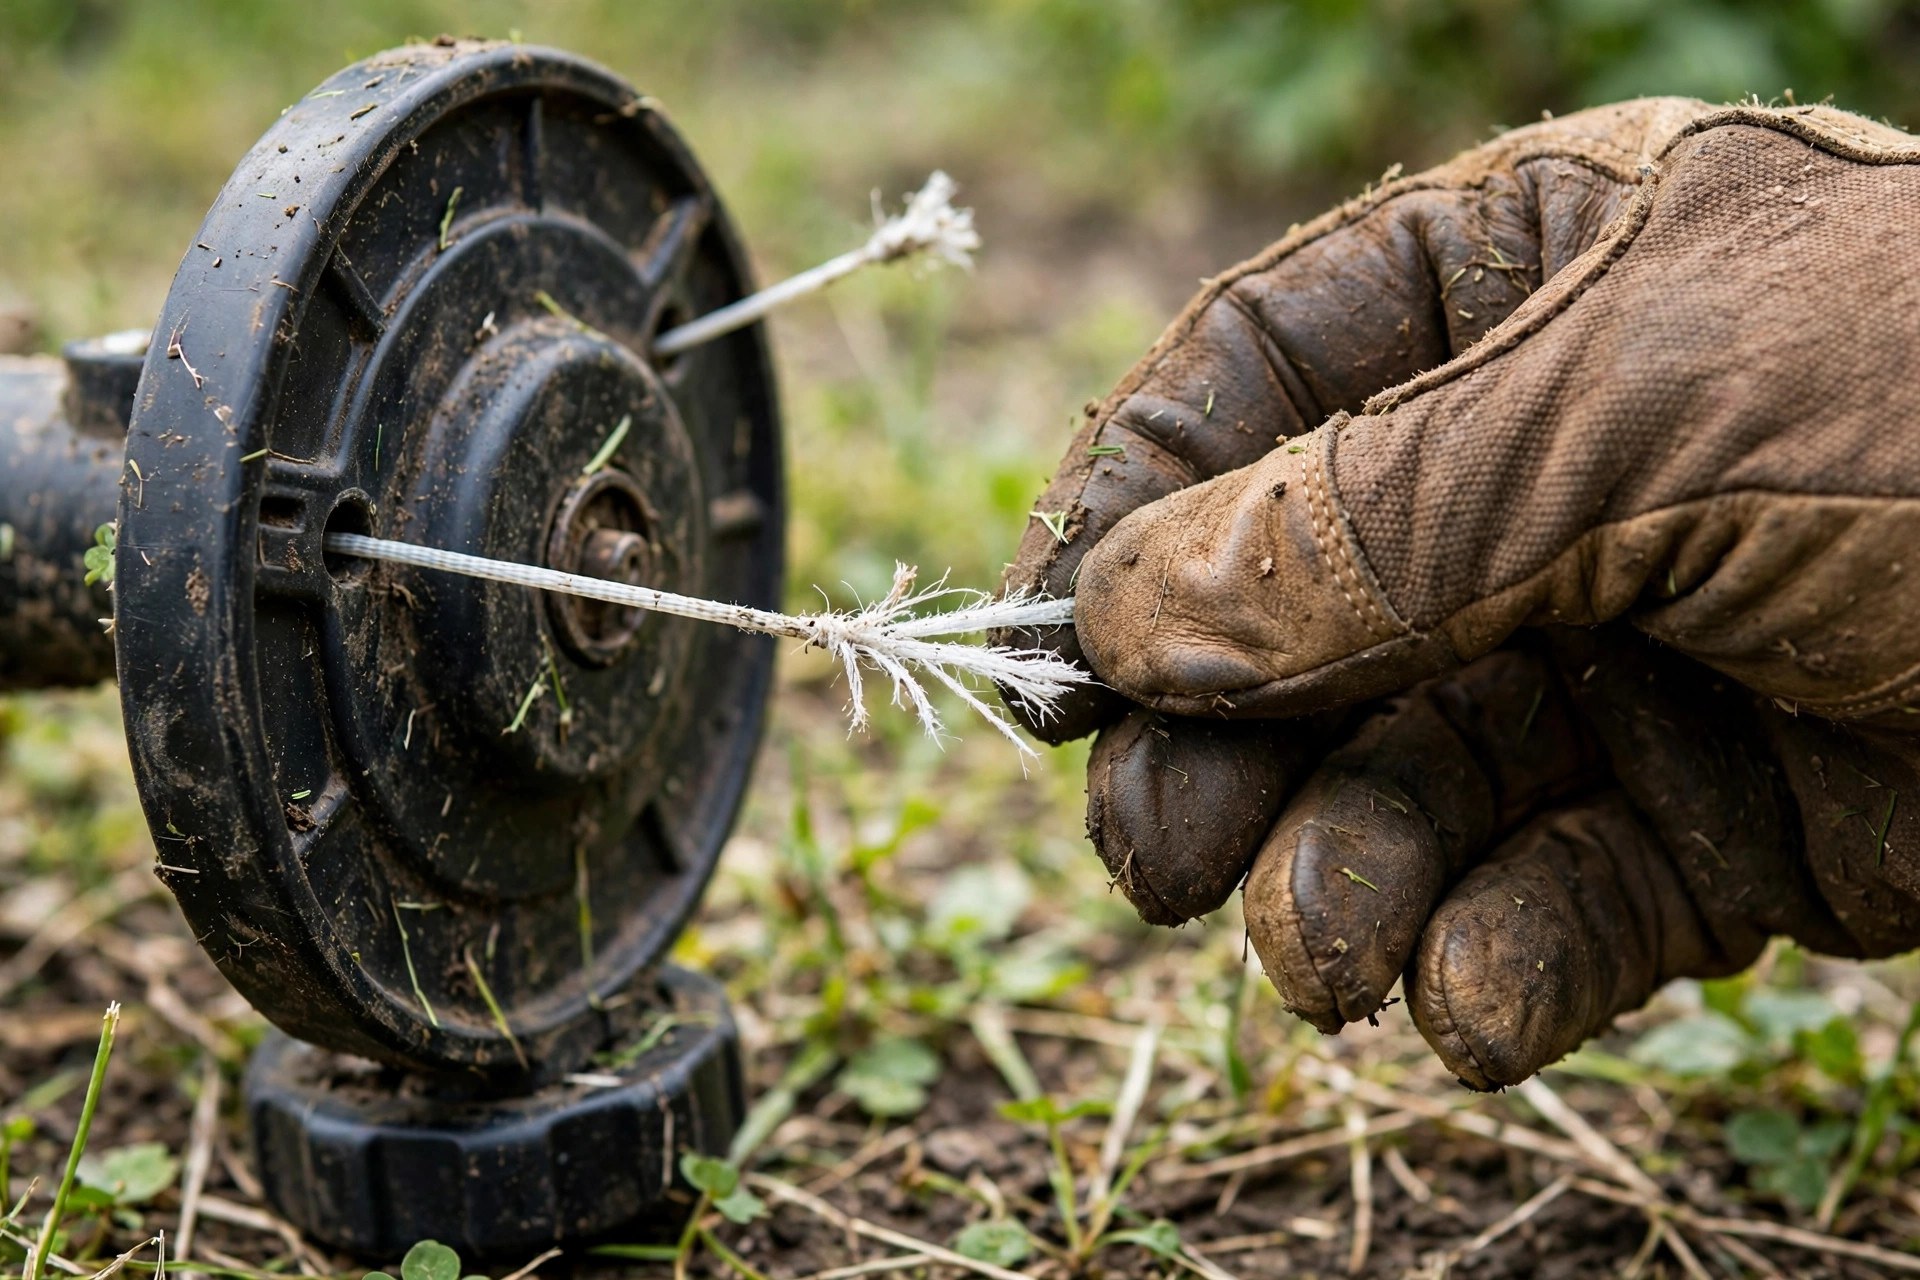
Disconnect the trimmer from its power source first. Press the cap tabs or loosen its screw. Remove the old spool from the head completely. Wind new string in the arrow direction shown. Refit the cap securely and reconnect the power.
What type of string should I use for my grass trimmer?
The right type depends on model and job. Light duty electric models suit thin round string. Medium duty work suits mid range diameters best. Heavy duty professional work needs the thickest string. The size table above lists exact diameters.
How long should my grass trimmer string be?
Exposed line should stay under half an inch. That measure runs past each shield side edge. Exact length still varies by model and brand. Overlong line bogs the trimmer down badly overall. A built-in shield cutter trims excess line automatically.
Can I use different brands of string on my trimmer?
Yes, other brands work when they suit your model. Always match the correct size for efficient cutting. Incompatible string can shred, weld or damage trimmers. The maker recommended brand stays the safest choice. Our DR trimmer guide shows one brand specific method.
Conclusion: How to Fix Grass Trimmer String
So, how to fix grass trimmer string at home? Disconnect, remove the head and clear old line. Load fresh line neatly in the arrow direction. Refit the head and run final checks slowly. Fresh line then cuts cleanly across the whole yard.
Check the string condition before every major job. Prompt fixes prolong the trimmer lifespan and usefulness. Always wear protective gear and work somewhere open. Safe habits protect you and the machine together. With practice, this repair becomes genuinely easy work.
