
How to Edge Your Lawn With a String Trimmer
A string trimmer cuts a crisp border along your lawn edges. Readers often ask how to edge your lawn with a string trimmer. The rotating line slices overgrown grass beside paths and beds. Clean edges give the whole yard a finished, tidy look.
Edging stops grass from creeping into walkways and flower beds. It also creates clean lines that frame the lawn neatly. A string trimmer handles this job with surprising control. Its light head reaches tight corners and curved borders easily.
This guide walks through five clear steps in order. It covers preparation, marking, height, cutting, and cleanup. Simple safety habits protect you throughout the whole job. Short answers at the end settle four common questions.
Quick answer: To edge your lawn with a string trimmer, prepare the tool first. Mark the border with a hose or string guide. Hold the trimmer level and walk slowly along the line. Make short gentle passes instead of one deep cut. Finish by sweeping clippings and checking the line.
- How to Edge Your Lawn With a String Trimmer: The Basics
- Step 1: Prepare Your String Trimmer
- Step 2: Mark Out the Edges
- Step 3: Adjust the Cutting Height
- Step 4: Begin Edging Along the Line
- Step 5: Clean Up and Maintain the Tool
- Frequently Asked Questions
- Timing and Upkeep Questions
- Conclusion: How to Edge Your Lawn With a String Trimmer
How to Edge Your Lawn With a String Trimmer: The Basics
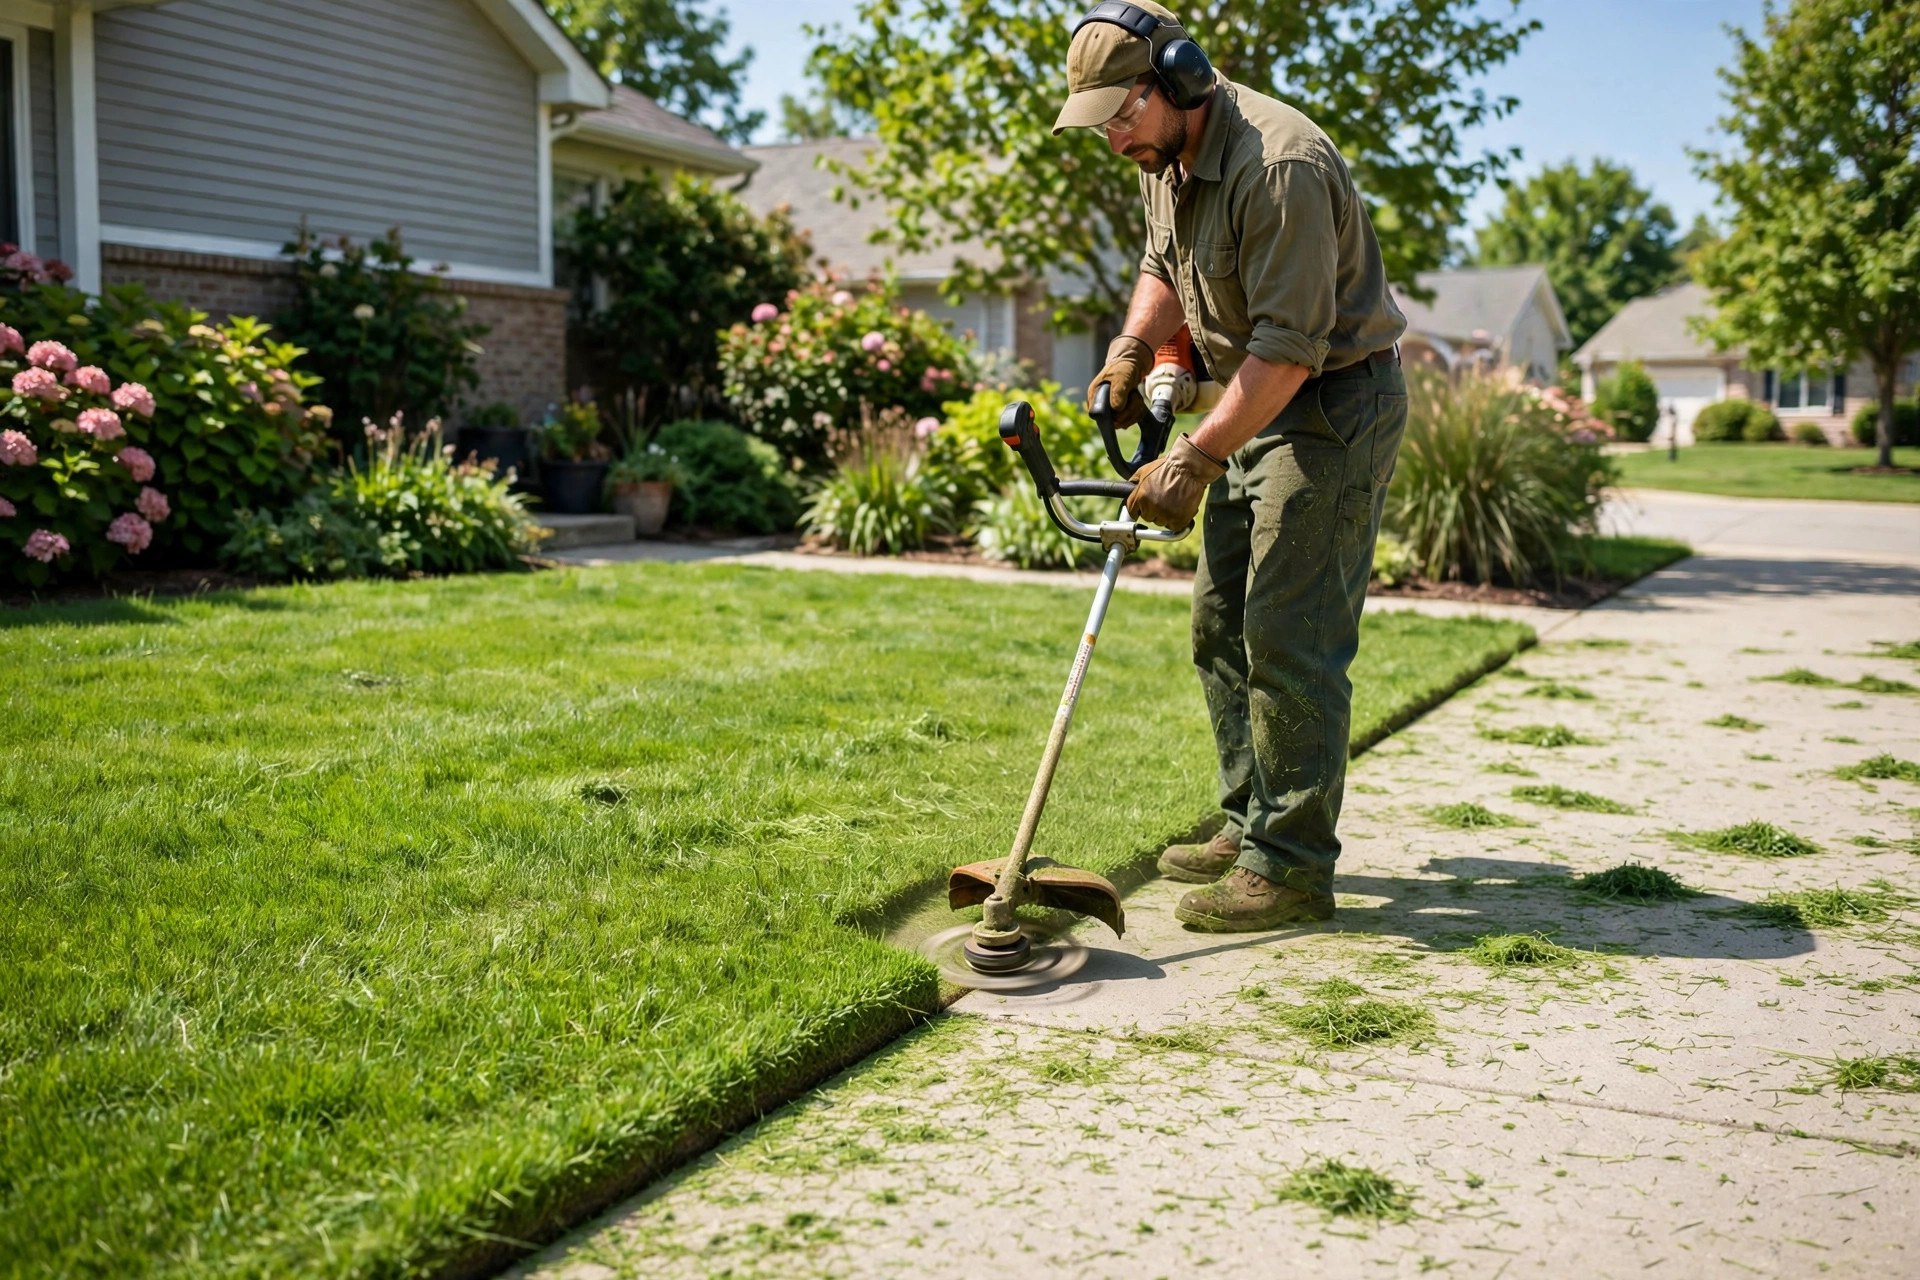
Edging cuts a defined border between lawn and hardscape. Gardeners also call string trimmers weed eaters or whackers. The spinning nylon line trims grass that mowers miss. Maneuverability and precision make the tool ideal for edging work.
| Edge Area | What Edging Does Here |
|---|---|
| Walkways and Paths | Keeps grass from creeping across the paving |
| Driveways | Creates a straight, clean border line |
| Flower Beds | Stops grass spreading into planted areas |
| Fences and Walls | Trims growth that mowers cannot reach |
A well-kept edge adds beauty and curb appeal instantly. It gives any property a professional and polished look. Our trimmer uses guide explains the tool family in detail. Adjustable handles also add comfort and control during edging. Our best battery lawn trimmer roundup compares edging friendly models.
| Step | Main Action |
|---|---|
| Prepare | Check the line, guard, and safety gear |
| Mark | Lay a hose or string along the border |
| Adjust | Set the cutting height for your grass |
| Edge | Walk slowly and make short gentle passes |
| Clean Up | Sweep clippings and inspect the tool |
Step 1: Prepare Your String Trimmer
Start by reading the manual for your exact model. The manual explains assembly and safe starting steps clearly. Inspect the cutting line for wear before every session. Replace a worn or damaged line with fresh string.
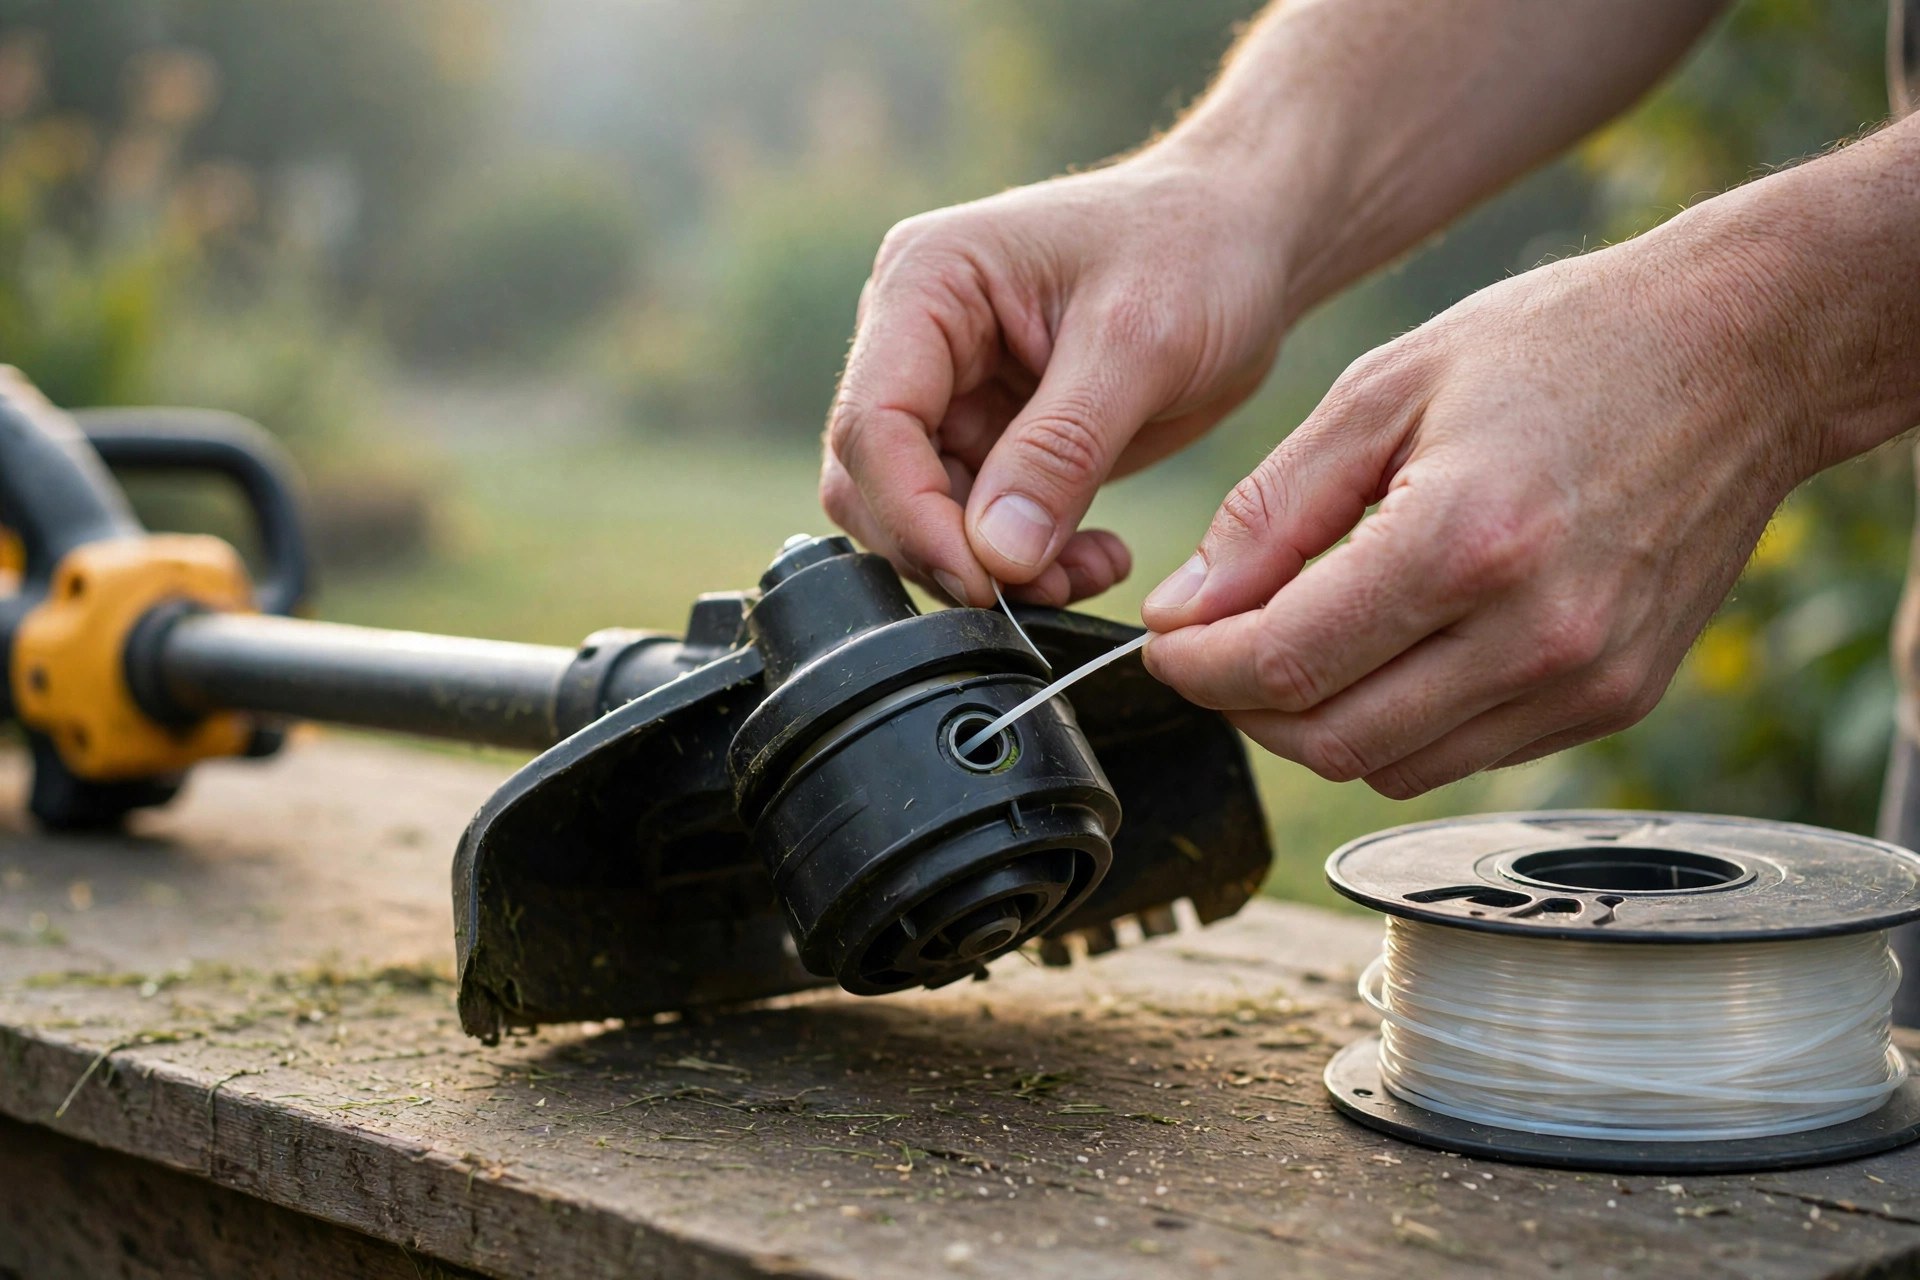
Check that the guard and throttle lock work properly. Put on safety glasses before you start the tool. Wear gloves and closed-toe shoes for foot protection. Maker pages like STIHL publish model safety guidance online.
A fresh line cuts cleaner and breaks less often. Our string replacement guide shows the full spool process. The line feeding guide covers bump feed heads too. Good preparation prevents most mid-job stops and restarts.
Step 2: Mark Out the Edges
Mark the border before you switch the trimmer on. A garden hose makes a flexible and visible guide. A stretched string also works well on straight runs. Keep the guide taut along the lawn contours carefully.
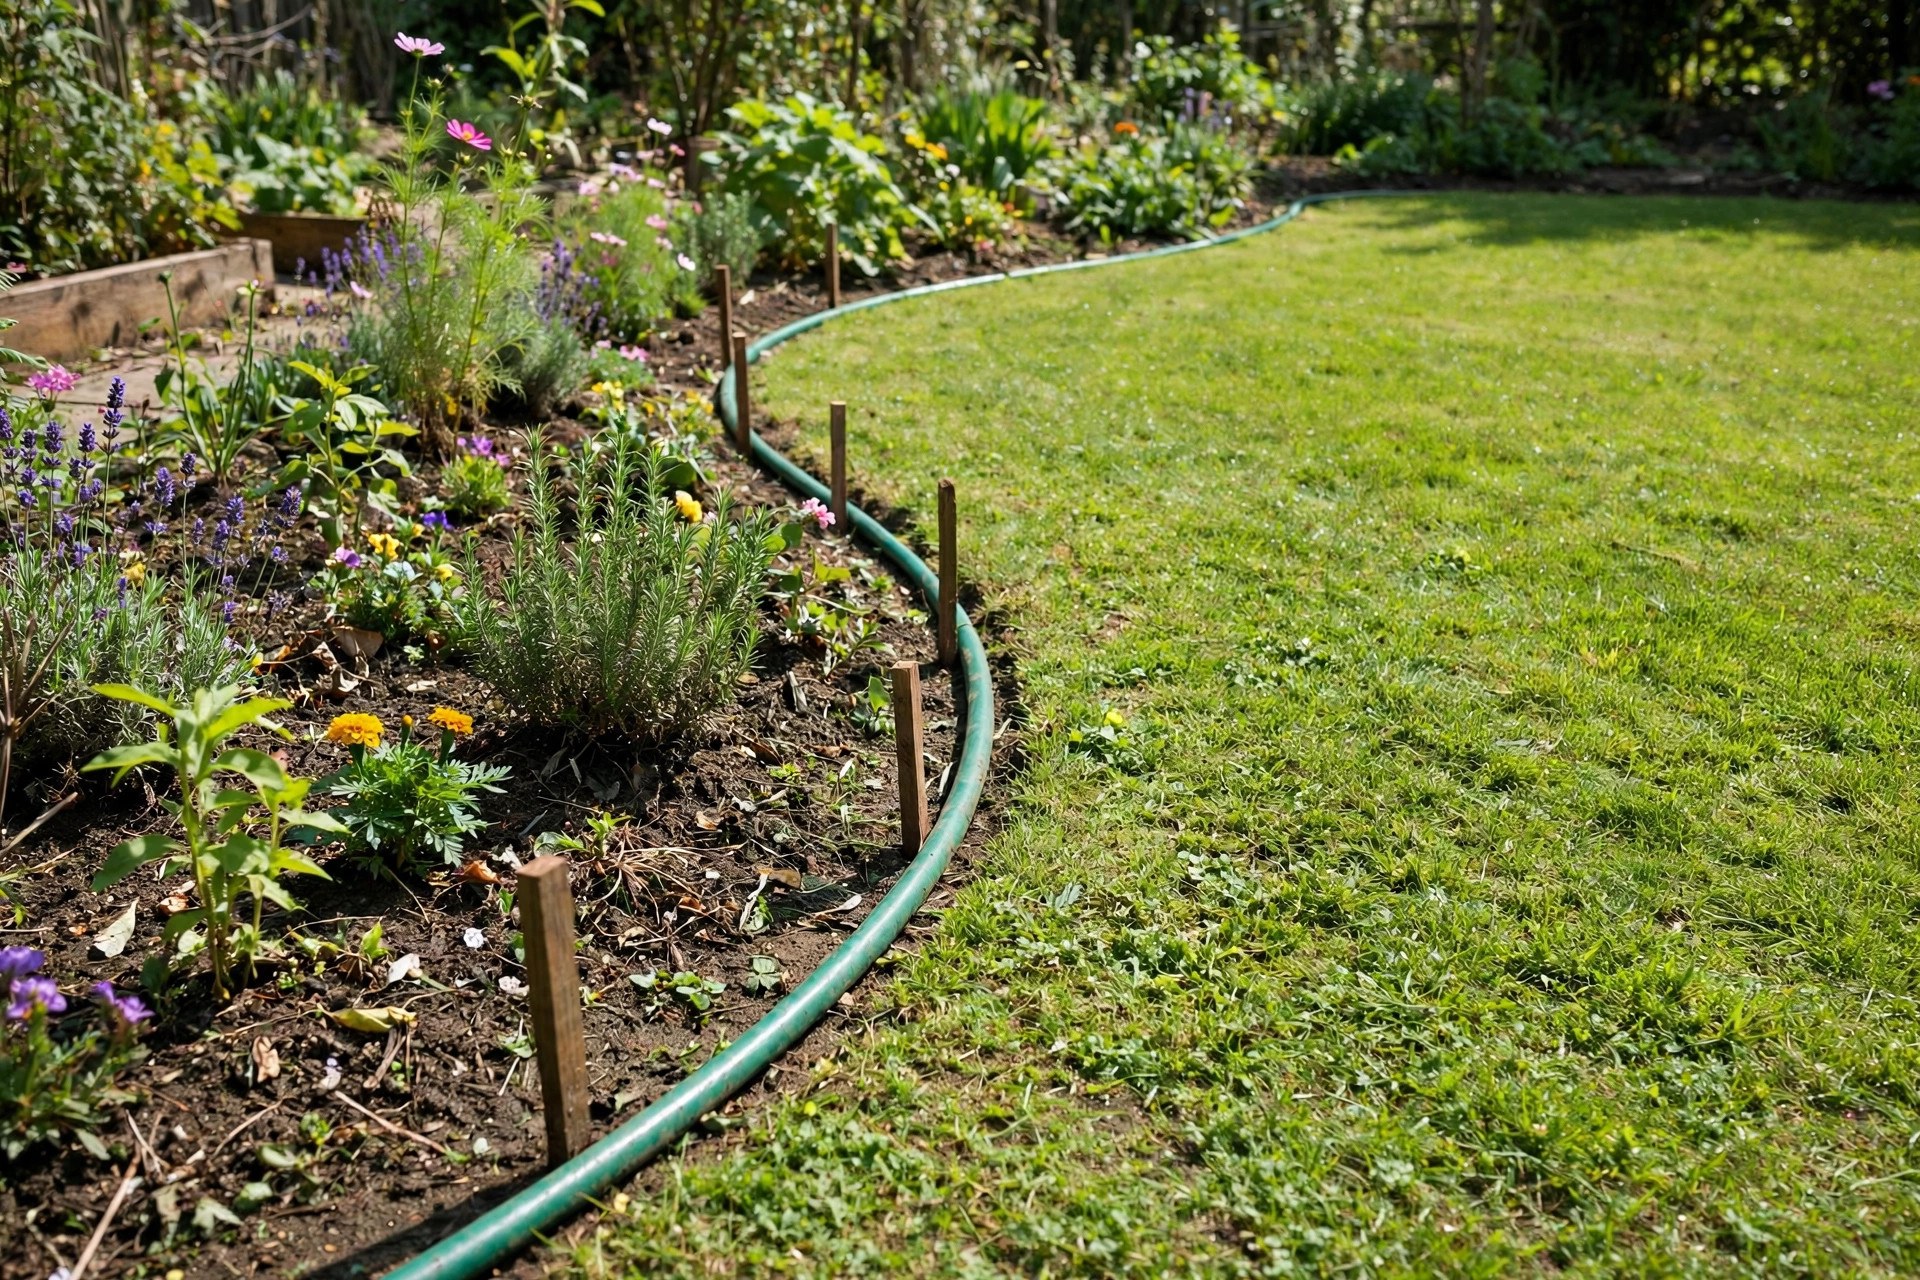
Push garden stakes at regular intervals along the line. Spray paint can mark the edge on firm ground. A clear outline keeps every pass straight and even. It also prevents accidental cuts into flower beds.
Step 3: Adjust the Cutting Height
Set the cutting height before you start edging work. Begin with a higher setting on unfamiliar grass areas. Lower the head gradually until the cut looks right. The manual explains height settings for your specific model.
Aim to remove about one-third of the blade height. Cutting too low can stress the grass plant badly. Raise or lower the trimmer over uneven ground sections. Line thickness also affects how the edge cuts cleanly.
Our line size guide explains thickness choices in detail. Thicker line usually survives edging work much longer overall. Match the line to your trimmer model and manual. Small adjustments make a visible difference along borders.
Step 4: Begin Edging Along the Line
Position yourself at the start of the marked edge. Hold the cutting head parallel to the ground surface. Start the trimmer before the line touches any grass. Let the tool reach full speed before cutting begins.
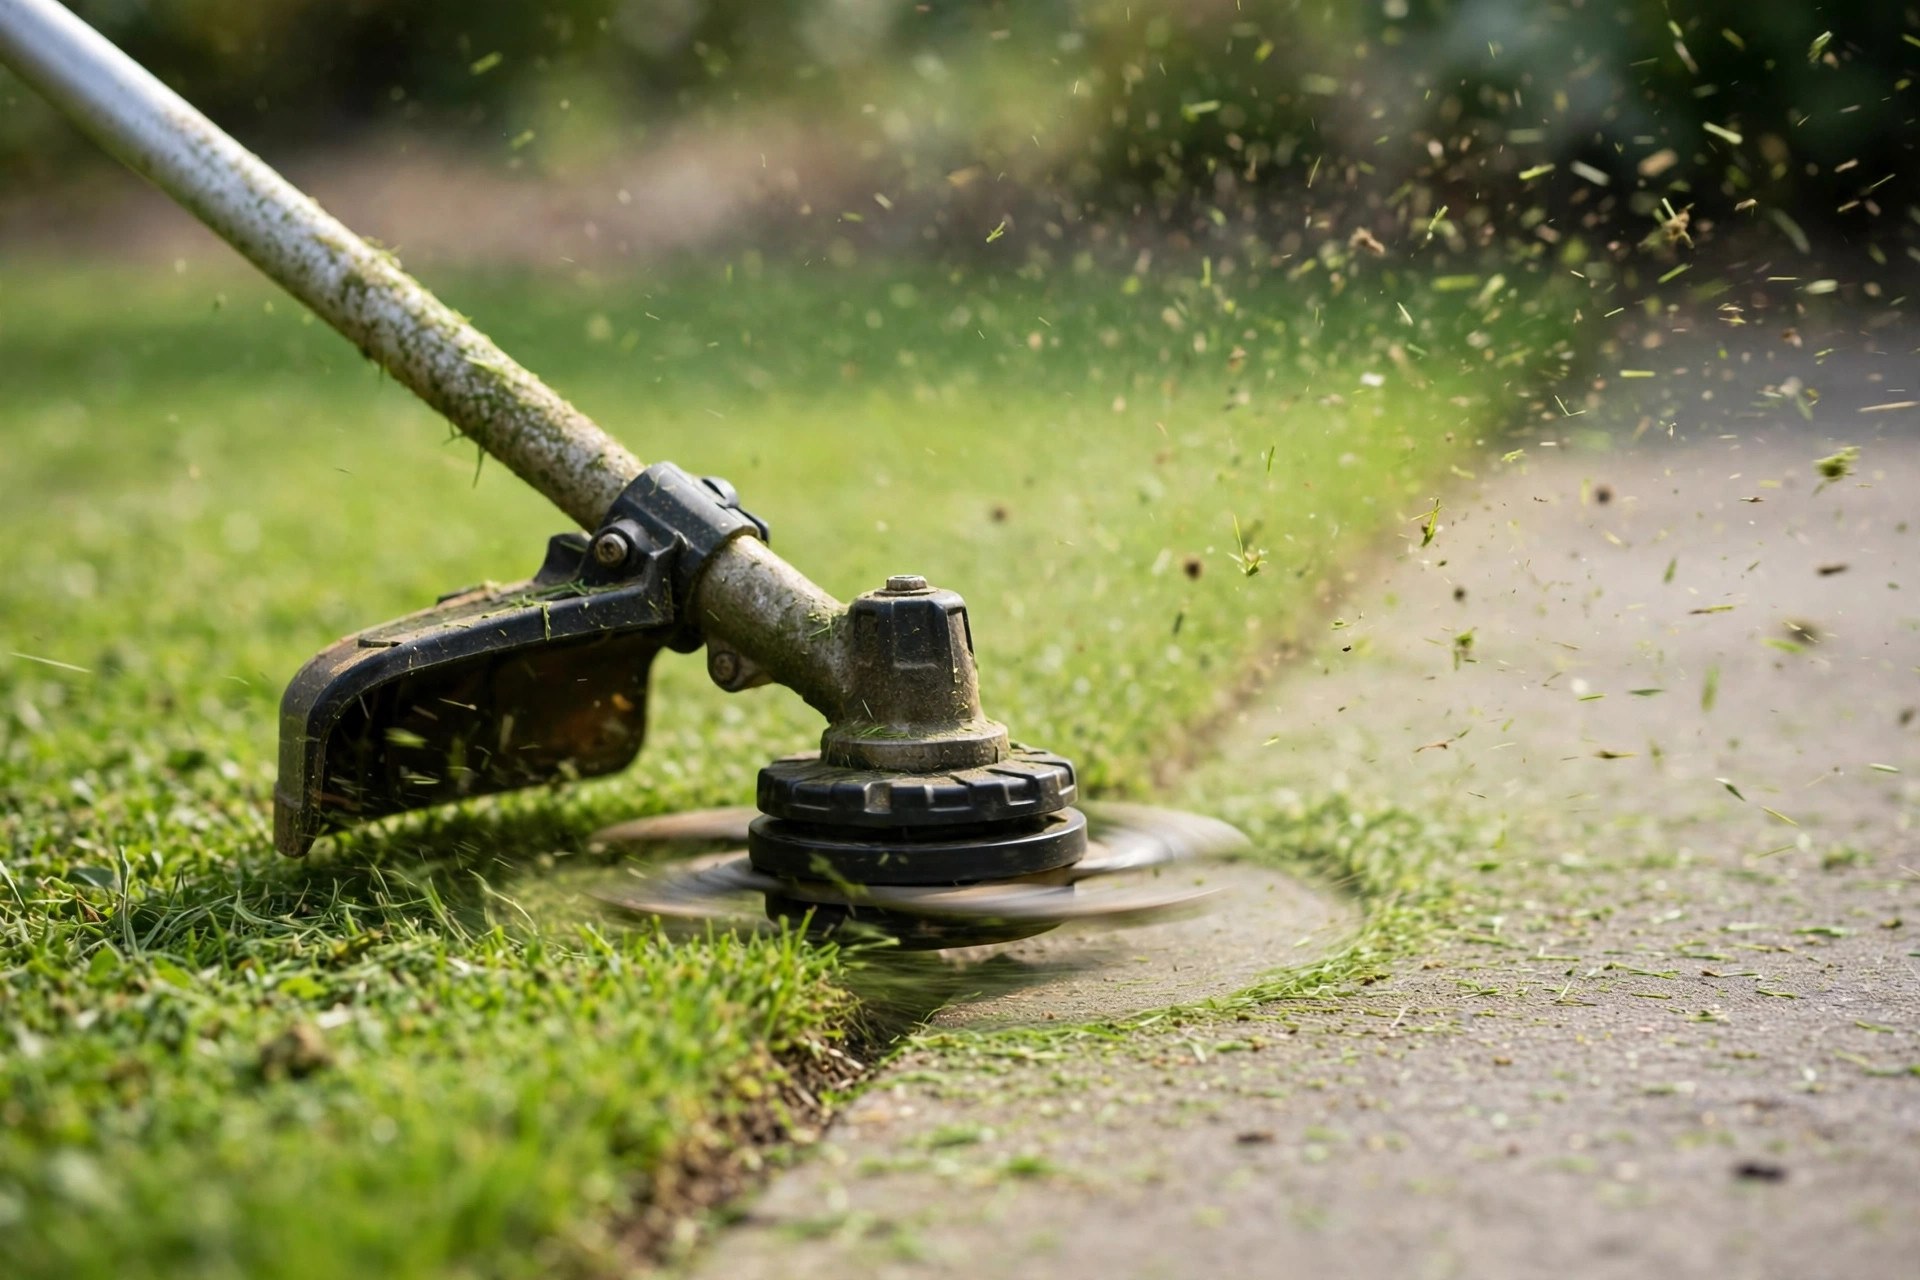
Guide the trimmer along the marks with steady strokes. Keep the head level for an even cut depth. Make short gentle passes instead of forcing one cut. Maintain the same distance from the edge throughout.
Slow down near trees, beds, and concrete edges carefully. Flying debris can damage plants and chip hard surfaces. Our line breaking guide explains common snapping causes. Patience produces straighter edges than speed ever will.
Step 5: Clean Up and Maintain the Tool
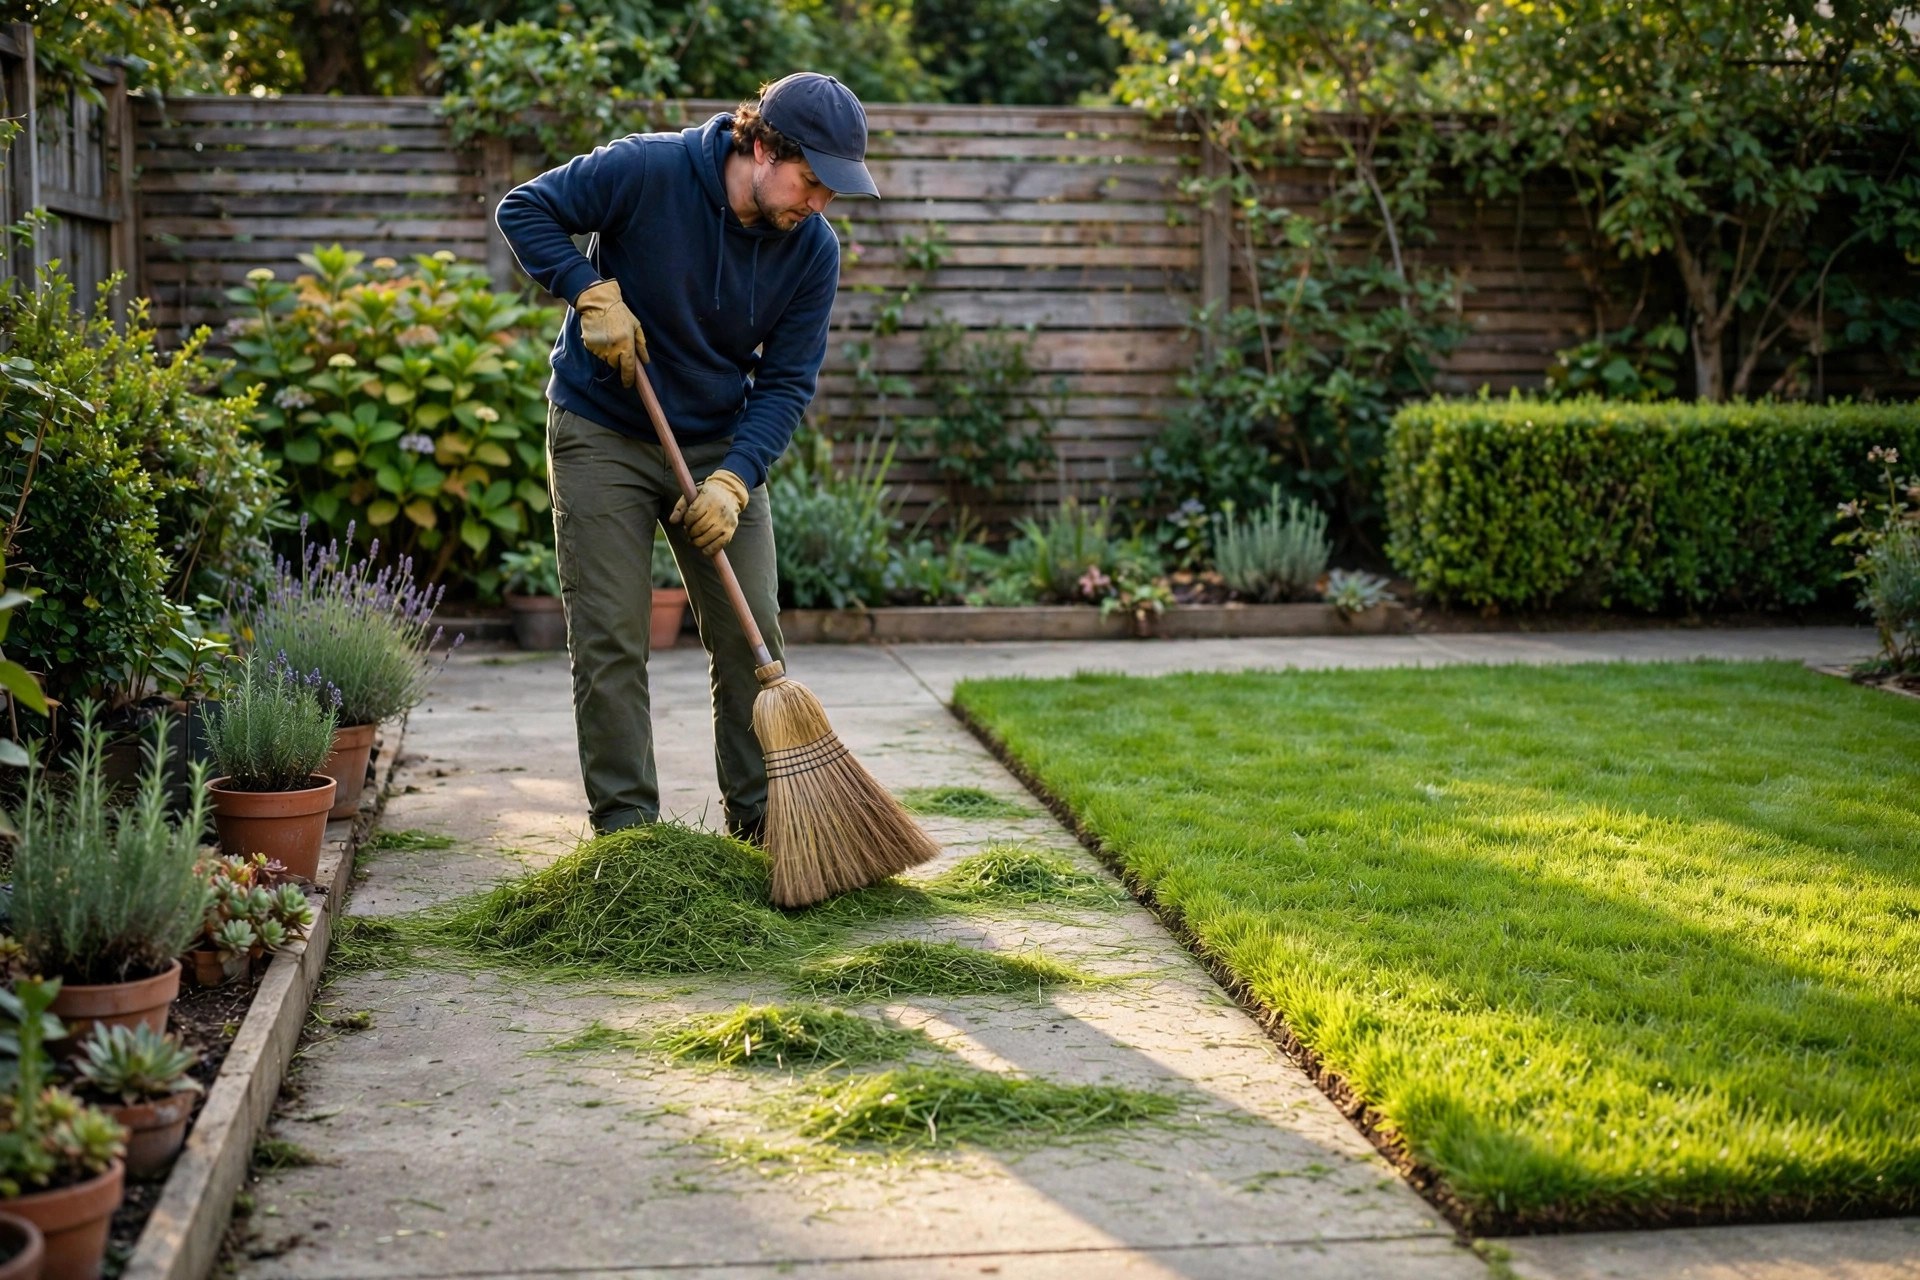
Sweep or blow clippings off paths and the lawn. Inspect the trimmer for damage after every edging session. Clean the tool following the manufacturer instructions each time. Store it somewhere dry, secure, and away from children.
Check the line again before the next session starts. Worn line should be replaced, never sharpened or reused. Our trimmer head guide covers worn head replacement steps. Regular care keeps every future edge clean and sharp.
Frequently Asked Questions
These answers cover timing and basic edging technique questions. They draw on the same steps explained above here. Short answers settle the common questions at the end.
What is the best time to edge my lawn?
Edge in the early morning or late afternoon hours. Cooler weather prevents the grass from drying out quickly. It also reduces stress on the lawn during cutting. Many gardeners edge right after mowing their lawn.
What is the proper technique for edging with a string trimmer?
Hold the tool at a slight angle beside you. Keep the cutting line parallel to the ground surface. Start at one end and walk slowly along. Let the trimmer do the work without forcing it.
Curved edges need a slightly different handling approach instead. Tilt the trimmer slightly to one side gently. Move in a smooth sweeping motion along the curve. Slow passes keep the line following the border.
Timing and Upkeep Questions
Two more answers cover edging frequency and edge upkeep. They explain growth signals and simple maintenance habits clearly. Both answers stay short and practical for homeowners.

How often should I edge my lawn with a string trimmer?
Most lawns need edging every two to four weeks. The right frequency depends on grass growth rate mostly. Grass creeping onto walkways signals that edging is due. Regular edging keeps borders defined and prevents spreading growth.
How do I maintain the edges of my lawn?
Inspect the edges after each mowing session you finish. Trim any overgrown grass along the borders promptly. An edging tool or shovel can redefine edges occasionally. That refresh every few months keeps lines crisp.
Conclusion: How to Edge Your Lawn With a String Trimmer
Edging with a string trimmer is simple and effective. Preparation, marking, height control, and patience produce clean professional borders. Follow the five steps and maintain the tool regularly. Your lawn will keep crisp defined edges throughout the year.
Decide how to edge your lawn with a string trimmer confidently. Wear protective gear and stay mindful of your surroundings. Work slowly and let the line do cutting. Practice makes this edging technique easier with every single session.
