
How to Zero Gap Babyliss Trimmer
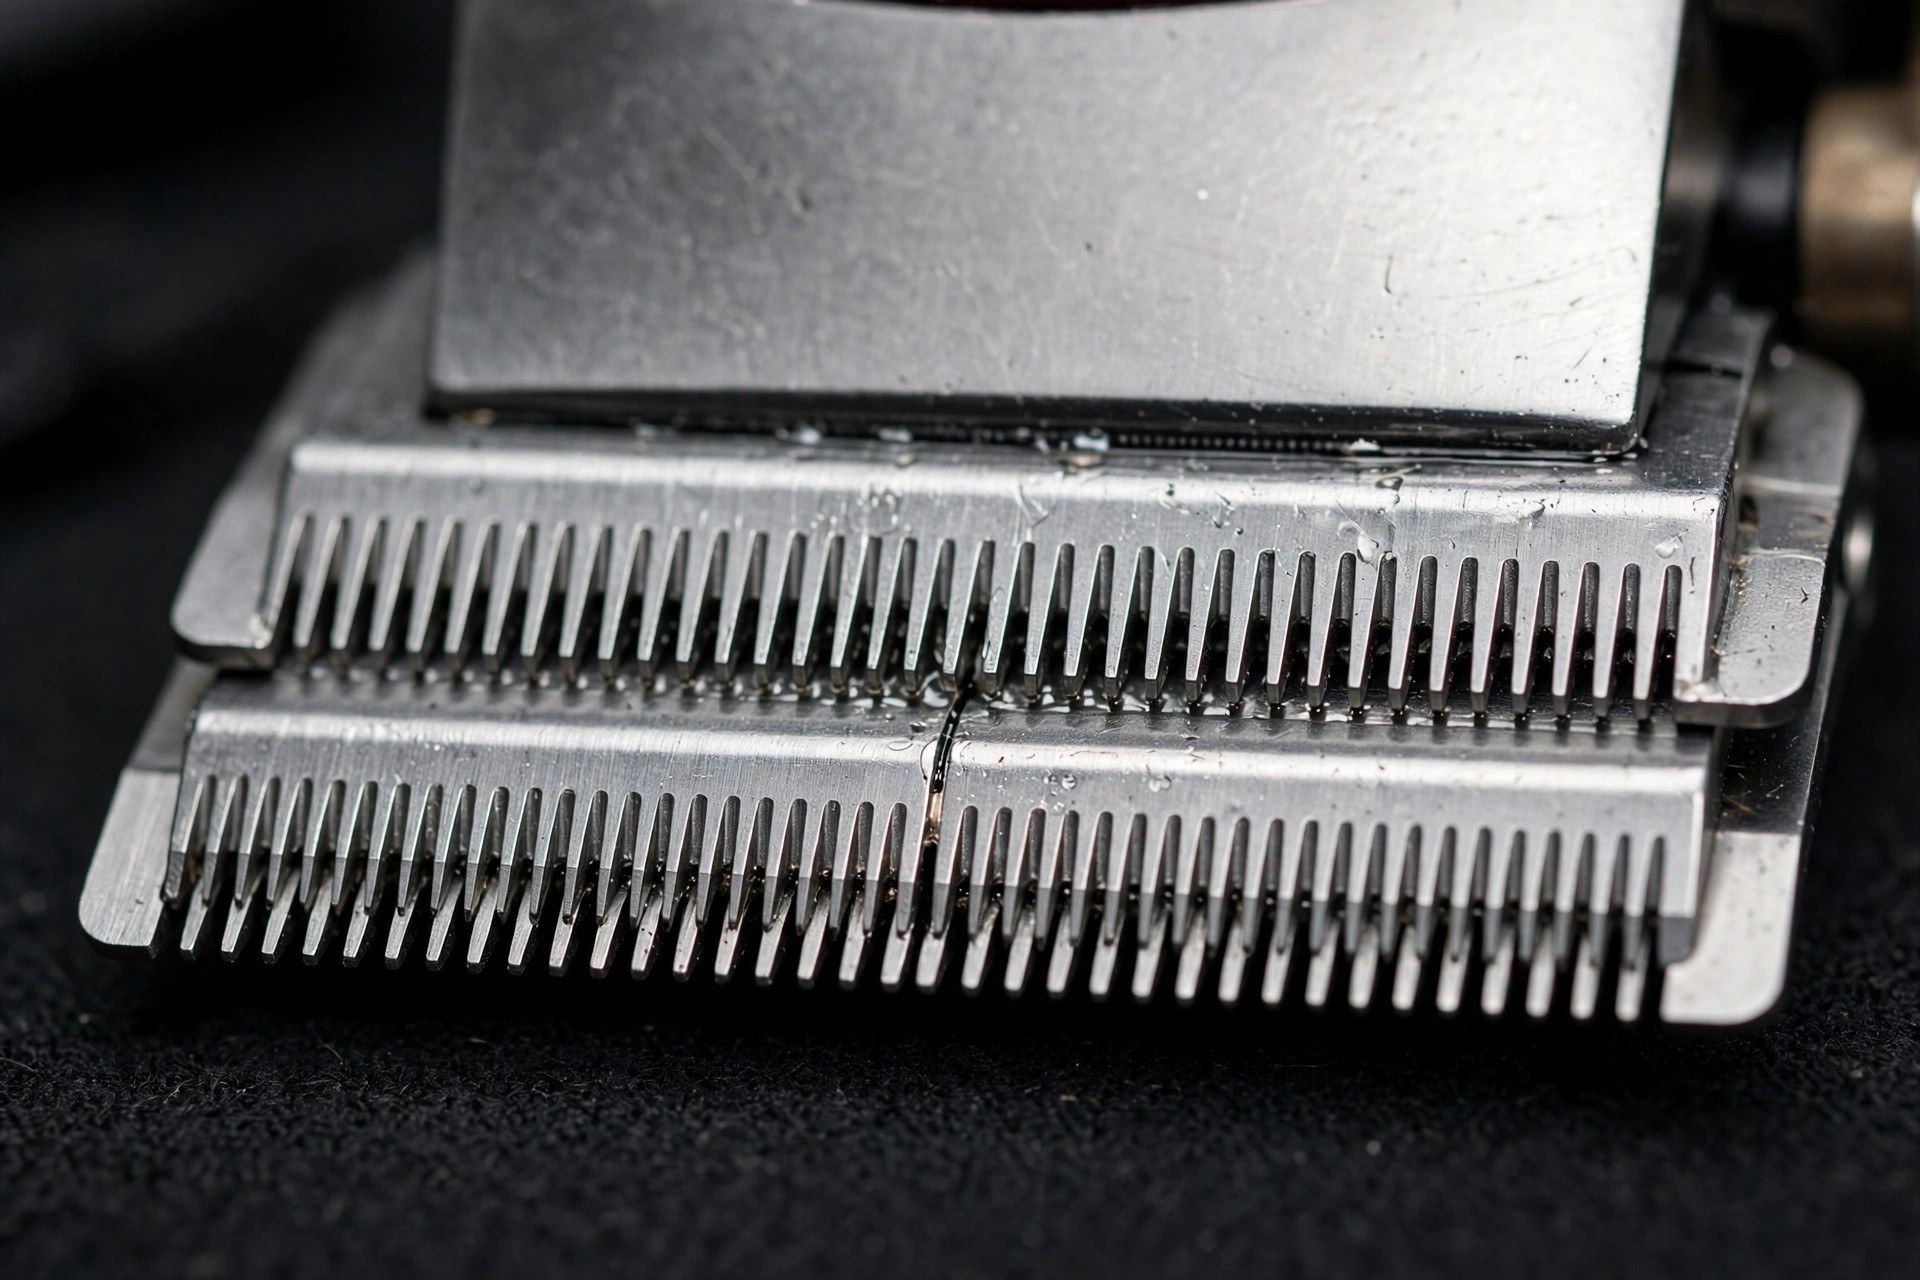
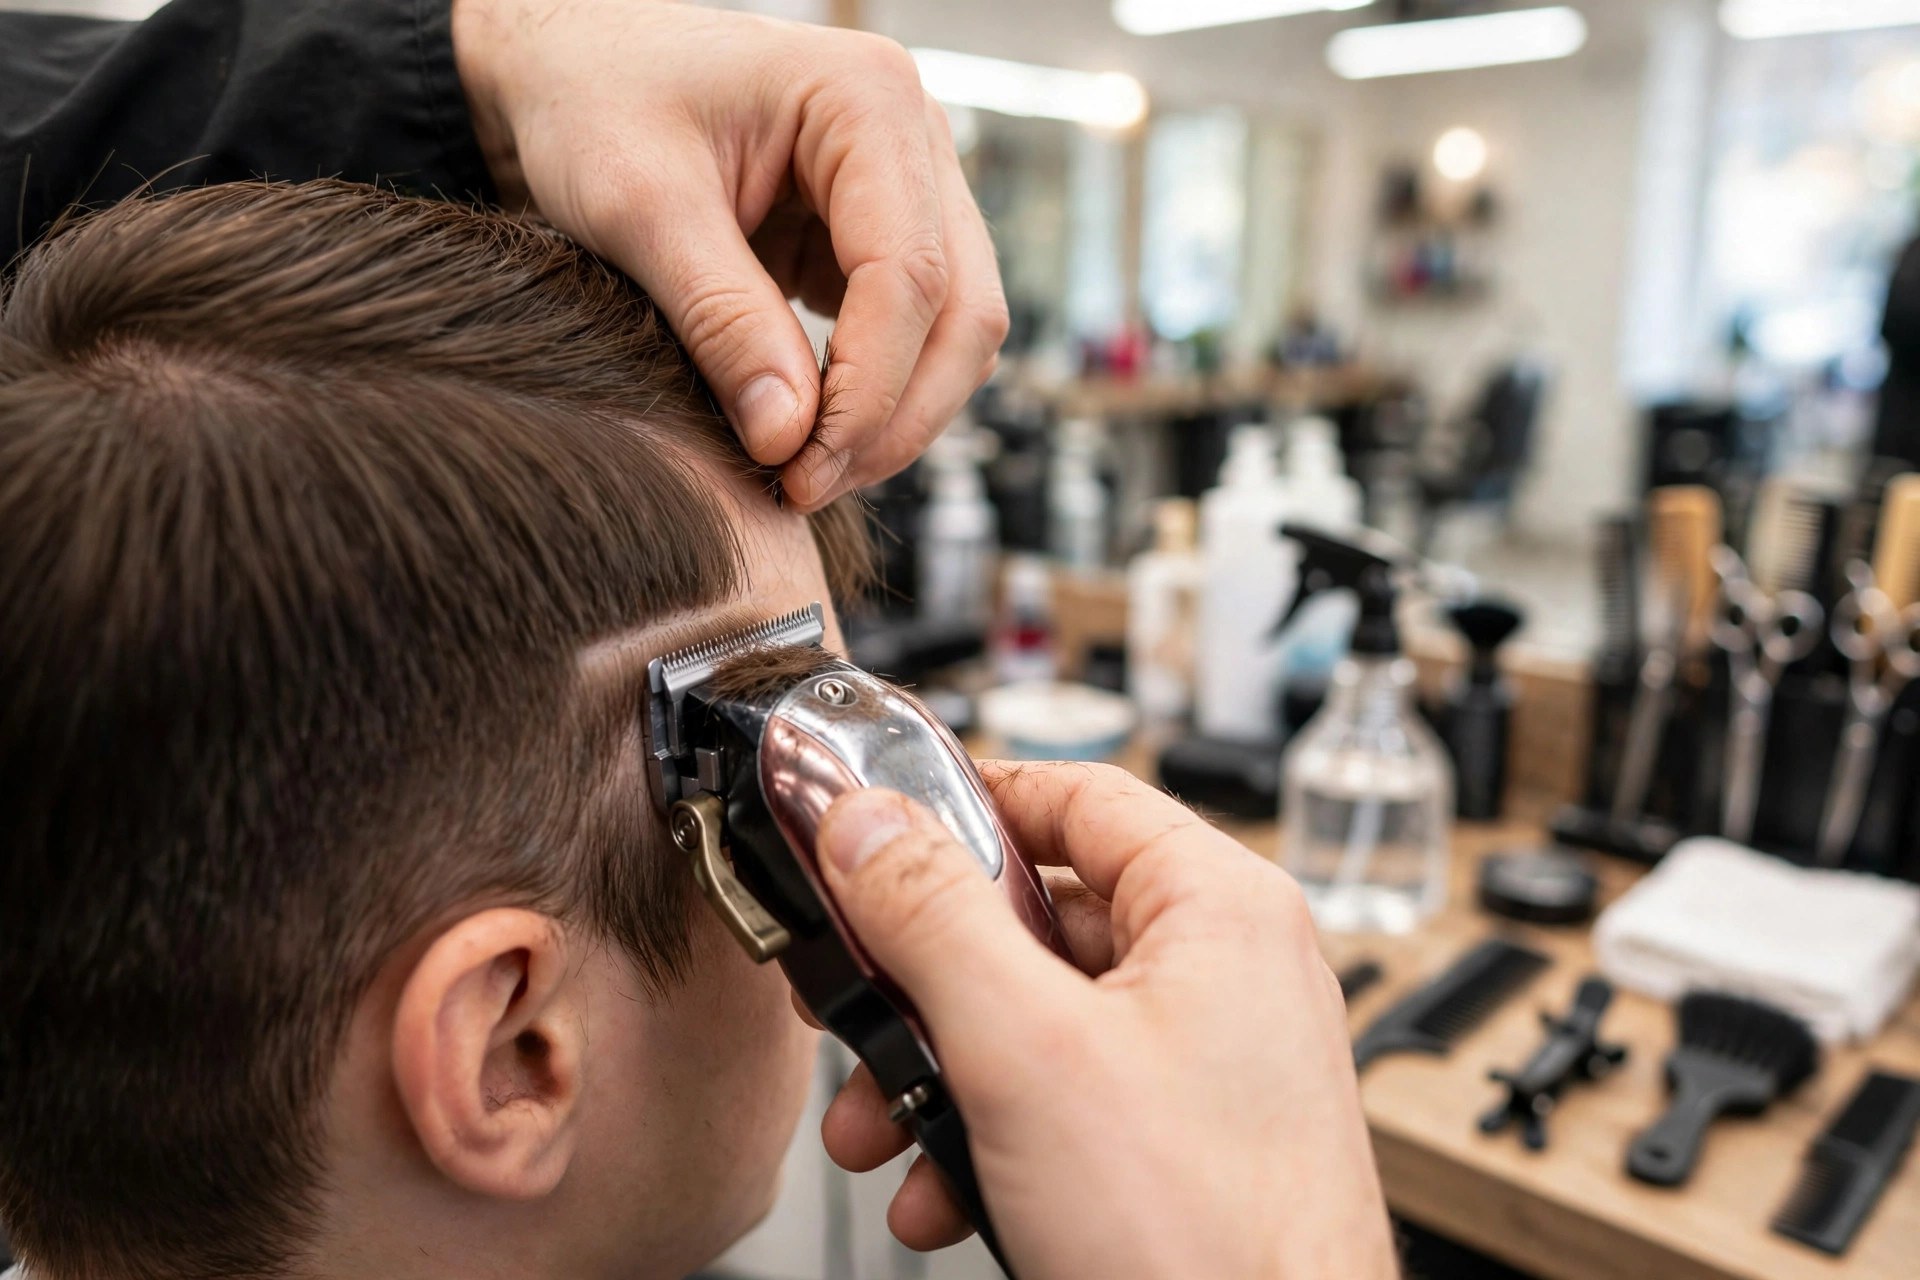
An uneven trim often starts at the blades. This guide shows how to zero gap babyliss trimmer blades. The adjustment brings cutting edges closer together carefully. Closer edges mean cleaner, more professional results. Patience matters more than speed here today.
Zero gapping means minimal or no gap remains. The blades sit close without actually touching ever. Precision and control improve with the closer setting. Barbers rely on it for seamless fades. The change suits close shaves and haircuts.
First gather tools and clean the trimmer well. Then loosen, align, tighten and test carefully. Short answers at the end cover common questions. Your manual gives model specific details throughout.
Quick answer: Zero gapping aligns the blades almost touching. Clean the blades well and loosen the screws first. Slide the top blade into closer alignment carefully. Tighten the screws and test the cut. Fine-tune slowly until the cut feels clean and even.
How to Zero Gap Babyliss Trimmer: Quick Steps
Six quick steps complete the whole adjustment safely. Work through them in the order shown here. Later sections explain each stage more fully below. Our blade change guide covers worn blade replacement steps.
| Step | What to Do |
|---|---|
| 1. Switch off and clean | Turn off the trimmer, clear hair and debris |
| 2. Find the screws | Locate screws or knobs on blade assembly |
| 3. Adjust the screws | Bring the blades closer together slowly |
| 4. Tighten and test | Tighten slowly, testing cutting ability throughout |
| 5. Reach zero gap | Blades as close as possible without touching |
| 6. Lock it in | Tighten screws or knobs securely afterwards |
Tools and Preparation Before You Start
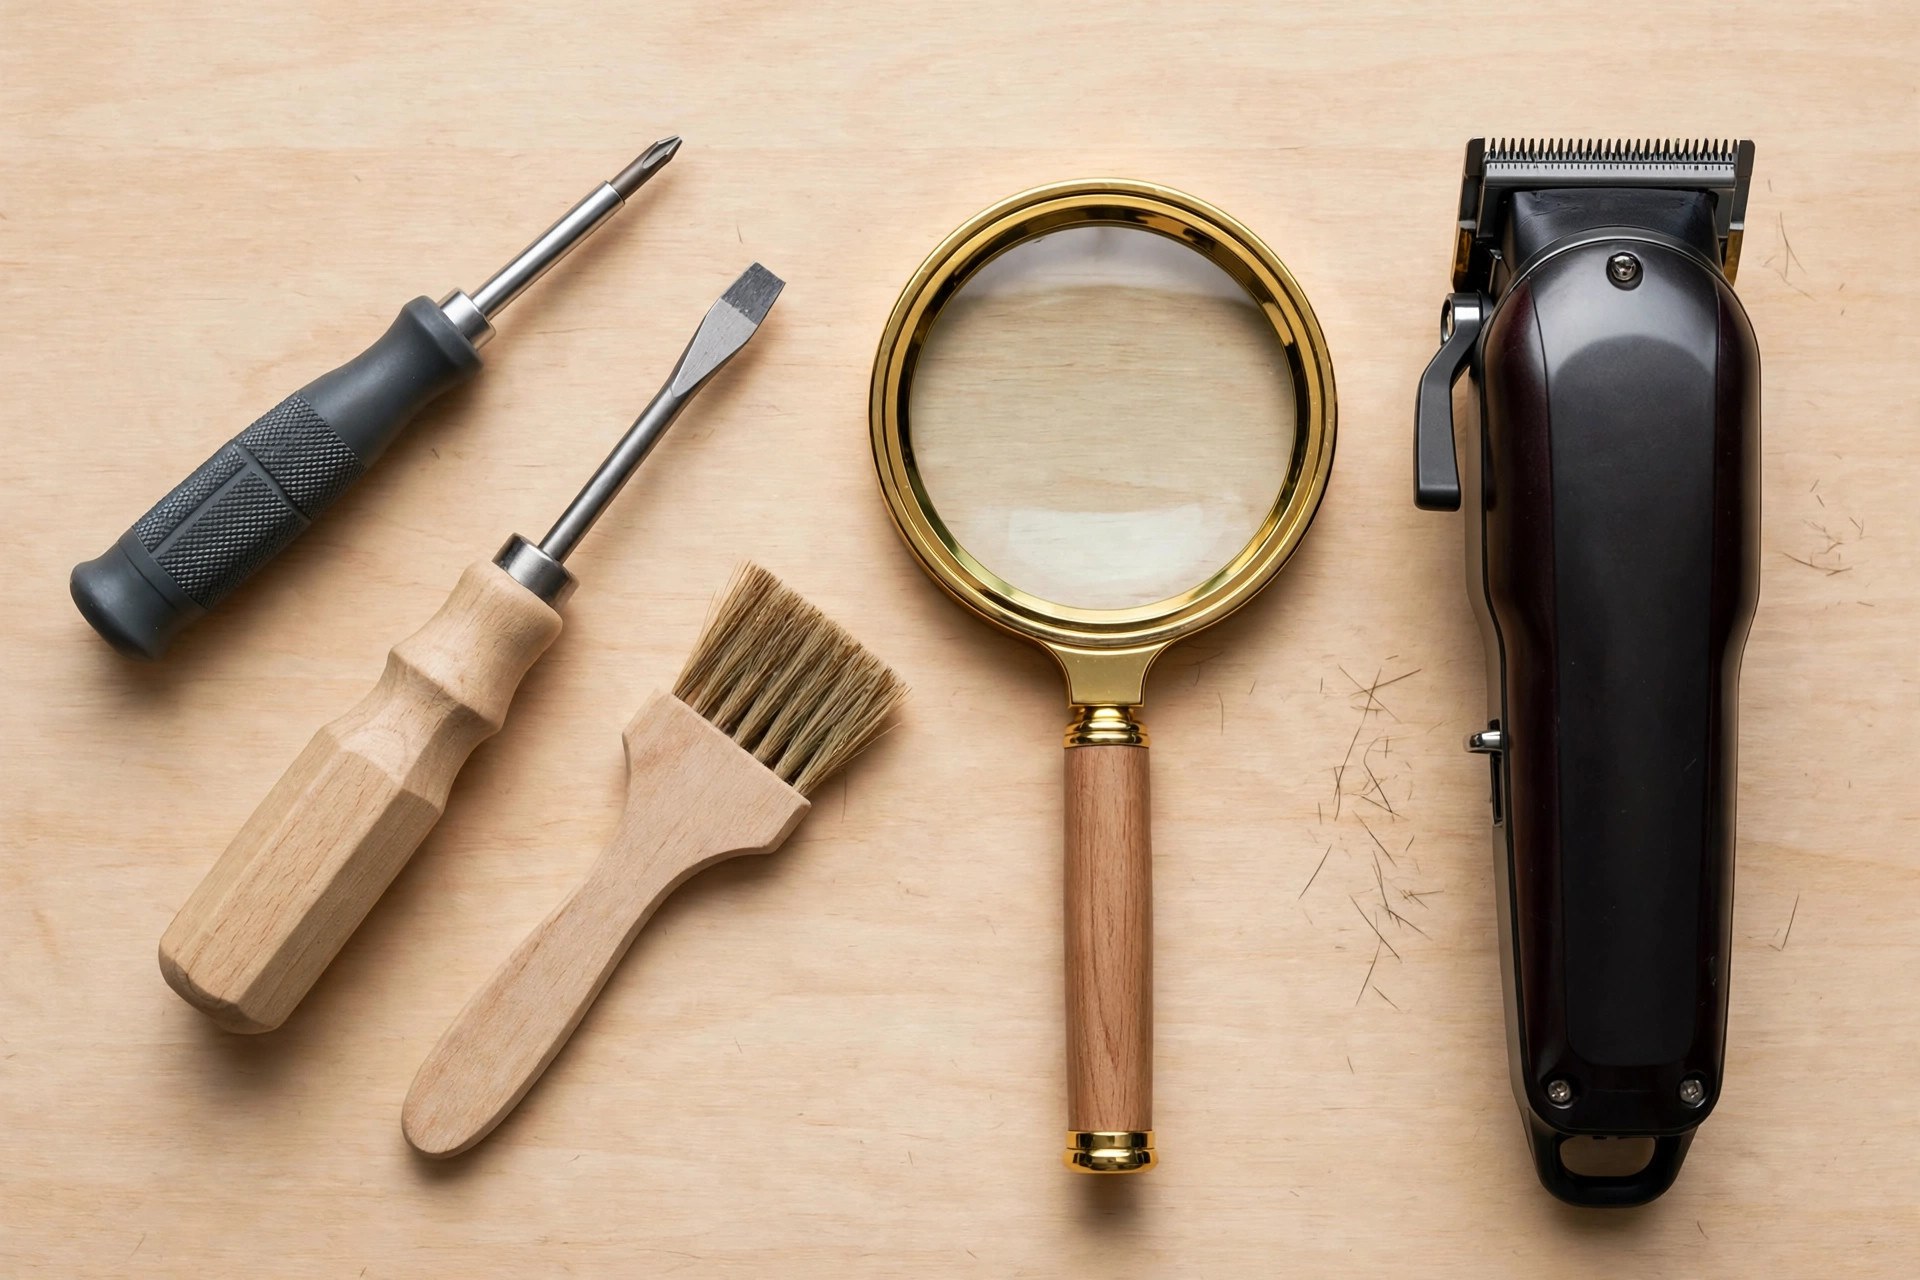
Gather every tool before starting the adjustment job. Simple items cover the whole process here. Most trimmers include the small screwdriver already. A magnifying glass or bright area helps alignment.
| Item | Guide’s Point |
|---|---|
| Small screwdriver | Usually included with the trimmer itself |
| Flathead screwdriver | Needed only if your screws require it |
| Brush or cleaning tool | Clears buildup around blades and housing |
| Magnifying glass or good light | Helps precise alignment during adjustment |
Brush hair and debris from the blades first. Clean the housing around the blades as well. A clear view prevents interference during adjustment work. Keep the trimmer off and unplugged throughout. Our cleaning guide covers full head and body cleaning.
Adjust the Blades, Then Test and Fine-Tune
Find the screws holding the blades in place. They usually sit on the side or back. Loosen them with the small screwdriver slowly now. Do not remove the screws completely yet.
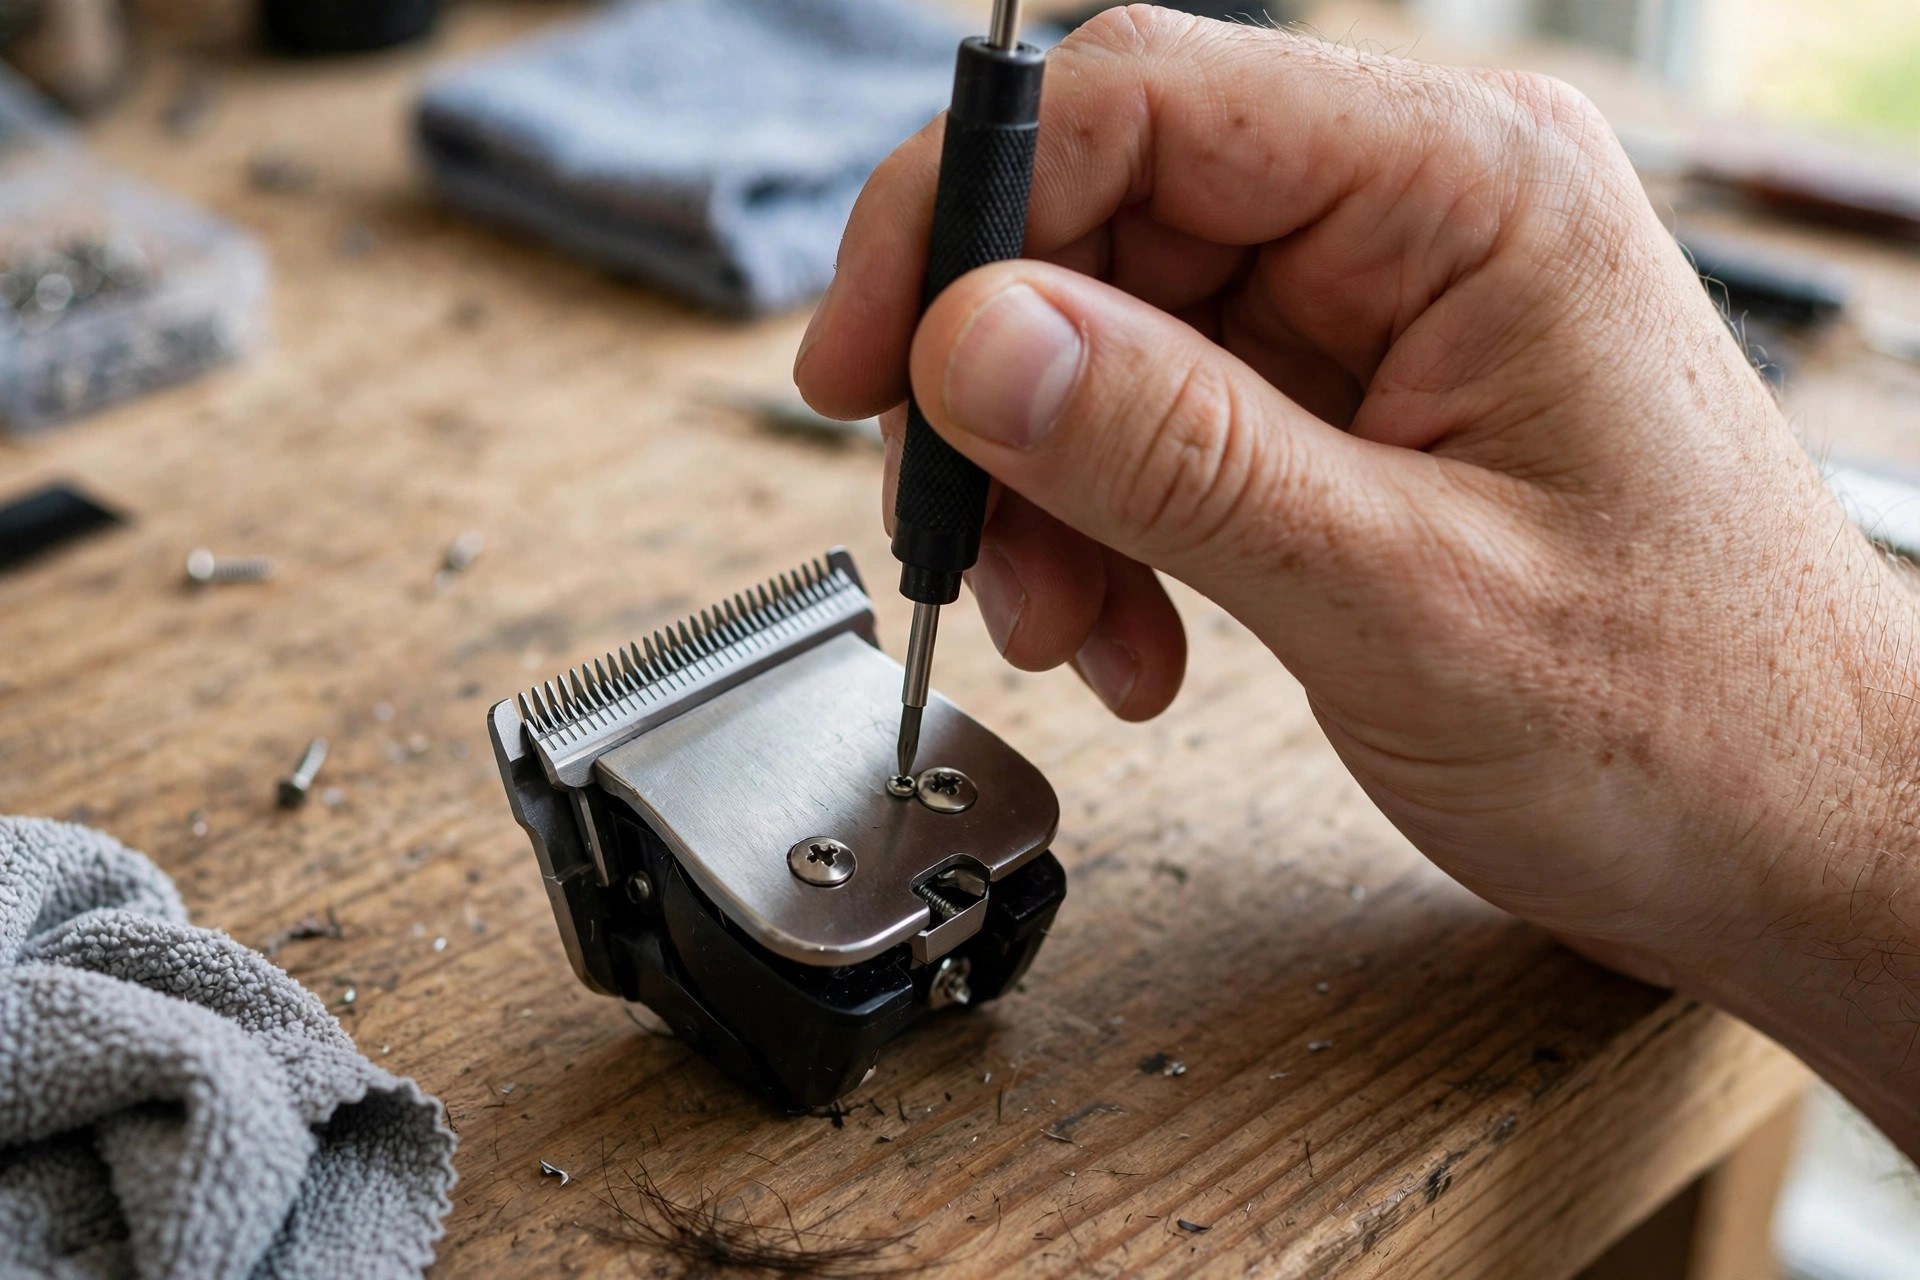
Move the top blade forward or backward carefully. Aim for the desired gap between blades. It recommends starting small and increasing if necessary. Hold the blades and tighten the screws firmly. Never overtighten, because movement suffers from it.
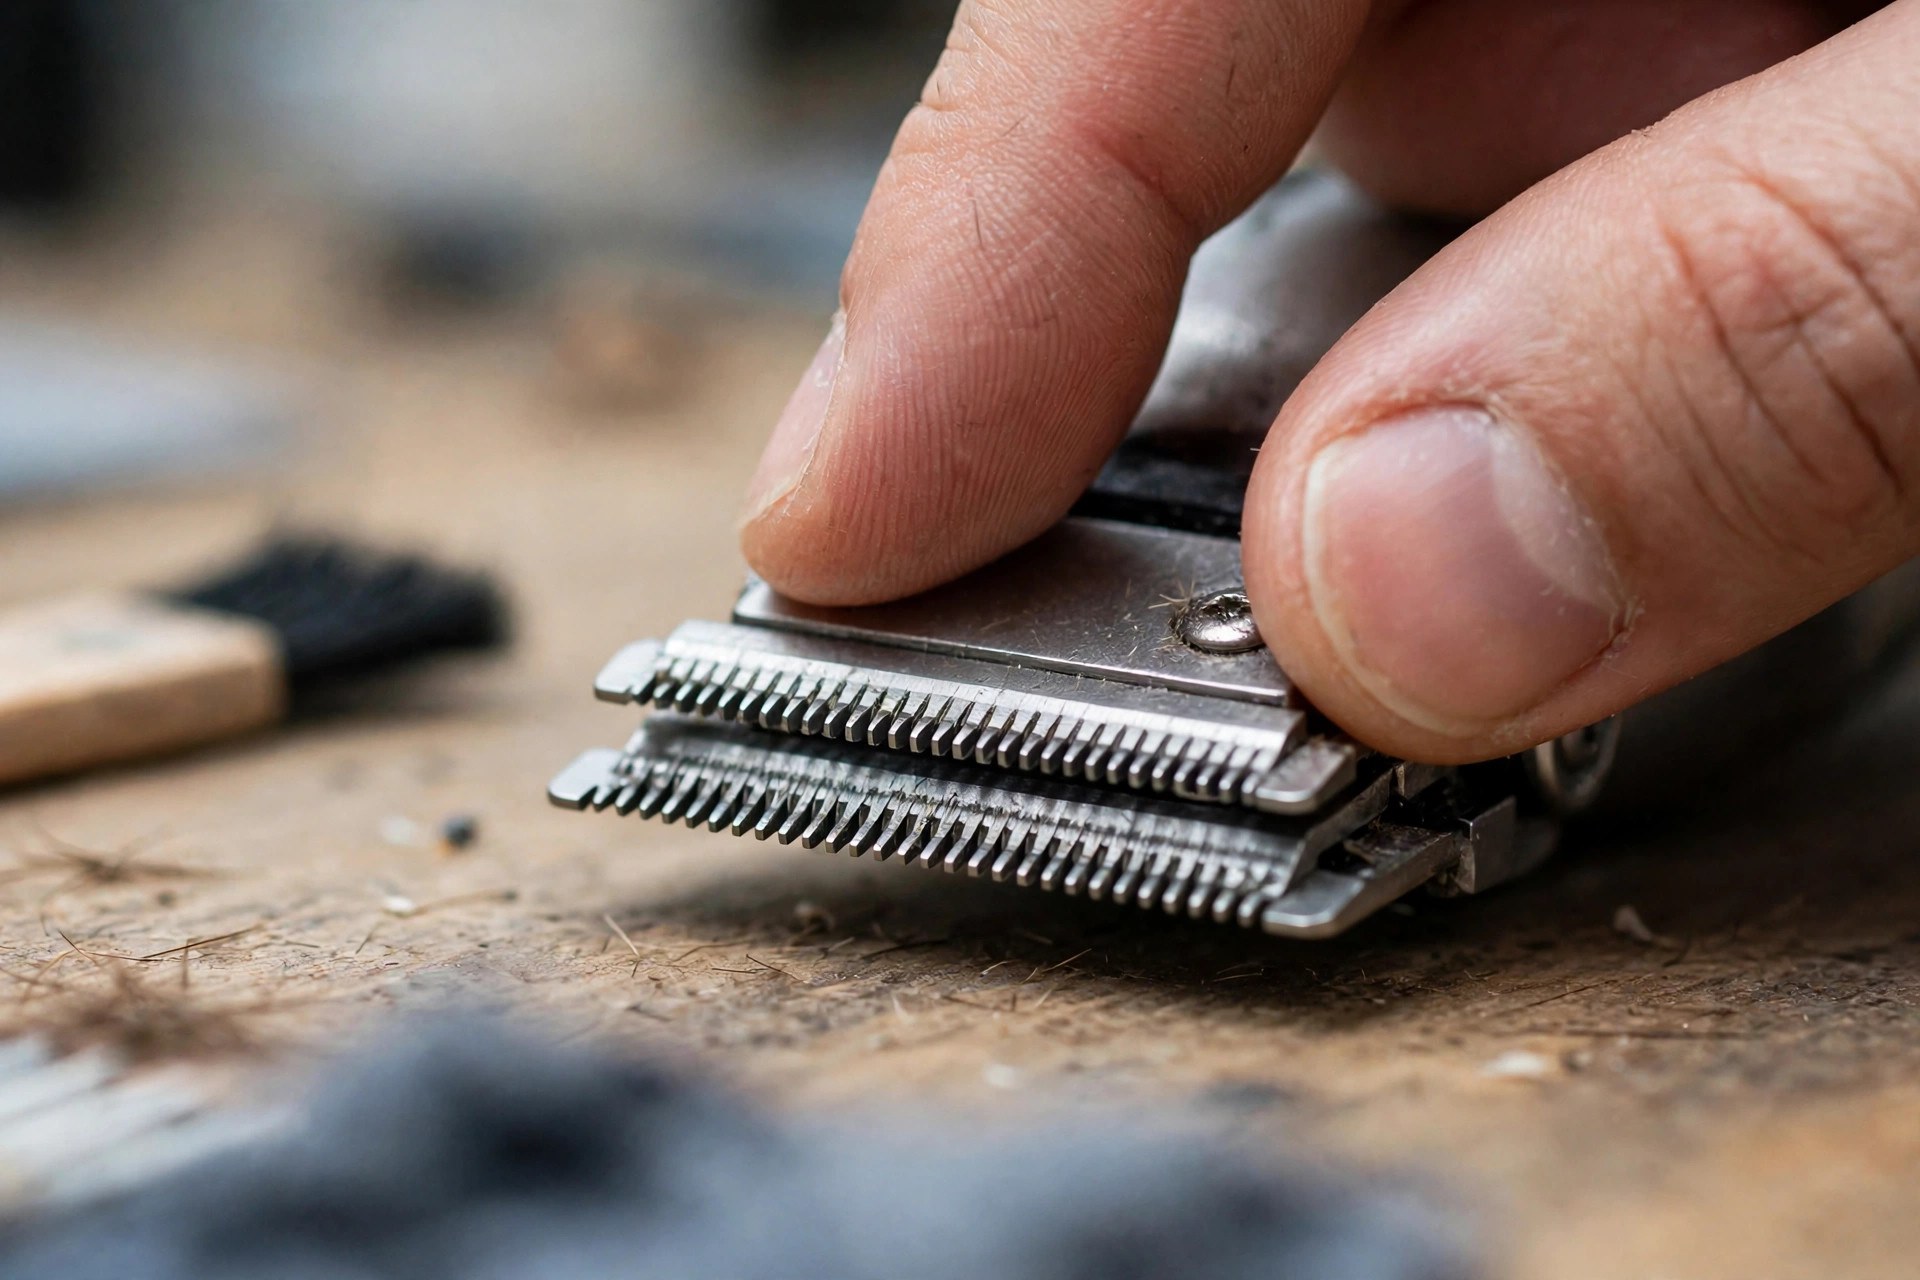
One point in this guide needs care though. Its goal says blades as close as possible. Its steps suggest gradually increasing the gap instead. The note below explains the safer reading clearly.
Please note: This guide gives two gap directions. Its goal sets blades close without touching. Its steps say increase the gap if necessary. Keep the gap minimal without blade contact. Open it slightly only when blades touch.
Switch the trimmer on after tightening everything. Run it over a small hair section. Clean, even cutting means the setting works. Pulling or tugging means alignment needs adjustment. Our pulling hair guide explains common tugging causes.
Maintenance, Checks and Professional Help
Clean and oil the blades regularly afterwards. Care prevents buildup and rust forming inside. Smooth operation lasts longer with simple care. Our water cleaning guide covers rinsing blades safely.
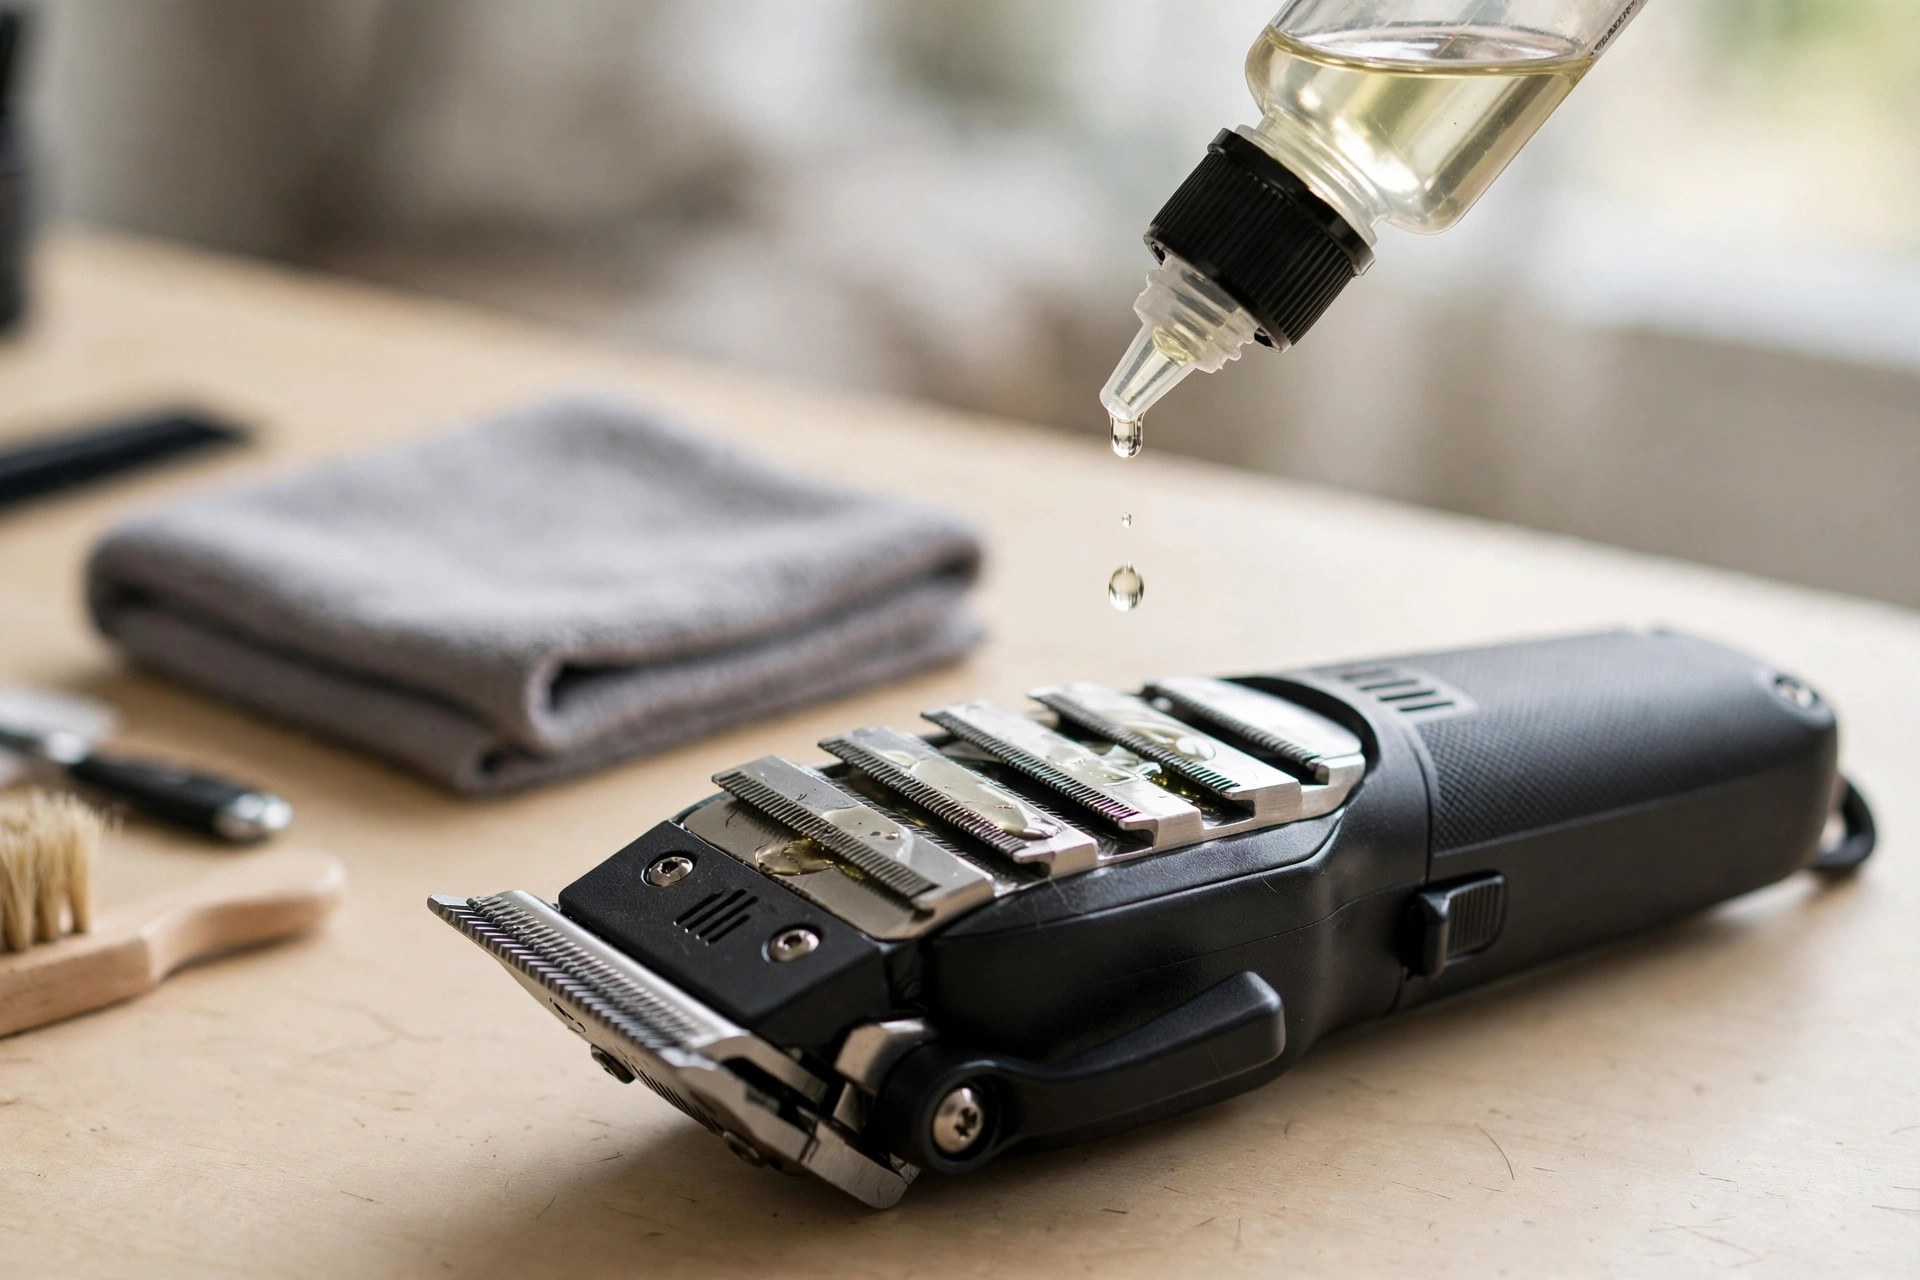
Check the blade alignment periodically over time too. Settings can shift during regular everyday use. Repeat the zero gapping process when needed. Ask a trained technician or barber instead. Maker pages like BaByliss publish model specific guidance.
Frequently Asked Questions
These answers repeat this guide’s own points only. They follow the same steps explained above closely. Short answers close the guide at the end.
What does it mean to zero gap a Babyliss trimmer?
Zero gapping adjusts the blade setting closer. It aligns the cutting edges of both blades. Minimal or no gap remains between them. The result is a more precise, even cut. Control improves for close shaves and haircuts.
How do I prepare my Babyliss trimmer before zero-gapping?
Start with blades clean and completely debris free. Remove the blade assembly from the trimmer first. Brush or wipe away any built-up residue carefully. Keep the trimmer off and unplugged throughout. Our Pro cleaning guide covers deeper cleaning steps.
What tools do I need to zero gap my Babyliss trimmer?
Use a flathead screwdriver or adjustment tool. It must fit the blade assembly screw properly. A magnifying glass helps precise alignment greatly. A small brush or cloth helps cleaning. Our adjustment guide covers other trimmer settings too.
How do I zero gap my Babyliss trimmer?
Remove the blade assembly from the trimmer. Loosen the blade screw slightly with care. Align both blades with minimal gap showing. Tighten the screw while holding blades still. Test the trimmer for the desired closeness.
Are there any precautions I should take while zero-gapping?
Always keep the trimmer off and unplugged. Take your time and stay patient throughout. Rushing can misalign or damage the blades. Consult a professional whenever any step feels unclear. Our sharpening guide covers blade care safety basics.
Conclusion: How to Zero Gap Babyliss Trimmer
So, how to zero gap babyliss trimmer blades well? Clean first, then loosen and align carefully. Tighten firmly and test the cut afterwards. Repeat small adjustments until cutting feels right. Maintain the setting with regular checks afterwards.
Stay patient and prioritize safety around blades. Small attempts build confidence with every try. Precise results reward the careful effort invested. Clean, oiled blades keep the adjustment working. Enjoy the closer, cleaner finish every day.

I’m Patricia D. Johnson, an affiliate marketer and blogger specializing in trimmers and grooming tools. I create honest reviews, buying guides, and practical tips to help readers choose the right trimmer for their needs. With a focus on quality, performance, and value, I simplify the decision-making process so consumers can make confident purchases.