
Are you tired of constantly running out of battery power in the middle of your grooming routine? Look no further! In this guide, we will walk you through the step-by-step process of charging your Babyliss trimmer, ensuring that you never have to suffer from a low battery again. Whether you’re a professional barber or simply someone who likes to keep their facial hair in check, mastering the art of charging your trimmer is essential for a hassle-free grooming experience. So, grab your Babyliss trimmer and get ready to power up with confidence!
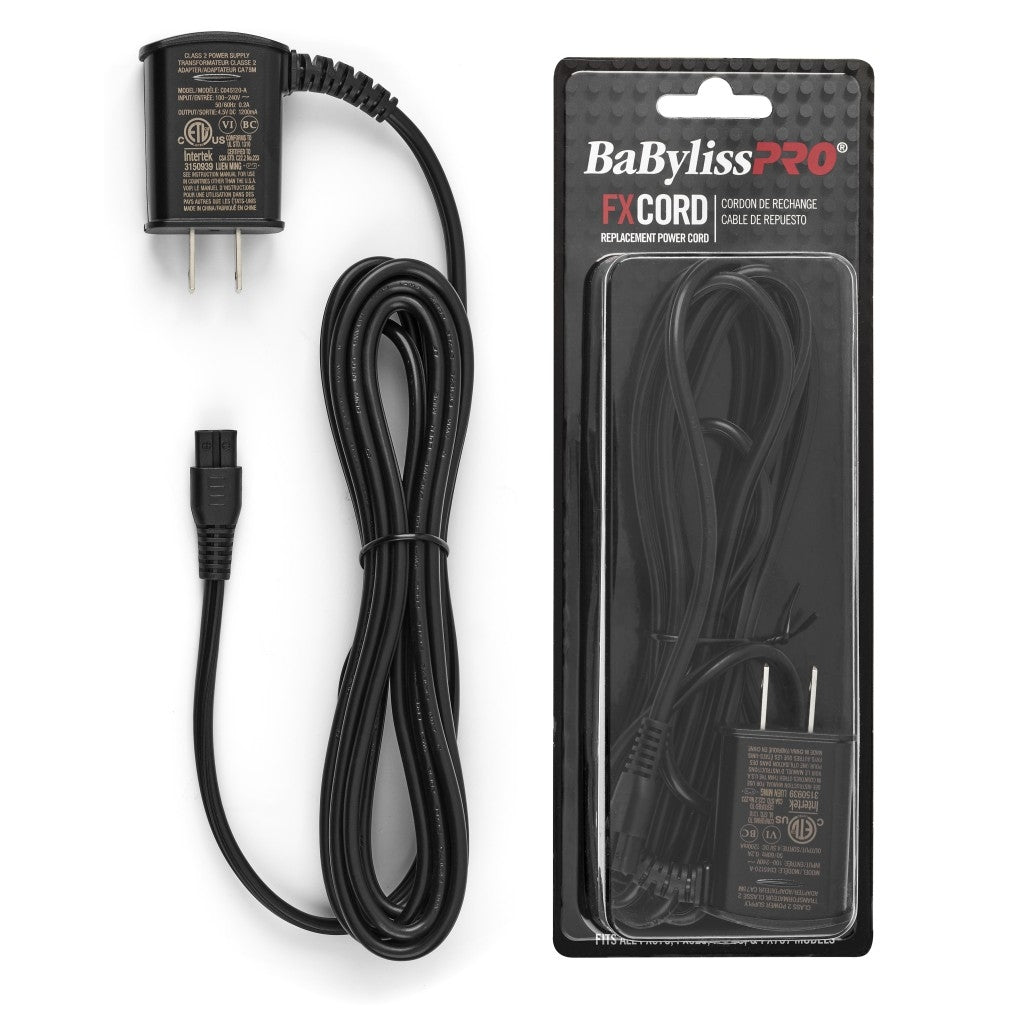
First and foremost, it’s important to understand the type of charger that comes with your Babyliss trimmer. Depending on the model you have, it may come with a USB cable, a charging dock, or a direct plug-in charger. Familiarizing yourself with the specific charger will help you navigate the charging process more efficiently. Once you’ve identified the charger, locate a suitable power source. This could be a wall outlet, a USB port on your computer or laptop, or even a portable power bank if you’re on the go.
Remember, choosing a stable power source is crucial for a smooth charging experience. With these basics covered, let’s dive into the nitty-gritty of charging your Babyliss trimmer and reviving its battery life to its full potential.

Source: ytimg.com
How to Charge Babyliss Trimmer? Easy Step-by-Step Guide
In this article, we will guide you through the step-by-step process of charging your Babyliss trimmer. Follow these instructions carefully to ensure optimal performance and longevity of your trimmer.
Step 1: Prepare the Trimmer
Before charging your Babyliss trimmer, make sure it is turned off and unplugged. Check the battery level indicator, if available, to determine whether it needs charging. Ensure that the trimmer is clean and free from any hair or debris that may interfere with the charging process.
Locate the charging port on the trimmer. It is usually located at the bottom or back of the device. Familiarize yourself with the type of charger that came with your trimmer. Babyliss trimmers typically come with a USB cable and an AC adapter.
Step 2: Connect the Charger
Take the USB cable and plug it into the charging port of your Babyliss trimmer. Ensure a secure connection to avoid interruptions during the charging process. If your trimmer has a separate AC adapter, plug the USB cable into the adapter, and then plug the adapter into a power outlet.
Make sure the power source you are using is compatible with the trimmer’s voltage requirements. Refer to the user manual for specific details regarding the voltage range and any additional charging instructions.
Step 3: Monitor the Charging Process
Once the charger is connected, the trimmer should start charging automatically. Look for any indicators, such as LED lights, on the trimmer that show it is charging. Depending on the model, the indicator may turn on or blink to indicate the charging status.
It is recommended to leave the trimmer charging for the specified amount of time mentioned in the user manual. Overcharging can potentially harm the battery, so it’s important not to leave it plugged in for an extended period.
Step 4: Disconnect and Store
After the trimmer has finished charging, disconnect the charger from the trimmer. Ensure that both the trimmer and the charger are unplugged from the power source. Remove any cables or adapters from the trimmer to avoid any potential damage.
Store the trimmer in a safe and dry place, preferably in its original packaging or a protective case. This will help prolong the life of the trimmer and prevent any accidental damage.
Step 5: Maintenance Tips
Regular maintenance is essential to keep your Babyliss trimmer in optimal condition. Clean the trimmer after each use to remove any hair or debris that may accumulate. Check the user manual for specific cleaning instructions and recommended products.
Additionally, it is recommended to charge the trimmer only when necessary. Avoid overcharging or leaving the trimmer plugged in for an extended period. This will help preserve the battery life and ensure the trimmer is always ready for use.
Step 6: Troubleshooting
If you encounter any issues while charging your Babyliss trimmer, refer to the user manual for troubleshooting tips. Some common problems may include a loose connection, a faulty charger, or a malfunctioning battery. If the issue persists, contact Babyliss customer support for further assistance.
By following these steps and properly charging your Babyliss trimmer, you can ensure its longevity and reliable performance for all your grooming needs.
How Long to Charge Babyliss Trimmer?
The charging time for a Babyliss trimmer can vary depending on the specific model and its battery capacity. Generally, it takes around 2 to 3 hours to fully charge a Babyliss trimmer. However, it’s always best to refer to the user manual or product specifications for the exact charging time recommended by the manufacturer.
To charge a BaByliss trimmer, you should typically follow these guidelines:
- Initial Charge: Before using the trimmer for the first time, it’s recommended to charge it continuously for about 3 hours. This initial charge helps to ensure the maximum battery capacity is reached.
- Usage Duration: A full 3-hour charge will generally provide you with approximately 120 minutes of use, while a quick 30-minute charge should give you around 30 minutes of usage.
- Charging Indicator: Pay attention to the trimmer’s charging indicator light. If it starts flashing rapidly (more than 4 flashes per second), it may indicate a fault with the appliance.
It’s important not to overcharge the trimmer, as it can affect the battery’s performance and lifespan. Once the trimmer is fully charged, it’s advisable to disconnect it from the power source to prevent overcharging.
Frequently Asked Questions
Babyliss trimmers are popular grooming tools for both professional barbers and individuals who want to maintain their hair and beard at home. To ensure that your Babyliss trimmer is always ready for use, it’s important to know how to charge it properly. Below are five common questions and answers about charging a Babyliss trimmer:
How do I charge my Babyliss trimmer?
To charge your Babyliss trimmer, follow these simple steps:
First, make sure the trimmer is turned off. Then, connect the charging cable to the trimmer and plug the other end into a power outlet. The trimmer’s LED indicator will light up to indicate that it’s charging. Let the trimmer charge for the recommended time specified in the user manual or until the LED indicator turns off, indicating that it’s fully charged. Once charged, disconnect the trimmer from the power source and it’s ready for use.
Can I use my Babyliss trimmer while it’s charging?
No, it is not recommended to use your Babyliss trimmer while it’s charging. When the trimmer is connected to the charging cable, it should be kept stationary and not used for grooming. Attempting to use the trimmer while it’s charging can pose a safety risk and may also affect the charging process. It’s best to wait until the trimmer is fully charged before using it.
How often should I charge my Babyliss trimmer?
The frequency of charging your Babyliss trimmer depends on how often you use it. If you use the trimmer on a daily basis, it’s recommended to charge it after every use or as soon as you notice a decrease in performance. Regularly charging the trimmer ensures that it’s always ready for use and prevents any inconvenience of running out of battery during a grooming session.
However, if you use the trimmer less frequently, you can charge it whenever the battery level becomes low or before a grooming session to ensure uninterrupted use. It’s important not to let the battery fully drain before charging, as this can affect the battery’s performance and lifespan.
Can I leave my Babyliss trimmer plugged in all the time?
It’s not recommended to leave your Babyliss trimmer plugged in all the time. Once the trimmer is fully charged, it’s advisable to disconnect it from the power source. Leaving the trimmer plugged in constantly can lead to overcharging, which can affect the battery’s performance and lifespan.
It’s best to charge the trimmer when needed and disconnect it from the power source once it’s fully charged. This helps maintain the battery’s health and ensures optimal performance of your Babyliss trimmer in the long run.
Source: prostylingtools.com
Final Verdict
In conclusion, learning how to charge your Babyliss trimmer is an essential step in ensuring its optimal performance and longevity. By following the simple steps outlined in this guide, you can effortlessly keep your trimmer powered up and ready for use whenever you need it. Remember to always use the provided charger and to avoid overcharging, as these practices can help maintain the battery life and overall efficiency of your Babyliss trimmer.
Investing a little time and effort in understanding the charging process of your Babyliss trimmer will undoubtedly pay off in the long run. With a fully charged trimmer, you can confidently tackle any grooming task with ease and precision. So, go ahead and take charge of your trimmer’s battery life, and enjoy the convenience and satisfaction of a well-maintained grooming tool.
