
Are you tired of dealing with uneven haircuts or struggling to achieve those sharp, precise lines? Look no further! In this guide, we will dive into the art of zero-gapping the Babyliss Pro Trimmer. Whether you’re a professional barber or a DIY enthusiast, mastering this technique can take your grooming game to the next level. So, grab your trimmer and get ready to unlock the secrets of achieving that flawless, clean-cut finish!
The Babyliss Pro Trimmer is a powerful tool that can revolutionize your hair grooming routine. However, out of the box, it may not provide the precision and control you desire. That’s where zero-gapping comes in. By adjusting the blades to create a smaller gap between them, you can enhance the trimmer’s performance and achieve a close-cut finish that will leave you looking sharp and well-groomed. But don’t worry if you’re new to this technique – we will guide you step by step, sharing valuable tips and tricks along the way.
So, let’s get started on your journey to becoming a master at zero-gapping the Babyliss Pro Trimmer!
Are Babyliss Trimmer Zero Gapped?

Source: ytimg.com
How to Zero Gap BaByliss Pro Trimmer: Step by Step
Zero-gapping refers to adjusting the blade of your trimmer to achieve a closer cut. This can be particularly useful for professional barbers or individuals who want a precise and clean trim. By following the step-by-step instructions provided below, you will be able to zero-gap your Babyliss Pro trimmer effectively.
Safety First:
Ensure your trimmer is unplugged or turned off to prevent any accidents.
Prepare Your Workspace:
Lay a towel or cloth on a flat surface to keep the small parts from rolling away and to catch any loose hair from the blades.
Remove the Blade:
Using a small screwdriver, carefully remove the screws holding the cutting blade in place. Take off the cutting blade (the blade that moves) and set it aside. Be mindful of any washers or spacers that may be present.
Adjust the Stationary Blade:
The stationary blade (the blade that doesn’t move) usually has slots that allow for adjustment. By loosening its screws (but not fully removing them), you can slide the blade up or down.
Position the Cutting Blade:
Place the cutting blade back onto the trimmer so that its teeth are slightly below the teeth of the stationary blade. This ensures that the moving blade doesn’t cut your skin but is close enough for a tight trim.
Tighten the Blades Together:
Once you’re satisfied with the alignment, hold the blades in place and carefully tighten the screws for the cutting blade. Be careful not to overtighten, as this might affect the trimmer’s performance.
Check the Alignment:
Turn on the trimmer and check its performance on a small patch of hair. Ensure the blades move smoothly without snagging or pulling hairs.
Safety Check:
While the trimmer is on, carefully touch the back of your hand to the blades to ensure they don’t cut your skin.
Re-adjust if Necessary:
If you’re not satisfied with the performance or the safety of the zero-gap, turn off the trimmer and readjust as needed.
Adjusting your Babyliss Pro trimmer to a zero-gap setting demands careful attention and a steady hand. If there’s any uncertainty in your procedure, it’s wise to either seek guidance from a seasoned professional or refer to the provided manufacturer’s manual. It’s crucial to keep in mind that a trimmer set to zero-gap can be particularly sharp, warranting caution during use to avoid any unintended nicks or cuts.
Enhancing your Babyliss Pro trimmer to zero-gap not only amplifies its cutting precision but is also a favorite among professional barbers and grooming enthusiasts alike. By diligently adhering to the detailed steps outlined earlier, you can optimize the performance of your trimmer. As always, when dealing with electrical tools, safety should remain at the forefront of your actions.How to
Maintenance and Cleaning
Regular maintenance and cleaning are essential to keep your zero-gapped Babyliss Pro trimmer in optimal condition. After each use, remove any hair or debris from the blades using the cleaning brush. Wipe the trimmer with a soft cloth to remove any excess oil or dirt.
Additionally, it is recommended to apply a few drops of clipper oil to the blades regularly to lubricate them and prevent rusting. This will prolong the life of your trimmer and ensure its continued performance.
Frequently Asked Questions
Here are some commonly asked questions about how to zero gap a Babyliss Pro Trimmer:
How do I zero gap a Babyliss Pro Trimmer?
To zero gap a Babyliss Pro Trimmer, you will need a small flathead screwdriver. Start by removing the blade from the trimmer. Locate the two screws on the blade and use the screwdriver to loosen them. Once the screws are loose, you can adjust the blade by moving it closer to the cutting edge. Make sure to align the blade properly before tightening the screws back in place. Test the trimmer to ensure it is cutting evenly and adjust if necessary.
Why should I zero gap my Babyliss Pro Trimmer?
Zero gapping a Babyliss Pro Trimmer allows for a closer cut and more precise trimming. It can help to achieve a clean and sharp finish, especially when working on detailed designs or tight areas. Zero gapping also ensures that the blade is aligned correctly, which helps to prevent any pulling or snagging of the hair during trimming.
Can zero gapping damage the blade of my Babyliss Pro Trimmer?
Zero gapping, when done correctly, should not damage the blade of your Babyliss Pro Trimmer. However, it is important to be cautious and avoid over-tightening the screws or misaligning the blade. Excessive force or improper adjustments can result in blade damage or reduced performance. Take your time and follow the proper steps to ensure a safe and effective zero gap adjustment.
How often should I zero gap my Babyliss Pro Trimmer?
The frequency of zero gapping your Babyliss Pro Trimmer depends on your usage and personal preference. Some professionals prefer to zero gap their trimmers before each use to maintain optimal performance and precision. However, if you notice any decline in cutting quality or uneven trimming, it may be time to zero gap your trimmer again.
Can I zero gap my Babyliss Pro Trimmer without any tools?
Zero gapping a Babyliss Pro Trimmer typically requires a small flathead screwdriver or a specific tool provided with the trimmer. While it is possible to attempt zero gapping without any tools, it is not recommended as it may lead to improper adjustments or potential damage to the trimmer. It is always best to use the appropriate tools and follow the manufacturer’s instructions for zero gapping your Babyliss Pro Trimmer.
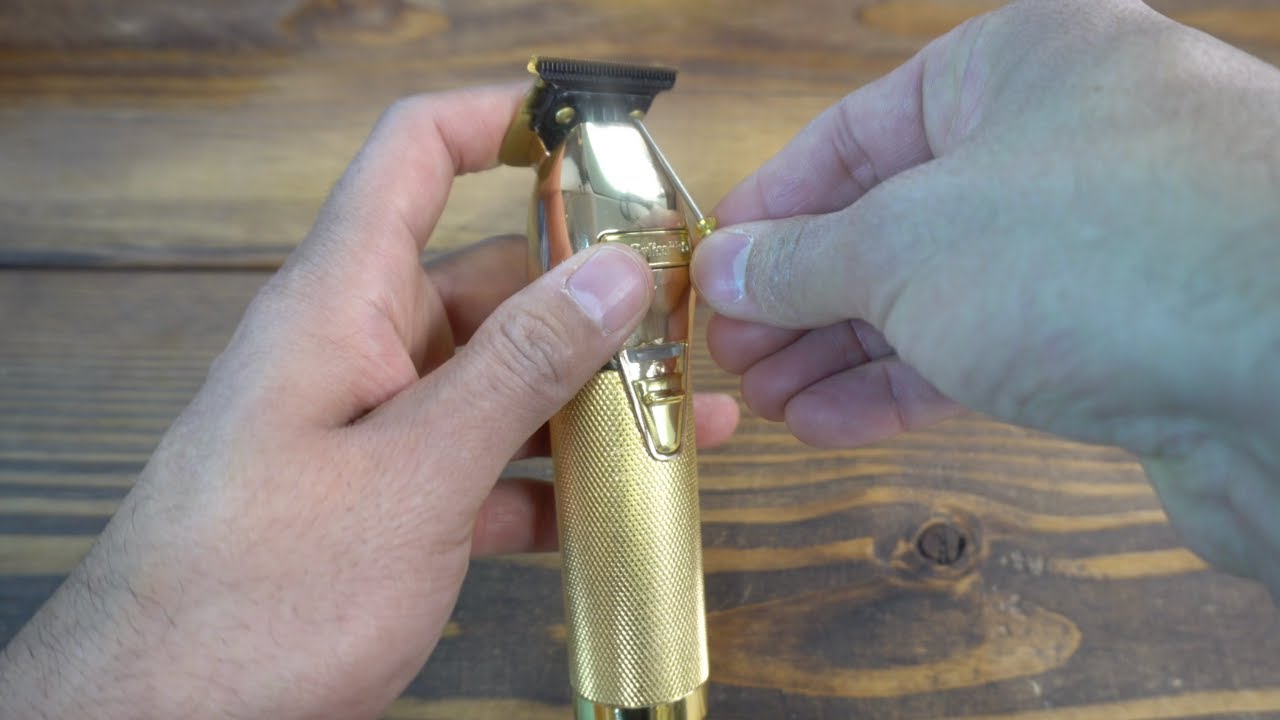
Source: ytimg.com
How To Zero Gap Babyliss Pro Gold FX Liners
Final Verdict
In conclusion, mastering the technique of zero-gapping your Babyliss Pro trimmer can elevate your grooming game to new heights. By carefully adjusting the blades to create a closer cut, you can achieve precise lines and sharp edges that will leave you looking and feeling your best. Remember to approach this process with patience and caution, as any small mistake can have a significant impact on the performance of your trimmer. With practice, persistence, and a keen eye for detail, you can unlock the full potential of your Babyliss Pro trimmer and take your grooming routine to the next level.
As you embark on this journey, keep in mind the importance of understanding the specific model and design of your Babyliss Pro trimmer. Each trimmer may have slightly different methods and adjustments required for zero-gapping, so be sure to consult the manufacturer’s instructions or online resources for guidance.
Additionally, consider investing in quality maintenance products and regularly cleaning and oiling your trimmer to ensure its longevity and optimal performance. With the right knowledge, tools, and dedication, you can achieve the perfect zero-gap on your Babyliss Pro trimmer and enjoy a precise and professional-looking trim every time. So, go ahead and embrace the opportunity to master this skill, and watch as your grooming routine reaches new heights of excellence.
