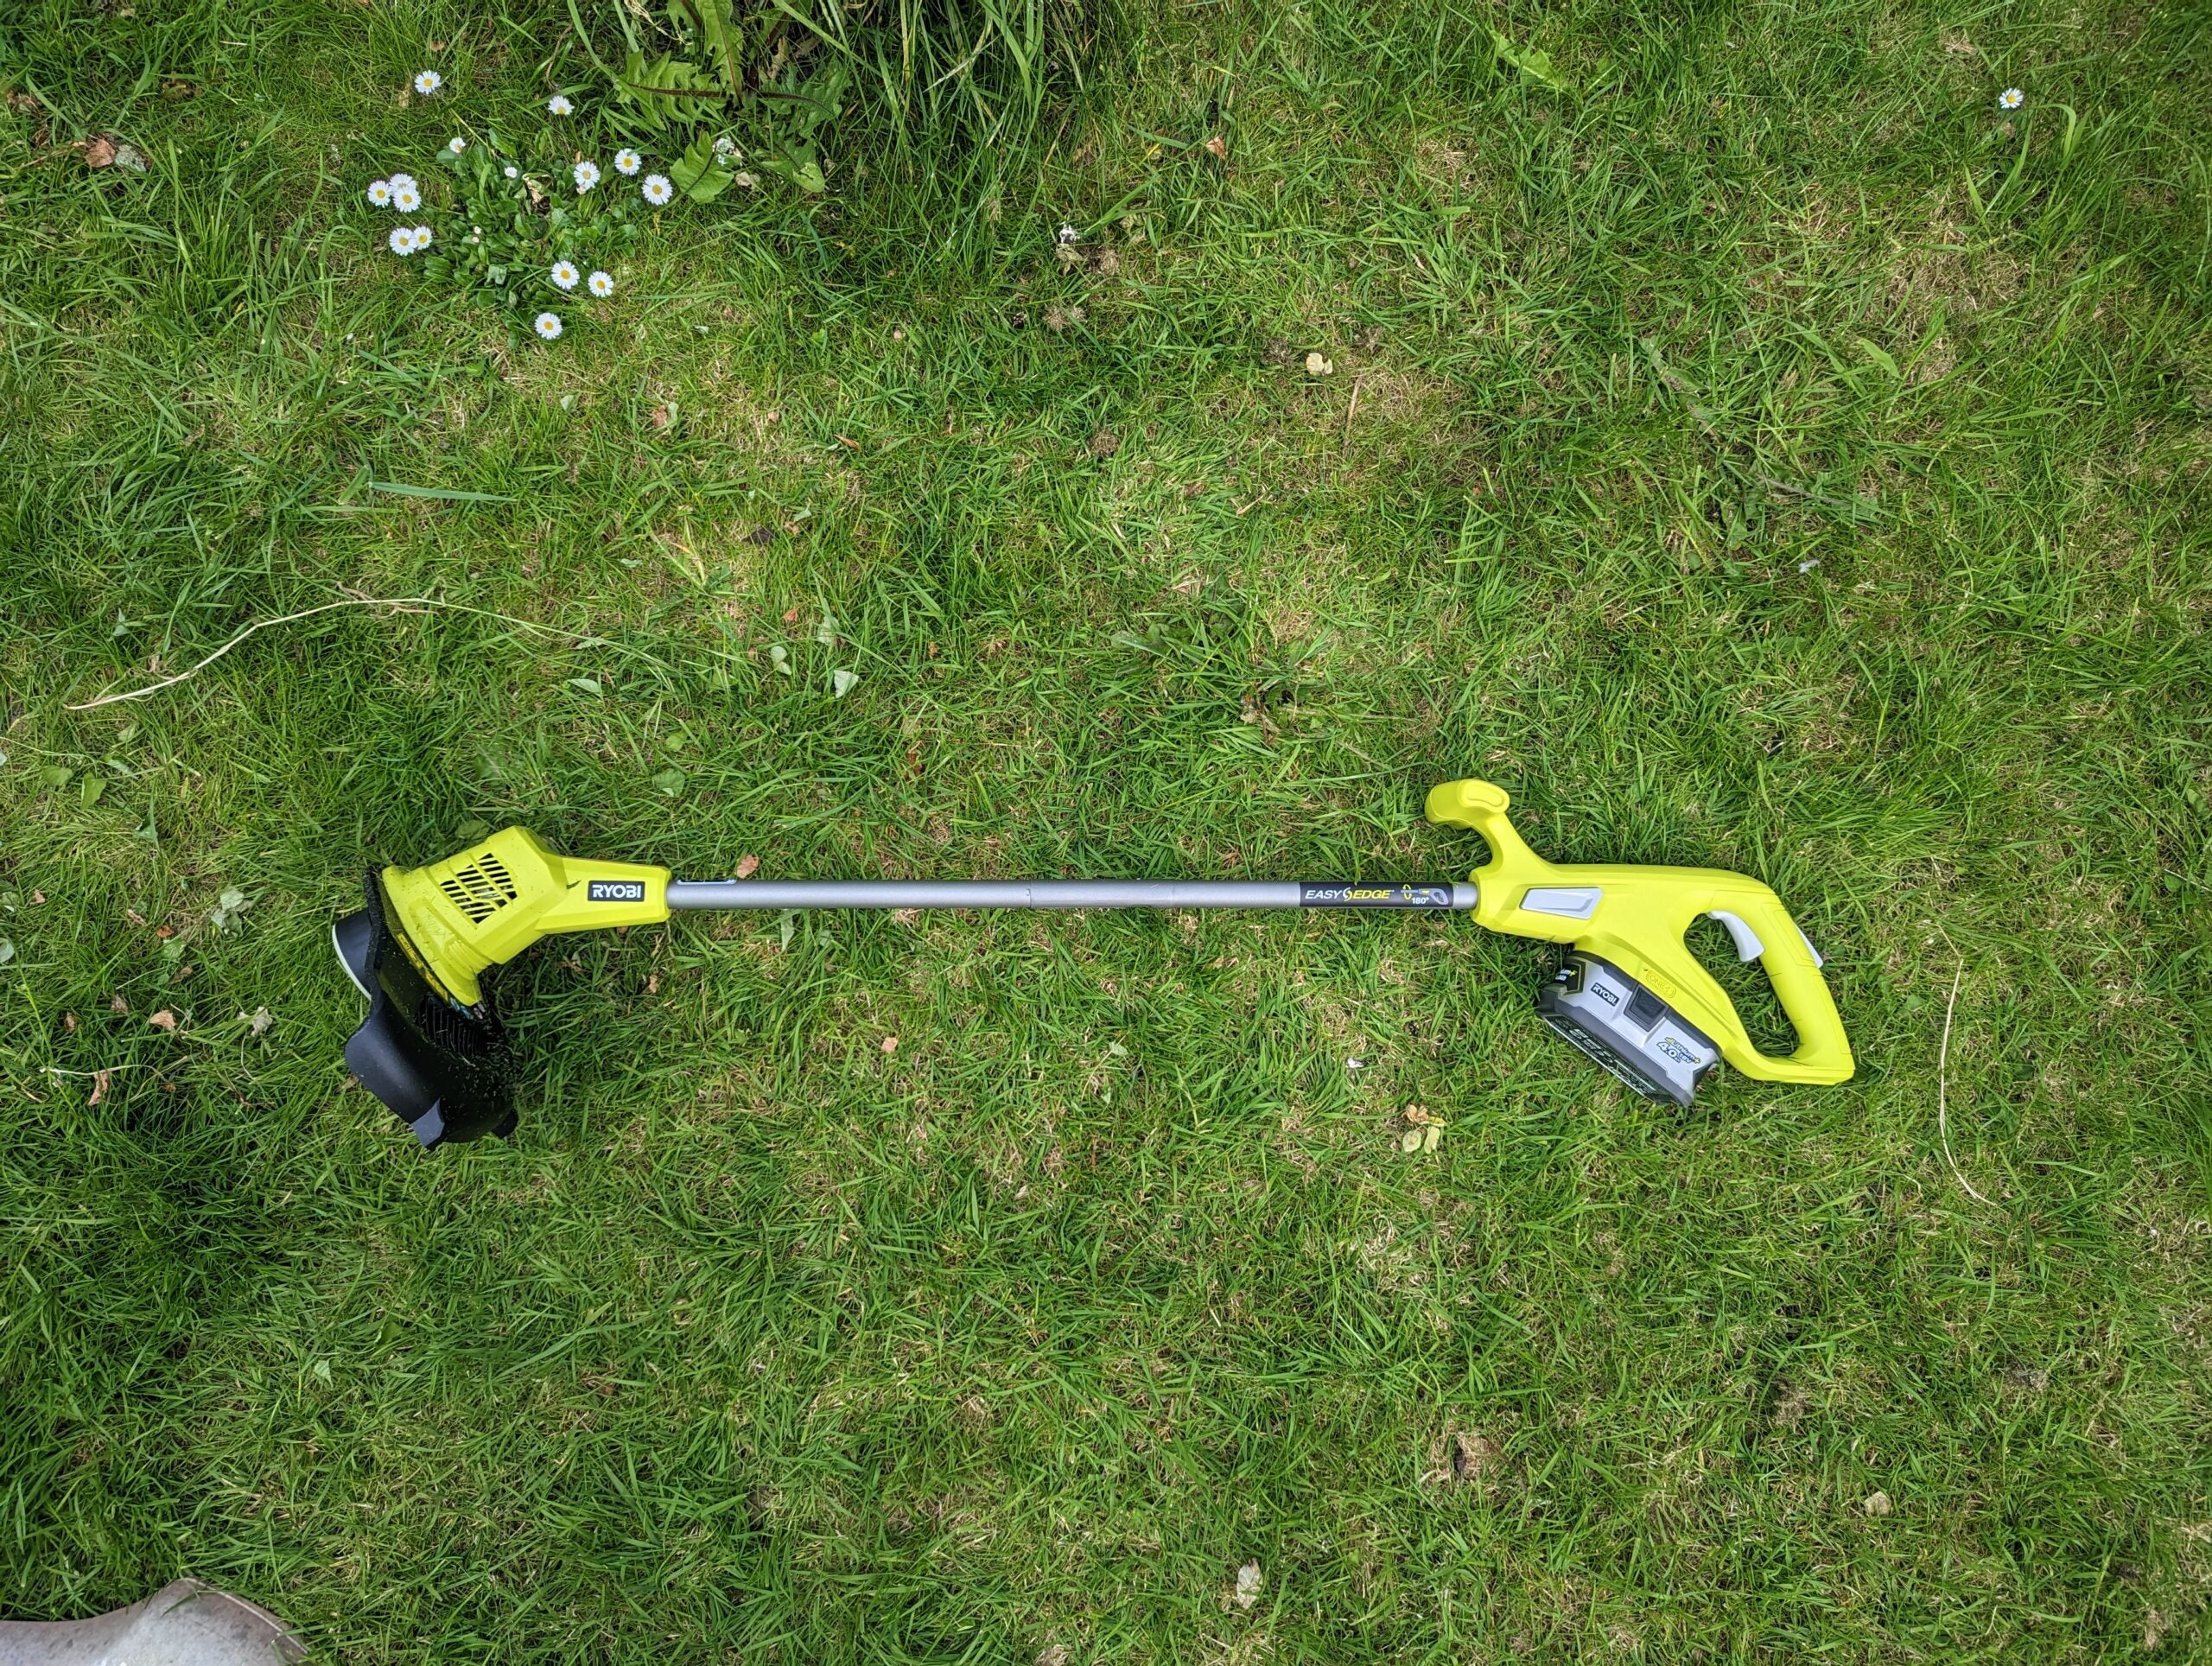
How to Clean String Trimmer Carburetor
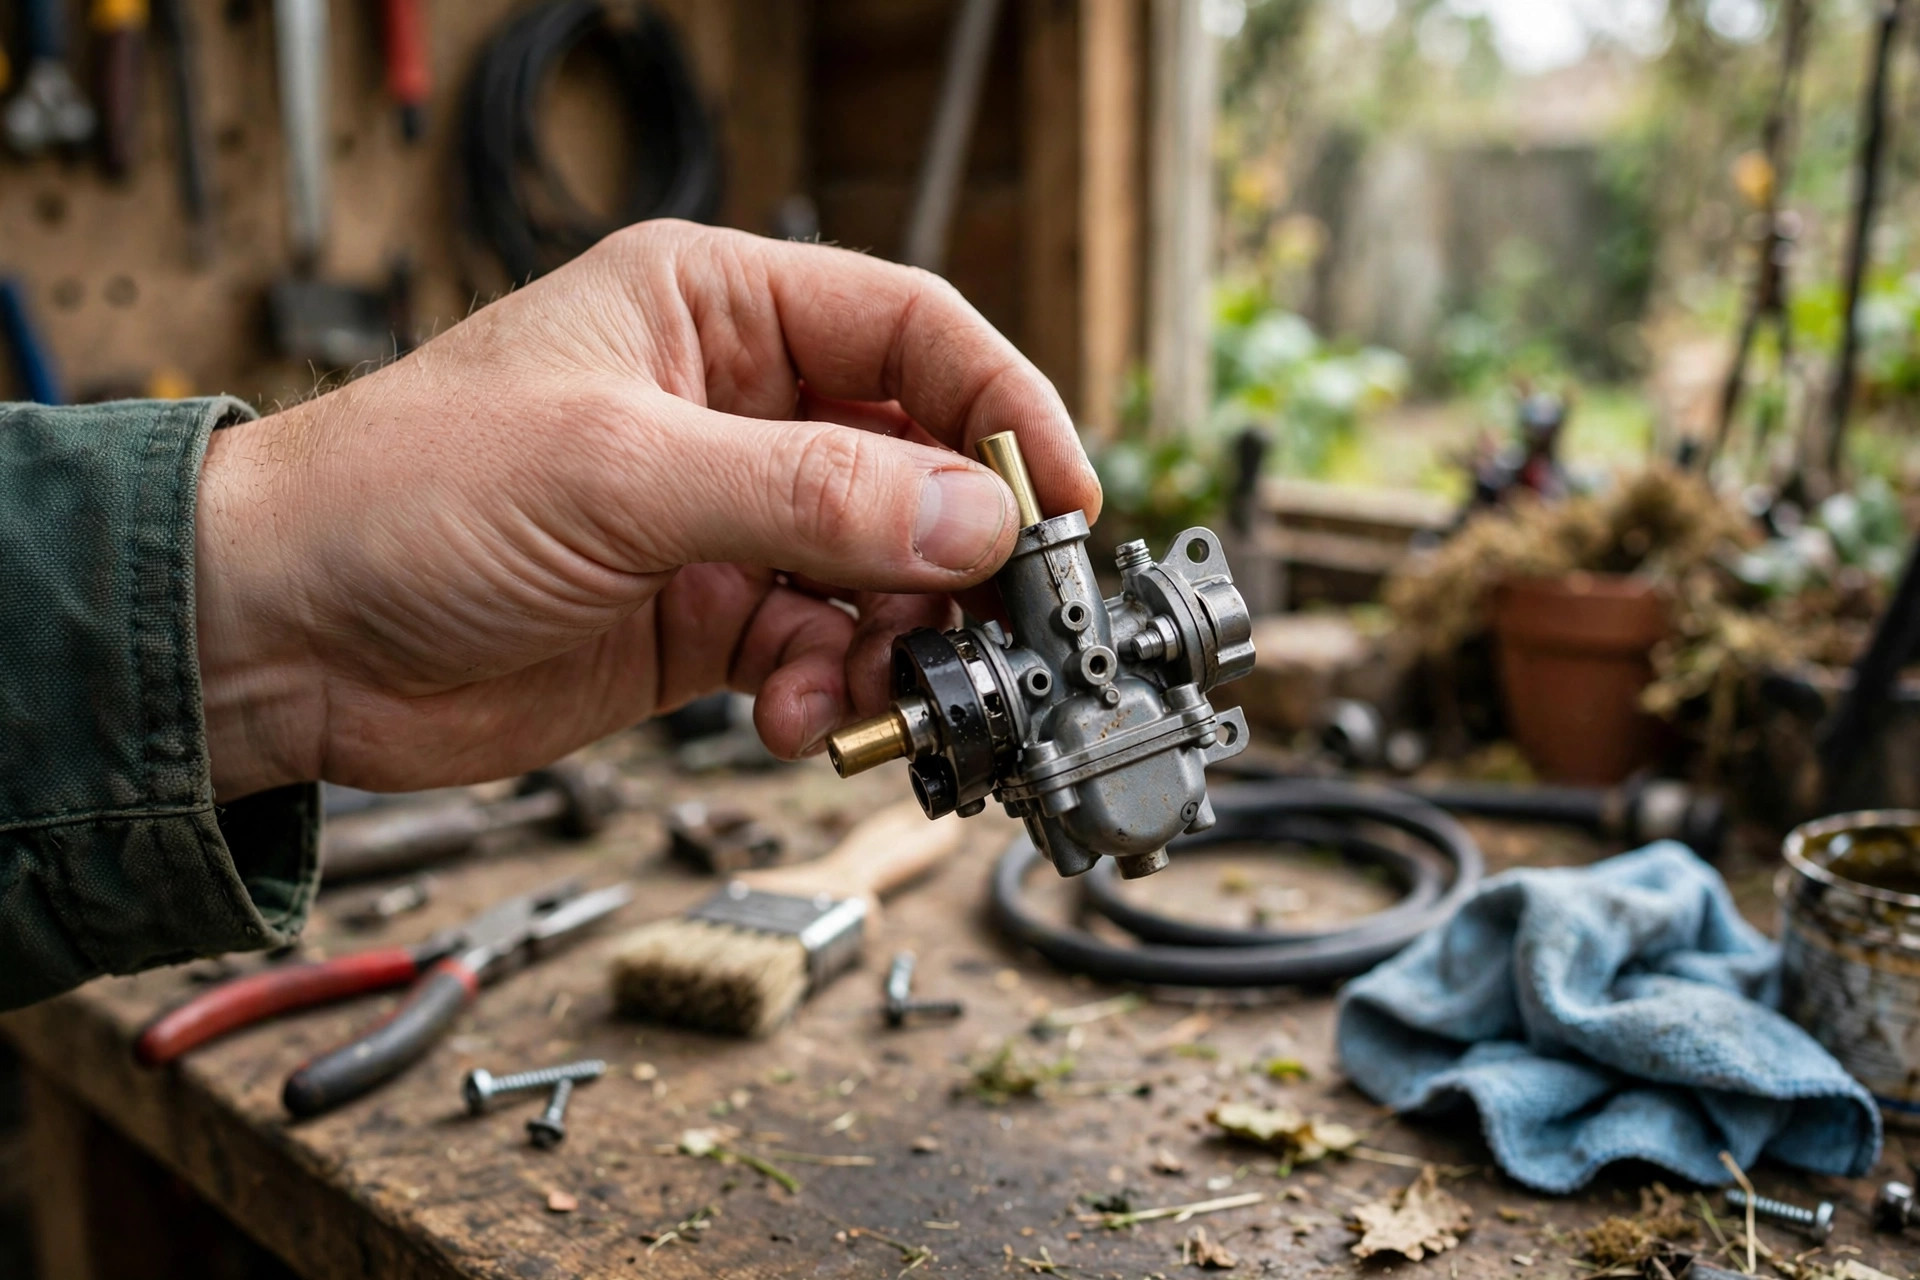
Have you ever thought about what a clean carburetor can do? A clean carburetor helps your string trimmer run smooth and strong. It is a tiny part of your machine. Yet its cleanliness has a big impact on how well your machine runs.
A dirty carburetor can turn trimming into a frustrating chore. A clean one makes yard work feel smooth and easy. This guide shows how to clean string trimmer carburetor step by step. You need a toolbox, some cleaner, and a little patience.
The basic method has stayed the same for decades. You remove the carburetor from the trimmer first. Then you clean each part with care. Last, you reinstall it and test the trimmer.
- Firstly, disconnect and remove the carburetor from the trimmer.
- Next, disassemble the parts then immerse it in a carburetor cleaner for several hours.
- After that, utilize a soft brush to remove any remaining debris.
- Once cleaned, reassemble the carburetor and reinstall it back onto the trimmer.
Quick answer: Remove the carburetor and take it apart with care. Spray cleaner into every jet and scrub off the dirt. Note the order of each part as you work. Reassemble the carburetor and reinstall it on the trimmer. Test the trimmer before you trim again.
- How to Clean String Trimmer Carburetor
- Gather the Necessary Cleaning Supplies
- Detach the Carburetor
- Disassemble the Carburetor
- Clean the Carburetor
- Reassemble and Reinstall the Carburetor
- Frequently Asked Questions
- Materials and Sprays
- The Cleaning Steps
- Conclusion: How to Clean String Trimmer Carburetor
How to Clean String Trimmer Carburetor
For any gardening enthusiast, a string trimmer is a must-have tool. But just like any other mechanical equipment, it requires some maintenance for optimal performance. One crucial part that often needs cleaning is the carburetor. It mixes the right amount of gasoline with air.
That mix lets the engine run correctly. Understanding how to clean a string trimmer carburetor is essential to maintain your trimmer’s performance. This easy guide will walk you through every step. You will end with a smooth-running string trimmer. Start with our how to use a trimmer guide for the basics.
| Step | What you do | Key tip |
|---|---|---|
| 1 | Gather your cleaning supplies | Cleaner, brush, wrench, rag |
| 2 | Detach the carburetor | Engine off and fully cool |
| 3 | Disassemble the carburetor | Note the order of parts |
| 4 | Clean every part and jet | Spray, soak, then brush |
| 5 | Reassemble and reinstall it | Tighten well to stop leaks |
Gather the Necessary Cleaning Supplies
Step 1: Gather the Necessary Cleaning Supplies
Before diving into the cleaning process, it’s necessary to gather all the supplies needed. These include a wrench or a screwdriver. You also need a clean rag or paper towels. Bring a can of carburetor cleaner and a wire brush.
Some individuals prefer using a carburetor cleaning kit, which includes most of these items. Having these tools ready before you start helps a lot. You avoid interruptions while searching for items mid-way. Our how to buy a string trimmer guide helps if you still shop.

Detach the Carburetor
Step 2: Detach the Carburetor
The first thing you need to do is detach the carburetor from the string trimmer. Make sure the trimmer is turned off and cooled down to avoid any injuries. You unscrew a few bolts to free the carburetor.
A wrench or screwdriver usually does the job. Remember to handle this process with care to avoid damaging any components. Our how to use a weed trimmer guide covers safe handling basics.
Disassemble the Carburetor
Step 3: Disassemble the Carburetor
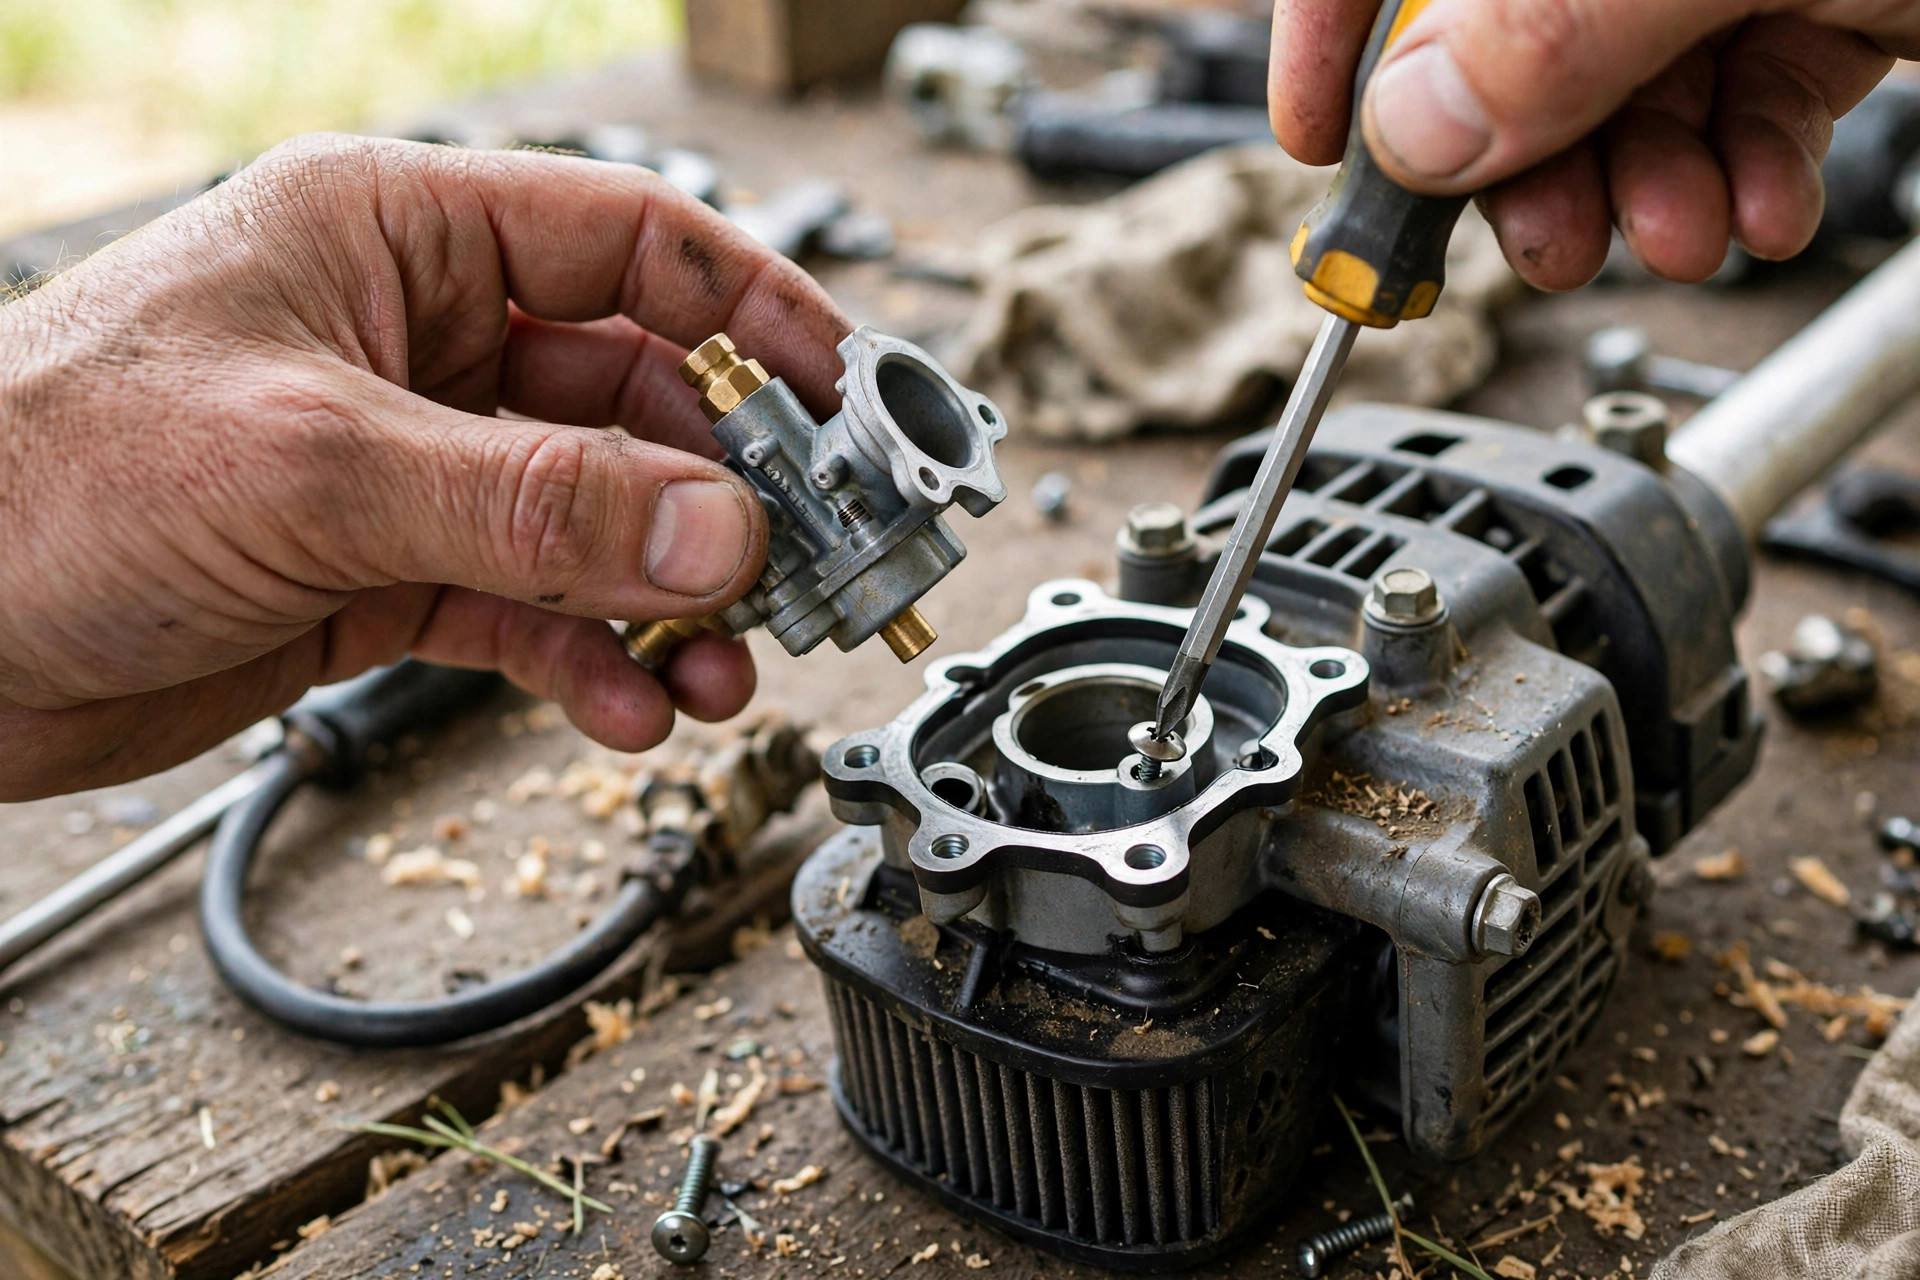
Once you have the carburetor detached from the machine, the next step is disassembling it. You need to see its internal components, ensuring every part is thoroughly cleaned. Be careful when handling tiny components like valves and screws.
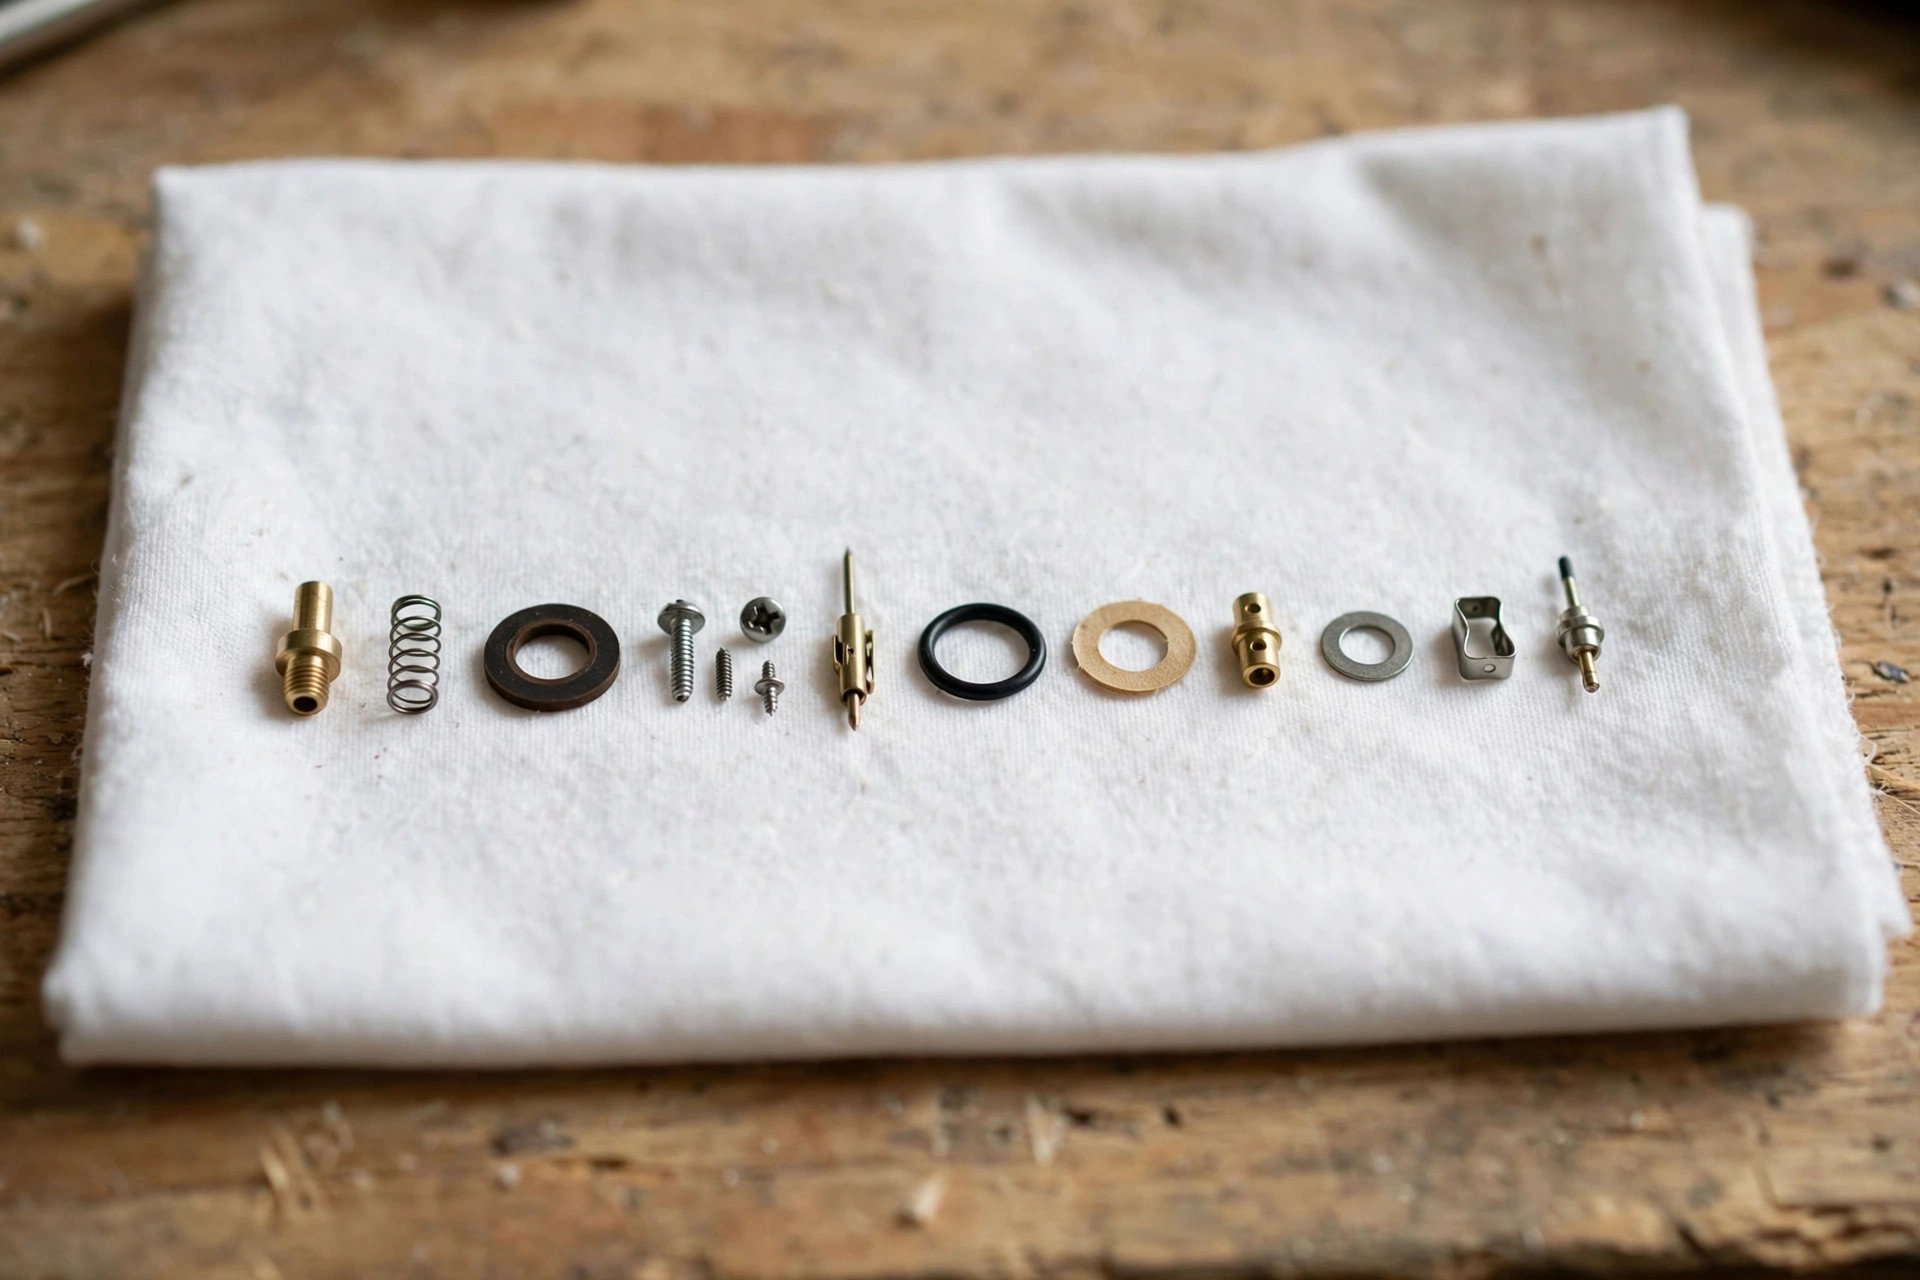
Small gaskets can easily get lost during cleaning. Also, take note of how each part is removed to make reassembling easier. Lay each part in order on a clean rag.
Clean the Carburetor
Step 4: Clean the Carburetor
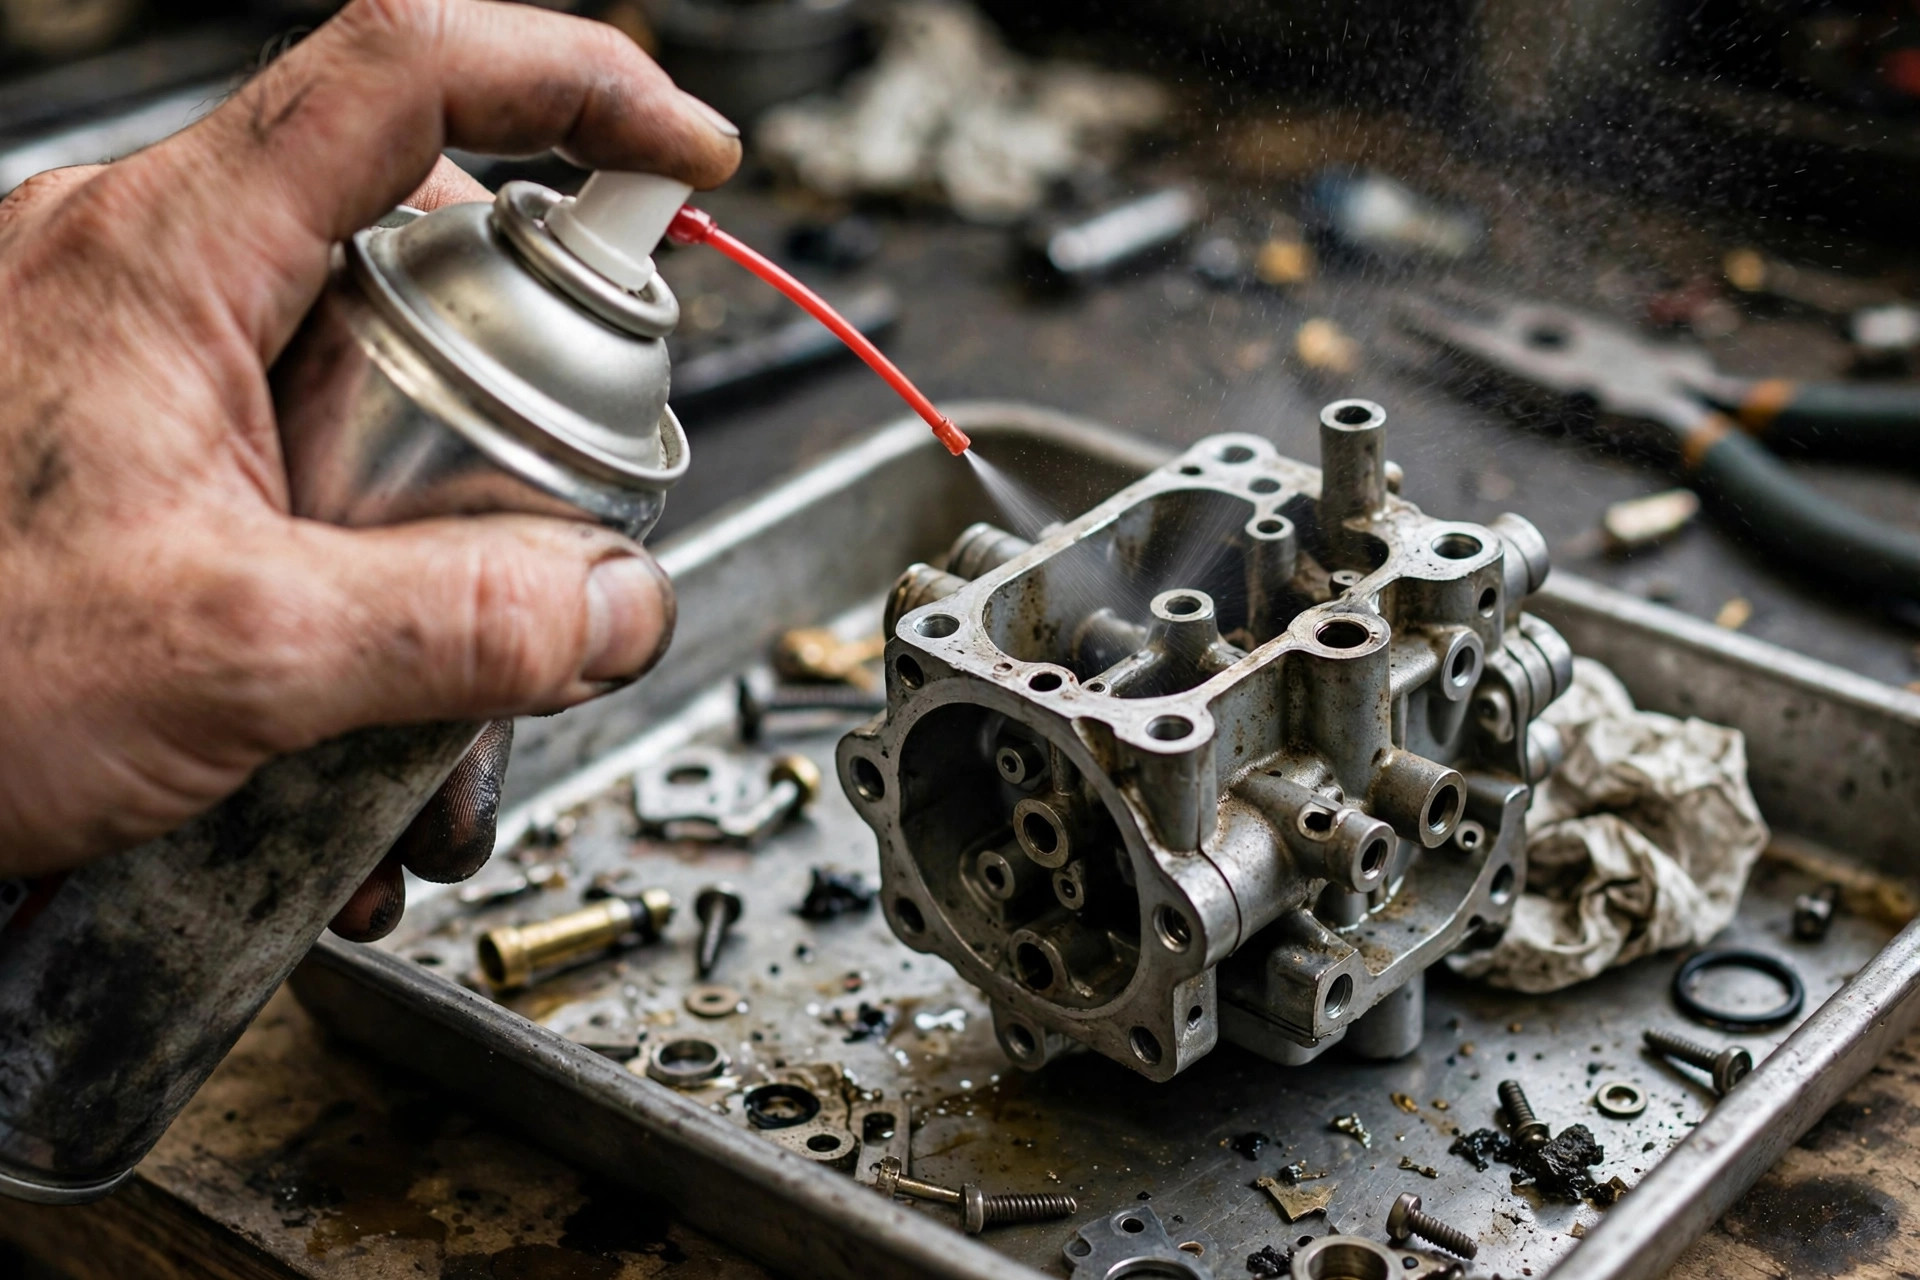
With the carburetor disassembled, it’s time to start the actual cleaning. Spray the carburetor cleaner into every hole, crevice, and jet of the carburetor. You may need to soak the parts for a few hours.
That depends on the amount of dirt and grime. Use a soft wire brush or a rag to remove any stubborn dirt. The STIHL site shares trimmer care tips for many models.
| Part | How you clean it | Tip |
|---|---|---|
| Jets | Spray cleaner through each jet | Use the thin straw nozzle |
| Gaskets | Wipe gently with a soft rag | Replace any torn gasket |
| Body | Brush off dirt and old fuel | Work over a tray |
| Screws | Keep them in a neat row | Follow your notes back |
Reassemble and Reinstall the Carburetor
Step 5: Reassemble and Reinstall the Carburetor
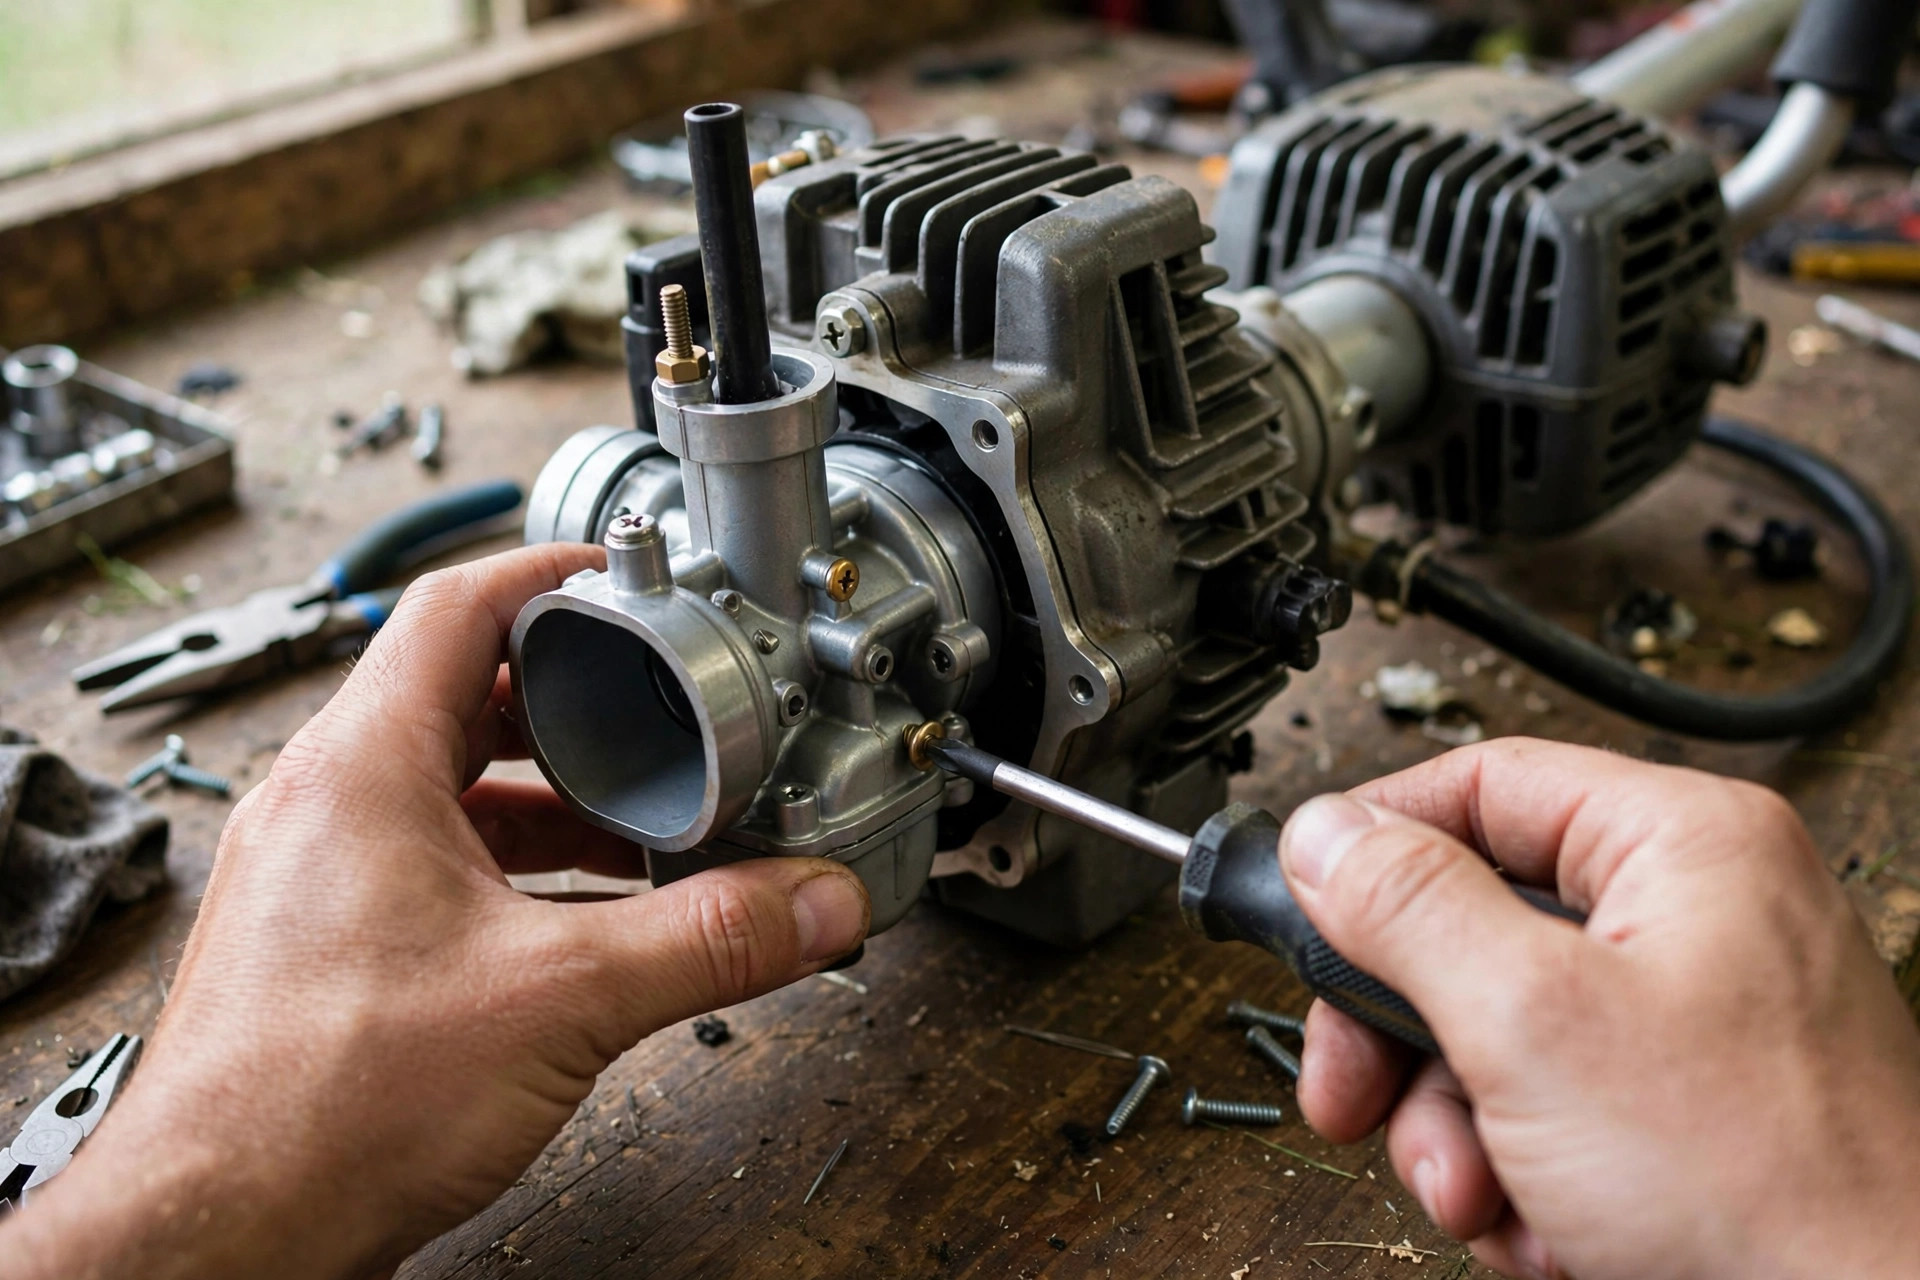
Once the carburetor is spotlessly clean, reassemble all the parts carefully. Follow your notes from the disassembly stage. Reattach the carburetor back to the trimmer using the screws you initially removed.
Ensure all the parts are correctly tightened to avoid any leaks. You have now learnt how to clean a string trimmer carburetor. Your trimmer should run at its top performance again.
Maintaining a clean carburetor is essential to ensure your string trimmer works effectively and efficiently. You can handle this maintenance task on your own. That saves time and money on professional services. Learn how to clean string trimmer for the rest of the tool.
Remember, consistency is the key to easy starts. Make cleaning your carburetor a regular habit. See how to store a string trimmer to keep it ready. Happy trimming, and enjoy the smooth run!
Frequently Asked Questions
Understanding how to maintain and clean your string trimmer carburetor is vital for optimal functionality. Here we answer some of your most frequently asked questions on this topic. Each answer below keeps the job simple and safe.
Why is cleaning my string trimmer carburetor necessary?
Over time, fuel deposits and debris can build up inside. They obstruct fuel flow and cause performance issues. A clean carburetor ensures efficient fuel combustion, leading to optimum engine performance.
Regular cleaning also extends the life of the carburetor and by extension, your string trimmer. It keeps your trimmer healthy and working well. A clean carburetor also helps the engine start fast.
How often should I clean my string trimmer carburetor?
How often you clean it depends on your use. Frequent users need more cleaning than light users. As a general guideline, clean it once a season. You can also clean it every 25 hours of use.
Watch for uneven idling or trouble starting your trimmer. Those signs can point to a dirty carburetor. It would then be time for a clean.
Regular maintenance can prevent premature wear and tear. It also helps you avoid costly repairs later. A dirty carburetor can hurt performance over time. It can even damage the engine itself. The EPA lawn and garden page lists safe yard care tips.
Materials and Sprays
What materials do I need to clean my string trimmer carburetor?
To clean your string trimmer’s carburetor, you will need a few tools and materials. You need a carburetor cleaning solution or denatured alcohol. Bring a toothbrush or similar small brush too. A screwdriver set handles disassembly and reassembly.
Always ensure that the cleaning solutions suit carburetors. They must not harm the internal components. In addition, wearing safety goggles and gloves is advised to protect your eyes and skin.
Work in a properly ventilated area for this job. Cleaning solutions can produce harmful fumes indoors. Gloves also guard your hands from the solvent.
Can I use a carburetor cleaner spray for my string trimmer?
Yes, a carburetor cleaner spray can indeed be used to clean your string trimmer’s carburetor. It helps remove stubborn deposits from tight spots. A brush alone may not shift them. Direct the spray into all of the carburetor’s openings.
That clears debris from every small passage. Always remember that carburetor cleaner is a strong solvent. It can remove paint and other finishes with ease. Avoid spraying it on or near painted surfaces.
Also, wear appropriate protective gear and work in a well-ventilated area while using it. Read the can label before the first spray. Keep the can away from sparks and flames.
The Cleaning Steps
What steps should I follow when cleaning my string trimmer carburetor?
Typically, cleaning a string trimmer carburetor involves several steps. First, you need to disassemble the carburetor to expose the individual components. Use your cleaning solution to scrub off dirt and deposits. Reach all the small openings and corners.
Once cleaned, allow these components to dry thoroughly before reassembling the carburetor. Note down the order of disassembly as you work. You must assemble it back correctly afterwards. Our how to adjust string trimmer carburetor guide covers the tuning steps.
Each part must go back in its correct place. That matters for the carburetor and engine operation. A wrongly assembled carburetor could mean a dysfunctional engine.
Conclusion: How to Clean String Trimmer Carburetor
We have covered the key steps to clean your carburetor properly. You now know how to clean string trimmer carburetor parts safely. Disassemble the parts and clean them with care. Clean the small jets with extra attention. Replace any damaged parts during the job.
Remember, safety is crucial with mechanical devices like trimmers. Keep the device and your hands clean before starting. Regular cleaning improves the lifespan of your trimmer. It also reduces hiccups during every use. Equip yourself with the right tools today.

I’m Patricia D. Johnson, an affiliate marketer and blogger specializing in trimmers and grooming tools. I create honest reviews, buying guides, and practical tips to help readers choose the right trimmer for their needs. With a focus on quality, performance, and value, I simplify the decision-making process so consumers can make confident purchases.