
Why Is My Cordless Hedge Trimmer Not Working? Troubleshooting Tips
A dead trimmer can ruin your plans for a tidy garden. You can learn why is my cordless hedge trimmer not working fast. The fault is often small and easy to fix at home. This guide walks you through each check in plain words.
Battery, blades, gearbox, and safety switch all play a part. One weak link can stop the whole trimmer from running. You will learn the checks in the order that works best. The tables below show each fault and its fix side by side.
Fixing suits any homeowner with basic tools and some patience. Work through the steps one by one and test as you go. A clean, well-kept trimmer lasts far longer than a dirty one. Read on to bring your trimmer back to life today.
Quick answer: Check the battery first, then the blades and gearbox. Clean the battery terminals and test the safety switch next. Clear jammed blades and grease the gearbox for smooth running. A battery that will not hold charge needs a new one. If the steps fail, seek a pro or check your user manual.
Why Is My Cordless Hedge Trimmer Not Working? Key Points
If your cordless hedge trimmer is not working, check the battery first. A flat or faulty battery tops the list of checks to make. Even a full battery can fail if its contacts are dirty. Blades, gearbox, and safety switch can also stop the trimmer cold. Our guide to what a hedge trimmer is covers the tool basics.
The Short Answer
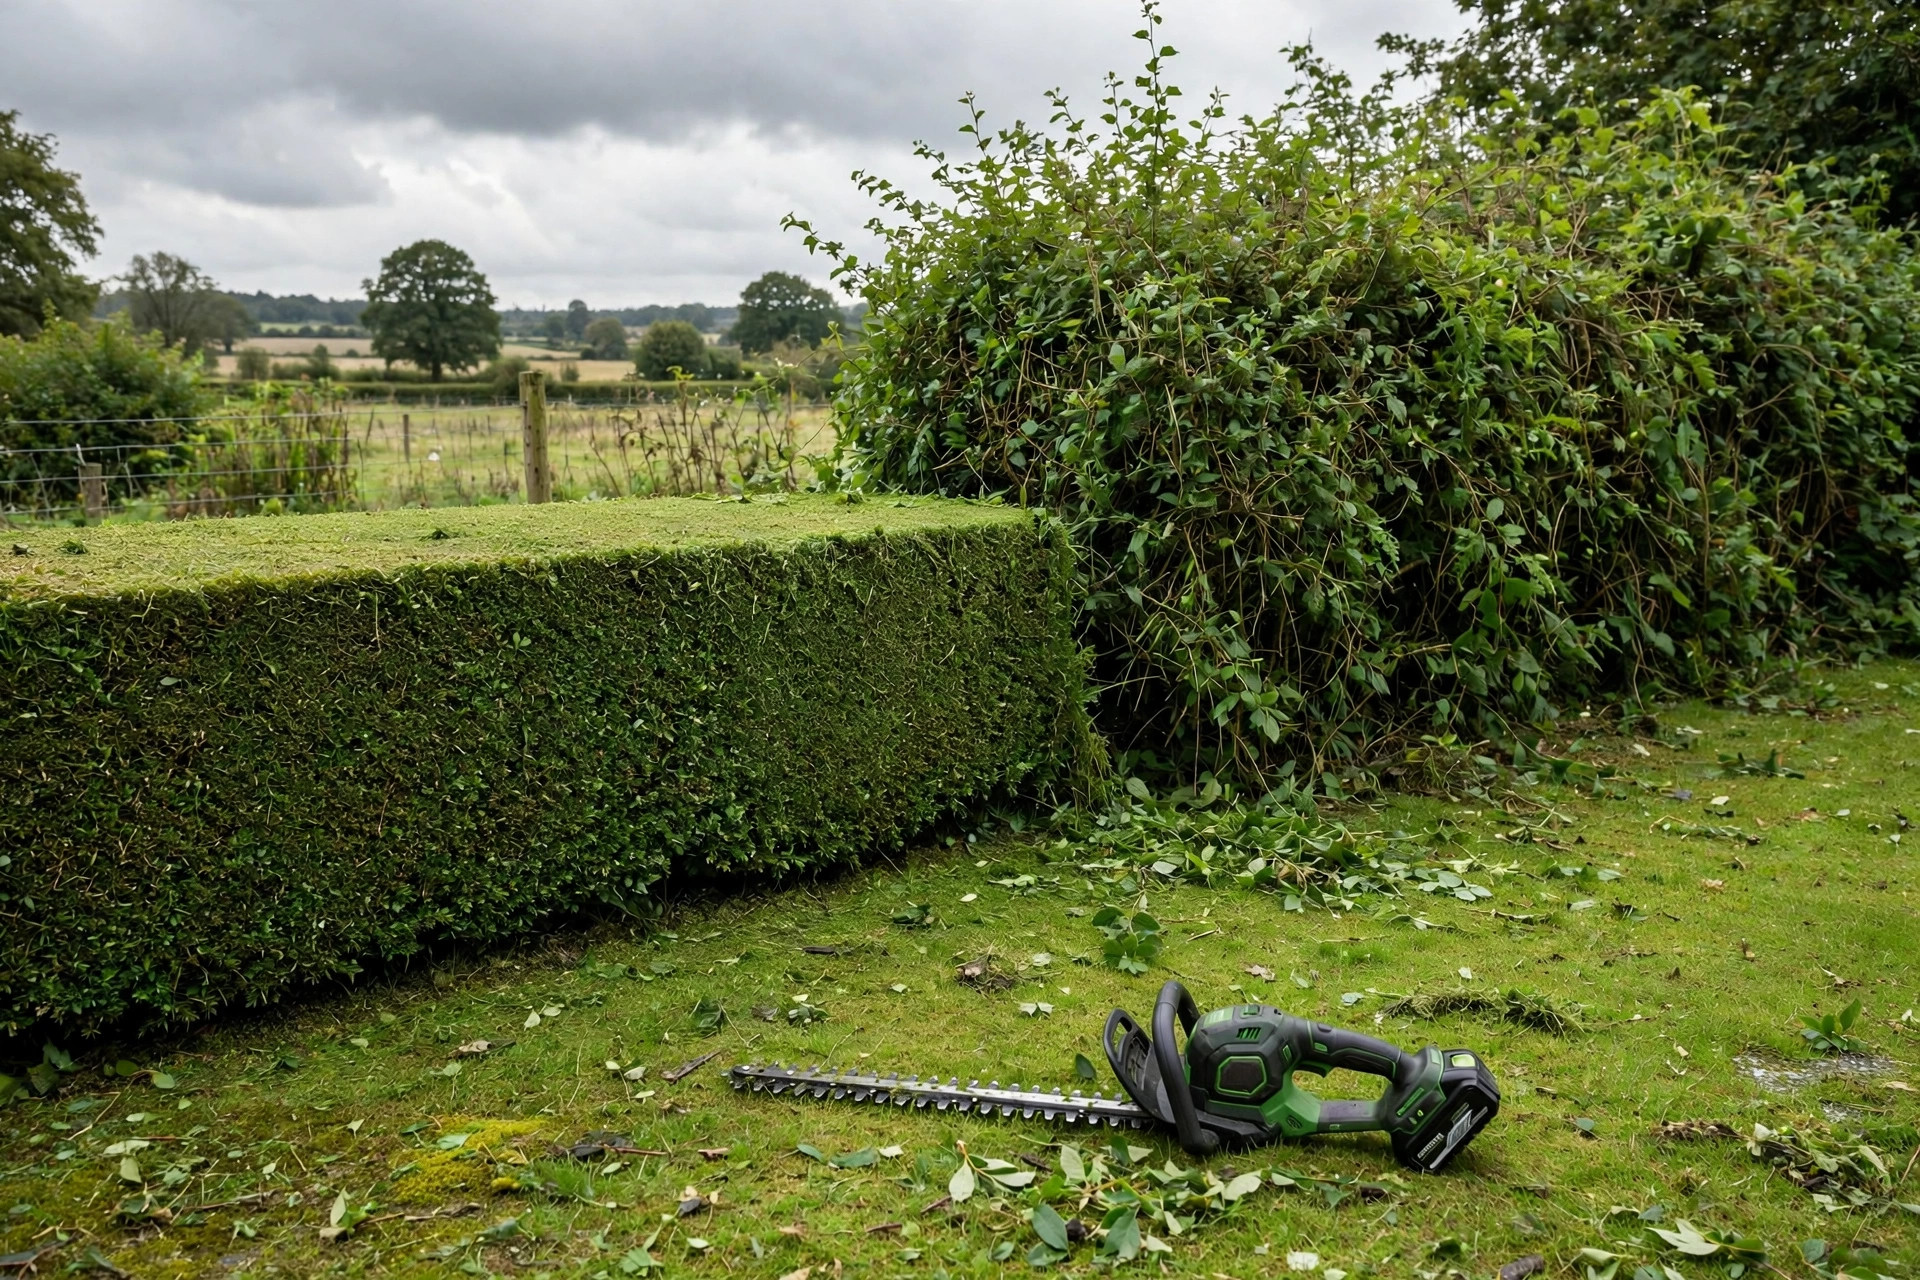
Start with the battery, then check blades, gearbox, and switch. Clean contacts and clear debris before you buy any new parts. Most faults clear up with a clean, a charge, or a small fix. Our cordless trimmer guide shows safe use for these tools.
Common Issues
Several common faults can stop a cordless hedge trimmer from working. The table below lists each fault and what to check first. Work through the list in order to find the fault fast. Most faults need only a clean, a charge, or a small part.
| Issue | What to Check |
|---|---|
| Battery | Charge, damage, corrosion, contacts |
| Blades | Dull, bent, jammed, or damaged |
| Gearbox and bearings | Oil leaks, cracks, wear, debris |
| Safety switch | Stuck, damaged, or dirty |
Battery Problem
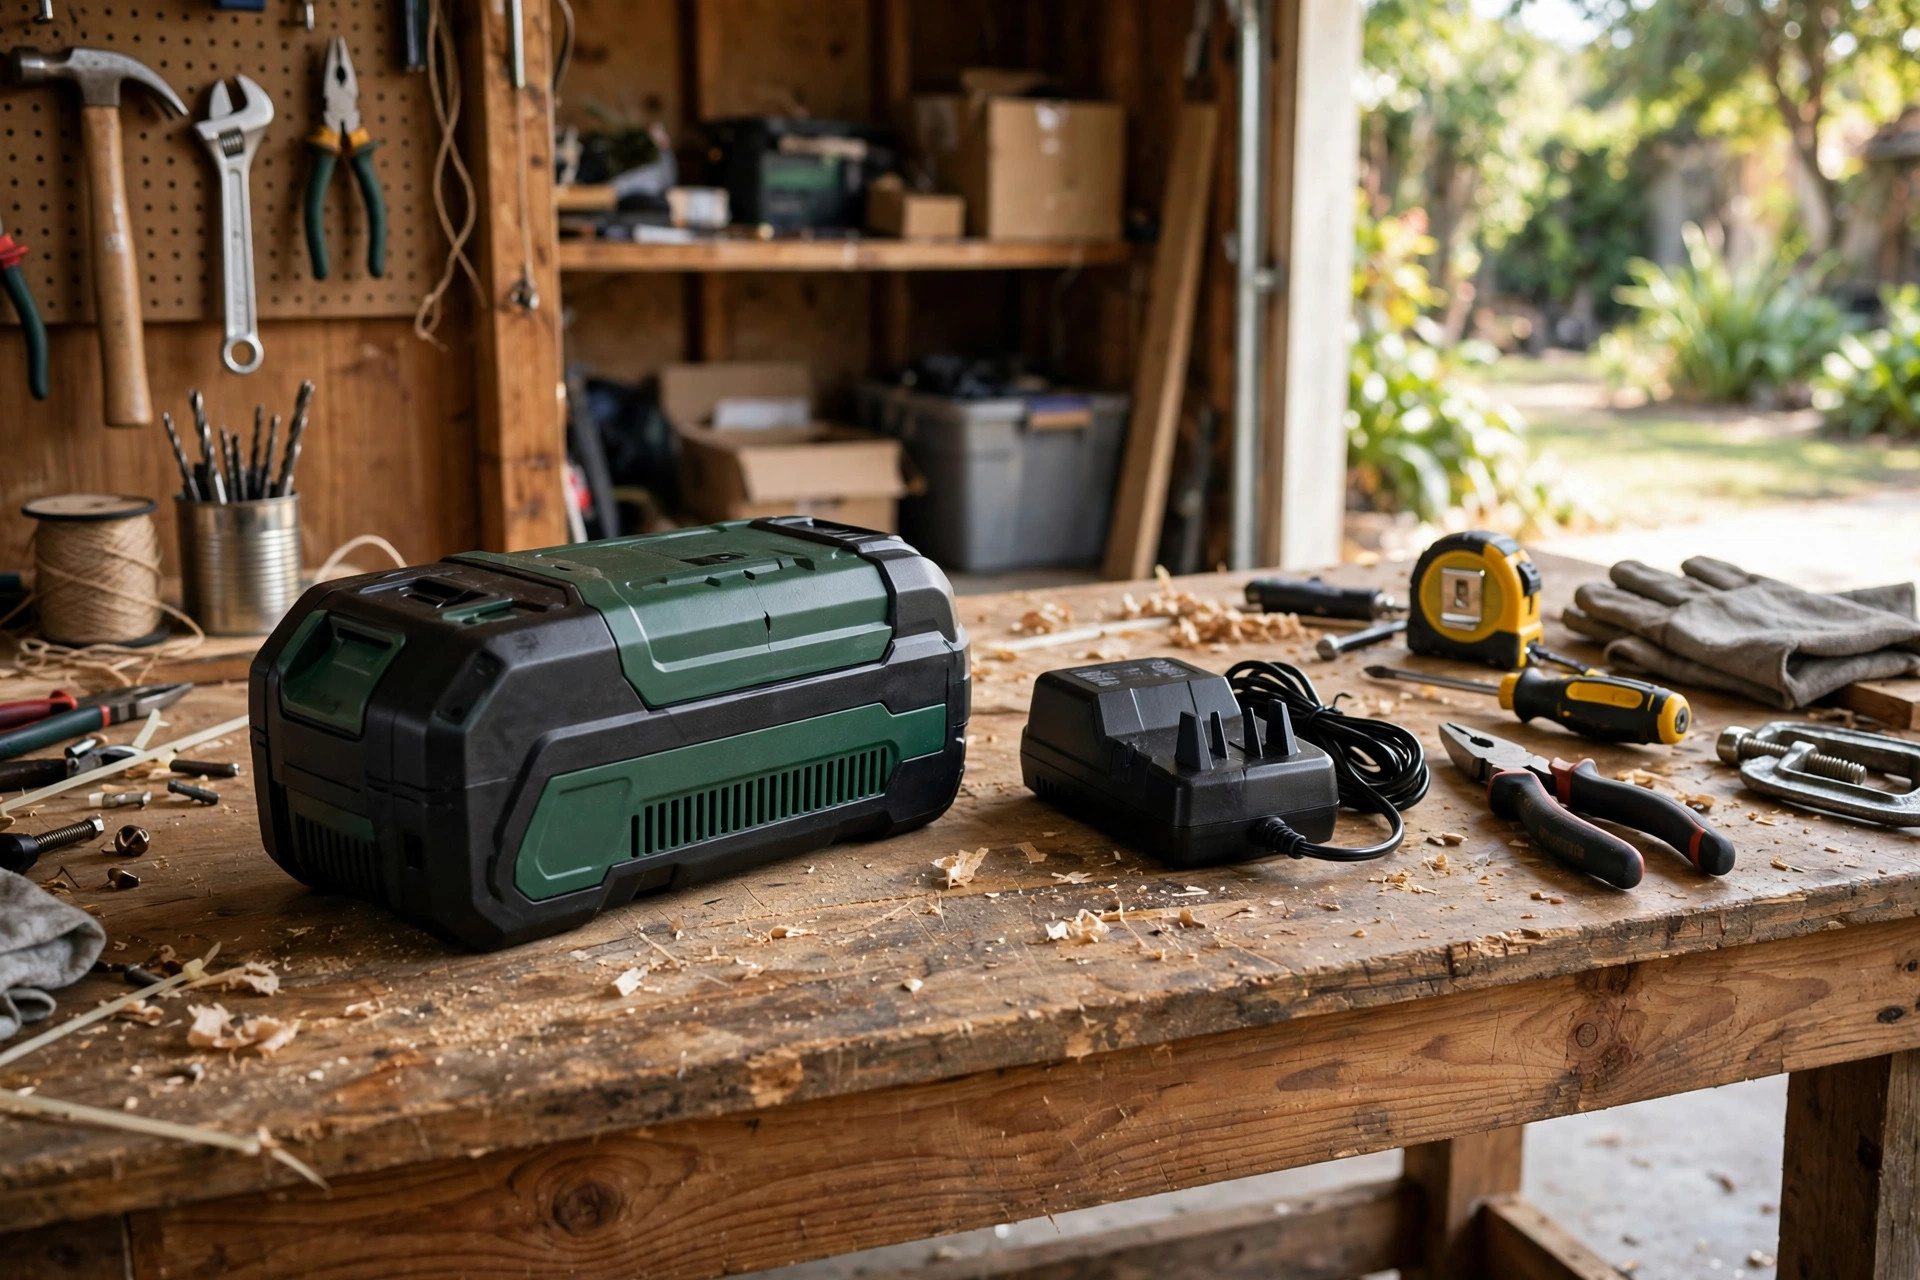
Check the battery first, even if it looks fully charged. Remove the pack and look for damage or signs of corrosion. Clean the terminals with a clean cloth or a soft brush. Old packs that will not hold charge need a new one.
Blade Issues
Check the blades for dull edges, bends, or clear damage. Dull blades cut poorly and strain the trimmer motor hard. Bent or damaged blades may not move at all in use. Sharpen or replace the blades as the maker directs you to.
Gearbox and Bearings
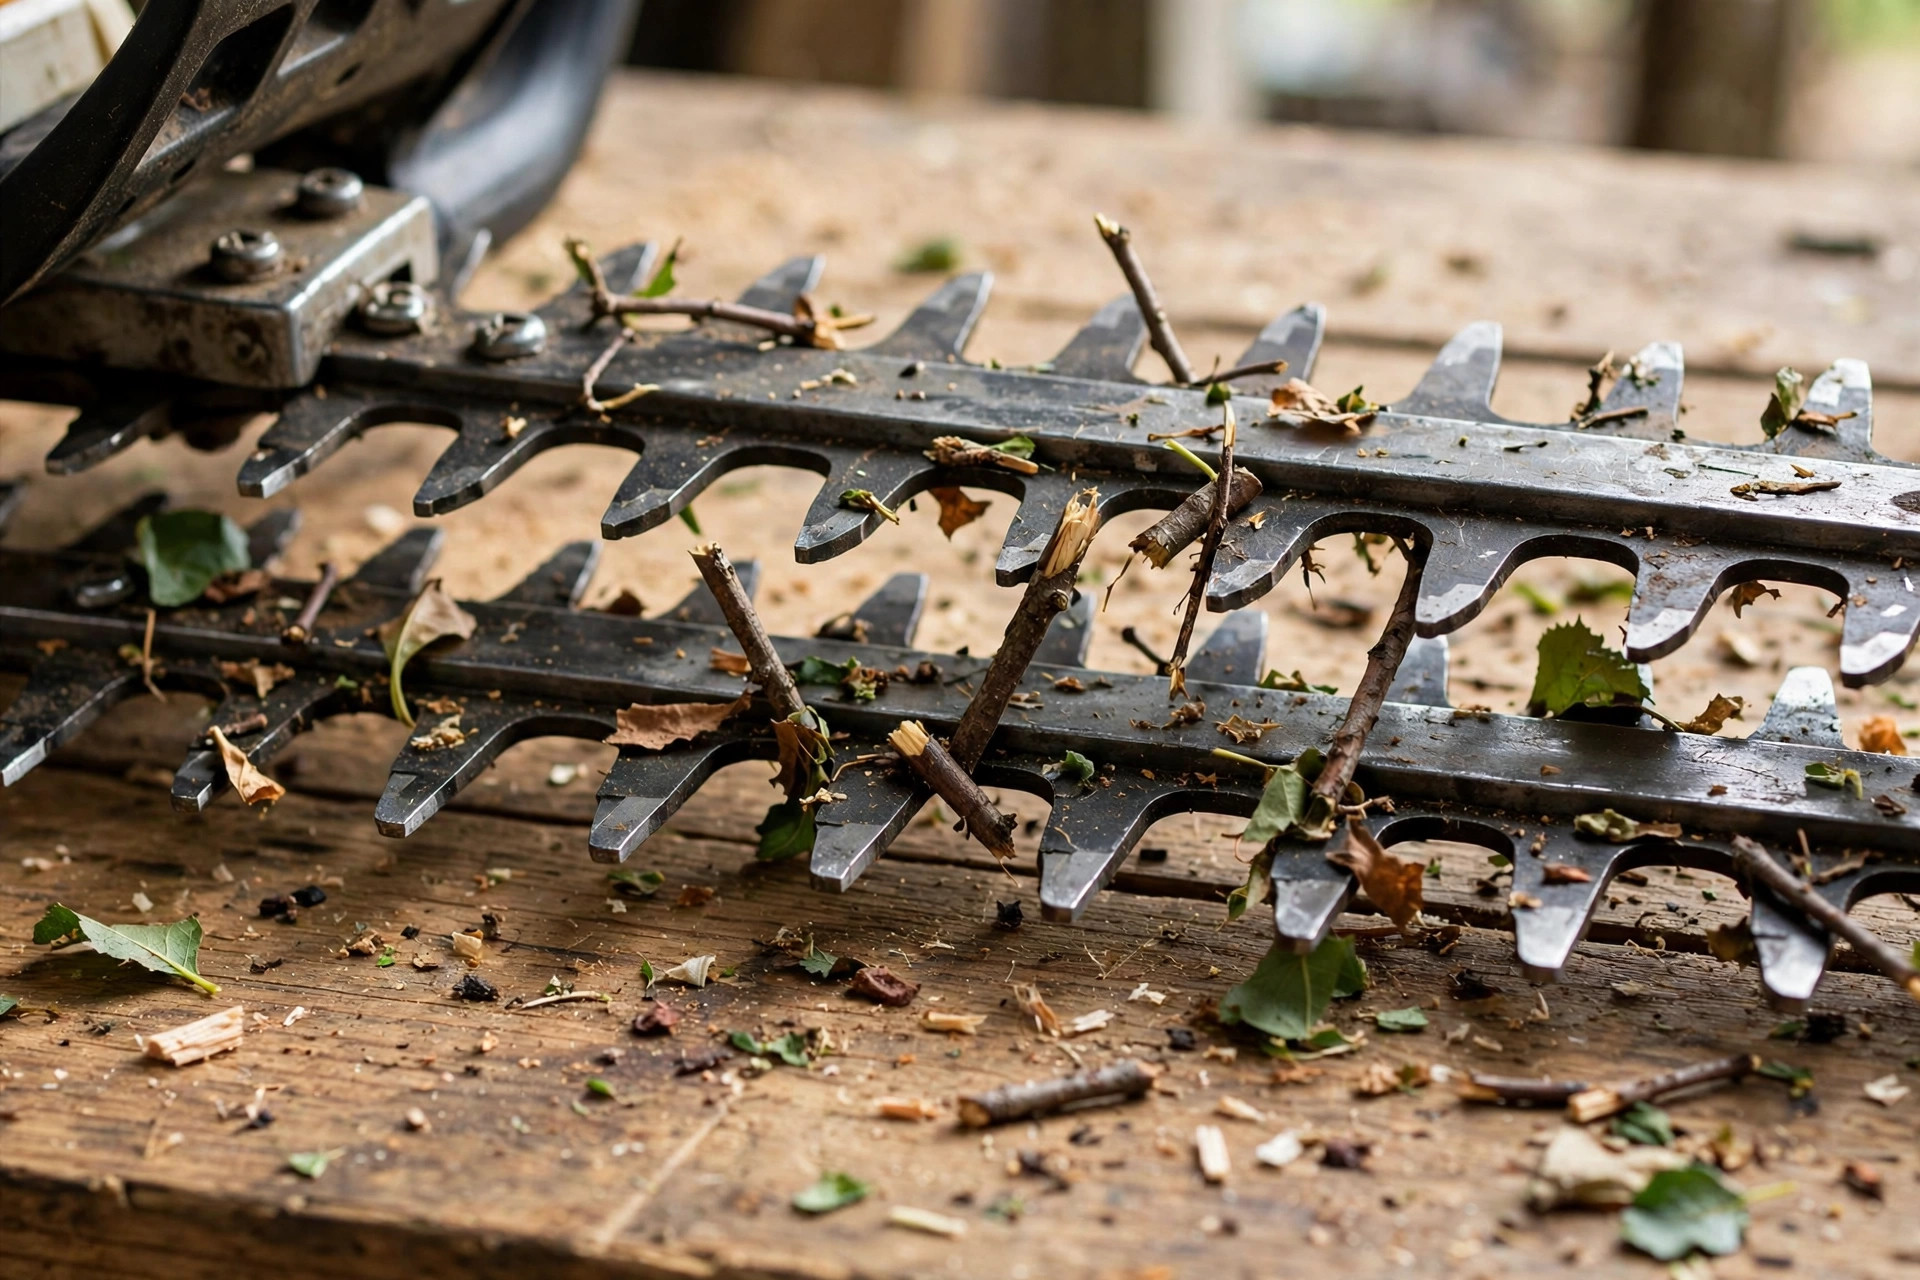
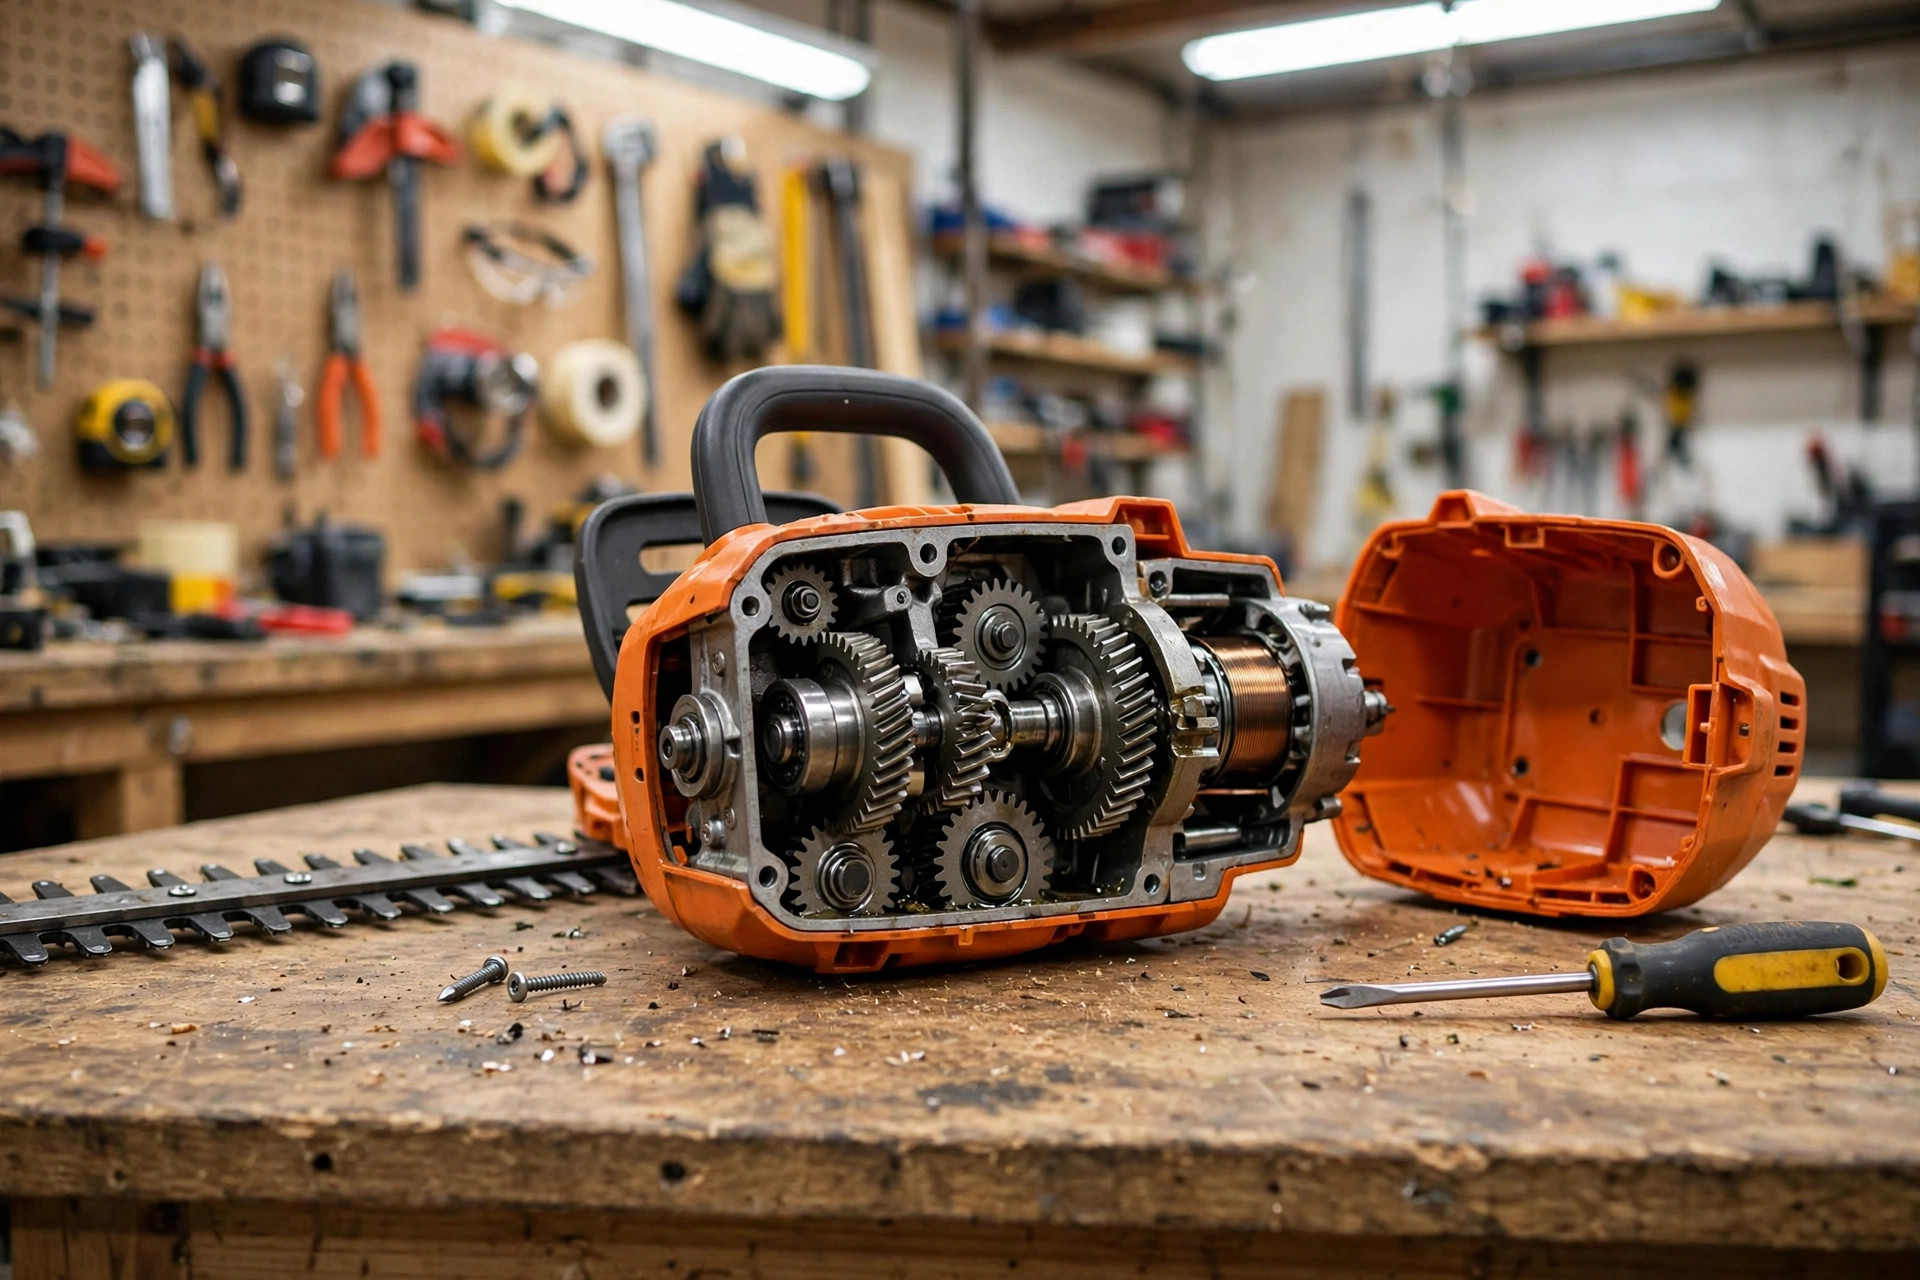
The gearbox and bearings drive the blades, so check them well. Look for oil leaks, cracks, or signs of heavy wear inside. Check that the bearings are oiled and free of debris. A dry or dirty gearbox can seize and stop the trimmer cold.
Safety Switch
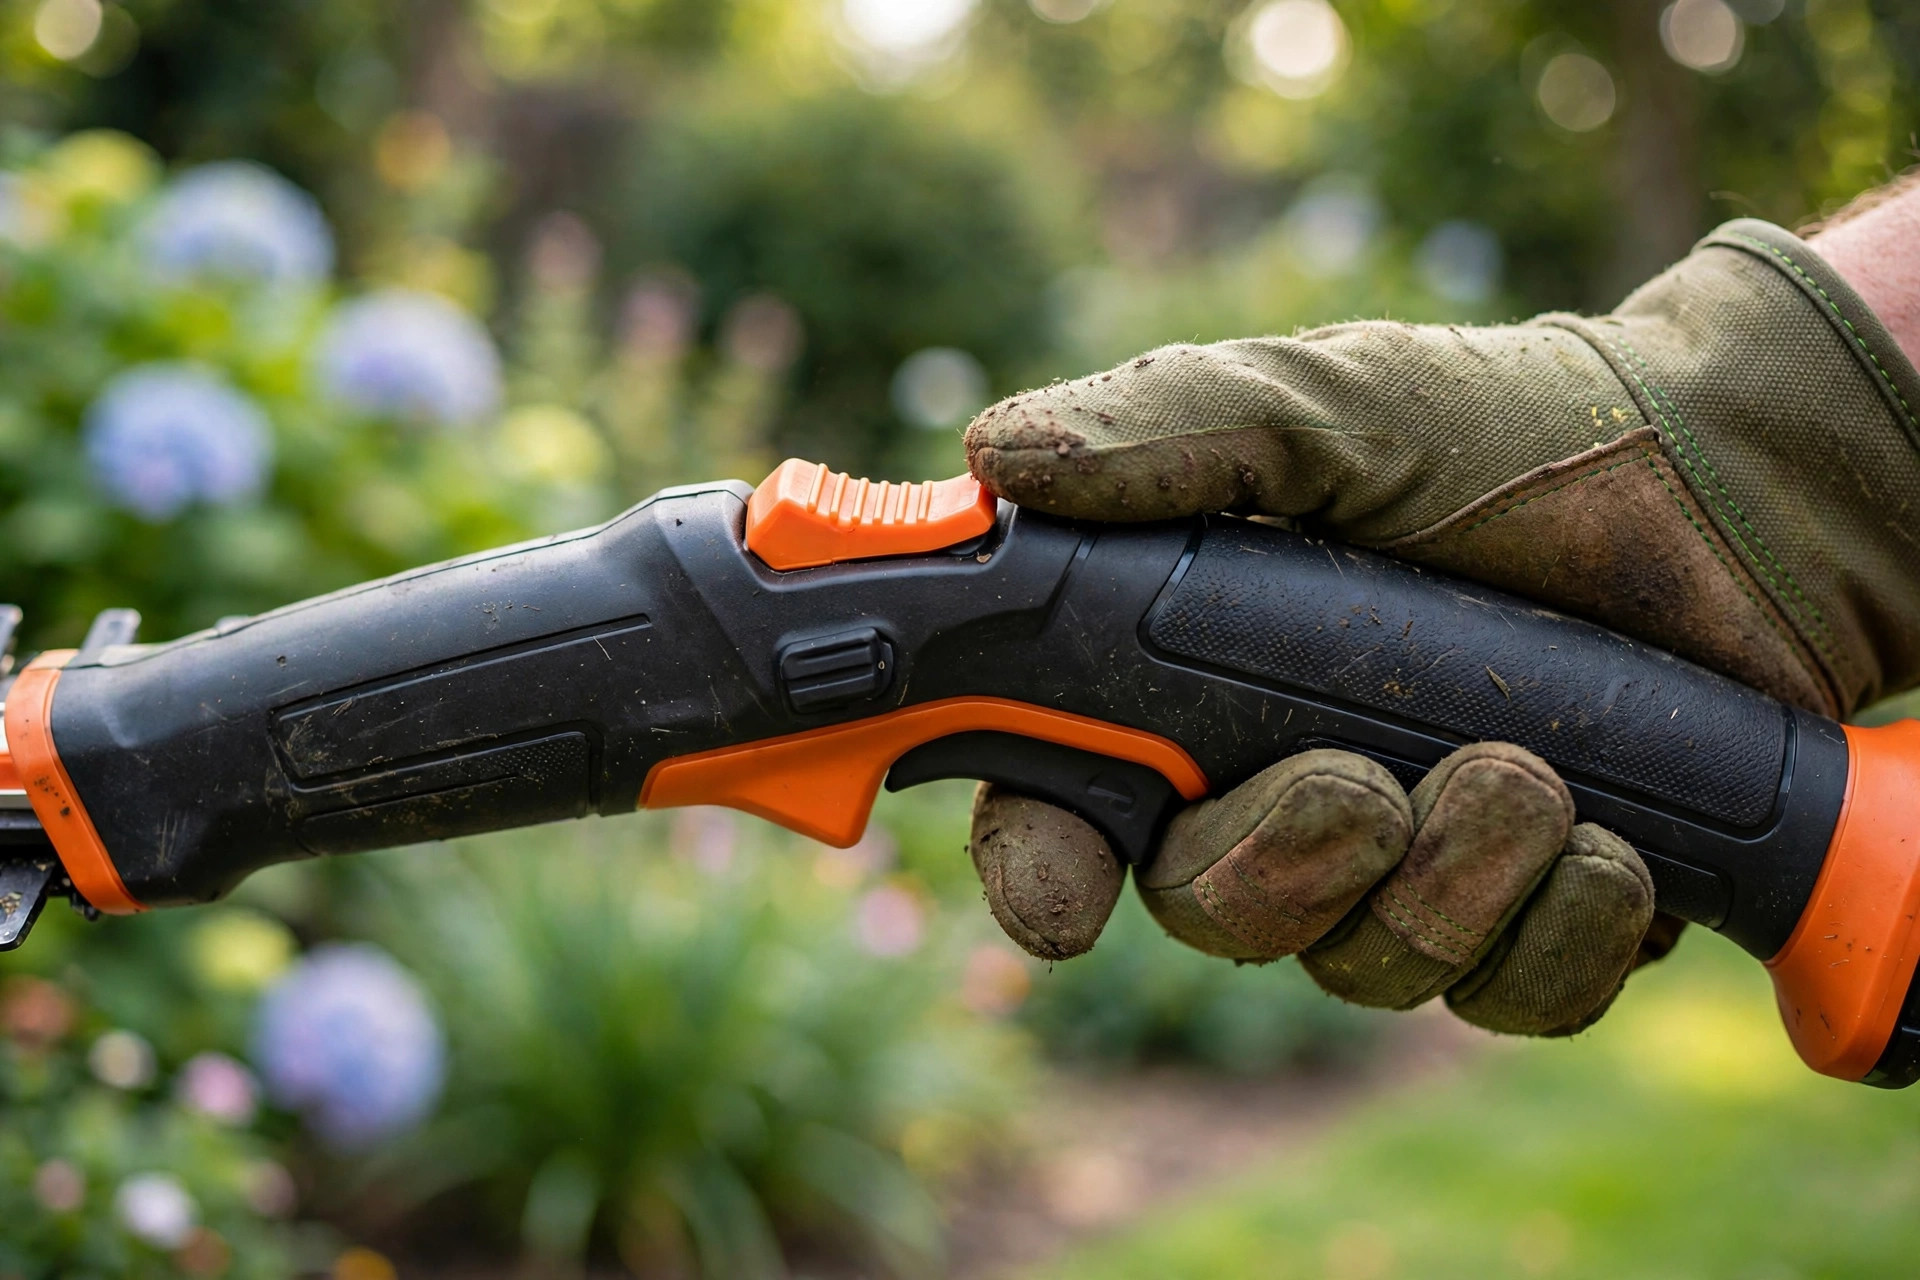
The safety switch stops the trimmer from starting by mistake. A stuck or damaged switch can stop the trimmer from starting at all. Clean the switch and the area around it to clear dirt. A faulty switch may need a new one from the maker.
Troubleshooting Steps
Follow these steps in order to find the fault with ease. The table below sums up each step and its main action. Test the trimmer after each step to see if it runs. Stop and seek a pro if a step feels beyond your skill.
| Step | What to Do |
|---|---|
| Check battery | Inspect, clean contacts, replace if dead |
| Inspect blades | Clear debris, check for damage |
| Clean gearbox | Remove housing, clean gears, oil lightly |
| Test safety switch | Check damage, test with a multimeter |
Checking the Battery
Remove the battery and check it for damage or corrosion first. Clean the terminals with a soft cloth for a firm contact. If the fault stays, the pack may need a new replacement. Use the type and voltage the maker states for your model.
Inspecting the Blades
Look for twigs or leaves that block the blades from moving. Clear the blockage with a brush or a clean cloth. Check for wear or damage, then sharpen or replace as needed. Our blade sharpening guide covers safe care for trimmer blades. Our blade life guide tells you when trimmer parts wear out.
Cleaning the Gearbox
Dirt, debris, and old grease can build up in the gearbox. Remove the housing and clean the gears with a brush. Wipe the parts with a cloth and clear all the dirt. Add a small amount of oil to the gears for smooth running.
Testing the Safety Switch
Check the switch for damage or loose links before you test. Use a multimeter to test the switch for a live link. No reading means the switch is dead and needs a new one. Follow the maker guide or call support for a safe swap.
Maintenance Tips
Good upkeep stops most faults before they start at all. Check the battery, blades, gearbox, switch, and motor case often. Clean and grease the parts that need it after each use. Our oiling guide shows how to oil trimmer parts the right way.

Proper Greasing
Grease the blade and cutting parts on a regular basis. Use high-quality grease to cut friction and wear on parts. Greased parts run smooth and last far longer in use. Check for dry spots each time you pick up the trimmer.
Regular Cleaning
Clean the trimmer after each use to stop debris from building. Clear grass, twigs, and leaves from the blades and case. Use a brush or blown air for the hard-to-reach spots. Wipe the tool with a damp cloth to clear the last dirt.
Storage Recommendations
Store the trimmer in a clean and dry place at all times. Use a cover or case to shield it from dust and damp. Take the batteries out if you store it for a long spell. This stops leaks and keeps the pack safe for next use.
Specific Brand Concerns
Each brand can show its own faults, so check yours first. Stihl, Makita, and Black+Decker each have known weak spots. The table below lists each brand and its common concern. Brand checks help you fix the fault without wasted effort.
| Brand | Common Concern |
|---|---|
| Stihl | Faulty safety switch, dirty or clogged gearbox |
| Makita | Blade jamming, worn-out bearings |
| Black+Decker | Faulty spark plug, faulty battery or charger |
Stihl Trimmers
Stihl trimmers can fail when the safety switch turns faulty. The switch stops the trimmer unless the handle sits right. A dirty or clogged gearbox can also slow the trimmer down. Clean the gearbox often to keep the trimmer running well.
Makita Trimmers
Makita trimmers can jam when blades sit out of line. Debris caught between the teeth can also jam the blades. Check the blades, line them up, and clear all debris. Worn bearings can make the trimmer loud, shaky, or dead.
Black+Decker Trimmers
Black+Decker trimmers can show a faulty spark plug fault. The spark plug lights the fuel mix in the engine block. A worn plug can stop the trimmer from starting or running. A weak battery or charger can also stop these trimmers cold.
Please note: this post calls a cordless trimmer a fuel machine. A cordless battery trimmer has no spark plug or fuel mix. The spark plug steps above stay as the live post wrote them. Check the battery and charger first on a cordless model.
Additional Resources
More checks can help when the steps above do not work. The sections below cover the spark plug, battery, and motor. Work through them in order and test the trimmer between steps. The Wikipedia page on hedge trimmers explains how these tools work.
Replacing Spark Plug
A faulty spark plug can stop a hedge trimmer from starting. Check the plug for wear, cracks, or heavy carbon buildup. A cracked insulator or burnt electrode means the plug is dead. Test the plug with a spark plug tester before you swap it.
Battery and Charger Inspection
Make sure the battery is fully charged before you test more. If the fault stays, the battery or charger may be dead. Swap the dead part for a new one that fits your model. A sound battery and charger rule out all power faults fast.
Motor Overload or Dull Blade
Check for motor overload signs like heat or strange noise. If the blades will not move, they may be dull or blocked. Sharpen or replace the blades to restore smooth cutting action. Our guide to blades that will not move covers this fault.
When to Seek Help
If the trimmer still will not work, seek a pro for help. A trained tech can find faults that home checks may miss. Check your user manual for model-specific tips and fault codes. Our guide on trimmers that keep cutting out covers more faults.
Frequently Asked Questions
Why has my hedge trimmer stopped working?
Check the battery and make sure it is fully charged. Inspect the spark plug for wear or damage, then swap it. Check the blades and gearbox for blocks or other faults. If these steps fail, swap the battery or seek more help.
How long does battery last on cordless hedge trimmer?
Battery life varies, but most packs last 30 to 60 minutes. Heavy cutting drains the pack much faster than light work. A spare charged pack lets you trim without long breaks. Old packs hold less charge and may need a new one.
Why won’t my hedge trimmer blades move?
Check the battery first to make sure it is fully charged. If the pack is fine, check the blades for blocks or damage. You may also need to check the gearbox and safety switch. If the fault stays, seek a pro for repair help fast.
Why is my Black and Decker cordless hedge trimmer not working?
Check the battery first and make sure it is fully charged. Try taking the pack out and putting it back in again. Check the blades for jams and the gearbox for dirt. Check the safety switch and motor case, then seek a pro.
How do I test the safety switch on my cordless hedge trimmer?
Look at the switch for damage or loose links first. Clean the switch and the area around it with care. Use a multimeter to test the switch for a live link. No reading means the switch is dead and needs a swap.
Conclusion: Why Is My Cordless Hedge Trimmer Not Working
So, why is my cordless hedge trimmer not working at all? Check the battery, blades, gearbox, and safety switch first. Clean, grease, and charge the parts on a regular basis. Most faults clear up with a few simple checks at home.
Follow the maker guide and safety rules for your own model. Store the trimmer dry and take the pack out for long spells. With steady care, your trimmer will serve you for years. You can now tackle your hedges with ease and pride.
