
How to Clean Panasonic Trimmer
How to clean Panasonic trimmer parts is not hard to learn. A dirty trimmer holds germs each day. Set cleaning guards both work and hygiene. This guide walks through seven clear cleaning steps. A clean tool is a safe tool.
A clean trimmer cuts with care and feels smooth each time. Grime dulls blades and strains the motor in time. Plain home supplies do the whole job. Full drying stops rust before it starts. Clean blades cut true. A clean tool works at its best.
The Wikipedia Panasonic page covers the maker of these trimmers. Some models have their own cleaning needs though. The user manual gives the steps for your model. Follow it with the steps laid out below. The manual knows your model best.
Quick answer: Remove the trimmer head from the main unit first. Brush away hair and debris with a small brush. Rinse the head under running water thoroughly afterwards. Let the head dry completely before reattaching it again. Oil the trimmer blades regularly for smooth running.
How to Clean Panasonic Trimmer: Overview
The five quick steps below sum up the routine. Take the head off to bare the cutting blades in full. Brush and rinse to clear trapped hair and grime. Dry and oil to end each sound cleaning round. Five steps cover the whole clean.
| Quick Step | What the Post Says |
|---|---|
| Remove the head | Detach the trimmer head from the unit |
| Brush it clean | Brush away hair and debris thoroughly |
| Rinse the head | Rinse under running water until clean |
| Dry it fully | Let the head dry completely afterwards |
| Oil the blades | Oil regularly for smooth blade movement |
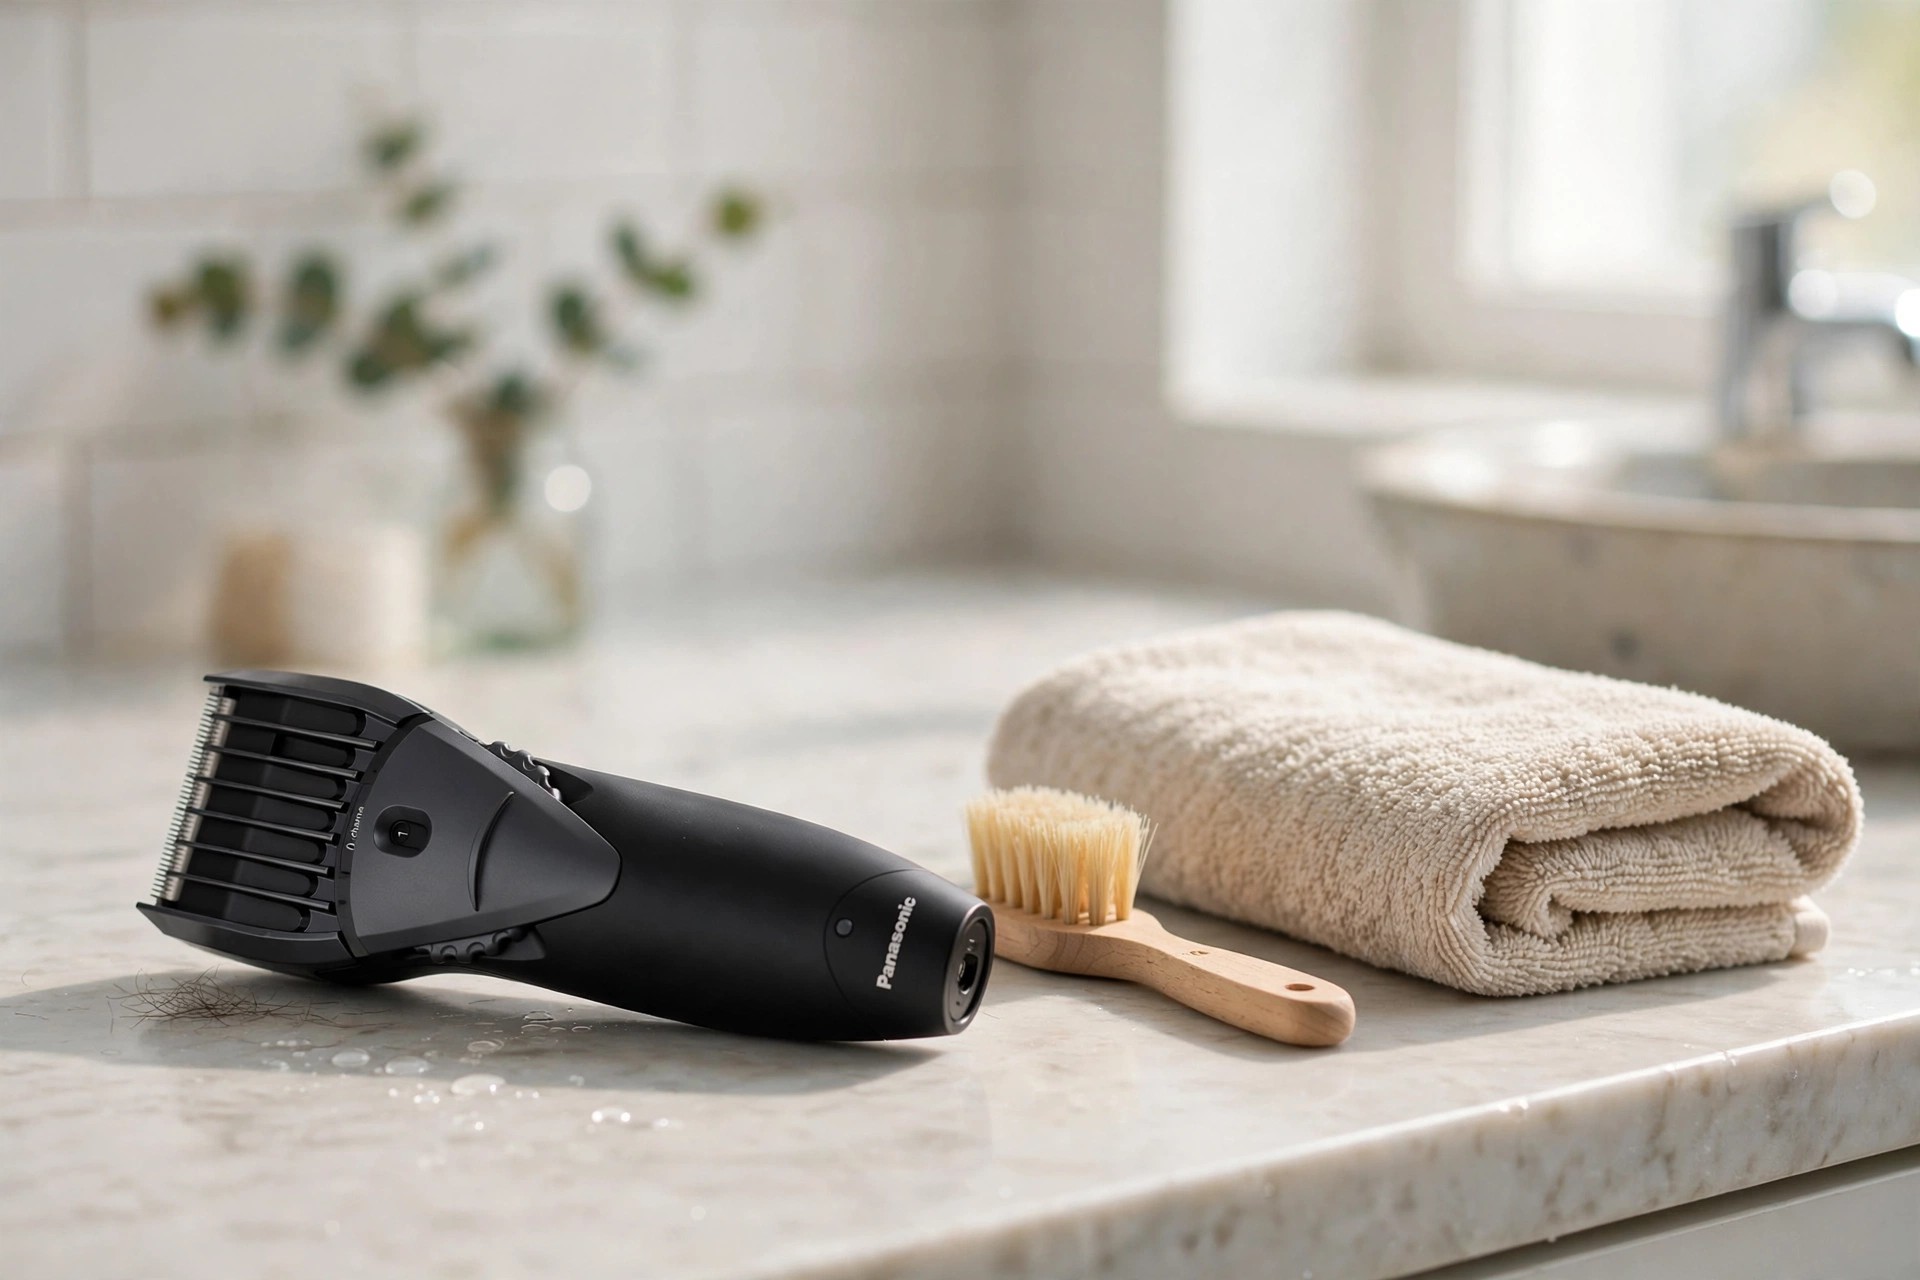
Sticky grime builds up fastest round the blades. Set cleaning guards your skin while you groom too. The Wikipedia hair clipper page lays out blade design basics. Clean heads glide smoothly across skin each time. Clean heads cut with ease.
Gather the Cleaning Materials First
Gather each supply before you take a thing apart. Soft brushes reach between the small blade teeth. Mild soap loosens grime and does not harm the parts. A clean towel ends the drying stage neatly. Get set first, then start.
| Supply | What the Post Says |
|---|---|
| Soft brush or toothbrush | Scrubs hair and debris from the head |
| Mild liquid soap | Cleaning solution for soaking and scrubbing parts |
| Small container or bowl | Holds warm water for soaking the head |
| Clean cloth or towel | Dries attachments and the trimmer head thoroughly |
Clean the Trimmer in Four Steps
Step 1: Disassemble the Trimmer
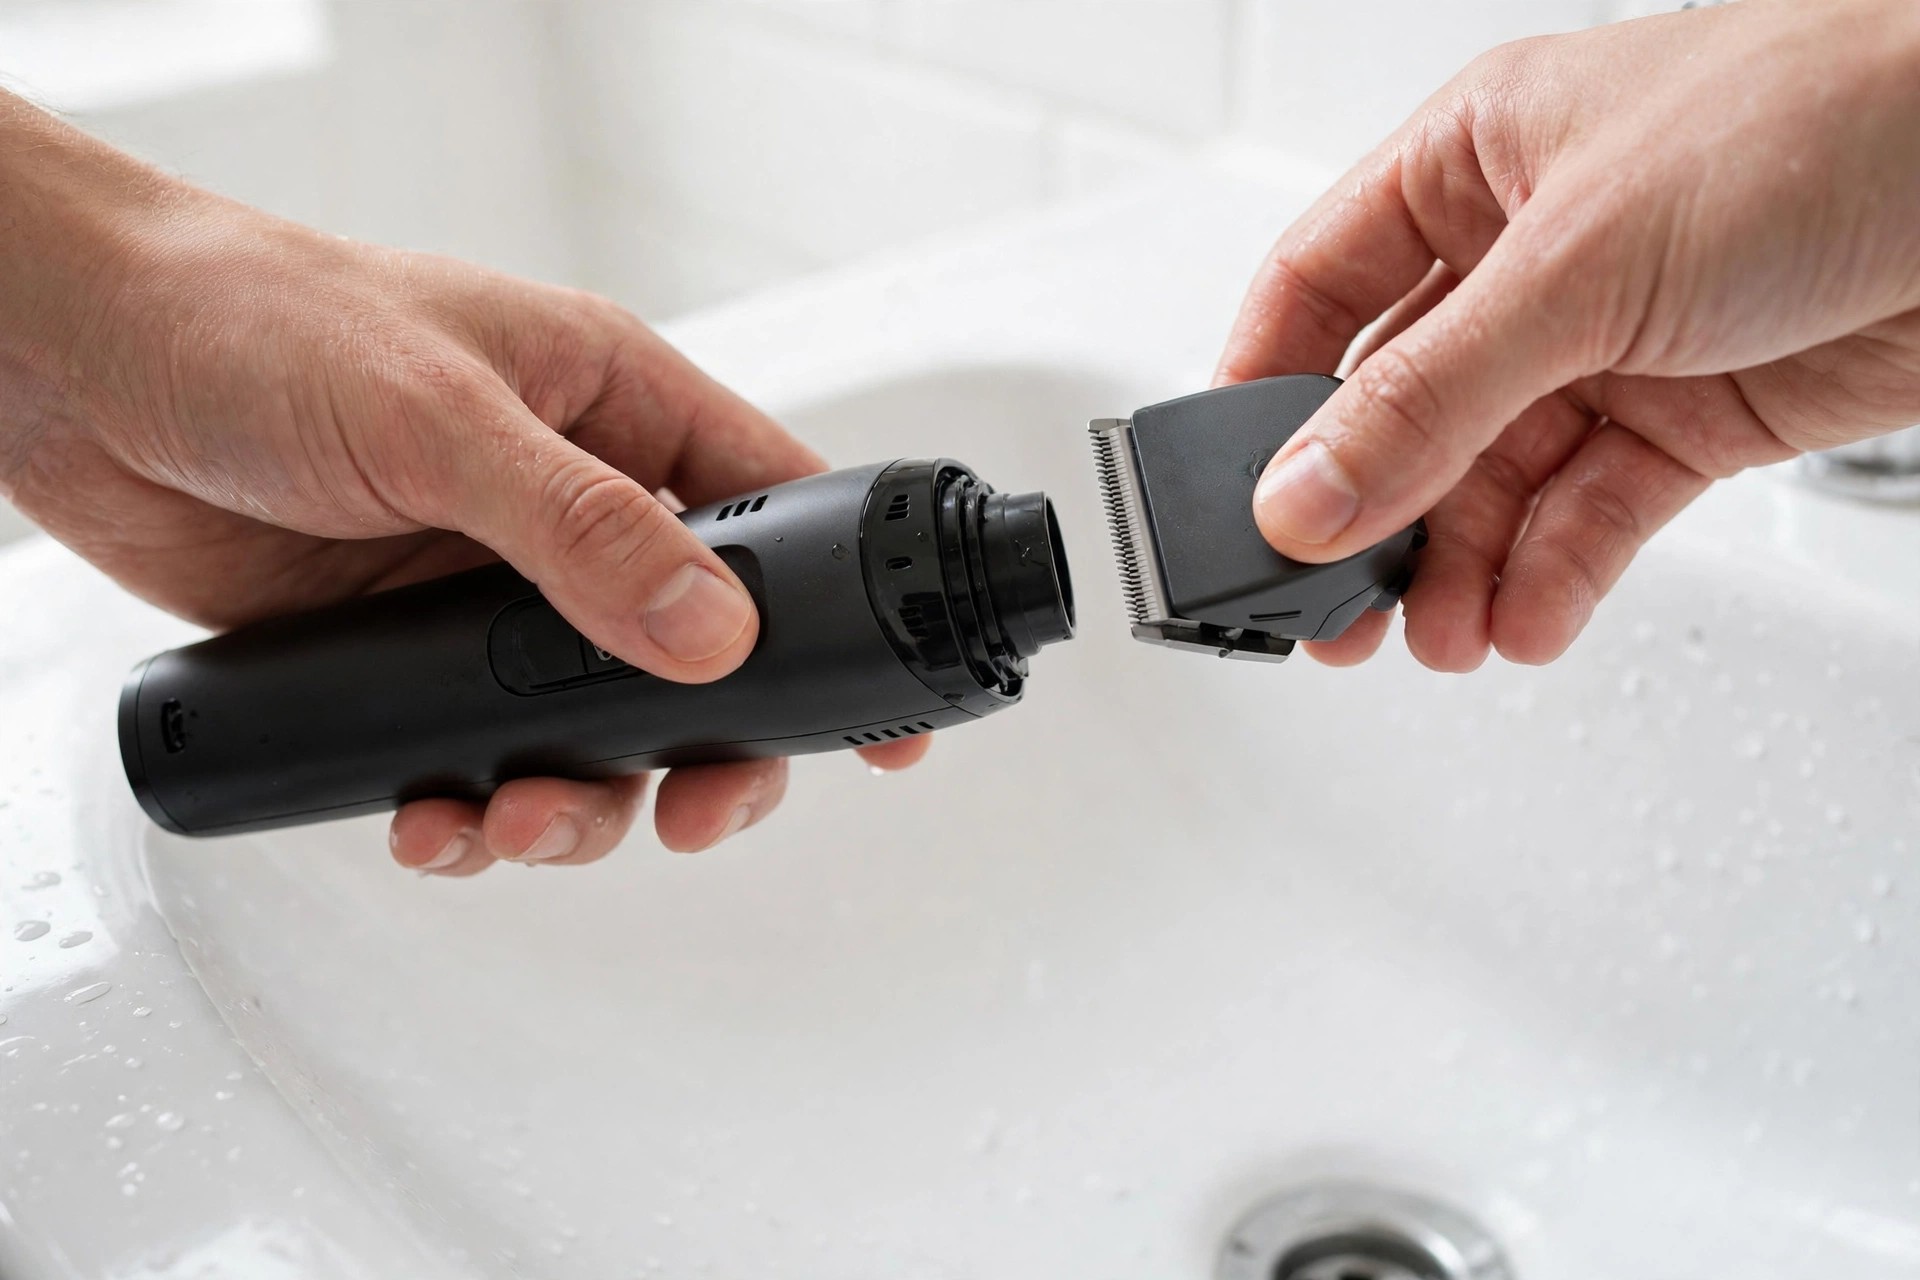
Turn the trimmer off and unplug it first. Take off the add-ons and comb guides with care. Detach the trimmer head from the main body. The user manual shows the exact steps for your model. Power off comes first of all.
Step 2: Clean the Detachable Attachments
Rinse the add-ons under warm running water. Scrub them gently with mild liquid soap. A soft brush lifts hair from each groove. Rinse in full and let them air dry fully. Warm water does most of the work.
Step 3: Clean the Trimmer Head
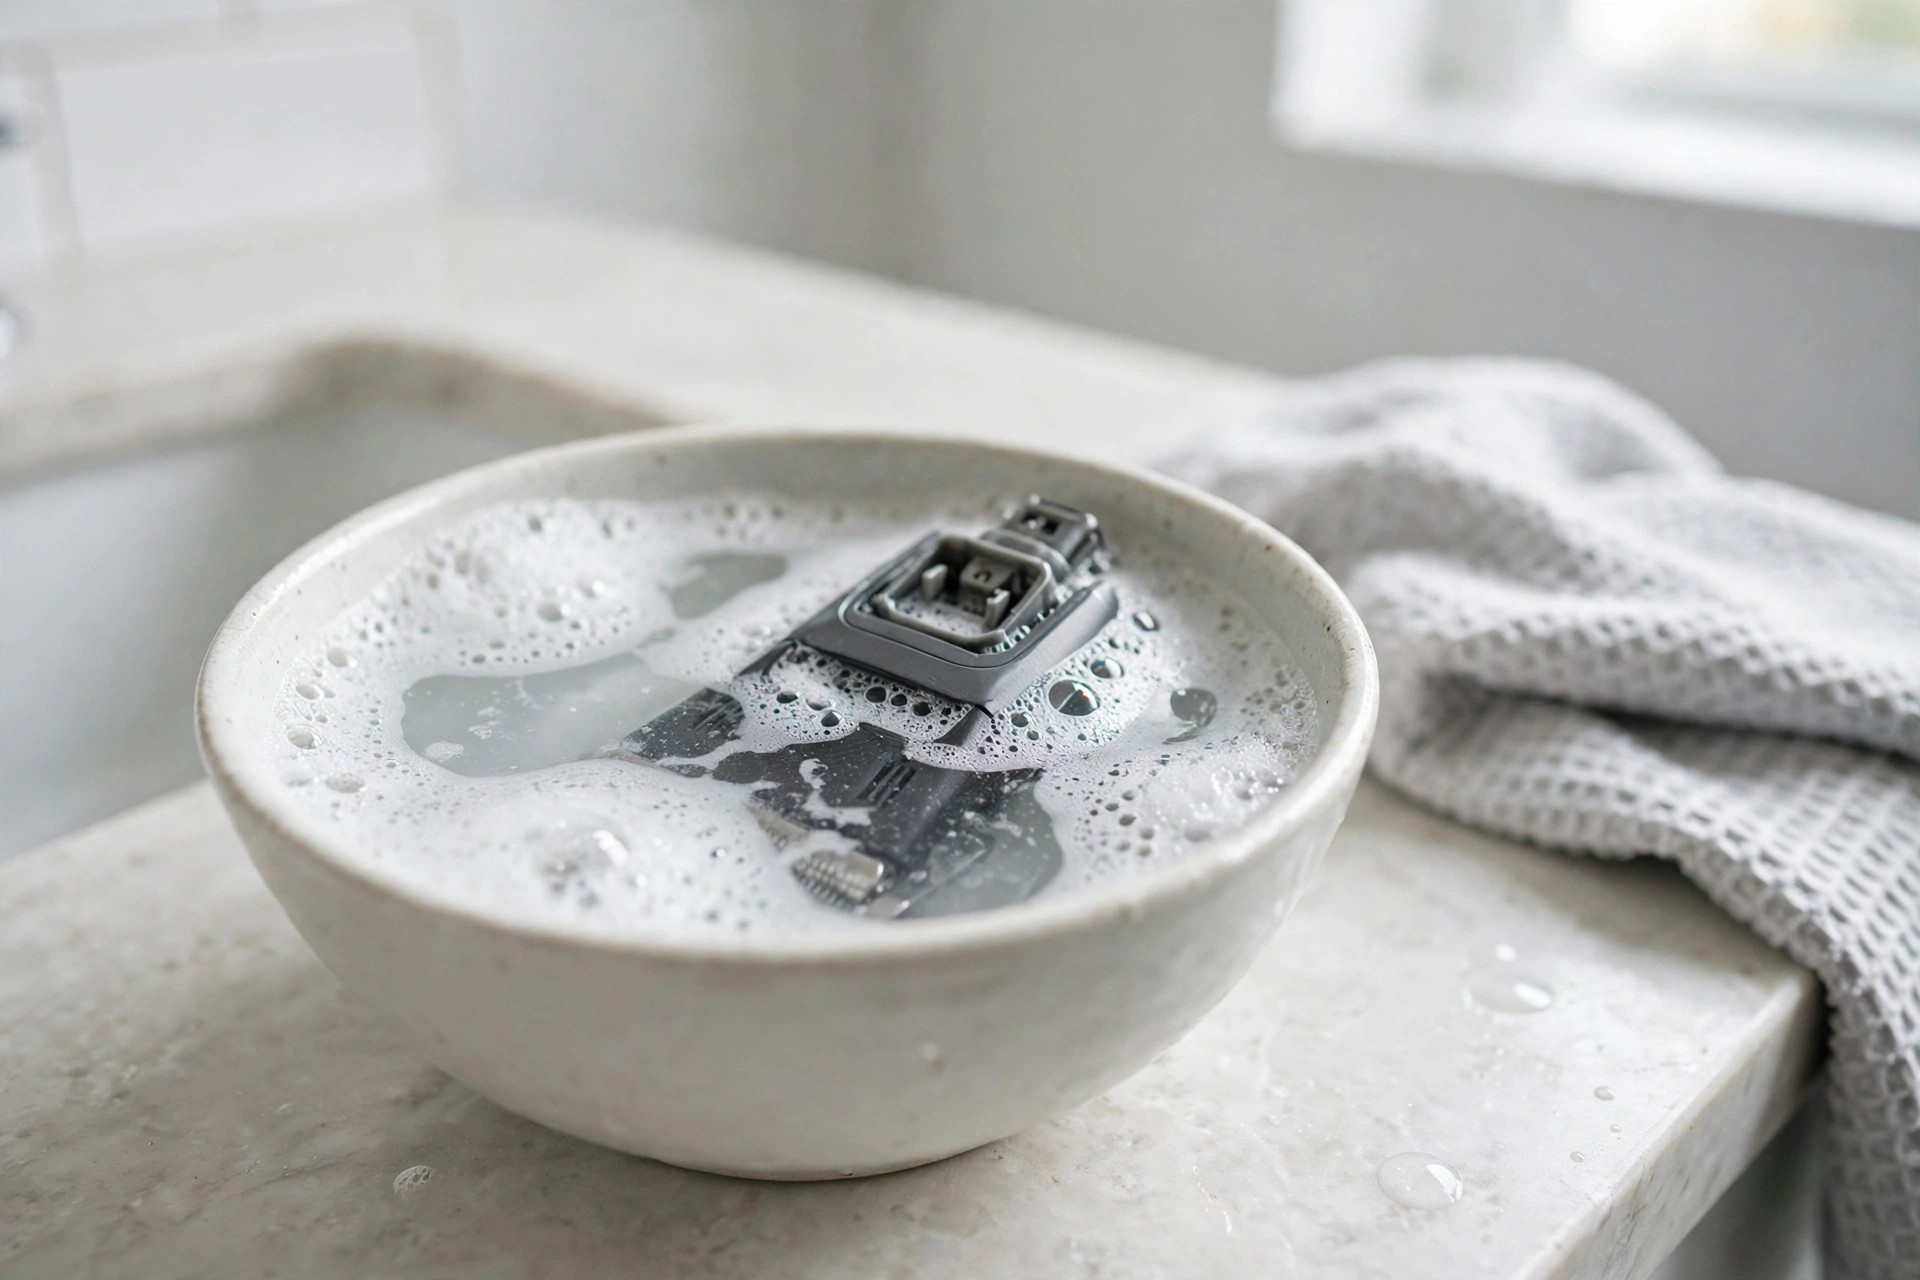
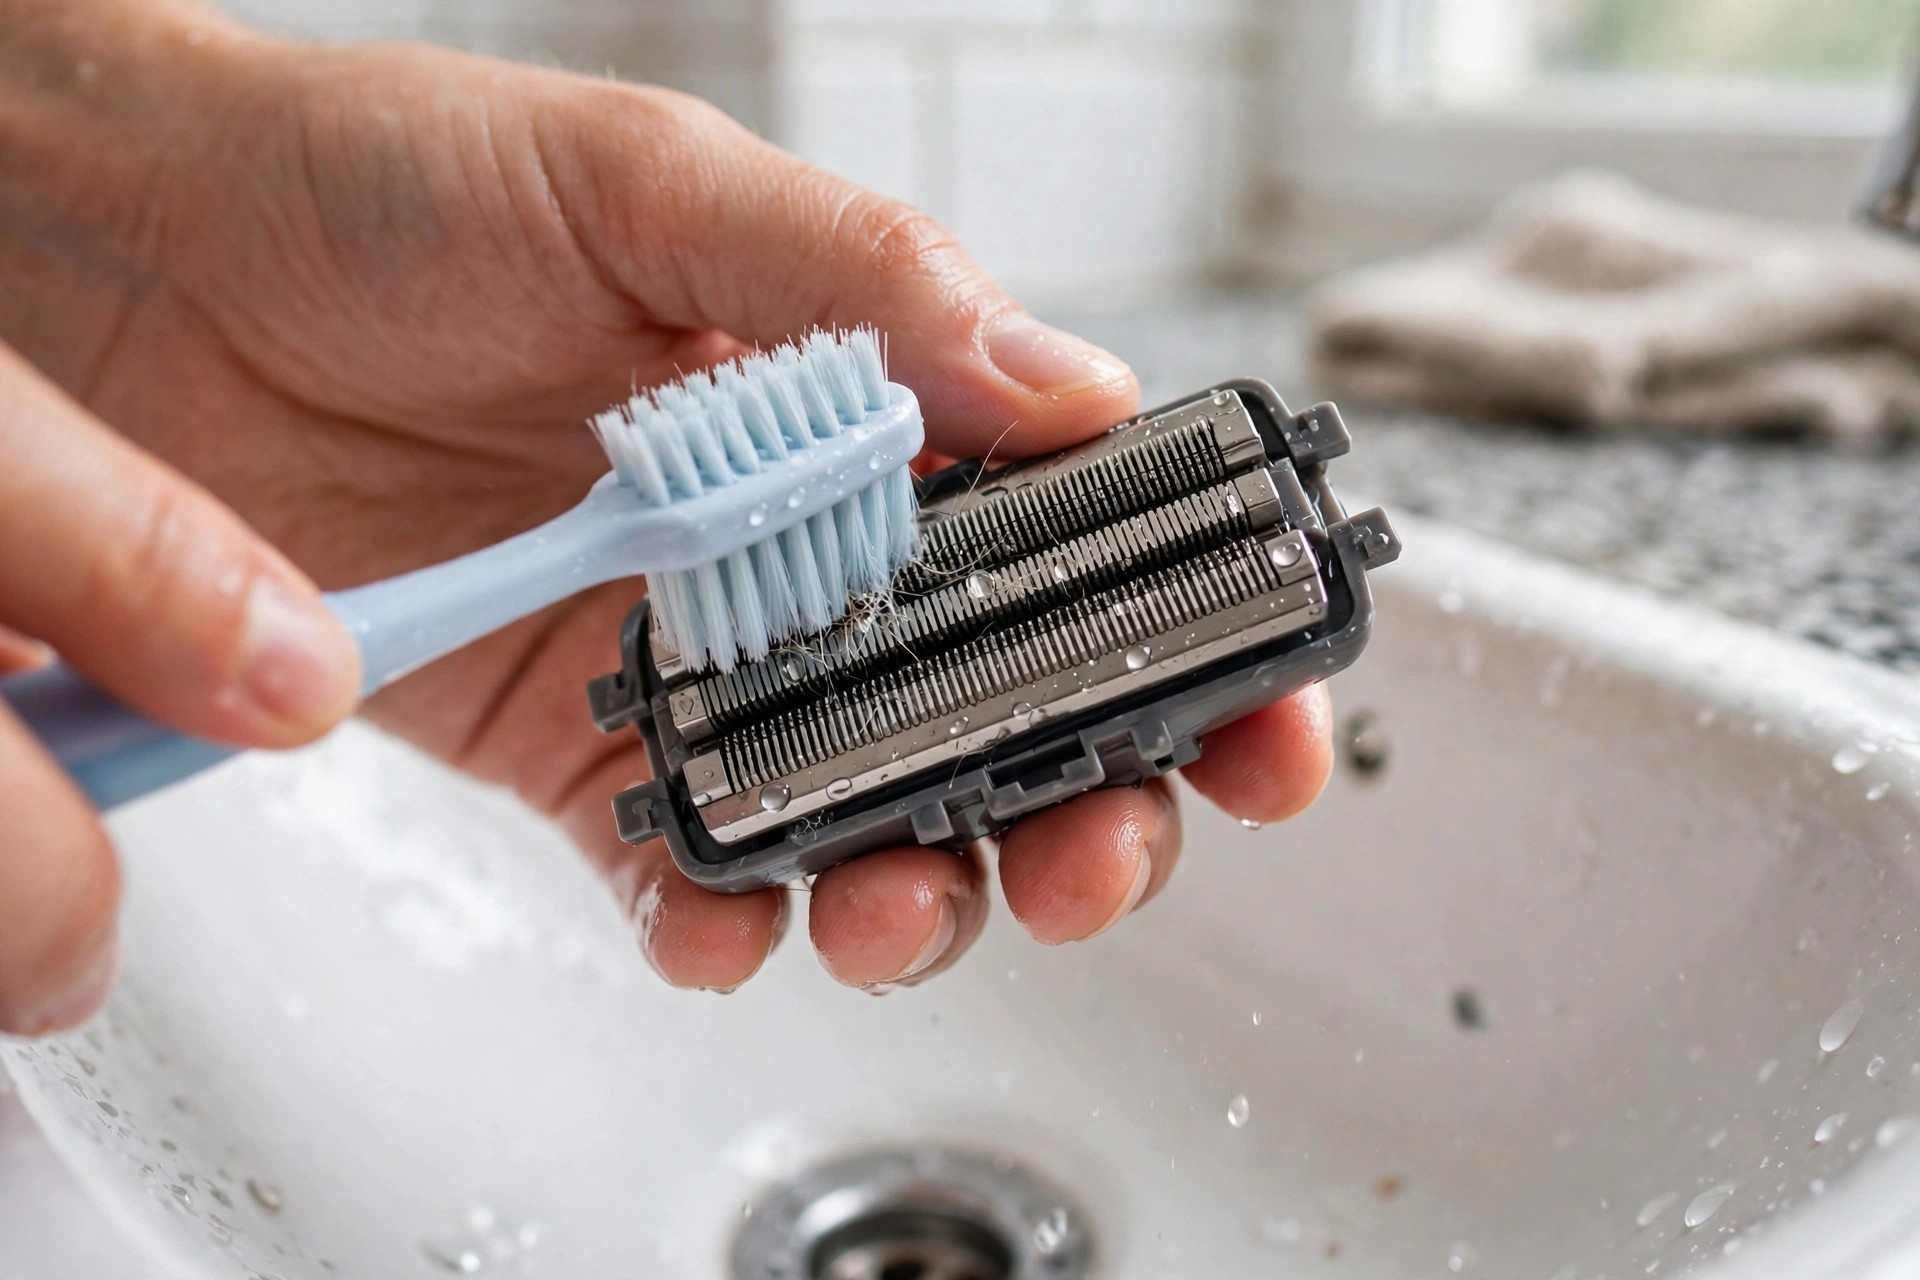
Fill a small bowl with warm water first. Add a few drops of mild liquid soap. Soak the trimmer head for a few minutes. Scrub the blades gently and rinse them clean. A short soak frees stuck hair.
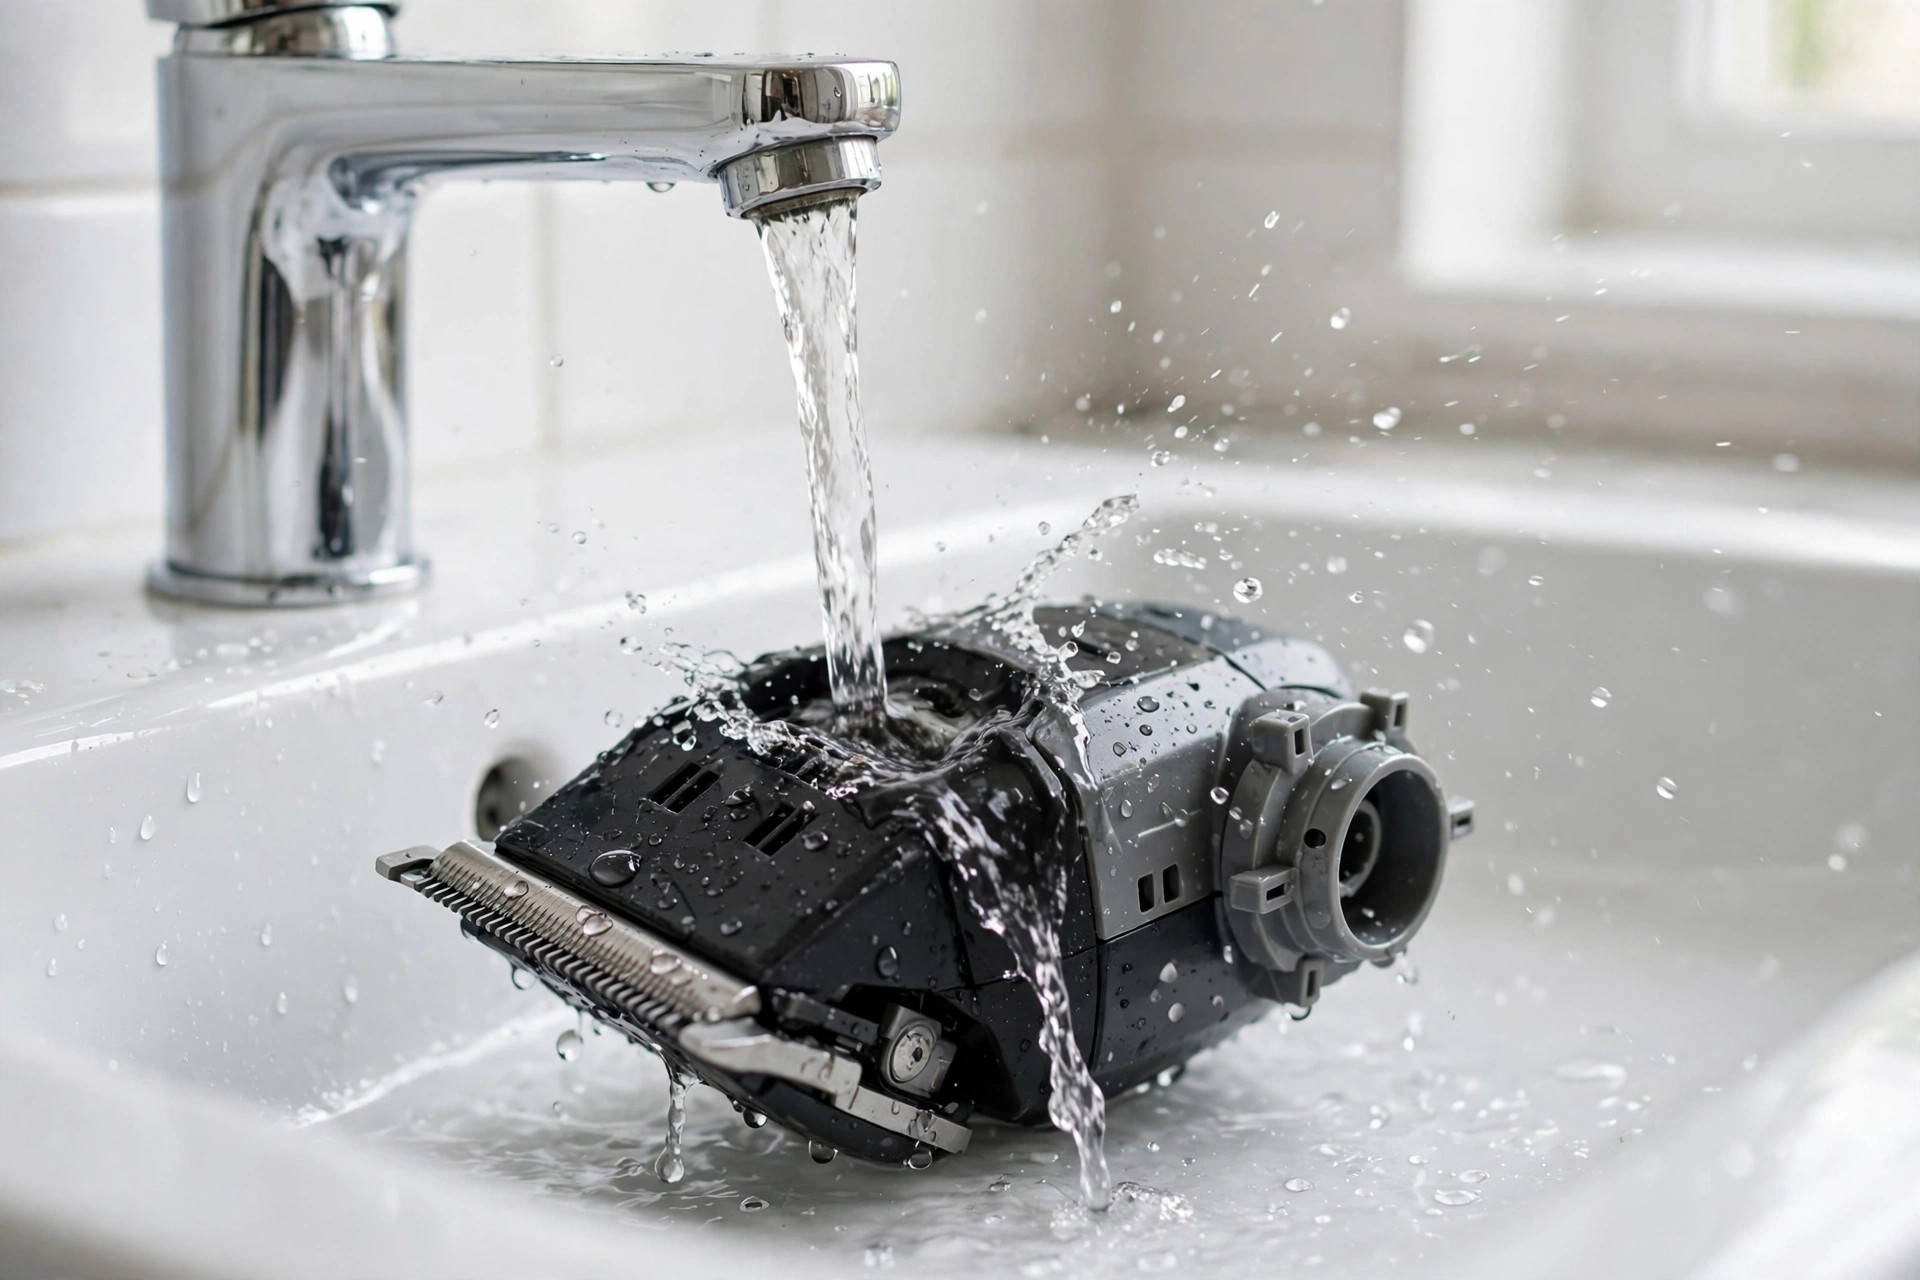
Please note: The detailed steps above use mild liquid soap. They scrub the attachments and soak the head. The answers below advise against soap instead generally. They say water alone removes most residue safely. Both positions stay here exactly as published originally.
Dry, Reassemble and Maintain
Step 4: Dry and Reassemble
Dry the add-ons and head in full with a towel. Fit the head back on once all is fully dry. It should lock firmly onto the main body. Put trimmer oil on before you use it again. Dry in full, then fit it back.
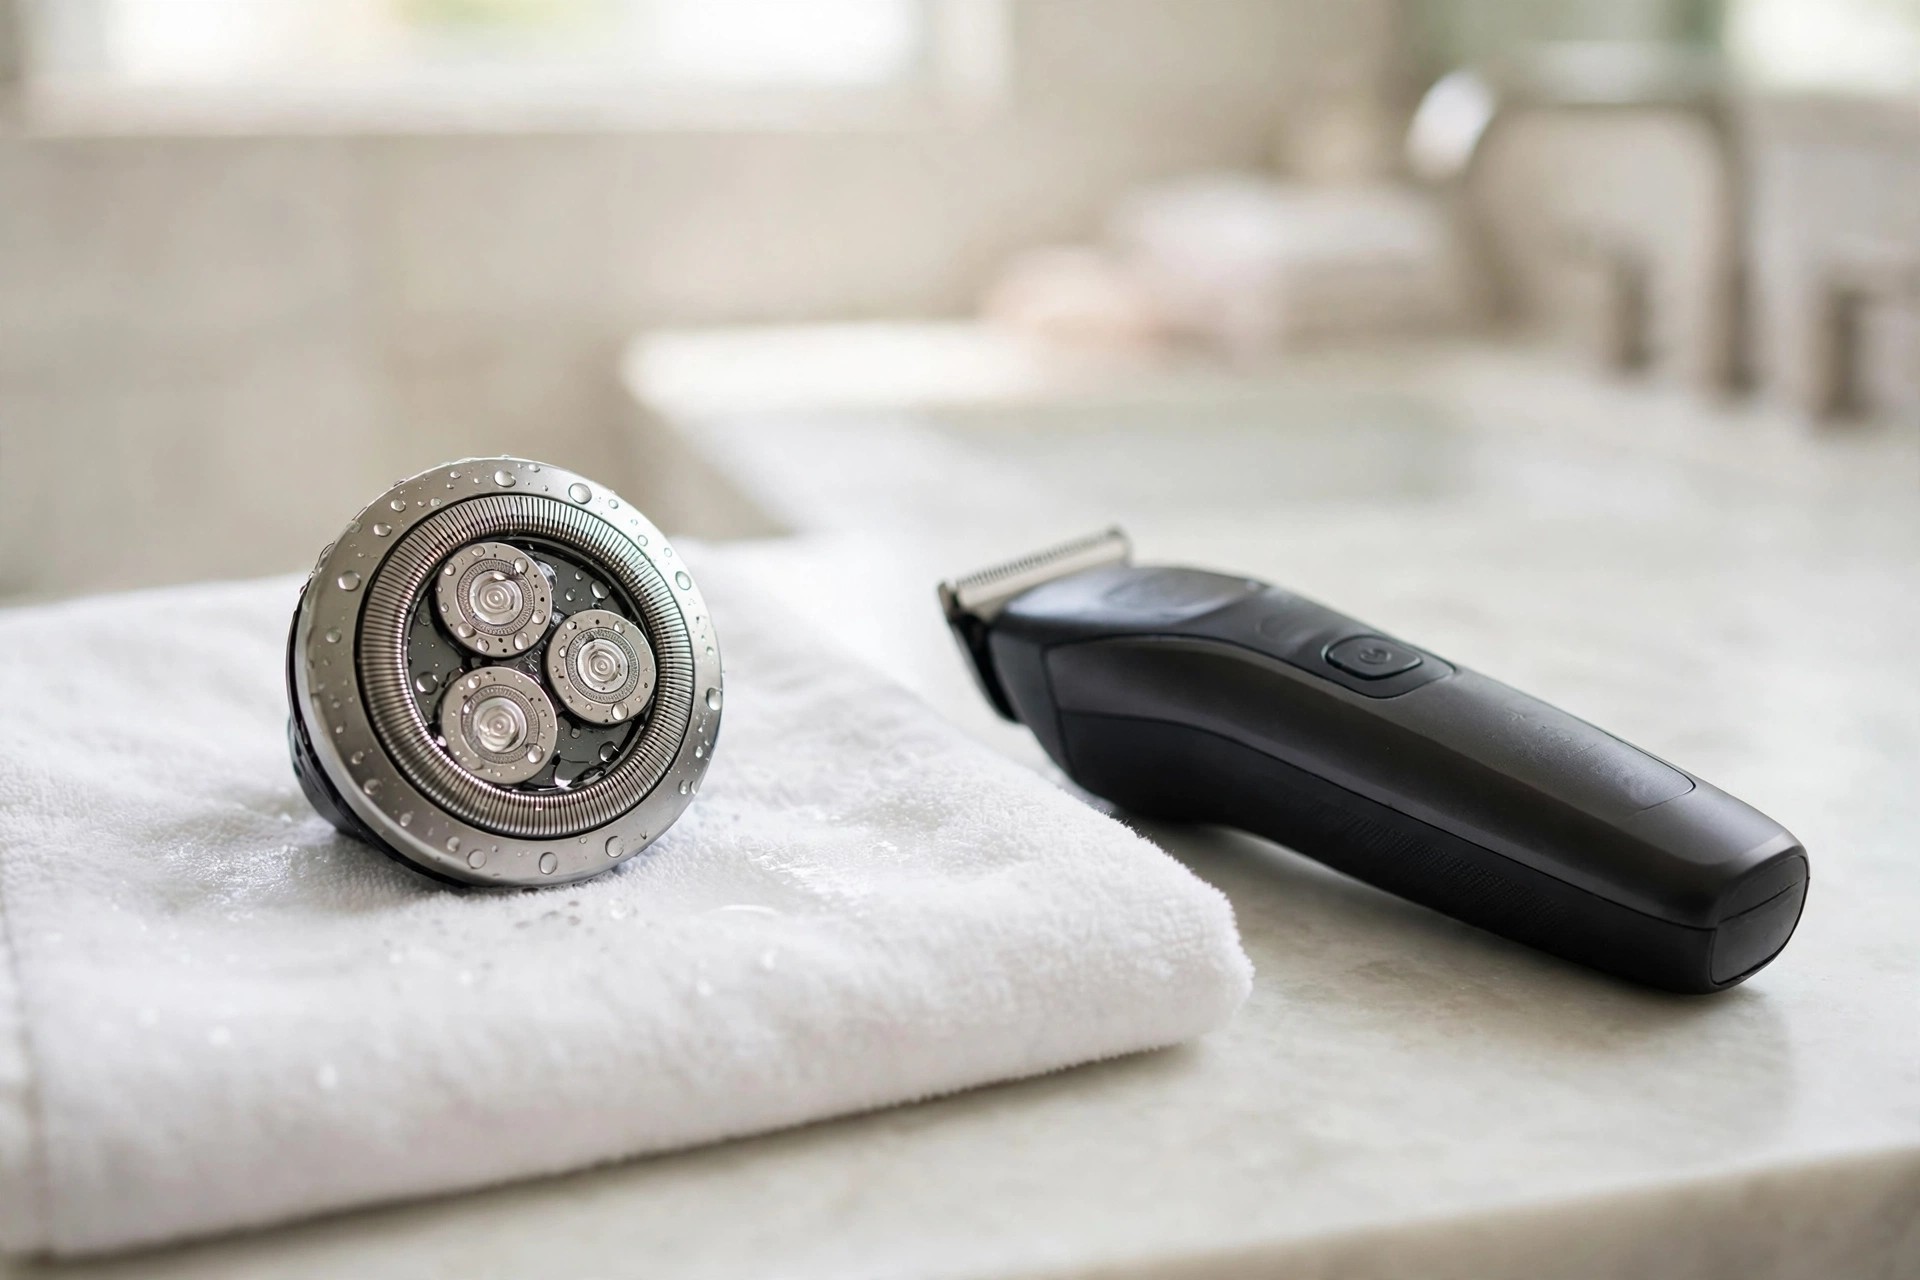
Clean the trimmer after each use, with no fail. Oil the blades at set times to keep their sharpness. Our blade oiling guide tells why oil matters. Our lubrication guide shows the full oiling routine. Oil keeps each cut smooth. Clean and oiled blades last longer.
Store the trimmer in a clean, dry place. Keep it from damp air and great heat or cold at all times. A case guards it from knocks while stored. Our Panasonic charging guide covers battery care basics. A dry shelf keeps rust away.
Frequently Asked Questions
How often should I clean my Panasonic trimmer?
Clean your Panasonic trimmer after each use. Set cleaning stops hair and grime from building up. Build-up dulls the cut and makes use feel bad. A quick brush keeps the blades cutting cleanly. A rinse ends the plain after-use routine well. Each quick clean guards the next use.
Can I use water to clean my Panasonic trimmer?
Yes, most Panasonic trimmers are waterproof by design. They rinse safely under running water for cleaning. Detach the cutting head from the body first. Brush loose hair and grime away before you rinse. Check your model manual for water resistance first. A quick rinse keeps heads clean. Most heads rinse clean with ease.
Can I use soap or cleaning agents to clean my Panasonic trimmer?
The post in most cases advises against soap and agents. Water alone takes off most hair and grime well. Soap may harm parts inside or cut how well it works. The manual settles which way suits your model. Rinse in full after any cleaning agent use anyway. Plain water does most of the job.
How do I clean the blades of my Panasonic trimmer?
Detach the cutting head from the trimmer body. Brush the blades gently with a small brush. Never push hard against the fine blade teeth. Rinse quite dirty blades under running water with care. Dry the blades in full before you fit the head back. A soft touch guards the teeth.
How do I maintain the performance of my Panasonic trimmer?
Set cleaning keeps the trimmer at its best. Brush hair and grime from the blades after use. Rinse the cutting head under running water at times. Let it dry in full before you fit it back together. Oil the blades at set times with trimmer oil the maker advises. Such care keeps it at its best. Small care keeps cuts clean.
Steady care keeps each grooming round smooth each day. Our Micro Touch cleaning guide covers small grooming trimmers. Our bowl trimmer guide covers larger harvest trimmers. Our blade sharpening guide brings back dull cutting edges. Our rust removal guide saves blades left too long. Each guide covers one care job.
Conclusion: How to Clean Panasonic Trimmer
So, how to clean Panasonic trimmer heads pays off well. Seven steps keep the tool clean and cutting true. Gentle brushing and rinsing guard the small parts. Full drying stops rust from forming between uses. Clean heads glide across skin smoothly after too. Plain steps keep the tool sound.
Clean the trimmer after each use, with no fail. Dry storage and oil at set times stretch its life. Your trimmer then stays sharp, safe and ready. Good habits turn minutes into years of use. True grooming starts with a clean machine each day. Small habits add years of use.
