
How to Clean Micro Touch Trimmer
Knowing how to clean micro touch trimmer heads matters. Regular cleaning improves performance and hygiene together here. Clean blades cut smoothly and last much longer. Dirt and oils build up with every use.
You clean this trimmer in eight simple steps. A soft brush removes loose hair and debris. Warm water rinses the detached head clean afterwards. A final dry wipe protects against rust forming. Our titanium trimmer guide covers daily operation basics.
The trimmer itself is not fully waterproof though. Never submerge the whole device in any water. Only the detached head meets water during cleaning. The Wikipedia hair clipper page explains electric grooming tools generally.
Quick answer: Clean the trimmer after every single use. Brush loose hair from the detached head first. Rinse the head under warm running water carefully. Wipe the body with a slightly damp cloth. Dry every single part fully before storing it away.
How to Clean Micro Touch Trimmer: Overview
A clean trimmer performs better every single time. Cleaning removes hair, dirt, and product buildup quickly. It also extends the life of the blades. The routine below takes only a few minutes. Our clipper oiling guide covers blade care separately.
| Quick Step | What the Post Says |
|---|---|
| Remove the trimming head | Twist it counterclockwise and lift it off |
| Brush away loose hair | Use a soft-bristled brush on the head |
| Rinse the head | Hold it under warm running water briefly |
| Dry fully and store | Air dry, then store in a dry place |
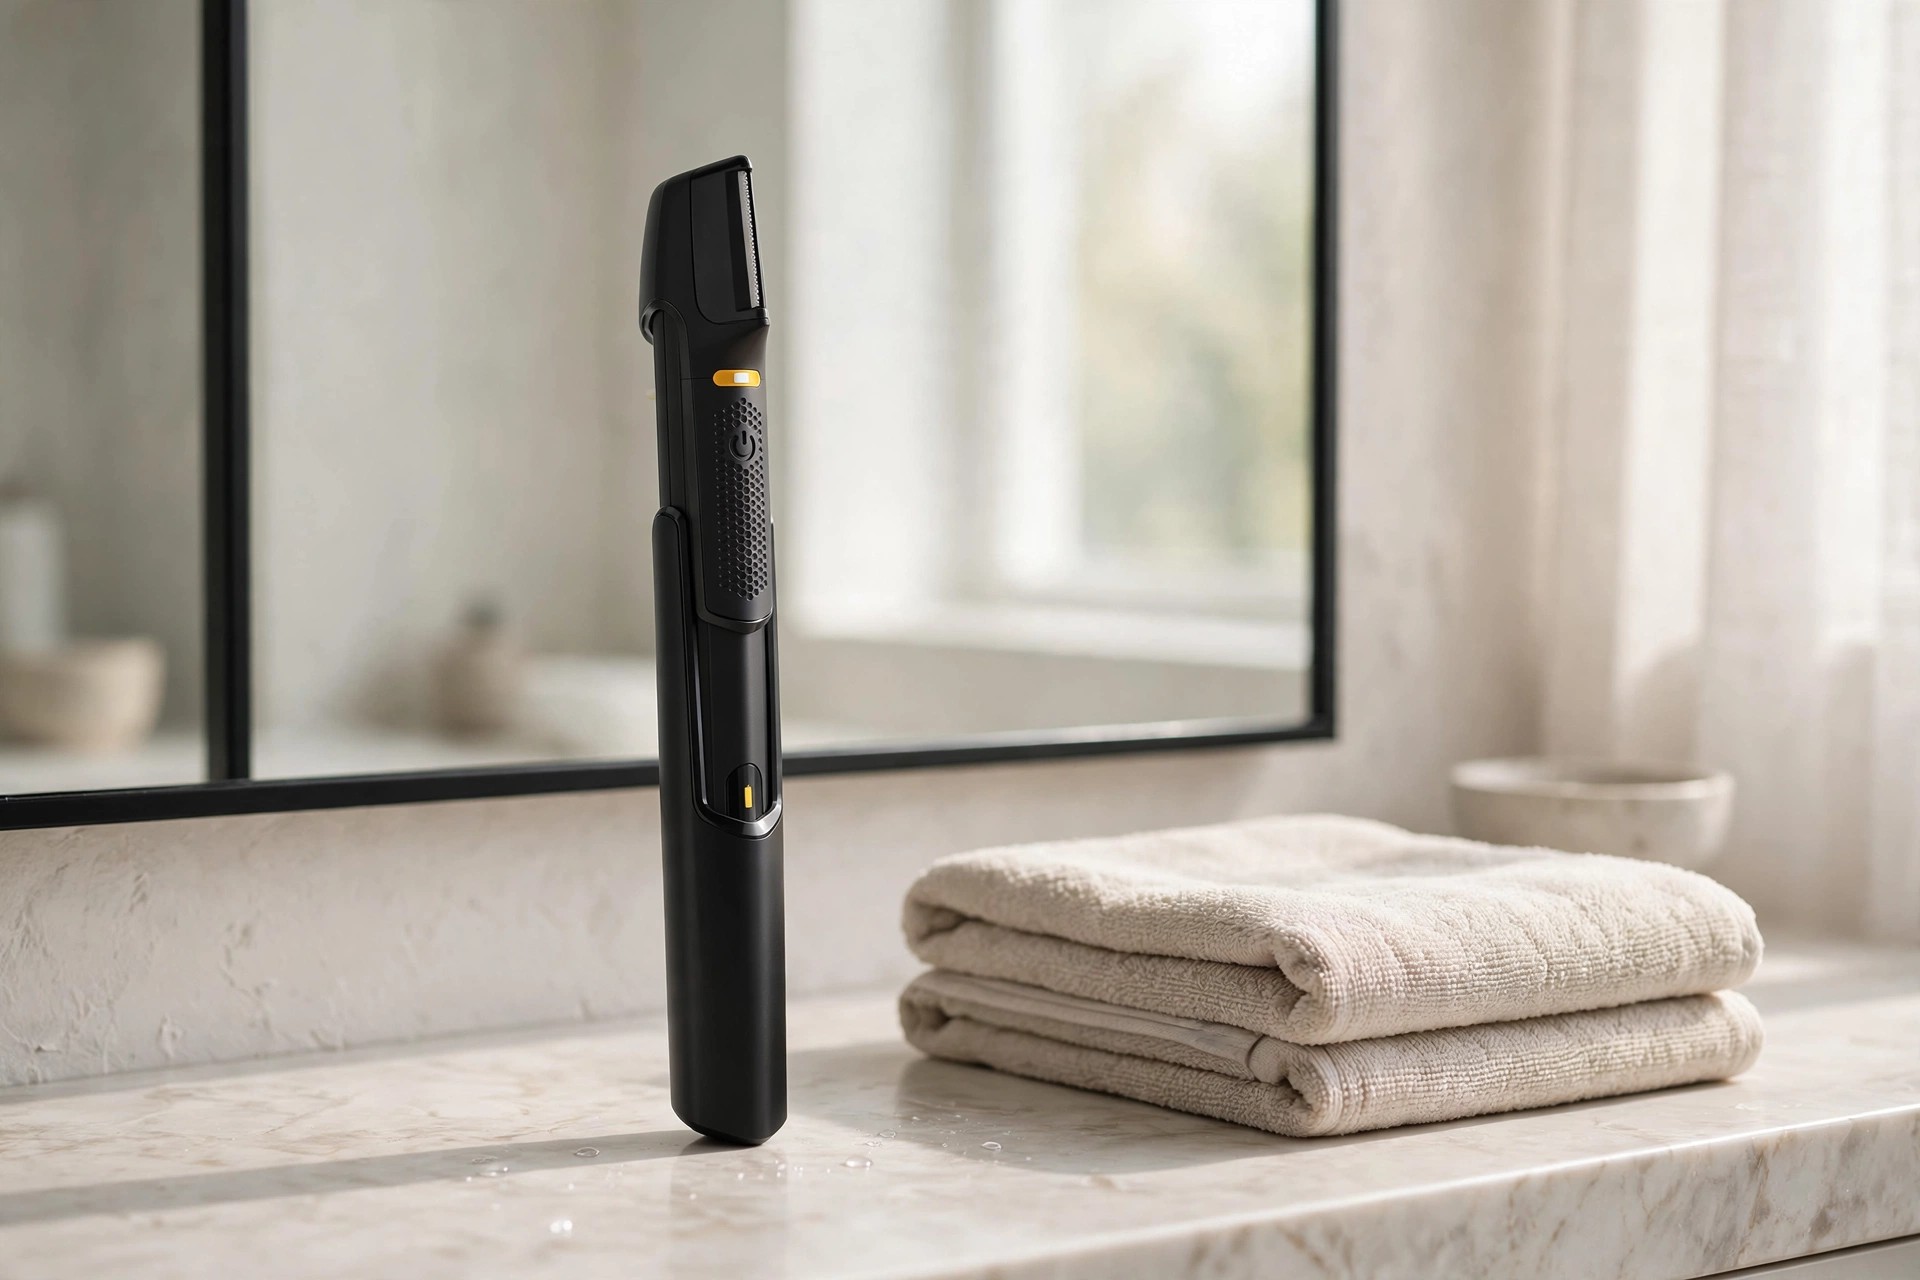
Gather Your Cleaning Supplies
Gather every supply before you start the job. Keep the work area dry and well lit. Good lighting reveals hidden dirt and buildup easily. Never rush through the cleaning routine itself.
| Supply | What It Does |
|---|---|
| Soft-bristled brush | Removes loose hair and surface debris gently |
| Cotton swab | Reaches tight spots that brushes miss easily |
| Mild soap or detergent | Washes grime away without harsh chemicals |
| Clean cloth | Wipes the body and dries parts afterwards |
| Warm water | Rinses the detached head clean and safe |
Clean the Trimmer in Eight Steps
Steps 1 to 3: Power Down and Remove the Head
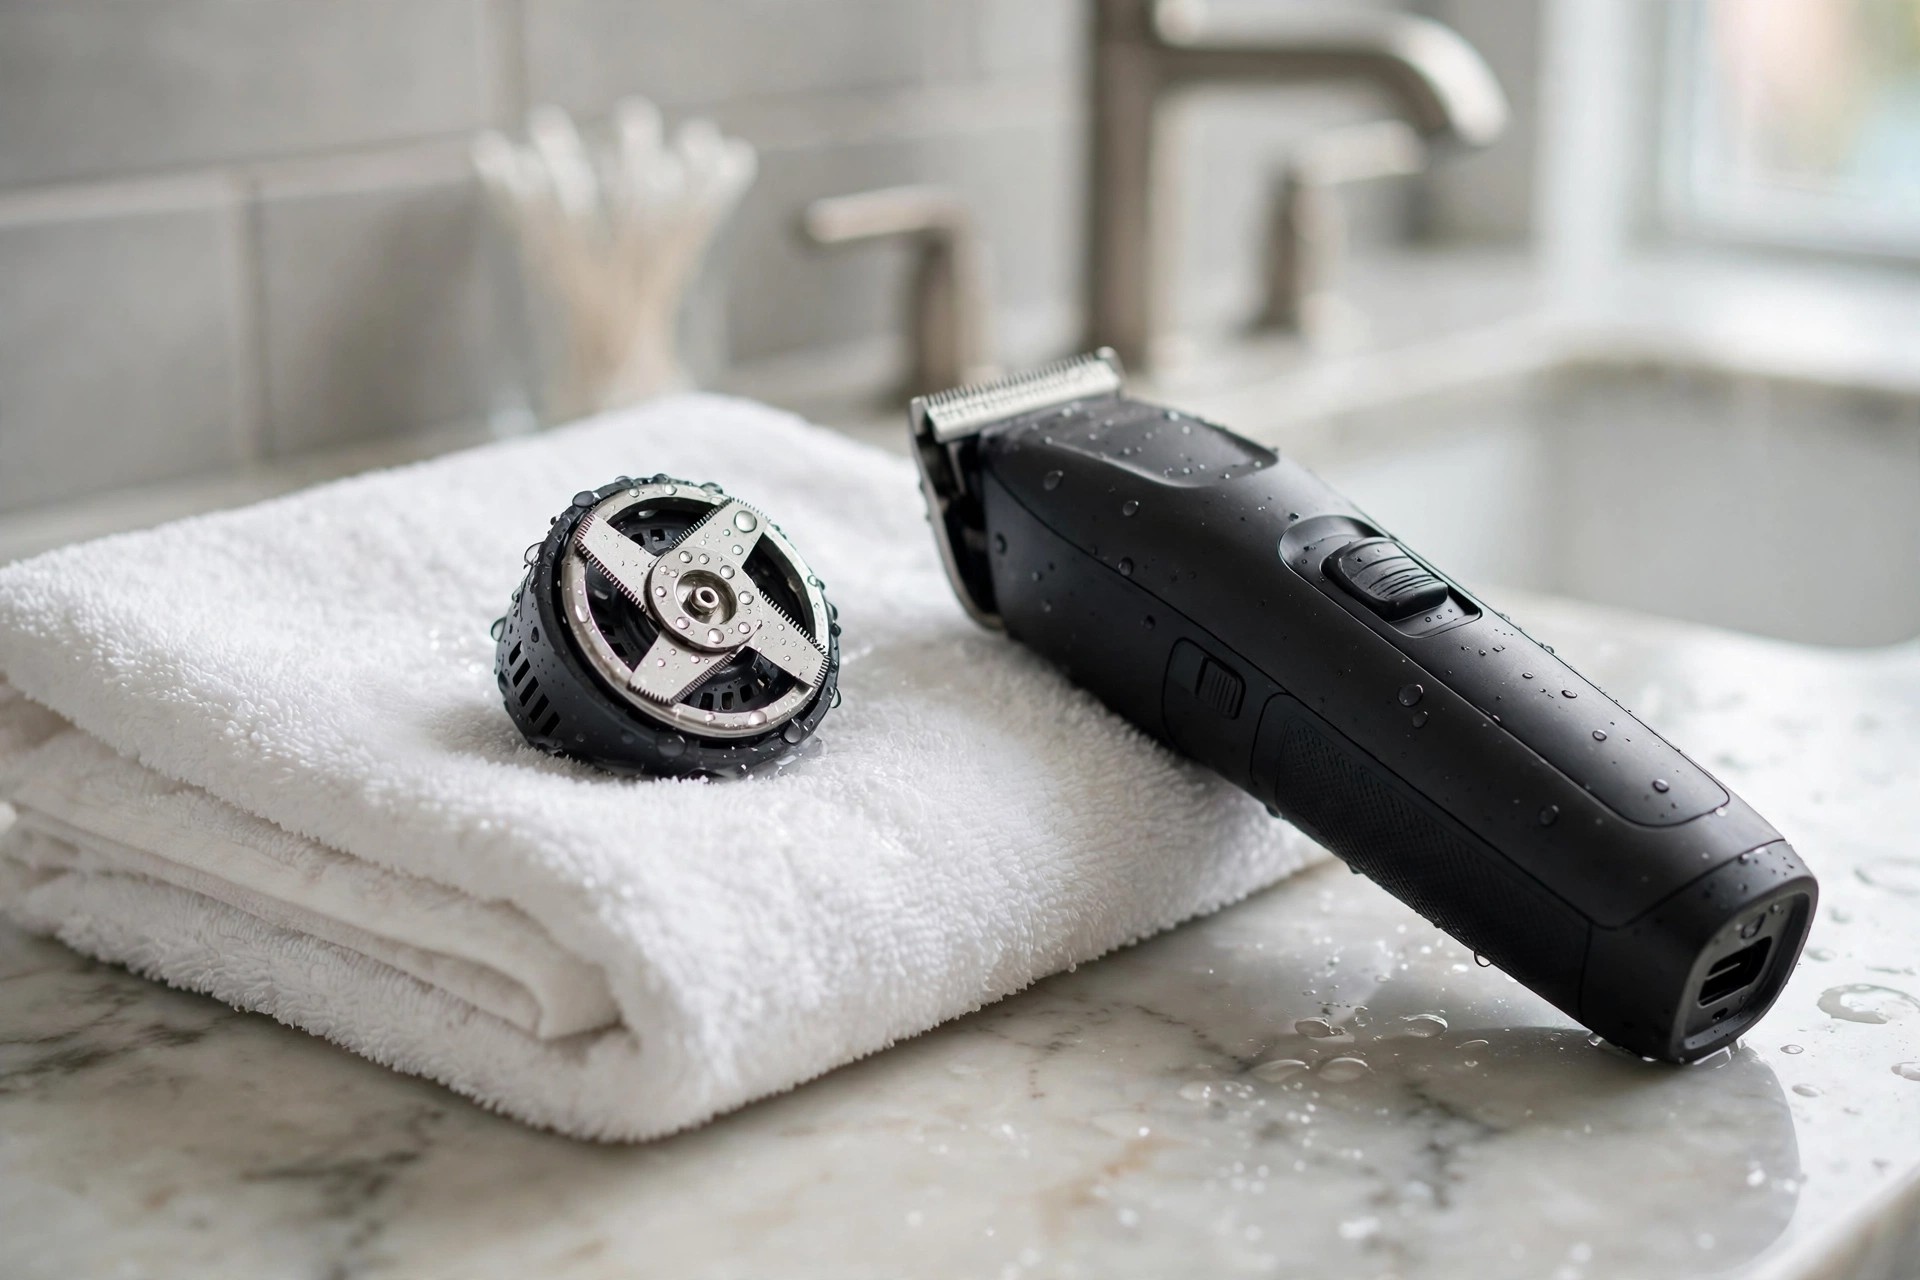
Disconnect the trimmer from any power source first. Remove the detachable head or blade assembly carefully. Slide the release button or lever open gently. Lift the head away from the body slowly.
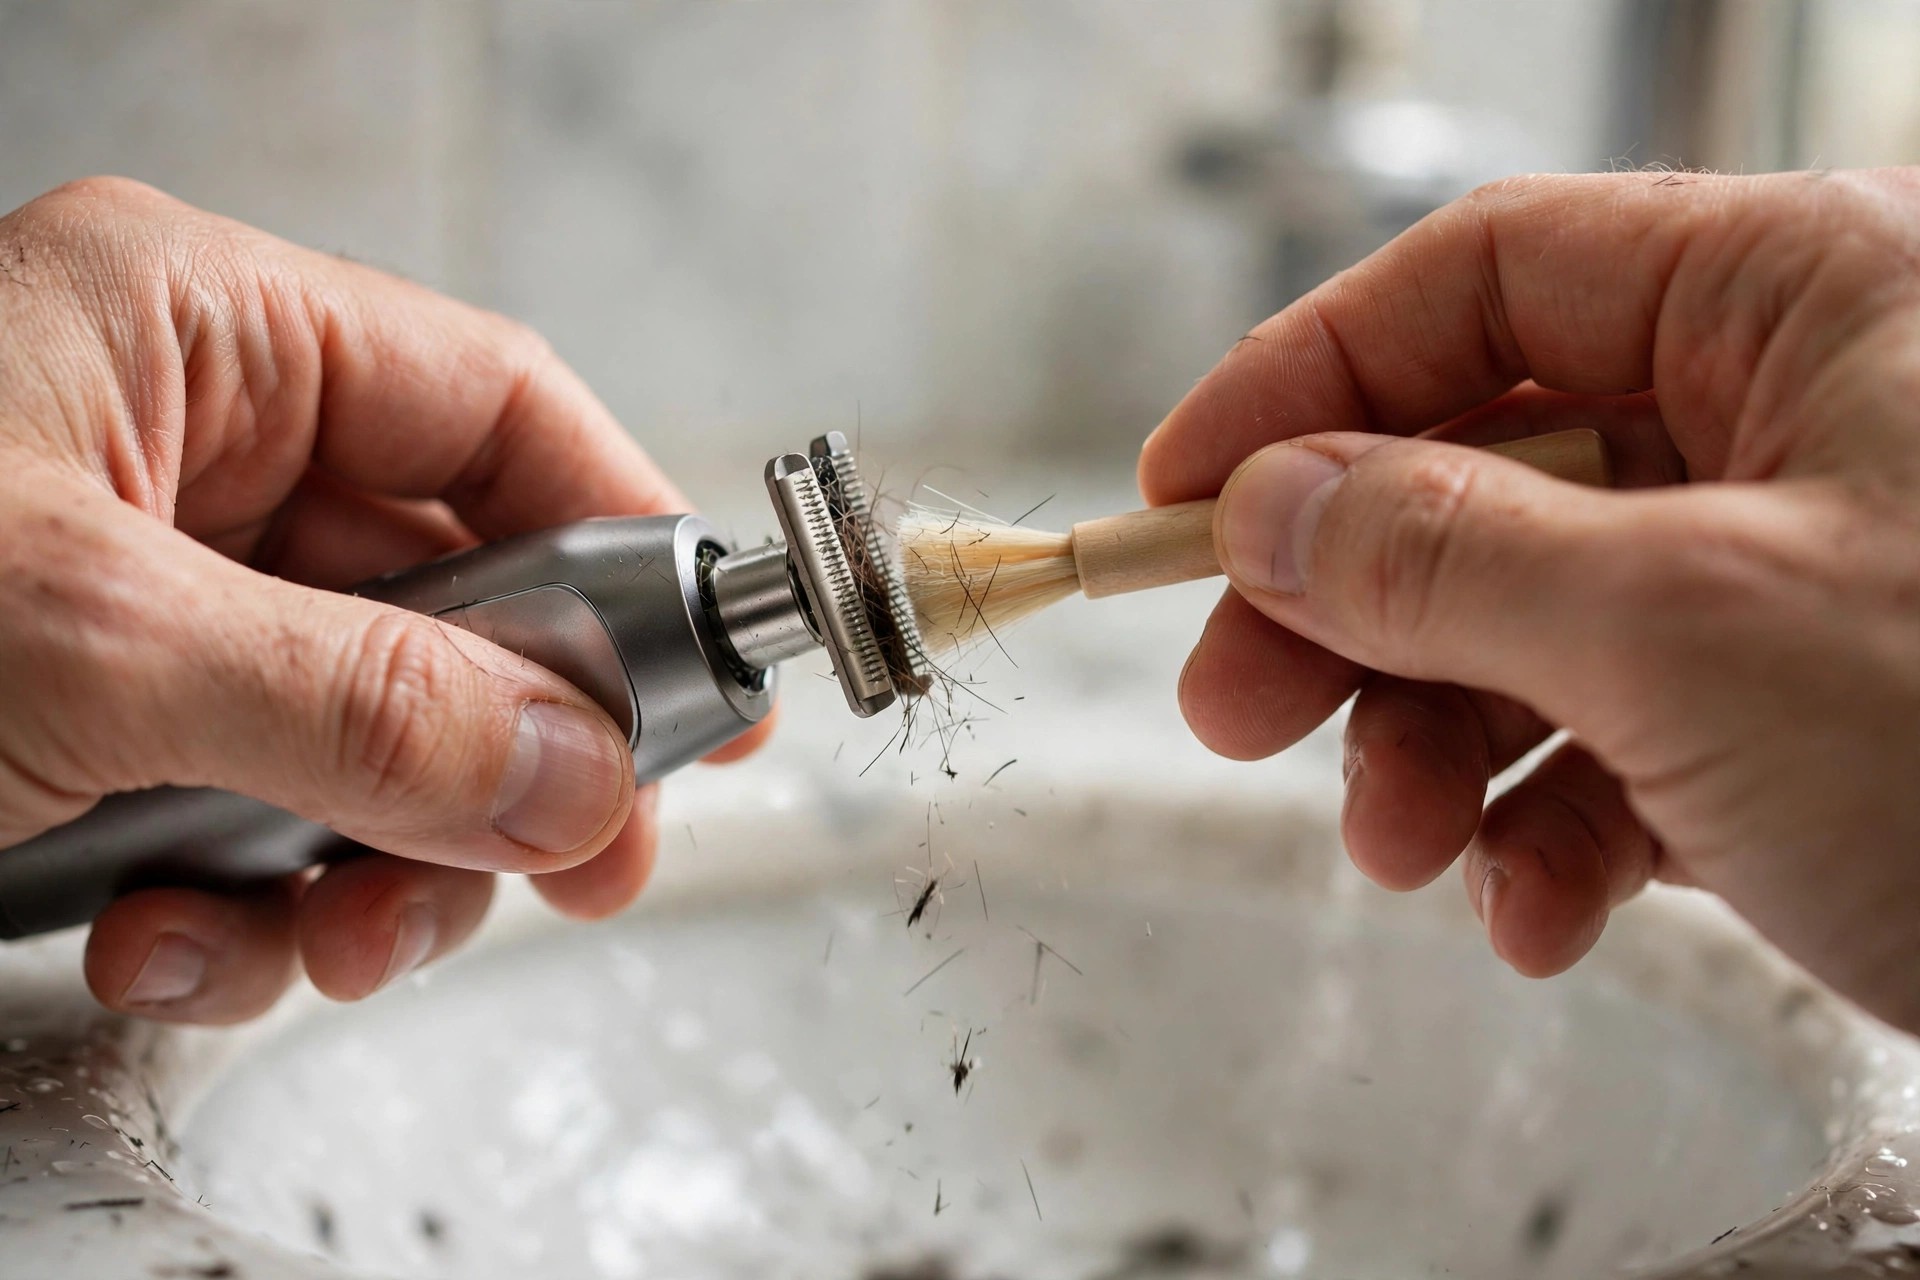
Step 4: Brush and Wash the Head
Brush away loose hair, dirt, and debris first. A cotton swab with mild soap reaches tight spots. Never press hard on the delicate blade assembly. Avoid excessive pressure while scrubbing the small parts.
Please note: The detailed step warns against immersing the blade assembly in water. The FAQ answer below allows soaking the trimming head in soapy water. Both statements stay here exactly as the post published them.
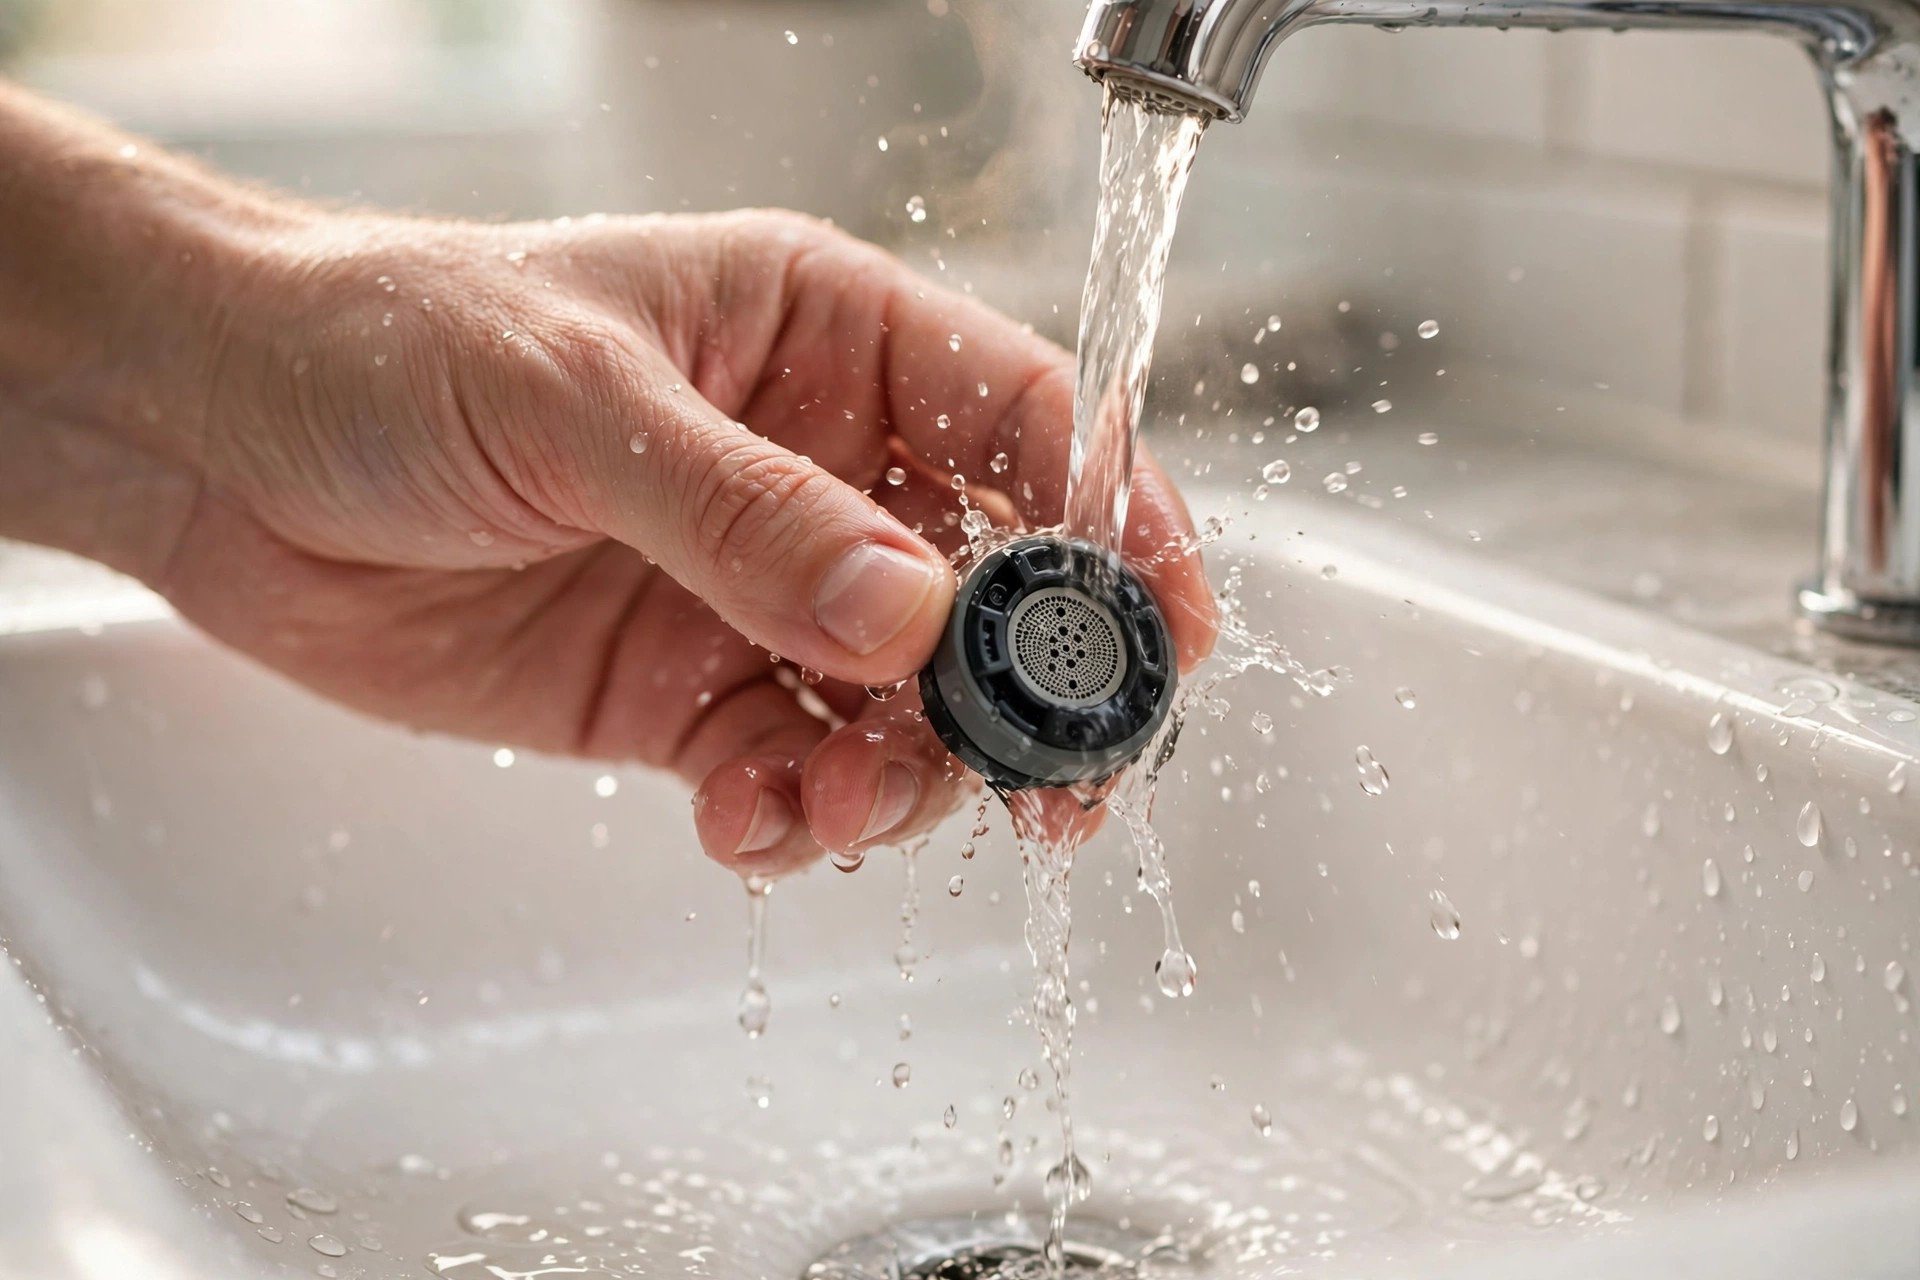
Steps 5 to 8: Wipe, Dry, and Reassemble
Wipe the body with a slightly damp cloth. Keep that cloth damp rather than dripping wet. Let every cleaned part dry completely next afterwards. Reassemble the head and lock it in place.
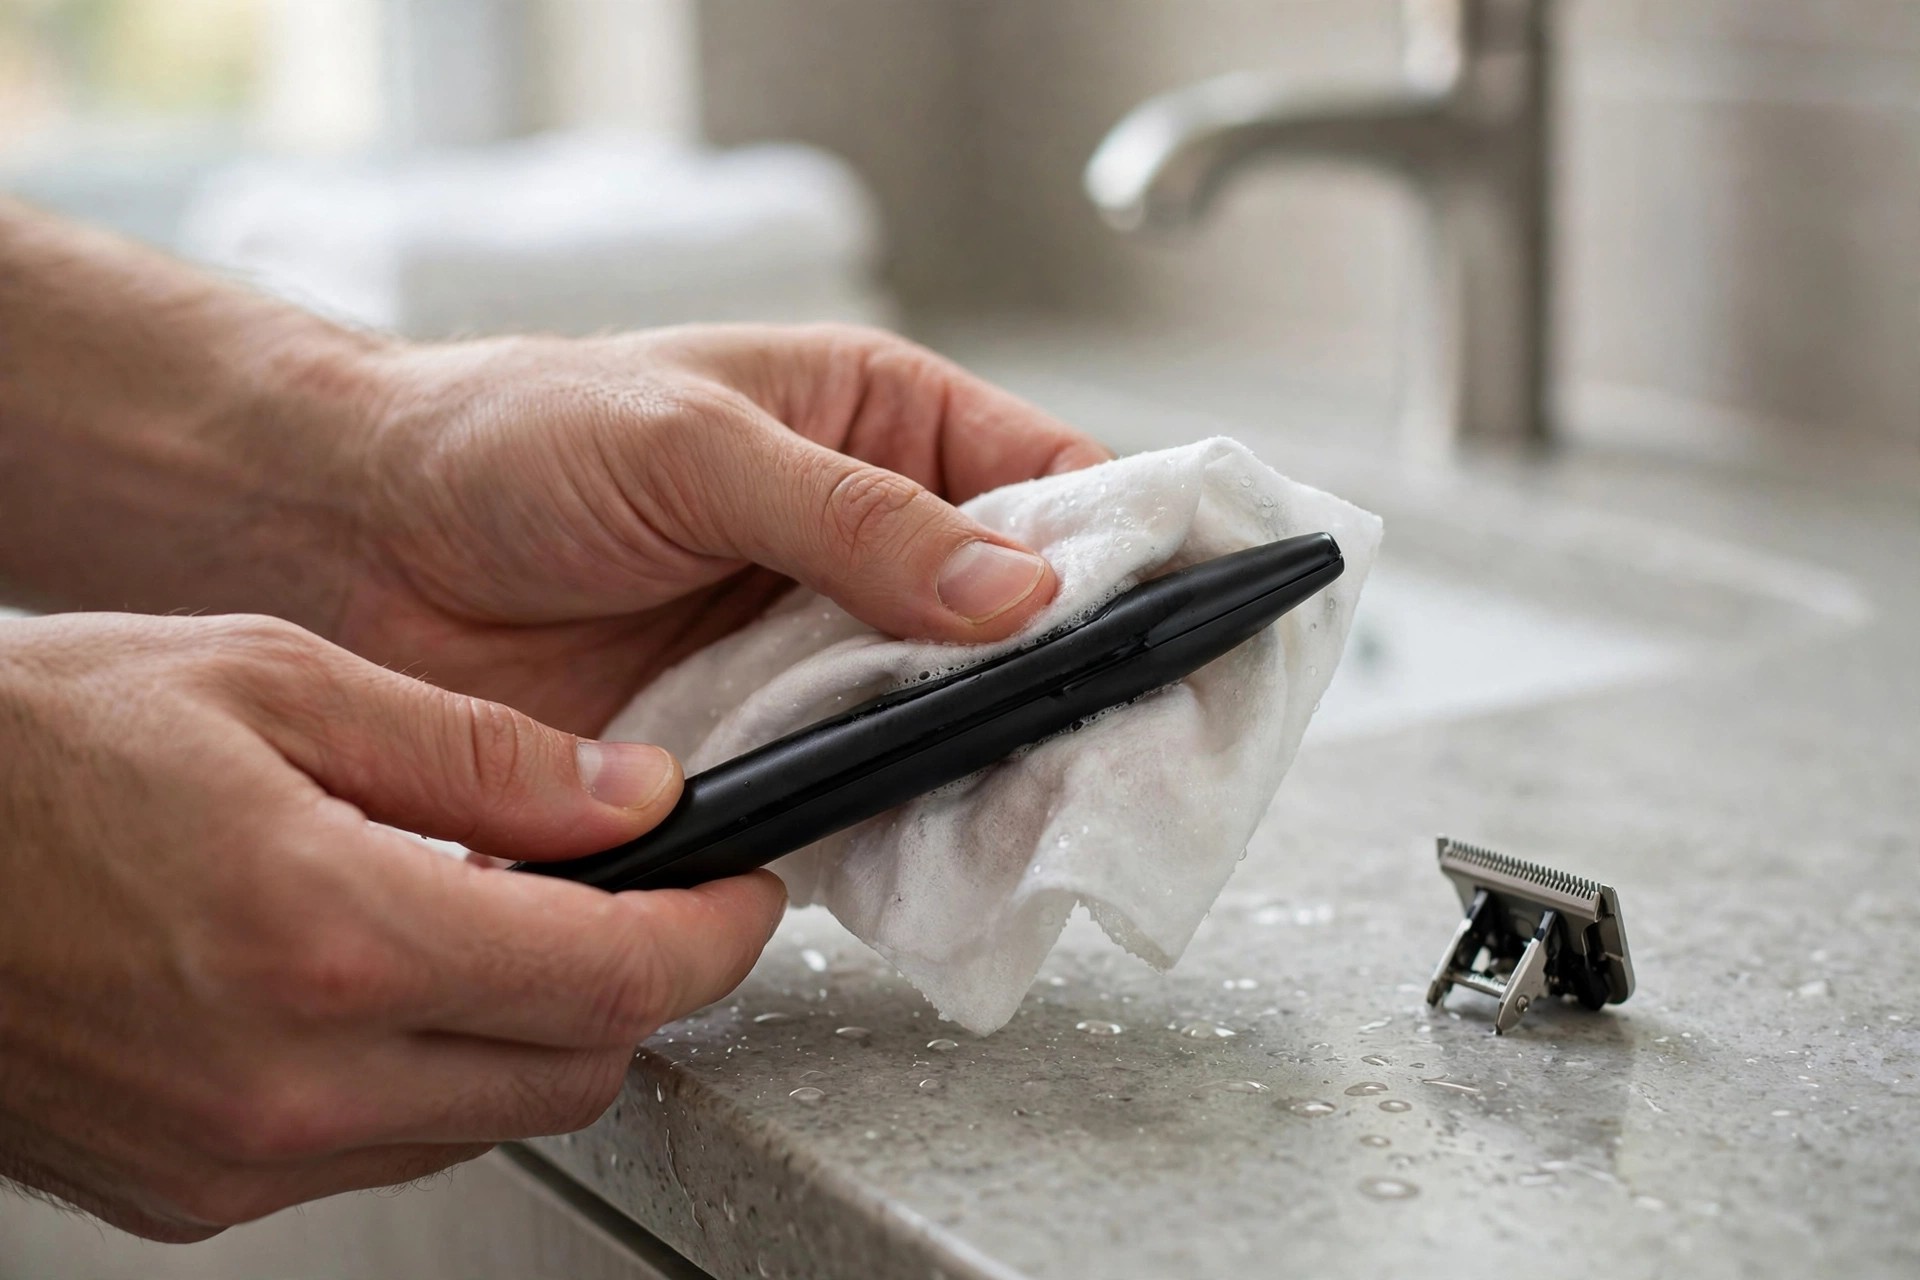
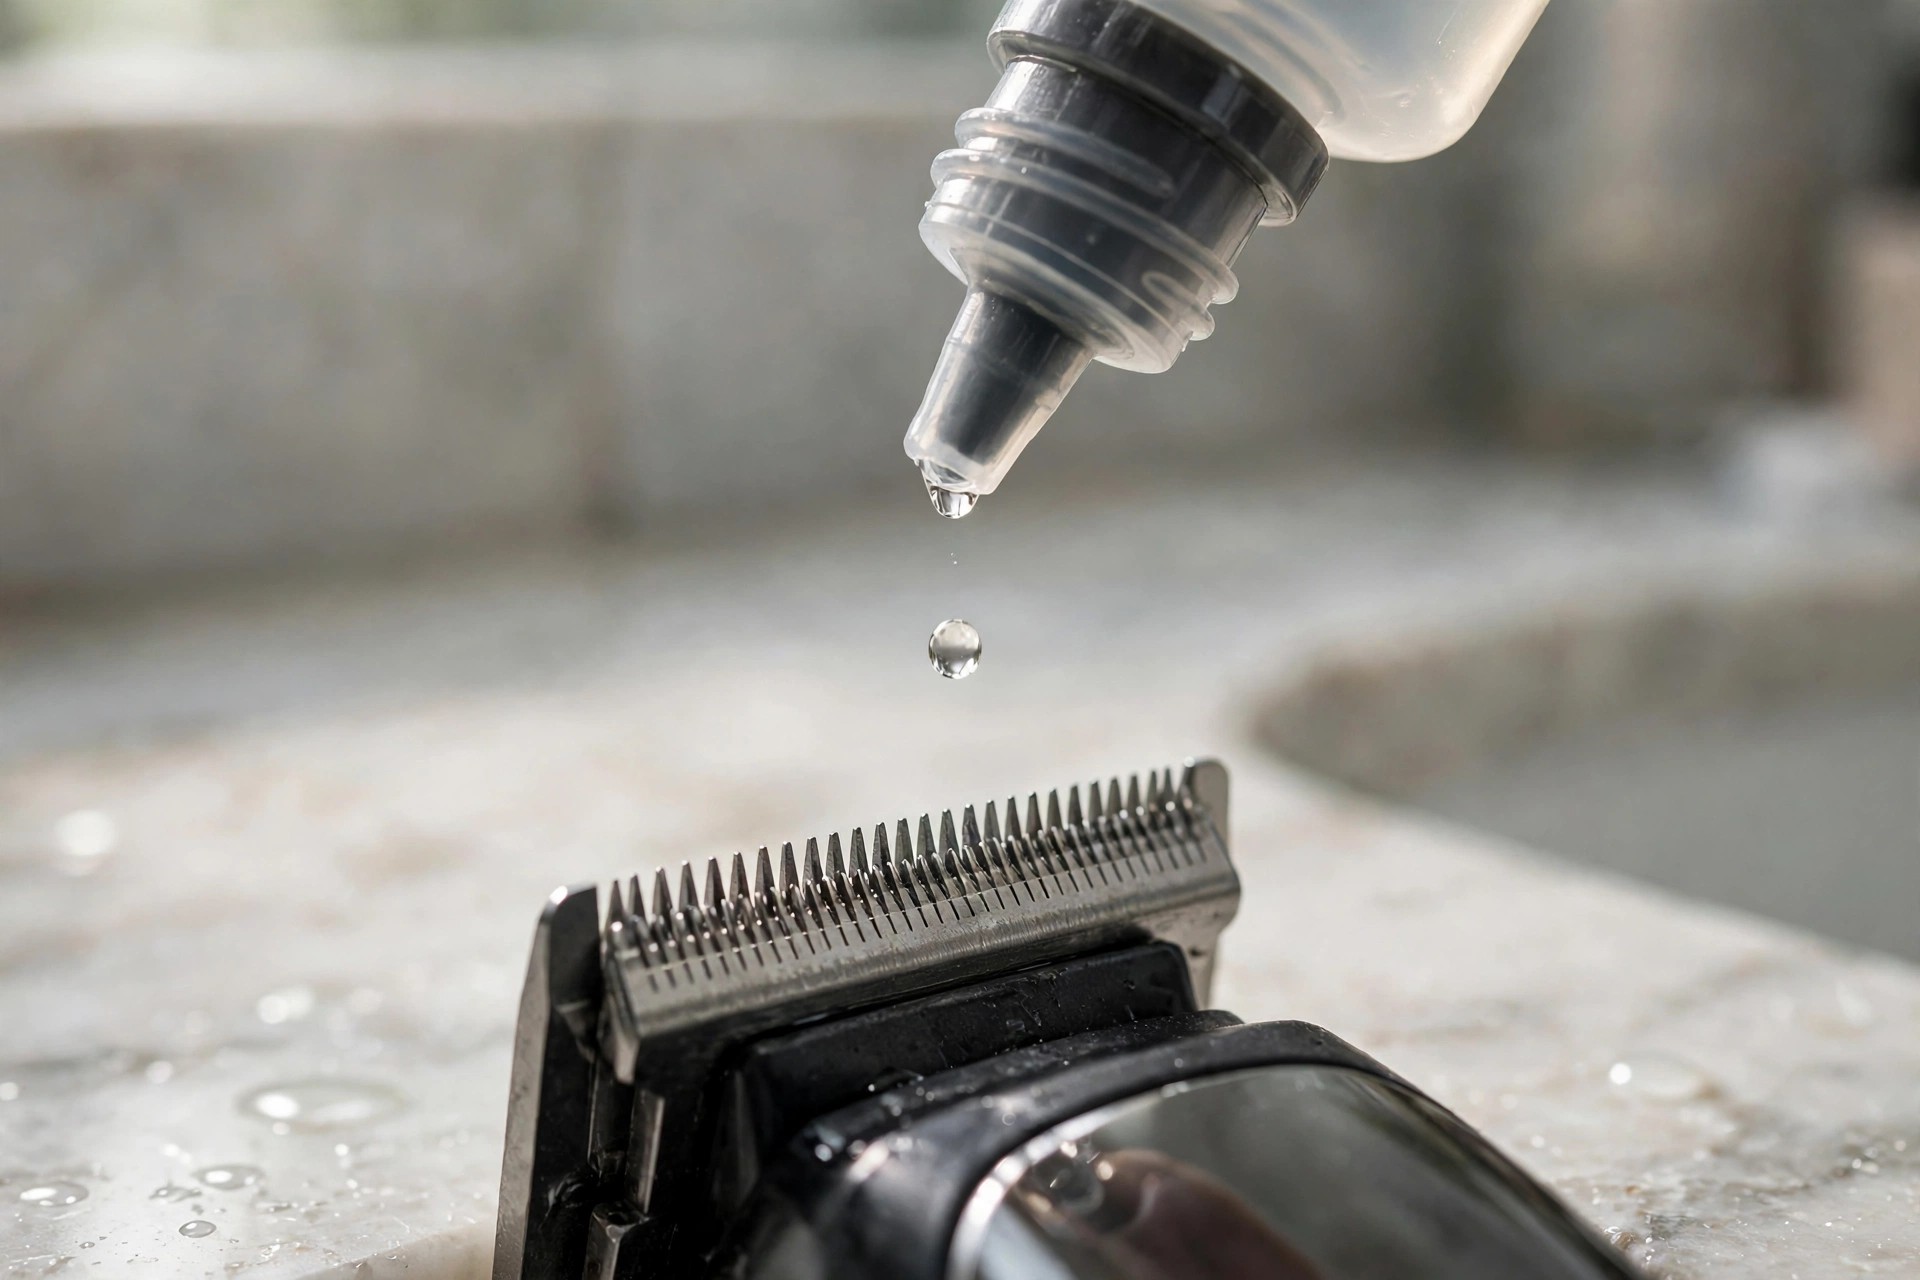
Give cleaned parts one final dry wipe too. That last wipe prevents rust from forming later. Clean the trimmer after every use without fail. Oil the blades periodically following manufacturer instructions carefully.
Habits That Keep It Clean
Store the trimmer in a clean dry place. Dry storage stops rust and odors from forming. Never share the trimmer with another person ever. Sharing spreads germs and dulls the blades faster.
Replace the trimming head periodically for best results. Regular maintenance keeps the device working like new. Our Panasonic cleaning guide shows another brand routine. Our T-blade guide covers edging technique basics.
Frequently Asked Questions
How often should I clean my Micro Touch trimmer?
Clean your Micro Touch trimmer after each use. This prevents hair and product buildup from forming. A quick routine keeps the blades cutting smoothly. It also keeps every shave hygienic and safe. Skipping cleanings shortens the life of the head.
Can I use water to clean my Micro Touch trimmer?
Yes, you can rinse the trimming head safely. Hold the detached head under running water briefly. The trimmer itself is not fully waterproof though. Never submerge the whole device in water ever. Only the detached head should meet water directly.
Should I use any cleaning solutions or alcohol?
We do not recommend cleaning solutions or alcohol. Mild soap works gently during the detailed steps. Harsh products can damage the small delicate parts. They may also irritate your skin afterwards later. Stick with the brush, swab, and soap.
How do I clean the blades of my Micro Touch trimmer?
Brush away loose hair and debris first gently. Use the included brush or a soft-bristled brush. A cotton swab reaches the tighter areas well. For heavy dirt, soak the head briefly. Warm soapy water loosens stubborn buildup quite effectively.
How can I maintain the cleanliness of my Micro Touch trimmer?
Regular cleaning after each use prevents buildup forming. Store the trimmer in a clean dry place. Never share it with anyone else at all. Sharing spreads germs between different users quickly. Replace the trimming head periodically for hygiene.
Small habits protect the trimmer between cleanings too. Our blade oiling guide explains why oil matters. Our lubrication guide shows the oiling routine. A few drops of oil keep blades smooth.
Conclusion: How to Clean Micro Touch Trimmer
So, learning how to clean micro touch trimmer heads pays. Eight simple steps keep the device hygienic daily. Gentle brushing and rinsing protect the small parts. Full drying prevents rust from forming between uses. A clean head also glides across skin smoothly.
Clean the trimmer after each use without fail. Dry storage and periodic oiling extend its life. Your trimmer then stays sharp, safe, and ready. Good habits turn minutes into years of service. Our starting guide helps when trimmers refuse power.
