Are you tired of struggling to clean your Babyliss Pro trimmer and achieving less than satisfactory results? Well, worry no more! In this guide, we will provide you with a step-by-step breakdown on how to effectively clean your Babyliss Pro trimmer to ensure optimal performance and longevity. Whether you are a professional barber or an individual who takes pride in their grooming routine, this information will be invaluable in maintaining your trimmer’s hygiene and functionality. So, let’s dive right in and discover the secrets to achieving a spotless and flawlessly functioning Babyliss Pro trimmer!
Maintaining a clean and well-functioning trimmer is essential for achieving precise and effortless grooming results. As a professional writer, I understand the frustration that can arise from ineffective cleaning methods. That’s why I have compiled this comprehensive guide to help you overcome these challenges and ensure that your Babyliss Pro trimmer remains in top-notch condition. From disassembling the trimmer to removing tangled hair and debris, to applying lubrication to the blades, we will cover it all.
So, if you’re ready to take your grooming game to the next level, let’s embark on this journey together and discover the secrets to cleaning your Babyliss Pro trimmer like a pro!

Source: ytimg.com
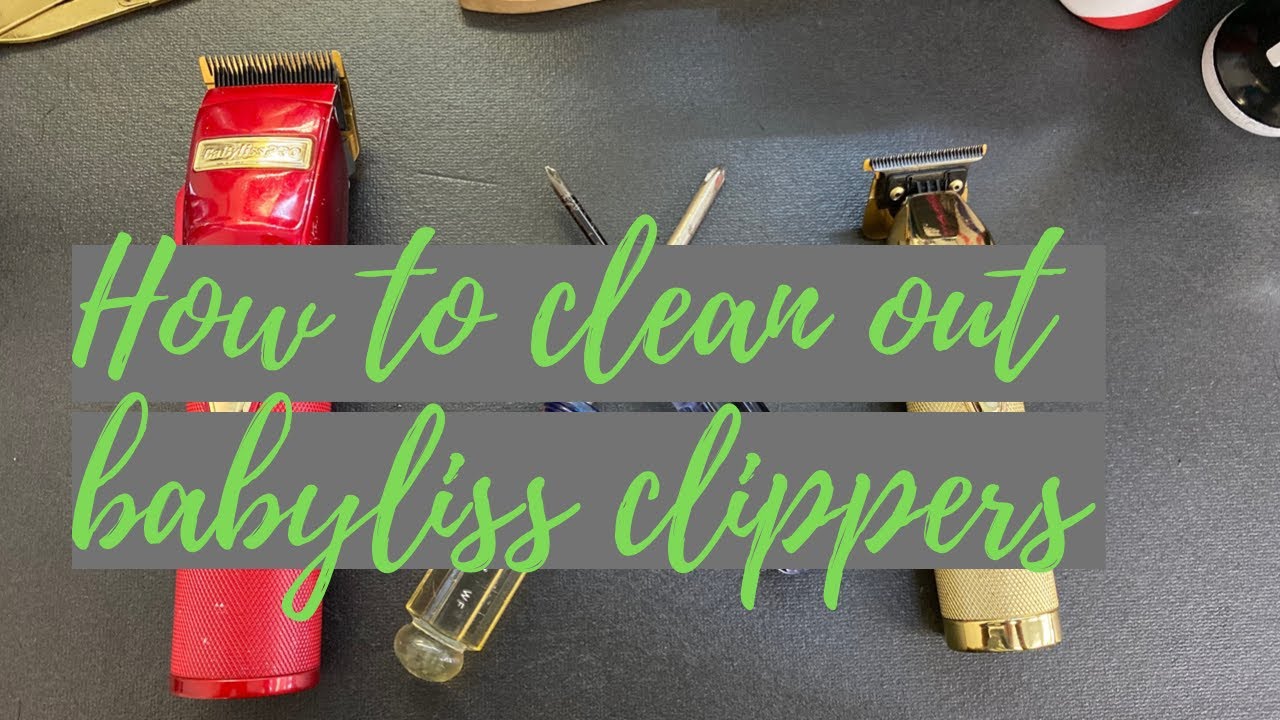
How To Clean Babyliss Pro Trimmer? Easy Maintenance Guide
In this guide, we will walk you through a step-by-step process on how to clean your Babyliss Pro Trimmer. Proper maintenance and regular cleaning of your trimmer are essential to ensure its longevity and optimal performance. By following these simple steps, you can keep your trimmer in excellent condition and enjoy a precise and comfortable trimming experience.
Step 1: Preparing for Cleaning
Before you start cleaning your Babyliss Pro Trimmer, it is important to make sure the device is turned off and unplugged from any power source. This ensures your safety during the cleaning process. Additionally, gather all the necessary cleaning tools such as a small brush, cotton swabs, mild soap or trimmer cleaner, and a soft cloth.
Next, remove any excess hair or debris from the trimmer’s blades using the small brush. Be gentle while doing this to avoid any damage to the blades. Once you have removed the loose hair, proceed to the next step.
Step 2: Cleaning the Blades
To clean the blades of your Babyliss Pro Trimmer, dampen a cotton swab with a mild soap solution or trimmer cleaner. Gently wipe the blades to remove any dirt, oil, or residue that may have accumulated. Pay special attention to the areas around the blades where hair and product buildup are common.
After cleaning, rinse the blades with warm water to remove any remaining soap or cleaner. Take care not to submerge the entire trimmer in water, as this can damage the electrical components. Once rinsed, use a soft cloth to dry the blades thoroughly.
Step 3: Cleaning the Trimmer Body
Now that the blades are clean, it’s time to focus on the trimmer body. Dip a clean cloth in a mild soap solution and gently wipe the exterior of the trimmer to remove any dirt, oil, or product buildup. Pay attention to the grip area, buttons, and any other areas that come into contact with your hands during use.
After wiping the trimmer body, rinse the cloth with clean water and remove any soap residue. Go over the trimmer again to ensure all the soap is removed. Finally, use a dry cloth to wipe the trimmer body and ensure it is completely dry before storing or using it again.
Step 4: Lubricating the Blades (Optional)
Periodically lubricating the blades of your Babyliss Pro Trimmer can help maintain their performance and prevent rusting. Apply a small amount of trimmer oil or a light machine oil to the blades and turn on the trimmer for a few seconds to distribute the oil evenly. Wipe off any excess oil with a cloth before using the trimmer.
Note: Refer to your trimmer’s user manual for specific instructions on lubricating the blades, as different models may have variations in the process.
Step 5: Regular Maintenance
To keep your Babyliss Pro Trimmer in top condition, it is recommended to clean the device after each use. This prevents the buildup of hair, oil, and product residue, ensuring optimal performance every time you trim. Additionally, check the blades regularly for any signs of damage or wear and replace them if necessary.
Remember, proper cleaning and maintenance of your trimmer not only prolong its lifespan but also ensure a hygienic and comfortable trimming experience. By following these steps, you can maintain the performance and longevity of your Babyliss Pro Trimmer for years to come.
Frequently Asked Questions
Welcome to our guide on how to clean the Babyliss Pro trimmer. Below, you’ll find answers to some common questions about maintaining and cleaning your trimmer to ensure optimal performance and longevity. Follow these steps to keep your Babyliss Pro trimmer in excellent condition.
How often should I clean my Babyliss Pro trimmer?
Regular cleaning is essential to maintain the performance and hygiene of your Babyliss Pro trimmer. We recommend cleaning it after each use, especially if you have used it on wet hair or with styling products. Cleaning the trimmer regularly will prevent clogging and ensure smooth operation.
Start by removing any hair clippings from the blades using the cleaning brush provided or a soft, dry toothbrush. Next, detach the blade assembly and rinse it under warm running water to remove any remaining debris. Make sure to dry the blades thoroughly before reassembling the trimmer.
Can I use water to clean my Babyliss Pro trimmer?
Yes, you can use water to clean your Babyliss Pro trimmer. However, it is important to note that only the blade assembly is washable. Do not submerge the entire trimmer in water or expose it to excessive moisture, as this may damage the electronic components.
To clean the blade assembly, detach it from the trimmer and rinse it under warm running water. Gently shake off any excess water and allow the blades to air dry before reassembling the trimmer. Make sure the blades are completely dry to prevent rusting or corrosion.
How do I remove hair buildup from my Babyliss Pro trimmer?
If you notice hair buildup on the blades or in the trimmer body, it’s time for a more thorough cleaning. Start by removing the blade assembly and using a small brush, such as a toothbrush, to gently remove any hair or debris from the blades. You can also use a cotton swab dipped in rubbing alcohol to dissolve any stubborn buildup.
For the trimmer body, use a soft, damp cloth to wipe away any dirt or residue. Avoid using harsh cleaning agents or solvents, as they may damage the trimmer’s surface. Once you’ve cleaned both the blades and the trimmer body, allow them to dry completely before reassembling.
How do I lubricate my Babyliss Pro trimmer?
Proper lubrication is essential to keep the blades of your Babyliss Pro trimmer sharp and functioning smoothly. After cleaning the trimmer, apply a few drops of clipper oil or a light machine oil to the blades. Be sure to follow the manufacturer’s instructions for the recommended oil and application method.
To lubricate the blades, turn on the trimmer and run it for a few seconds to distribute the oil evenly. This will help reduce friction and ensure optimal cutting performance. Remember to wipe off any excess oil before using the trimmer to prevent it from transferring onto your hair or skin.
How do I store my Babyliss Pro trimmer?
Proper storage is crucial to protect your Babyliss Pro trimmer when it’s not in use. After cleaning and lubricating the trimmer, make sure it is completely dry before storing it. Store the trimmer in a clean, dry place, preferably in a protective case or pouch to prevent any damage or dust accumulation.
Avoid storing the trimmer in humid or excessively hot environments, as this may affect its performance and lifespan. Additionally, it’s a good idea to remove the batteries if you won’t be using the trimmer for an extended period to prevent potential leakage or corrosion.

Source: ytimg.com
Final Verdict
In conclusion, learning how to clean your Babyliss Pro trimmer is an essential skill that every user should possess. By following the simple steps outlined in this guide, you can ensure that your trimmer remains in optimal condition, delivering precise and efficient results every time you use it. Remember to regularly clean and oil the blades, remove hair buildup, and disinfect the trimmer to maintain hygiene and prolong its lifespan.
By taking the time to properly clean and maintain your Babyliss Pro trimmer, you not only improve its performance but also ensure a safe and comfortable grooming experience. Neglecting the cleaning process can result in dull blades, clogged mechanisms, and even skin irritation.
So, make it a habit to incorporate regular cleaning into your grooming routine, and you’ll enjoy a trimmer that remains in excellent working condition for years to come. With these easy-to-follow cleaning tips, you can confidently keep your Babyliss Pro trimmer in top shape and achieve the perfect trim every time.
