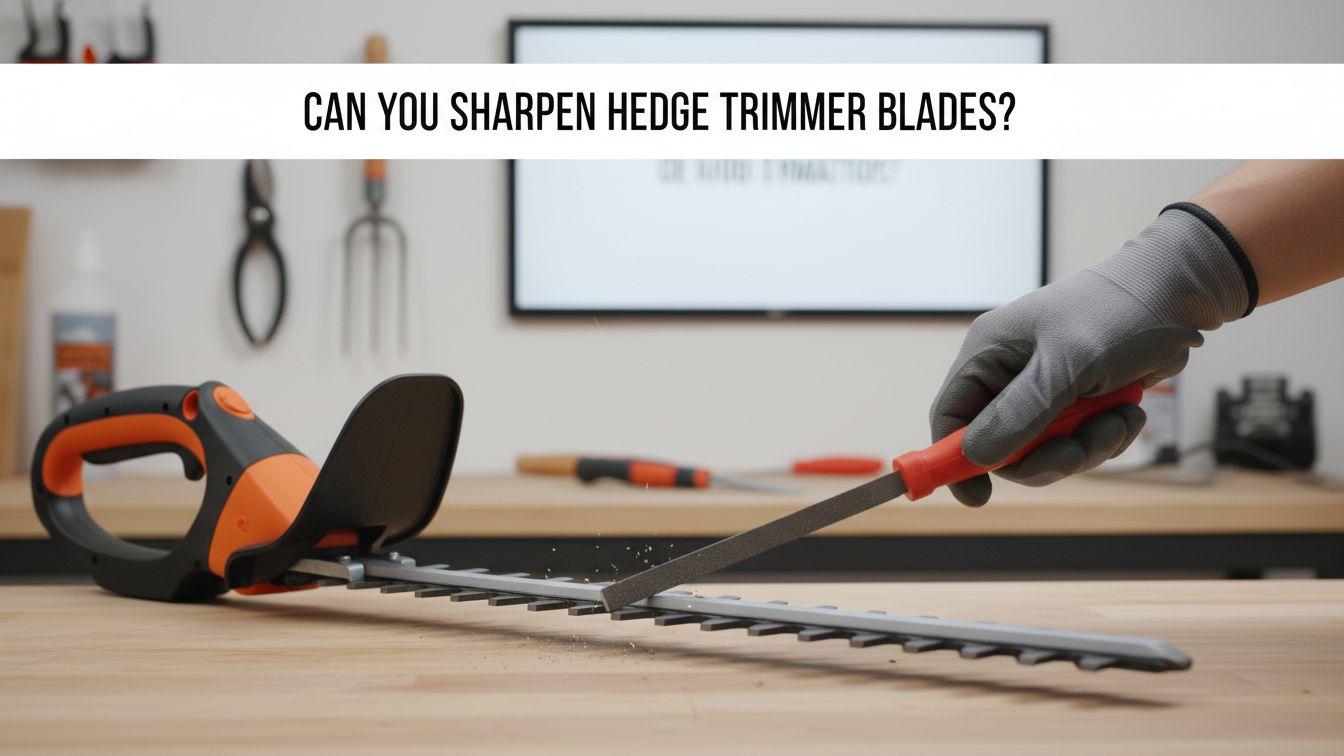

Can you sharpen your own hedge trimmer blades easily? Yes, you can sharpen these blades at home today. Keeping your tools sharp is very important for you. Dull blades will chew through your green garden plants. This makes your yard look very messy and ugly. It also puts much stress on the trimmer motor. You do not need to buy brand new ones. Sharpening them at home is a great skill indeed. It saves you much money and your precious time. You will learn the best ways in this guide. We cover tools, safety, and easy manual steps today. Your hedges will look beautiful and clean very soon. Follow this guide for the best results right now.
Signs Your Hedge Trimmer Blades Need Sharpening

You must know when your blades need some care. Dull blades will rip your plants instead of cutting. This often leads to brown and dying leaf edges. You might notice the trimmer is getting very hot. The motor has to work harder than it should. Look for branches that are getting crushed or torn. This is a clear sign of very dull teeth. Check the blades for any signs of visible damage. Metal teeth should look smooth and very even today. You may see small nicks on the cutting edges. These nicks will slow down your garden work speed. Sharpening will fix these issues very quickly for you. Your trimmer will work like it is brand new.
Tools Needed for Sharpening Hedge Trimmer Blades

You need a few simple tools for this job. A flat file is the most common tool used. You can also use a simple manual sharpening stone. Some people like to use a small power grinder. You will also need some clean water and soap. A stiff brush helps remove dirt and sticky resin. You should have some high quality machine oil ready. This oil will keep the blades moving very smoothly. A soft cloth is great for wiping the metal. Collect all these items before you start the work. Having everything ready makes the job much more simple. You can find these tools at any local store. They are very cheap and will last a long while.
Safety Precautions Before You Start Sharpening
 Protective gear including thick leather gloves and clear safety glasses on a table.
Safety is the most important part of any job. You must always unplug the tool before you start. Remove the battery if you have a cordless model. This prevents the trimmer from turning on by mistake. You must wear thick gloves to protect your hands. The blades are very sharp even when they seem dull. Wear safety goggles to protect your eyes from metal. Small bits of metal can fly during the process. Work in a place with plenty of bright light. A sturdy workbench will keep the tool very steady. Never rush the sharpening process for any reason today. Taking your time will keep you safe and happy. Always stay focused on the task in your hands.
A Step-By-Step Guide to Manual Sharpening

Start by cleaning the blades with a stiff brush. Remove all the sap and dirt from the metal. Secure the trimmer so it does not move around. Hold the flat file at a very steady angle. Move the file away from your body for safety. Only file in one direction for the best edge. Lift the file as you come back for another. Do not saw the file back and forth today. This could ruin the metal of your trimmer blades. Repeat this process for every single tooth you see. Work slowly to ensure that every edge is sharp. Check your progress often to see the shiny metal. It takes some patience to get the best results.
| Method | Speed | Difficulty | Precision |
|---|---|---|---|
| Flat File | Slow | Medium | Very High |
| Power Grinder | Fast | High | Medium |
How to Use a Power Tool for Sharpening

Power tools can make the job go much faster. An angle grinder is a popular choice for many. You must be very careful with this powerful tool. It can remove too much metal if you slip. Use a fine grit disc for the best finish. Touch the blade very lightly with the spinning disc. Keep the tool moving to avoid getting too hot. Heat can weaken the metal of your garden blades. Only use this method if you feel very brave. Beginners should stick to the manual file for now. Wear a face mask to avoid breathing metal dust. Keep your fingers far away from the spinning parts. This method saves time but needs a steady hand.
Maintaining the Correct Angle for Best Results

The angle of the blade is very important here. Most blades have a bevel of thirty-five degrees now. You must follow this angle with your sharpening tool. If you change the angle the tool will fail. A wrong angle will make the blades dull faster. Use the existing edge as your main guide today. Look closely at the blade before you start filing. You can mark the edge with a black pen. This helps you see where the file has touched. Consistency is the key to a very sharp edge. Keep your wrist firm while you move the file. This ensures the angle stays the same every time. You will get a professional finish with some practice.
Cleaning and Lubricating After the Sharpening Process
 A person applying a clear lubricant spray to the shiny metal teeth of a trimmer.
You must clean the blades after you are finished. Use a clean cloth to wipe away metal dust. Tiny metal filings can cause the blades to jam. Apply a light coat of oil to the metal. This prevents rust from forming on the new edges. It also helps the blades slide past each other. You can use a spray lubricant for easy coverage. Wipe off any extra oil with a dry cloth. Check that the blades move freely without any catching. Regular oiling will extend the life of your tool. Store your trimmer in a dry and cool place. This keeps the metal in great condition for years. Your tool is now ready for the next job.
When Should You Replace the Blades Instead?
Sometimes sharpening is not enough to fix the tool. You should look for large cracks in the metal. If teeth are missing you must replace the blades. Very thin blades might snap while you are working. This can be very dangerous for you and others. If the blades are bent they will not cut. You cannot always bend them back to being straight. Check if the cost of new blades is low. Sometimes buying new ones is better than a repair. If the trimmer is very old consider a replacement. New models are often more light and very strong. Use your best judgment when looking at the damage.
| Item | Purpose | Cost |
|---|---|---|
| Resin Remover | Cleans Sap | Low |
| Machine Oil | Lubrication | Low |
| Storage Case | Protection | Medium |
Benefits of Keeping Your Garden Tools Sharp
Sharp tools make your gardening work much more fun. You will spend less time trimming your green hedges. The cuts will be clean and look very professional. Clean cuts help your plants stay healthy and strong. Ragged edges can invite pests and many plant diseases. Your trimmer motor will last for a much longer. It does not have to fight against the wood. You will use less fuel or battery power today. This is better for the world and your wallet. Working with sharp tools is much safer for you. You do not have to push the tool hard. Everything feels much more easy and very smooth now.
Common Mistakes to Avoid While Sharpening Blades
Many people make simple mistakes when they start sharpening. Do not use a file that is too coarse. This will leave deep scratches in the metal edge. Never file the flat side of the trimmer blades. This will create a gap between the two blades. The blades must touch closely to cut the plants. Avoid putting too much pressure on the metal file. Let the tool do the work for you today. Do not skip any teeth during the sharpening process. Every tooth needs to be sharp for even cuts. Do not forget to wear your safety gear always. Ignoring safety can lead to very bad accidents today.
Professional vs. DIY Sharpening: Which is Better?
You might wonder if you should do this yourself. DIY sharpening is great for saving some extra money. It is a useful skill that every gardener needs. You can sharpen your tools whenever they feel dull. However professional sharpening is very precise and very fast. Pros have special machines for a perfect metal edge. They can also fix blades that are badly damaged. If you are afraid of tools call a pro. It usually costs a small fee for the service. For most people the DIY way is just fine. You will get better at it with more practice.
Tips to Keep Your Blades Sharper Longer
You can keep your blades sharp for a long time. Always clean the blades after every single garden use. Remove sap before it turns into a hard glue. Sap makes the blades rub together and get dull. Avoid cutting through thick wire or hard garden stones. These items will chip the metal teeth very quickly. Use a resin solvent to keep the metal clean. Store your trimmer away from rain and wet grass. Moisture is the main cause of rust on tools. Lubricate the blades before you put the tool away. This simple step protects the edge from the air. Your trimmer will stay sharp for many more months.
Frequently Asked Questions
Q: How often should I sharpen my trimmer blades?
A: You should sharpen them after fifty hours of use.
Q: Can I use a file to sharpen the blades?
A: Yes, a flat file is the best manual tool.
Q: Do I need to take the trimmer apart?
A: No, you can sharpen them while they are attached.
Q: What oil should I use for the blades?
A: You should use a high quality light machine oil.
Q: Is it safe to use an angle grinder?
A: It is safe if you are very careful and slow.
Executive Summary
You now know how to sharpen your trimmer blades. Maintaining your tools will make your garden work easier. Sharp blades ensure that your plants stay very healthy. You will save money by not buying new parts. Always remember to put safety first during the process. Wear your gloves and goggles every single time today. Clean and oil your blades after every single use. This will prevent rust and keep them moving well. A little bit of work goes a long way. Your garden will look better than it ever has. Thank you for reading this helpful guide for gardeners. Enjoy your beautiful and well kept outdoor living space today.

I’m Patricia D. Johnson, an affiliate marketer and blogger specializing in trimmers and grooming tools. I create honest reviews, buying guides, and practical tips to help readers choose the right trimmer for their needs. With a focus on quality, performance, and value, I simplify the decision-making process so consumers can make confident purchases.