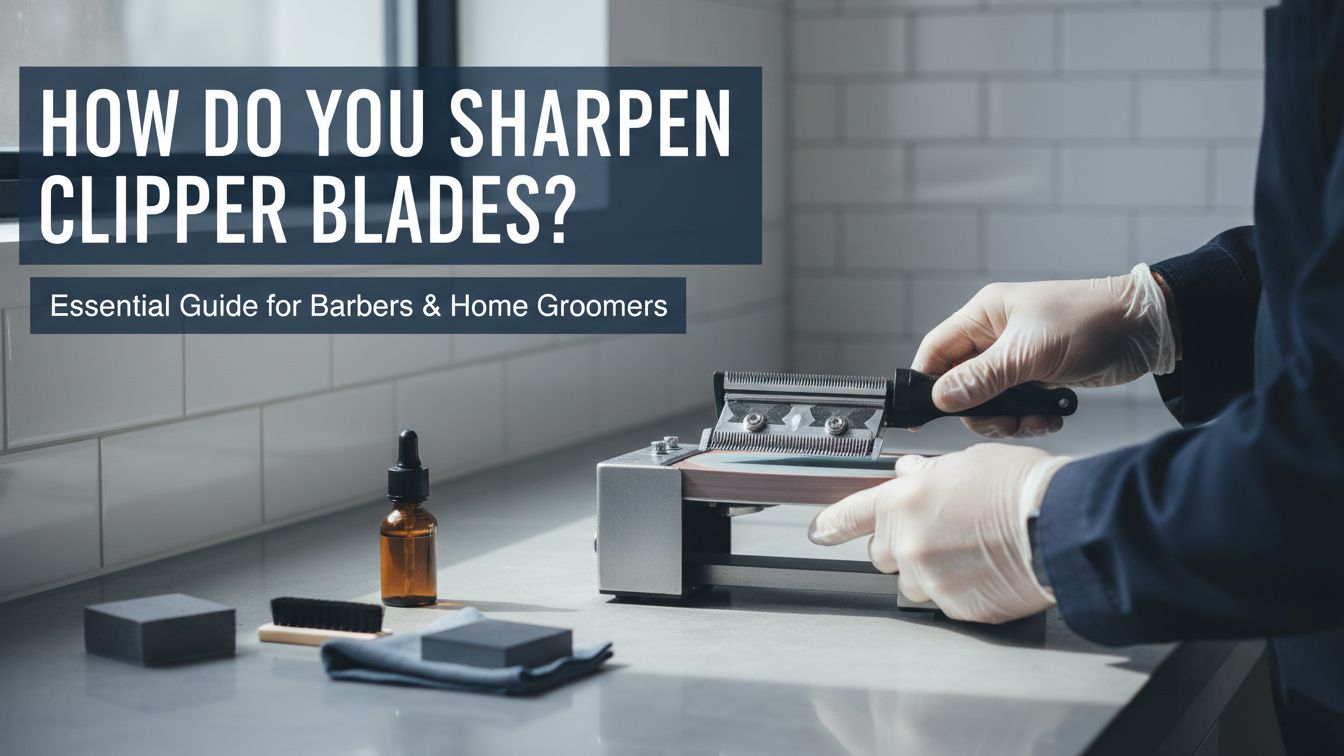

Dull clippers are frustrating. They pull on hair instead of cutting it. This hurts people and pets alike. You might wonder, how do you sharpen clipper blades without buying a brand-new pair?
Learning this skill saves you a lot of money. It also keeps your equipment running like new for years. You do not need to be a professional mechanic to do this.
This guide will show you exactly how to get a razor-sharp edge at home. We will use simple tools and easy steps. By the end, your clippers will glide through hair effortlessly.
 A close-up, high-quality photo of a dull clipper blade next to a perfectly sharpened, shiny clipper blade for comparison.
Tools & Prerequisites
Before you start, you must gather your supplies. Having everything ready makes the job faster. It also prevents mistakes.
Essential Supplies List
- Screwdriver: Usually a small Phillips head.
- Magnet: To hold the blades securely while sharpening.
- Sharpening Stone: A 4000/8000 grit whetstone is best.
- Cleaning Brush: An old toothbrush works great.
- Blade Wash: Or high-percentage isopropyl alcohol.
- Clipper Oil: Essential for the final step.
- Clean Cloth: A microfiber towel is ideal.
Choosing Your Sharpening Surface
There are different tools you can use to sharpen metal. Use this table to pick the best one for your needs.
| Tool Name | Best For | Ease of Use |
|---|---|---|
| Whetstone | Precision sharpening | Medium |
| Diamond Plate | Very dull or chipped blades | Easy |
| Sandpaper (Fine) | Budget-friendly quick fix | Harder to keep flat |
| Lapping Plate | Professional level results | Expert |
 A flat-lay infographic showing all the tools listed above neatly organized on a wooden workbench.
How Do You Sharpen Clipper Blades? Step-by-Step Instructions
Follow these steps carefully. Take your time. Rushing leads to uneven edges.
Step 1: Disassemble the Clippers
First, you must remove the blades from the clipper body. Most clippers have two screws holding the blades in place.
- Unplug the clippers for safety.
- Loosen the screws with your screwdriver.
- Remove the blades carefully.
- Keep the screws in a small bowl so you do not lose them.
Critical Warning: Note how the blades sit against each other. The small “moving” blade and the large “base” blade must go back the same way.
Step 2: Deep Cleaning the Metal
You cannot sharpen dirty blades. Hair and old oil create a “gunk” that ruins your stone.
- Brush away loose hair with your toothbrush.
- Soak the blades in blade wash or alcohol for 5 minutes.
- Wipe them dry with your clean cloth.
- Inspect for rust or broken teeth.
 A photorealistic image of a hand using a toothbrush to scrub hair out of the metal teeth of a clipper blade.
Step 3: Preparing the Sharpening Stone
If you are using a whetstone, it needs water. This keeps the metal cool and carries away tiny metal shavings.
- Submerge the stone in water for 10 minutes.
- Wait until the bubbles stop rising.
- Place the stone on a damp towel so it does not slide.
Step 4: The Sharpening Process
This is the most important part. You must keep the blade perfectly flat.
Attaching the Magnet
Attach a strong magnet to the back of the blade. This gives you a handle. It keeps your fingers away from the sharp edges.
 A close-up shot showing a rectangular magnet attached to the flat side of a clipper blade.
The Motion
- Lay the blade flat on the 4000-grit side of the stone.
- Push the blade forward across the stone.
- Apply light, even pressure with your fingers.
- Repeat this 10 to 15 times.
Pro Tip: Only move in one direction if you are a beginner. This helps you keep the angle perfectly flat.
Checking for the Shine
Look at the edge of the blade. It should look like a bright, silver mirror. If it still looks dull or dark, do 5 more passes.
Step 5: Honing the Edge
Now, flip your stone to the 8000-grit side. This side is very smooth. It polishes the metal.
- Repeat the same sliding motion.
- Perform 5 to 10 passes.
- Feel the edge carefully (don’t cut yourself!). It should feel smooth.
 A diagram showing the forward-only motion of the blade on a sharpening stone with arrows indicating direction.
Step 6: Reassembling and Oiling
Now your blades are sharp. You must put them back together correctly.
- Wipe the stone dust off the blades.
- Place the small blade back onto the large blade.
- Align the teeth so they are straight.
- Tighten the screws back into the clipper body.
 A photorealistic image of a person’s hands using a screwdriver to tighten the blades back onto a pair of black hair clippers.
Expert Tips & Troubleshooting
Even pros run into trouble sometimes. Here is how to fix common issues.
What if the clippers still pull hair?
This usually means the blades are not aligned. Loosen the screws slightly. Move the top blade until it is perfectly parallel with the bottom blade. Then tighten again.
Preventing Rust
Metal hates moisture. After sharpening, always apply two drops of Clipper Oil. Turn the clippers on for 10 seconds to spread the oil. This creates a waterproof seal.
 An instructional graphic showing where to place the oil drops on the clipper teeth—one on each side and one in the middle.
How often should you sharpen?
- Home Use: Every 6 to 12 months.
- Professional Use: Every 2 to 3 months.
- Pet Grooming: Every 1 to 2 months (animal hair is thicker).
Pro Tip: If the blades get hot while you are cutting hair, they need oil, not necessarily sharpening.
Frequently Asked Questions
Can I use a kitchen knife sharpener?
No. Kitchen sharpeners are V-shaped. Clipper blades are flat. Using a knife sharpener will ruin the teeth of your clippers instantly.
Is sandpaper okay to use?
Yes, but it must be “Wet/Dry” sandpaper. Use 1000 grit or higher. Tape the sandpaper to a piece of glass to make sure it is perfectly flat.
Why do I need a magnet?
The blades are small and get slippery with water or oil. The magnet acts as a handle. It ensures your hand pressure is spread across the whole blade.
What is “Blade Wash”?
It is a special liquid that kills germs and removes old grease. If you don’t have it, use 91% Rubbing Alcohol. Do not use water alone, or the blades will rust.

Conclusion
Sharpening your own clipper blades is a great skill to have. It keeps your tools in top shape and saves you a trip to the store. Remember to keep the blades flat on the stone and always finish with oil. With a little practice, you will never have to deal with a dull clipper again. Your hair, your pets, and your wallet will thank you!

I’m Patricia D. Johnson, an affiliate marketer and blogger specializing in trimmers and grooming tools. I create honest reviews, buying guides, and practical tips to help readers choose the right trimmer for their needs. With a focus on quality, performance, and value, I simplify the decision-making process so consumers can make confident purchases.