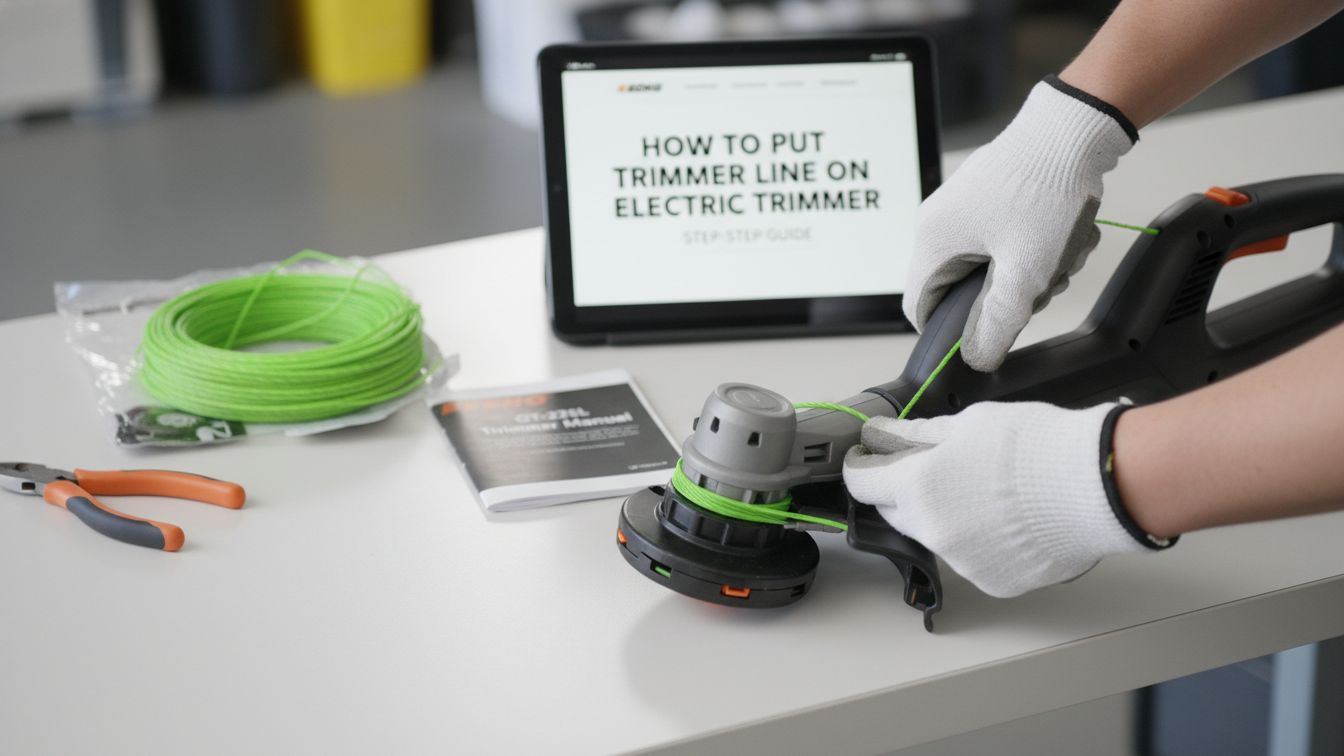

Maintaining a beautiful yard is a point of pride. However, it is hard to trim grass when your string runs out. You need to know How To Put Trimmer Line On Electric Trimmer to get back to work quickly. This guide will show you every single step.

We will focus on the most common types of electric trimmers. Some use a single line, while others use a dual line system. Do not worry if you feel nervous about fixing machinery. If you can tie your shoes, you can fix your trimmer.
Tools and Prerequisites
Before you start, you need the right gear. Using the wrong size of string can damage your motor. Always check your owner’s manual for the specific diameter you need.
Required Materials Table
| Item | Purpose | Why it Matters |
|---|---|---|
| New Trimmer Line | Replaces the empty spool | Must match the factory size |
| Scissors or Snips | Cutting the line to length | Clean cuts prevent jams |
| Work Gloves | Protects your hands | Prevents blisters and cuts |
| Damp Cloth | Cleaning the trimmer head | Removes grit and dried grass |
Choosing the Right Line
Most electric trimmers use line between 0.065 inches and 0.080 inches. Thicker line is for heavy weeds. Thinner line is for soft grass. Always buy a high-quality “round” or “twisted” line for the best results.

How To Put Trimmer Line On Electric Trimmer: Step-by-Step Instructions
Follow these steps exactly to ensure your trimmer runs smoothly. Safety is the most important part of any yard project.
Phase 1: Safety and Preparation
You must make sure the tool cannot turn on while you are working. Electric tools are quiet but powerful.
Step 1: Power Down
If you have a corded trimmer, unplug it from the wall. If you have a battery trimmer, remove the battery pack.
Critical Warning: Never work on a trimmer that is still connected to a power source. A sudden start could cause serious injury.
Step 2: Clean the Head
Flip the trimmer over so the head faces you. Use your cloth to wipe away dirt and grass. This helps you see the buttons and arrows clearly.
Phase 2: Removing the Spool
The spool is the plastic part that holds the string. You need to take it out to wrap the new line.
Step 3: Open the Cap
Look for two tabs on the side of the trimmer head. Press these tabs at the same time. The cap should pop right off.

Step 4: Remove the Empty Spool
Pull the plastic spool out of the housing. Look for any leftover bits of old line. Throw those small pieces in the trash so they do not clog the machine.
Phase 3: Measuring and Winding
This is where most people get confused. Take your time and follow the arrows.
Step 5: Measure the Line
Cut about 10 to 15 feet of new line. Do not cut it too long, or it will tangle. If your trimmer has two holes, you may need two separate pieces of string.
Step 6: Locate the Anchor Hole
Look at the center of the spool. You will see a small hole or a notch. This is the anchor point. Push the end of your line into this hole to lock it in place.

Step 7: Follow the Arrows
Look for an arrow stamped into the plastic of the spool. This arrow tells you which way to wind the line. Wrap the line tightly and neatly in that direction. Neat layers prevent the string from getting stuck later.
Pro Tip: Keep constant tension on the string while winding. If it is loose, it will “weld” to itself when the machine gets hot.
Phase 4: Reassembly
Now you need to put everything back together.
Step 8: Secure the Ends
Most spools have “holding slots” on the outer rim. Slide the end of your line into one of these slots. This keeps the line from unwinding while you put the spool back in.
Step 9: Feed Through the Eyelets
Look at the outer cover of the trimmer. You will see small metal holes called eyelets. Thread the end of your line through these holes.

Step 10: Snap the Cap On
Push the spool back into its home. Line up the tabs on the cap with the slots on the head. Press down until you hear a loud click.
Expert Tips & Troubleshooting
Even experts run into trouble sometimes. Here is how to handle common problems.
What if the line won’t come out?
This is called a “feed jam.” It usually happens because the line was wound too loosely. You must open the cap and rewind the line more tightly.
What if the line breaks too often?
Old trimmer line becomes brittle and dry. If your line is years old, it will snap easily.
Pro Tip: Soak your trimmer line in a bucket of water for 24 hours. This makes the plastic flexible and much stronger.
Speed Loading Heads
Some modern electric trimmers have “Speed Feed” heads. For these, you do not take the spool out. You just line up the arrows, push the string through, and twist the bottom.

Common Mistakes to Avoid
- Winding the wrong way: The line will not feed.
- Overfilling the spool: The cap will not close.
- Crossing lines: In dual-line systems, keep the strings in their own channels.
| Problem | Likely Cause | Easy Fix |
|---|---|---|
| Line is stuck | Tangled inside | Rewind neatly |
| Head vibrates | Uneven line length | Cut lines to equal length |
| Line melts | Trimming too close to rocks | Stay 2 inches away from hard walls |

Frequently Asked Questions
How often should I change the line?
You should change it whenever the string is too short to reach the grass. If you hit many rocks or fences, you will change it more often.
Can I use any brand of line?
Yes, as long as the thickness (diameter) matches your machine. You do not have to buy the same brand as your trimmer.
Why does my trimmer have two strings?
Dual lines cut twice as fast. They are great for thick weeds. You must load both sides equally for the machine to stay balanced.
What is a “Bump Feed”?
Most electric trimmers use a bump feed. When you tap the head on the ground while it is spinning, more line comes out. If you wind the line correctly, this will work every time.
Conclusion
Learning How To Put Trimmer Line On Electric Trimmer is a vital skill for any homeowner. By following these steps, you save money and time. You no longer have to pay a professional to do a simple task. Remember to keep your line tight, follow the arrows, and always put safety first. Now, go out there and make your lawn look amazing!

I’m Patricia D. Johnson, an affiliate marketer and blogger specializing in trimmers and grooming tools. I create honest reviews, buying guides, and practical tips to help readers choose the right trimmer for their needs. With a focus on quality, performance, and value, I simplify the decision-making process so consumers can make confident purchases.