Have you ever struggled with spooling a string trimmer? It can be a frustrating task, trying to feed the line onto the spool without tangling or jamming. But fear not, because I’m here to share some tips on how to make the process easier and more efficient. So, let’s dive in and discover the secrets of spooling a string trimmer!
When it comes to spooling a string trimmer, a little knowledge can go a long way. First, let’s understand the history behind this ingenious gardening tool. String trimmers, also known as weed eaters or weed whackers, were invented in the 1970s by George Ballas. They revolutionized the way we maintain our lawns, providing a convenient and efficient solution to tackle overgrown grass and weeds. Did you know that string trimmers have become so popular that the U.S. alone sells over 7 million units each year? Now, let’s move on to mastering the art of spooling.
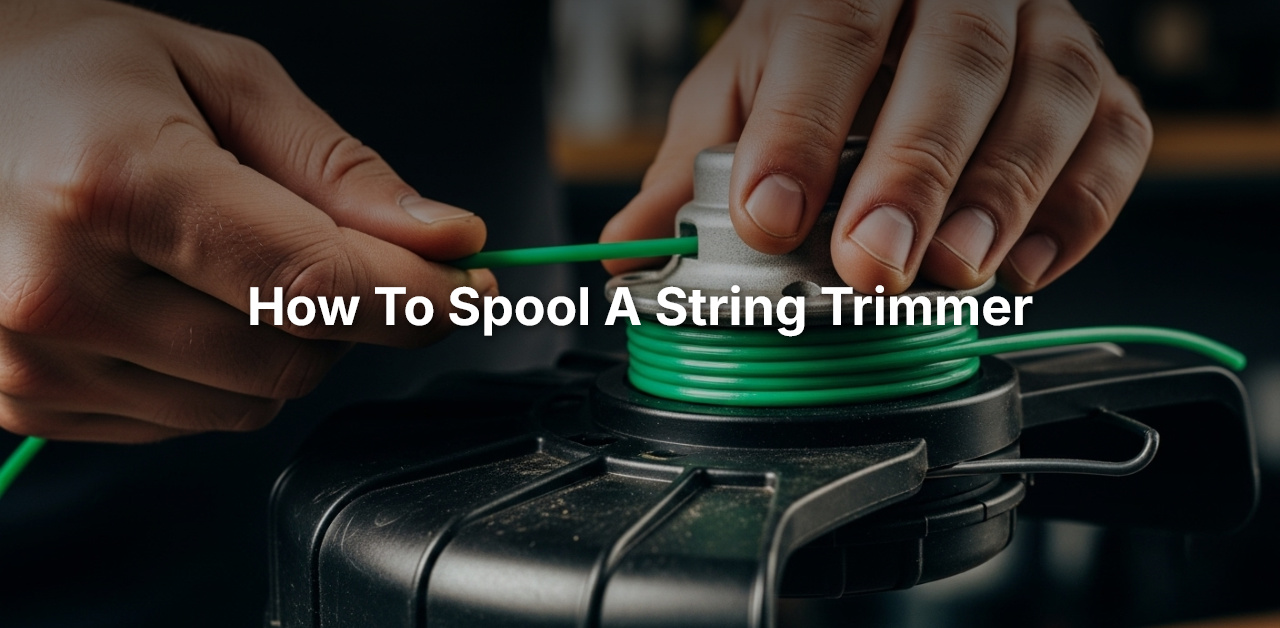
To spool a string trimmer, follow these steps:
- Turn off the trimmer and unplug it if it’s electric.
- Remove the empty spool from the trimmer head.
- Cut a piece of trimmer line of the correct size and insert one end into the slot on the spool.
- Wind the line onto the spool in the direction indicated by the arrow.
Step-by-Step Guide to Spooling Your String Trimmer
String trimmers are essential tools for maintaining the appearance of your lawn and keeping weeds at bay. However, one common task that users often overlook is spooling the trimmer line. This process involves replacing the worn-out or empty trimmer line spool with a new one to ensure optimal cutting performance. In this guide, I will walk you through the step-by-step process of spooling a string trimmer like a pro.
Step 1: Gather the Necessary Tools and Materials
Before you begin spooling your string trimmer, it’s crucial to gather all the necessary tools and materials. Here’s what you’ll need:
- Replacement trimmer line spool
- Gloves for hand protection
- Safety goggles or glasses
- Scissors or snips
- Clean cloth or towel
- Owner’s manual for specific instructions (optional)
Having these tools and materials ready will ensure that you can complete the spooling process smoothly and efficiently.
Step 2: Prepare the Trimmer
Before you begin spooling the trimmer line, it’s important to properly prepare your string trimmer:
1. Turn off the trimmer and disconnect it from the power source or remove the battery to prevent any accidental starts.
2. Clean any dirt, debris, or grass clippings from the trimmer head and surrounding areas. A clean trimmer ensures optimal performance and extends the life of your trimmer line.
3. Consult your owner’s manual, if available, for specific instructions on how to access the trimmer head and remove the spool.
By following these steps, you’ll ensure a safe and clean working environment for spooling the string trimmer.
Step 3: Remove the Worn-out Spool
Once your trimmer is prepared, it’s time to remove the worn-out trimmer line spool:
1. Locate the spool housing on the trimmer head. This is usually a cover or cap that encloses the spool.
2. Depending on your trimmer model, you may need to press a release button or turn the spool counterclockwise to unlock it.
3. Carefully remove the spool from the trimmer head, taking note of the orientation and any springs or clips that secure it in place.
4. Inspect the spool for any tangled or worn-out trimmer line. If necessary, cut off any remaining line before proceeding to the next step.
Step 4: Prepare and Install the New Trimmer Line
Now that you’ve removed the old spool, it’s time to prepare and install the new trimmer line:
1. Measure and cut a suitable length of trimmer line from the replacement spool. Check your owner’s manual or the manufacturer’s instructions for the recommended length.
2. Check if your trimmer head requires a single line or a dual-line setup. This information can usually be found in your owner’s manual or on the trimmer head itself.
3. If your trimmer is designed for a dual-line setup, locate the line separation feature on the trimmer head. Insert one end of the trimmer line into each side of the separation feature.
4. If your trimmer requires a single line setup, locate the line anchor or eyelet on the trimmer head. Insert one end of the trimmer line through the eyelet, leaving equal lengths on both sides.
Step 5: Secure the Trimmer Line and Reassemble the Trimmer
With the new trimmer line prepared, it’s time to secure it and reassemble the trimmer:
1. Wind the trimmer line in the direction indicated by the arrows on the trimmer head. Take care to wind the line evenly and avoid overlapping.
2. Leave a small amount of line unwound to prevent binding and to provide room for the line to advance during use.
3. Once the trimmer line is secured, carefully place the spool back into the trimmer head, ensuring that any springs or clips are properly seated.
4. Rotate the spool clockwise to lock it in place, or follow the specific instructions for your trimmer model.
5. Give the trimmer head a gentle tug to ensure that the line is feeding out properly and is securely anchored.
Once you’ve completed these steps, your string trimmer is now ready to tackle those overgrown edges and weeds with ease!
Remember to consult your owner’s manual or reach out to the manufacturer for any specific instructions or troubleshooting tips related to your trimmer model. Regularly inspect and replace the trimmer line as needed to maintain optimal cutting performance. Happy trimming!
How To Tips for Easy Restring of Weed Eater with 2 strings
Frequently Asked Questions
Spooling a string trimmer can be a daunting task, especially if you’re new to it. To help you out, here are some commonly asked questions about how to spool a string trimmer:
How do I load string onto a trimmer spool?
To load string onto a trimmer spool, follow these steps:
First, make sure the trimmer is turned off and unplugged. Locate the spool housing on your trimmer; it’s usually at the bottom or the head of the trimmer. Open the spool housing by pressing the tabs or button, depending on your trimmer model.
Remove any remaining worn-out string from the spool. Now, insert the end of the new string into the hole or slot in the spool. Wind the string tightly and evenly in the direction indicated by the arrow on the spool. Leave about 6 inches of string unwound to prevent the trimmer from automatically feeding the line during operation. Finally, secure the end of the string in the slot or groove provided on the spool. Close the spool housing, and your trimmer is ready to use with new string!
What type of string should I use for my trimmer?
The type of string you should use for your trimmer depends on the model and intended use. In general, most trimmers are designed to use nylon trimmer line. The thickness or diameter of the line determines its cutting ability. Thicker lines are better suited for heavier duty trimming and cutting thicker vegetation, while thinner lines work well for lighter trimming tasks.
Refer to the manufacturer’s instructions or consult the user manual for your trimmer to determine the recommended string diameter. It’s important to use the correct string diameter to ensure optimal performance and prevent damage to the trimmer or injury to yourself.
How often should I replace the string on my trimmer?
The frequency of string replacement for your trimmer depends on several factors, including the type of vegetation you typically cut, the duration and intensity of use, and the type and quality of the string used.
As a general guideline, it’s recommended to check and replace the string on your trimmer whenever you notice signs of wear, such as fraying or breaking. Regularly inspect the condition of the string before each use and replace it as needed to maintain optimal cutting efficiency.
Can I use other materials instead of nylon trimmer line?
While nylon trimmer line is the most commonly used material for string trimmers, there are other options available. Some trimmers may be compatible with alternative materials such as metal blades or plastic blades.
However, it’s important to note that using materials other than the recommended trimmer line can affect the performance and safety of your trimmer. Always refer to the manufacturer’s instructions or consult the user manual to determine the compatible materials for your specific trimmer model.
How can I prevent the trimmer string from breaking or getting tangled?
To prevent the trimmer string from breaking or getting tangled, follow these tips:
Ensure that you are using the correct string diameter for your trimmer. Using an improper diameter can put additional strain on the string and lead to breakage.
Avoid excessive force or aggressive cutting techniques that can cause the string to whip against hard surfaces, leading to premature breakage. Instead, use a steady and controlled cutting motion.
Final Words:
In summary, spooling a string trimmer is a simple process that requires a few key steps. Firstly, choose the right type and length of trimmer line for your specific trimmer. Next, remove the spool from the trimmer head and carefully unwind any old line. Then, wind a fresh line onto the spool, making sure to follow the manufacturer’s instructions for the correct winding direction.
Once the line is securely wound, reattach the spool to the trimmer head and test the trimmer to ensure the line is feeding properly. With these steps, you’ll be able to spool your string trimmer and keep your yard looking well-maintained.
Remember to always wear proper protective gear while operating your string trimmer to prevent injuries. Additionally, it’s important to periodically check the condition of your trimmer line and replace it when necessary to ensure optimal performance.
By following these guidelines and practicing safe trimming techniques, you’ll be able to efficiently maintain your lawn and achieve a professional-looking result. Happy trimming!
