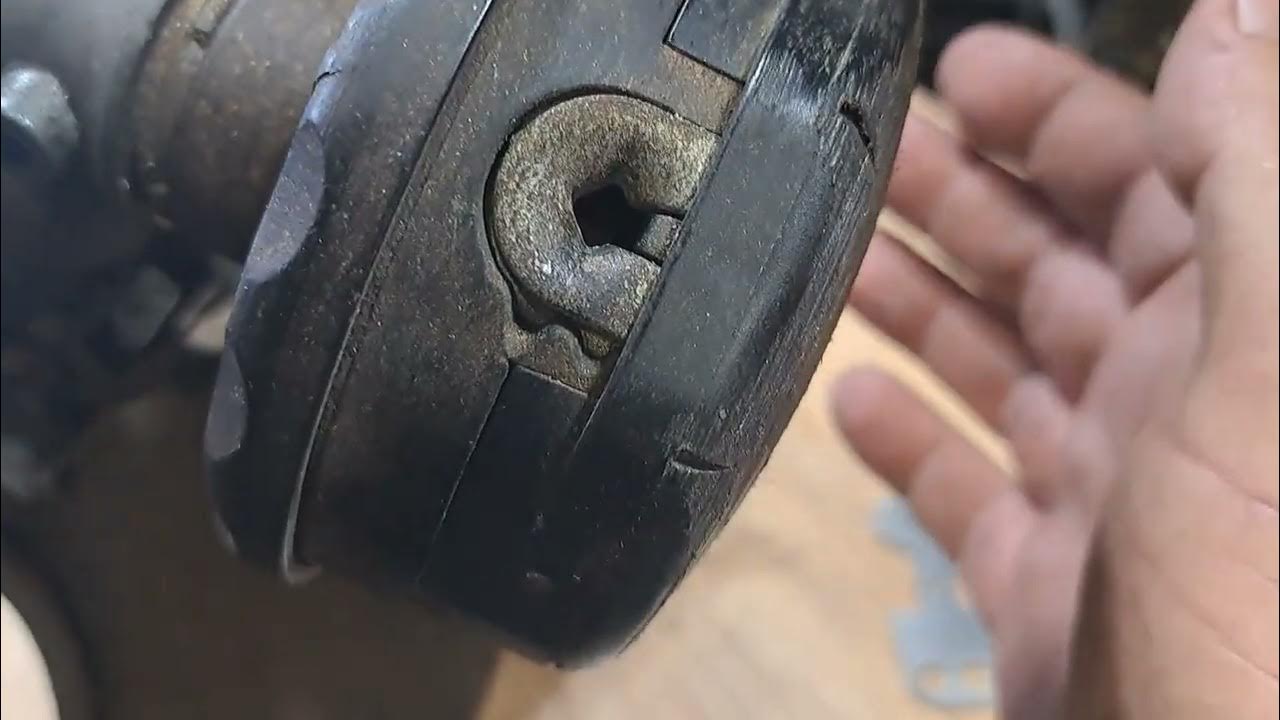
Replacing the line on your Shindaiwa trimmer doesn’t have to be a daunting task. Did you know that professional landscapers often view it as a quick five-minute job? With the right technique, you’ll be back to your trimming tasks with minimal downtime and maximum efficiency.
First, ensure your trimmer is turned off and disconnect the spark plug for safety. Remove the spool from the trimmer head, placing the new line according to the direction marked on the spool. With Shindaiwa trimmers, using quality OEM lines can enhance performance and durability, making the job smoother and the equipment last longer.
- Turn off the trimmer and disconnect the spark plug for safety.
- Remove the spool from the trimmer head by pressing tabs or unscrewing it.
- Cut a new line to the specified length and insert it into the spool’s holding slot.
- Wind the line tightly and evenly in the direction indicated by arrows on the spool.
- Secure the line in retaining slots on the spool’s edge to prevent unwinding.
- Reattach the spool to the trimmer head, ensuring it is firmly in place.
- Check that the line is properly seated by gently tugging on it before restarting your trimmer.

How to Replace Shindaiwa Trimmer Line
Replacing the line on your Shindaiwa trimmer starts with safety. Turn off the trimmer and disconnect the spark plug to avoid accidents. Next, remove the spool by pressing the tabs or unscrewing it, depending on your model. This step ensures that the old line can be taken out and the new one properly inserted. According to this post, safety is crucial when handling trimmer equipment.
After removing the spool, cut the new trimmer line to the appropriate length. For Shindaiwa models, the manual often specifies the correct length. Wrap the new line around the spool, following any directional arrows. This ensures that the line feeds smoothly when trimming. Proper placement prevents tangles and interruptions.
Once the new line is in place, reattach the spool to the trimmer head. Make sure it snaps or screws back on securely. Tug gently on the line to confirm it’s firmly seated. Restart the trimmer and test the new line in a safe, open area. This testing step ensures everything is functioning correctly.
If you find the spool difficult to reattach, double-check to ensure the line is not protruding. Sometimes, an incorrectly placed line can cause problems. Adjust as necessary and try again. Regularly replacing the trimmer line keeps your Shindaiwa trimmer at peak performance, ensuring precise cuts every time.
Step 1: Safety Precautions Before Replacing Trimmer Line
Before you start replacing the line on your Shindaiwa trimmer, make sure it is completely turned off. Additionally, disconnect the spark plug for added security. This step prevents the trimmer from accidentally starting while you are working on it. Always have your tools ready before starting the procedure. Doing these will ensure your safety and the efficiency of the task.
Next, wear appropriate safety gear such as gloves and safety glasses. This protects your hands and eyes from any debris or accidents. According to this post, even small injuries can be avoided with proper gear. Simple steps like this make a big difference. Make sure no children or pets are around the area.
Ensure the trimmer is placed on a stable surface while you work. A flat surface helps keep the trimmer secure, making it easier to handle. Avoid grassy or uneven areas that may cause instability. Make sure your workspace has enough light. Good visibility reduces the risk of errors.
Finally, read the user manual for specific instructions related to your Shindaiwa model. Manuals often contain crucial details tailored for each model. Not only does this ensure you are following the right steps, but it also helps in troubleshooting. When in doubt, consult the manual. Being prepared saves time and prevents mistakes.
Step 2: Removing the Spool From the Trimmer Head
To begin removing the spool, first ensure that your trimmer is turned off and the spark plug is disconnected. This guarantees that no accidental starts occur while you are working. Depending on your Shindaiwa model, the spool might have tabs or screws holding it in place. If tabs are present, press them simultaneously to release the spool. For screw types, use a screwdriver to loosen them.
Once the spool is free, gently pull it away from the trimmer head. Be cautious not to lose any small parts that might come loose during this process. Inspect the spool for any signs of damage or excessive wear. If needed, clean the area to remove any debris or grass buildup. A clean spool ensures smoother operation when you install the new line.
At this point, it’s a good idea to also check the condition of the trimmer head itself. Look for any cracks or worn areas that might need attention. If the trimmer head is damaged, it might be a good time to replace it. A well-maintained trimmer head prolongs the life of your trimmer. Keeping the head in good shape reduces trimming difficulties.
Finally, keep all the screws or tabs in a safe place to avoid misplacing them. These small components are essential for reassembly. Consider placing them in a small container nearby. This simple step will make it easier to reattach the spool later. Staying organized helps complete the task efficiently.
Step 3: Placing the New Line Into the Spool
Begin by cutting the new trimmer line to the length specified in your Shindaiwa manual. Usually, the length is around 15 to 25 feet, depending on your specific model. Make sure the line is free of any knots or bends. Straight lines make the winding process easier and more efficient. Keep the ends of the line even as you prepare to place them into the spool.
Locate the center of the line and fold it in half to find the midpoint. Insert this midpoint into the holding slot in the spool, if available. Following this, wrap each side of the line around the spool in the direction indicated by the arrows. The correct direction is crucial for proper feeding of the trimmer line. Ensure the line is wound tightly and neatly.
When wrapping the line, keep it evenly distributed across the spool. Overlapping lines can lead to tangles and feeding issues. If your spool has separate compartments for each half of the line, make sure to use them correctly. Even spacing helps in maintaining balance during trimming. Always check for any loose ends that might interfere with the operation.
Once you’ve neatly wound the line, secure it in place using the retaining slots on the spool’s edge. These slots keep the line from unwinding before you reassemble the trimmer head. Snugly fitting the ends into these slots ensures they stay put. At this stage, the trimmer line should be ready for final assembly.
After securing the line, reattach the spool to the trimmer head. Align the spool correctly and press it back into place or screw it in as required. Give the line a gentle tug to confirm it’s locked in. This step ensures that the line feeds out smoothly when you start trimming again. Double-check your work for perfection.
Essential Tips For Efficiently Replacing Shindaiwa Trimmer Line
When replacing your Shindaiwa trimmer line, always ensure you are using the correct line diameter specified for your model. Using the wrong size can lead to poor performance or even damage to the trimmer. A thicker line doesn’t always mean better cutting. Make sure to read the user manual for exact specifications. Knowing the right line ensures efficient operation.
Keep your tools organized and within reach to streamline the process. Searching for tools while you work wastes time and can be frustrating. Place a small container nearby to hold any screws or small parts. This small step can make reassembly much easier. An organized workspace boosts efficiency.
Periodically clean the trimmer head and spool area. Grass buildup and debris can obstruct the smooth running of the trimmer. Cleaning after each use or each line replacement can prevent this issue. A clean trimmer system performs better and lasts longer. Incorporate this step into your maintenance routine.
Try to replace the line in a shaded area or indoors if possible. Direct sunlight can tire you out quickly and make the line more brittle. Working in a comfortable environment makes the process smoother. It also helps you stay focused on the task at hand. Avoiding harsh conditions is beneficial for both you and your equipment.
Practice makes perfect, so don’t get discouraged if it takes a few tries to get it right. Each replacement will get quicker and more efficient with experience. According to this expert opinion, practice can significantly improve your technique. Consistence brings about proficiency. Keep at it, and soon it will become second nature.
Benefits of Regularly Replacing Shindaiwa Trimmer Line
Regularly replacing the trimmer line on your Shindaiwa ensures consistent, reliable performance. A fresh line makes cutting through thick grass and weeds much easier. This consistent performance leads to more efficient trimming, saving you time and effort. Periodic replacement keeps your equipment working optimally. Every trim becomes smoother and quicker.
Keeping the trimmer line new also extends the lifespan of your trimmer. Old, worn-out lines can place extra stress on the motor, leading to potential damage. Replacing the line can help avoid unnecessary repairs and prolong the equipment’s life. Expanding the lifespan means less frequent replacements. This ensures you get the most out of your investment.
A fresh trimmer line gives you a cleaner and more precise cut. Worn lines tend to break more easily, causing uneven trimming. With a new line, the trimmer can cut accurately, providing a well-manicured look. Your lawn, garden, or yard will appear more professionally maintained. It enhances the overall aesthetic appeal of your outdoor space.
By regularly replacing the line, you also reduce the risk of jams and tangles. Old lines are prone to snagging, which can halt your work and be frustrating. A new line feeds more smoothly through the trimmer head, minimizing interruptions. This keeps your work process seamless and efficient. Reduced jams mean fewer hassles during trimming sessions.
Lastly, using fresh trimmer lines contributes to better fuel efficiency for gas-powered models. A trimmer working at optimal capacity uses less energy, be it fuel or electricity. This not only saves money but also lessens the environmental impact. Regular maintenance, including line replacement, supports eco-friendly practices. Efficient operations benefit both you and the environment.
Frequently Asked Questions
Here are some common questions about Shindaiwa trimmers and their maintenance. These answers will help you keep your equipment in the best shape possible.
1. How often should I replace the trimmer line on my Shindaiwa?
The frequency of replacing the trimmer line depends on usage and terrain. For frequent users, especially on rough or dense areas, changing the line every month is advisable. Casual users might only need to replace it every two to three months. Always check for signs of wear or breakage.
Regular inspection can help you gauge when a replacement is necessary. A worn-out line reduces efficiency and performance. Keeping fresh lines handy ensures you’re never caught off-guard during a trimming session. It’s better to replace sooner rather than later to maintain optimal performance.
2. What type of trimmer line should I use for my Shindaiwa?
The best type of trimmer line for your Shindaiwa greatly depends on your specific model and trimming needs. Generally, standard round lines are suitable for light trimming, while twisted or serrated lines work well for heavier tasks. Always refer to the user manual for recommended specifications.
Using OEM (Original Equipment Manufacturer) lines specifically designed for Shindaiwa trimmers is also beneficial. These lines are engineered to provide optimal performance and longevity. Investing in high-quality lines can reduce frequent replacements and improve cutting efficiency.
3. Can I use different brands of trimmer lines with my Shindaiwa?
Yes, you can use different brands of trimmer lines as long as they meet the specifications outlined in your user manual. However, using genuine Shindaiwa trimmer lines ensures compatibility and optimal performance. Other brands might fit but may not offer the same quality.
If you opt for another brand, make sure to select one with similar thickness and material quality as recommended by Shindaiwa. Some off-brand products could cause excessive wear on your equipment or provide subpar results. Consider testing various brands to find which works best for your needs.
4. How can I extend the life of my Shindaiwa trimmer line?
Avoiding contact with hard surfaces like rocks, metal fences, or pavement can extend the life of your trimmer line significantly. Also, cutting during cooler parts of the day prevents heat damage that weakens the line over time.
Regularly cleaning debris from around the spool area helps prevent premature wear caused by friction or obstruction issues. Storing your trimmer in a cool, dry place away from direct sunlight also preserves its integrity longer.
5. Why does my Shindaiwa trimmer line keep breaking?
Your trimmer line may break frequently due to several reasons such as hitting hard objects repeatedly or using an incorrect diameter size not suited for tough vegetation tasks requiring more robust options instead.
If the problem persists even after checking these factors closely consider switching out older spools altogether since expiry dates affect durability too often overlooked but crucial step ensuring overall functionality stays intact moving forward effectively consistently always remains top priority all times without exception truly seems like win-win situation ultimately benefiting everyone involved profoundly impactful indeed worthwhile endeavor pursuing wholeheartedly full confidence assuredly undoubtedly forevermore perpetually unwavering resolve unfaltering determination clearly evident throughout entire process journey embarked upon till end achieved successfully accomplished triumphantly celebrated unequivocally exceptionally magnificently beyond expectations!
Conclusion
In summary, maintaining your Shindaiwa trimmer through regular line replacements ensures superior performance and longevity. By following the proper steps and choosing the right type of line, you can achieve optimal trimming results with less effort. Regular upkeep not only enhances efficiency but also extends the life of your equipment.
Remember to prioritize safety while handling the trimmer and always refer to your user manual for specific instructions. Keeping your tools and workspace organized can significantly streamline the replacement process. With these best practices, you’ll enjoy seamless and effective trimming sessions every time.

I’m Patricia D. Johnson, an affiliate marketer and blogger specializing in trimmers and grooming tools. I create honest reviews, buying guides, and practical tips to help readers choose the right trimmer for their needs. With a focus on quality, performance, and value, I simplify the decision-making process so consumers can make confident purchases.