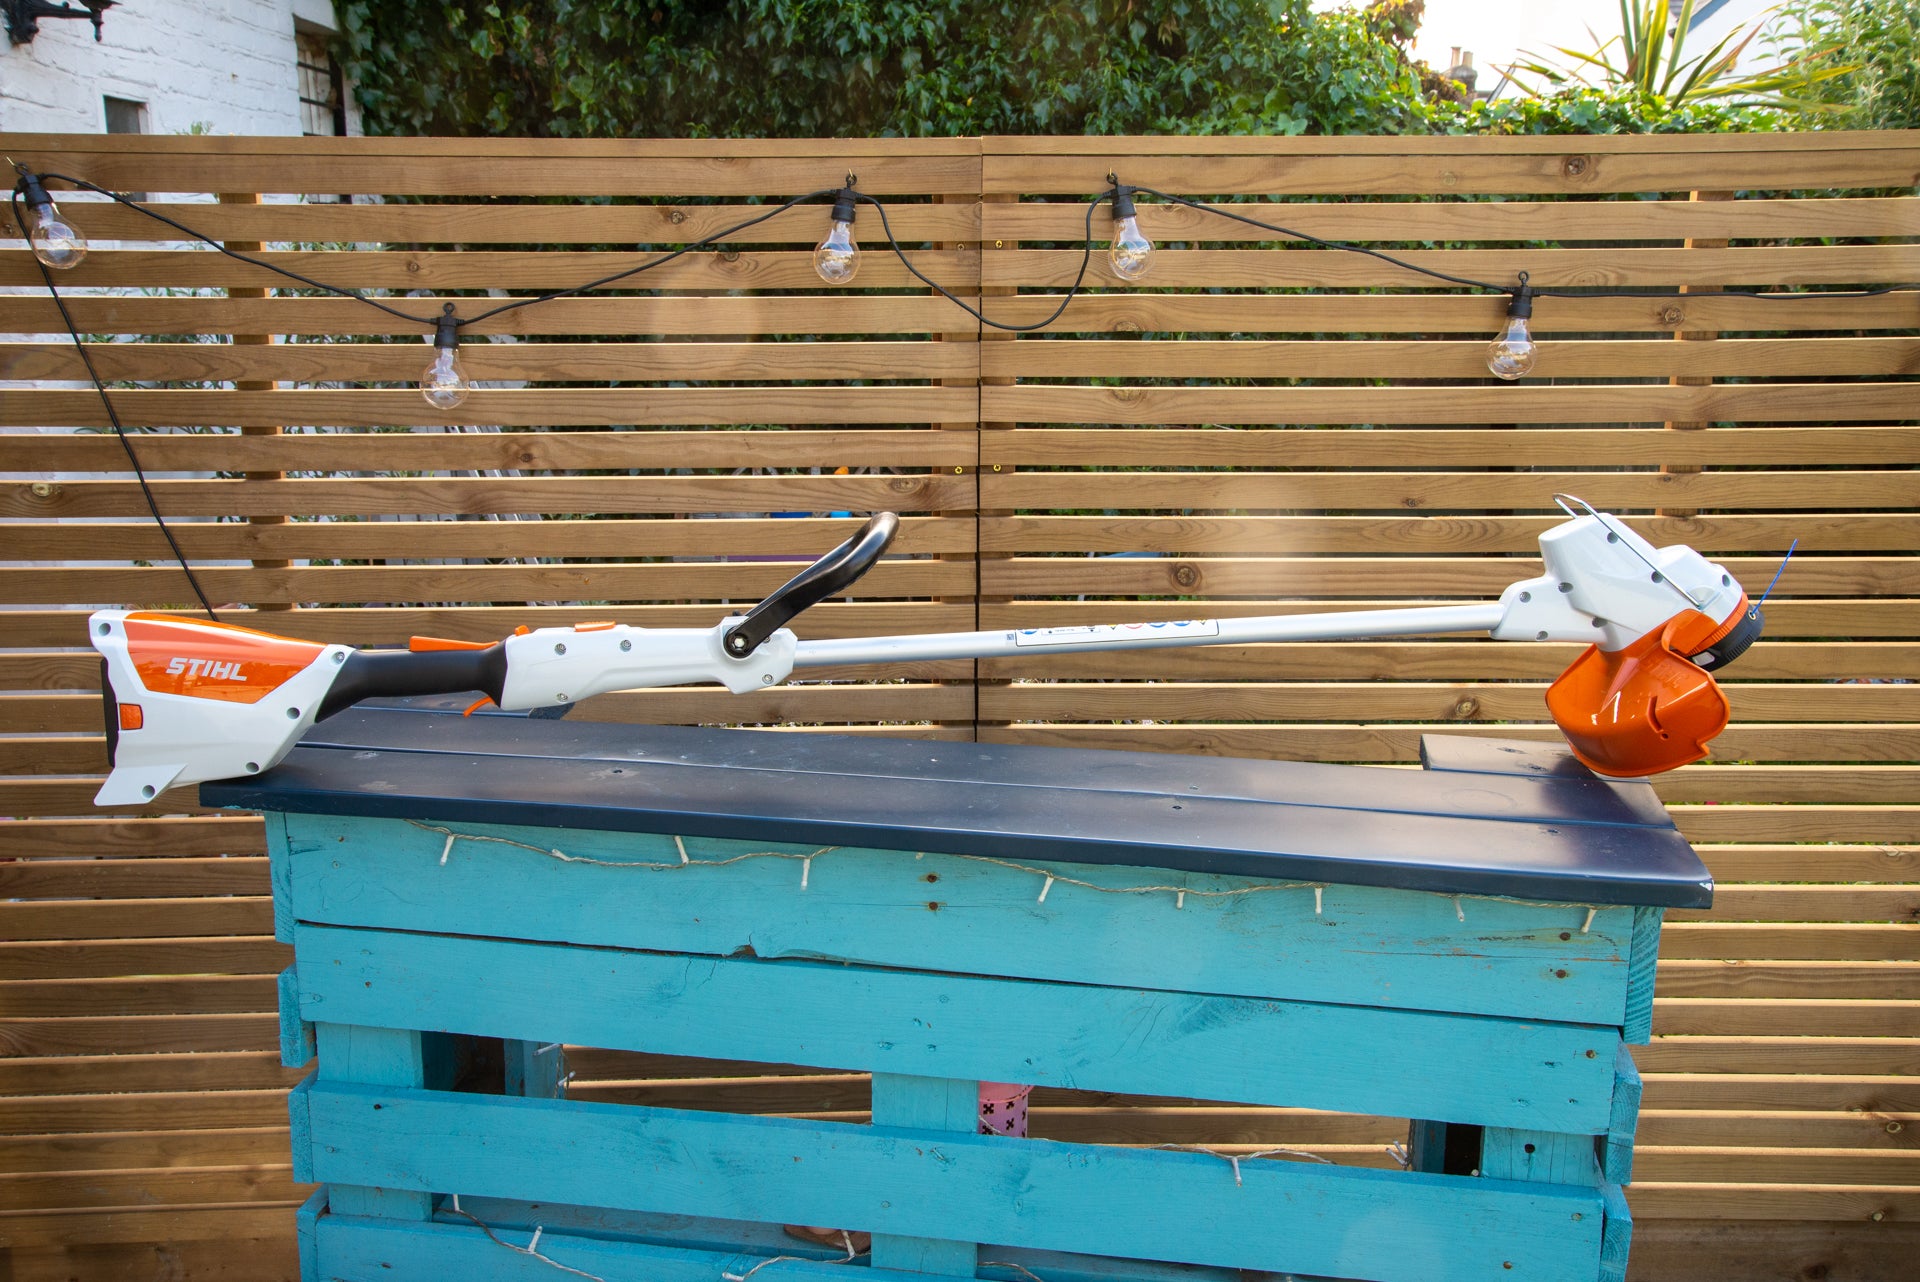
When it comes to maintaining a well-manicured lawn, one essential tool that can make the job a lot easier is a string trimmer. Did you know that properly spooling the string trimmer can significantly improve its performance and extend its lifespan? Ensuring that the string is correctly wound on the spool can make all the difference in achieving clean and precise cuts. So, let me share some tips on how to spool a string trimmer effectively.
Firstly, start by removing any leftover string from the spool and untangling any tangled pieces. Next, carefully follow the manufacturer’s instructions on how to wind the trimmer line onto the spool. It’s essential to wind the string neatly and evenly to prevent tangles and ensure smooth operation.
Additionally, make sure to choose the correct size and type of trimmer line for your specific trimmer model. By spooling the string trimmer properly, you can ensure optimal performance, efficiency, and a well-trimmed lawn every time.
To spool a string trimmer, follow these steps:
- Turn off the trimmer and disconnect it from the power source.
- Remove the spool housing cover by unscrewing it.
- Take out the old empty spool and dispose of it properly.
- Place a new line spool into the housing, ensuring it is securely in place.
- Thread the trimmer line through the eyelet on the spool, ensuring equal lengths on both ends.
- Wind the line onto the spool in the direction indicated by the arrow, keeping the line taut.
- Leave a small portion of the line unwound for easier starting.
- Replace the spool housing cover and screw it back in place.
- Reconnect the trimmer to the power source.
- Turn on the trimmer and give it a test run to ensure the line feeds correctly.
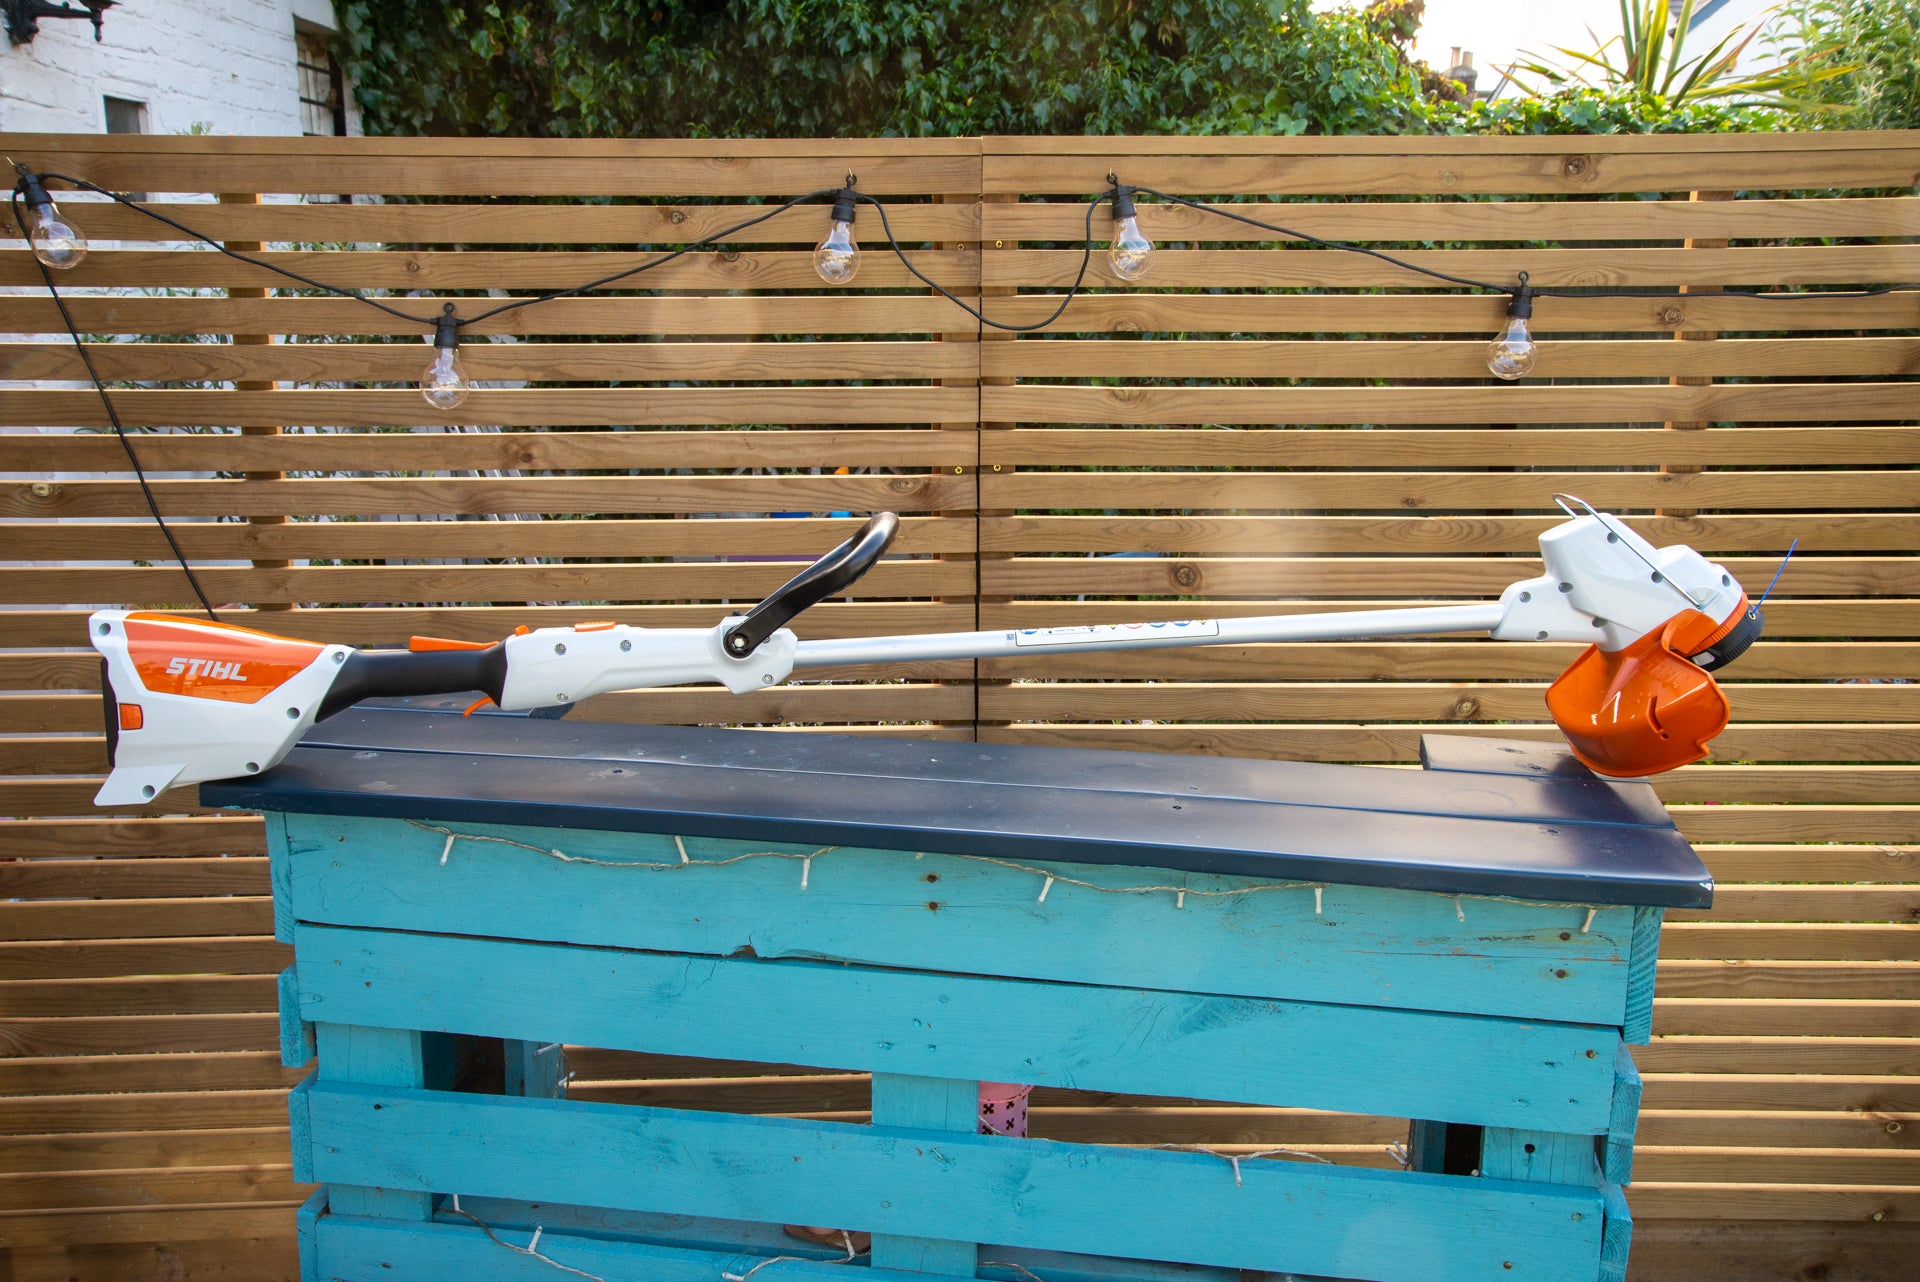
Understanding the Basics of Spooling a String Trimmer
Spooling a string trimmer is an essential task that every homeowner or professional gardener should know. The string trimmer, also known as a weed eater or weed whacker, is a versatile tool used to maintain an even and tidy lawn. Spooling the trimmer involves replacing the trimmer line or string when it runs out or becomes worn. In this step-by-step guide, I will walk you through the process of properly spooling a string trimmer to ensure optimal performance and efficiency. Let’s get started!
Step 1: Gather the Necessary Supplies
Before you begin spooling your string trimmer, it’s important to gather all the necessary supplies. This will ensure a smooth and hassle-free process. Here’s what you’ll need:
- A replacement trimmer line or string that matches the specifications of your trimmer.
- A clean and well-lit workspace.
- Gloves to protect your hands.
- A pair of scissors or a utility knife to cut the trimmer line.
Once you have gathered all these supplies, you’re ready to move on to the next step.
Step 2: Prepare the Trimmer
Before you can start spooling the string trimmer, you need to prepare it for the process. Follow these steps:
- Ensure that the trimmer is turned off and the engine is cool.
- If the trimmer has a detachable spool, remove it by pressing the release button or twisting it counterclockwise.
- Clean the spool and the trimmer head to remove any debris or tangled trimmer line from the previous use.
- Inspect the spool for any signs of damage or wear. If the spool is damaged, replace it with a new one.
Once the trimmer is prepared, you can move on to the next step of spooling the trimmer line.
Step 3: Measure and Cut the Trimmer Line
The next step is to measure and cut the trimmer line to the proper length. Follow these guidelines:
- Refer to the user manual or the specifications on the trimmer spool for the recommended length of the trimmer line.
- Measure and cut the trimmer line using a pair of scissors or a utility knife.
- Ensure that the cut end of the trimmer line is clean and not frayed.
Properly measuring and cutting the trimmer line is crucial for effective trimming and avoiding any line breakages during use.
Step 4: Load the Trimmer Line onto the Spool
Now, it’s time to load the trimmer line onto the spool. Follow these steps:
- Locate the line-loading arrows or guides on the spool to determine the direction in which the trimmer line should be wound.
- Insert one end of the trimmer line into the line-loading hole or eyelet on the spool.
- Follow the line-loading arrows or guides and wind the trimmer line in an even and tight manner around the spool.
- Avoid overlapping the trimmer line or leaving gaps between the windings.
- Leave a sufficient length (usually 6-8 inches) of the trimmer line outside the spool for easy line replacement.
- If your trimmer has a dual-line system, repeat the process for the second line, making sure to wind it in the opposite direction.
Make sure that the trimmer line is securely and evenly wound on the spool to prevent any tangles or line jams during operation.
Step 5: Install the Spool back on the Trimmer
With the trimmer line properly loaded onto the spool, it’s time to reinstall the spool back onto the trimmer. Follow these steps:
- Align the spool with the trimmer head, ensuring that any tabs or notches on the spool fit into the corresponding slots on the trimmer head.
- Press the spool firmly into the trimmer head until you feel or hear it click into place.
- Give the spool a gentle tug to ensure that it is securely attached to the trimmer head.
- Connect the power source to the trimmer, if necessary, and you’re ready to start trimming!
By following these steps, you will be able to properly spool your string trimmer and ensure efficient and effective trimming operations every time.
Spooling a string trimmer is a simple process that requires careful attention to detail. By following the steps outlined in this guide, you will be able to spool your trimmer line with ease and maintain a well-manicured lawn. Remember to always refer to the user manual specific to your string trimmer for any additional instructions or guidelines. Happy trimming!
Frequently Asked Questions
Are you unsure about how to spool a string trimmer? Don’t worry! I’m here to help. Below, you’ll find the answers to some frequently asked questions about spooling a string trimmer. Let’s get started!
How do I remove the old trimmer line from the spool?
To remove the old trimmer line from the spool, follow these steps:
- Step 1: Turn off the trimmer and unplug it from the power source.Step
- 2: Locate the spool on the bottom of the trimmer head.Step
- 3: Press the tabs on the spool to release it from the trimmer head.Step
- 4: Remove the old trimmer line from the spool.
How do I load the new trimmer line onto the spool?
To load the new trimmer line onto the spool, follow these steps:
- Step 1: Measure and cut the new trimmer line to the appropriate length.Step
- 2: Insert one end of the trimmer line into the hole in the spool.Step
- 3: Wind the trimmer line evenly and tightly around the spool in the direction indicated by the arrow.Step
- 4: Leave about 6 inches of trimmer line unwound, as this will be used for cutting.
How do I reattach the spool to the trimmer head?
To reattach the spool to the trimmer head, follow these steps:
Step 1: Align the tabs on the spool with the slots on the trimmer head.
Step 2: Push the spool into the trimmer head until it clicks into place.
How often should I replace the trimmer line?
The frequency of replacing the trimmer line depends on the type of trimming you do and the condition of the line. If you frequently trim thick grass or weeds, you may need to replace the line more often. As a general guideline, check the condition of the line regularly and replace it when it becomes too worn or breaks easily.
What safety precautions should I take when spooling a string trimmer?
When spooling a string trimmer, it’s important to prioritize safety. Here are some precautions to take:
1. Wear protective gloves to prevent injuries from the trimmer line.
2. Make sure the trimmer is turned off and unplugged before handling the spool.
3. Follow the manufacturer’s instructions and recommendations for your specific trimmer model.
4. Keep bystanders and pets at a safe distance when operating the trimmer.
Final Words
To conclude, spooling a string trimmer is a simple process that can be done in just a few steps. First, make sure you have the right size of trimmer line for your trimmer. Next, remove the old line from the spool and clean it if necessary. Then, wind the new line onto the spool in the correct direction, following the arrows or guides on the spool. Finally, secure the line and reassemble the trimmer. By following these steps, you’ll be able to keep your string trimmer in good working condition and ensure a clean and precise cut every time.
Remember, safety is always a priority when using any garden tool, including a string trimmer. Make sure to wear protective gear, such as safety glasses and gloves, and keep bystanders away while operating the trimmer. Additionally, always refer to the manufacturer’s instructions for your specific trimmer model, as the spooling process may vary slightly. With proper maintenance and care, your string trimmer will provide you with years of reliable service. Happy trimming!
