
Are you tired of spending a fortune at the barbershop every month just to maintain your faded hairstyle? Well, fret no more! Learning how to fade hair with a trimmer is a game-changer that will not only save you money but also give you the freedom to experiment with different styles in the comfort of your own home. Whether you’re a beginner or a seasoned barber, this comprehensive guide will equip you with the knowledge and techniques to achieve a flawless fade every time.
The art of fading hair with a trimmer requires precision, patience, and the right tools. In this guide, we will walk you through step-by-step instructions, providing valuable tips and tricks along the way. From understanding the different types of fades and selecting the appropriate trimmer guard lengths to mastering the blending and tapering techniques, you’ll soon be able to create professional-looking fades that rival those done by the experts.
So, say goodbye to expensive salon visits and hello to the satisfaction of becoming your own personal stylist. Get ready to transform your hair game and elevate your grooming skills to the next level!

Source: ytimg.com
How To Fade Hair With a Trimmer: Ultimate Guide
In this informative guide, we will walk you through the step-by-step process of achieving a fade haircut using a trimmer. Fading hair is a popular hairstyle technique that involves transitioning from shorter hair at the bottom to longer hair at the top. With the right tools and techniques, you can achieve a professional-looking fade haircut right at home.
Step 1: Gather the Necessary Tools
Before you begin, make sure you have all the tools you need for the job. You will require a quality hair trimmer with adjustable guards, a comb, a mirror, and a towel to catch any loose hair. Having these tools ready will ensure a smooth and hassle-free fading process.
Step 2: Start with Clean, Dry Hair
It is essential to start with clean, dry hair to ensure the trimmer glides smoothly through your hair. Shampoo and condition your hair, then thoroughly dry it before you begin the fading process. This will make it easier to achieve the desired fade effect.
Step 3: Determine the Fade Length
Decide how long you want the fade to be and adjust the trimmer guard accordingly. For a shorter fade, use a lower guard number, while a higher guard number will result in a longer fade. It’s always better to start with a higher guard number and gradually decrease it as needed, as you can always trim more if necessary.
Step 4: Start Fading
Begin the fading process by using the trimmer with the chosen guard length at the bottom of your hairline. Use upward motions to create a seamless transition between the shorter and longer hair lengths. Work your way up the head, using the trimmer at different guard lengths to achieve the desired fade effect.
Step 5: Blend and Refine
Once you have created the initial fade, it’s time to blend and refine the haircut. Remove the guard from the trimmer and carefully blend the fade line between the shorter and longer hair lengths. Use the comb to lift the hair and trim any stray or longer hairs to create a seamless and natural-looking fade.
Step 6: Clean Up and Style
After achieving the desired fade, it’s important to clean up any loose hair around the neck and ears. Use the trimmer or a razor to create clean lines and define the haircut further. Once done, style your hair as desired using your preferred hair products.
Step 7: Maintenance and Care
To maintain the fade haircut, trim the hair regularly and touch up the fade line as needed. Keeping your hair clean and well-groomed will ensure the fade looks fresh and sharp. Additionally, using quality hair products and protecting your hair from heat and damage will help maintain the fade for longer.
Step 8: Seek Professional Help if Needed
If you are unsure about achieving the fade haircut yourself or want a more intricate fade style, it’s always a good idea to seek professional help. Barbers and hair stylists have the experience and expertise to create the perfect fade haircut that suits your face shape and hair type.
Step 9: Experiment and Have Fun
Once you have mastered the basic fade technique, don’t be afraid to experiment and try different variations. Fading hair is a versatile style that can be customized to suit your preferences. Have fun exploring different fade lengths, blends, and styles to find the one that suits you best.
Step 10: Share Your Results
After successfully fading your hair, why not share your results with friends, family, or social media? Show off your new haircut and inspire others to try fading their hair as well. Sharing your experience can also help others who are looking to learn how to fade their hair with a trimmer.
Fading hair with a trimmer, often referred to as a “fade,” is a popular hairstyle that transitions from shorter to longer hair, usually starting very short at the base of the neck and gradually increasing in length towards the top of the head. There are various types of fades, including low, mid, and high fades. Using a trimmer for fading offers several benefits:
Precision and Control:
Trimmers are specifically designed for detailed work, allowing the user to achieve a precise fade. The different guard lengths provide flexibility in choosing the desired fade length.
Versatility:
A fade can be incorporated into many different hairstyles, whether you want a classic look or something more modern. It can be combined with an undercut, pompadour, buzz cut, and many other styles.
Clean and Professional Look:
Fades give a neat appearance and are often seen as polished and professional. It’s a style that works both in formal and casual settings.
Low Maintenance:
Fades are relatively easy to maintain. With the shorter sides and back, you won’t have to worry about these areas getting unruly too quickly. However, regular trims are needed to keep the fade looking sharp.
Cooling:
For those living in hotter climates or those who are physically active, fades can help keep the head cooler than hairstyles with more volume.
Highlights Natural Features:
Fades can accentuate the shape of the head and facial features, bringing attention to areas like the jawline or cheekbones.
Cost-Efficient:
Once you’ve invested in a good trimmer, maintaining a fade at home can be cost-effective compared to regular visits to the barber.
Time-Saving:
With practice, fading your hair at home with a trimmer can save you trips to the barber or salon, thus saving time in the long run.
Hygienic:
If you have your own trimmer, you can ensure it’s cleaned and maintained to your standards. This can be particularly reassuring in times when health and hygiene are top priorities.
Customizability:
When you’re fading your hair, you have complete control over the nuances of the fade. This means you can adjust the fade to your personal preferences, making it as subtle or as pronounced as you like.
Trendy:
Fades have been in style for quite some time and continue to be a go-to choice for many individuals. By mastering the fade with a trimmer, you’re tapping into a timeless trend.
While fading hair with a trimmer offers these benefits, achieving a perfect fade does require some practice and skill. For those unfamiliar with the technique, it might be beneficial to watch tutorials or even have the first few fades done by a professional before attempting it on their own.
Frequently Asked Questions
Here are some common questions about how to fade hair with a trimmer:
What is the best way to fade hair with a trimmer?
The best way to fade hair with a trimmer is to start with a higher guard setting and gradually work your way down to a lower setting. Begin by using a larger guard, such as a #4, and create a guideline around the perimeter of the hair. Then, switch to a slightly smaller guard, like a #3, and create another guideline about an inch above the previous one. Continue this process with progressively smaller guards until you reach the desired fade level.
It’s important to blend the different guard lengths together by using upward motions and slightly overlapping each section. Take your time and be patient to achieve a smooth and seamless fade.
How do I fade my hairline with a trimmer?
Fading the hairline with a trimmer requires precision and attention to detail. Start by using a smaller guard, such as a #1 or #2, and create a clean line across the forehead. Be careful not to cut too high or too low, as this can result in an uneven or unnatural-looking hairline.
To achieve a natural fade, use a technique called “feathering.” This involves lightly flicking the trimmer upwards as you approach the hairline, gradually tapering the hair length. Make sure to blend the faded section with the rest of the hair to create a seamless transition.
Can I fade my own hair with a trimmer?
Yes, you can fade your own hair with a trimmer, but it may require some practice and patience. It can be helpful to have a mirror or a second mirror to see the back of your head more clearly. Start with a higher guard setting and slowly work your way down, following the guidelines mentioned earlier.
Take breaks to step back and assess your progress, making any necessary adjustments. Remember to go slowly and be careful when working around the hairline. If you’re unsure or uncomfortable, it’s always a good idea to seek the help of a professional barber or hairstylist.
How often should I fade my hair with a trimmer?
The frequency of fading your hair with a trimmer depends on personal preference and how quickly your hair grows. On average, most people opt to fade their hair every two to four weeks to maintain a clean and well-groomed look.
However, if you prefer a shorter or more dramatic fade, you may need to do it more frequently. Pay attention to how your hair grows and adjust the timing accordingly to keep your desired fade style intact.
How do I maintain a faded haircut with a trimmer?
To maintain a faded haircut, it’s important to regularly trim and touch up the faded sections. Use a trimmer with the appropriate guard length to blend the different sections together and maintain a clean and sharp look.
In addition to regular trims, it’s essential to keep your hair well-moisturized and conditioned. Using a high-quality shampoo and conditioner, as well as applying hair oils or serums, can help keep your hair healthy and prevent dryness or breakage.
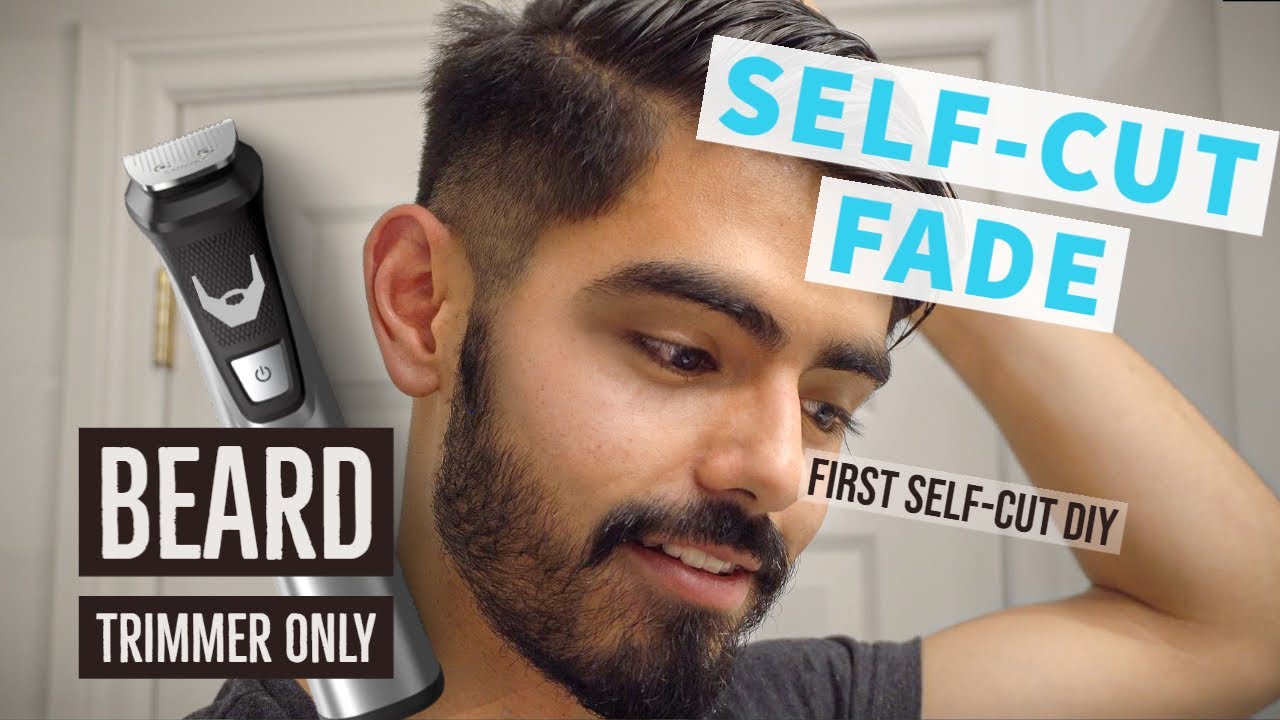
Source: ytimg.com
How to Fade Your Own Hair Using ONLY a Beard Trimmer (NO LEVER)
Final Verdict
In conclusion, learning how to fade hair with a trimmer can be a game-changer for both professional hairstylists and individuals looking to achieve a fresh and stylish haircut at home. With the right technique and a steady hand, anyone can master this skill and create seamless fades that exude confidence and style. Remember to start with a clean canvas, using different guard sizes and blending techniques to graduate the hair seamlessly. Practice makes perfect, so don’t be afraid to experiment and try different approaches to achieve the desired look.
Whether you aspire to become a skilled barber or simply want to maintain your own hair, understanding the art of fading with a trimmer is an invaluable skill. It allows for experimentation and personalization, giving individuals the freedom to express their unique style and personality through their hair. By following the step-by-step process and investing time and effort into honing your technique, you can achieve professional-looking fades that will turn heads and leave a lasting impression. So, grab your trimmer, embrace the challenge, and take the leap into the world of fading hair – the possibilities are endless!
