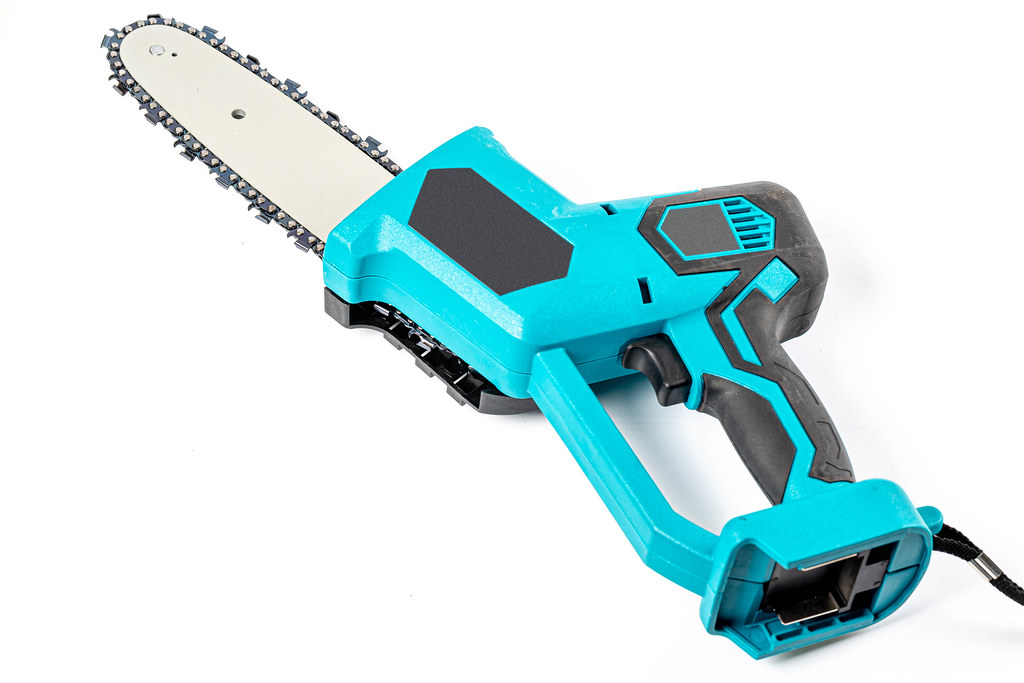
How to String a Makita Trimmer
Fresh line keeps a Makita trimmer cutting cleanly. This guide shows how to string a makita trimmer properly. The job needs no costly technician visit afterwards. Careful winding protects cutting performance and tool life.
Worn line cuts badly and strains the tool. Correct stringing restores sharp, uniform cutting again. Five clear steps cover the whole process. Each step follows the guide’s own directions. It also saves money on service visits.
Start with safety and a clean tool. Then remove, measure, wind and reassemble it carefully. Short answers at the end cover common questions. Your manual gives model specific details throughout.
Quick answer: Stringing a Makita trimmer takes five simple steps overall. Disconnect the power source and clean the tool. Remove the spool and carefully measure fresh line. Hook the line midpoint and wind following arrows. Thread both eyelets, refit and click it shut.
How to String a Makita Trimmer: Five Steps
Five steps complete the whole restringing job safely. Work through them in the order shown. Later sections explain each stage more fully. Our general restringing guide covers other weed trimmer heads.
| Step | What to Do |
|---|---|
| 1. Prepare safely | Disconnect power, wear gloves and eye protection |
| 2. Remove the spool | Press the tabs and turn counter-clockwise |
| 3. Cut and prepare | Measure the line and find its midpoint |
| 4. Wind the spool | Hook the midpoint and follow the arrows |
| 5. Reassemble the head | Thread the eyelets and twist until clicks |
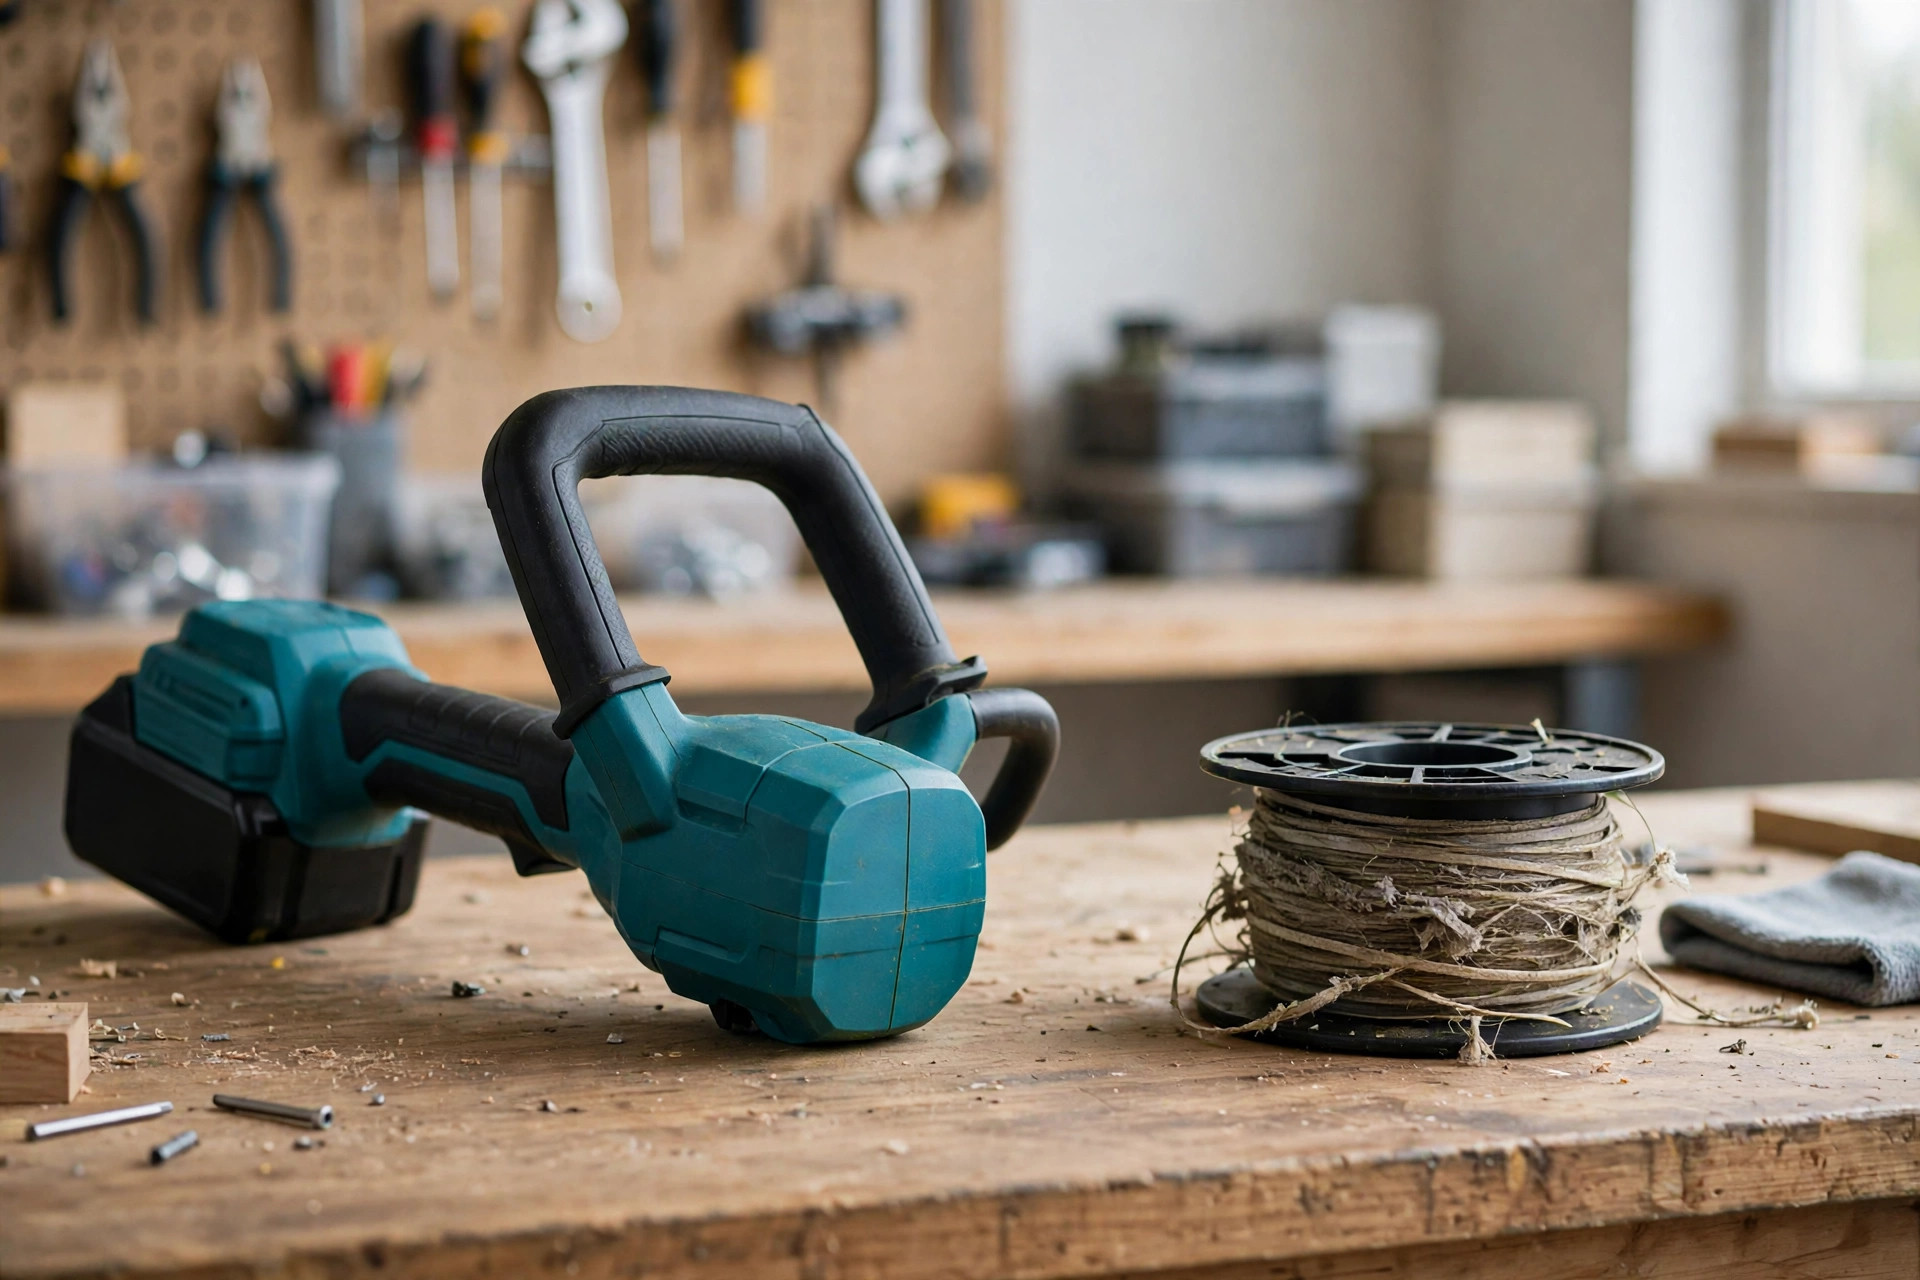
Some models open by pressing a bump knob. Others use tabs or notches on the sides. Never force any part during removal though. Maker pages like Makita Tools publish model manuals online.
Prepare Safely and Clean the Trimmer
Disconnect the power source before anything else. This prevents accidental starts and possible injuries. Wear gloves and solid eye protection throughout. Safety gear matters during every replacement job.
Clean the trimmer before replacing the string. Garden residue can affect tool operation outside. A thorough clean prolongs the tool’s use. Buy the correct string size and type. Our line size guide explains diameter choices in detail.
Remove the Spool and Prepare the Line
Hold the head and find the side tabs. Press them, then turn counter-clockwise to remove. The head lifts off the shaft cleanly. Lift the spool out carefully afterwards too.
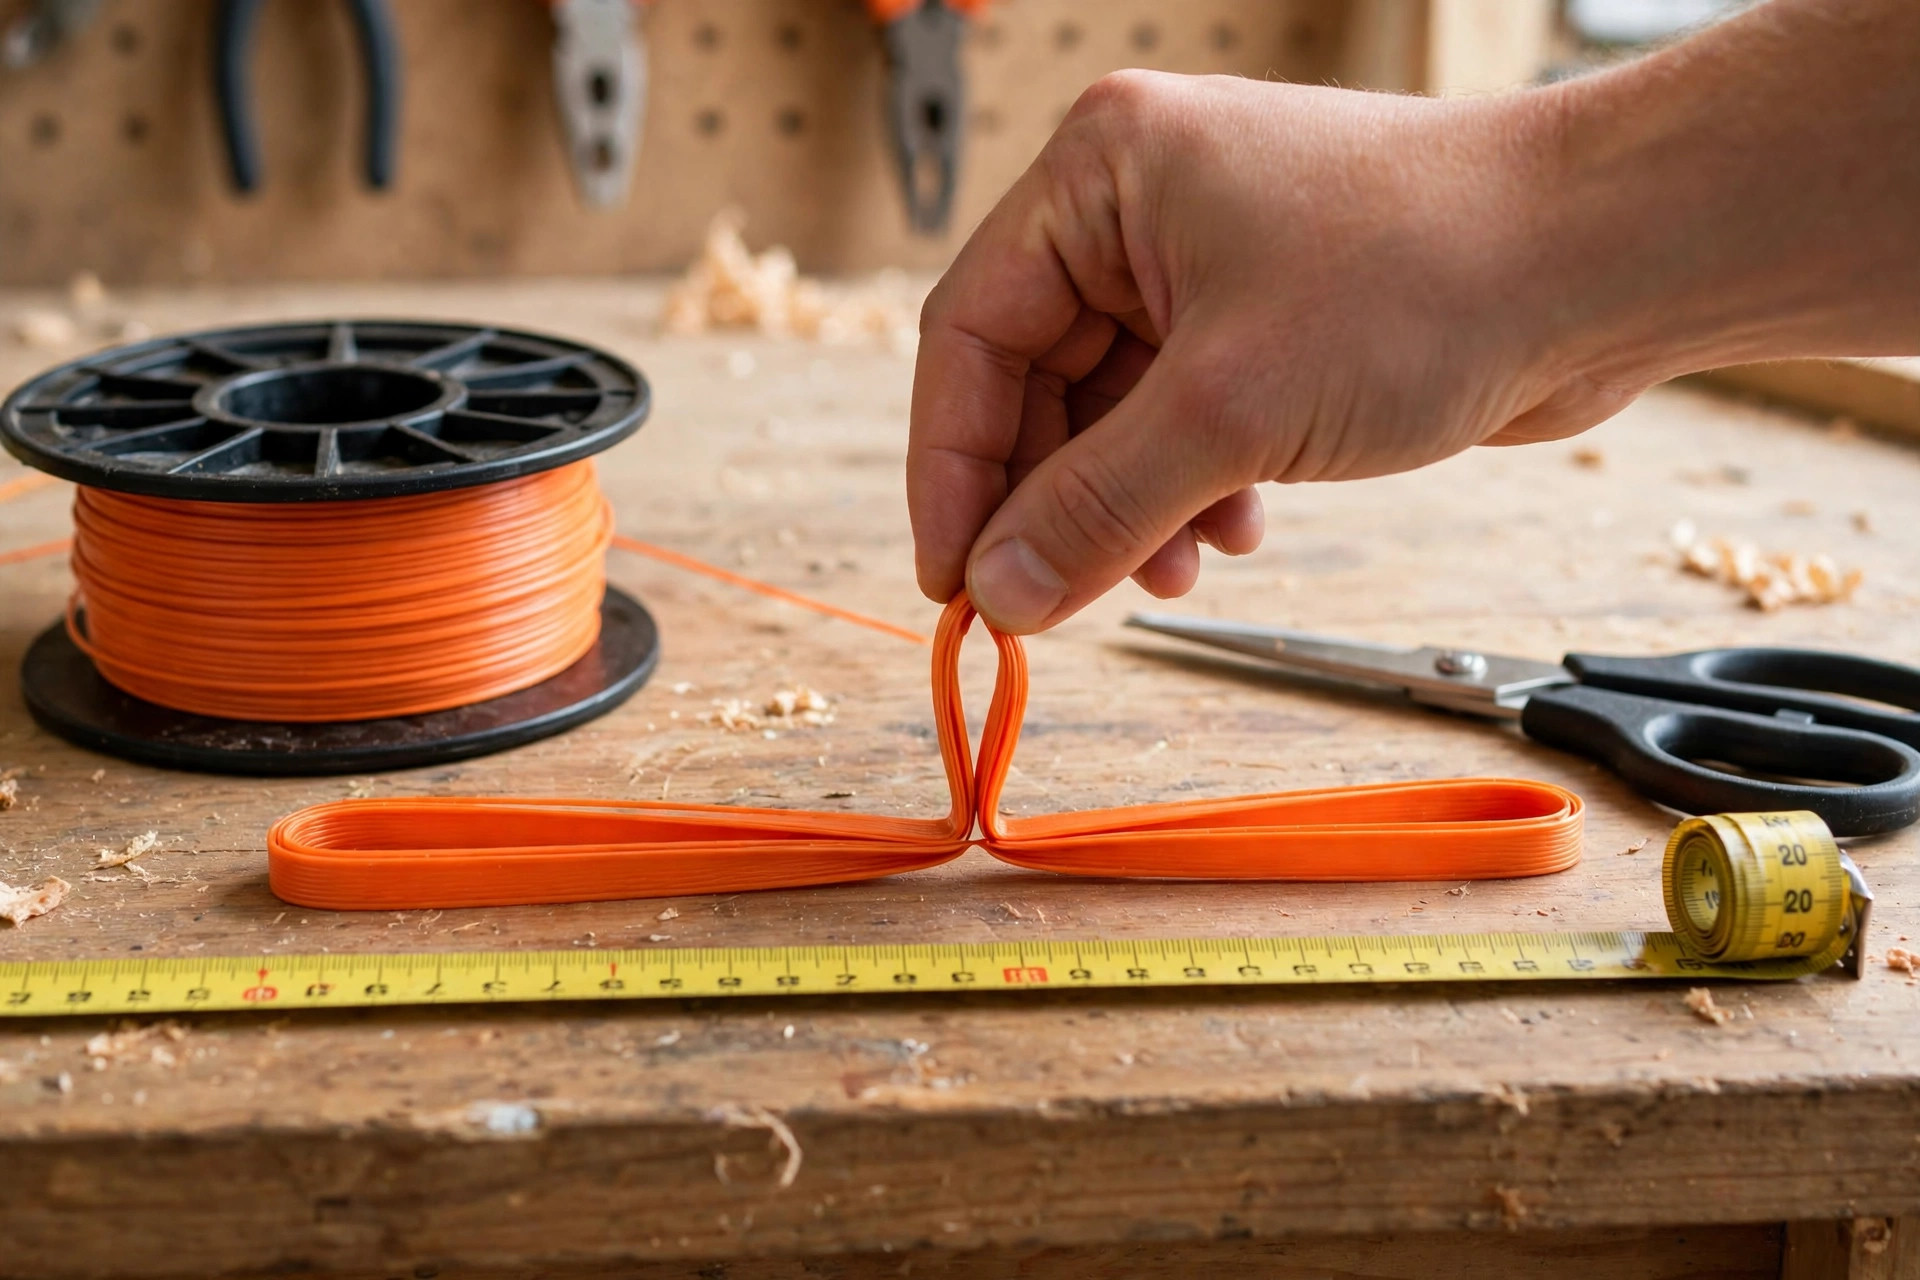
Clean debris and old string from inside. Clean both the head and the spool. Then measure and cut the new string. Typical lengths run ten to twenty-five feet. Your manual gives the exact model length.
| Line Fact | Guide’s Figure |
|---|---|
| Step guide length | Typically 10 to 25 feet of line |
| FAQ typical load | Most models need about 15-25 feet |
| Tails after winding | About 6 inches out of each side |
| Replacement interval | Every 3-4 hours of cumulative use |
Please note: This guide gives two different length ranges. Its steps say typically ten to twenty-five feet. Its answers say most models need fifteen to twenty-five. Both ranges stay printed in the table. Your model manual gives the exact length.
Fold the string in half afterwards carefully. The fold marks the helpful midpoint clearly. Keep the line free of tangles and knots. Double-check length, cleanliness and condition before winding.
Wind the Line and Reassemble the Head
Hook the midpoint onto the spool notch. The notch sits along the middle separator. Wind the string following the direction arrows. Maintain tension and keep the line tight.
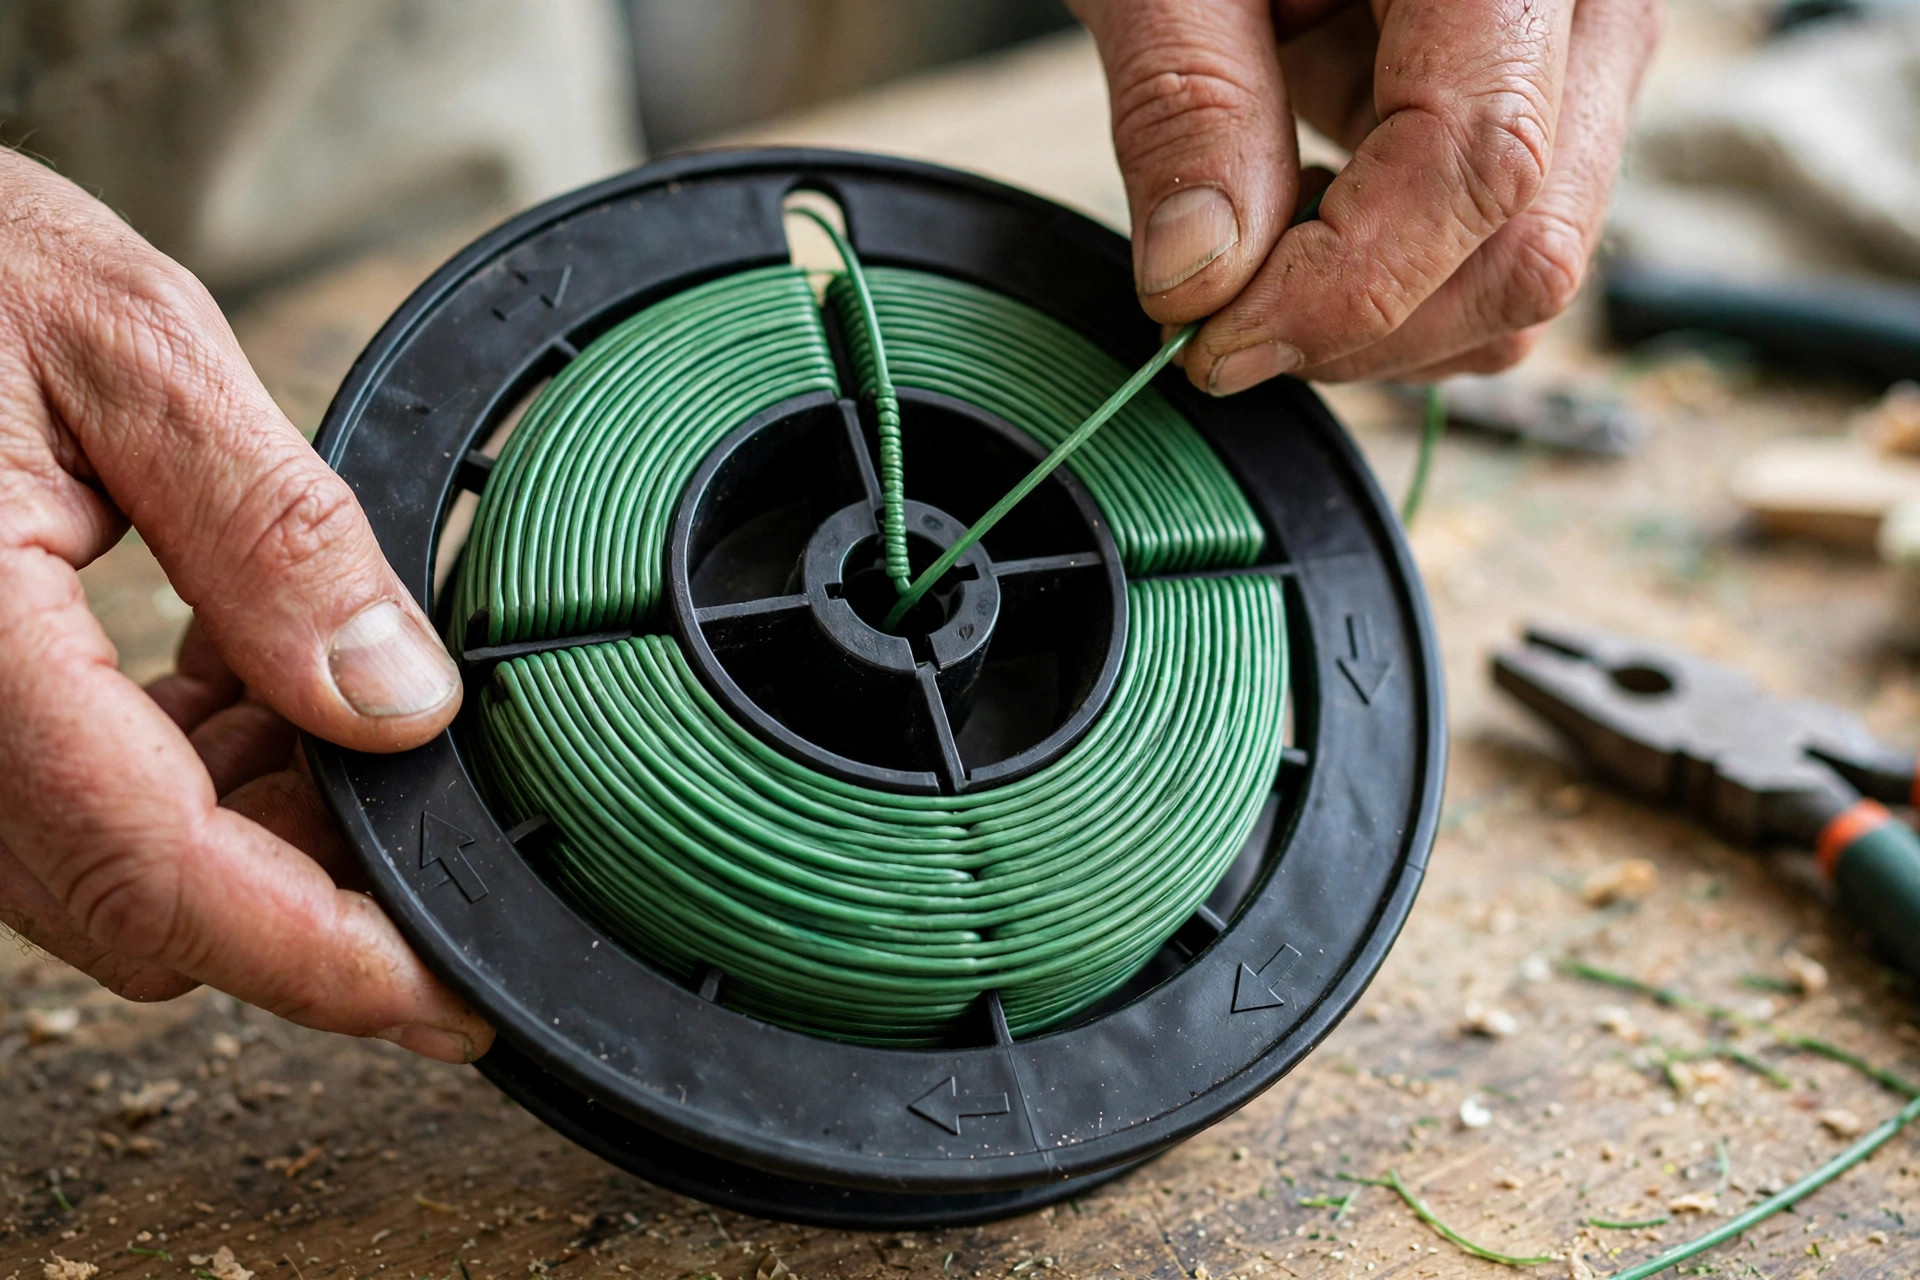
Ensure the two lines never cross over. Leave about six inches out each side. Our Hyper Tough guide shows a similar winding method. Our DR guide covers another spool loading style.
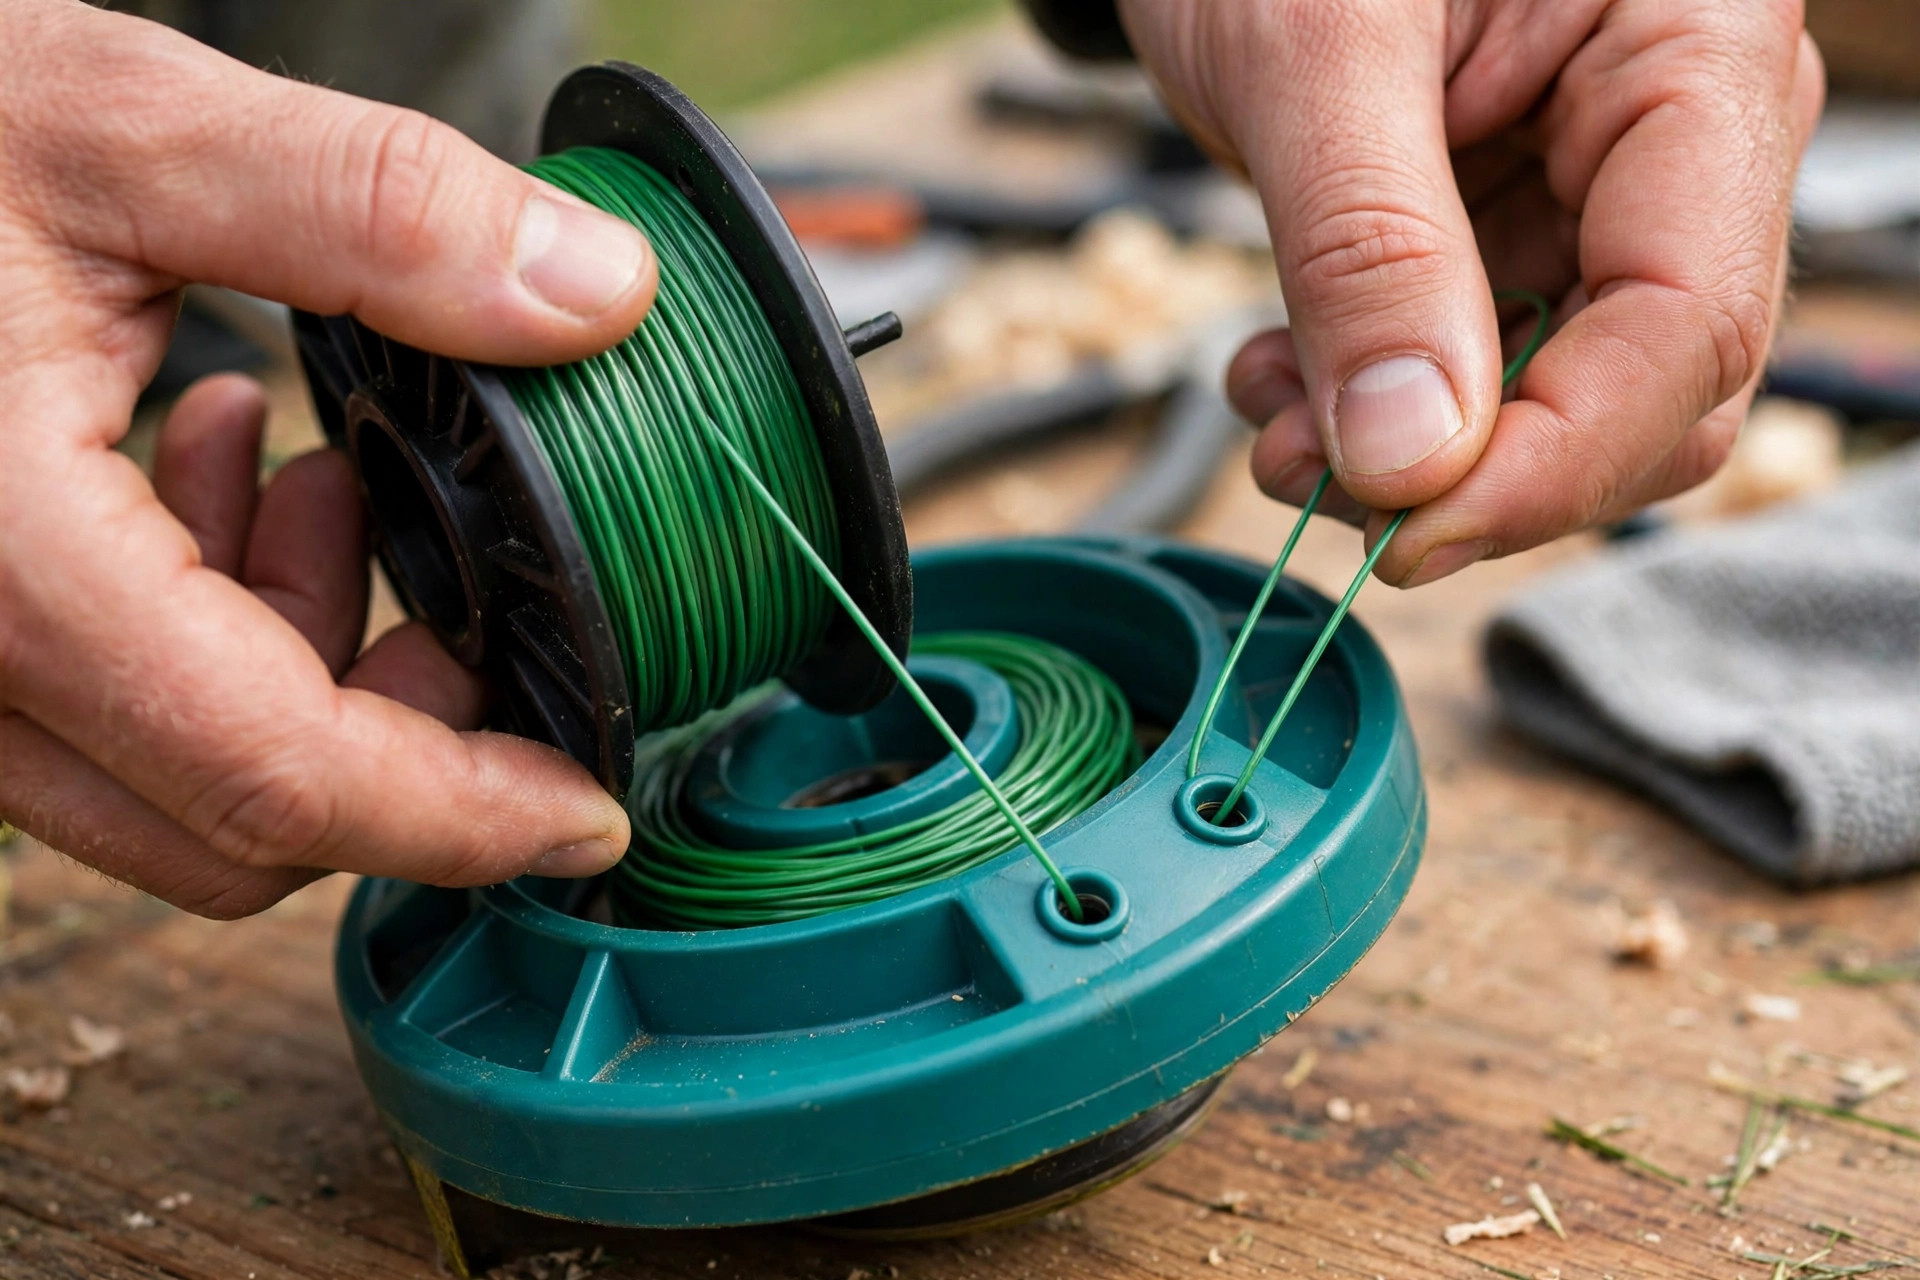
Thread both ends through the head eyelets. Drop the spool back into the head. Make sure it sits correctly in place. Twist the head clockwise until it clicks.
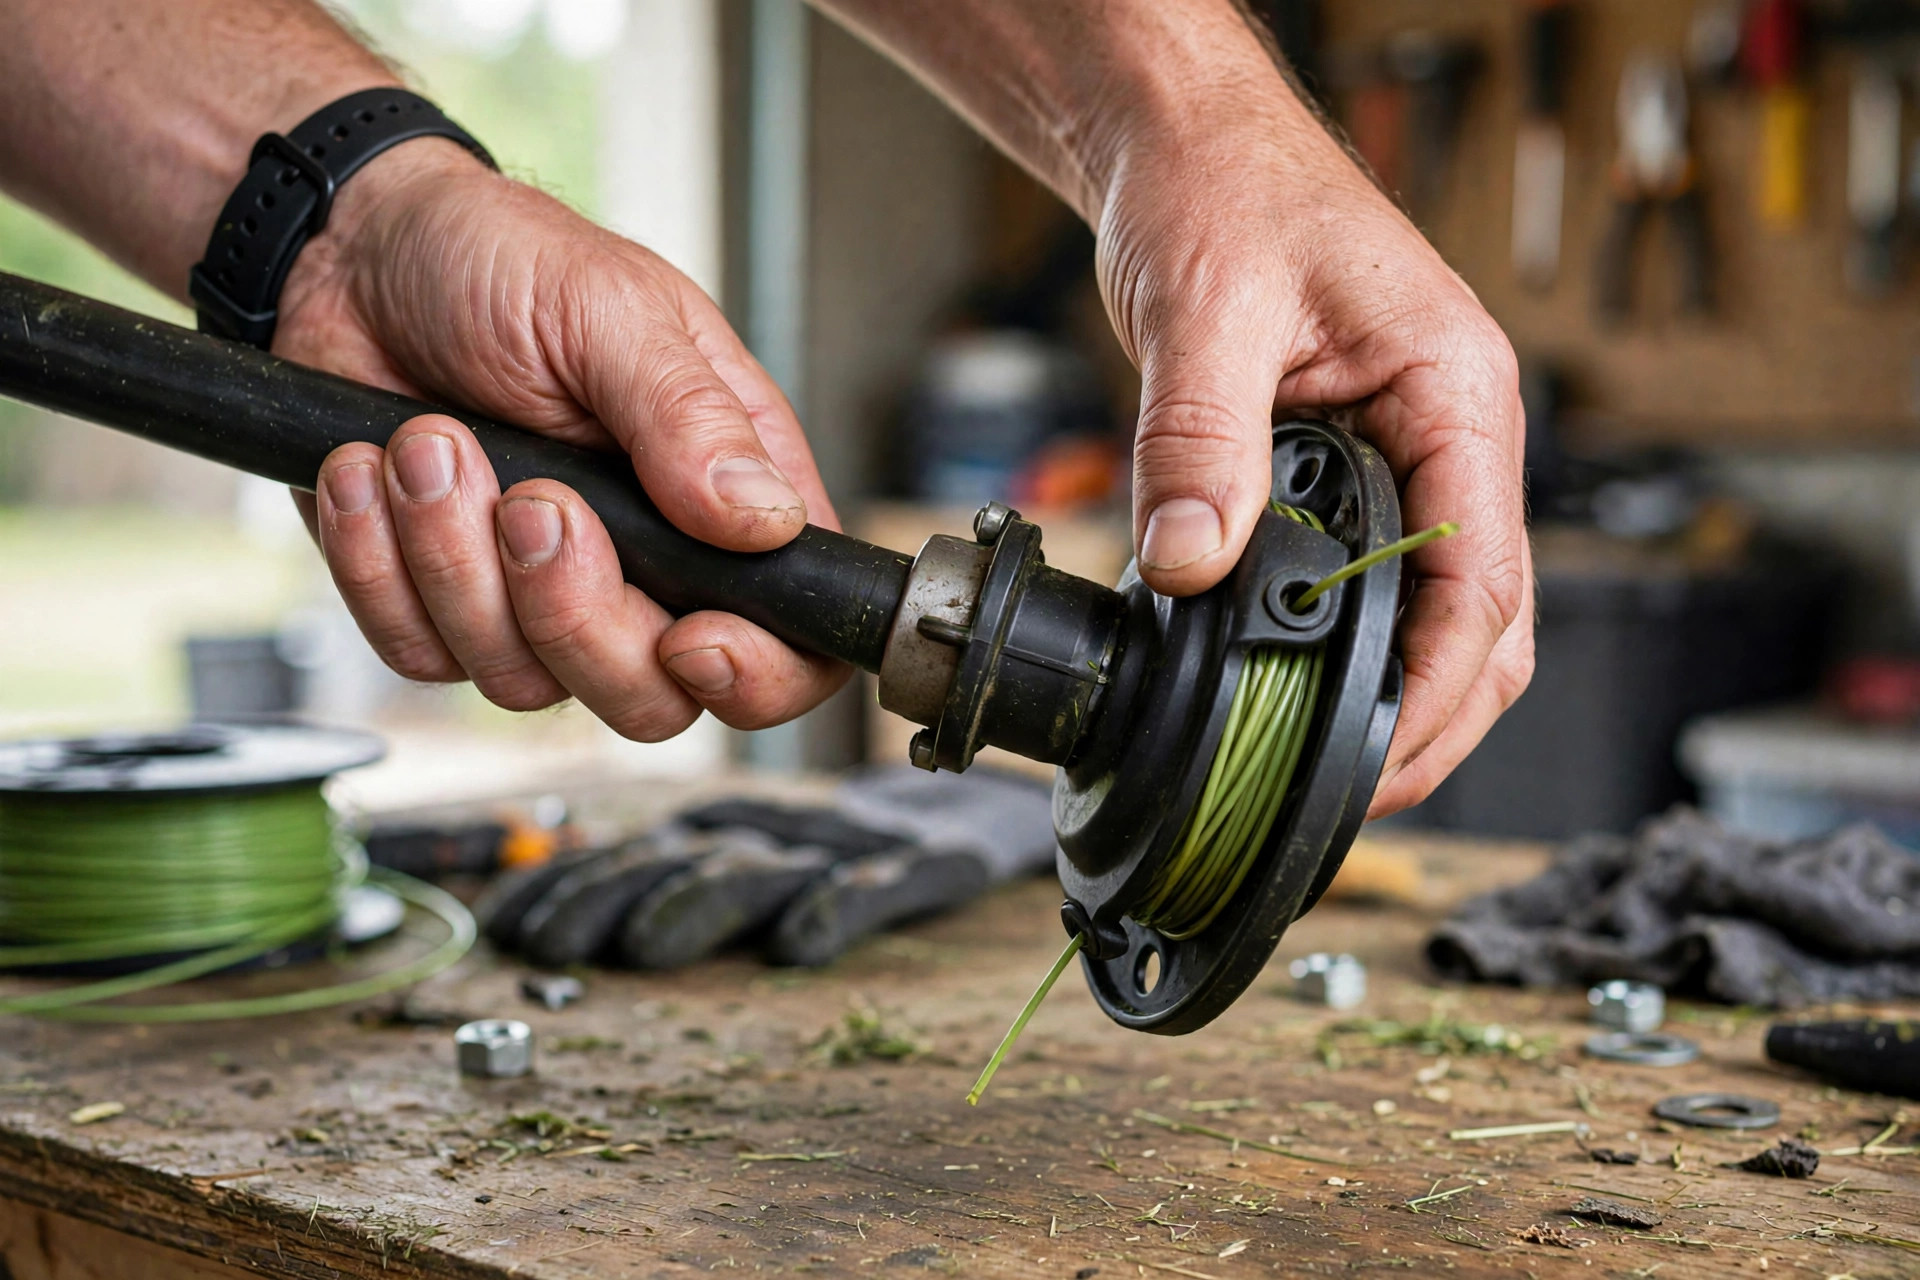
Your trimmer now stands ready for use. Our holding guide covers grip and posture basics. Our fixing guide covers line faults and repairs. Our breakage guide explains repeated snapping causes outside.
Frequently Asked Questions
These answers repeat this guide’s own points only. They follow the same steps explained above closely. Short answers close the guide at the end.
How can I tell when my Makita trimmer line needs replacing?
Watch for an unusually loud trimmer outside. Erratic operation signals worn line as well. Cutting efficiency drops as line wears down. Line may look visibly shorter or worn. Replace it once these signs appear outside.
What type of string should I use for my Makita trimmer?
Round lines suit light work around home. Multi-sided lines cut heavier growth more aggressively. Match diameter to your tool specifications exactly. Thick line can overwork the trimmer itself. Check your user manual for specific recommendations.
How much trimmer line should I use for my Makita trimmer?
Most models need about fifteen to twenty-five feet. The exact amount depends on your model. Too much line makes trimming harder work. Extra line can strain the engine too. Stick to the recommended manual length always.
How long will my Makita trimmer string last before it needs replacing?
Rocky areas wear string out much faster. Fences and hard surfaces also shorten life. Expect replacement every three to four hours. Keep extra trimmer line on hand always.
Can I use other brands of trimmer line on my Makita trimmer?
Other brands remain possible but not recommended. Brand quality and composition vary quite widely. Unsuitable line can degrade performance or damage. Makita lines are designed for the tool. Always check your manual for brand recommendations.
Conclusion: How to String a Makita Trimmer
So, how to string a makita trimmer well? First disconnect the power, clean the tool thoroughly. Remove the spool and measure the new line. Hook the midpoint and wind with steady tension. Thread the eyelets and twist until it clicks.
Rushing can damage the spool or line. Careful work needs no professional help afterwards. Keep extra line ready for quick changes. Your garden stays neat and well maintained. Fresh line keeps cutting performance strong outside.
