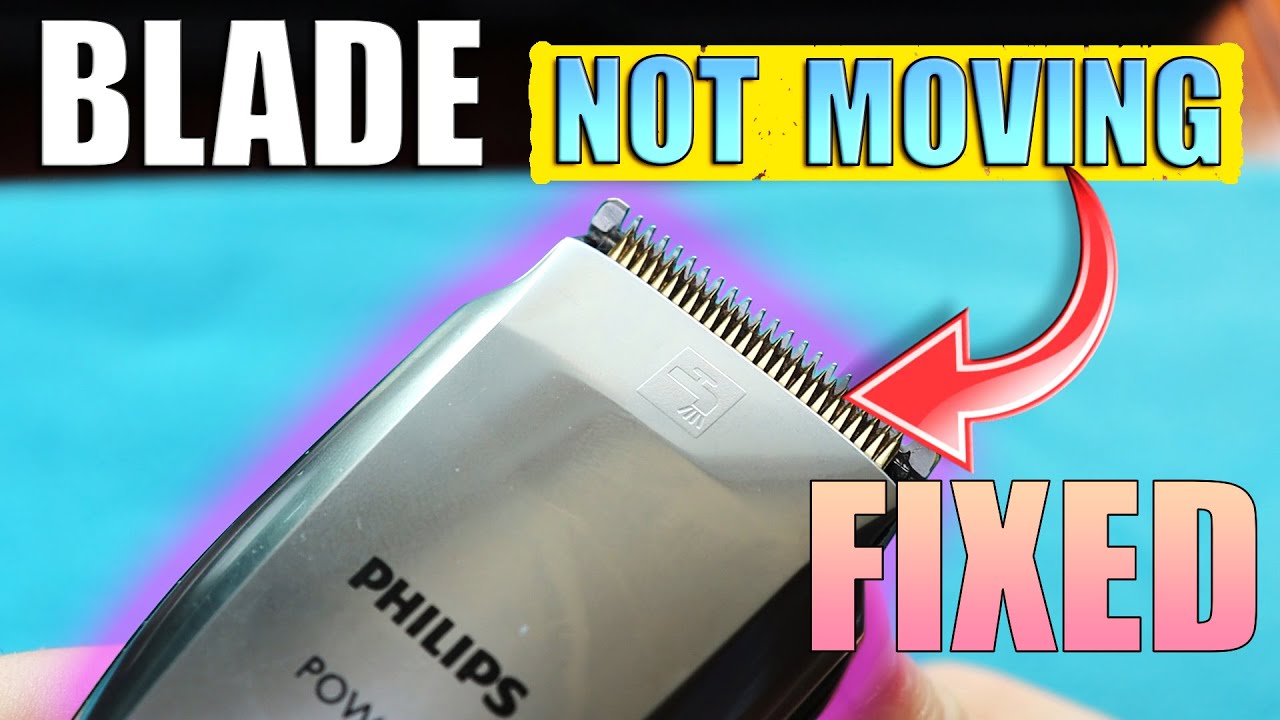
Why Is My Trimmer Not Working?
Your trimmer might not work from a dead battery or clogged blades. Check for power first and clean the blades with care. A dead trimmer can frustrate you before a quick grooming session. Good care keeps your trimmer ready for a clean, precise cut. Most faults come from power, blades, or a tired motor.
Regular care like charging and cleaning prevents most trimmer problems. If those steps fail, check the power source and worn parts. Knowing each fault helps you fix it fast at home. This guide walks through power, blades, motor, and reset steps. Short answers close the guide at the end for quick help.
Later sections explain power checks and blade care in detail. Motor faults, resets, and repair signs follow after those. Simple checks often fix a dead trimmer in minutes. Careful steps keep trimming safe and smooth always. Small routines deliver clean results every single time.
Quick answer: Your trimmer may stop from a dead battery or clogged blades. Check the battery and power cord before you try anything else. Clean the blades and remove hair and debris with care. Try a reset, then check the motor and circuit for faults. Call a pro for smoke, strange noises, or warranty work.
Why Is My Trimmer Not Working? Common Causes
A trimmer stops working for a few common reasons at home. Power issues, blade problems, and motor faults cause most failures. Knowing each cause helps you fix the problem fast and safely. Start with power, then check blades, then test the motor. The sections below explain each cause in clear detail.
Power Issues
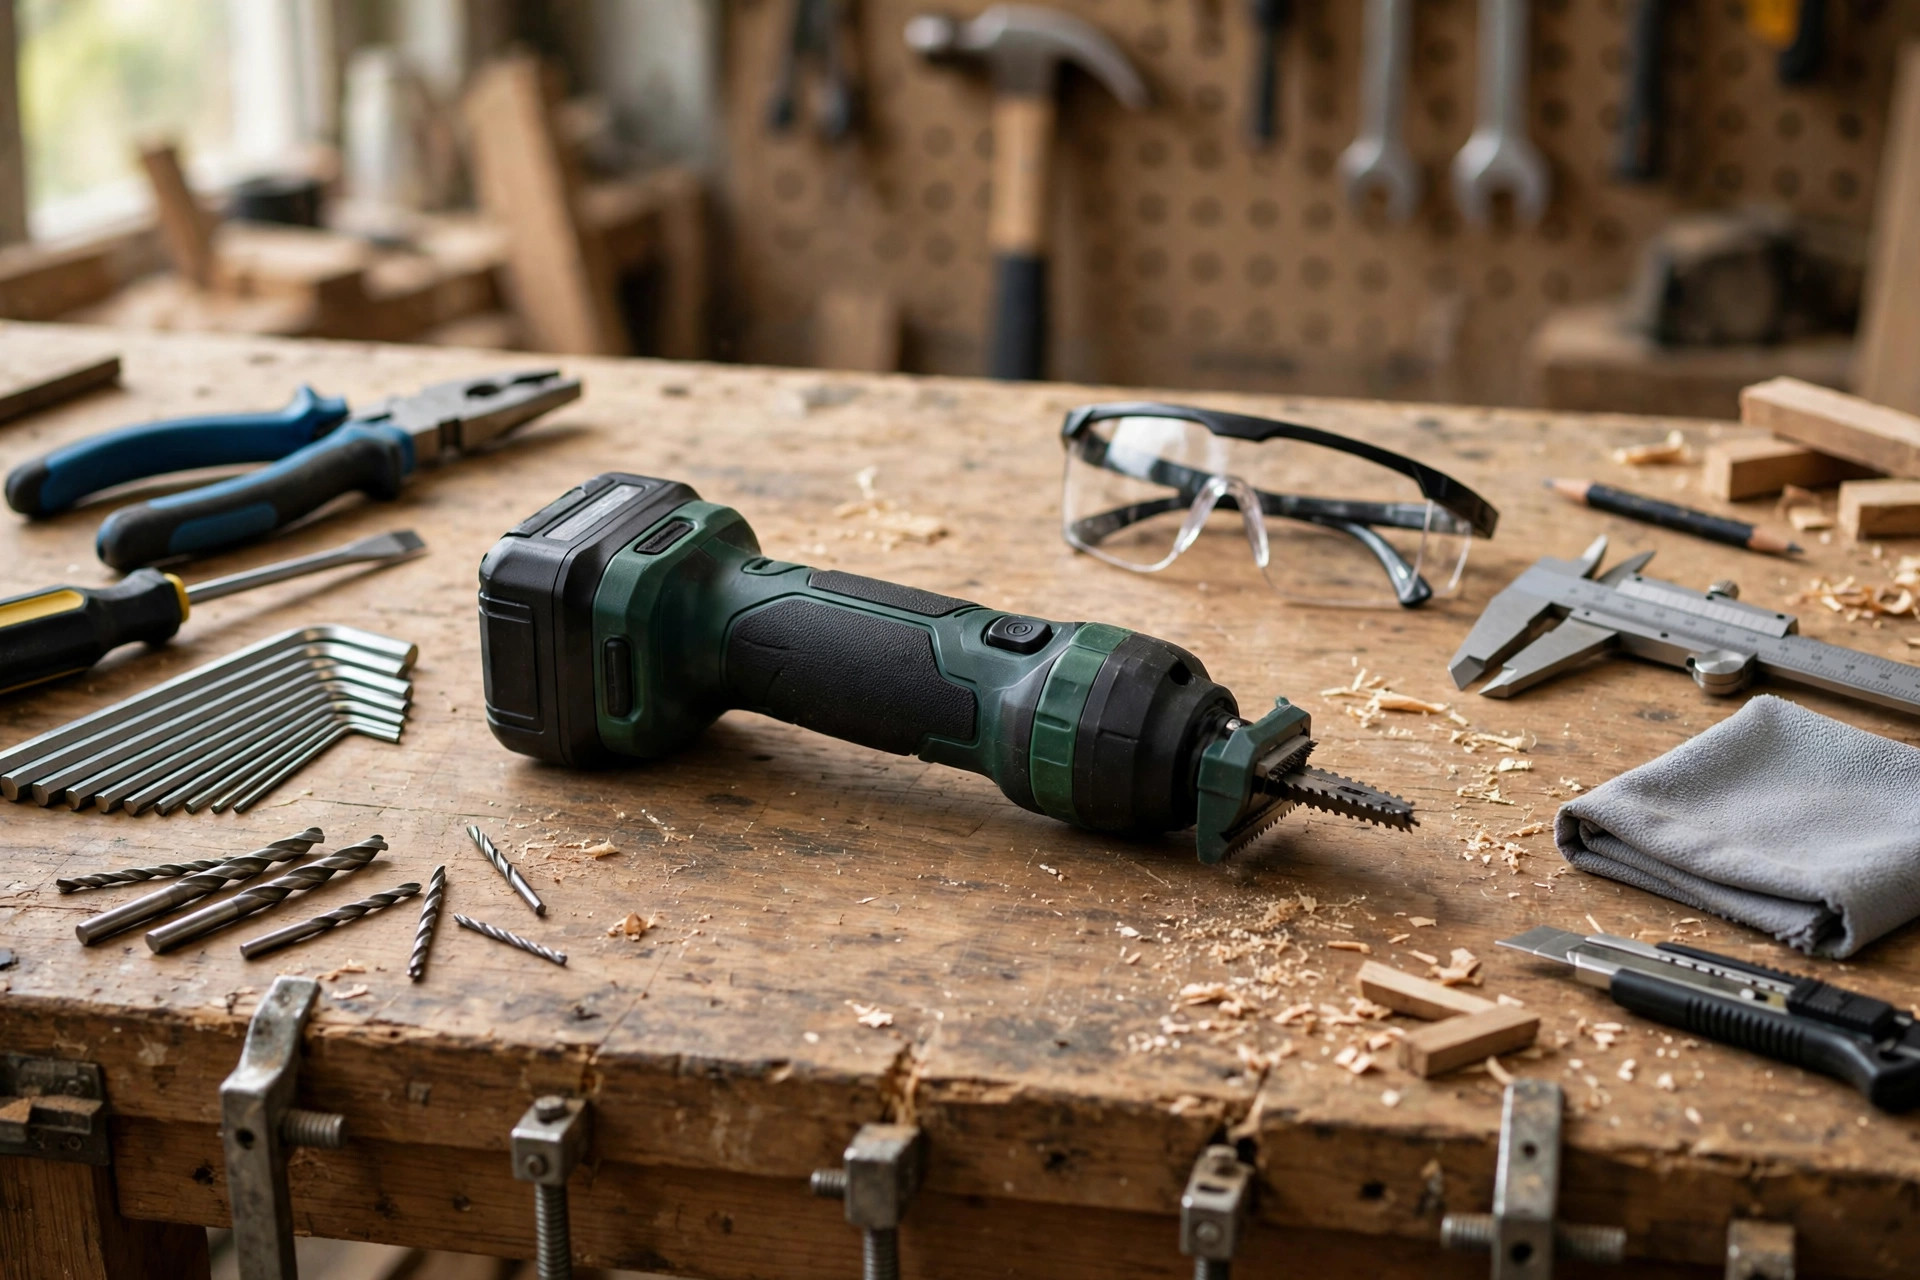
Many trimmers stop working from power issues first of all. Make sure the trimmer is fully charged before you use it. Check that the power cord is plugged in properly each time. Inspect the battery, since it may need replacing after years. Our full-charge guide explains how to know charging is done.
Blade Problems
Blades must stay in good shape to cut well each time. Dull blades cannot cut properly and pull hair instead of trimming. Dirt can block blade movement, so clean them with care. Look for loose screws, tighten them, and check blade alignment. Our sharpening guide explains safe edge care for blades.
Checking the Power Source
Start by checking the power source when your trimmer fails. Power faults link to the battery or the electrical connection. The sections below cover battery life and cord checks clearly. Work through both before you open the trimmer or call help. A simple reset can fix the fault in a few minutes.
Battery Life
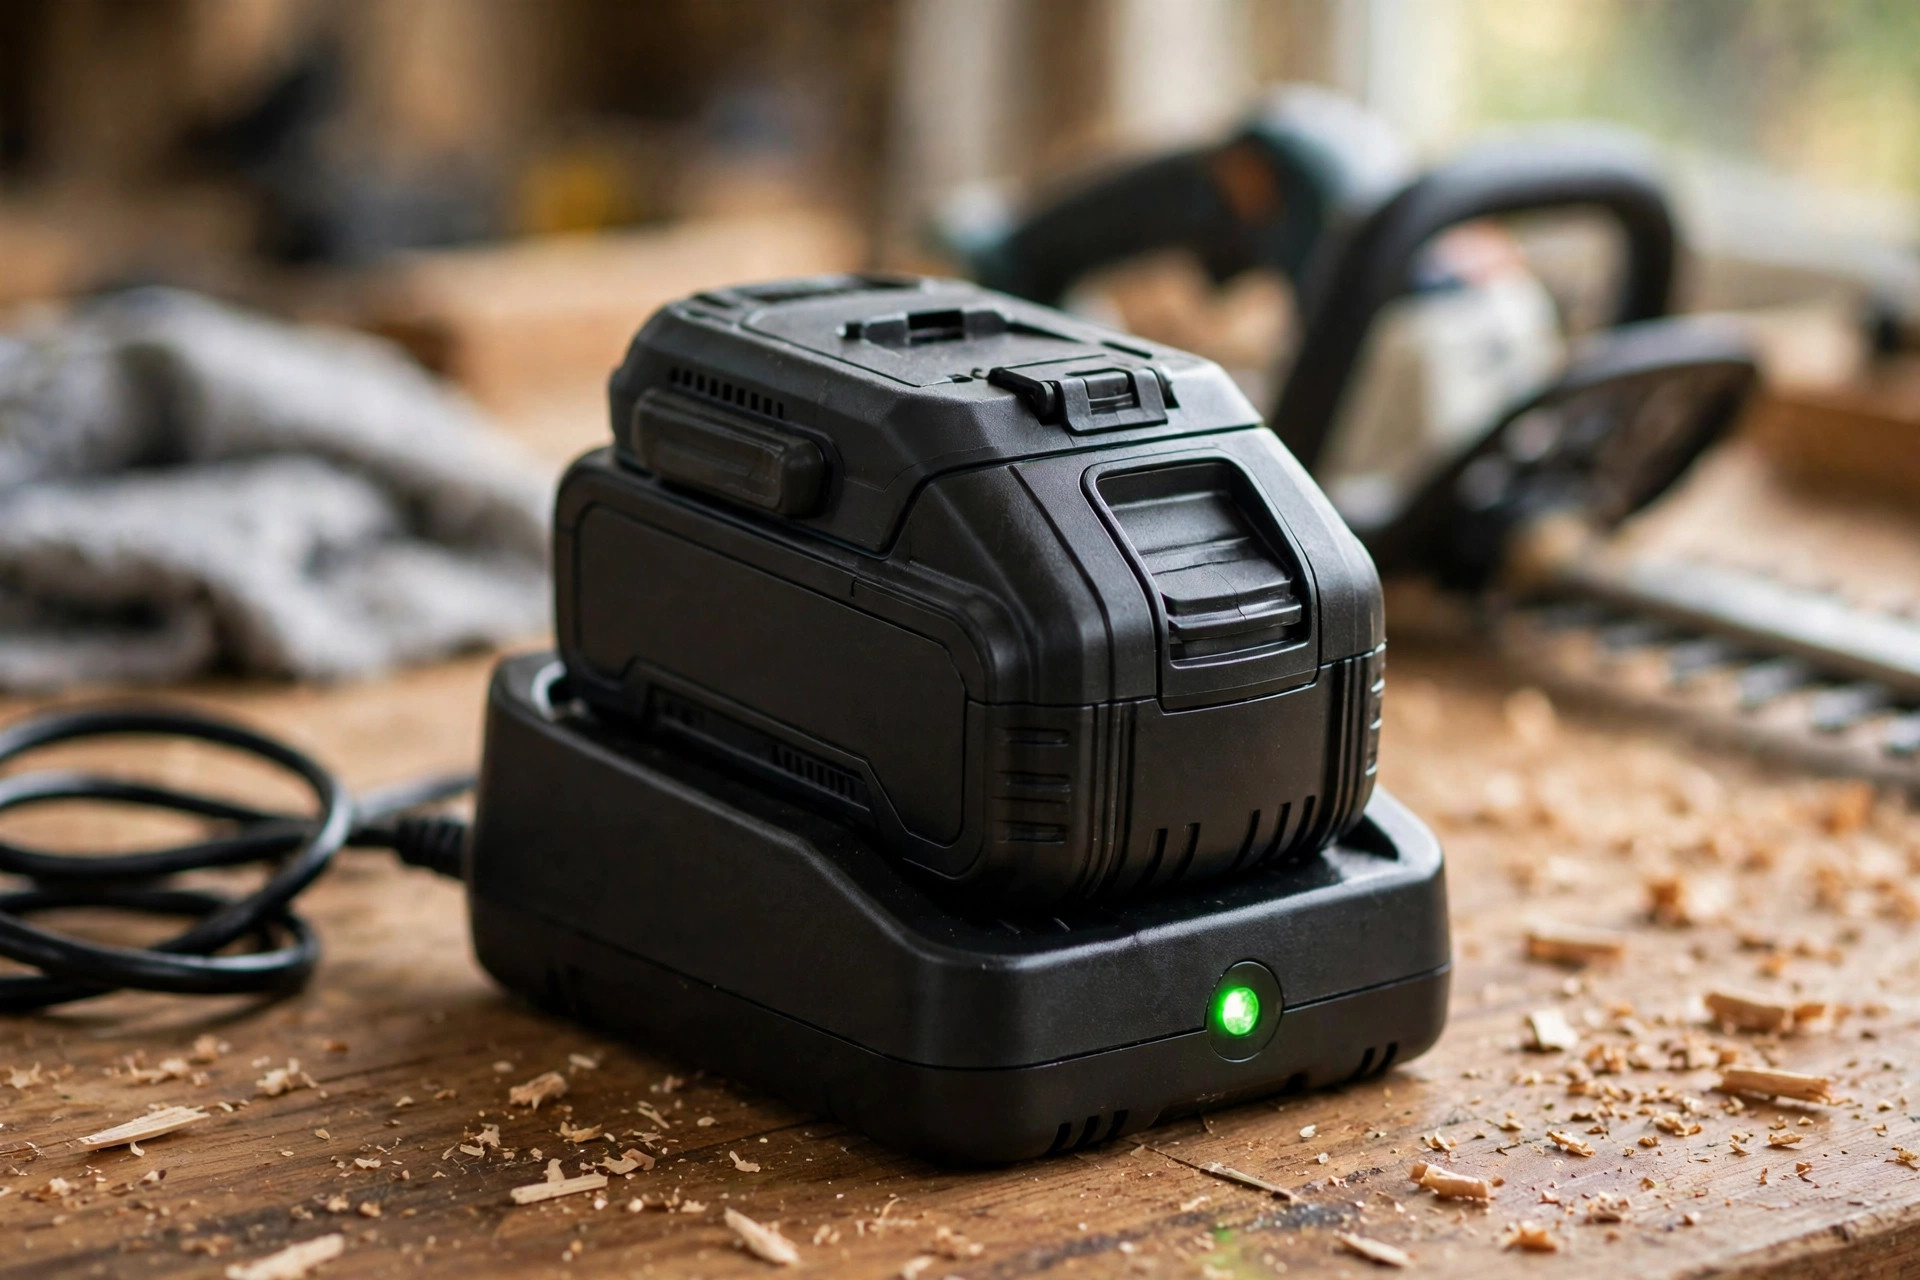
If your trimmer runs on batteries, check the battery life. Remove the battery and inspect it for damage or corrosion. Use a battery tester to check the charge level with ease. If the battery is low, recharge it or replace it now. Always use the recommended battery type for best results daily.
Electrical Connection
If your trimmer is electric, check its electrical connection well. Unplug the trimmer and check the cord for visible damage. Inspect the plug for bent or broken prongs with care. Plug the trimmer into a different outlet to test it. Replace a damaged cord or plug, since damaged cords are dangerous.
Simple Power Reset
Unplug the trimmer, wait a few minutes, and plug it back. This simple reset can solve many small power faults fast. Try it before you open the trimmer or buy new parts. If the fault stays, move on to the blade checks below. Our repair guide explains deeper fixes for stubborn trimmer faults.
Inspecting the Blades
Blades cause many trimmer faults, so inspect them with care. Sharpness and alignment both decide how well blades cut hair. The sections below explain sharpness checks and alignment steps clearly. Clean the blades first, then check edges and screw fit. Our cleaning guide covers careful cleaning routines for tools.
Blade Sharpness
Blunt blades can stop a trimmer from working well each day. Use a magnifying glass to inspect the blade edges closely. If they look dull, sharpen them with a sharpening stone. Move the blade in one direction and repeat until it shines. Always sharpen both blades equally to keep cuts even daily.
Blade Alignment
Misaligned blades can also cause trimmer issues at home daily. Check if the blades sit parallel to each other with care. Turn off the trimmer and remove the blade cover first. Use a screwdriver to adjust the blades until they sit right. Leave a slight gap, since the blades must not touch.
| Step | Tool Needed |
|---|---|
| Check Sharpness | Magnifying Glass, Sharpening Stone |
| Adjust Alignment | Screwdriver |
Cleaning and Maintenance
Cleaning and care keep your trimmer working well each day. Debris buildup can clog blades and stop the trimmer fast. Oil keeps moving parts smooth and stops wear over time. The sections below cover debris removal and oiling steps clearly. Clean after each use and oil the blades every month.
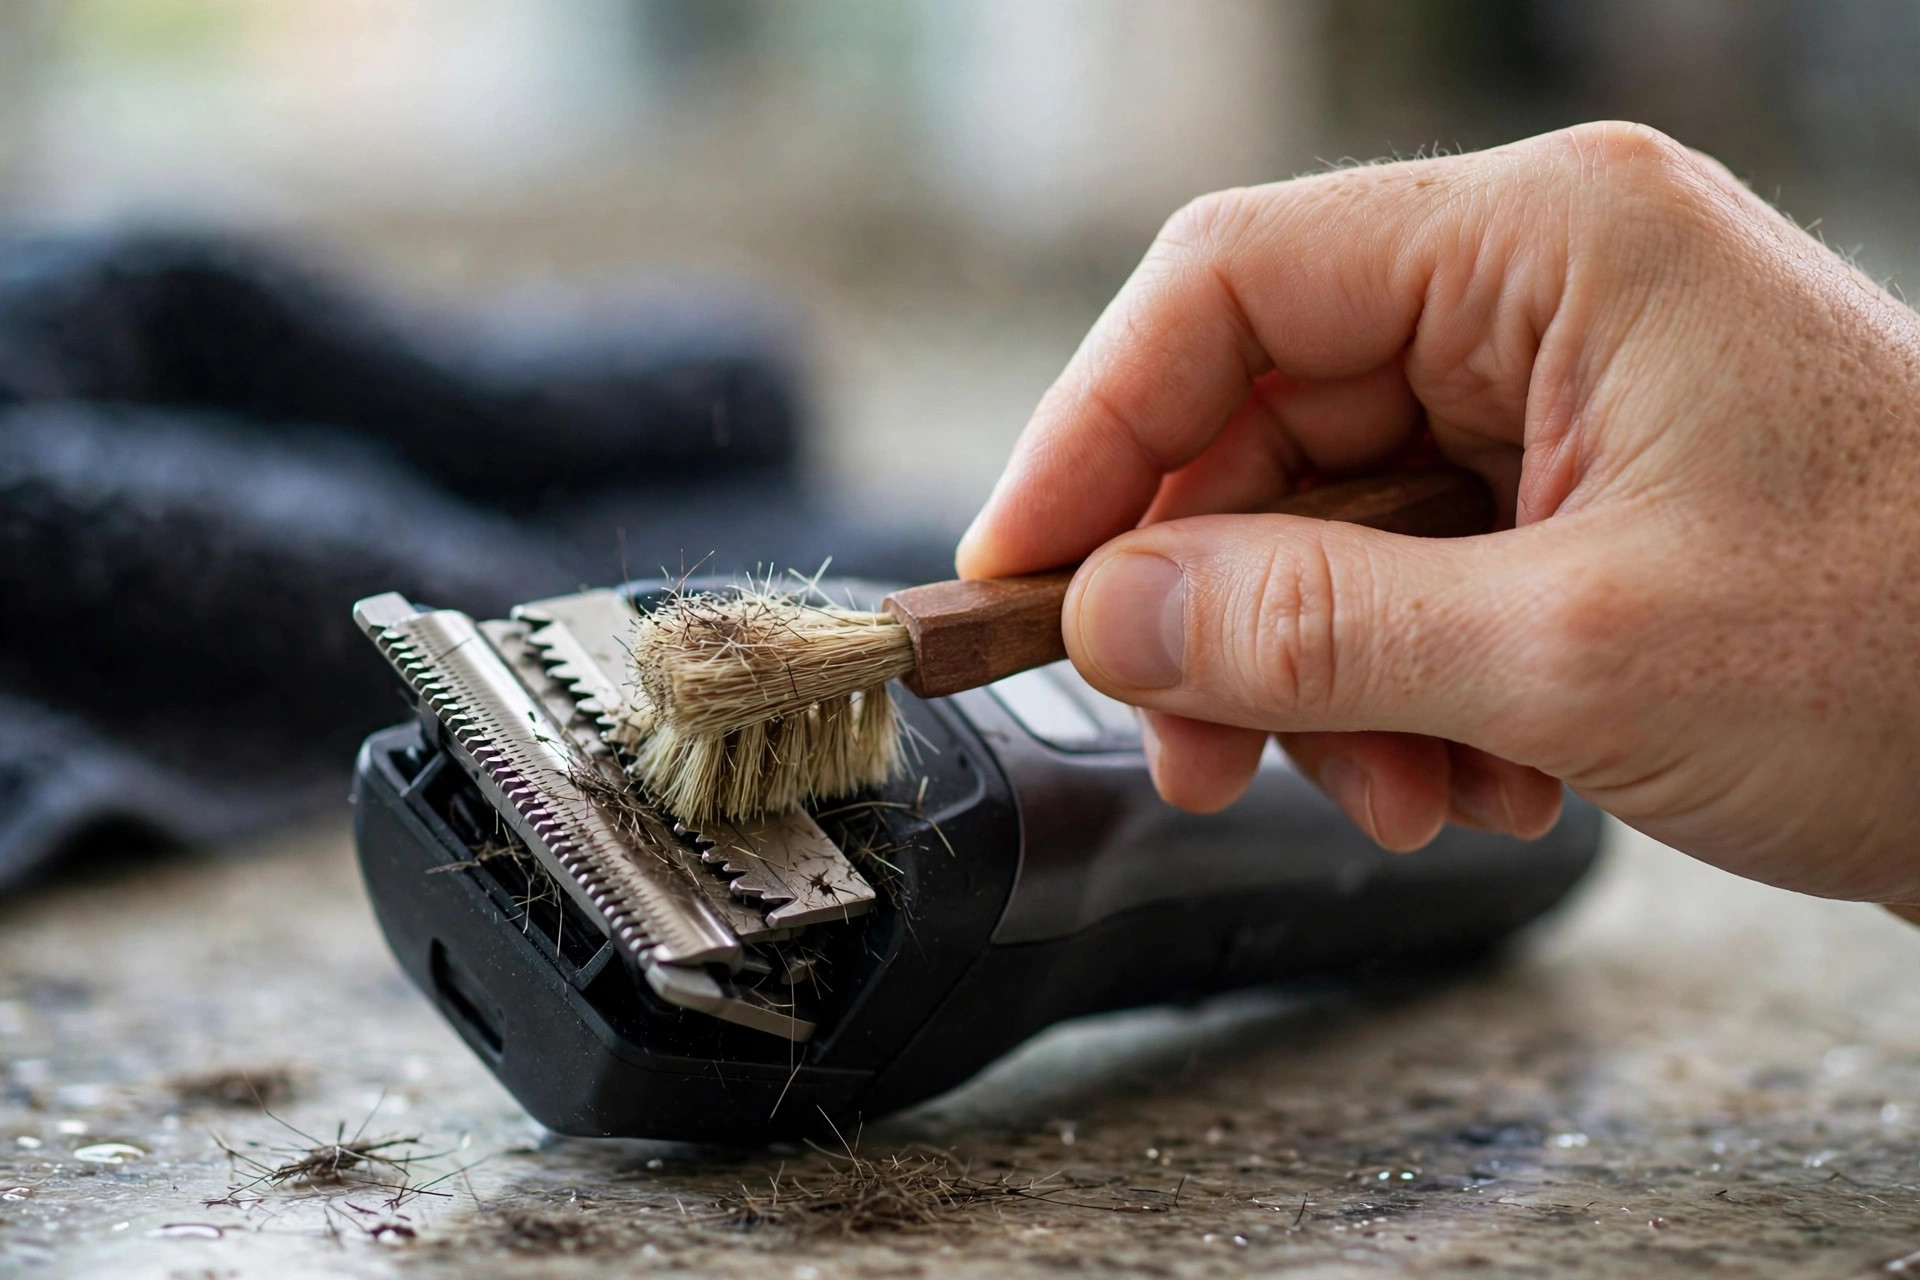
Removing Debris
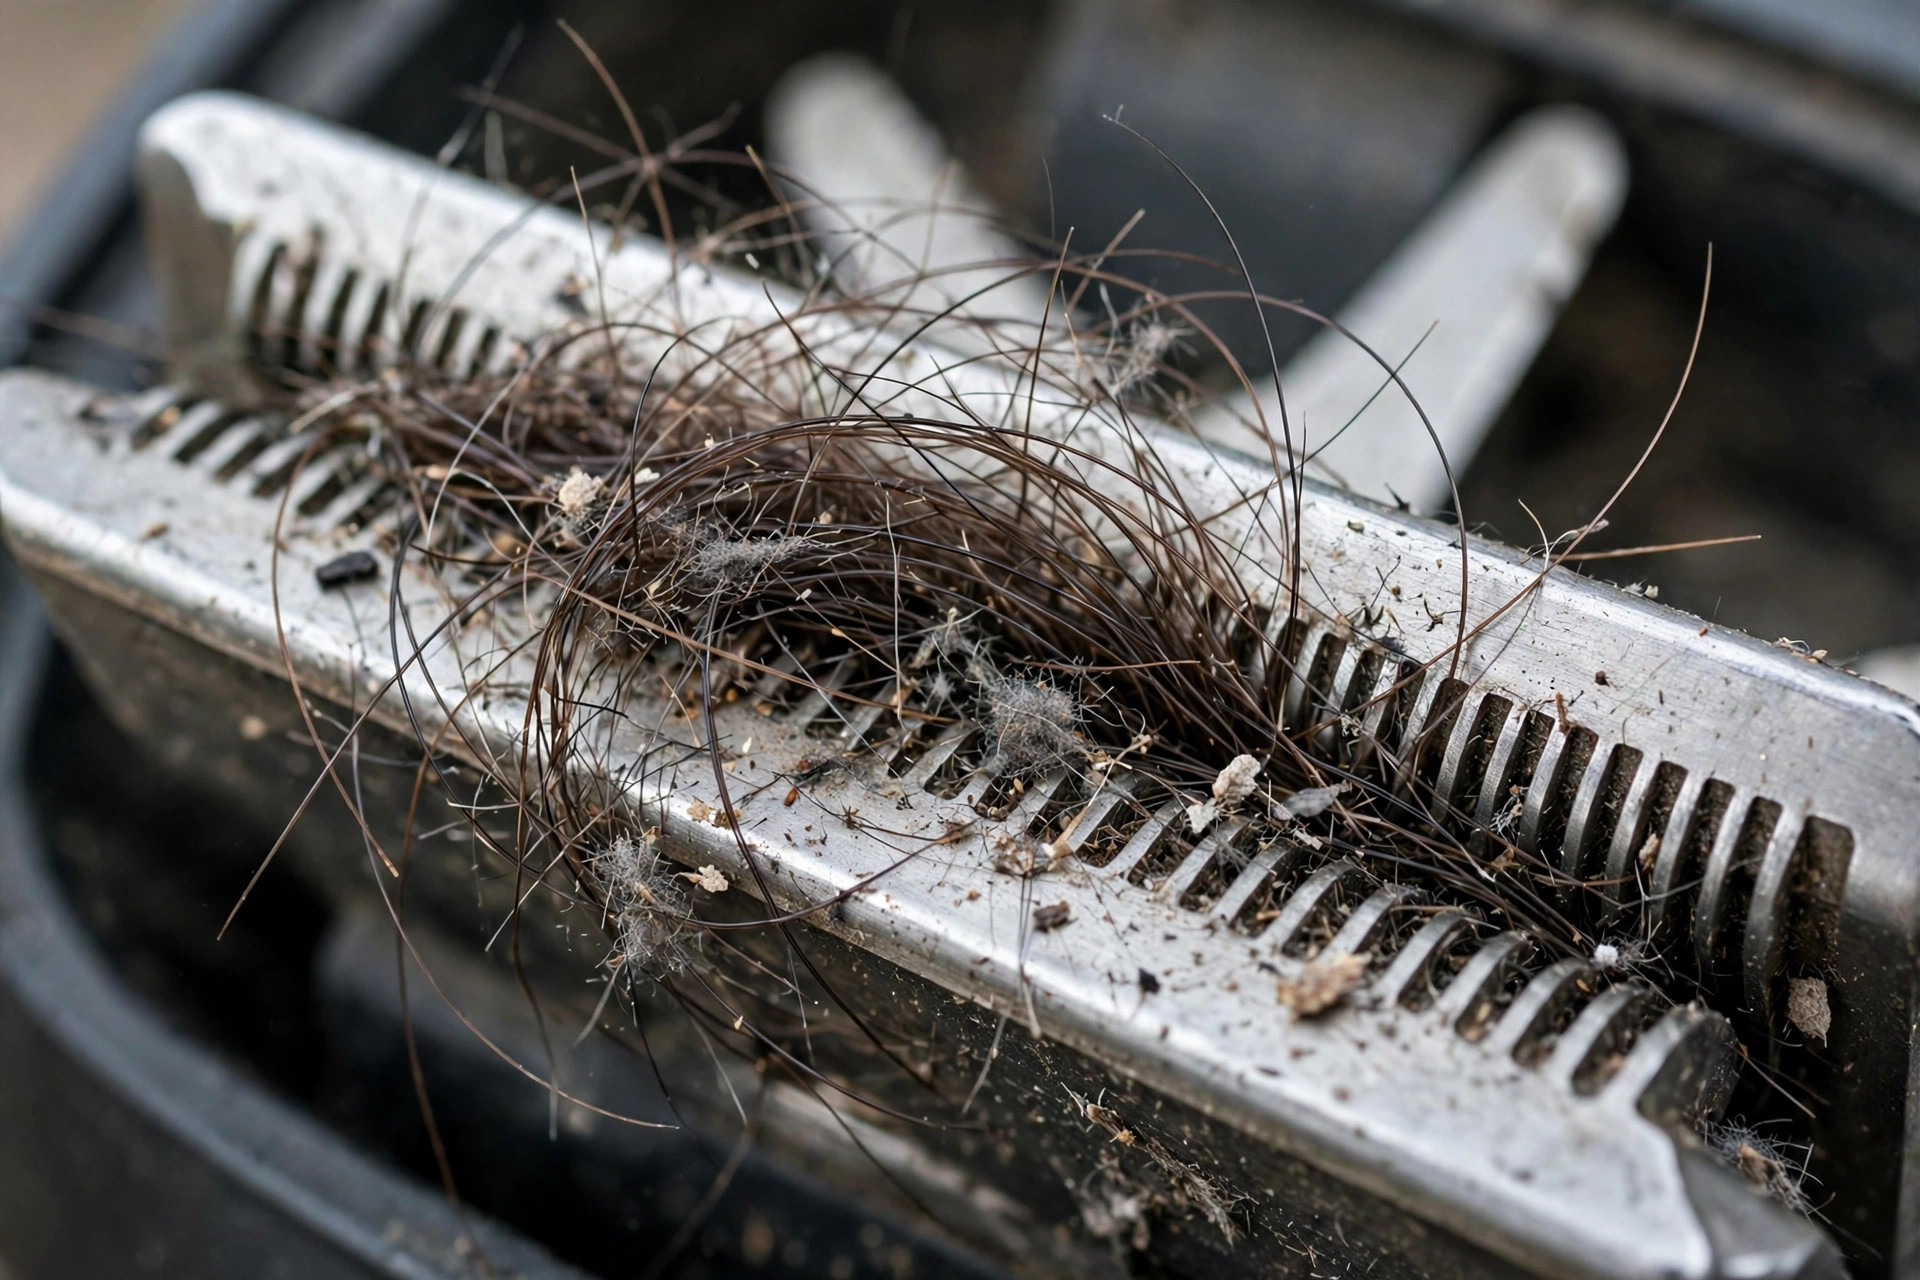
Turn off and unplug the trimmer before you clean it. Remove the blade or trimming head with care each time. Use a brush to clean out hair, grass, and dirt. Wipe the trimmer with a damp cloth after brushing well. Our blade fix guide explains how to fix a damaged trimmer blade.
Lubricating Parts
Lubrication keeps your trimmer parts moving smoothly each day. Without oil, parts wear out quickly and cut poorly over time. Apply a few drops of oil to moving parts with care. Wipe away extra oil, reassemble the trimmer, and test it. Our oiling guide explains blade lubrication for smooth use.
Motor and Internal Components
The motor is the heart of your trimmer and drives each cut. If the motor fails, the trimmer will not work at all. The circuit feeds power to the motor like a nervous system. The sections below cover motor sounds and circuit faults clearly. Check wires and test continuity before you call a professional.
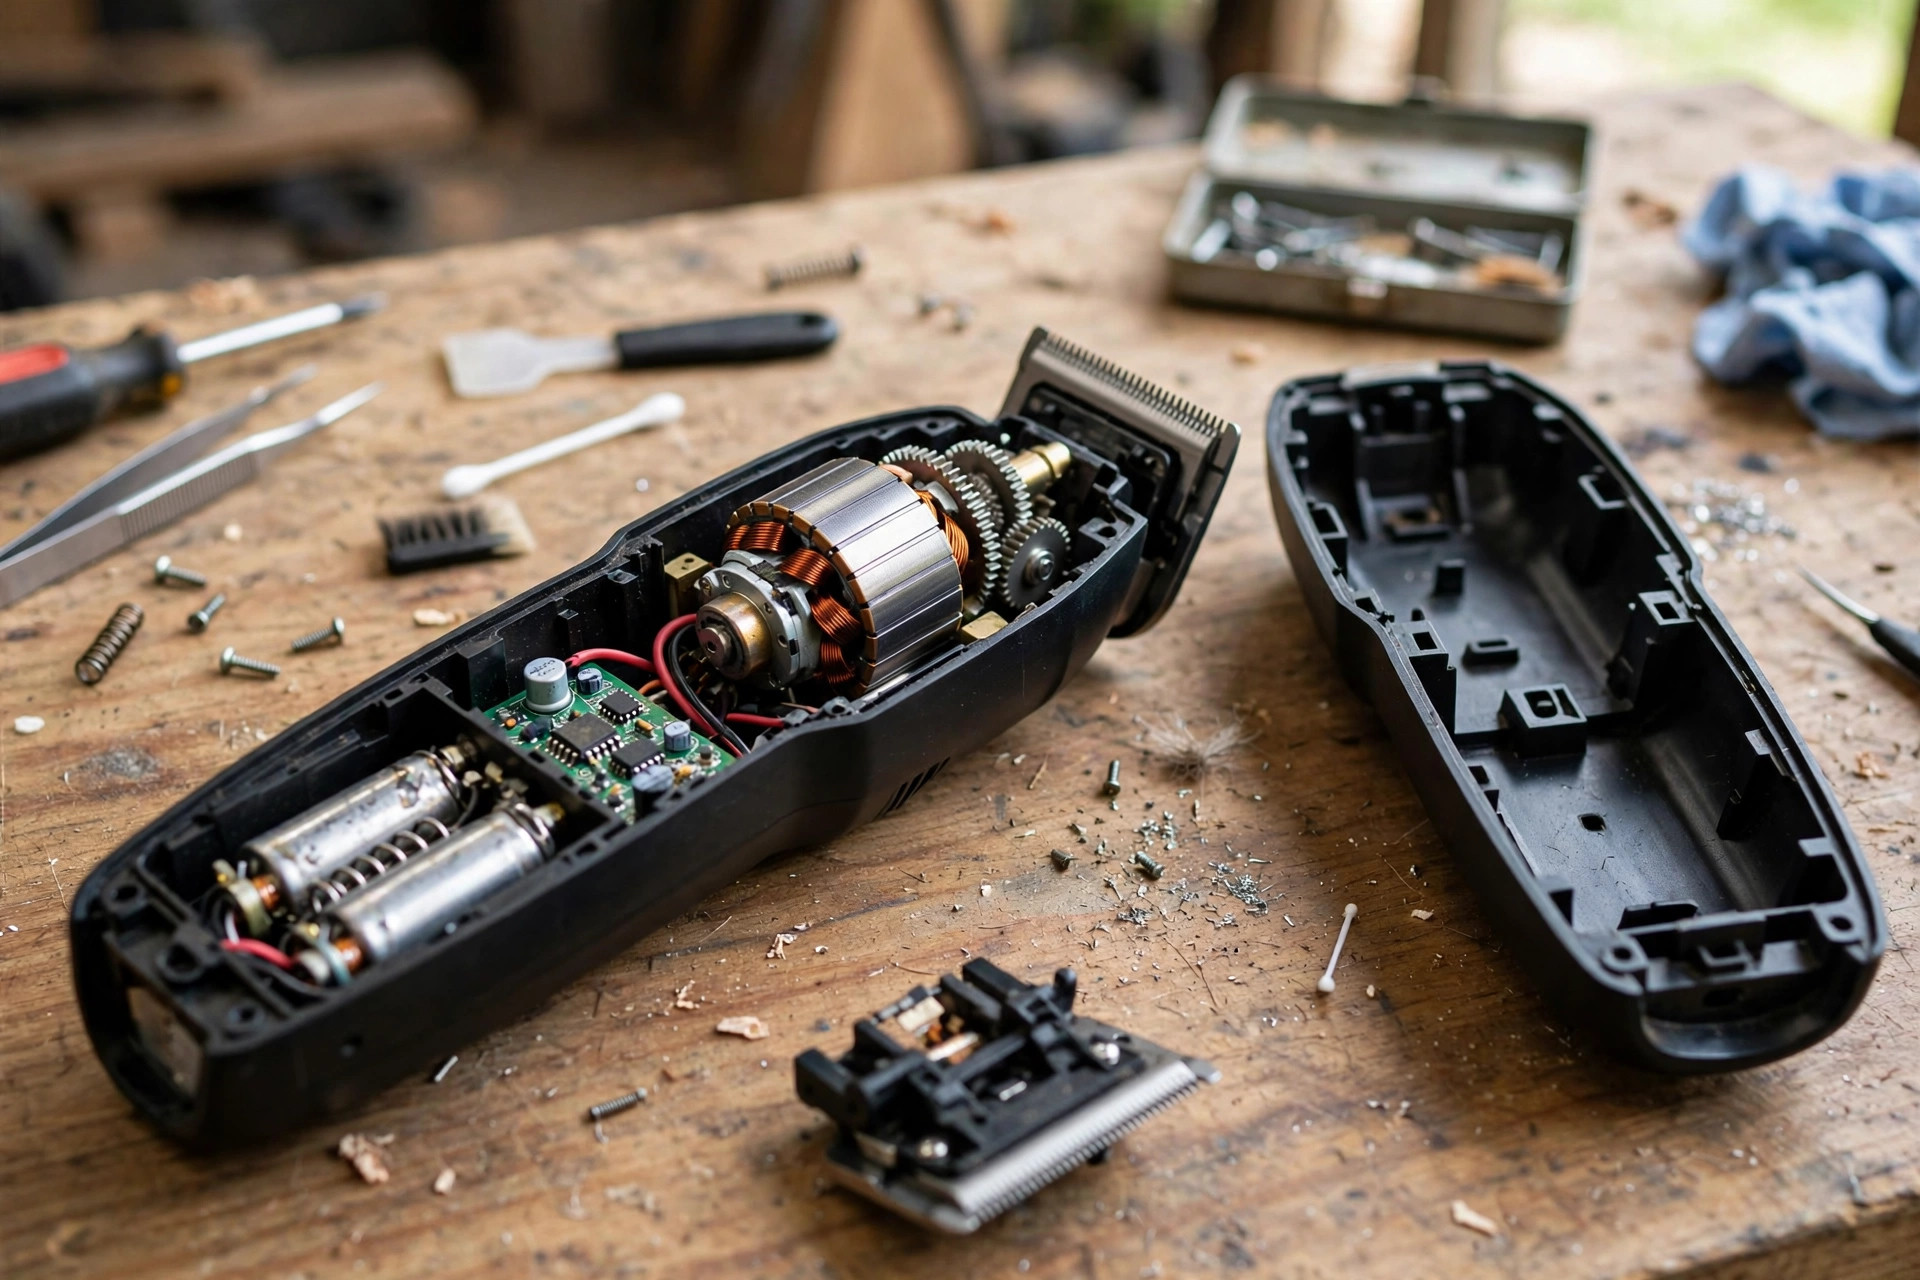
Motor Functionality
Check if the motor makes any noise when you switch it on. A humming sound means the motor receives power from the circuit. No sound at all means the motor might be faulty inside. Dirt and debris can clog the motor and stop it working. Clean the motor often, and replace it if cleaning fails.
Circuit Issues
Loose wires can disrupt the connection and stop the motor. Tighten loose connections and look for broken wires with care. Use a multimeter to check the circuit continuity with care. A damaged circuit board may need professional repair or replacement. Our cut safety guide explains how to avoid nicks and cuts.
| Problem | Solution |
|---|---|
| Motor makes no sound | Check power source and motor connections |
| Motor hums but doesn’t run | Clean motor, check for debris |
| Loose wires in circuit | Tighten or replace wires |
| Damaged circuit board | Consult professional for repair or replacement |
Resetting the Trimmer
A reset can solve many trimmer faults in a few minutes. Try a factory reset first, then a manual reset if needed. The sections below explain both reset steps in clear order. If the trimmer still fails, check battery and blade blockage again. The Philips OneBlade page shows one trimmer with a reset option.
Factory Reset
A factory reset returns your trimmer to its original settings. Turn off the trimmer and remove the battery or power source. Wait for 30 seconds before you reconnect the power source. Press and hold the reset button for 10 seconds with care. Your trimmer should now work with its original settings again.
Manual Reset
A manual reset can fix minor glitches in a few seconds. Turn off the trimmer and locate the reset button first. Press and hold the reset button for 5 seconds with care. Release the button and wait a few seconds before testing. Turn on the trimmer to check if it works again now.
When to Seek Professional Help
Some trimmer faults need an expert, so know the warning signs. Strange noises, overheating, and smoke all mean stop and call help. If your trimmer is under warranty, do not fix it yourself. Self repair can void the warranty and risk your safety. The sections below cover warning signs and repair services clearly.
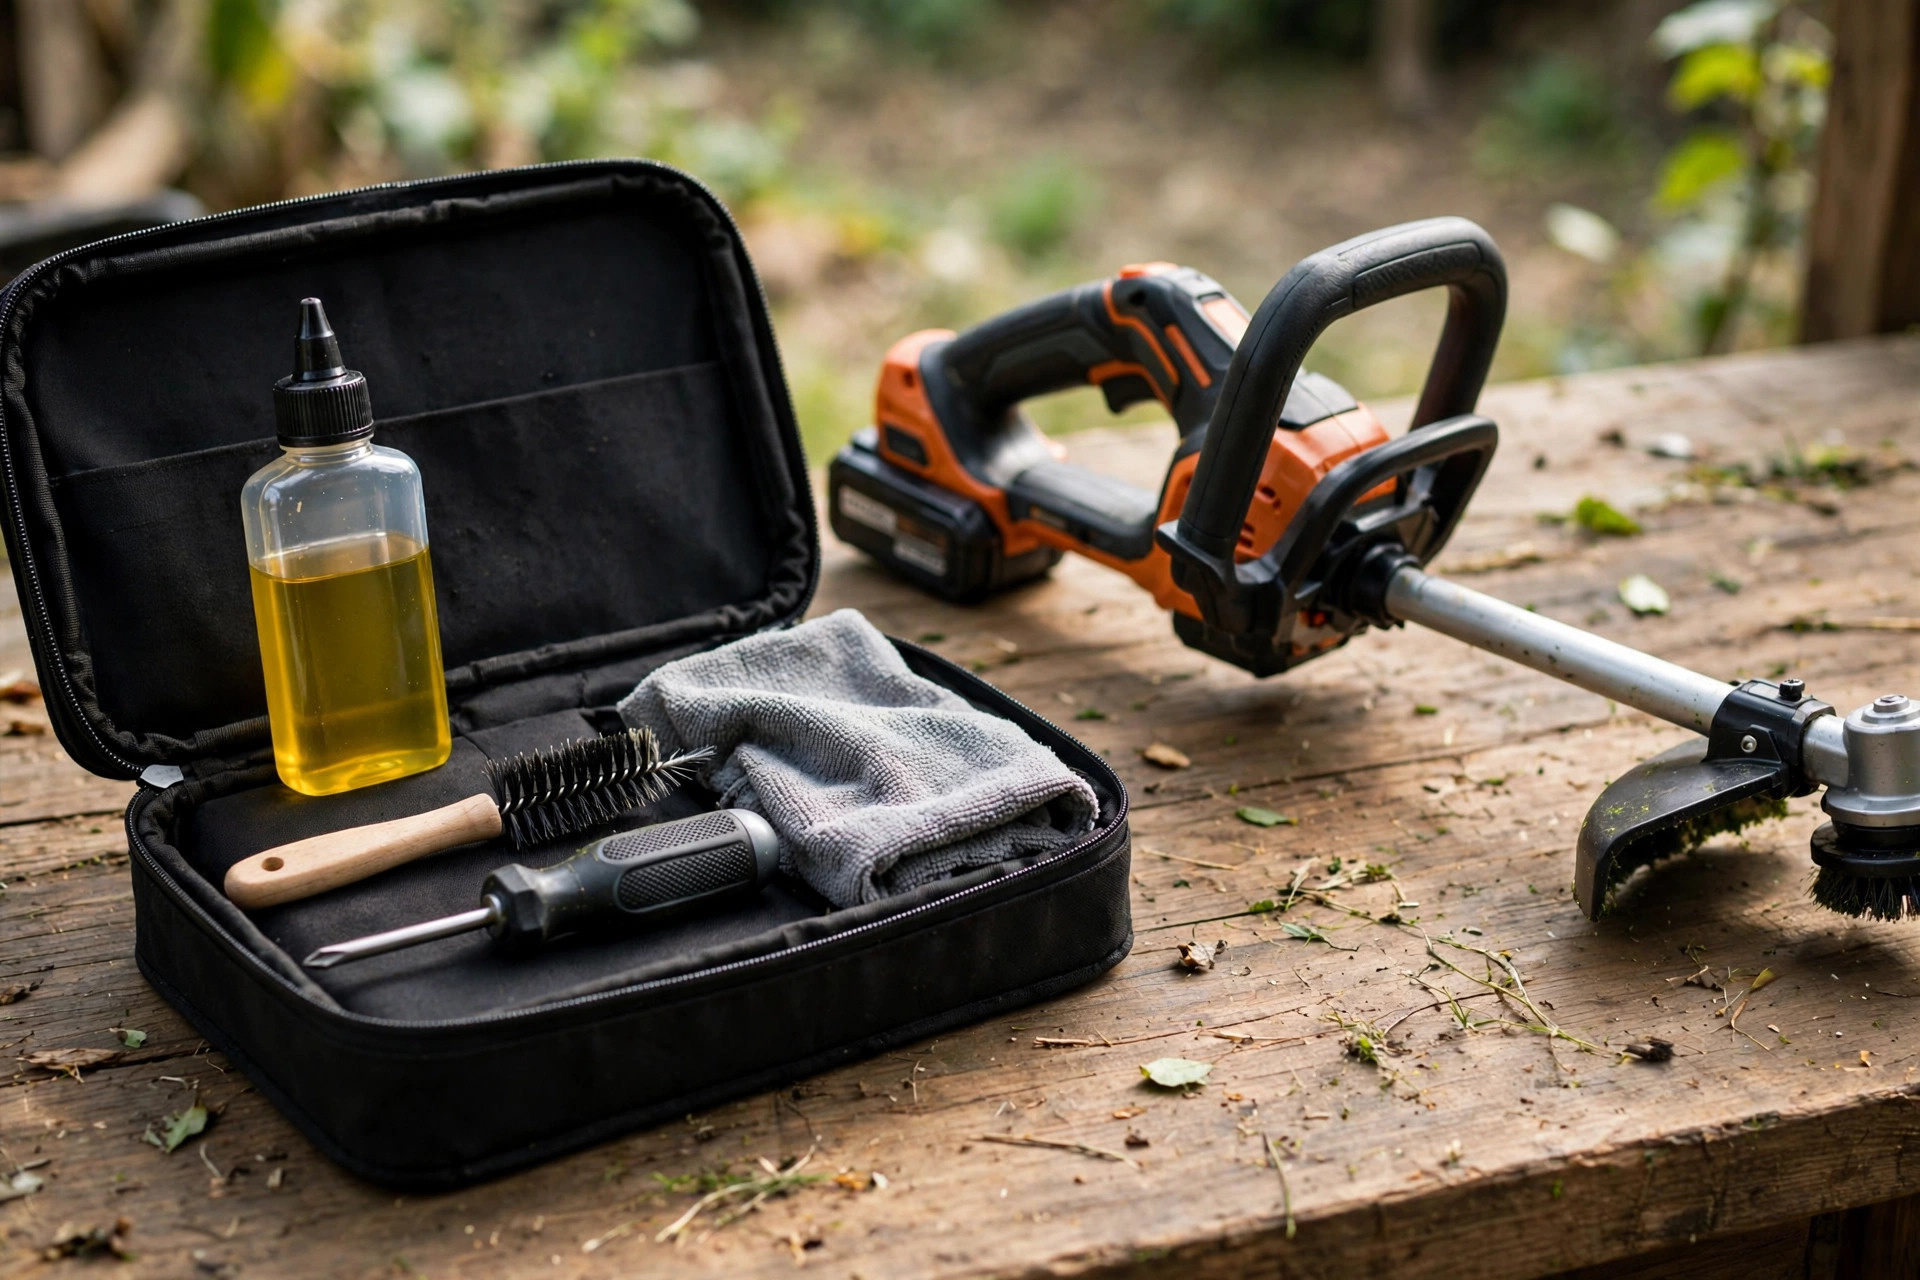
Identifying Complex Issues
Trimmers can have complex problems that need expert hands daily. Strange noises, overheating, or smoke are serious warning signs. Electrical problems are dangerous, so only experts should handle them. Call a professional when you spot any of these signs. Do not keep using a trimmer that smokes or smells burnt.
Choosing a Repair Service
Check online reviews and ask friends for trusted repair shops. Compare prices and verify the shop certification before you book. Ensure they offer a warranty on repairs for your peace. Call the manufacturer for a list of approved repair services. Approved services give your trimmer the best care each time.
Preventive Measures
Simple habits keep your trimmer working well for years daily. Clean, oil, and store your trimmer the right way each time. The sections below cover maintenance tips and storage steps clearly. A little care now saves costly repairs and frustration later. Make these steps part of your regular grooming routine today.
Regular Maintenance Tips
Clean the blades and remove hair and debris after each use. Apply oil to the blades monthly to keep them smooth. Check the battery to ensure it is charged and not corroded. Inspect and tighten any loose screws on a regular basis. Replace worn parts on time to keep the trimmer working well.
Proper Storage
Store the trimmer in a dry place to avoid rust damage. Use a case to protect it from dust and damage daily. Remove the battery if you store the trimmer for a long time. Keep the trimmer away from damp rooms and wet surfaces. Good storage keeps the trimmer ready for your next trim.
Frequently Asked Questions
These answers repeat this guide’s own points only. They follow the same steps explained above closely. Short answers close the guide at the end. Read them before you fix your trimmer at home.
What should I do if my trimmer is not working?
Check the battery or power source first before anything else. Ensure it is charged or properly plugged in at home. Clean the blades and remove any hair or debris well. Verify the trimmer is assembled right, then check the manual.
Why did my trimmer suddenly stop working?
Your trimmer might have stopped from a dead battery or clogged blades. An electrical issue can also stop the trimmer at once. Check the power source, clean the blades, and inspect for damage. Try a reset if the simple checks do not fix it.
Why is my trimmer not trimming?
Your trimmer may not trim from dull blades or low battery. Hair clogging can also block the blades and stop cutting. Clean the blades and charge the battery before your next trim. Sharpen dull blades or align them if they sit crooked.
Why did my hair clippers stop working?
Your hair clippers may have stopped from a dead battery. Clogged blades or a faulty power cord can stop them too. Check the cord, clean the blades, and charge the battery. Call a pro if the motor makes no sound at all.
How do I reset my trimmer?
Turn off the trimmer and remove the battery or power source. Wait for 30 seconds, then reconnect the power source again. Press and hold the reset button for 10 seconds with care. For a quick fix, hold the reset button for 5 seconds.
Conclusion: Why Is My Trimmer Not Working?
So, why is my trimmer not working at home today? A dead battery, clogged blades, or a faulty motor stops it. Check power first, then clean and align the blades well. Try a reset and test the motor before you call help. Most faults need only simple checks and a little care.
Clean the blades after each use and oil them monthly. Store the trimmer dry and remove the battery for long storage. Call a pro for smoke, strange noises, or warranty work. Simple habits keep your trimmer working for years daily. Good care delivers clean results every single time.
