
How to Set Andis Trimmer Blades
Dull blades set wrong spoil clean cuts. Learn how to set Andis trimmer blades. Blades set right bring back precise, even cuts. Pros check blade settings as part of plain care. Sharp results return with blades set well.
Even good blades drift out of line over time. This guide covers each setting step with care. Tension and blade setting both feature. Plain tools handle the whole job with ease. Careful tests prove the end result.
Clean, oiled blades adjust far more smoothly. Loose screws let the blade move in tiny steps. Firm tightening then locks all in place. Slow, patient work protects small parts. Steady setting helps blades last longer.
Quick answer: Loosen the blade screws a little to set the blades. Clean and oil the blades before you adjust a thing. Align both sets of teeth so they sit parallel. Lower the blades back down and tighten the screws firmly. Test the cut with care and adjust again if needed.
How to Set Andis Trimmer Blades: Quick Answer
The quick list below mirrors the post. Five steps cover all the setting work. The parts then take each step in full.
| Step | What the Post Says |
|---|---|
| Gather tools | Screwdriver, cloth and oil for blades |
| Prepare trimmer | Switch off, unplug, clean blades |
| Loosen screws | Loosen both sides, never remove |
| Align blades | Teeth lined up straight and even |
| Test and adjust | Run it, watch, and listen well |

The Wikipedia Andis page profiles the firm behind these trimmers. Our Andis adjustment guide covers more blade setting work. Our zero gap guide explains setting blades even closer. Well-set blades cut evenly each time. Good prep stops most setting slips before they start.
Gather Tools and Prepare the Trimmer
Gather the tools you need before you start. Most models need a flathead or Phillips screwdriver. A soft cloth or brush cleans the blades. Special trimmer oil cuts friction by a lot. Have all at hand and the work runs smoothly.
| Tool | What the Post Says |
|---|---|
| Screwdriver | Flathead or Phillips by model |
| Soft cloth or brush | Clears hair and dirt away |
| Blade oil | Made just for trimmer blades |
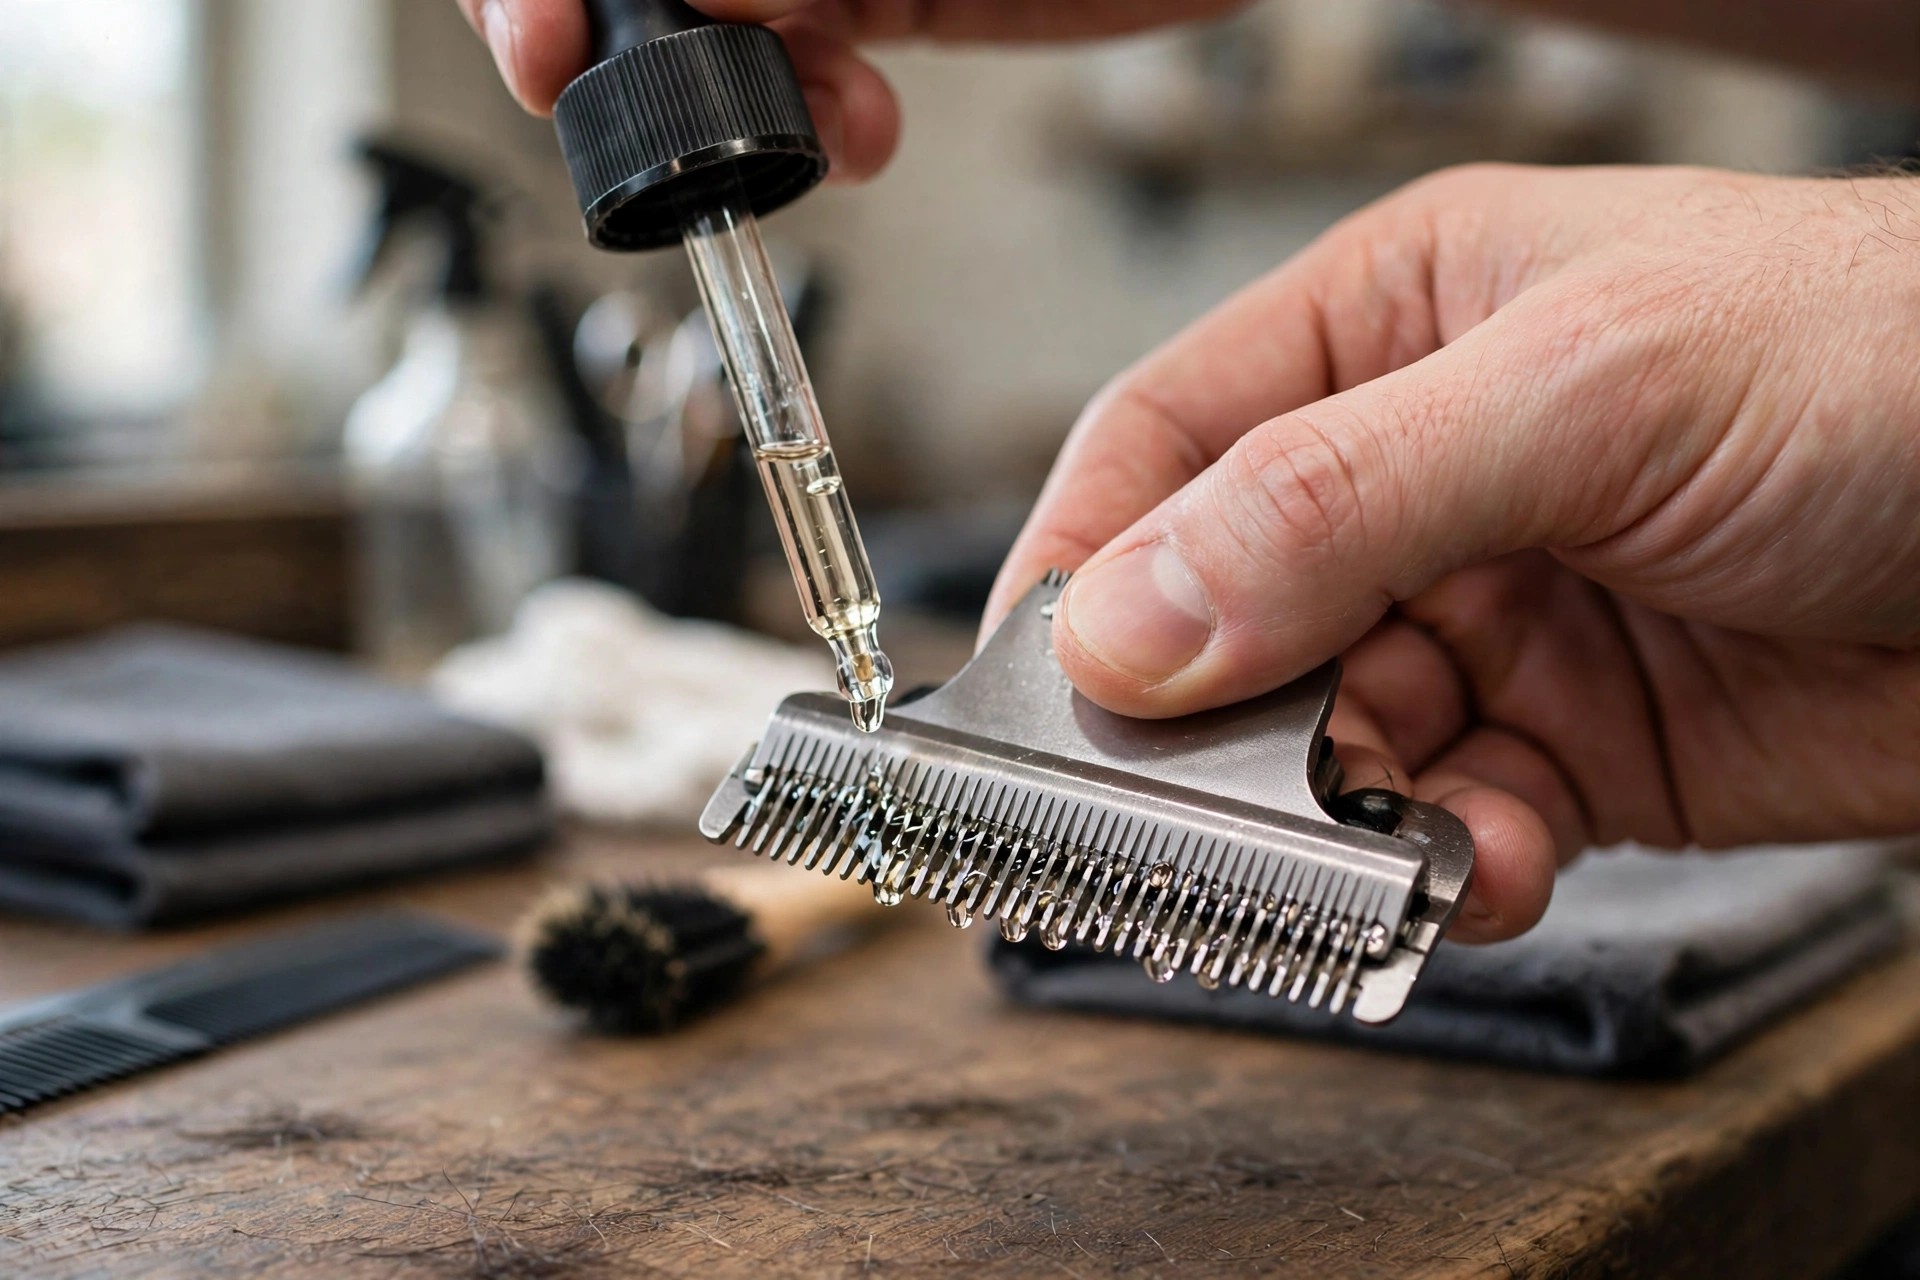
Turn the trimmer off and unplug it. This stops harm while you do the work. Brush away hair and dirt with care. Put on a few drops of oil. Follow the maker’s guide on oil type and amount.
Our blade oiling guide explains the oiling method in full. Our clipper cleaning guide covers full clipper cleaning steps. The Wikipedia screwdriver page explains screwdriver types and sizes. Clean tools make for far more exact work.
Loosen, Align and Test the Blades
Loosen the blade screws on both sides with care. Never take the screws all the way out. Loose screws let the blade move just a little. Lift the blades slightly away from the body.
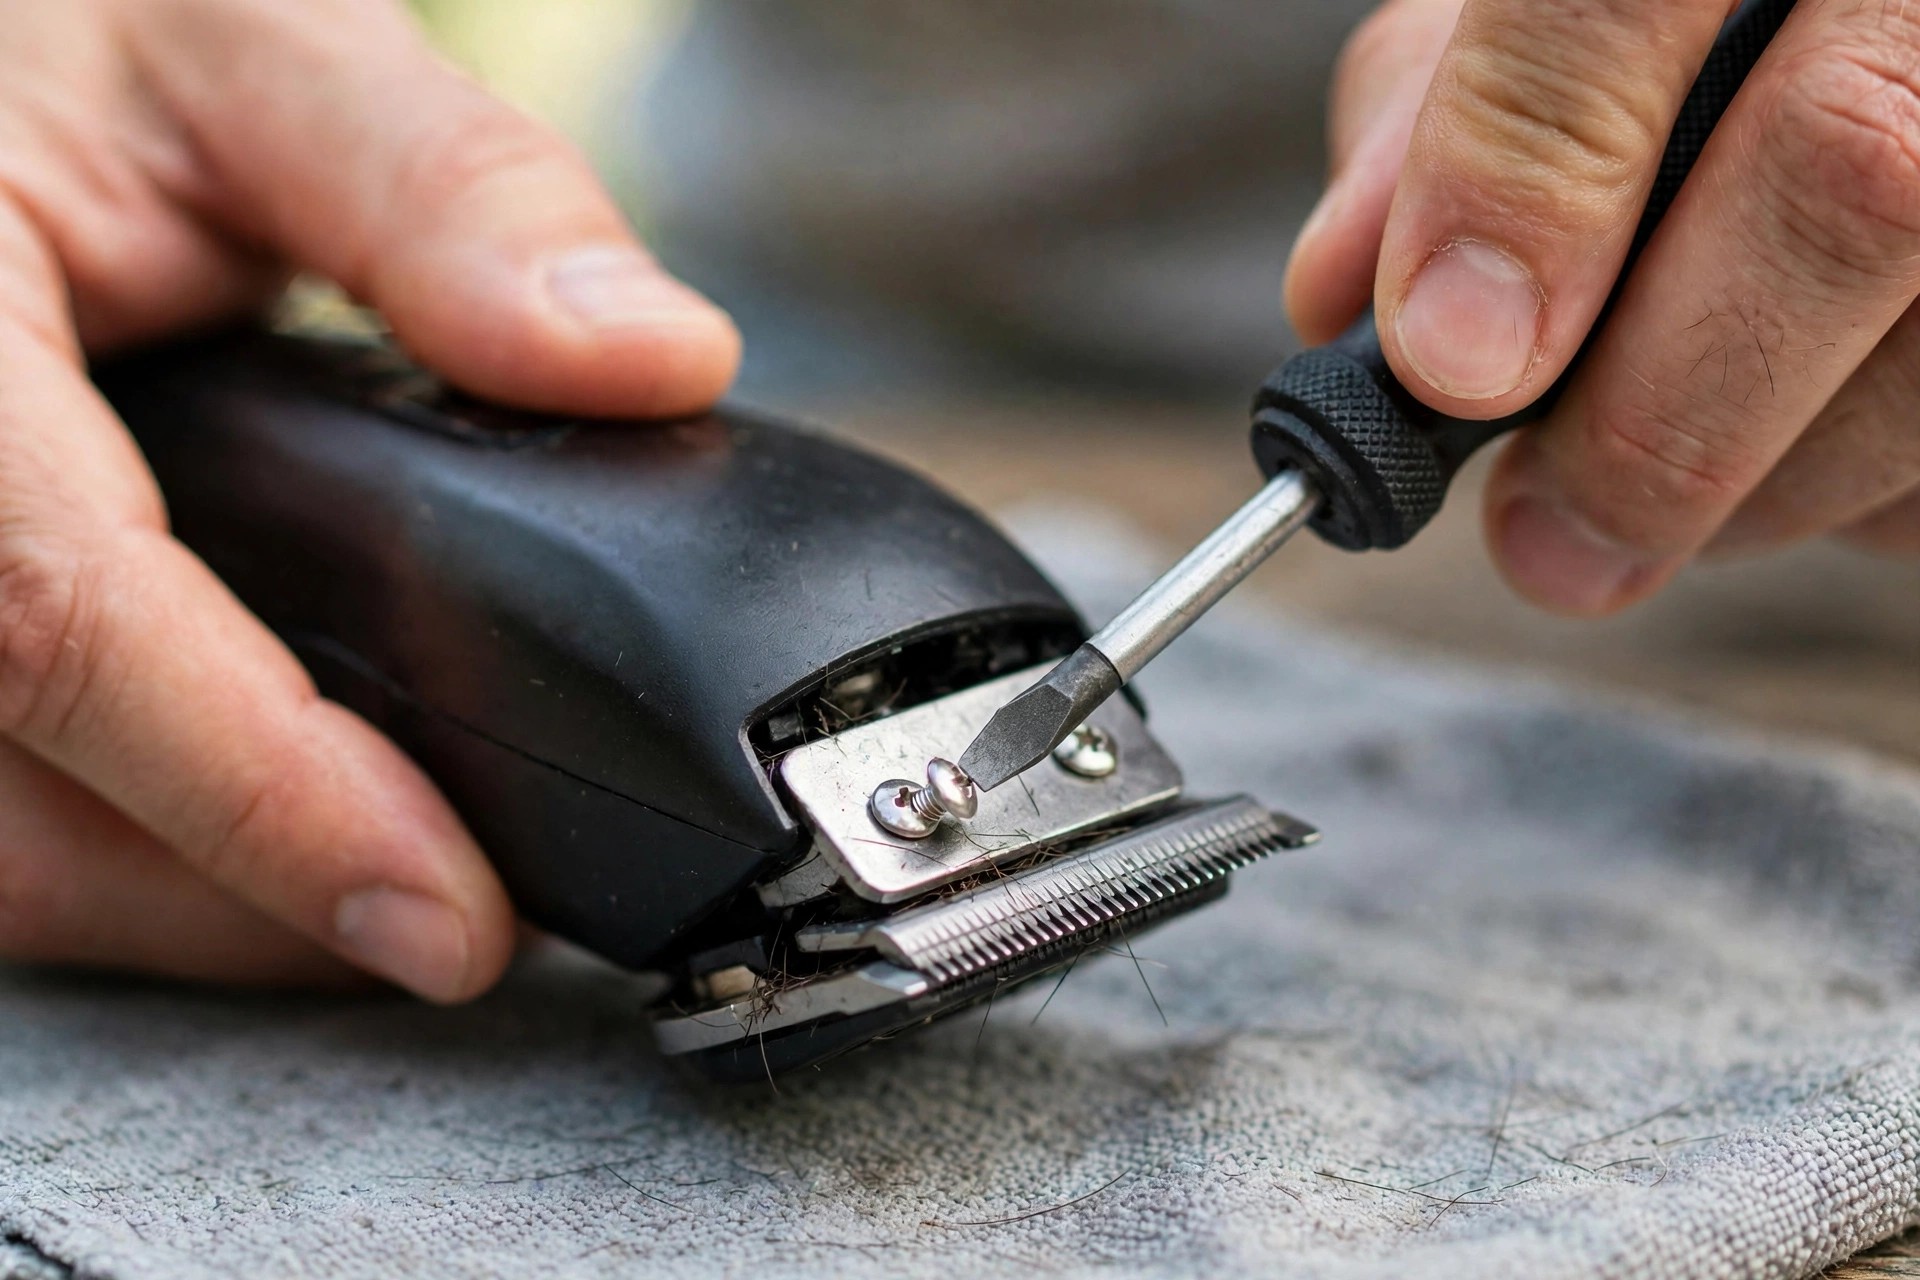
Check the blades for damage or wear. Badly worn blades may need a swap before you set them. Setting worn blades wastes time and effort. Healthy blades respond well to careful setting.
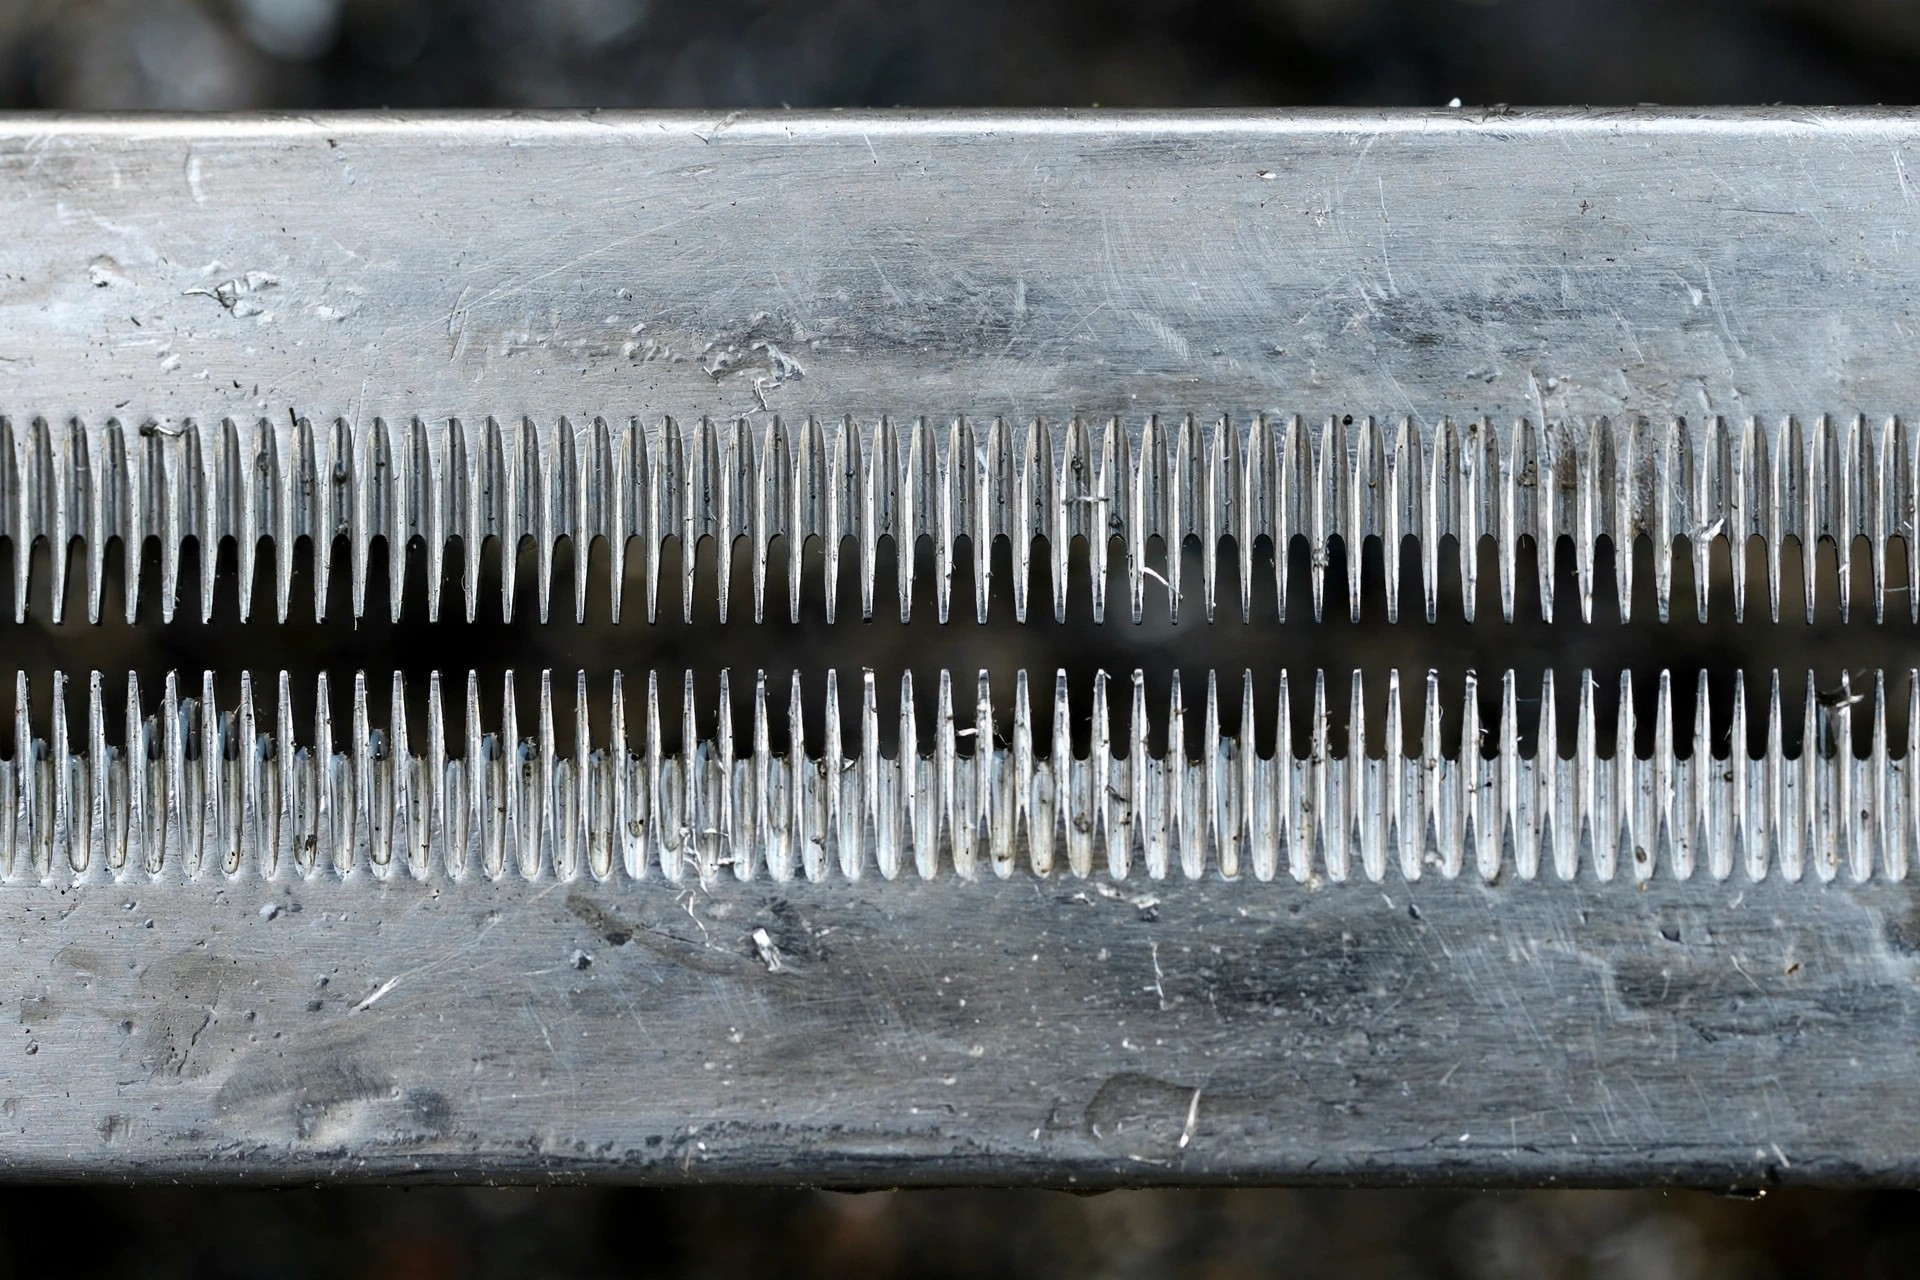
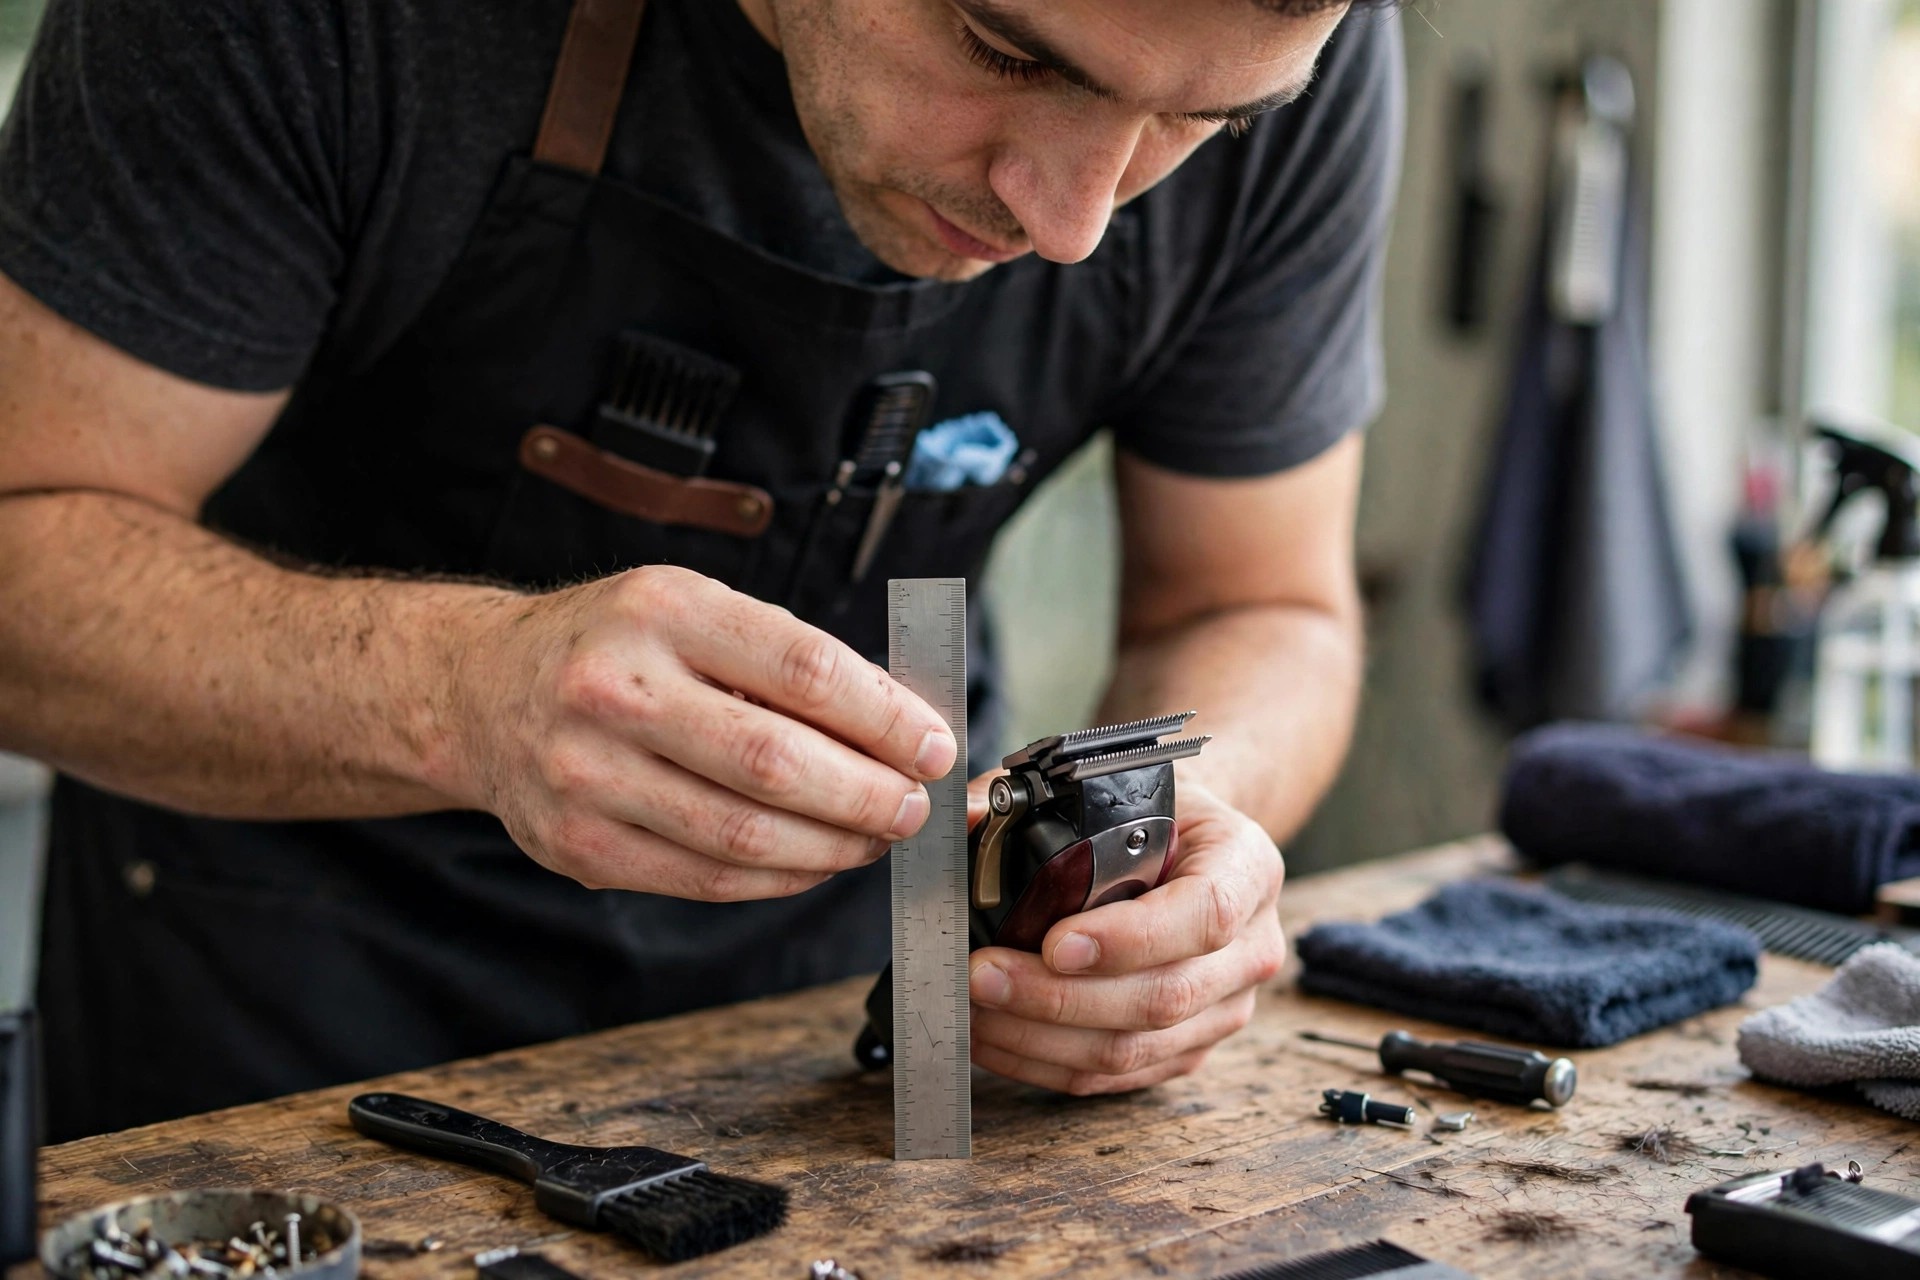
Align the blades parallel to each other. Check that both blade teeth line up true. A small ruler checks the setting by eye. Lower the blades back onto the trimmer body. Tighten the screws firm, but not too tight.
Please note: The first answer below uses a quite different method. It takes the blade off the body in full. The blade then snaps back into place. The steps above keep blades on their screws, loose. Check your model manual before you choose either.

Plug in and switch the trimmer on. Run the blades gently over a test section. Watch the cut and listen for odd sounds. Odd noises mean you should repeat the setting. Our Andis heat guide explains hot running trimmers in full.
Frequently Asked Questions
How do I set the blades on my Andis trimmer?
Remove the blade from the trimmer body. Align the blade teeth with the guide plate. Slide it back until it snaps into place. Check the blade sits firm, with no wobble. Then tighten the blade screws firmly again.
How often should I set the blades on my Andis trimmer?
Set the blades every few months in general. A drop in cutting power means a setting is due. Steady cleaning helps keep blades sharp longer. Check the setting when the trimmer grows too noisy. Act fast when you see such signs.
What tools do I need to set the blades on my Andis trimmer?
You need a standard screwdriver first. A blade adjustment tool lines teeth up straight. These tools come inside most Andis kits. Approved shops sell them on their own too. Right tools stop damage during the work.
Can I set the blades on my Andis trimmer myself?
Yes, you can set them yourself at home. With the right know-how and tools, it is not hard. The manual gives steps for your model. Andis posts full guides online as well. Pros can help if doubt remains.
What should I do if I am unable to set the blades on my Andis trimmer properly?
Call Andis customer support for help first. Approved service centers offer pro setting help. Forcing blades can damage the trimmer badly. A wrong setting harms how it works and cuts. Expert help protects long life and good work.
Our blade replacement answer covers worn blade timing in full. Our Andis buying guide helps find genuine Andis tools. Careful setting keeps each cut clean.
Conclusion: How to Set Andis Trimmer Blades
So, learning how to set Andis trimmer blades matters. Blades set well stay ready for use. Right settings lift how well the trimmer works. They also protect comfort and safety each day. Groomers and pet owners both gain here.
Steady checks keep cuts clean and precise. Careful setting cuts the risk of nicks or cuts. Sensitive skin deserves that extra care. The maker’s guide settles any doubts safely. Practice and patience build real skill over time.
